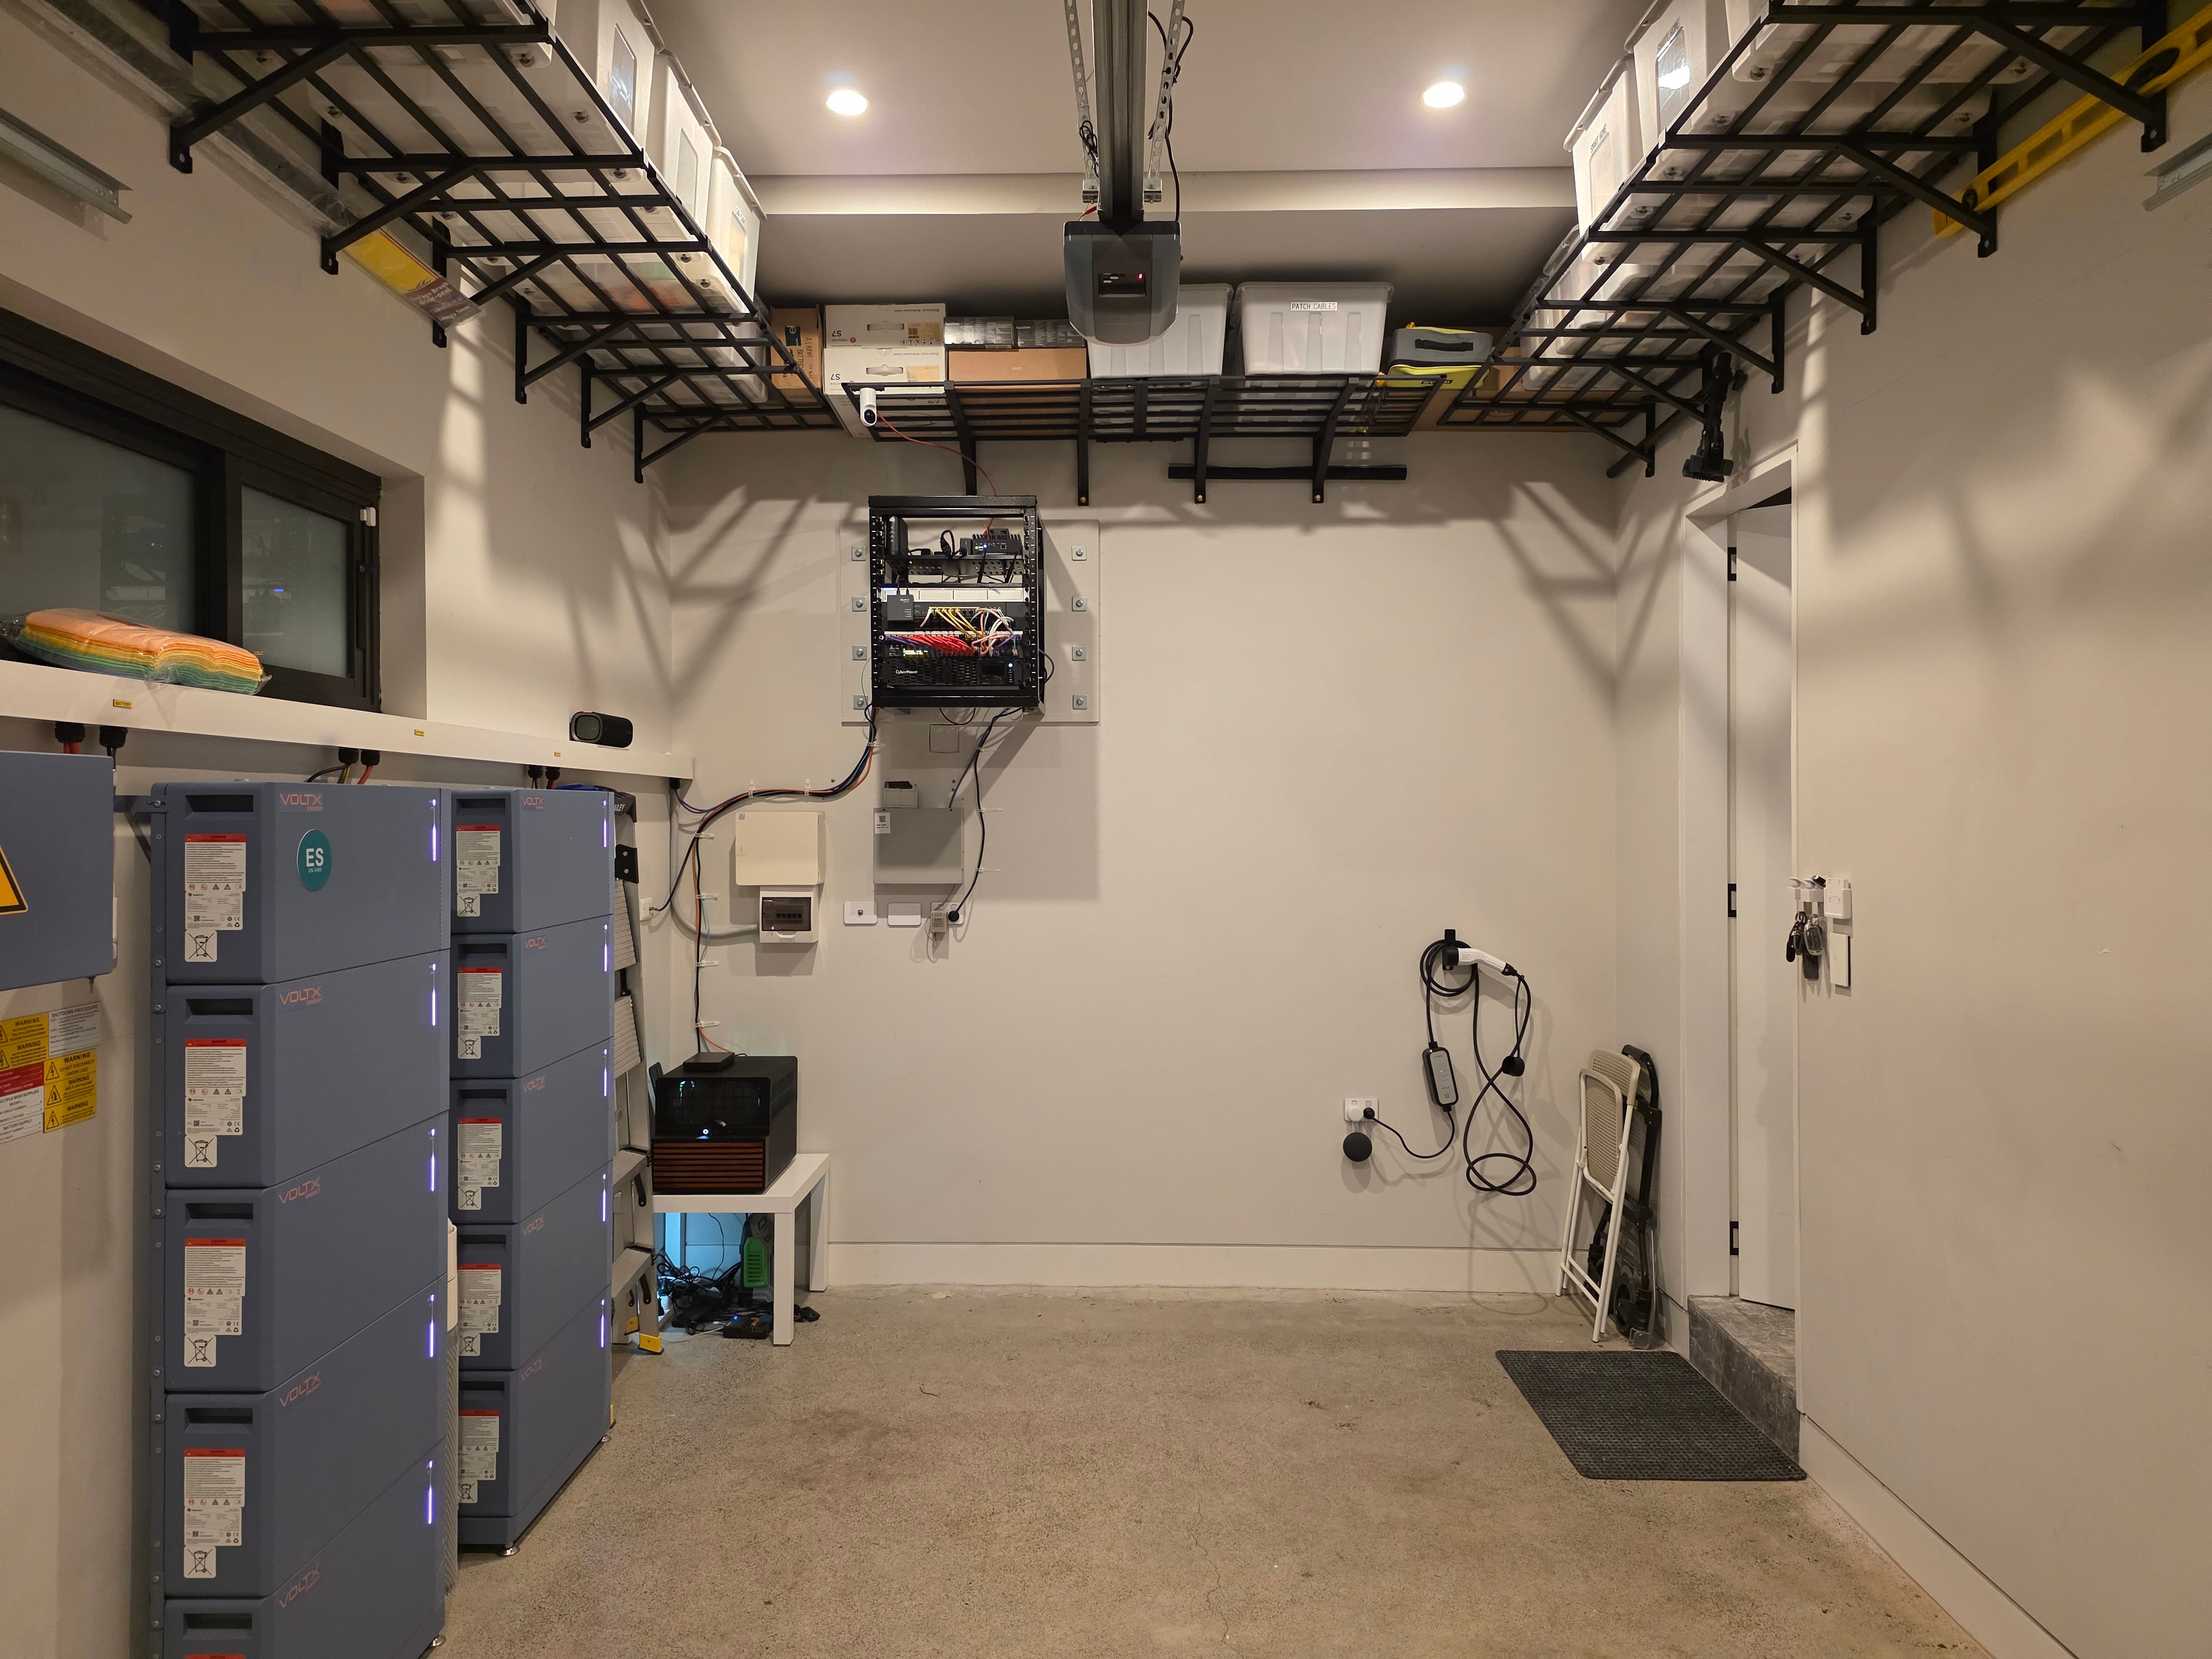
I replaced the IKEA IVAR shelving that held my home networking gear with a 12U wall-mounted rack.
Background
My home's network cables terminate at the back of the garage. All the runs for the Wi-Fi access points, room network ports and cameras come back here, so it was the natural place to set up my homelab.
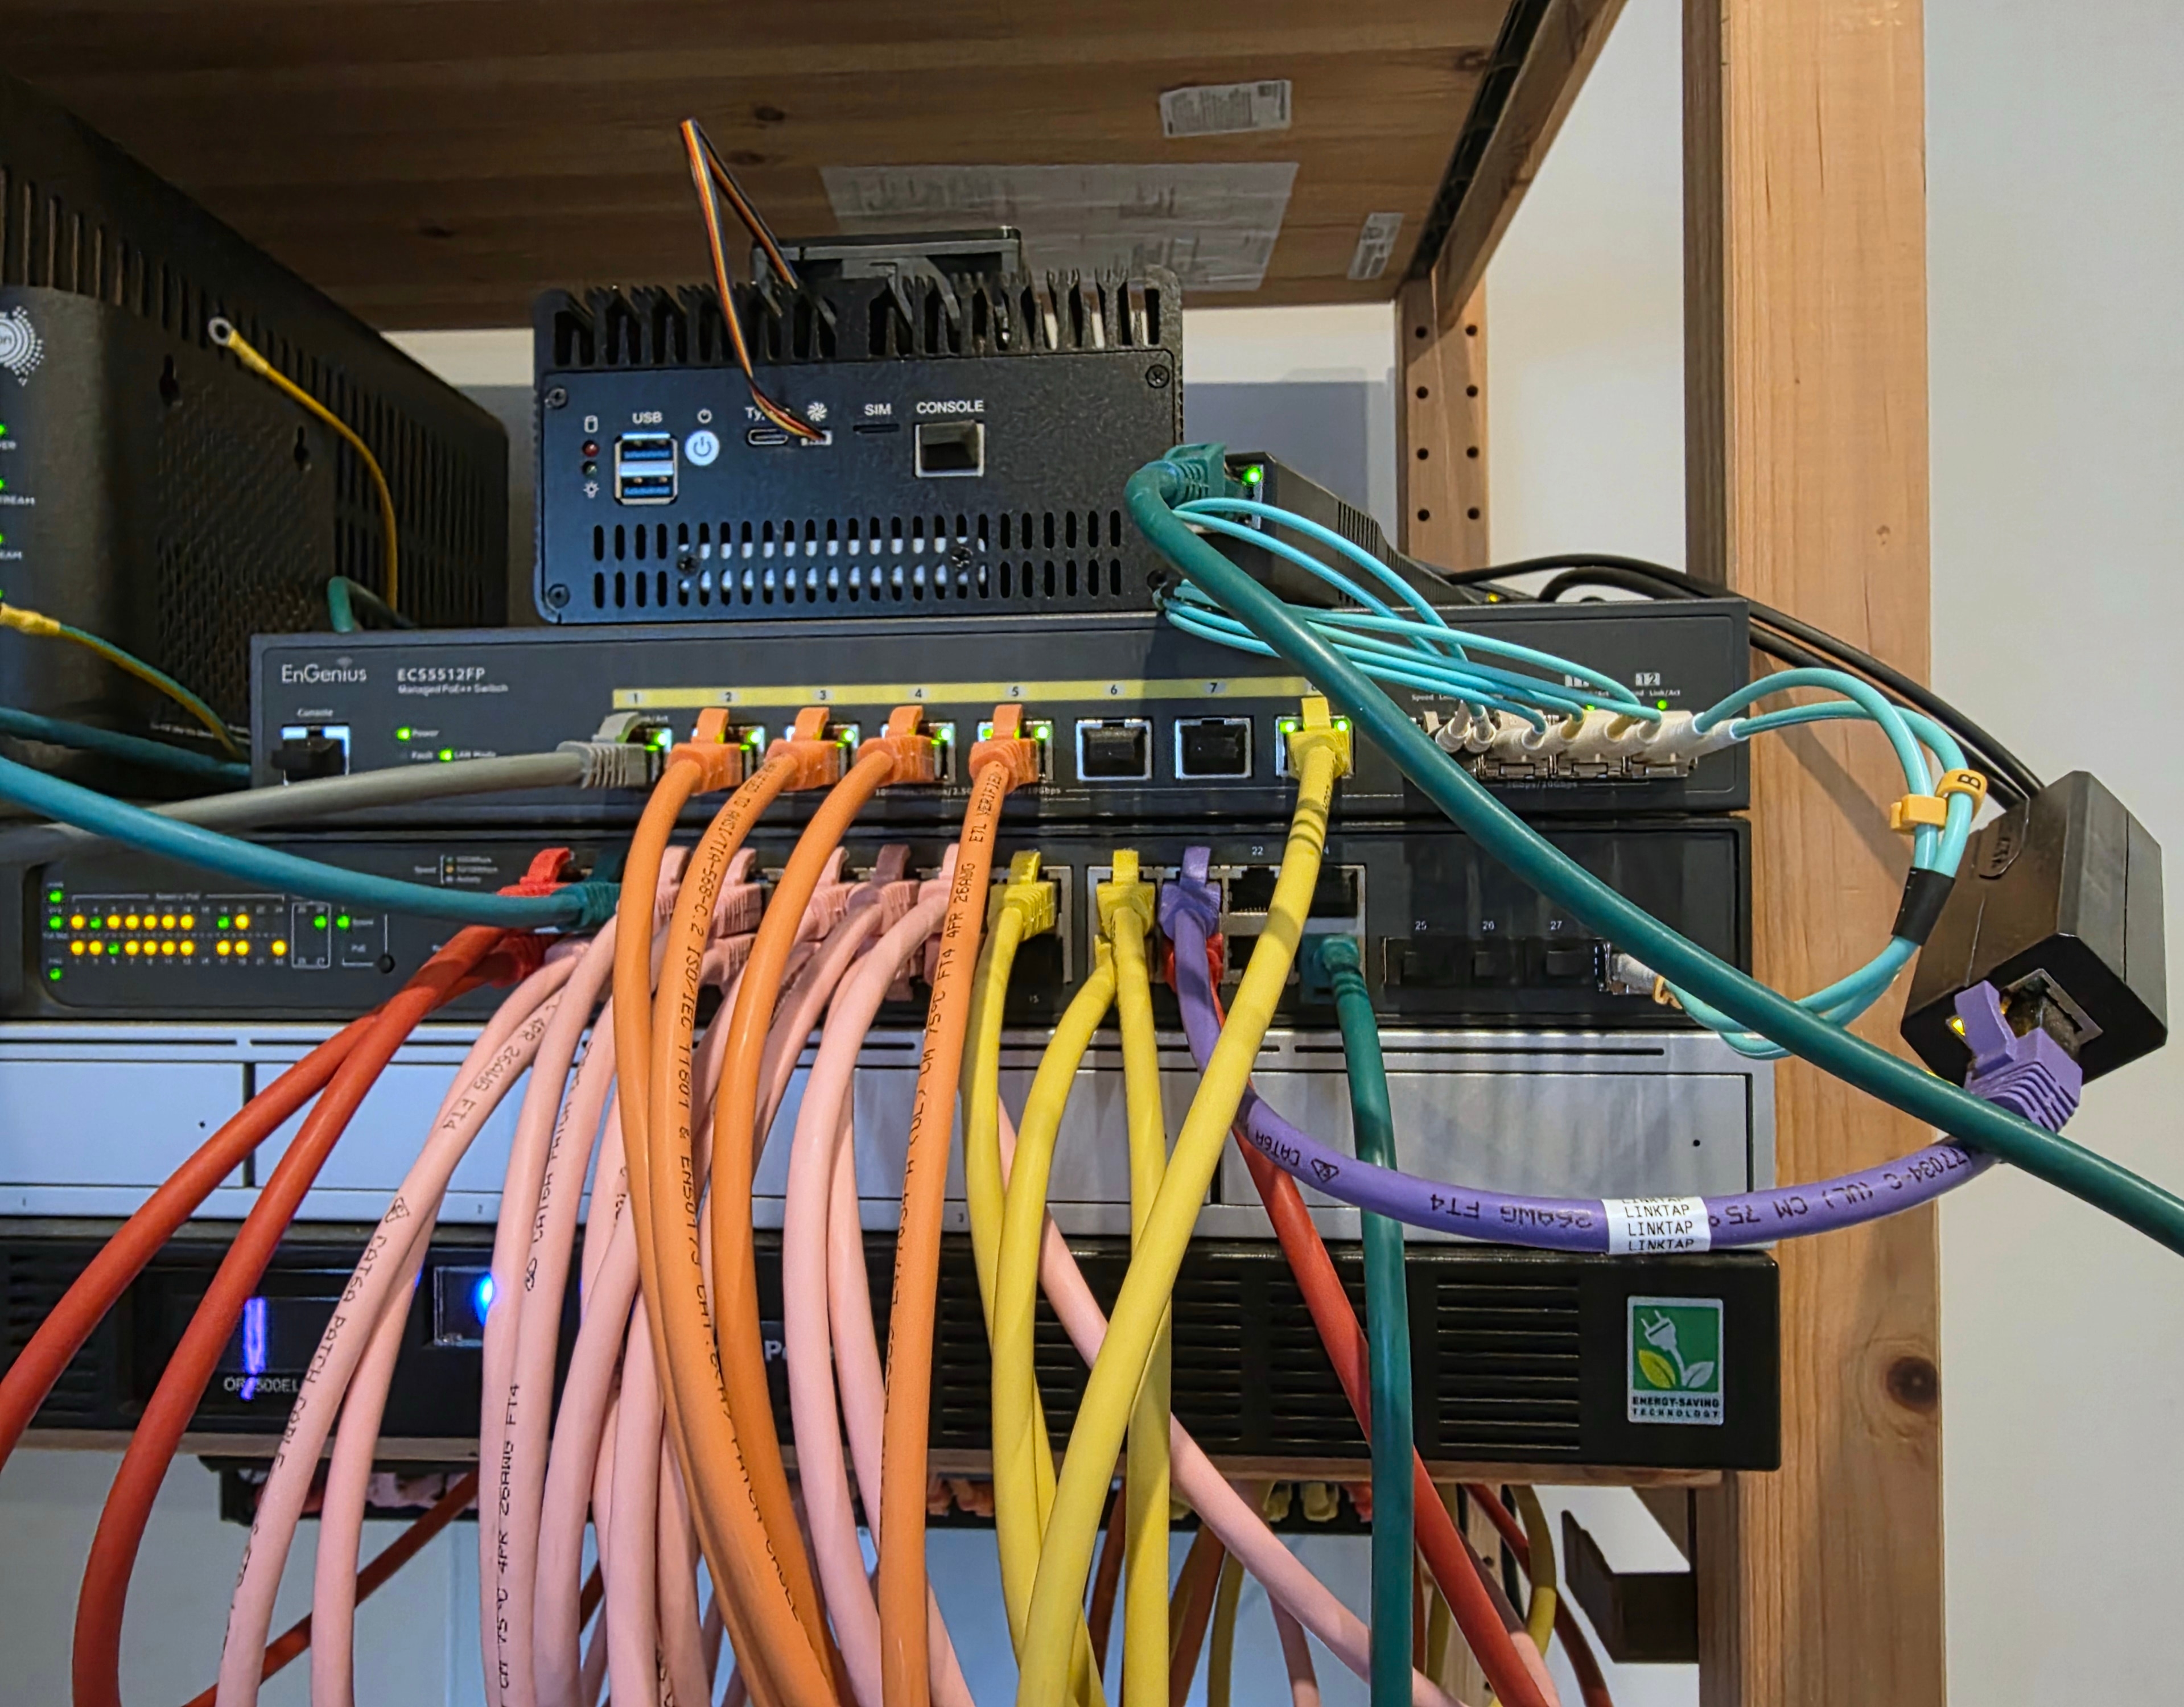
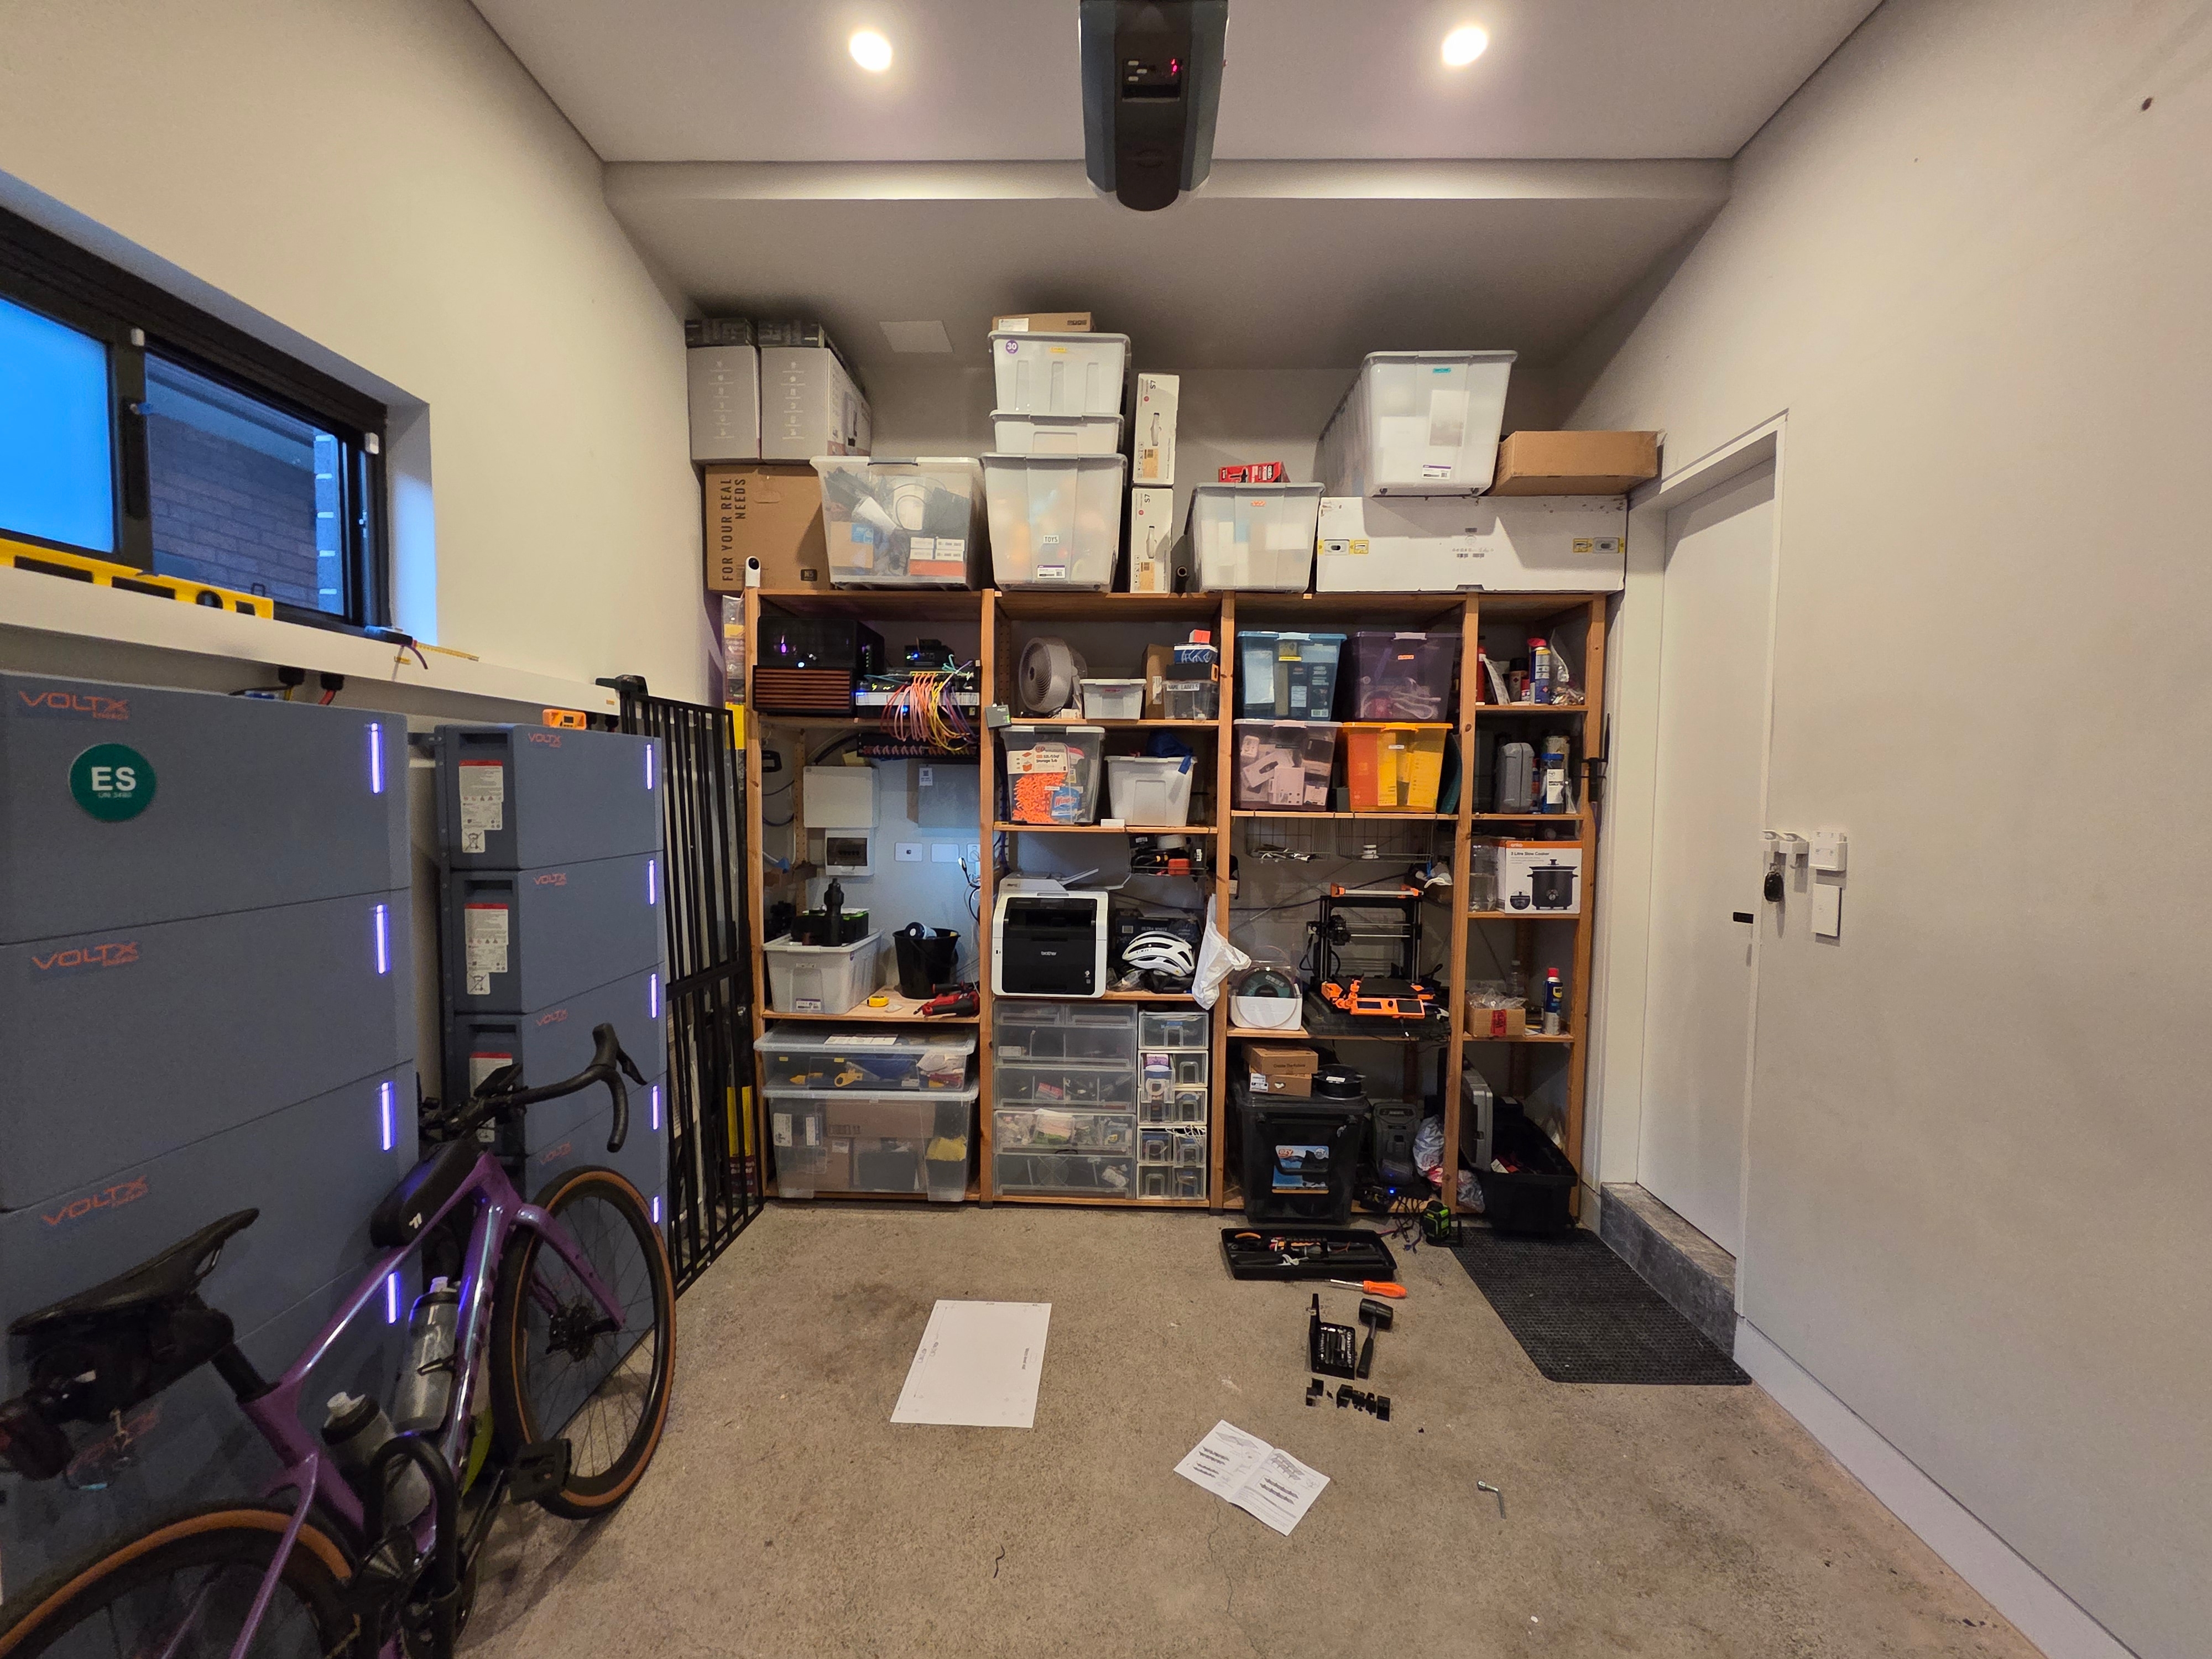
The setup included my home server, OPNsense router, network switches, network video recorder (NVR) and UPS. Most of the equipment sat on IKEA IVAR shelving. I had upgraded the network to 10 Gbps and tidied up the cabling, but the equipment still occupied the same floor space.
I wanted to remove all of the IKEA IVAR shelving to make room for a longer car. I worked on this rack alongside my garage wall-shelving project, which took care of the storage tubs and other garage storage.
VEVOR 12U Rack
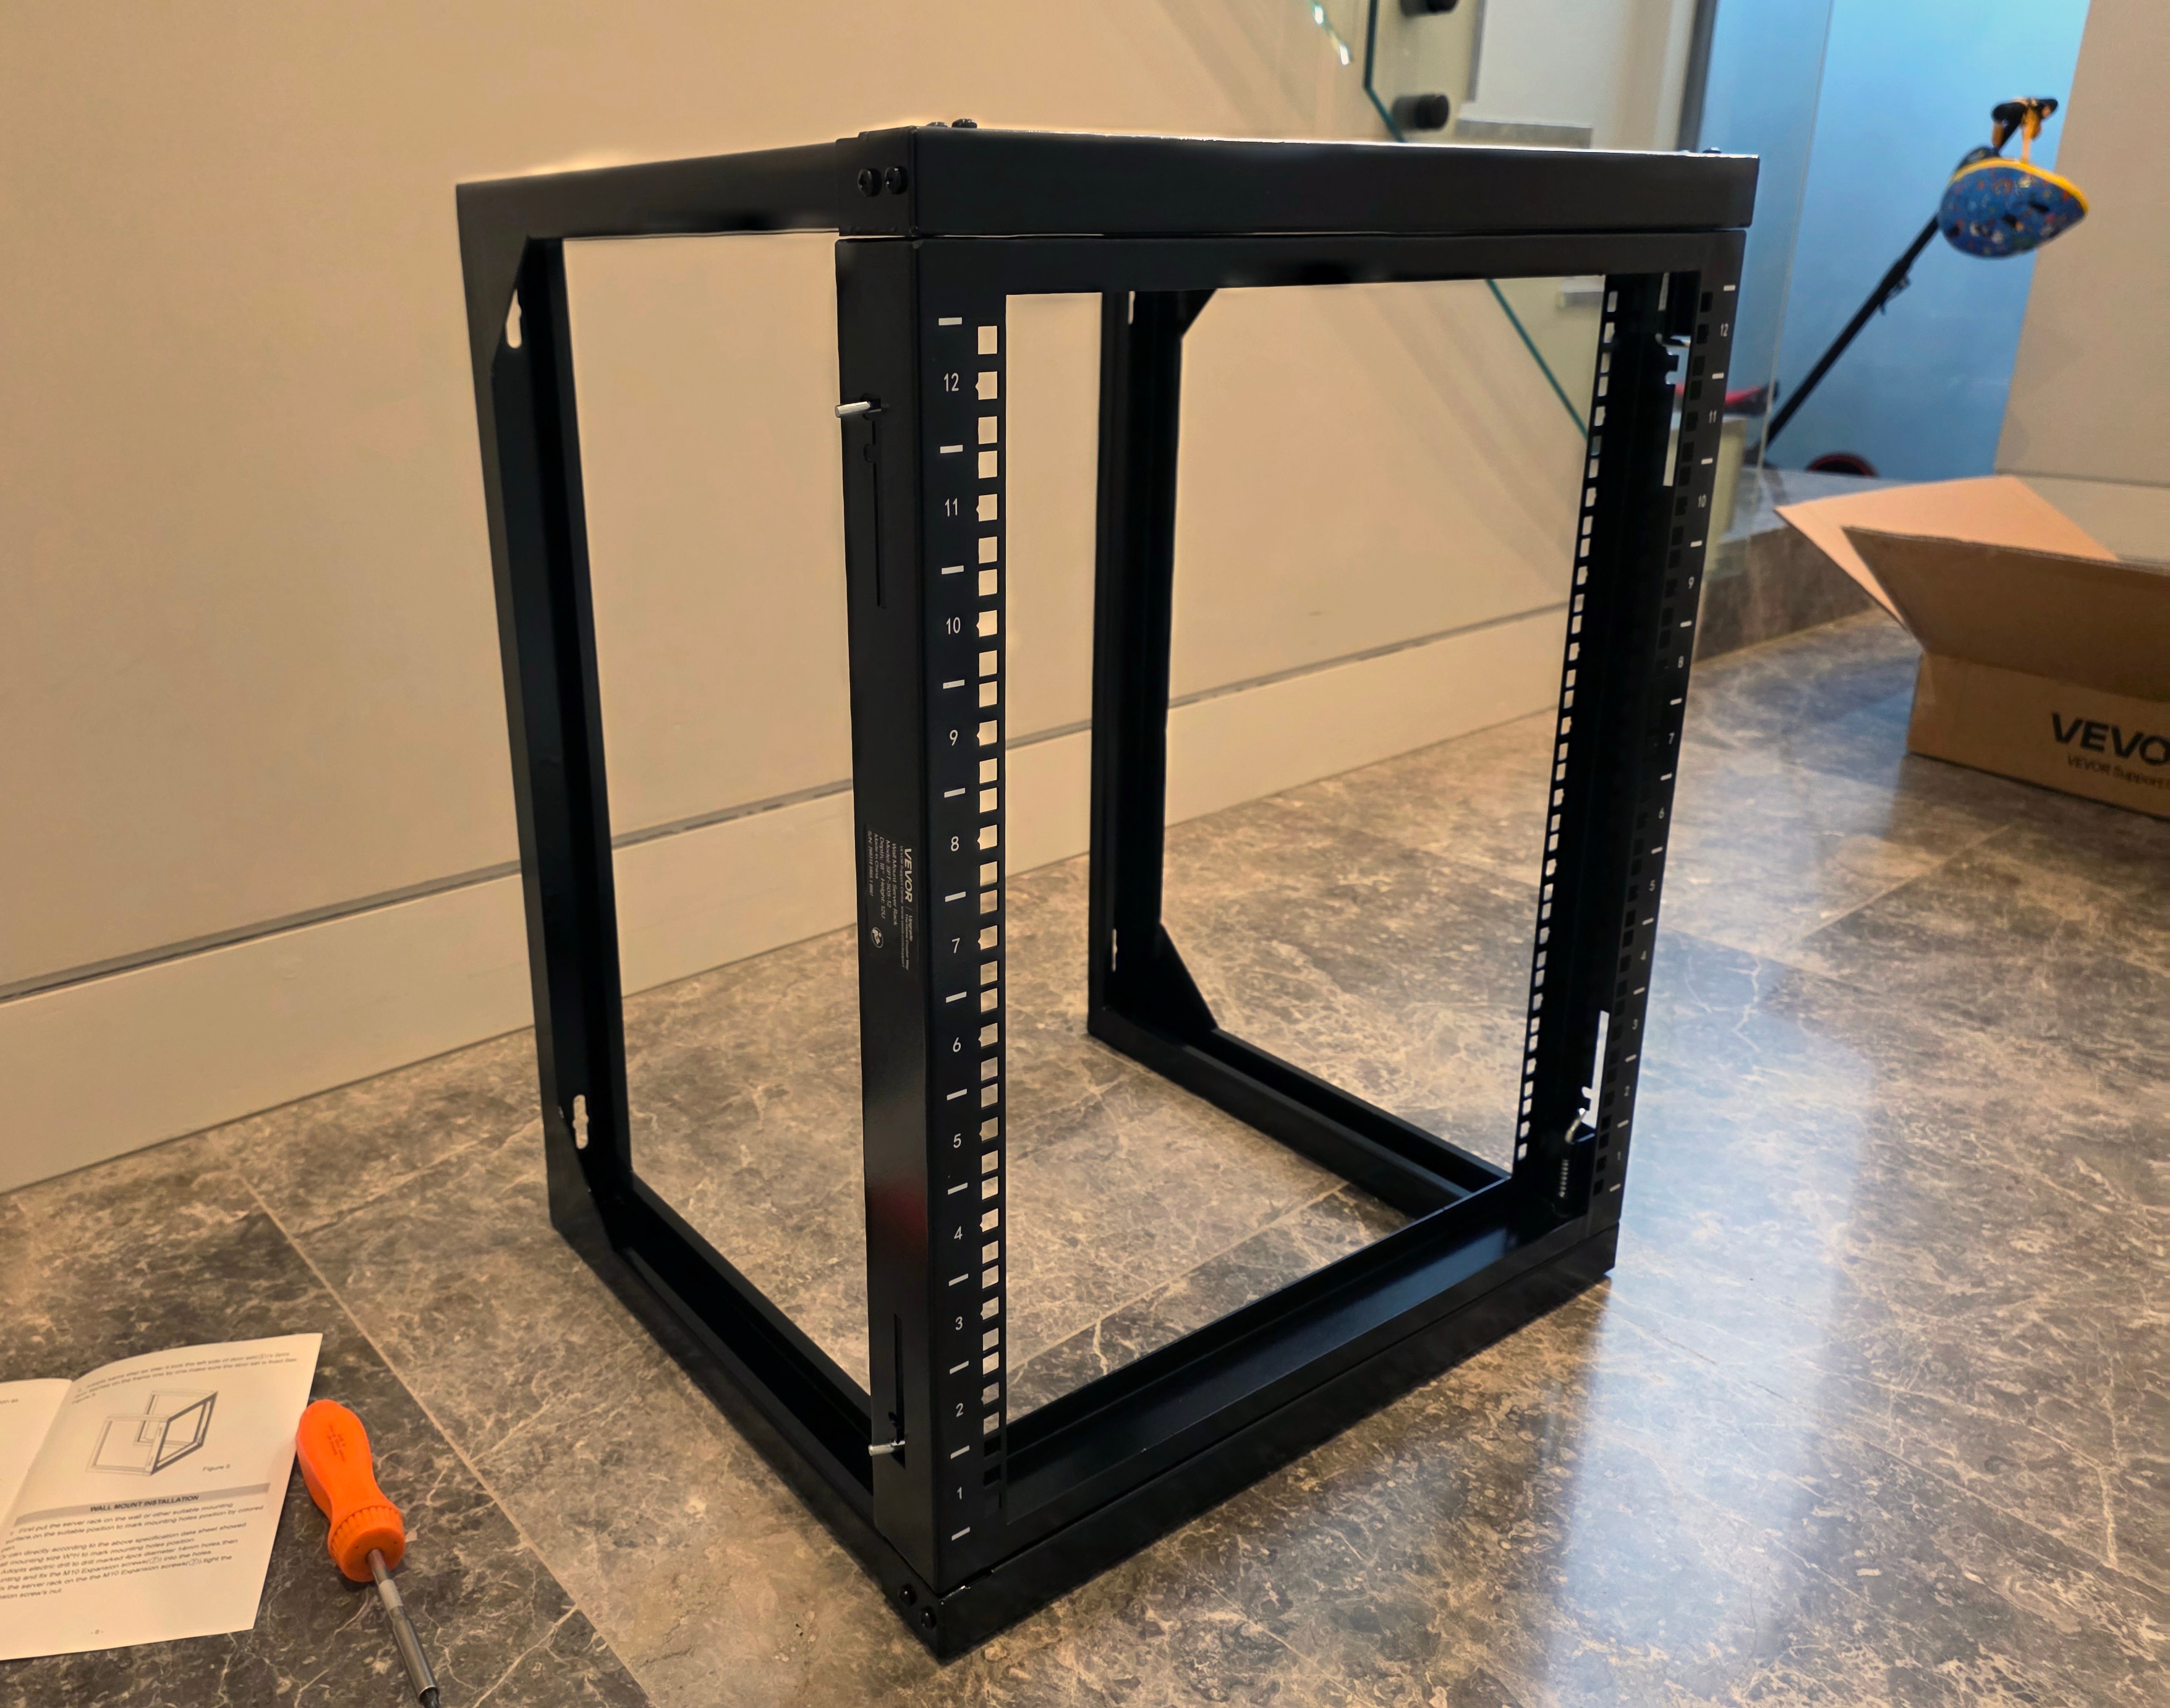
I wanted an open-frame rack, which has mounting rails without an enclosing cabinet. This provides airflow and easy access to the cabling.
An enclosed cabinet would have added weight without giving me much in return. This is inside my own garage, so I did not need the extra security, and I would have removed the side panels for airflow and access anyway.
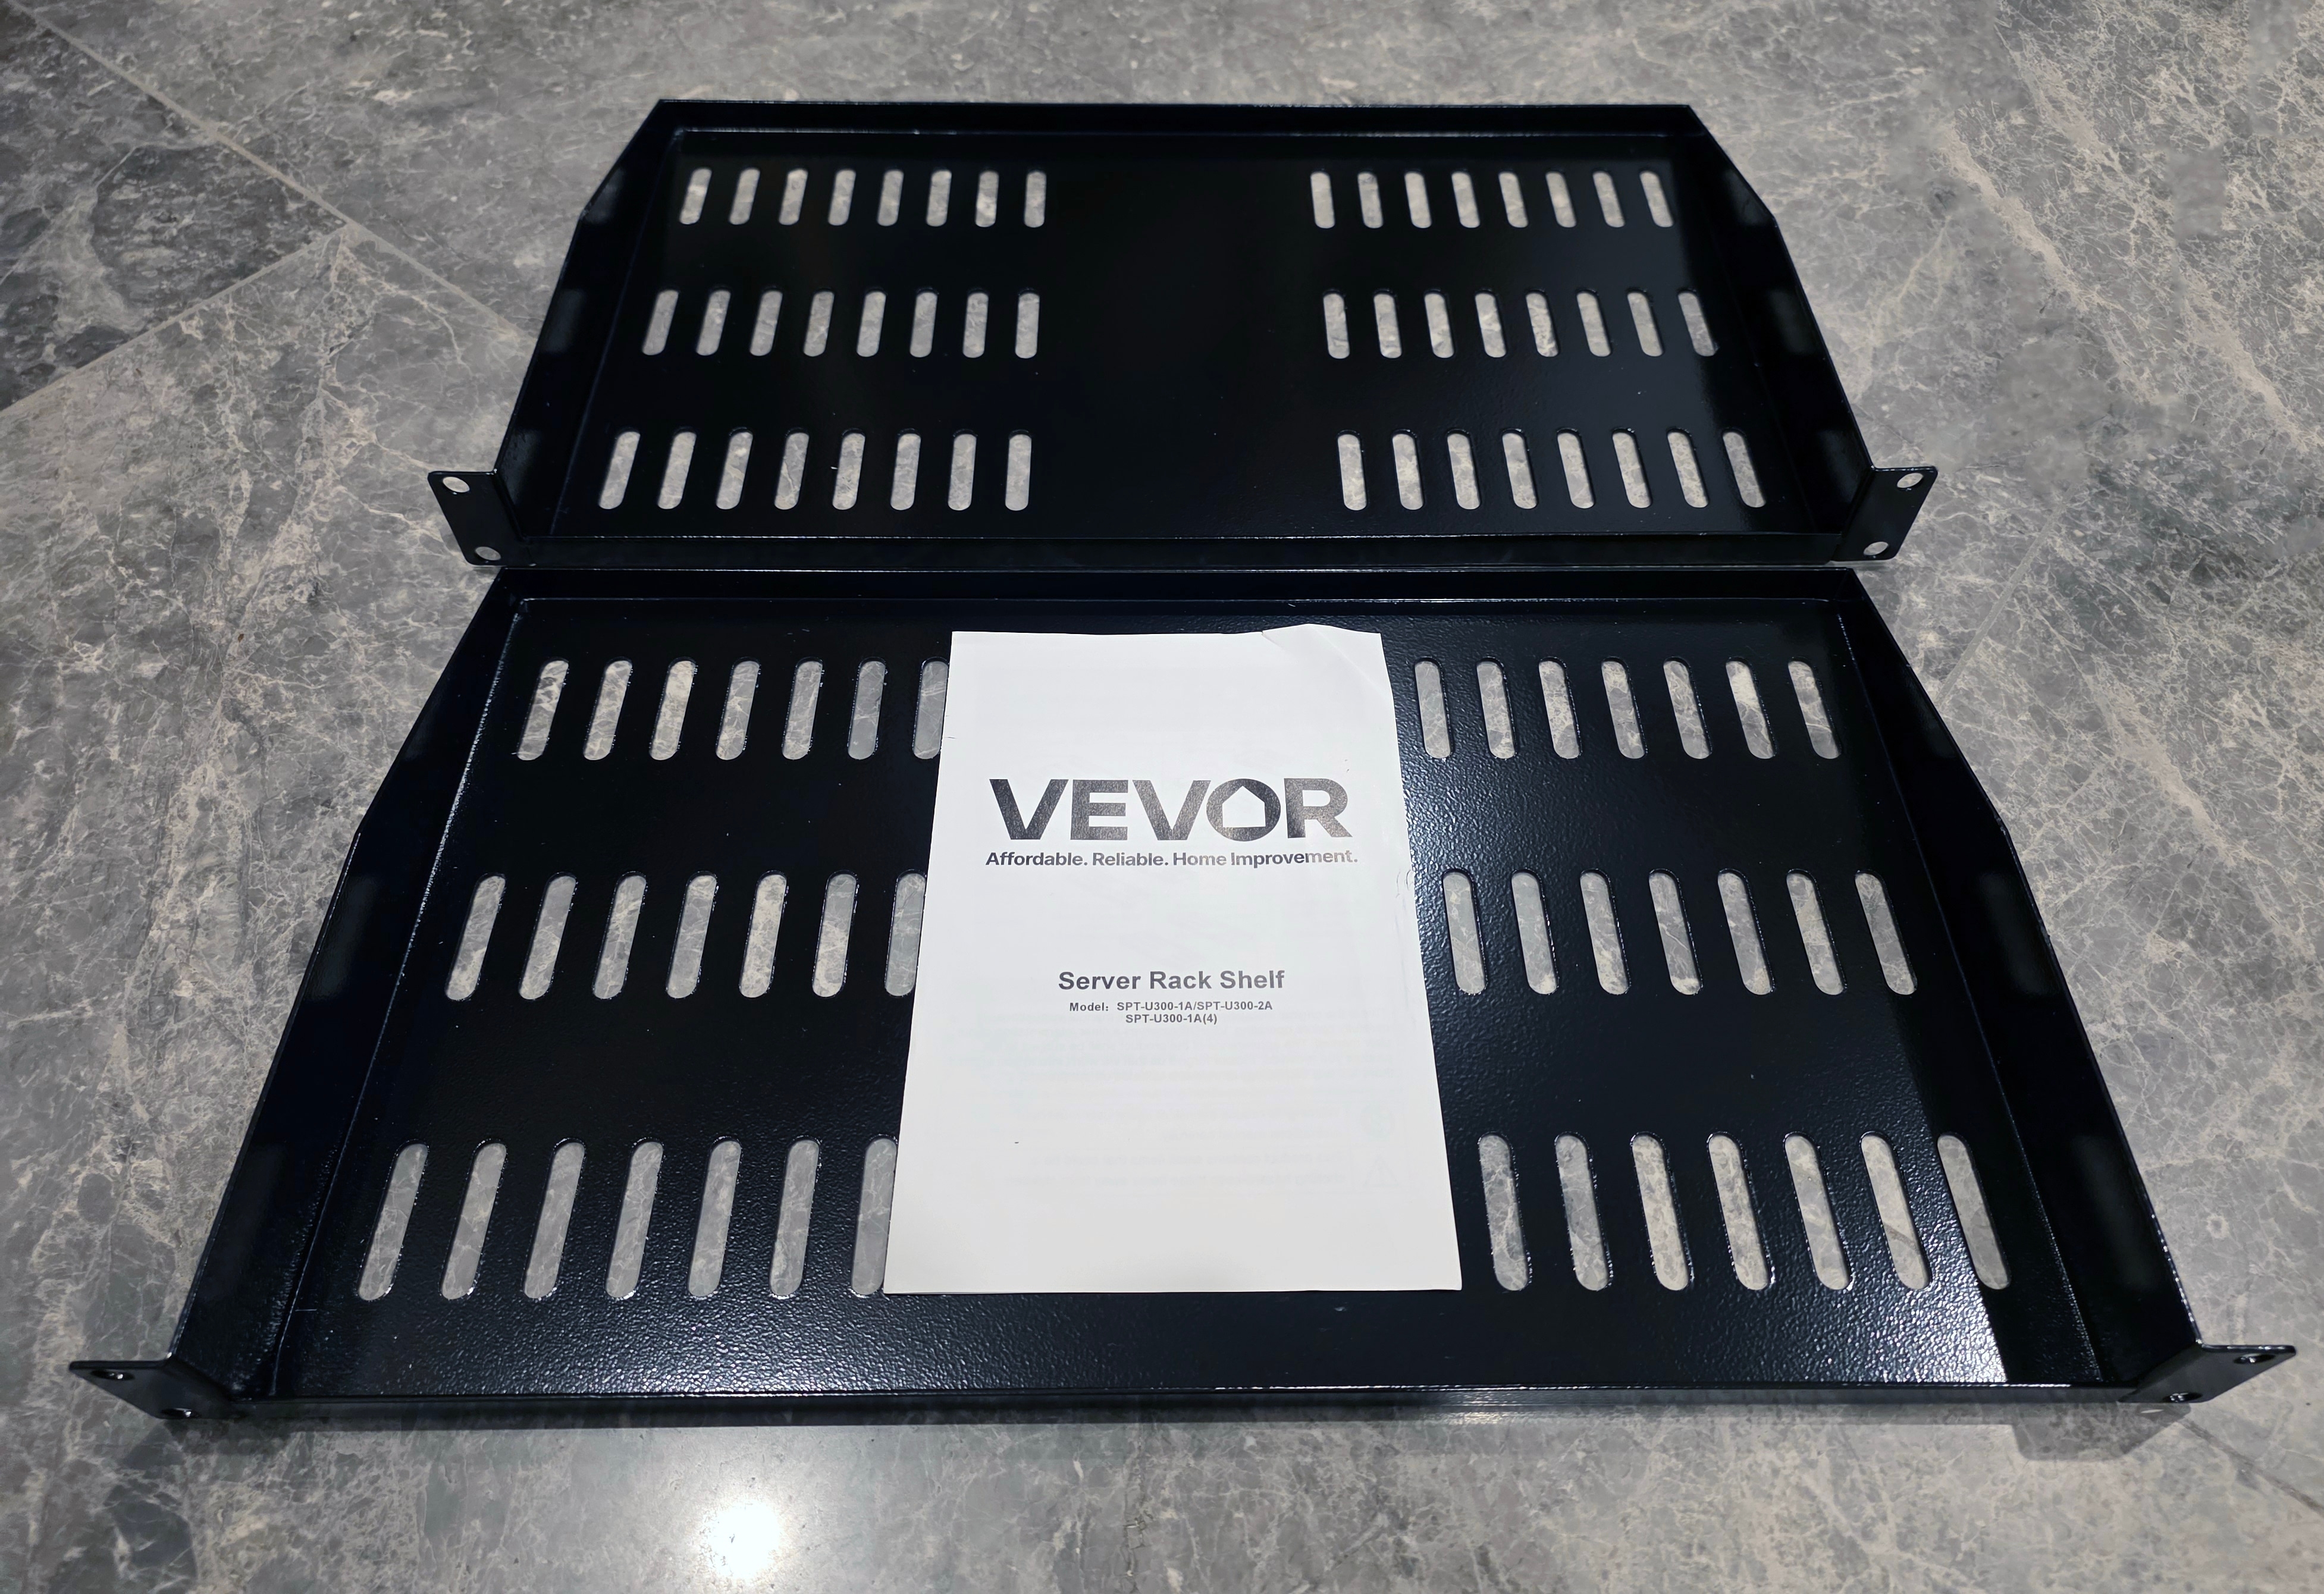
I looked at several open-frame racks before buying the VEVOR 12U wall-mounted server rack. It is 455mm deep, which was enough for my equipment without the extra depth of a full server rack. The rack and separately purchased shelves cost about $110.
The rack can swing away from the wall on a hinge. I leave it closed because several existing cables do not have enough slack to move with it, so I would have preferred a fixed frame.
Network Cables
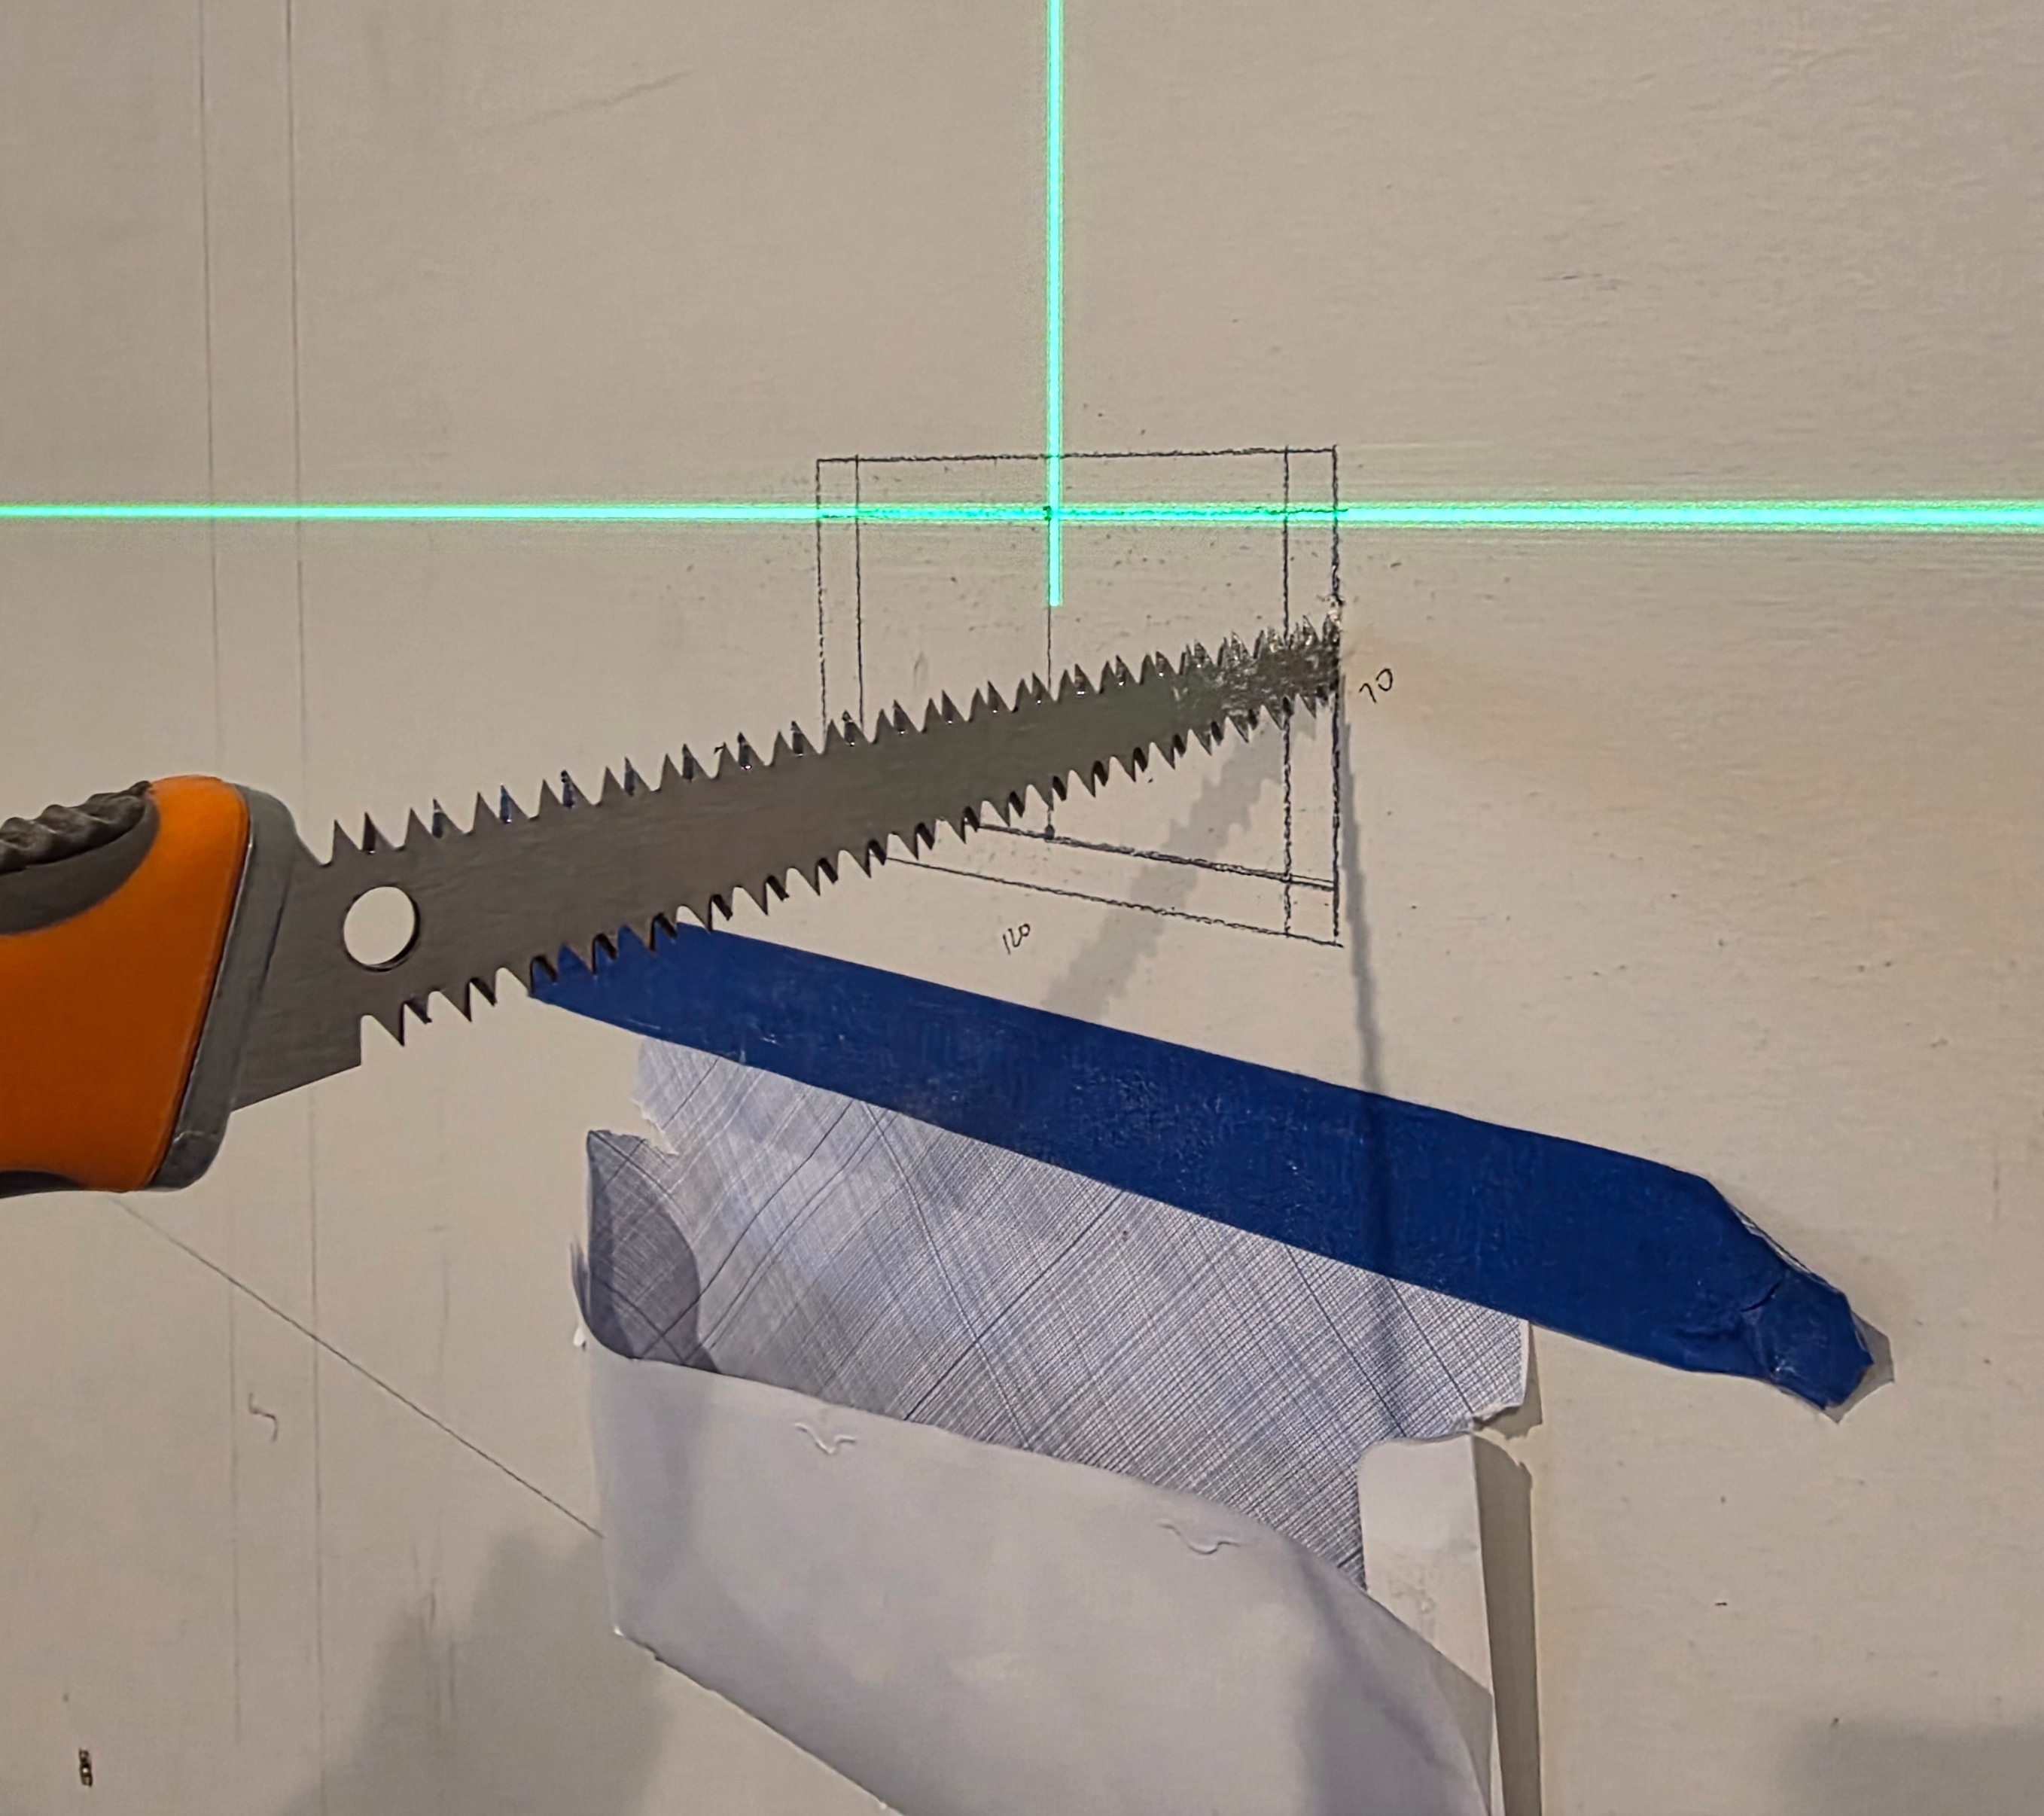
After letting everyone know the network would be down, I tore down the homelab. I cut a new opening in the wall where the patch panel would sit in the new rack, about half a metre diagonally above the old opening.
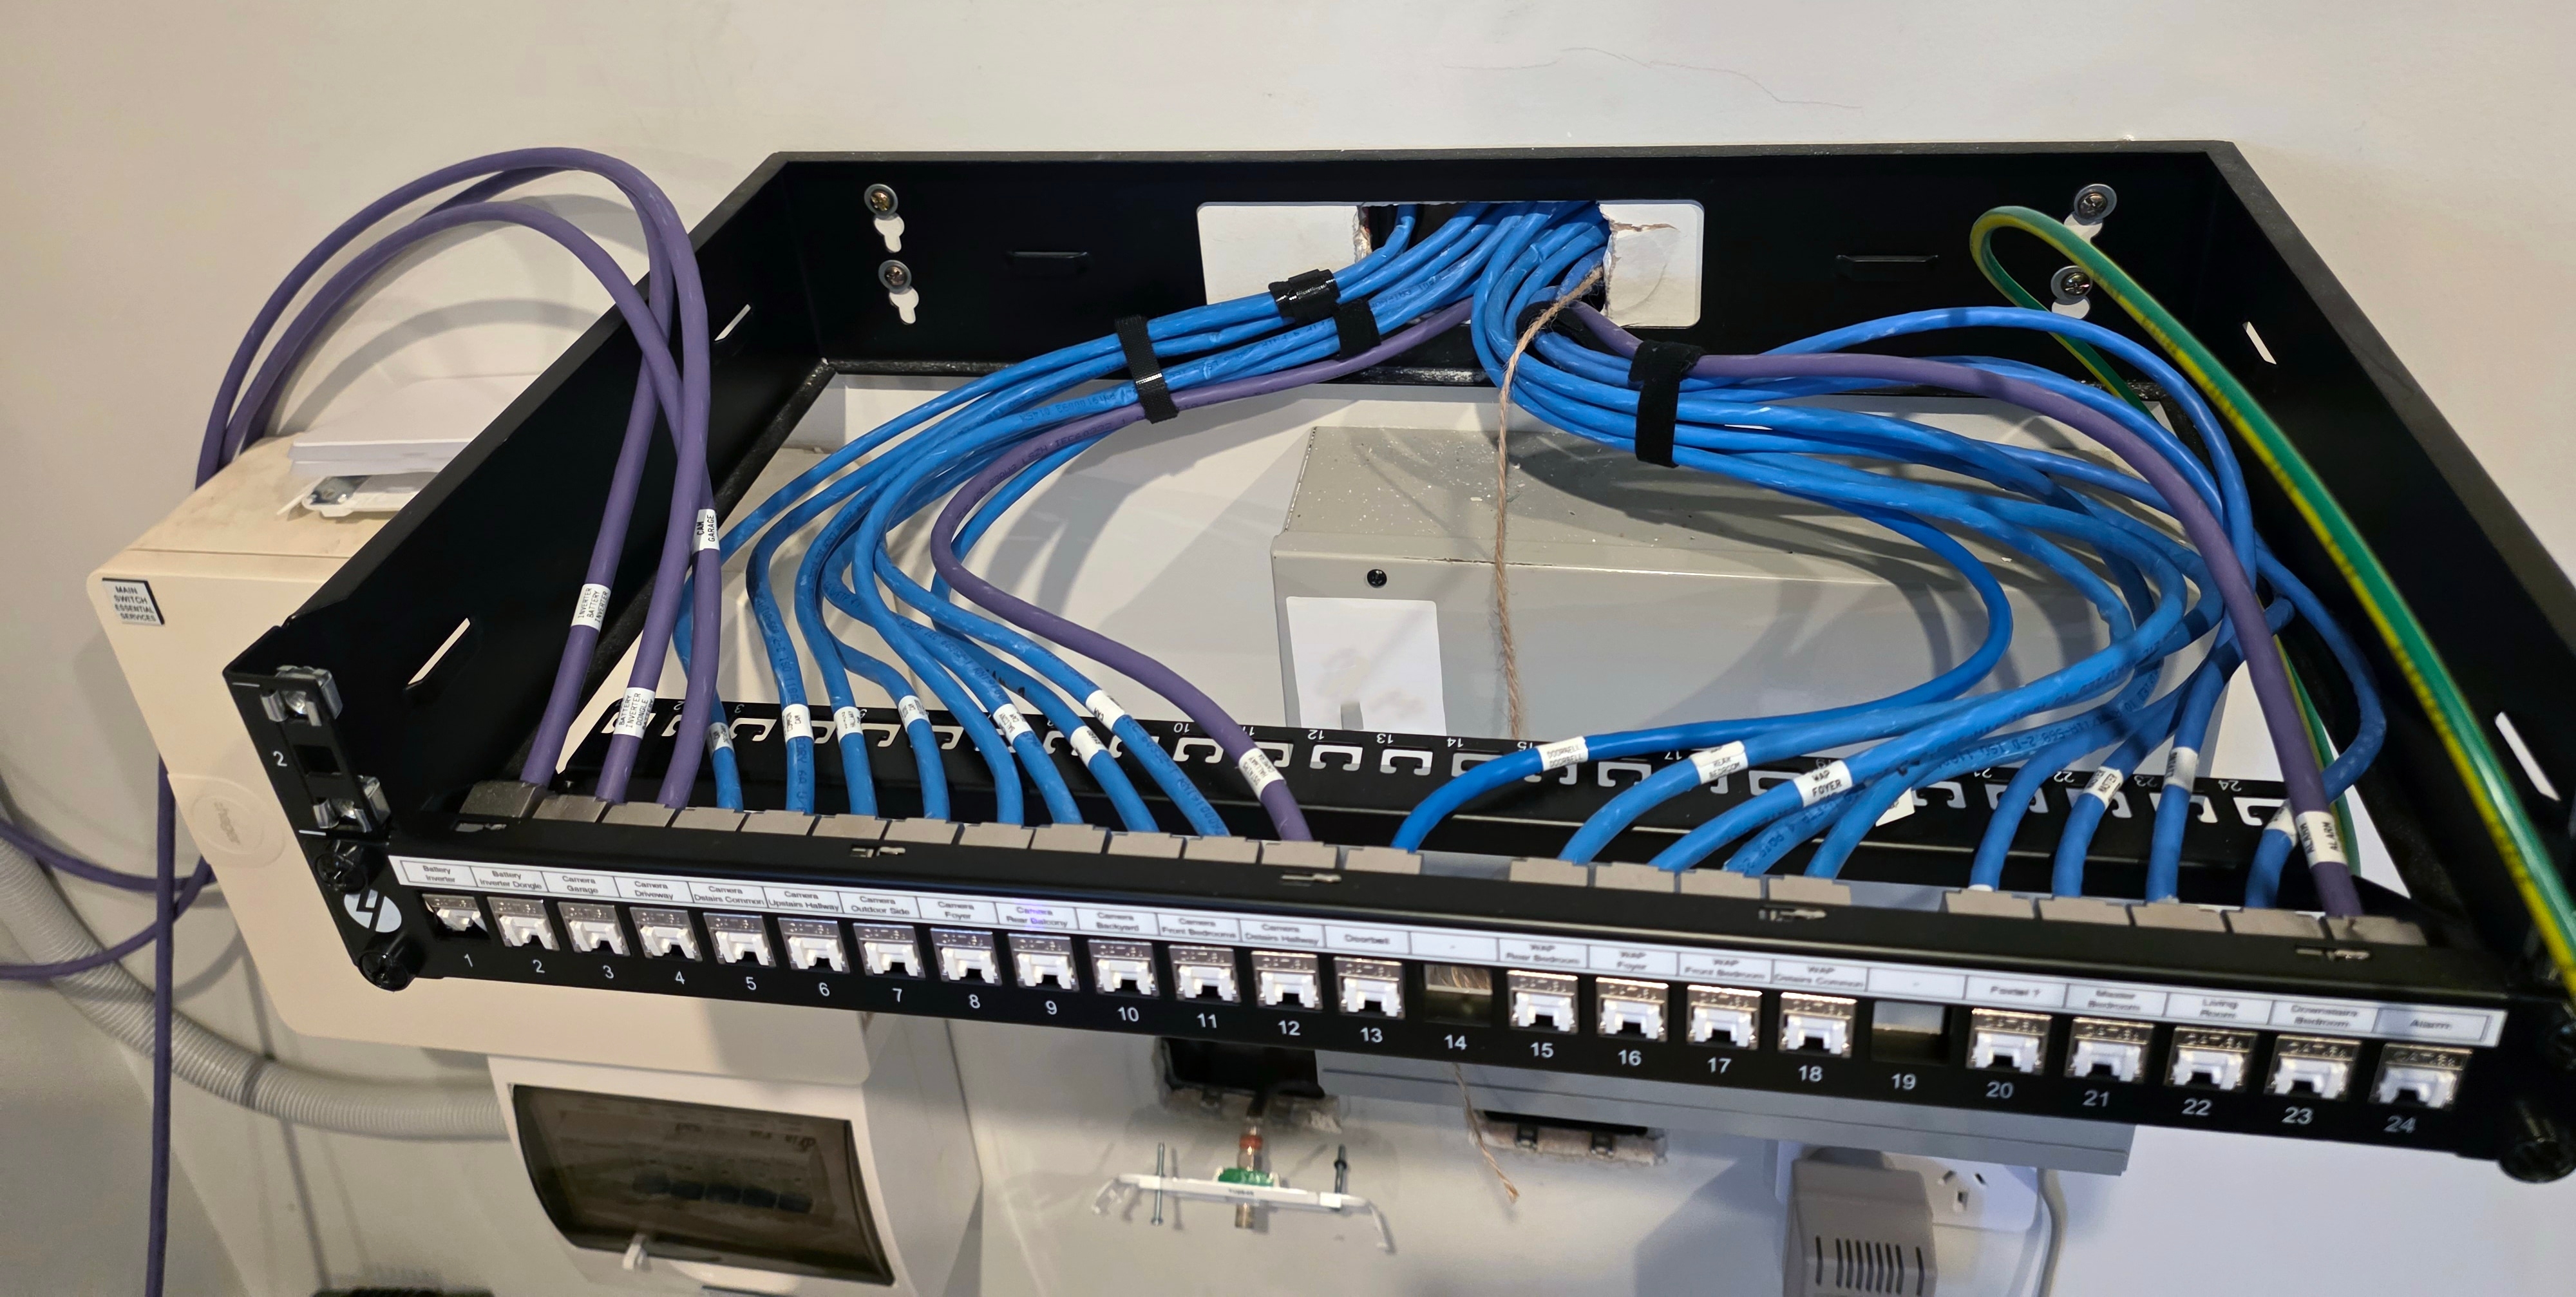
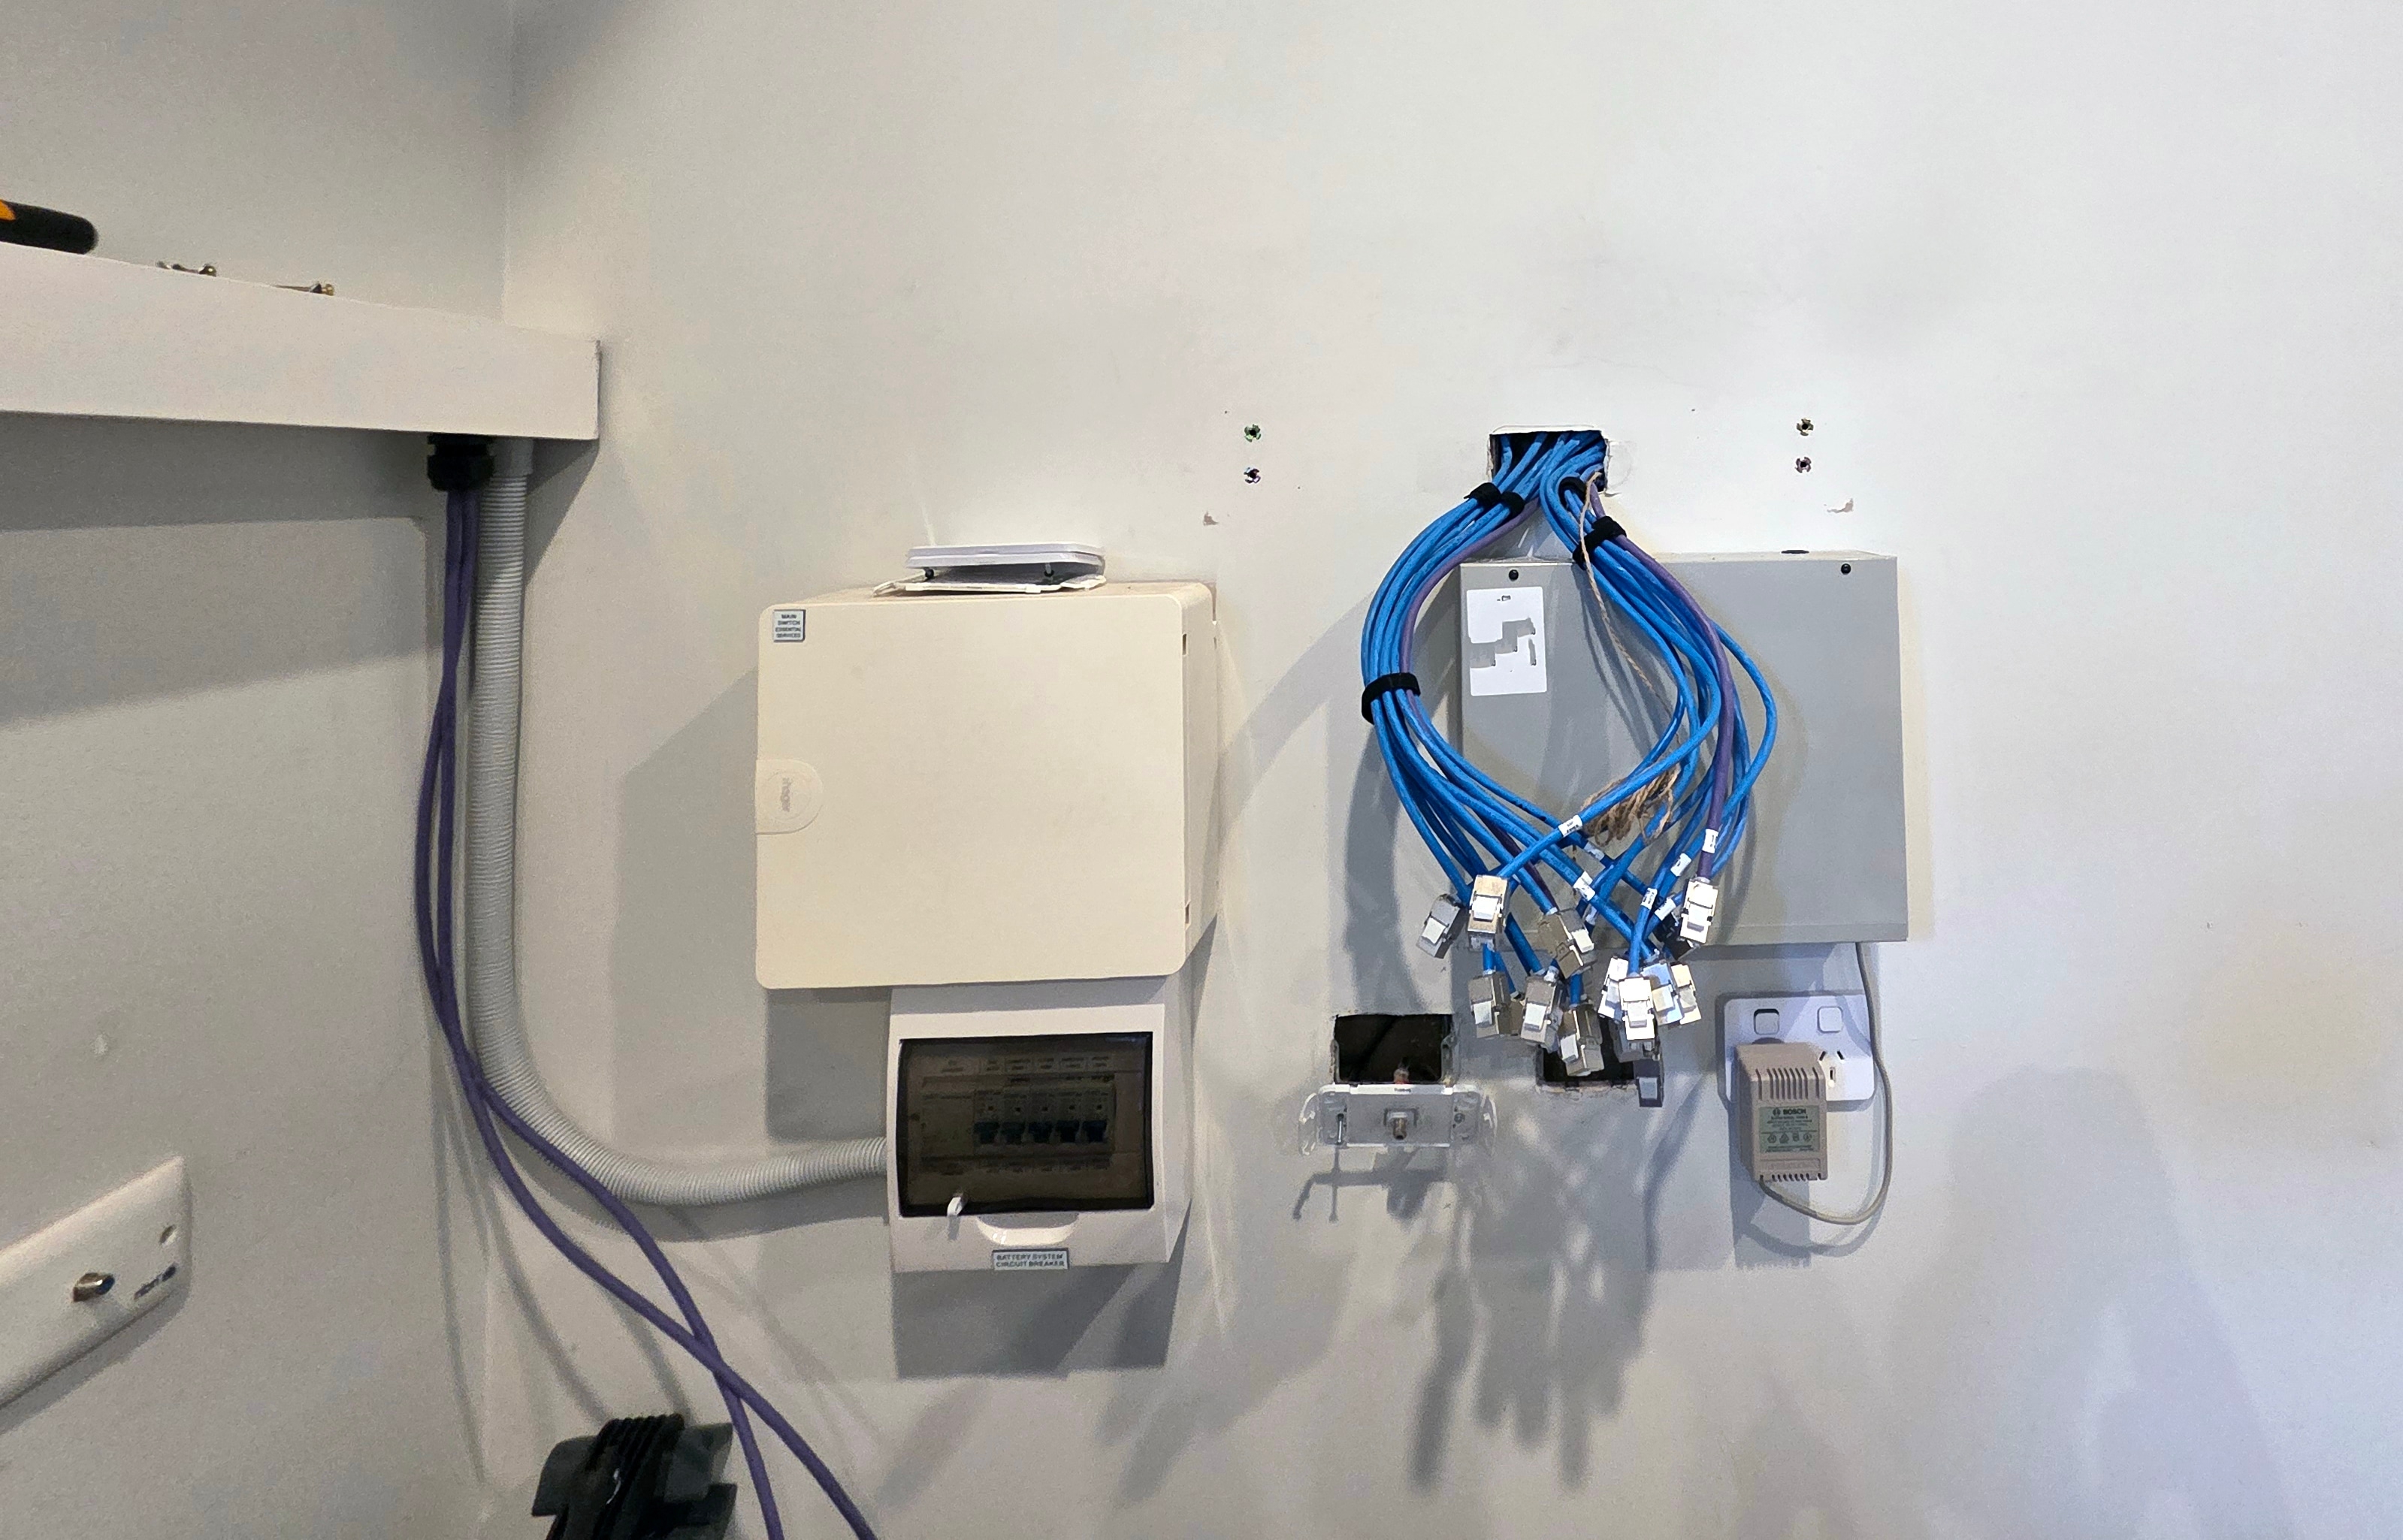
To move the 20 in-wall network cables, I started feeding the each cable through to the new opening, but the cables were stiff and tangled inside the cavity and got stuck. I cut an access hole between the old and new openings so I could reach in and untangle them. That let me feed the cables through while leaving the other wiring alone.
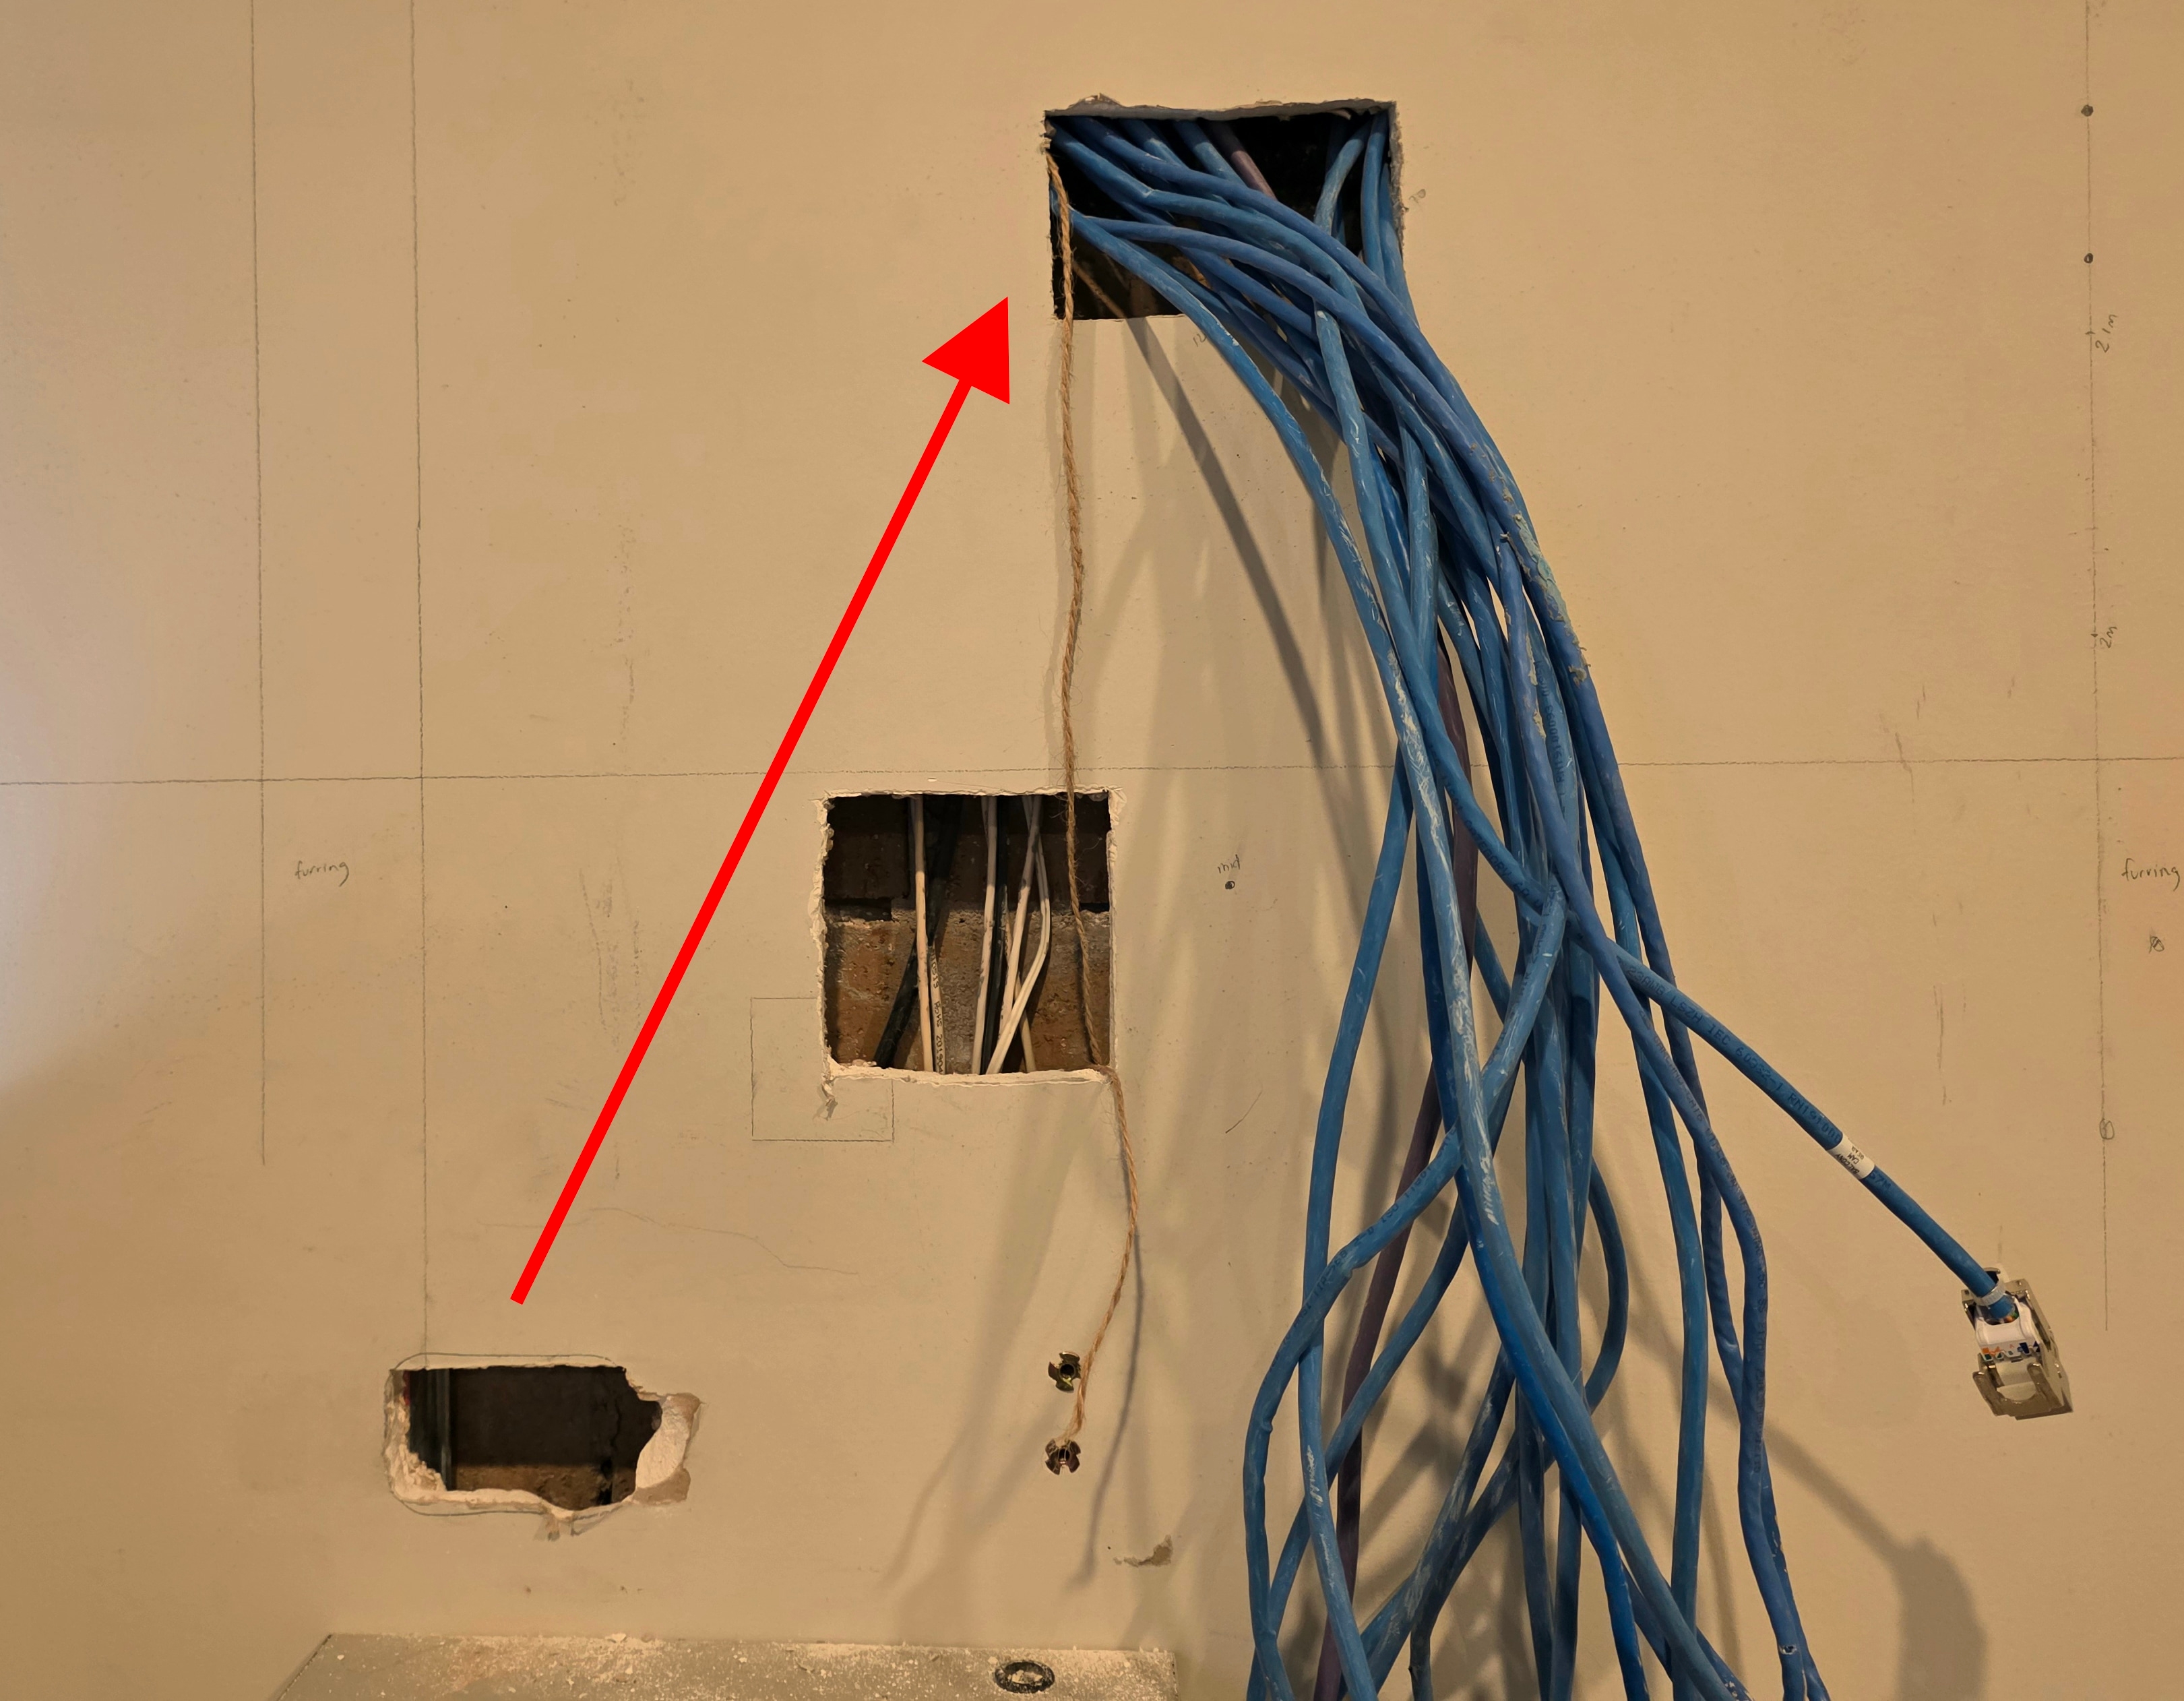
My advice for a garage setup is to keep the cable bundle accessible in front of the wall, properly supported, rather than hiding it inside the cavity. I would treat it like the cabling around an office rack, where you need access to move equipment and add or replace cables. A garage does not need the same hidden finish as a living space, and a visible cable bundle would have been completely acceptable here.
If I had more time and energy, I would consider pulling the cables back up and dropping them directly from the ceiling into the rack. That would make the next change much easier than working through holes in the plasterboard again.
Plywood Backboard
I bought a sheet of 17mm Structaply structural CD-grade plywood from Bunnings and had them cut it to 900 x 700mm for the backboard. Thicker sheets of the same plywood are stiffer and give mounting screws more timber to grip. CD describes the surface finish, not strength: a solid C-grade face and a rougher D-grade back.
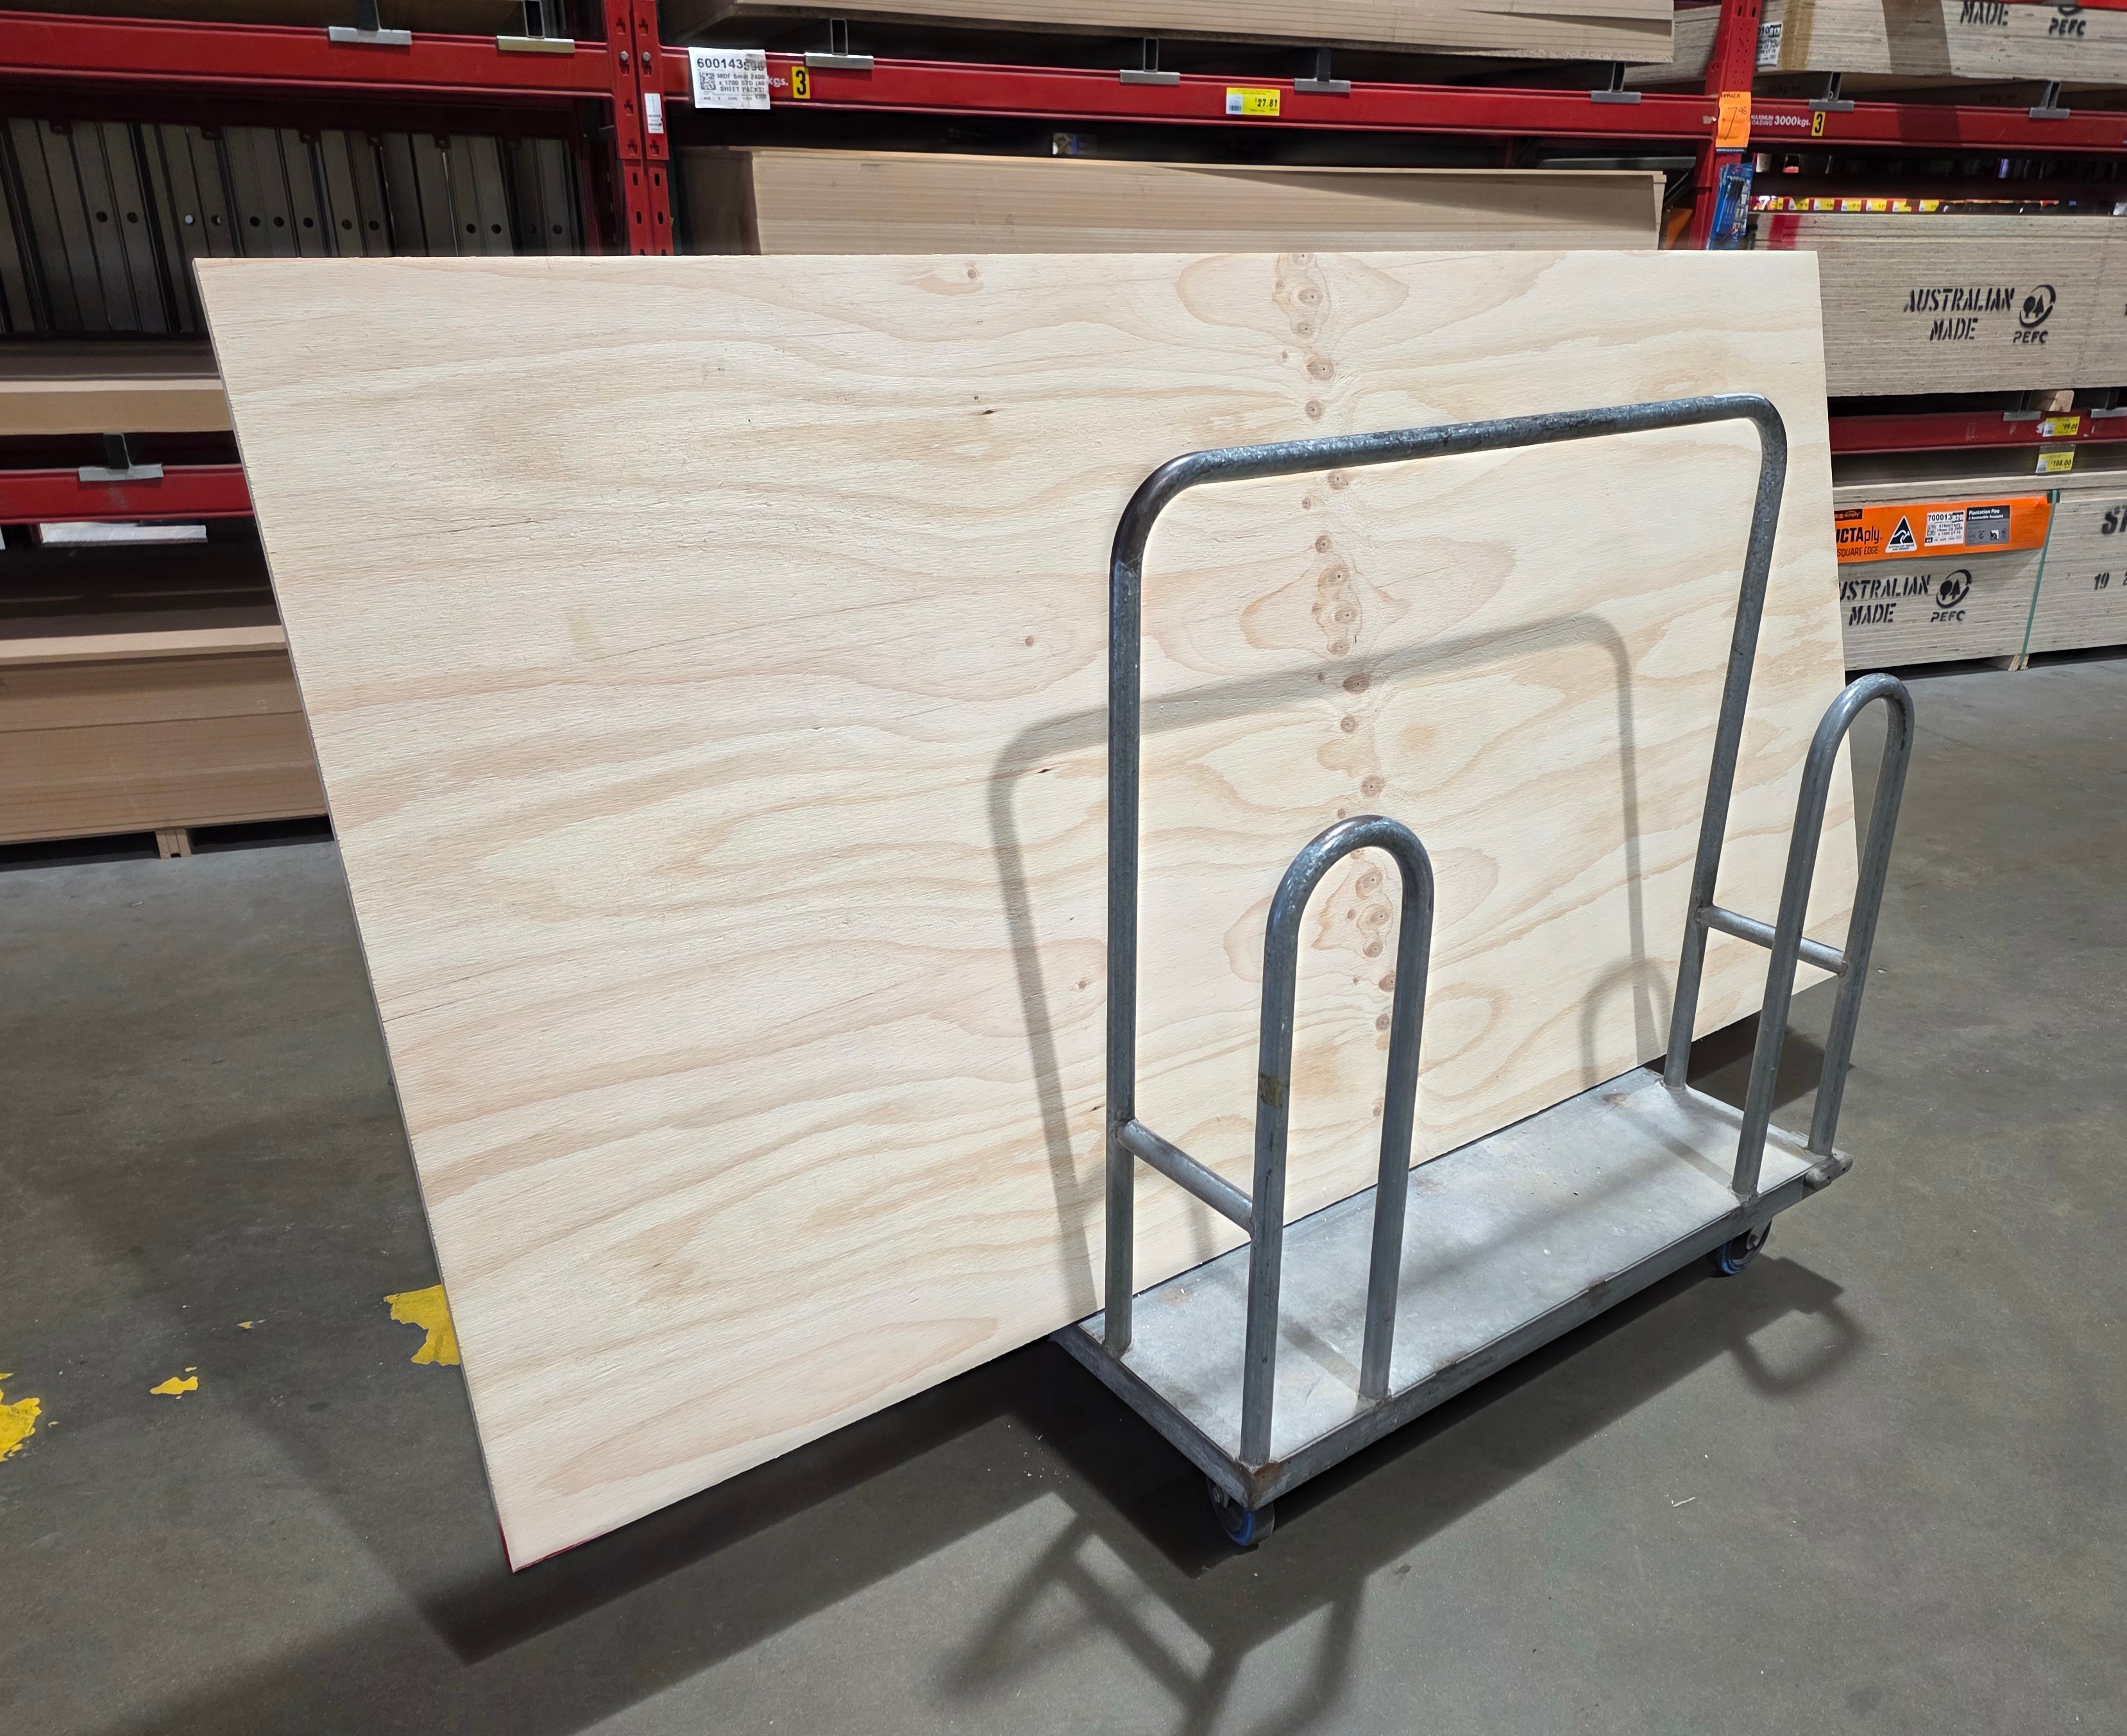
Bunnings offers a timber cutting service at some stores, and the first cut is usually free. Additional cuts may cost extra, so check availability and pricing with your local store before heading in. I only needed a small piece of the 2400 x 1200mm sheet and had to leave the rest behind because it would not fit in the car. A waste of money, really.
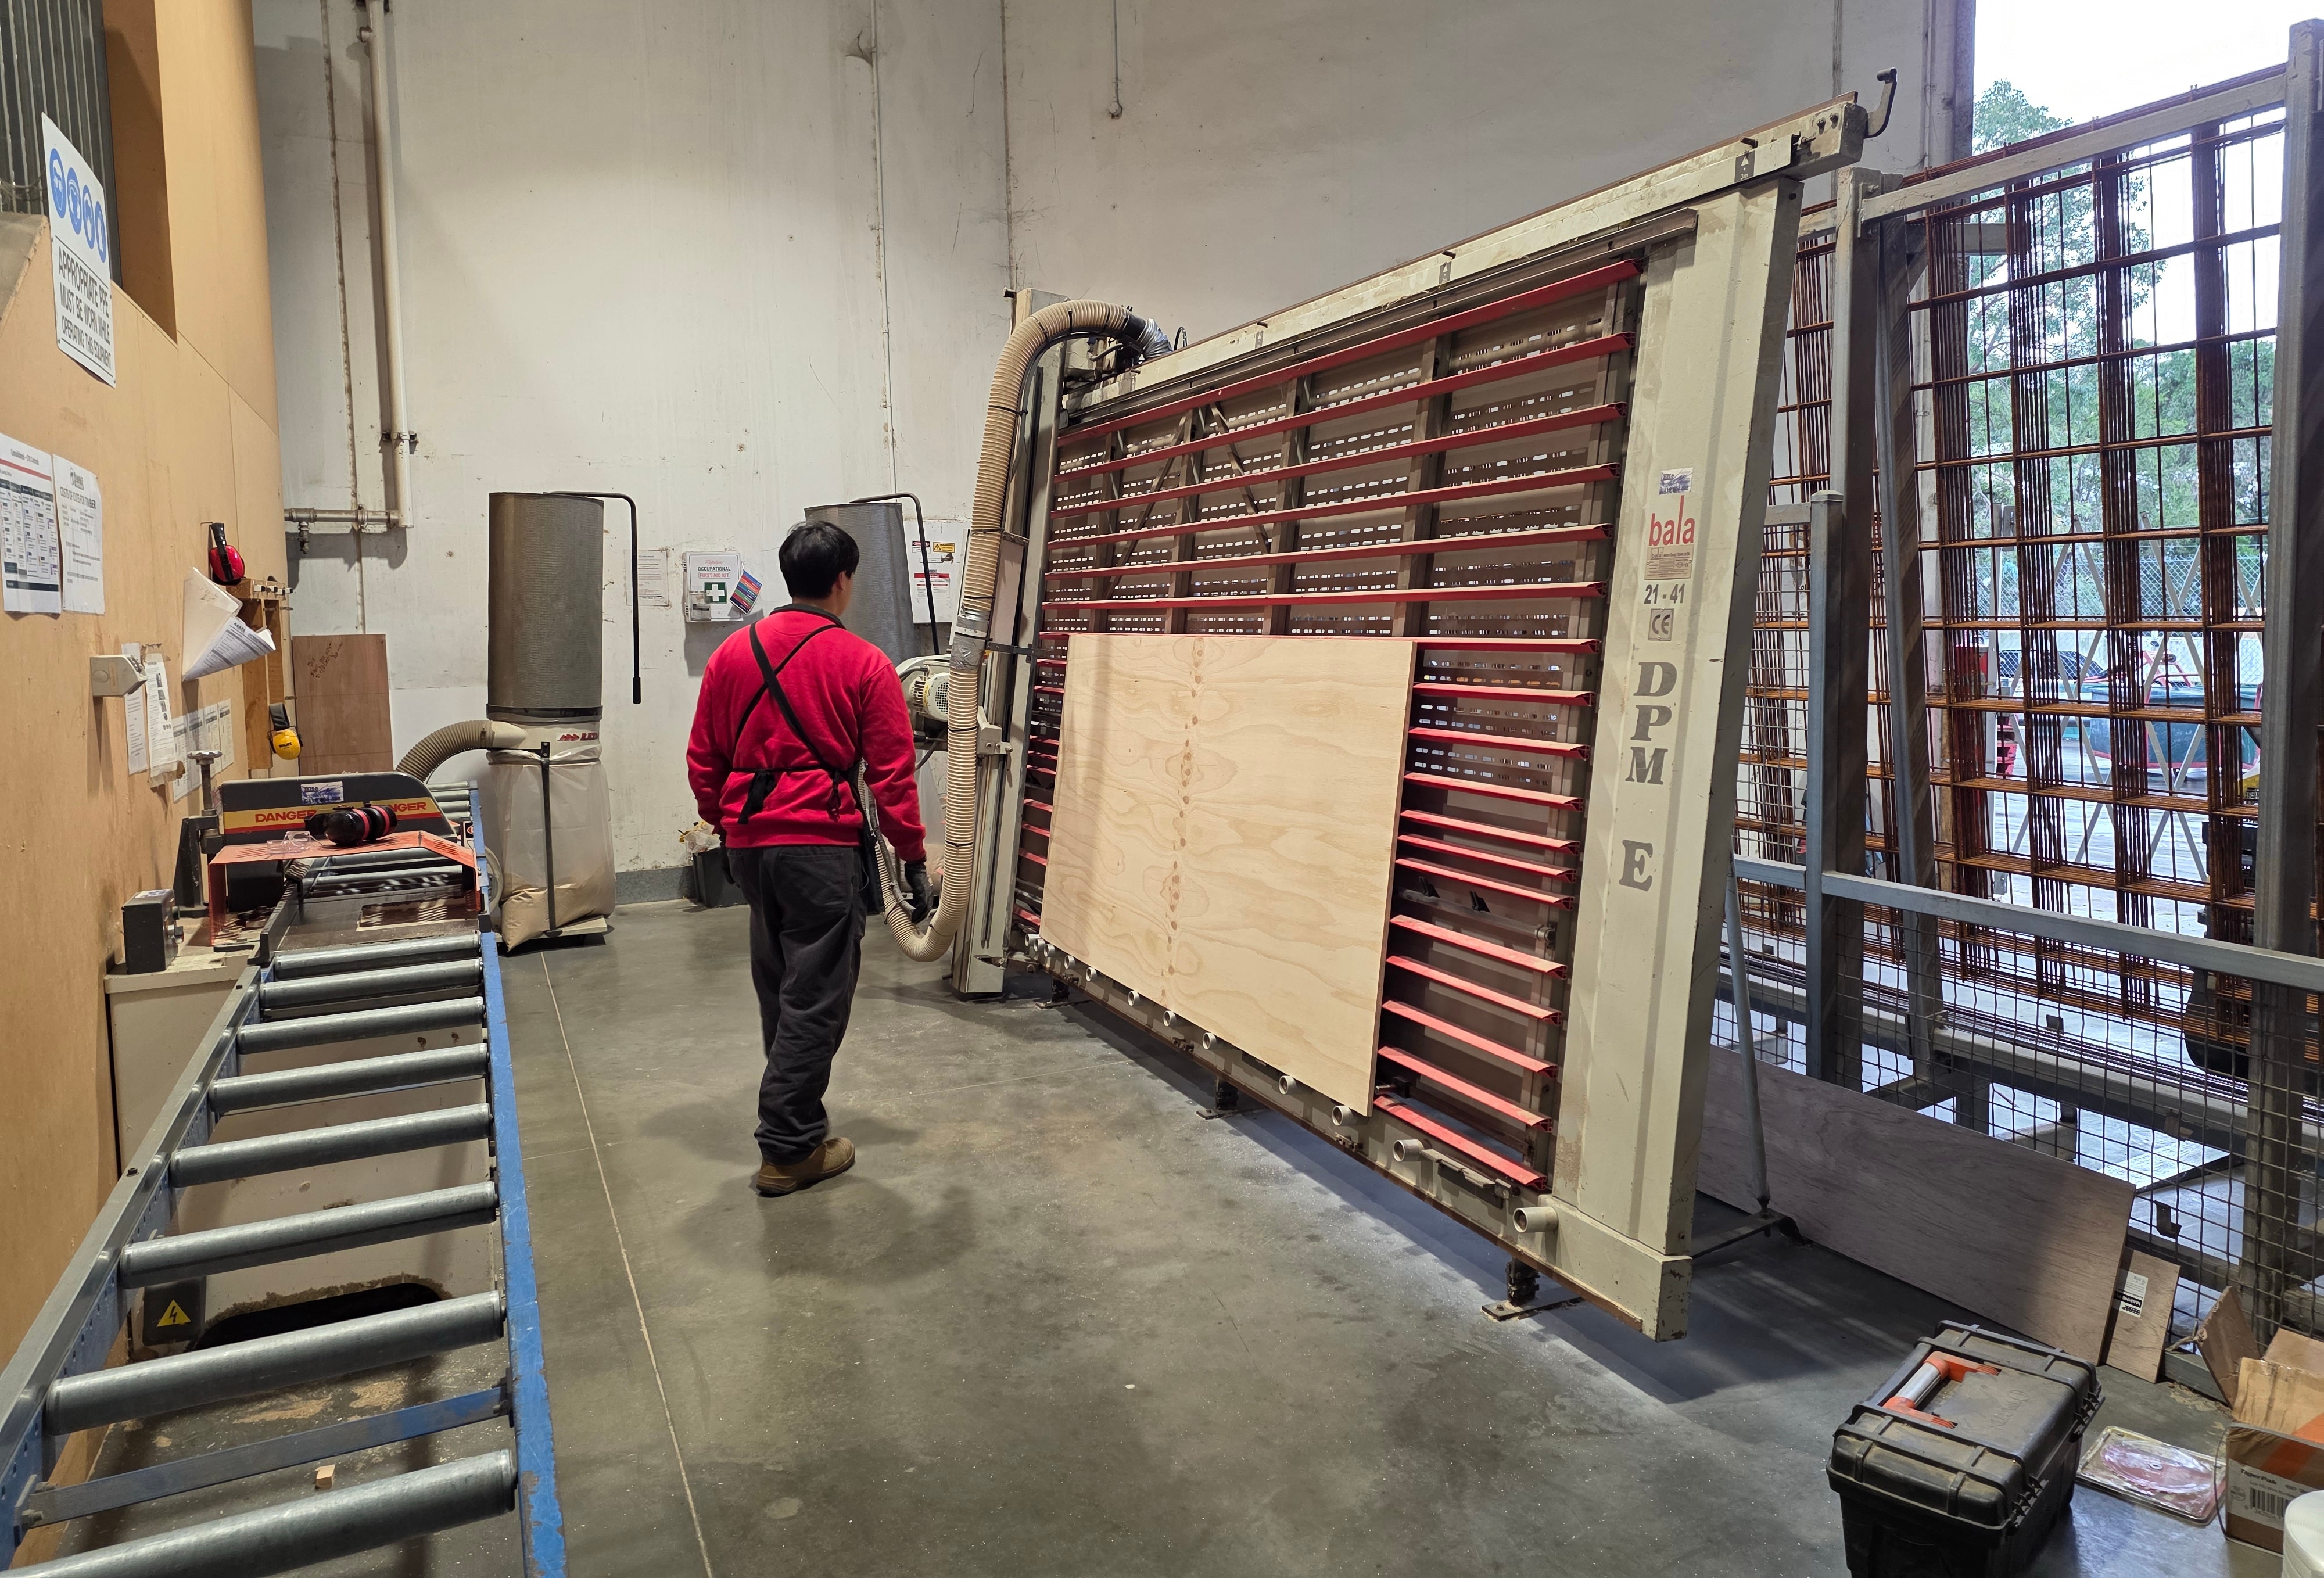
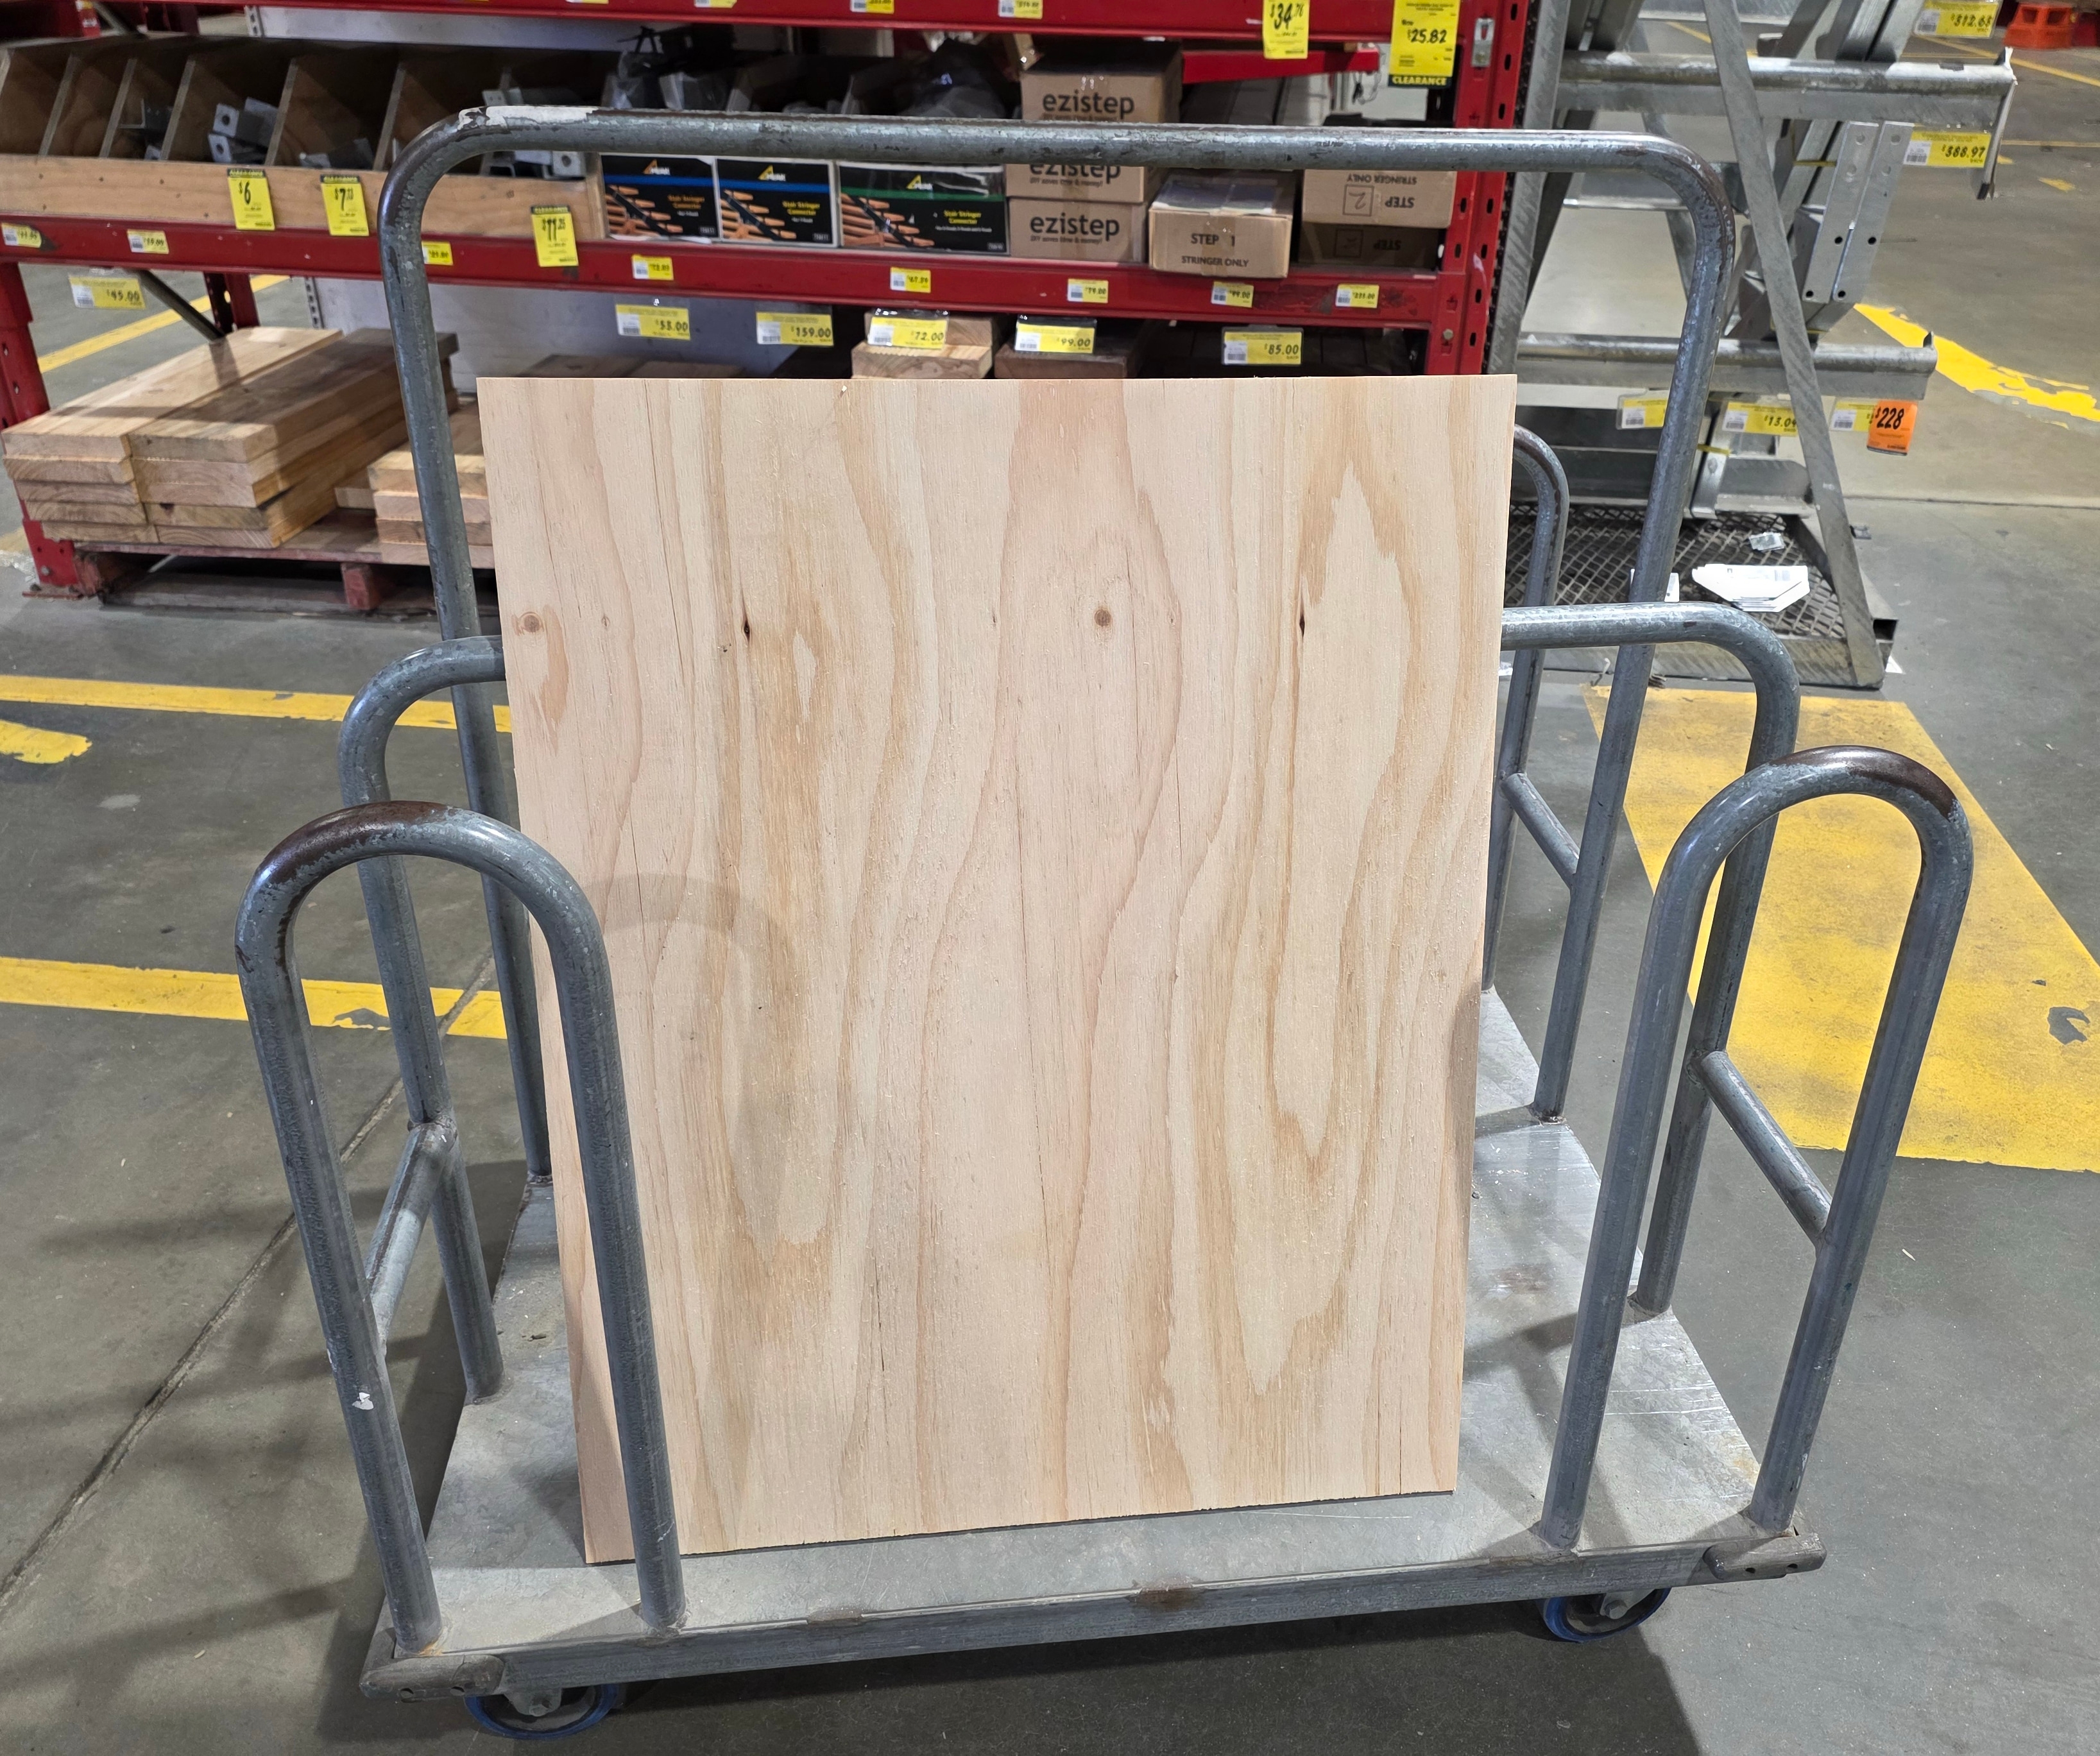
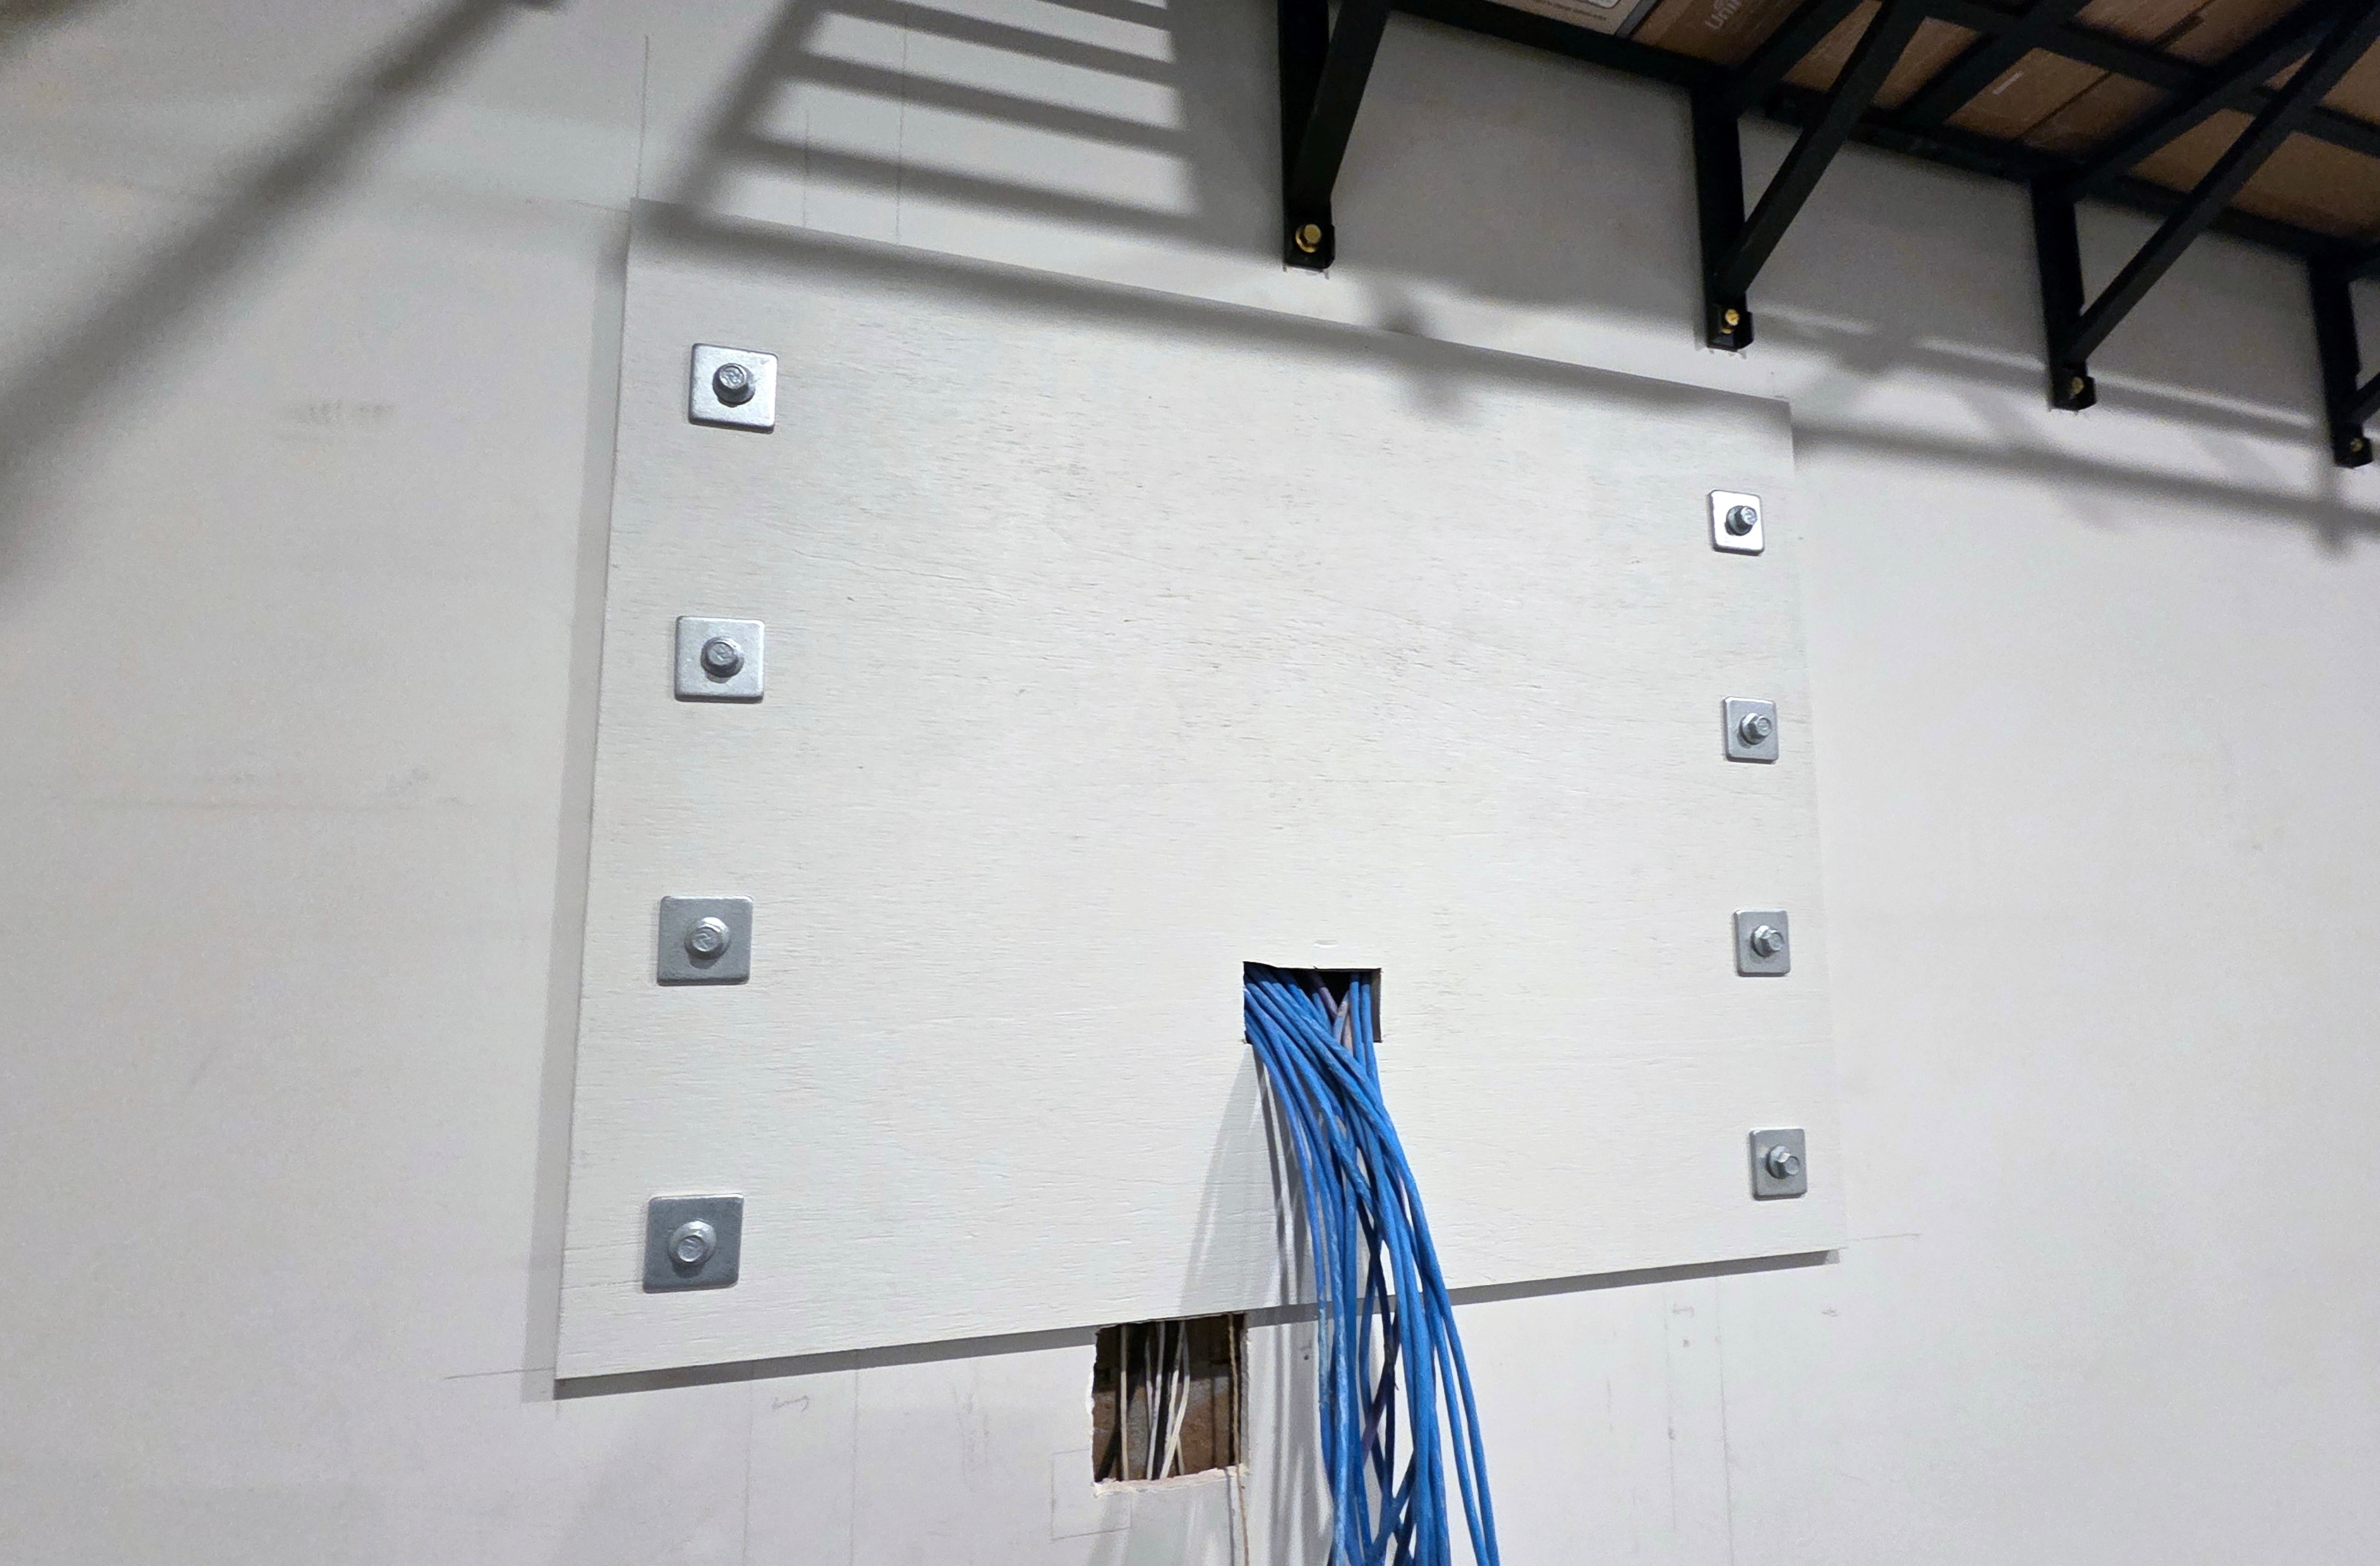
A plywood backboard is a common way to mount a network rack because it provides a continuous mounting surface. The rack's mounting holes do not have to line up with the best fixing points in the wall. Instead, the board connects the two, spreading the rack's load across the board's wall fixings. That flexibility was why I made the board wider than the rack. It left room for two columns of wall fixings, one on either side, while keeping the rack centred on the board. The plywood still needs to be securely fixed to the wall structure, which is covered below.
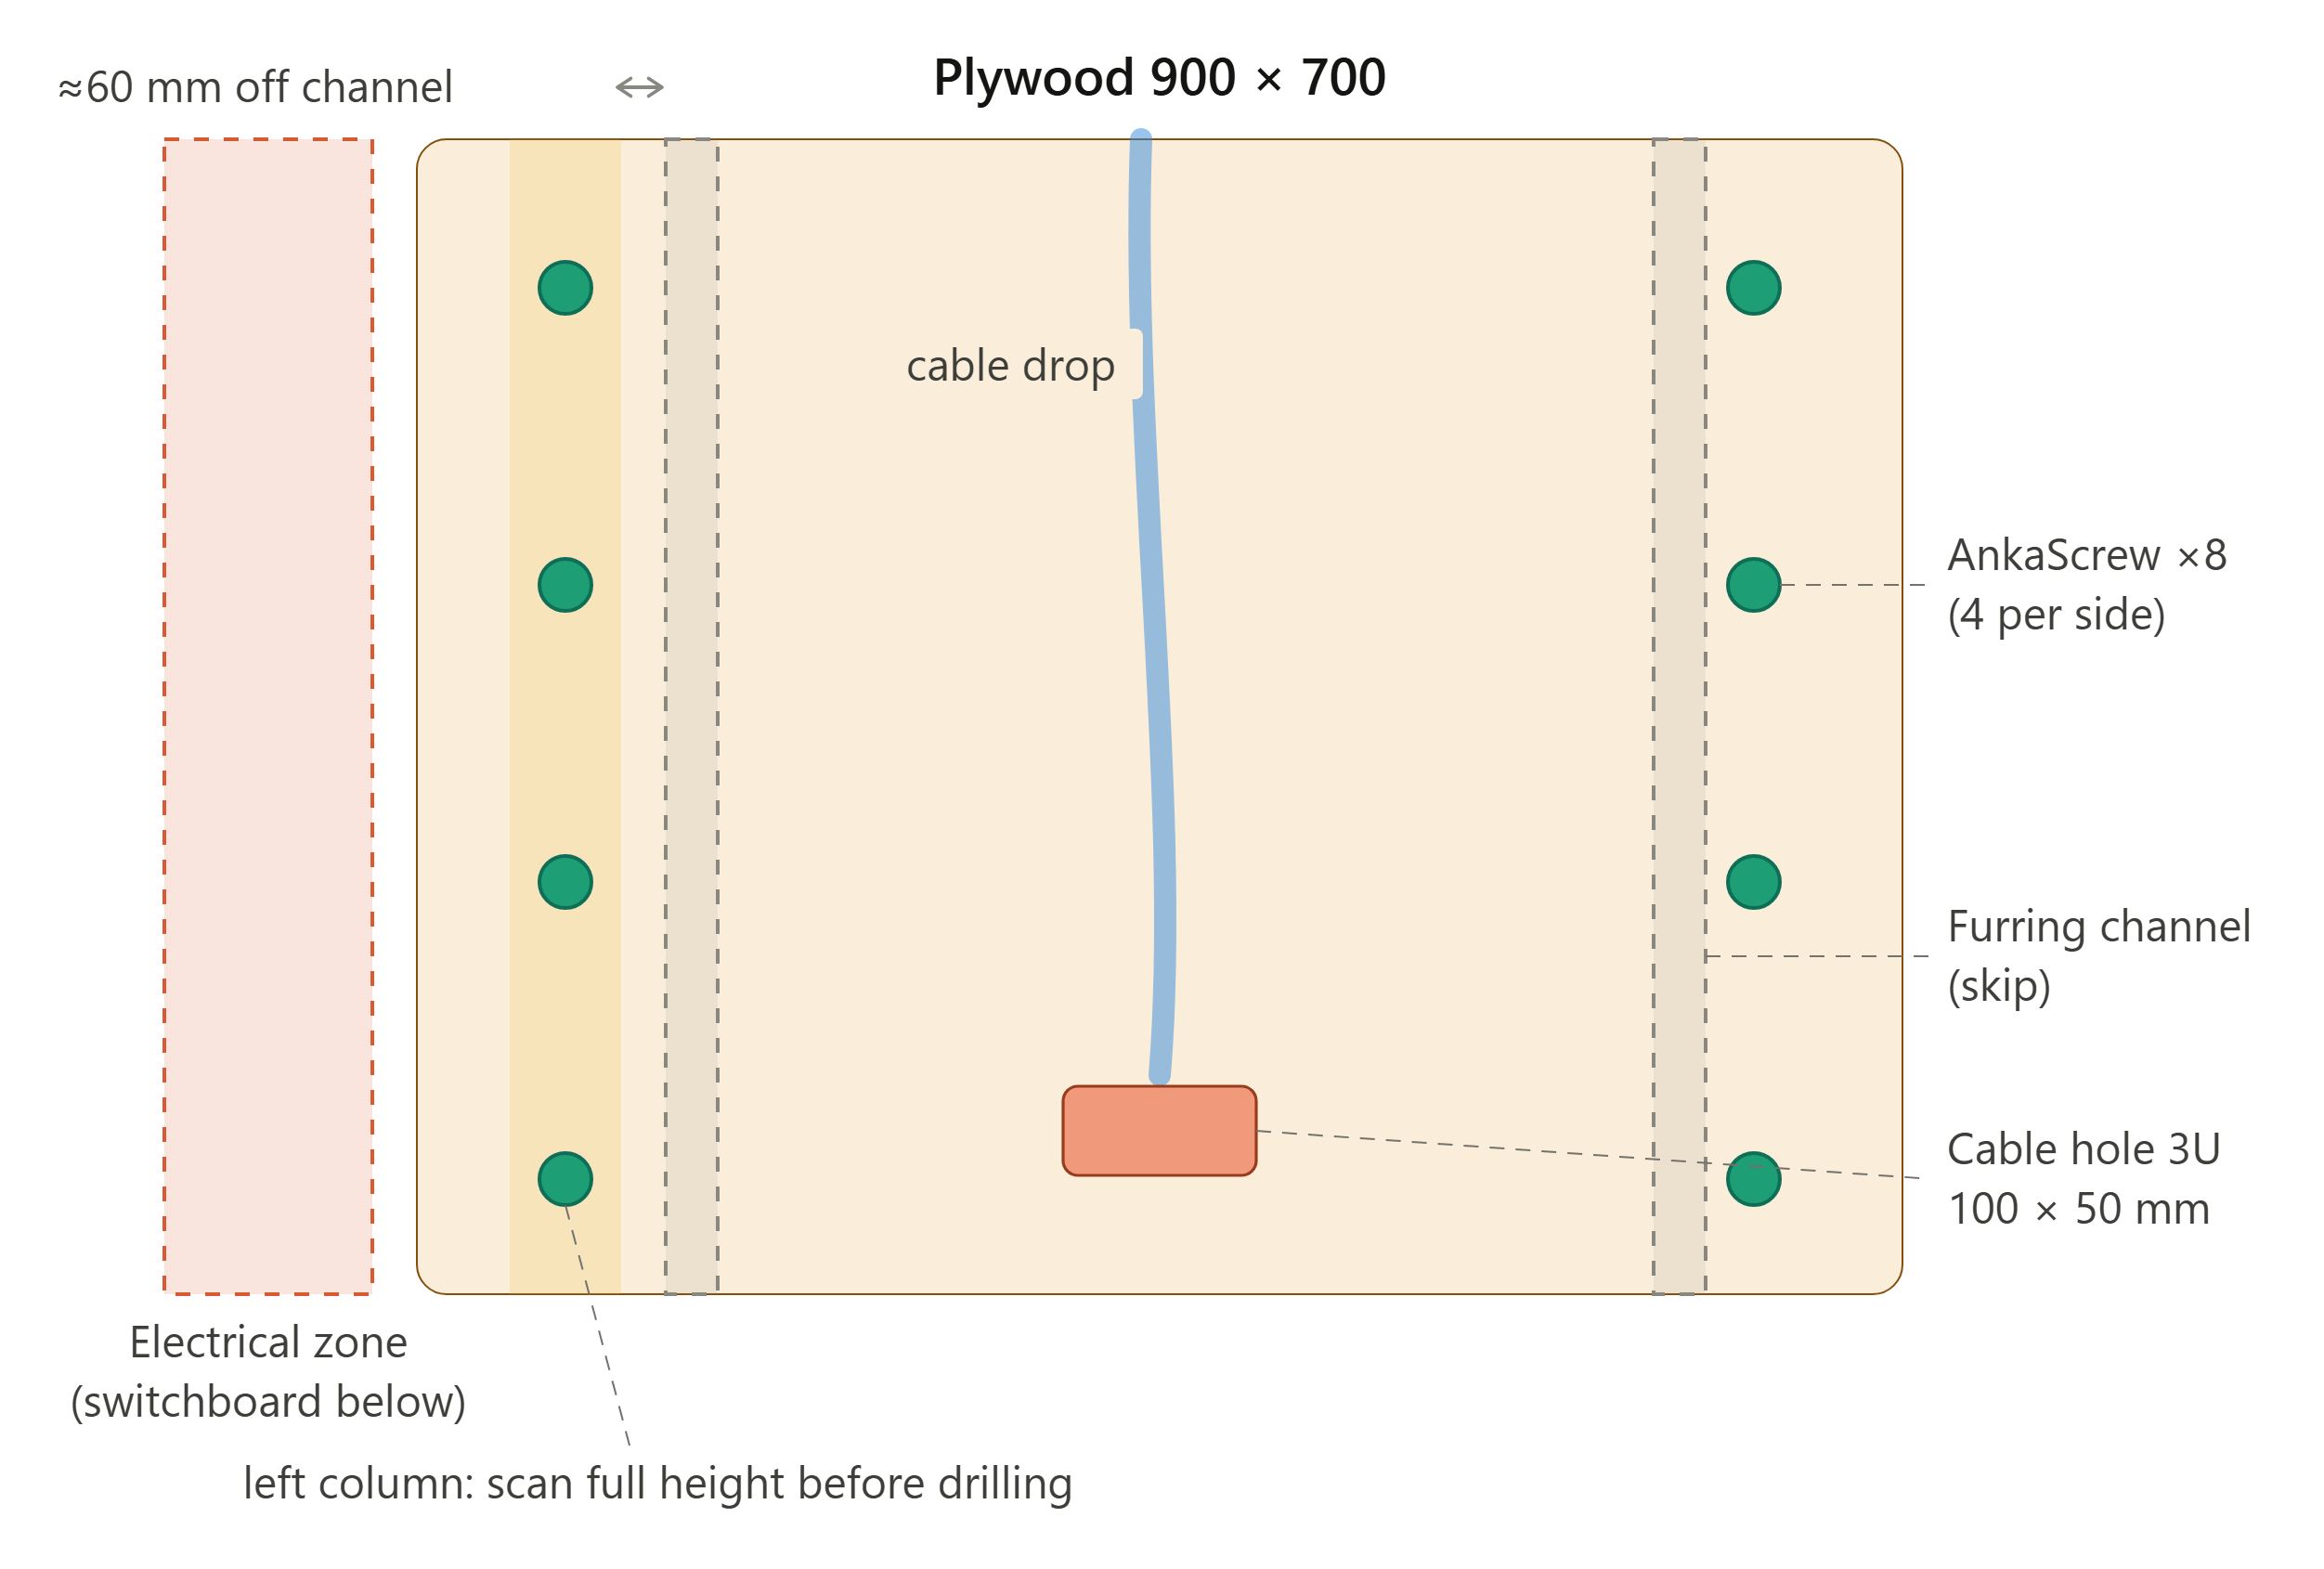
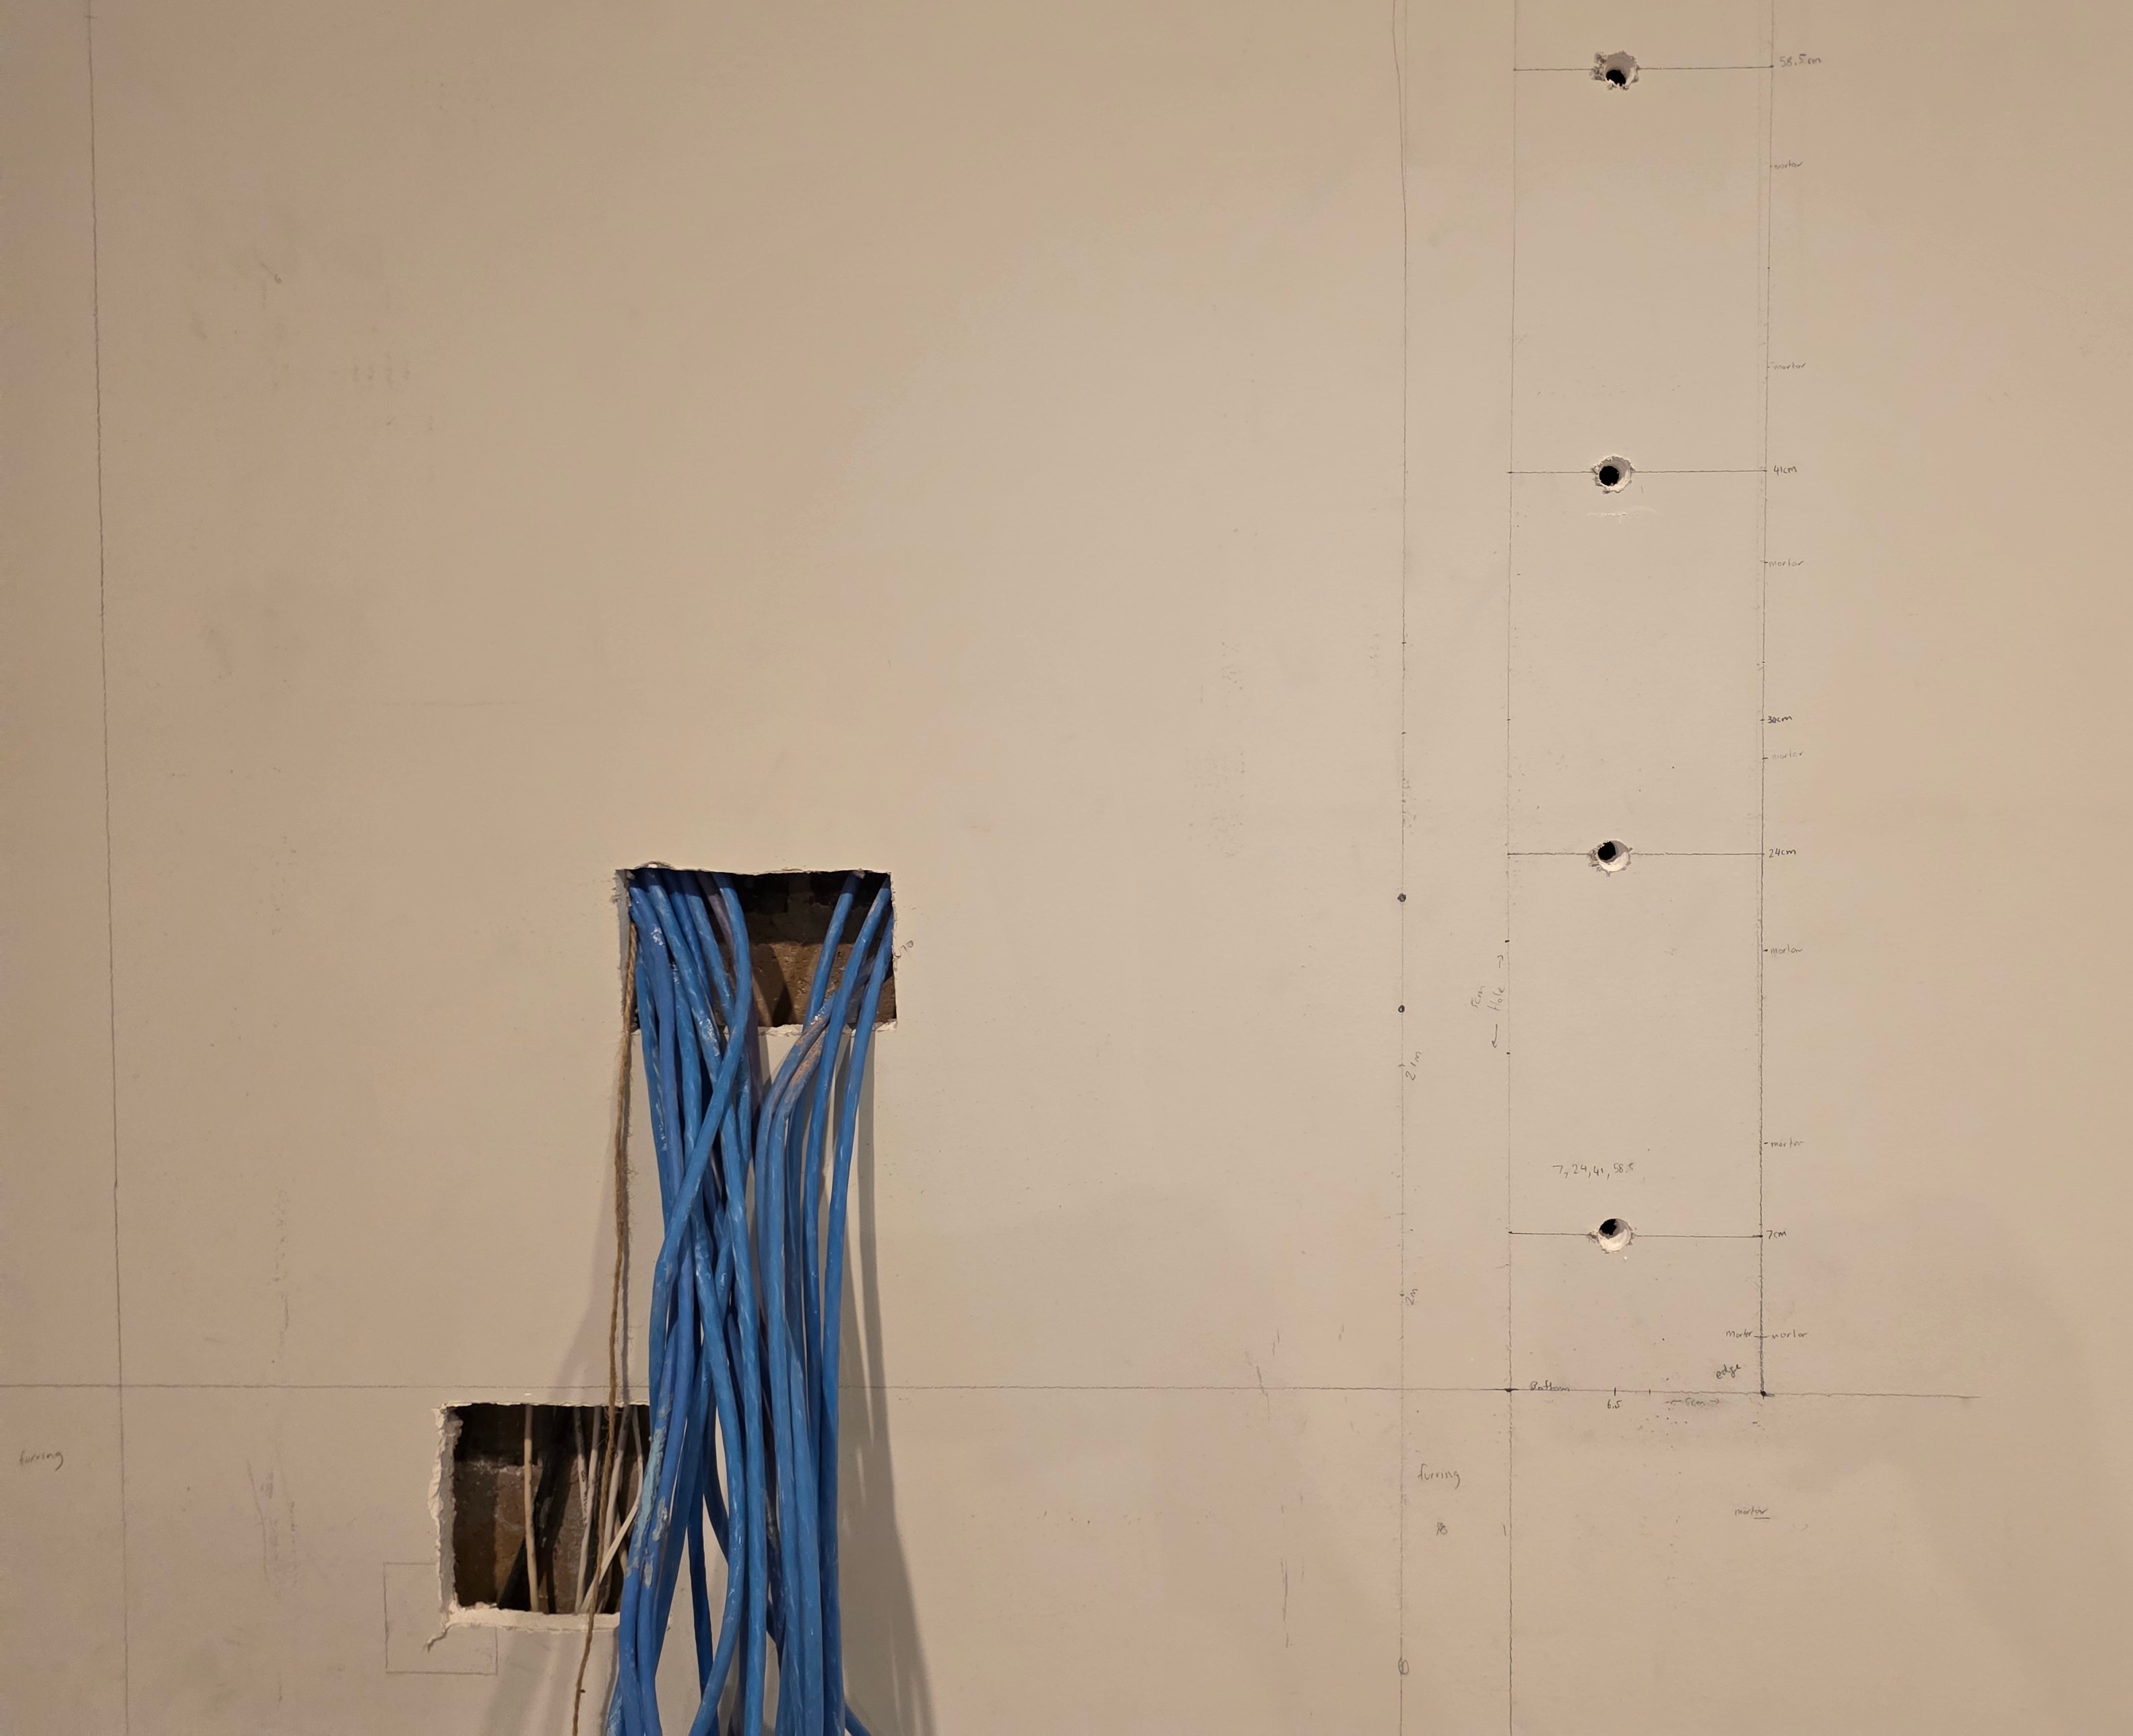
I marked the screw holes and cable opening on the plywood, then transferred those positions to the wall. Once I was sure of the measurements, I drilled the holes in the plywood with a spade bit and cut the cable opening with a jigsaw.
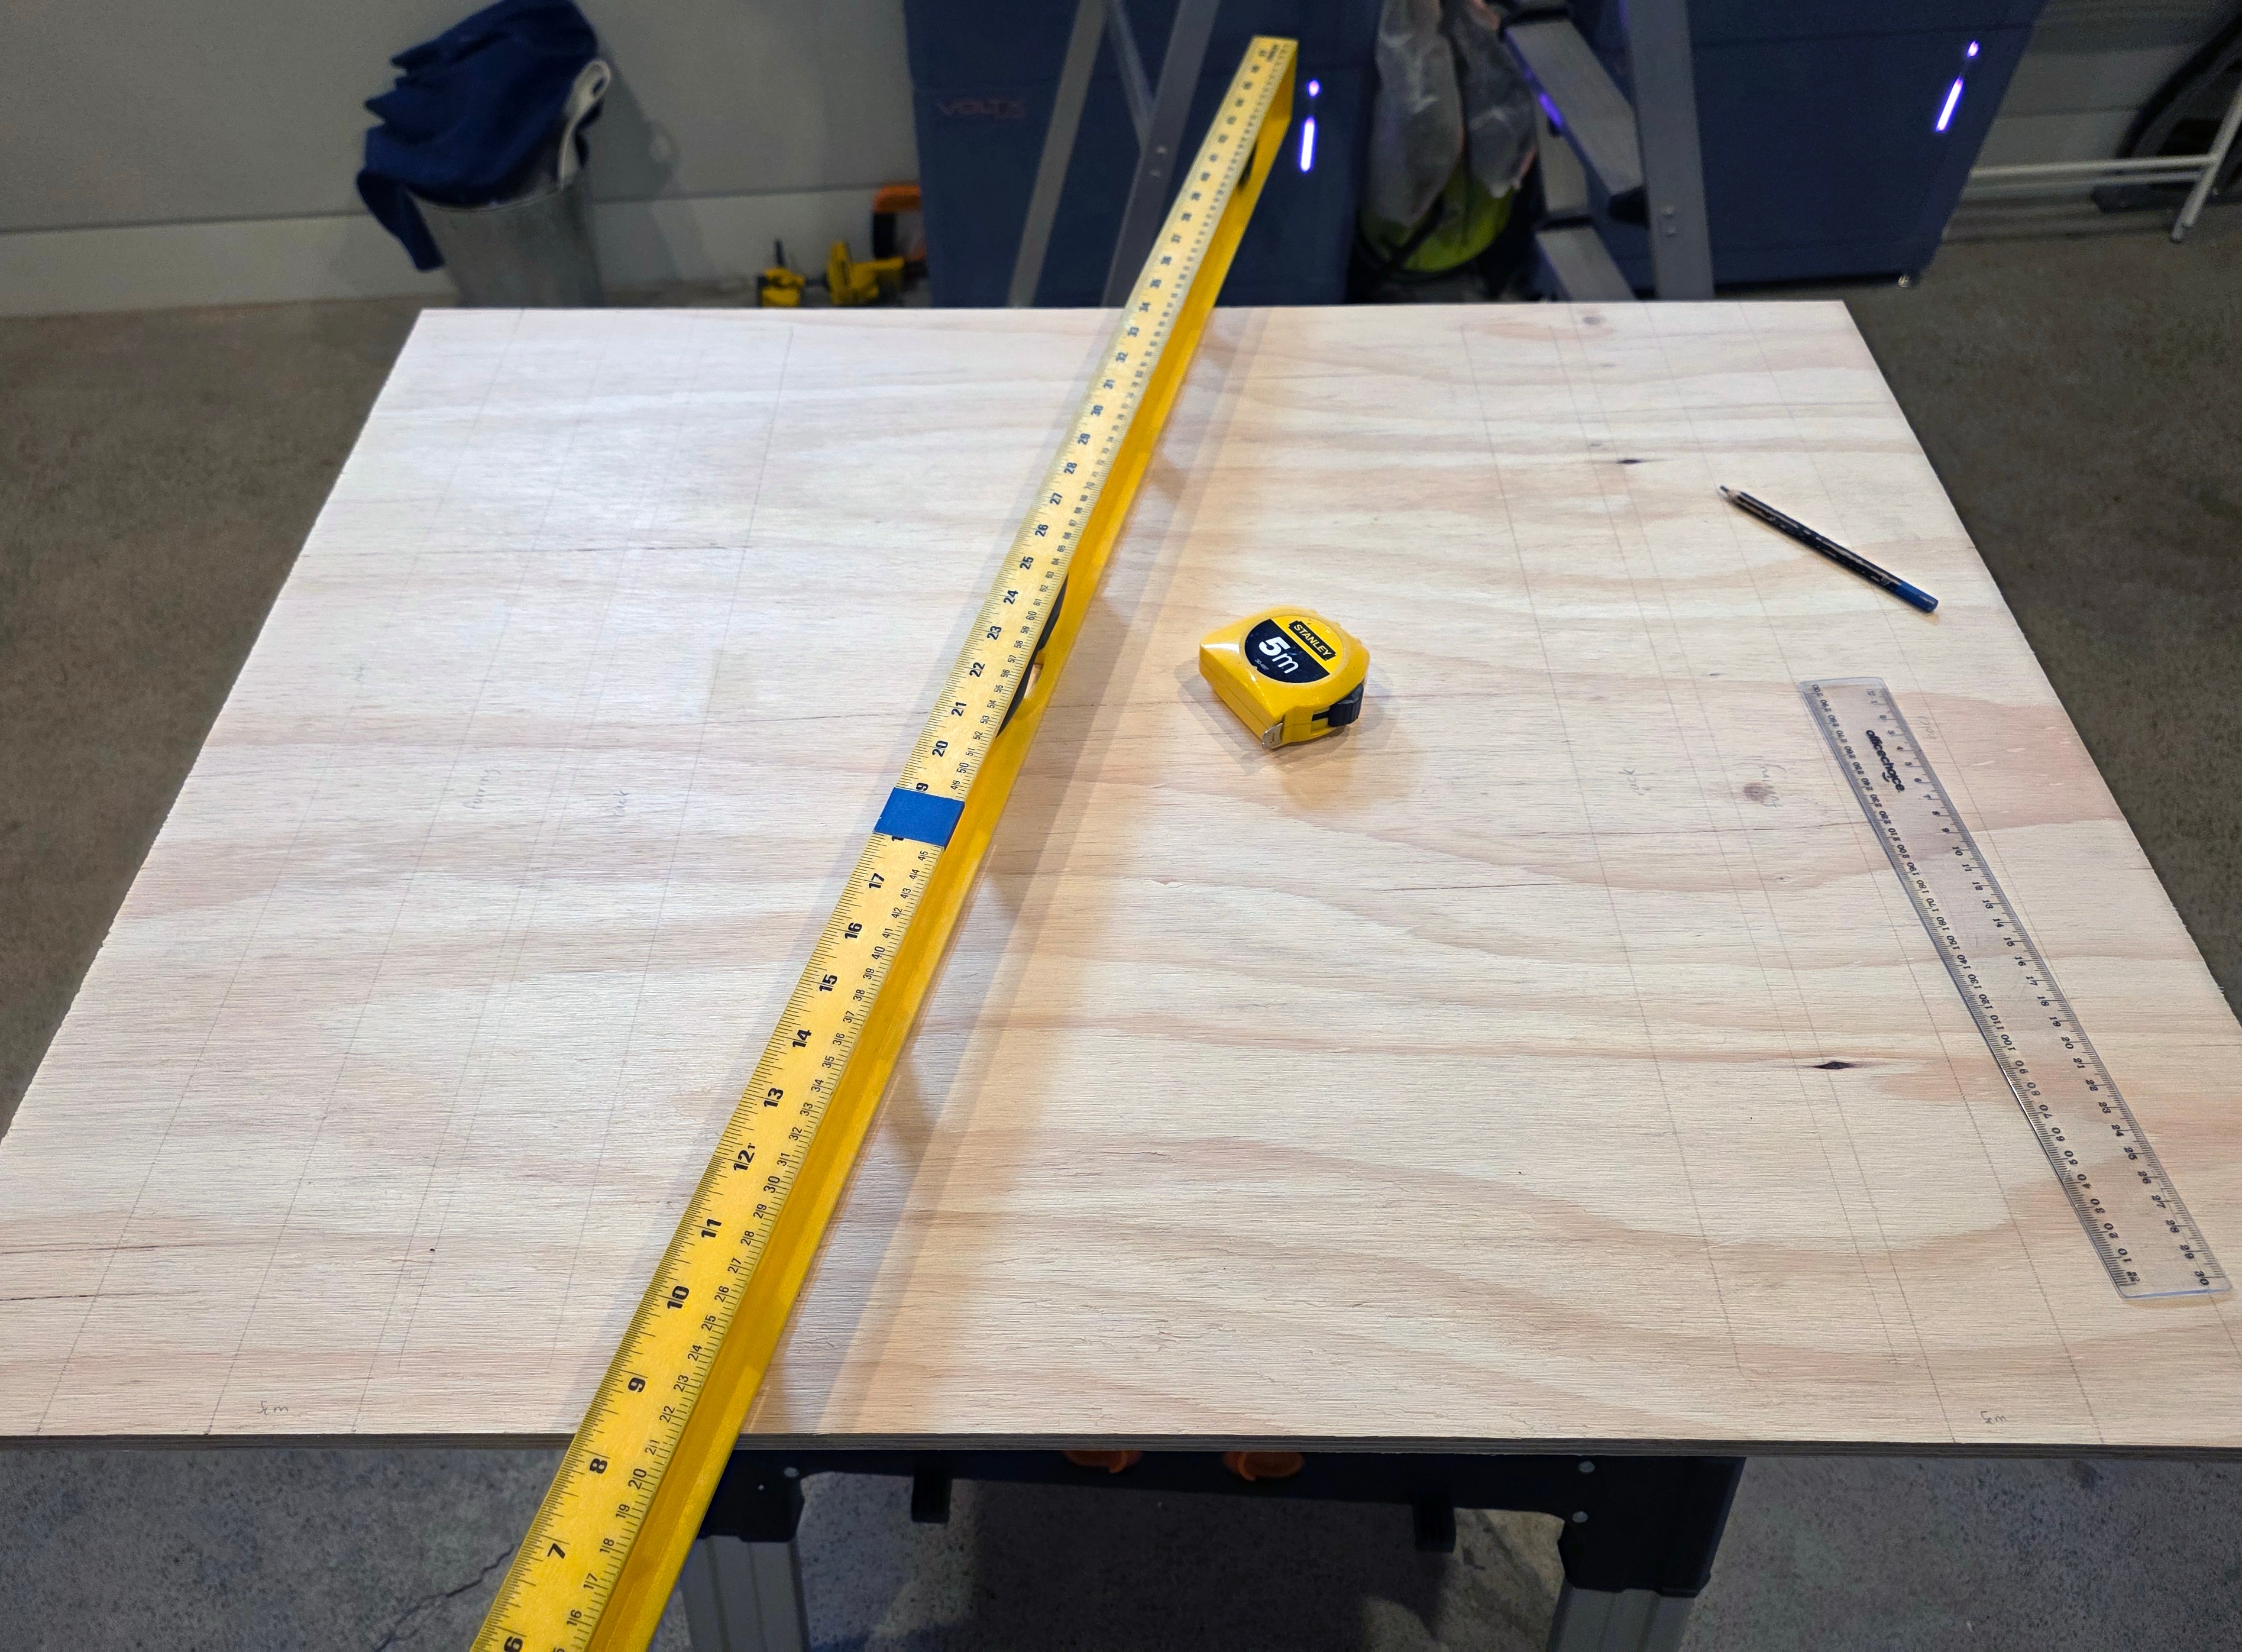
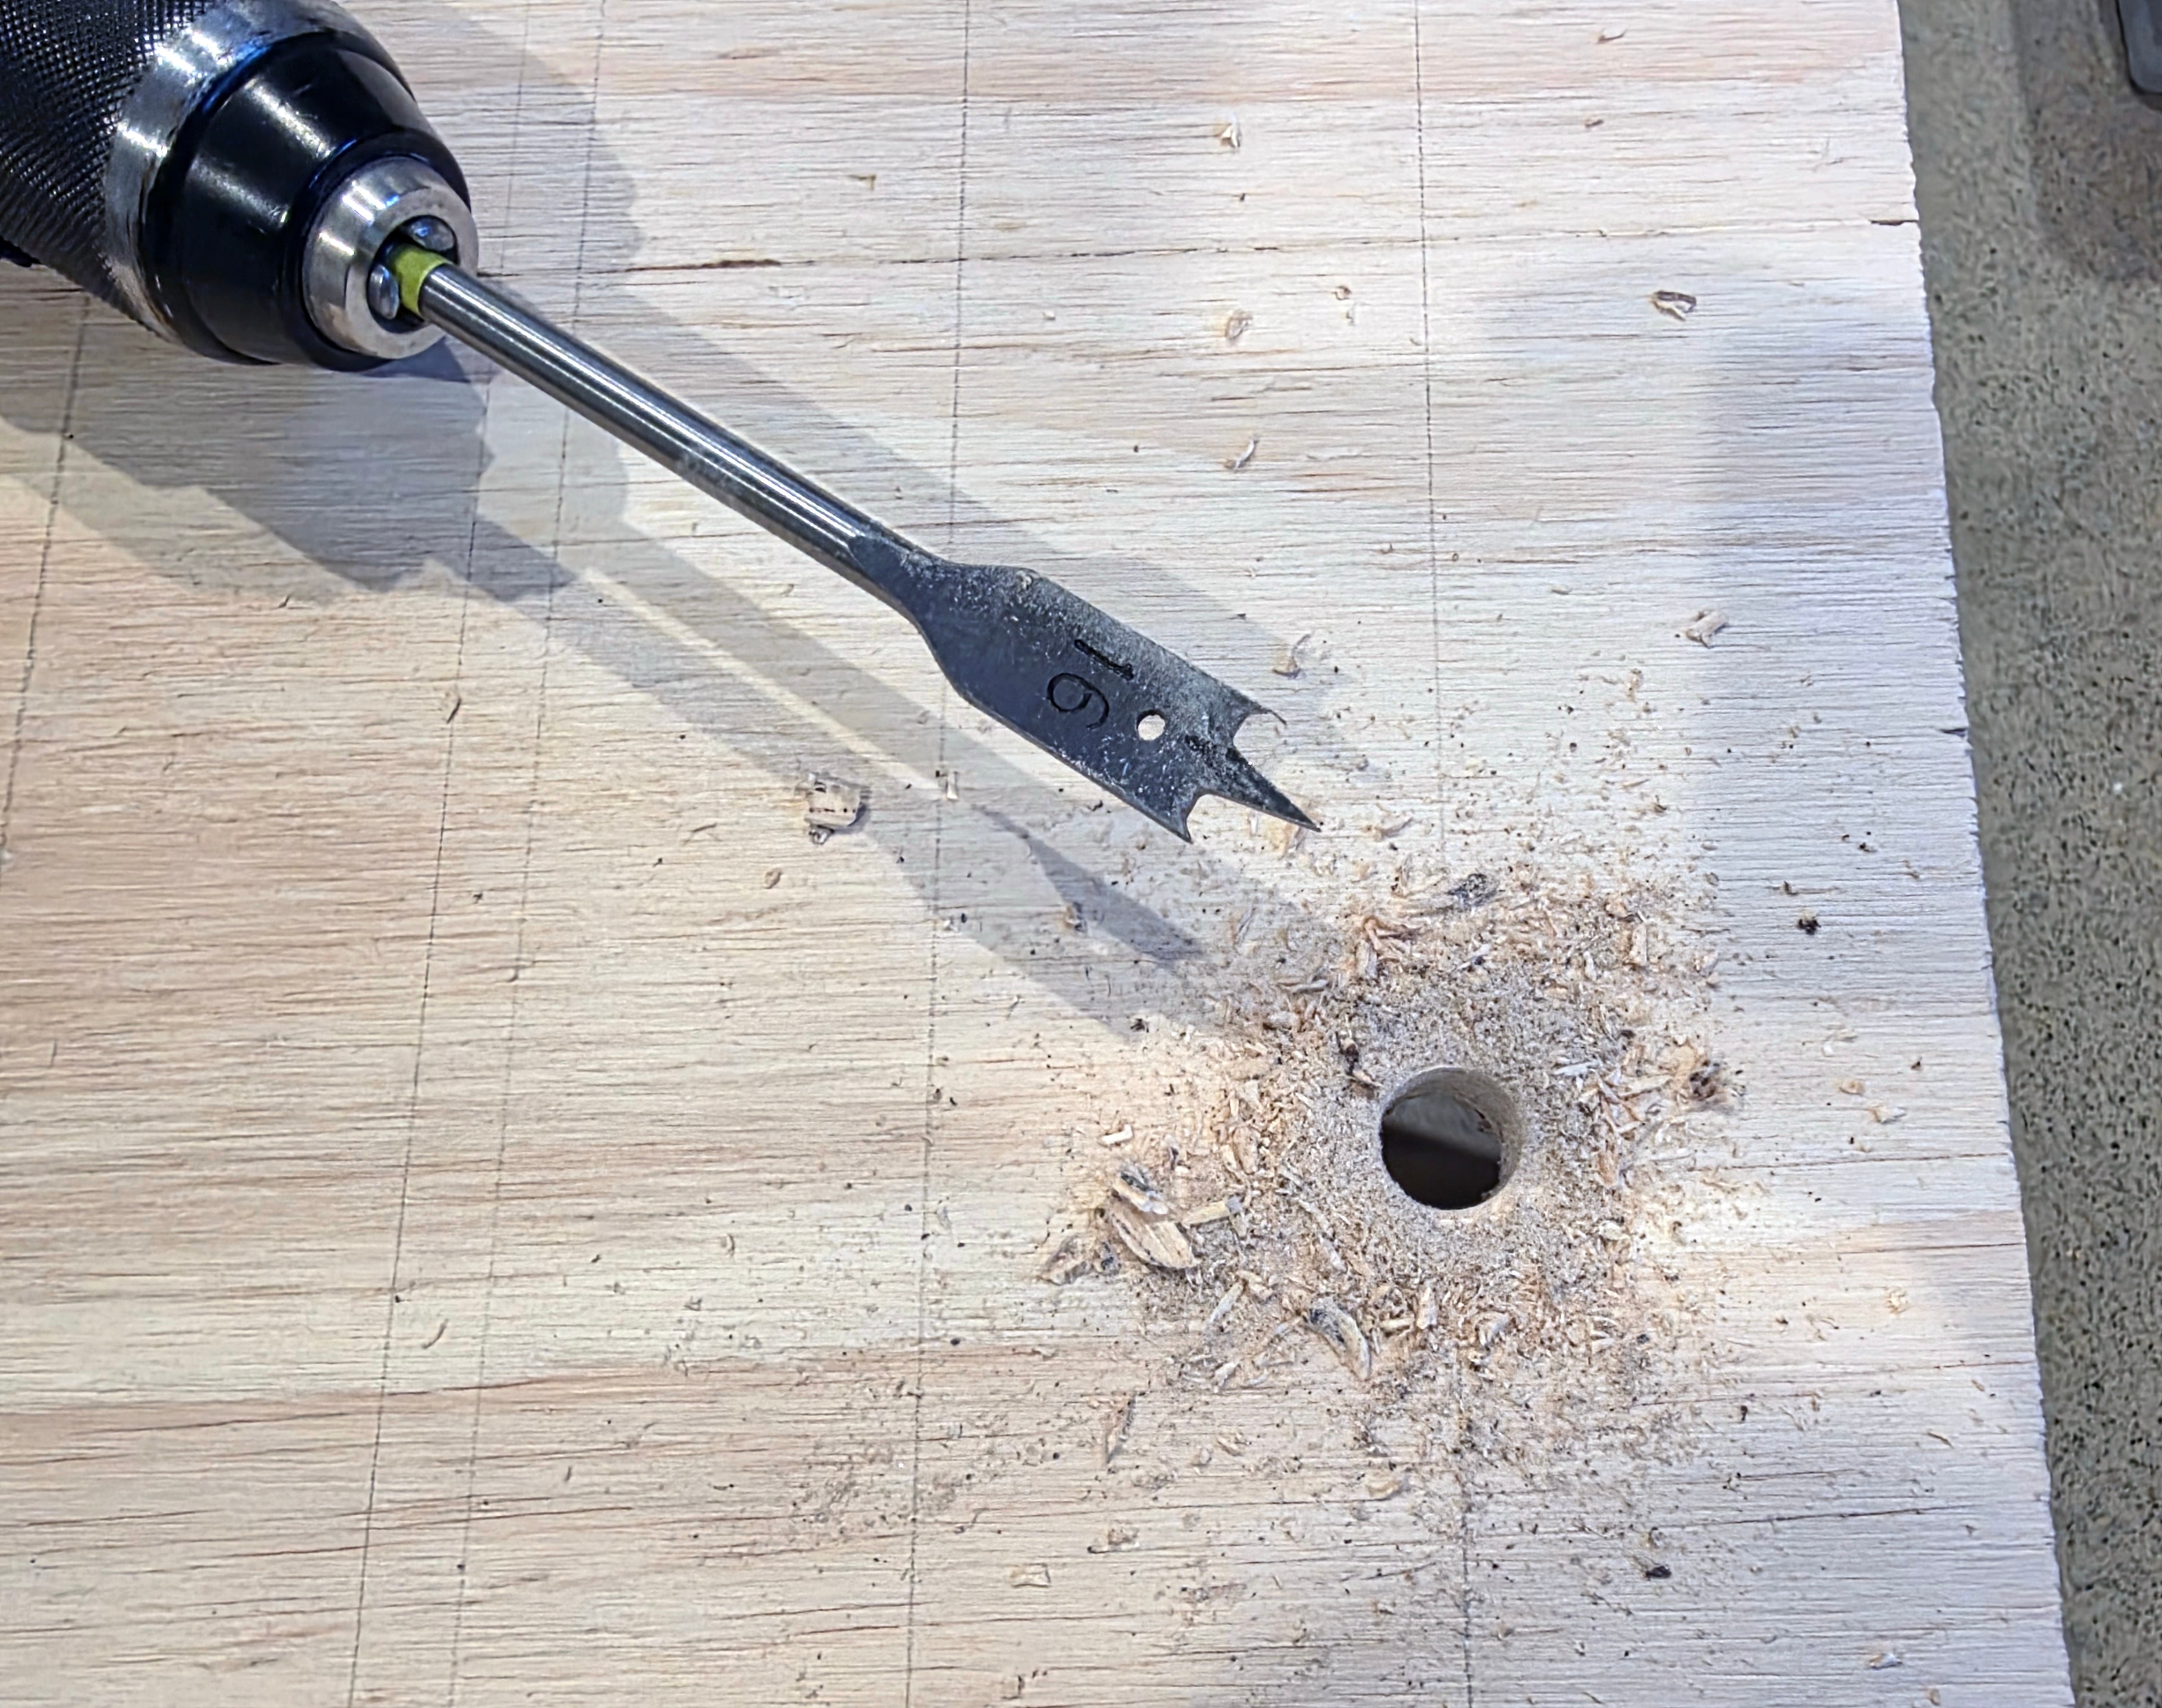
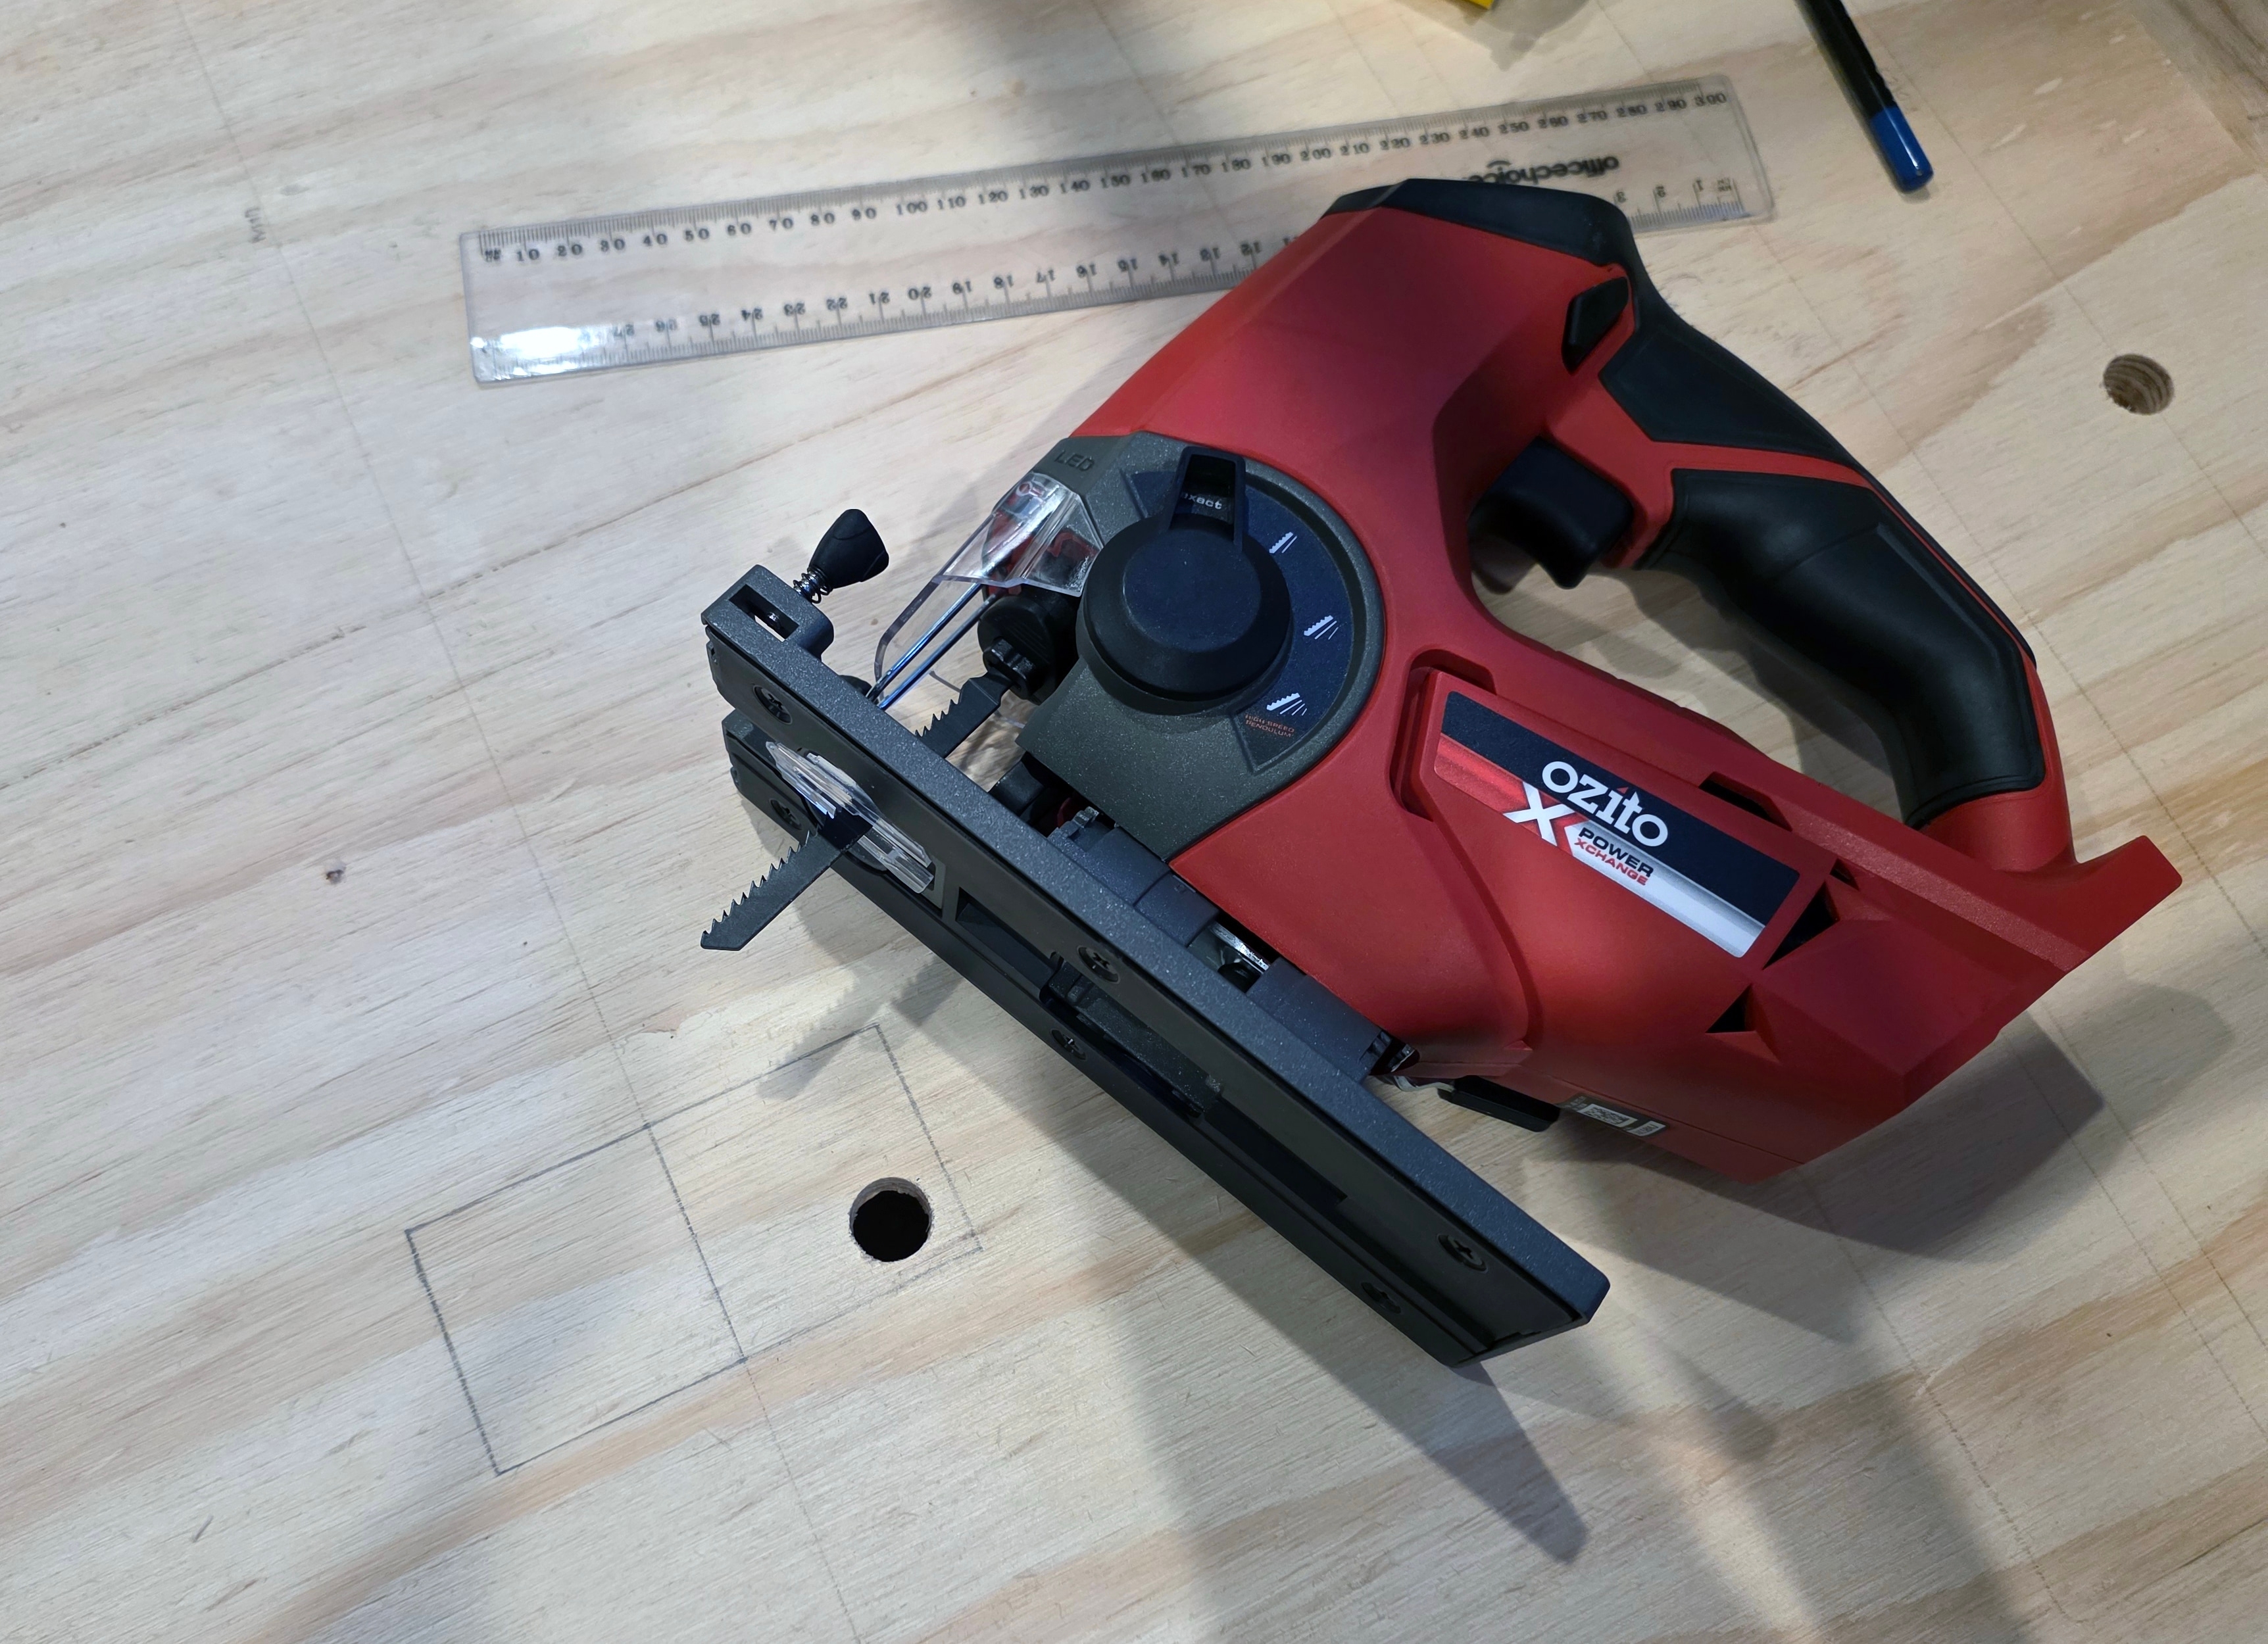
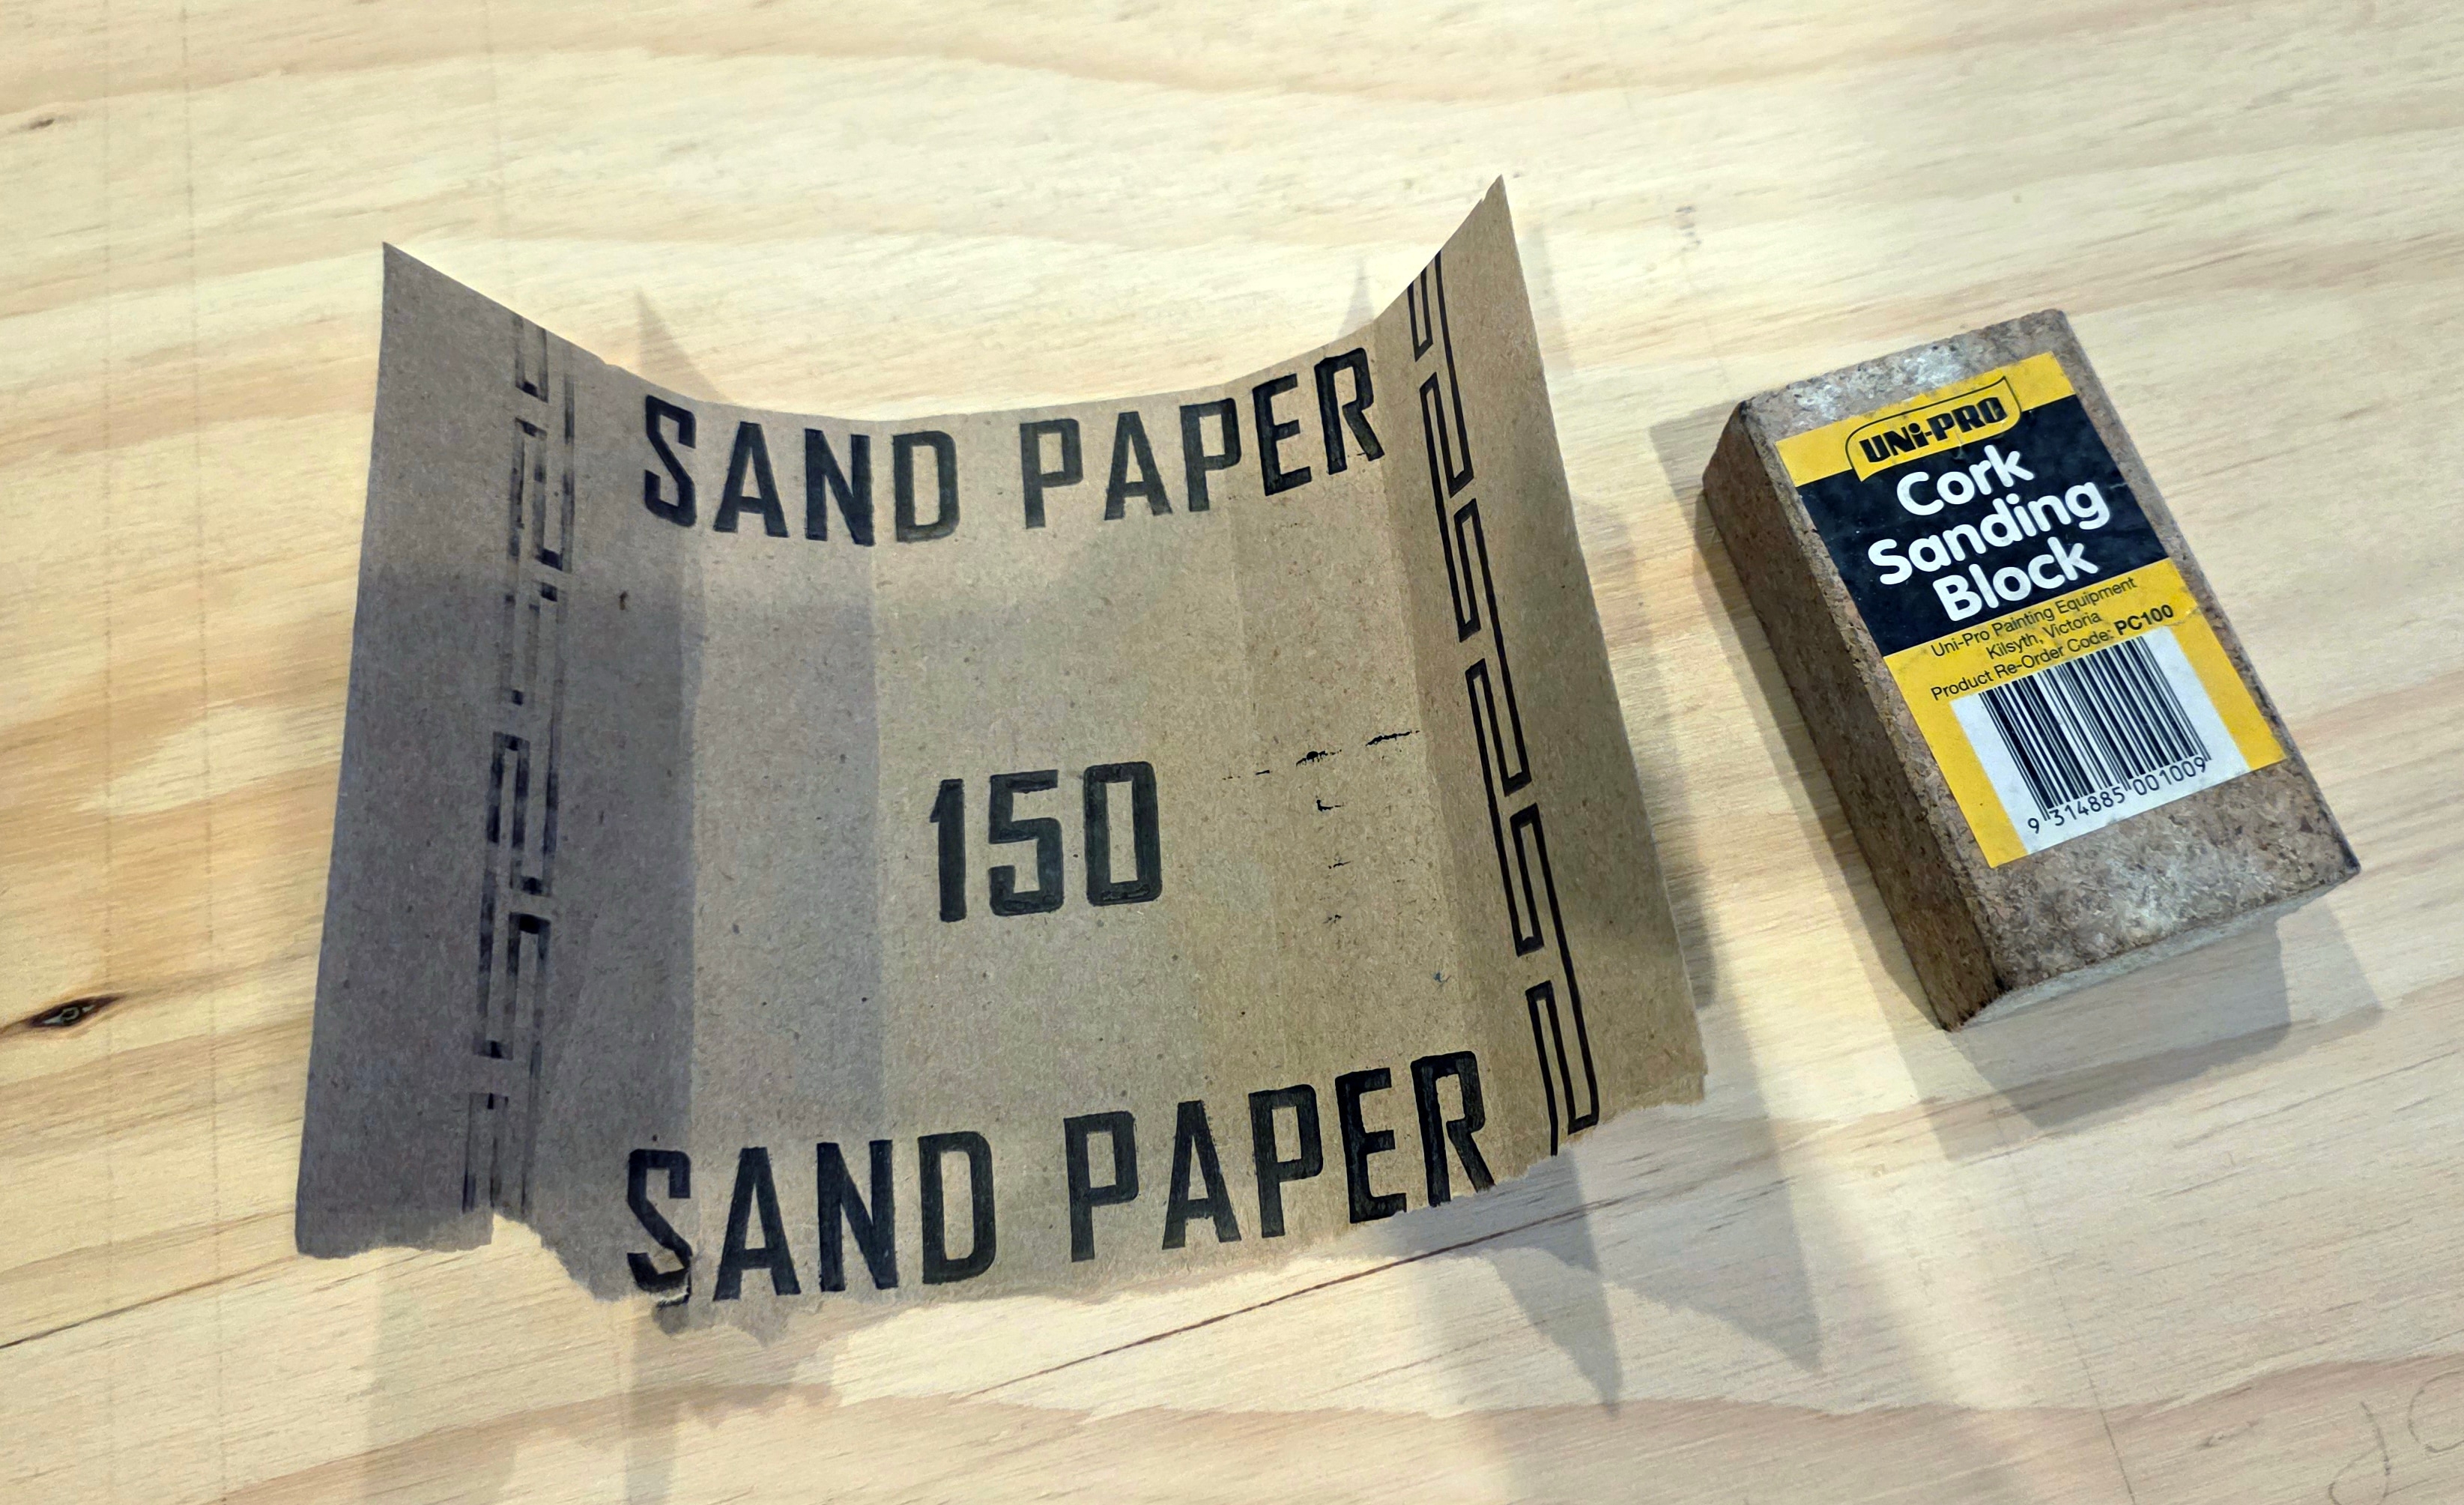
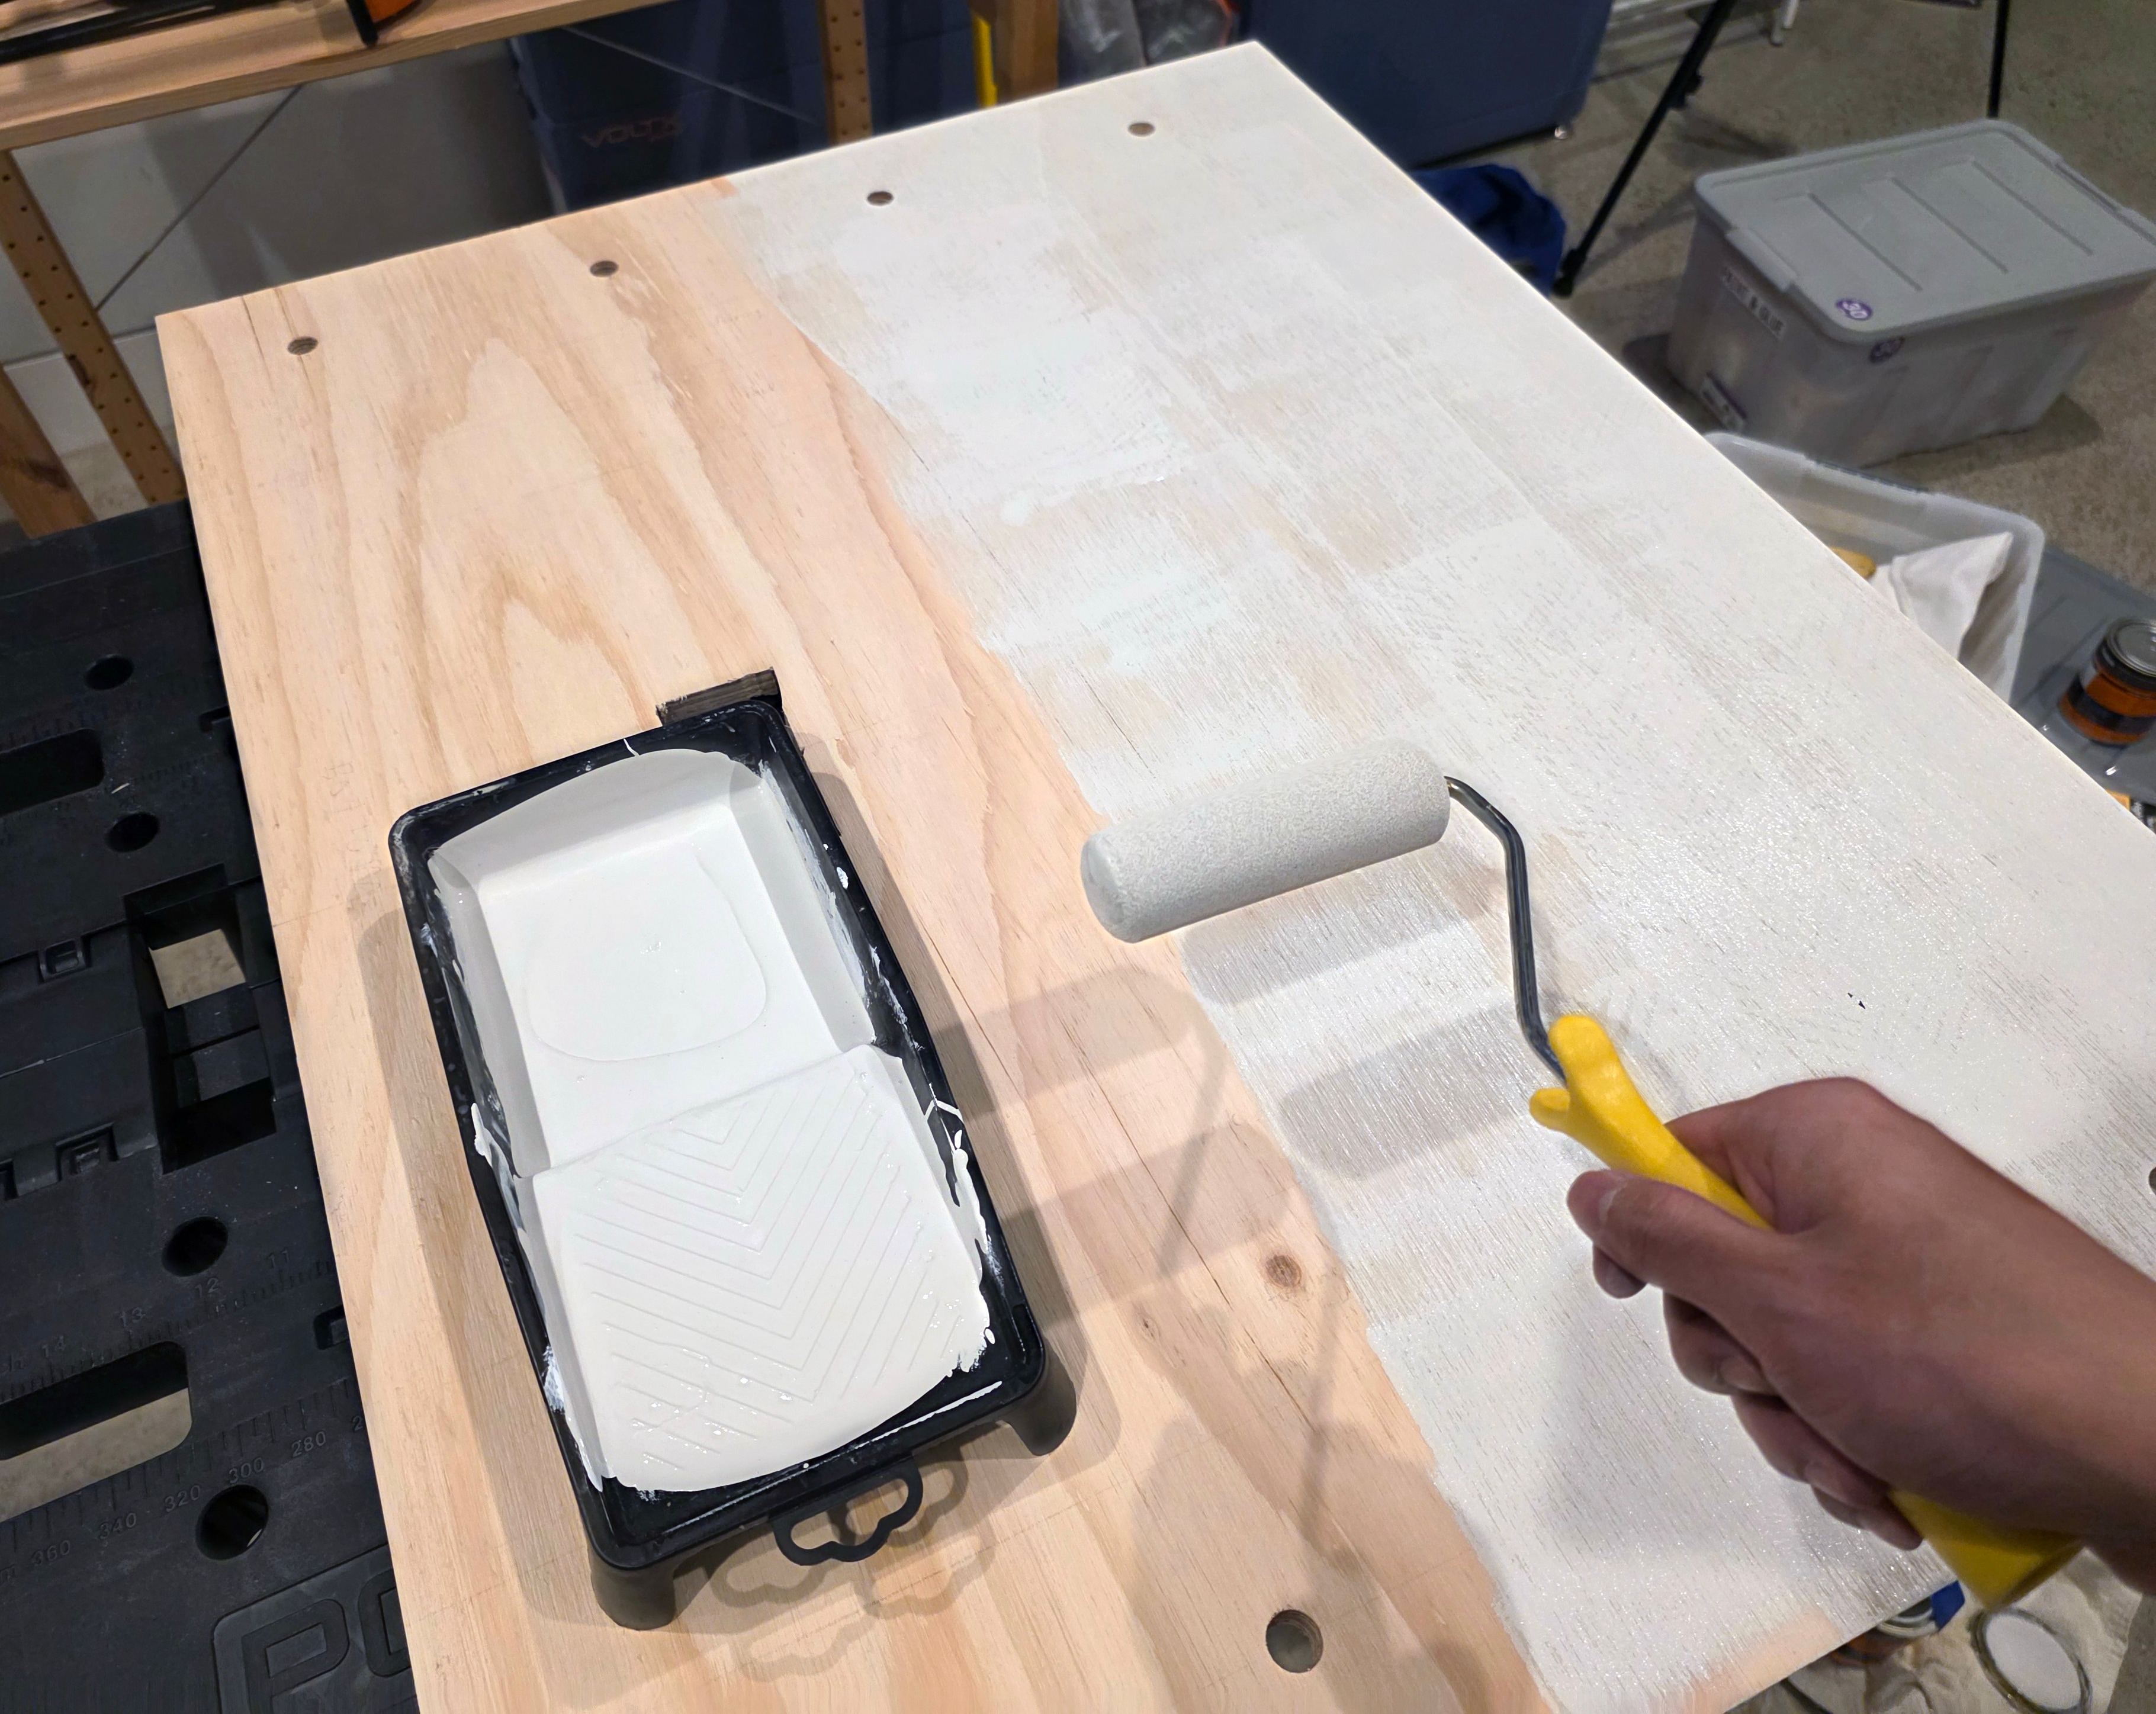
I sanded both faces and all the edges with 150-grit sandpaper, then painted the whole board to match the wall. I included the wall-facing side to help slow moisture absorption rather than leaving bare wood against the wall.
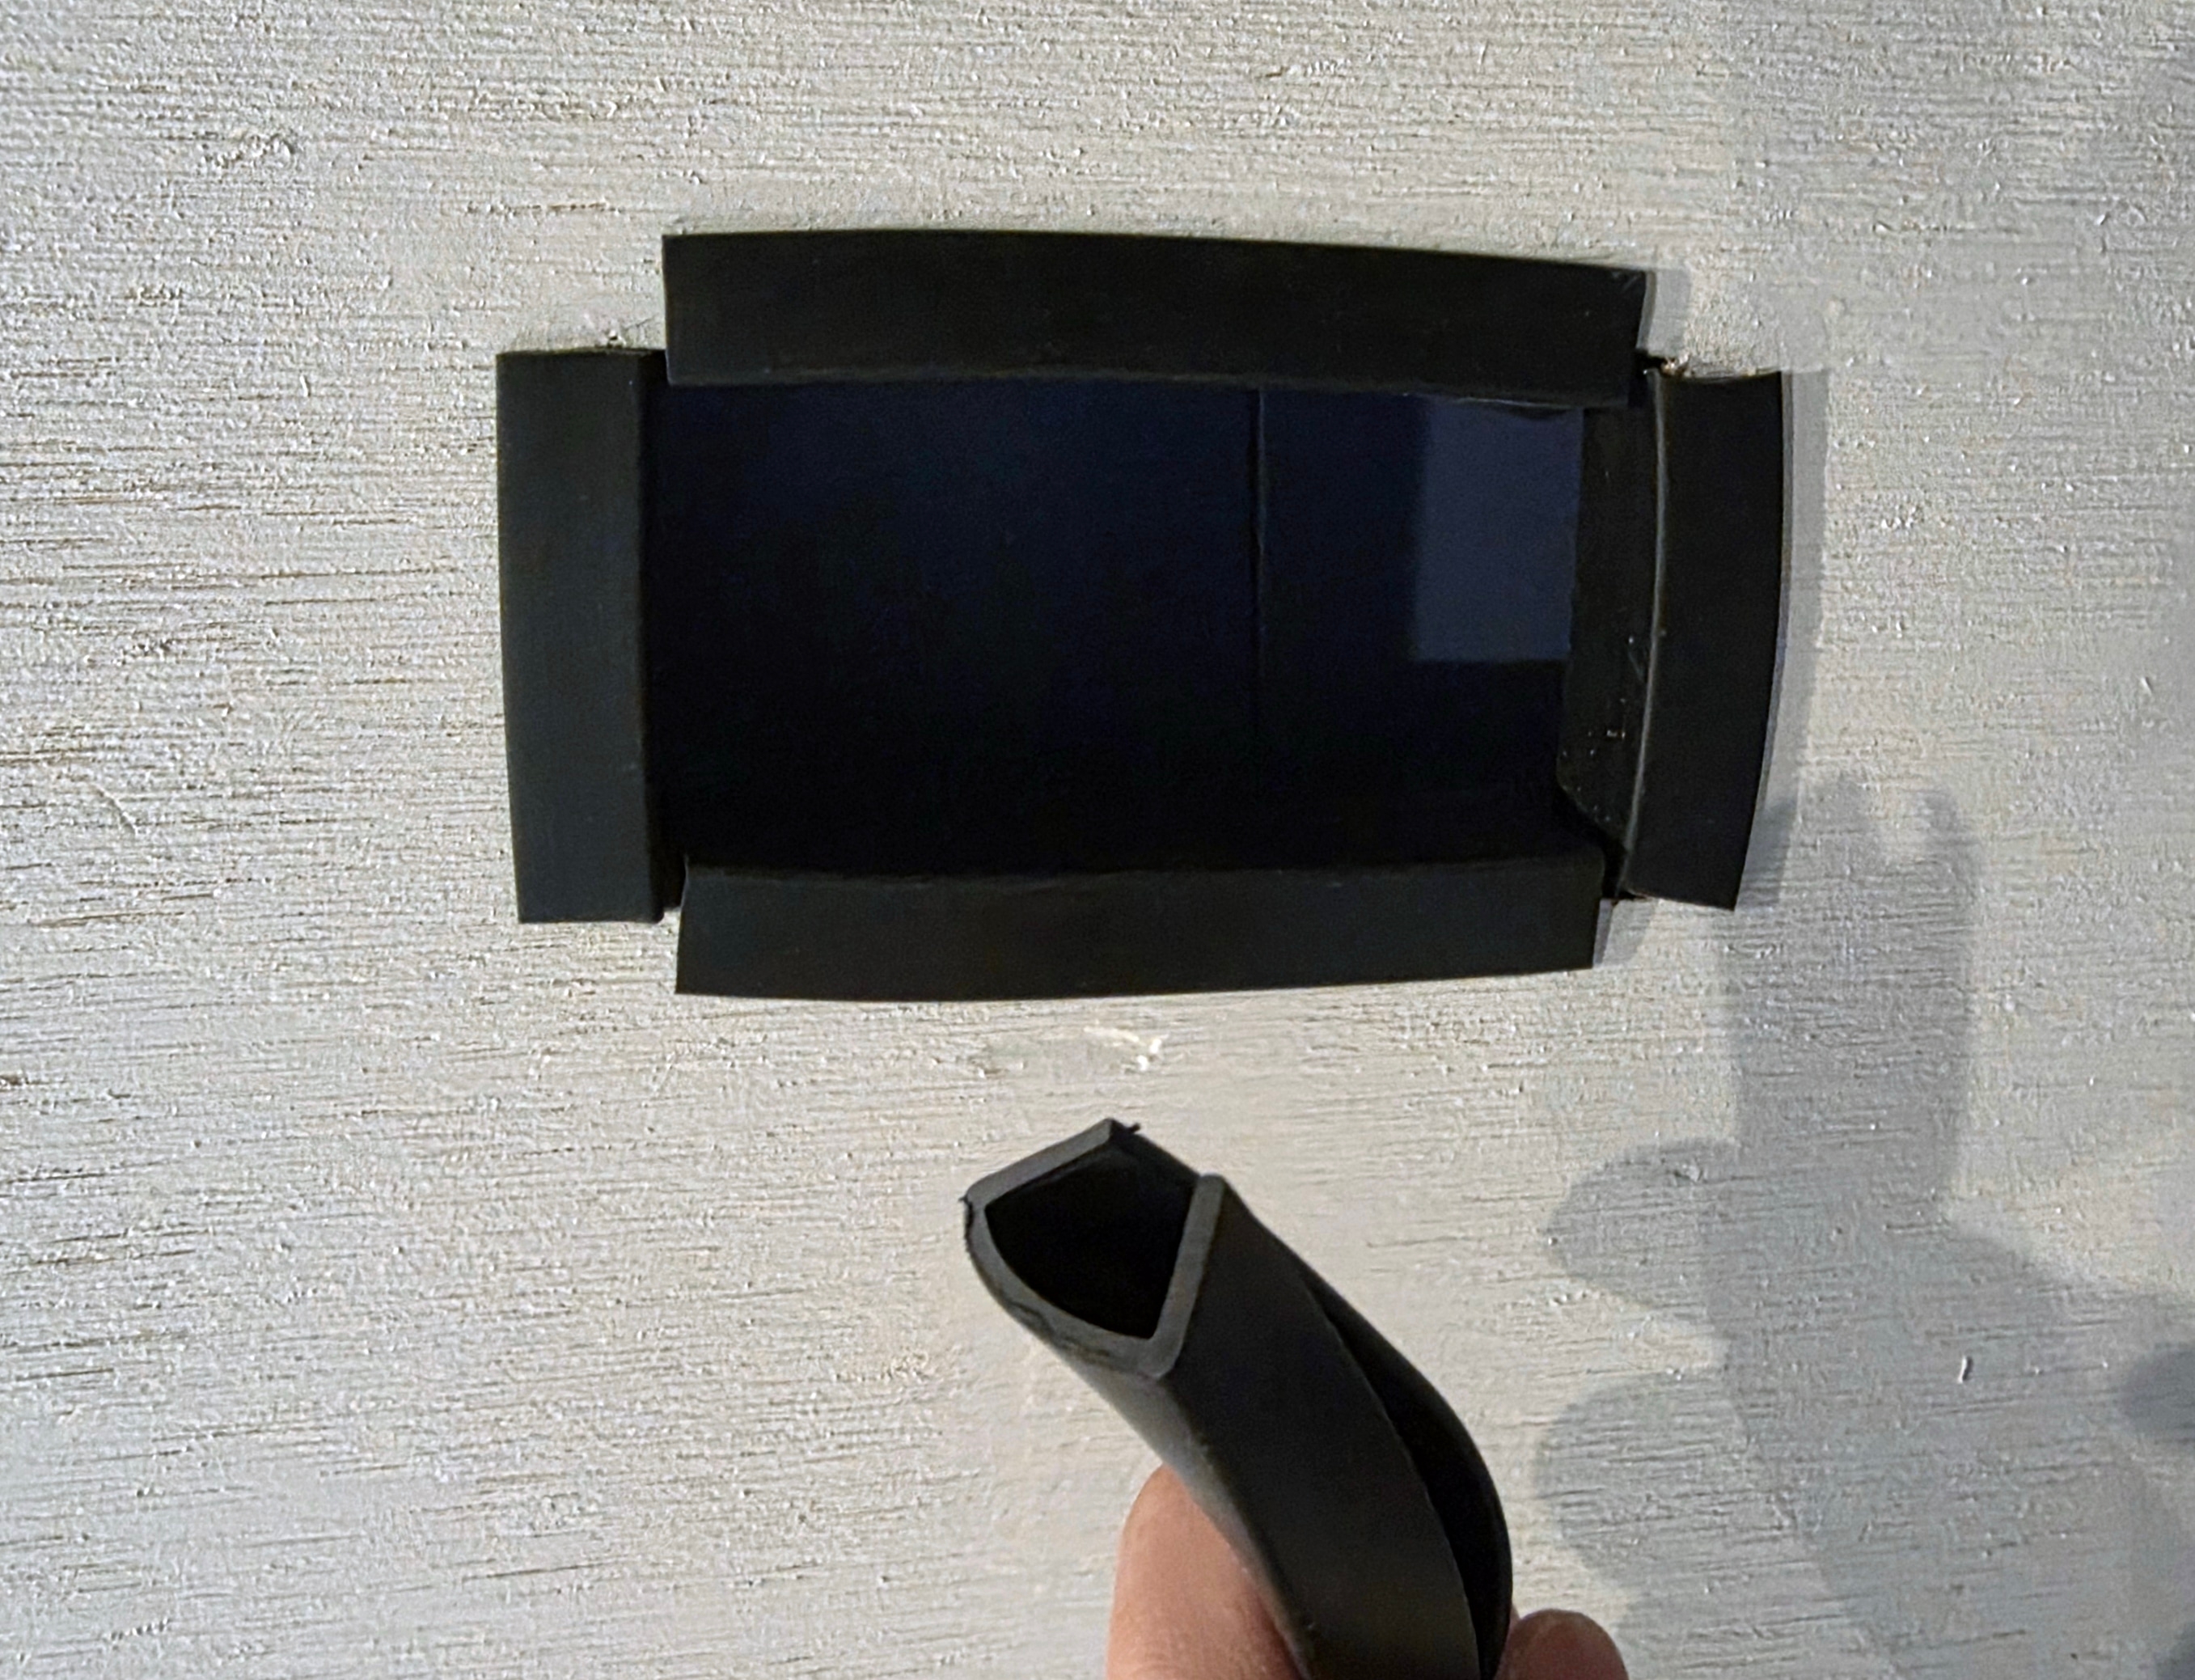
I fitted U-channel edge trim around the plywood's cable opening to protect the cables from the cut edges. The opening in the plasterboard was larger than the one in the plywood, keeping the crumbly plasterboard edges clear of the cables.
Mounting the Backboard
My garage's back wall is plasterboard fixed to light-gauge metal furring channels over brick. The channels hold the plasterboard away from the brick, leaving a cavity between them. They are there to support the plasterboard, so I needed the rack's load to go through to the brick behind them. The electrical switchboard sits about a metre below the rack, and the wall cavity also contains the network bundle, alarm wiring and other cables. Before drilling anything, I marked the furring channels and cable routes so the two anchor columns were clear of both.
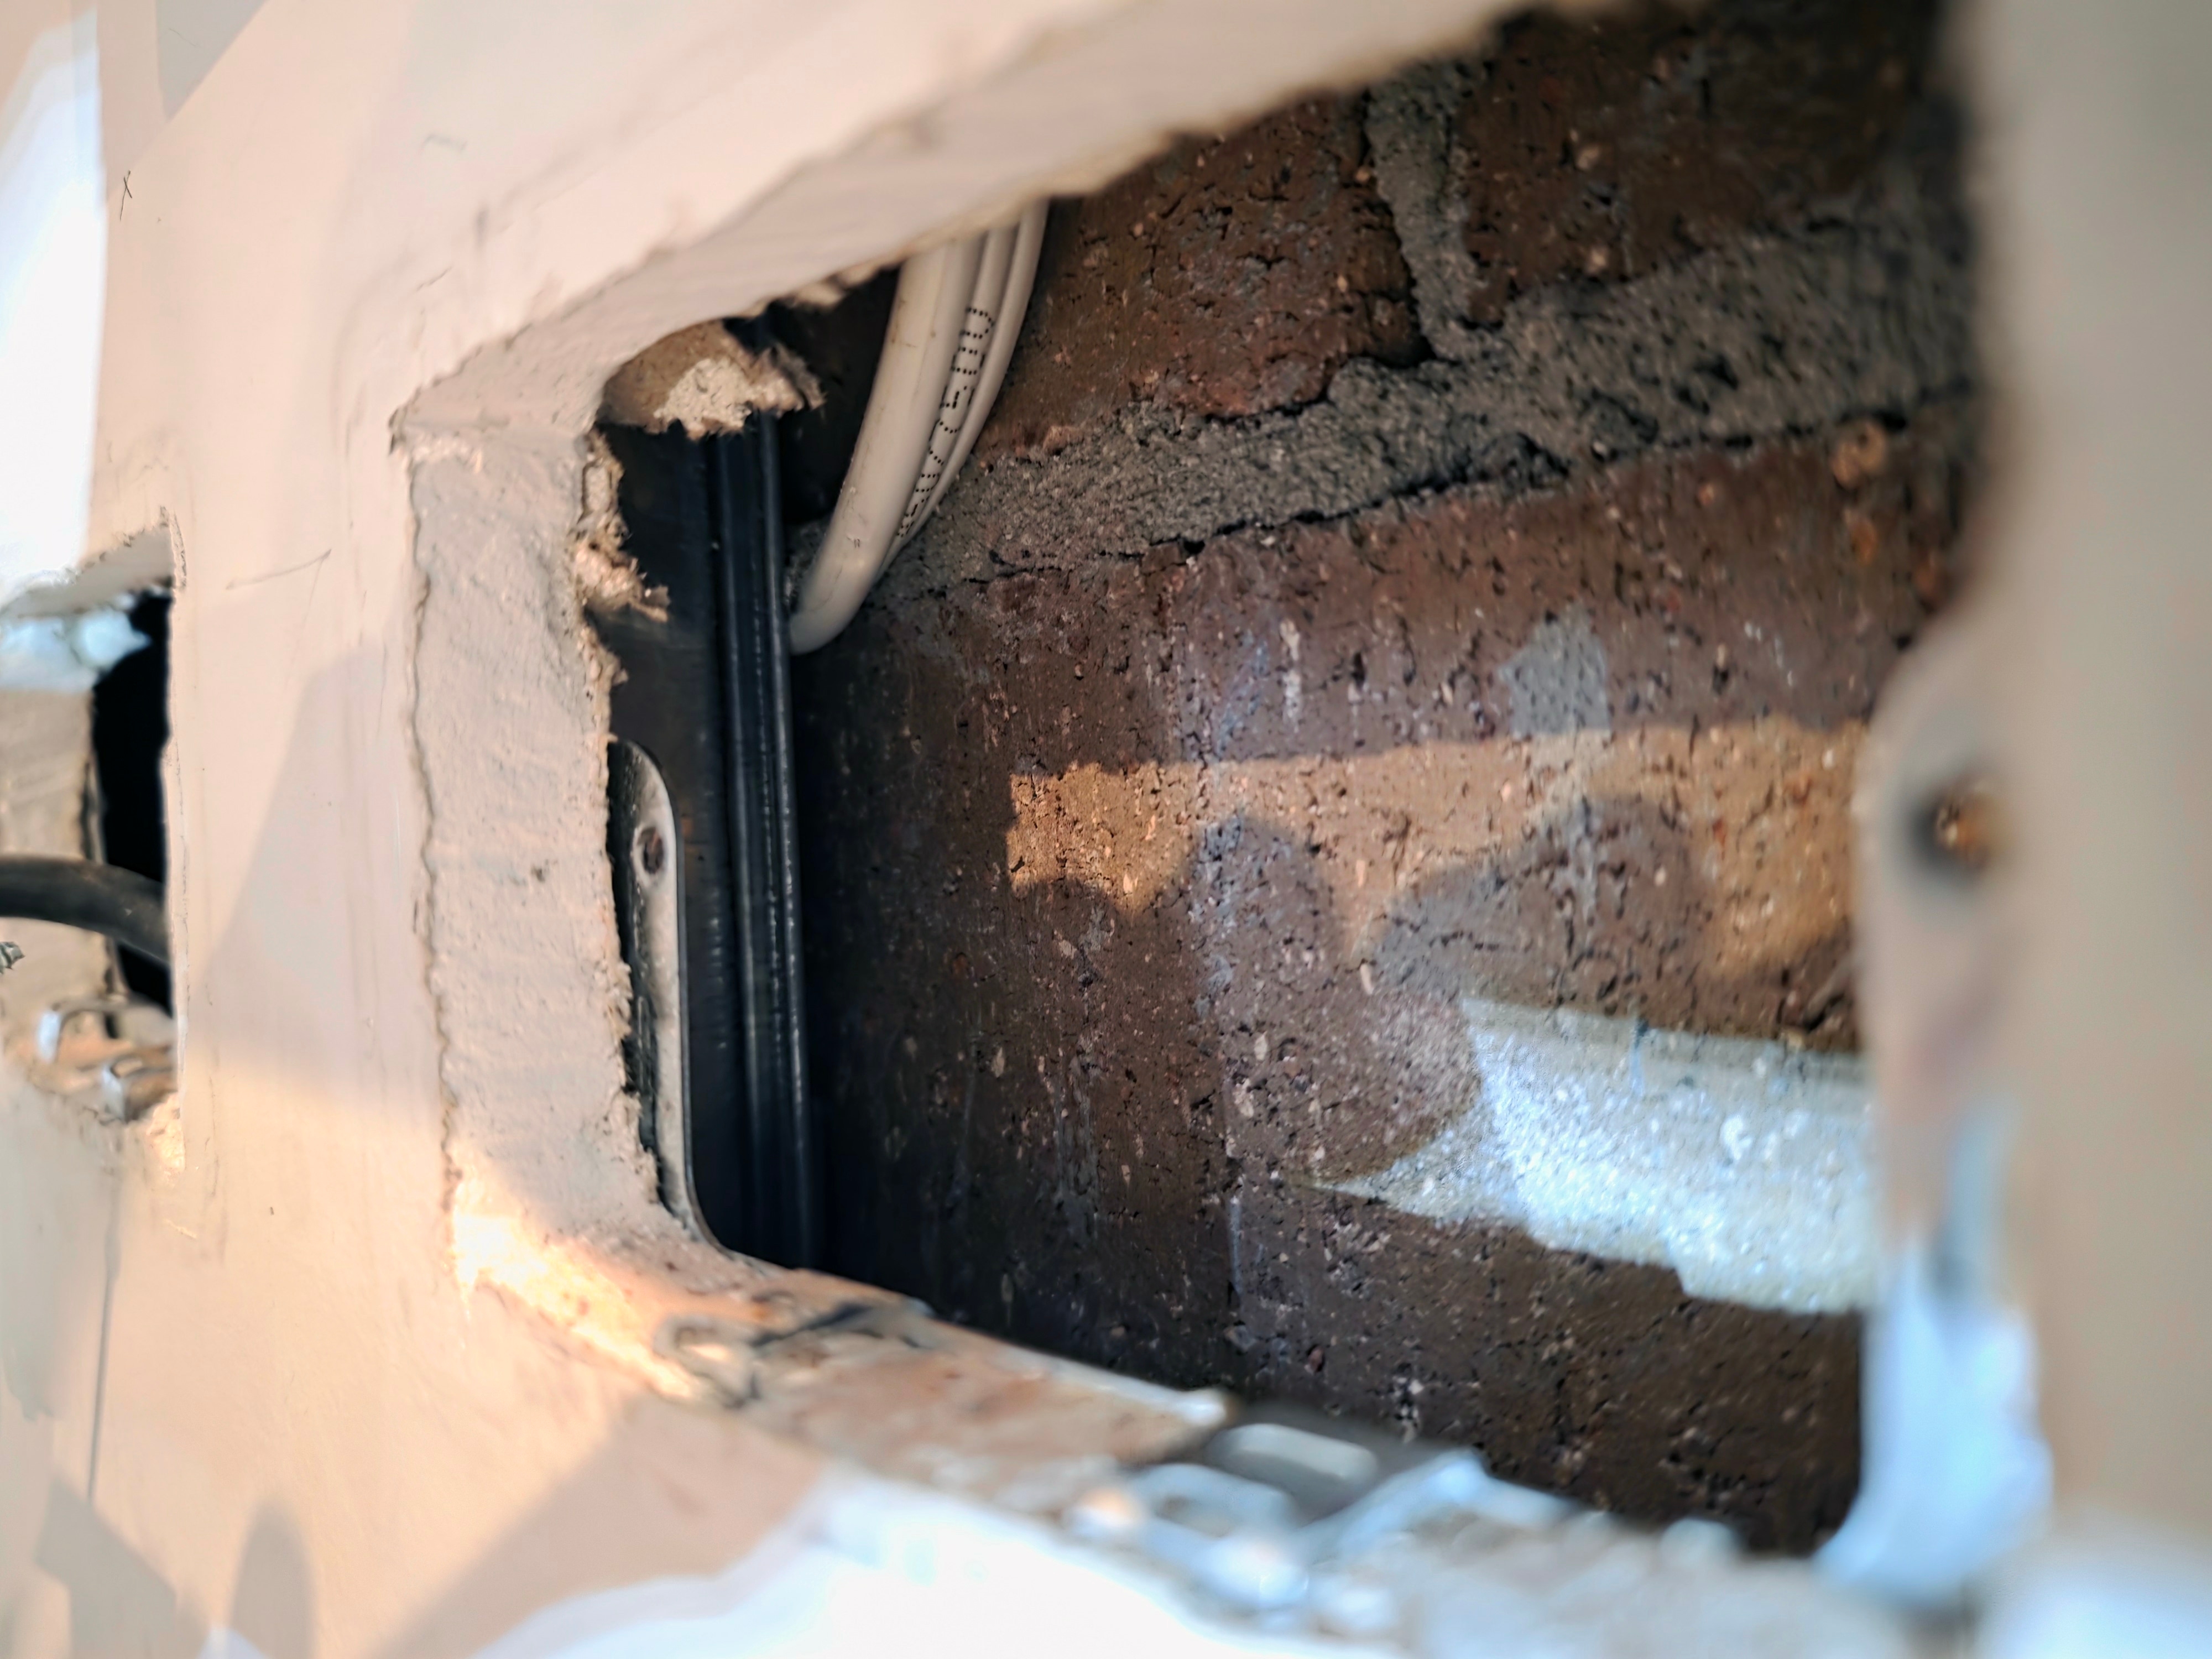
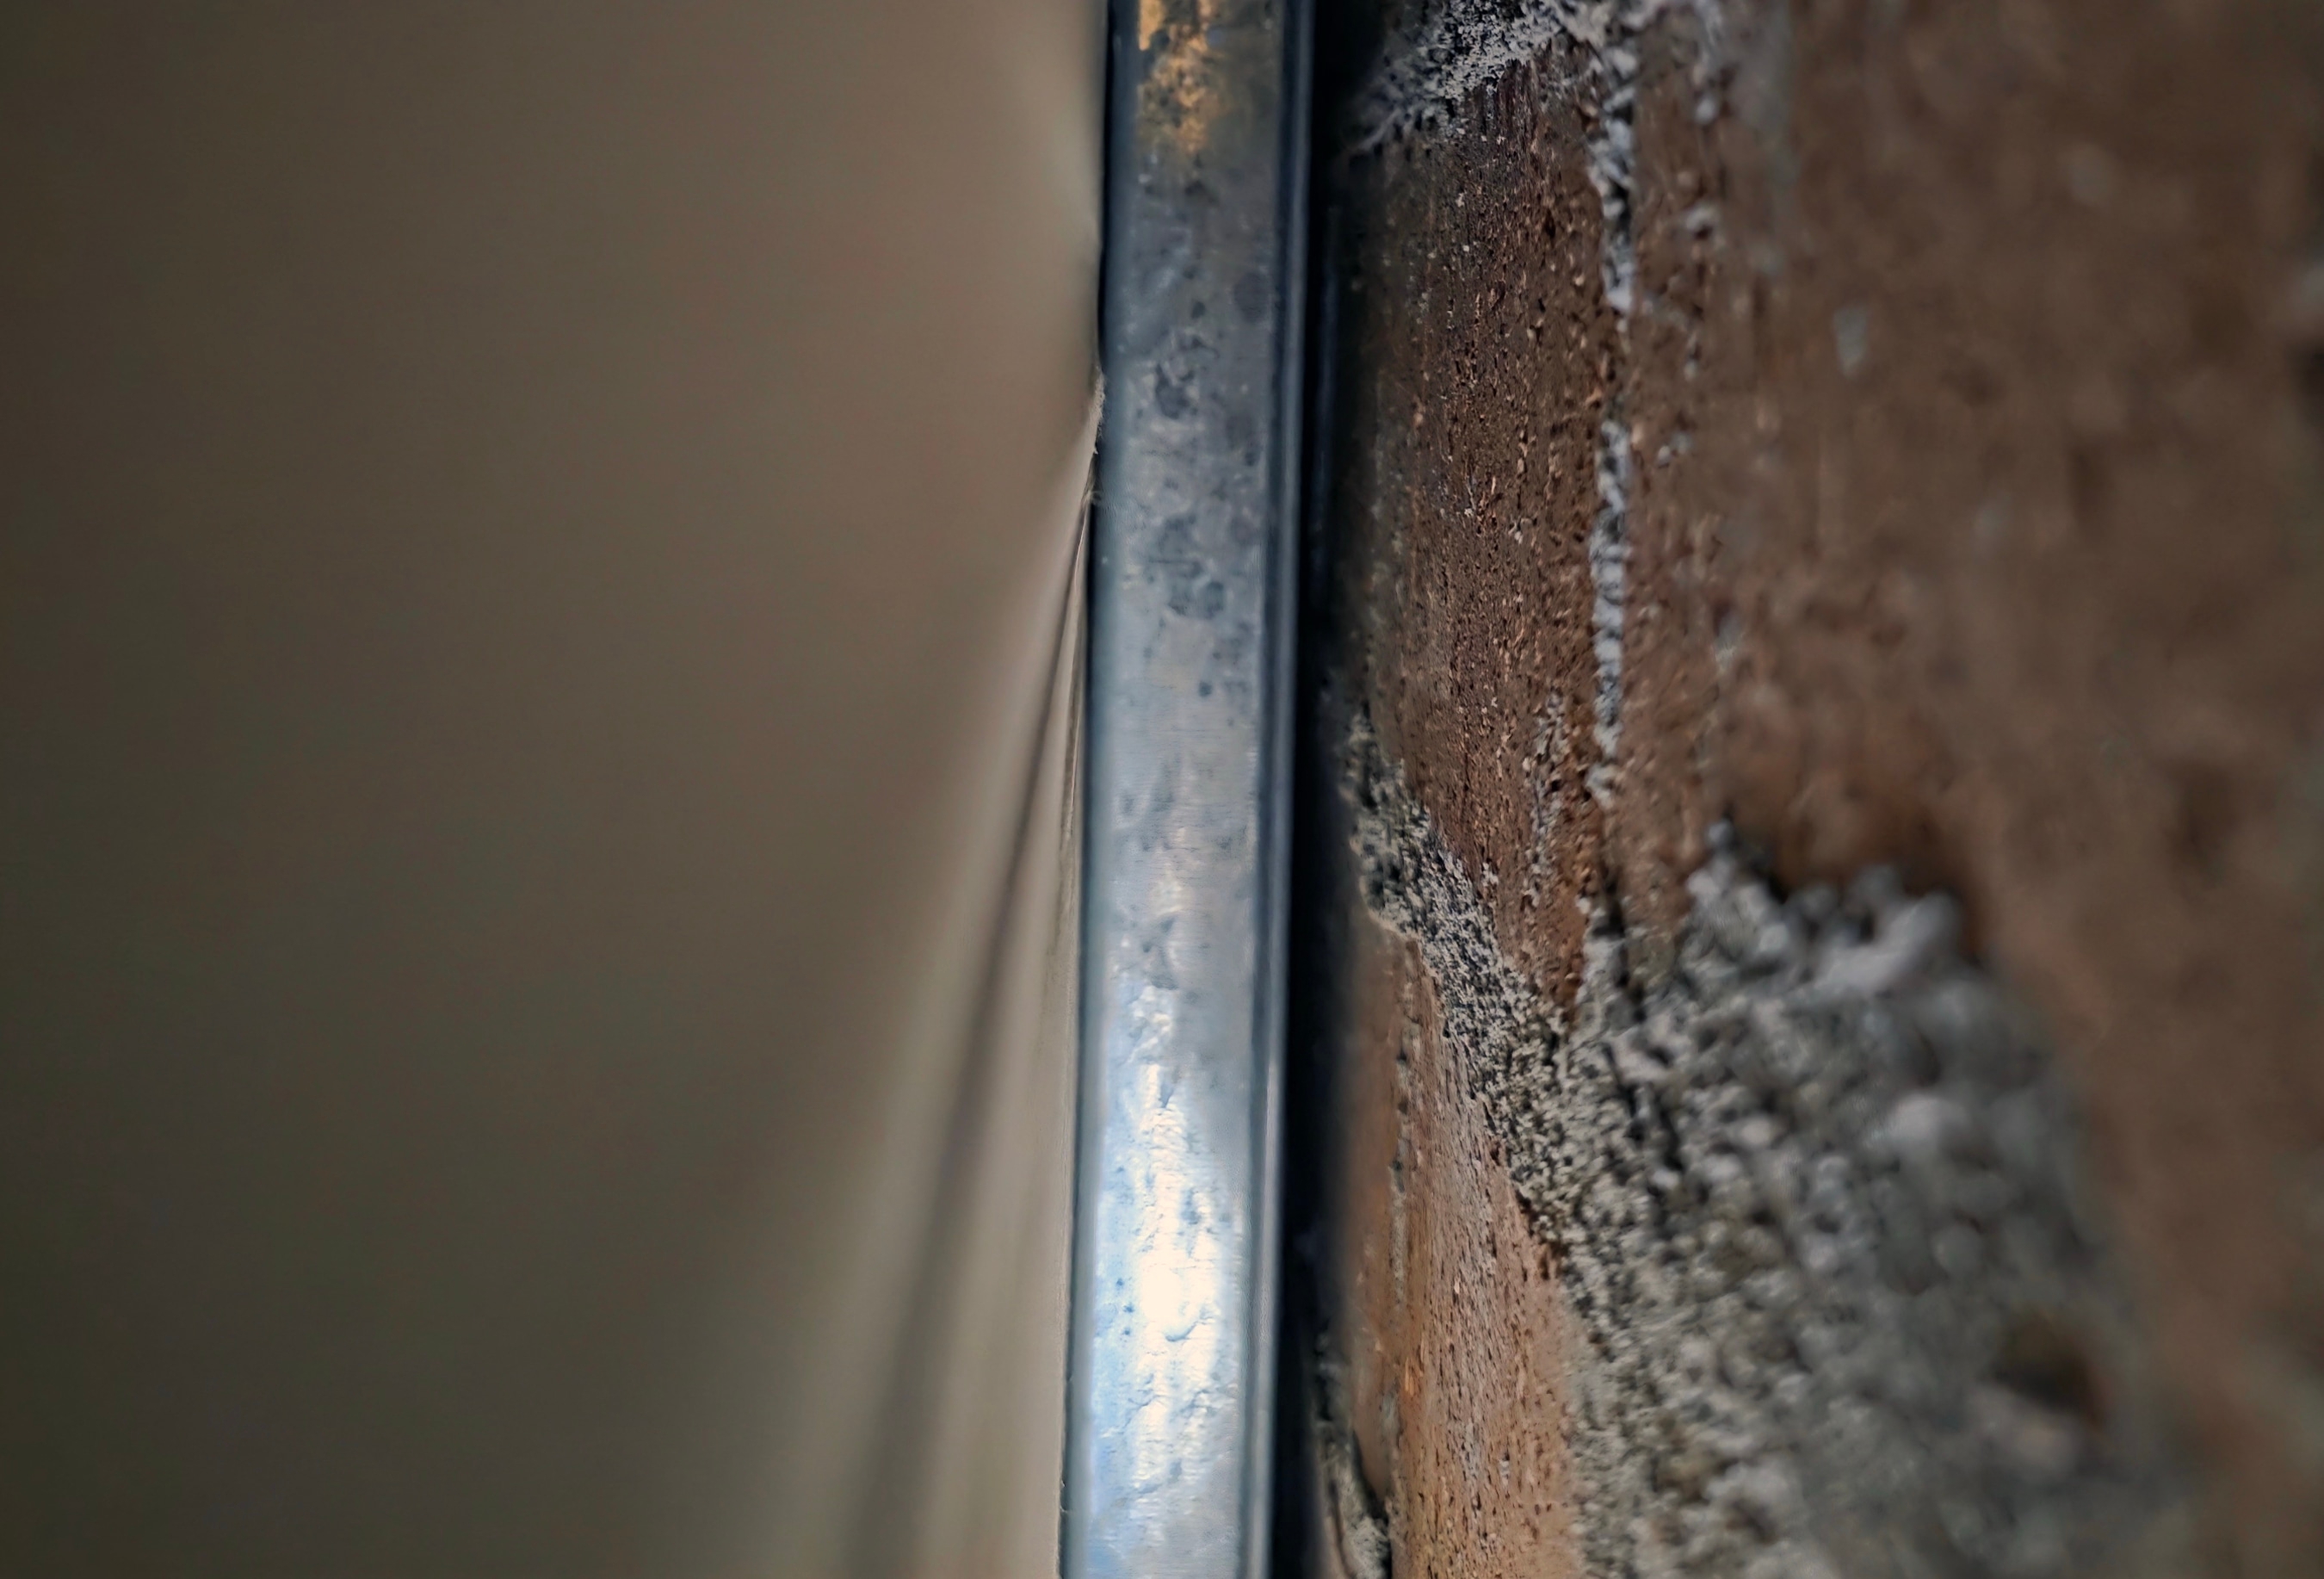
I used the same fixing method as my garage shelving project in a previous post.
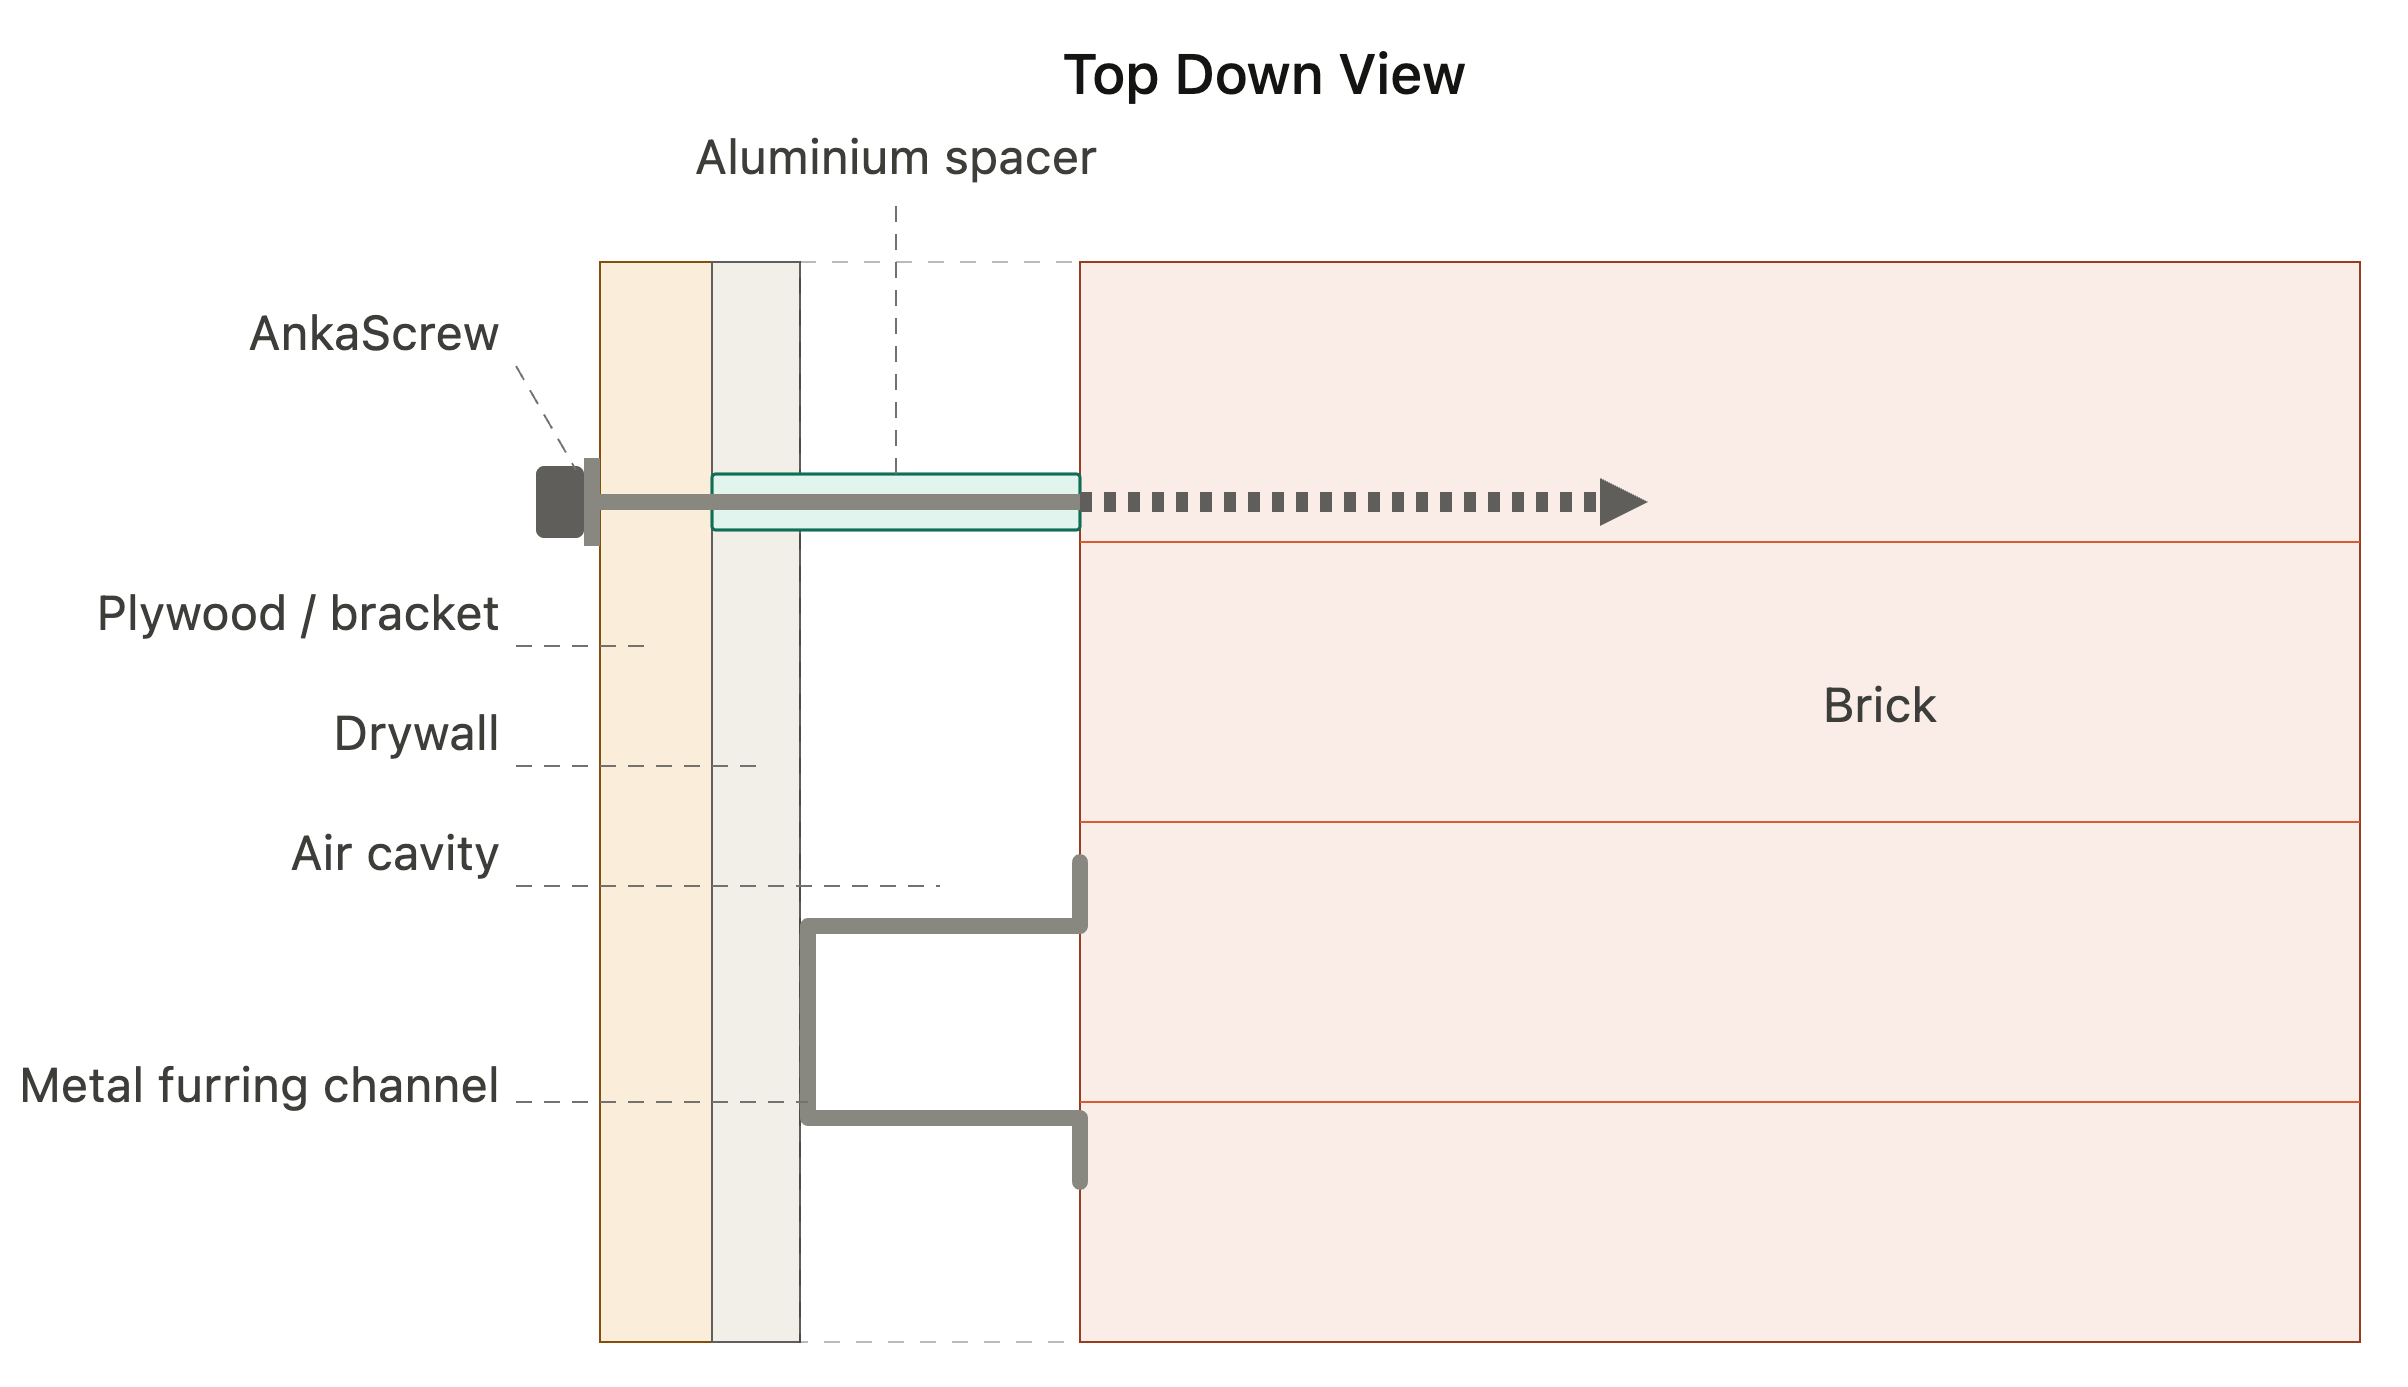
Eight long 12 x 150mm AnkaScrews anchor the backboard into the brick, with four down each side. I used eight Macsim 50 x 50 x 5mm M16 galvanised square washers, one under each AnkaScrew head, to spread the clamping force over a larger area of plywood.
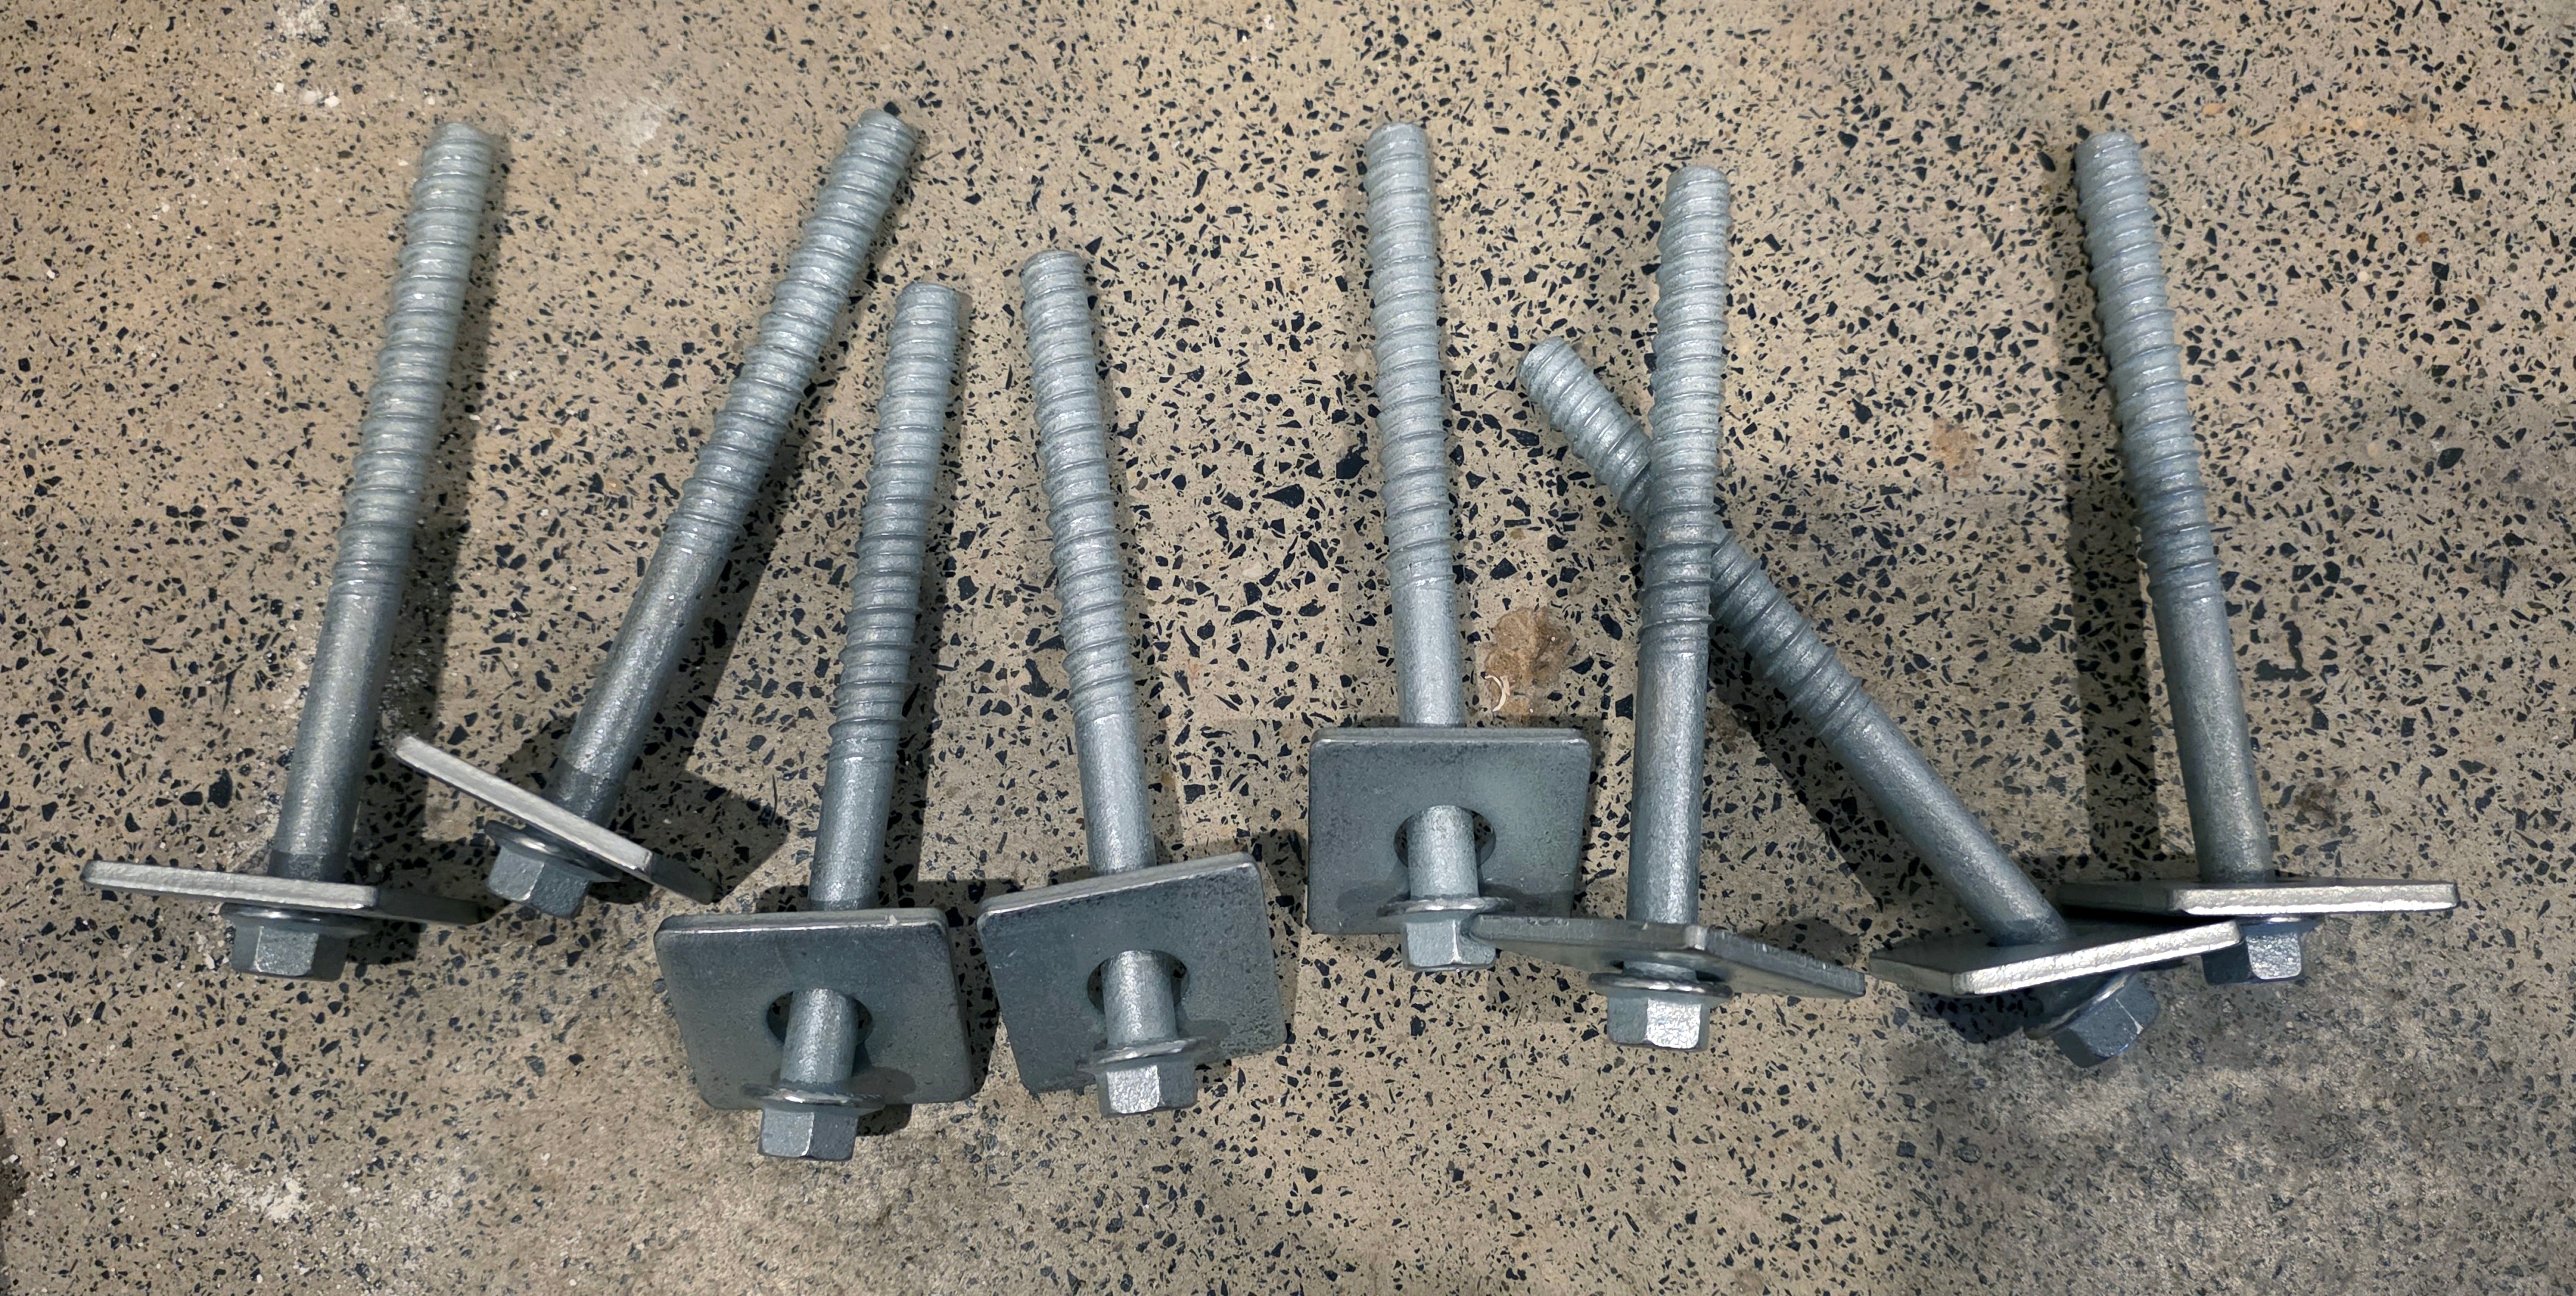
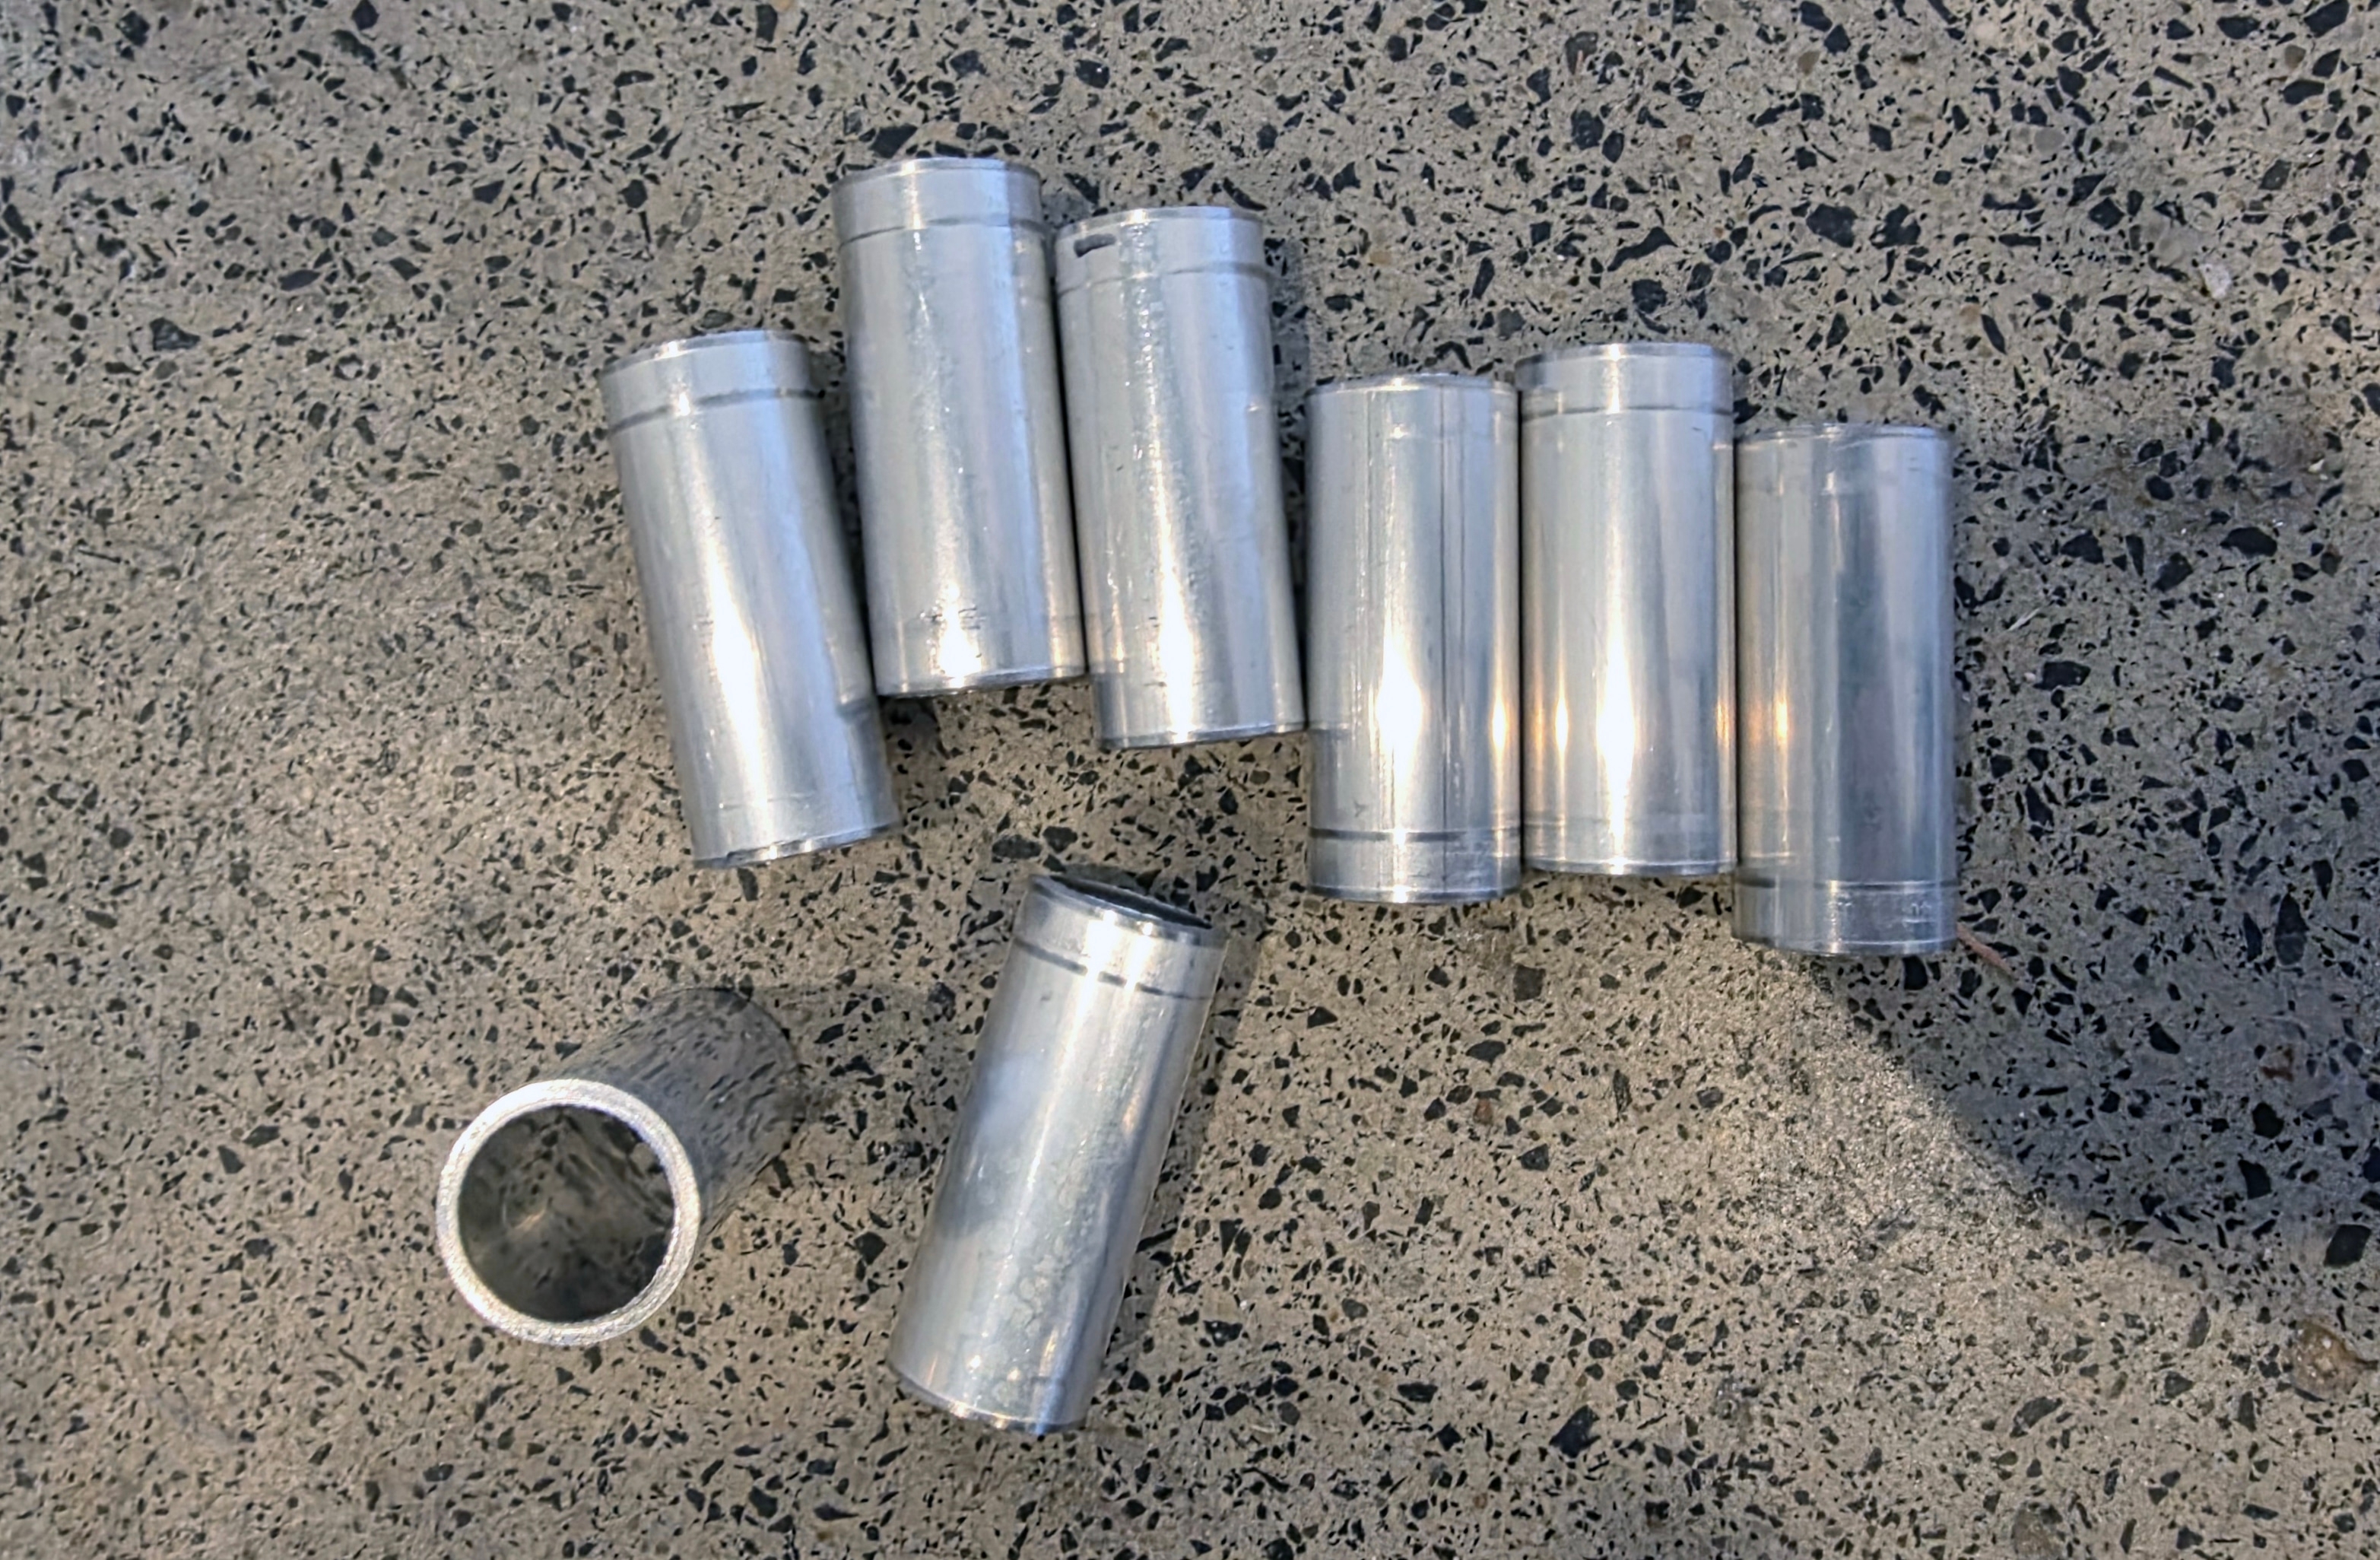
The cavity meant that long anchors alone were not enough. Tightening them against unsupported plasterboard would pull the board towards the brick and crush the plasterboard. Aluminium tube spacers bridge that gap, with each anchor passing through the plywood and a spacer before entering the brick. Tightening the anchor presses the plywood against the spacer, which bears on the brick.
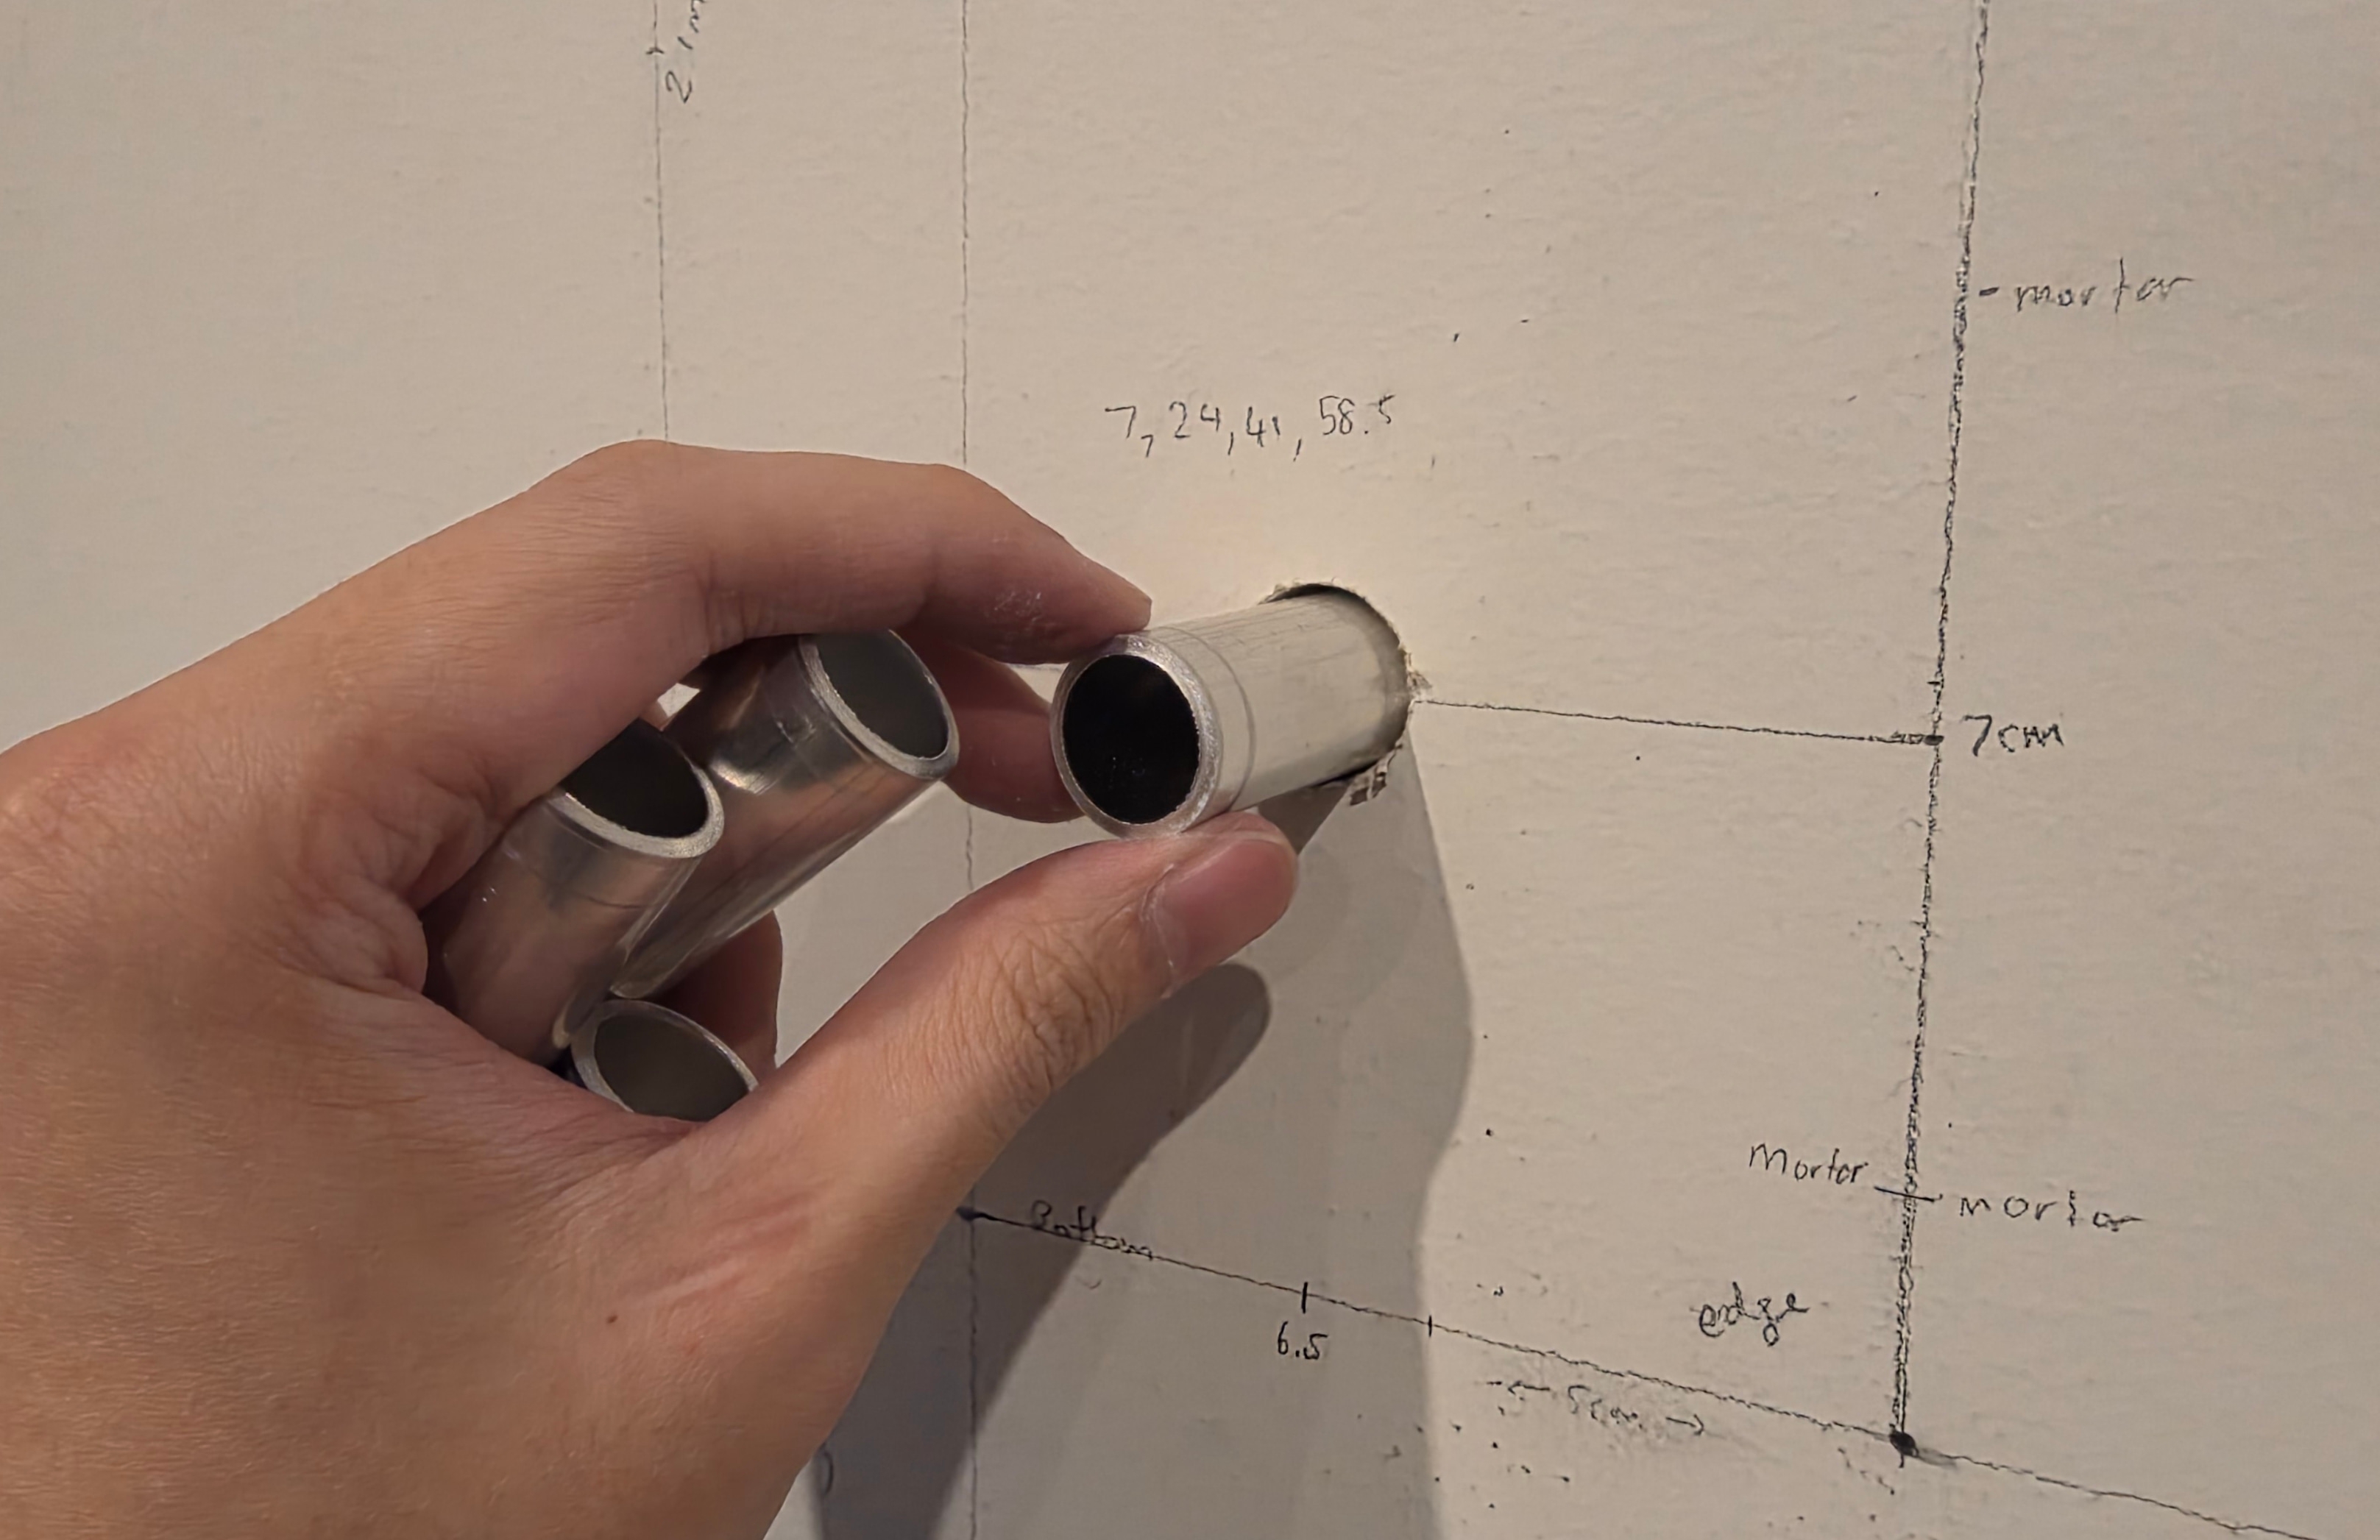
The backboard was mounted, leveled and secured with some extra pair of hands.
Mounting the Rack
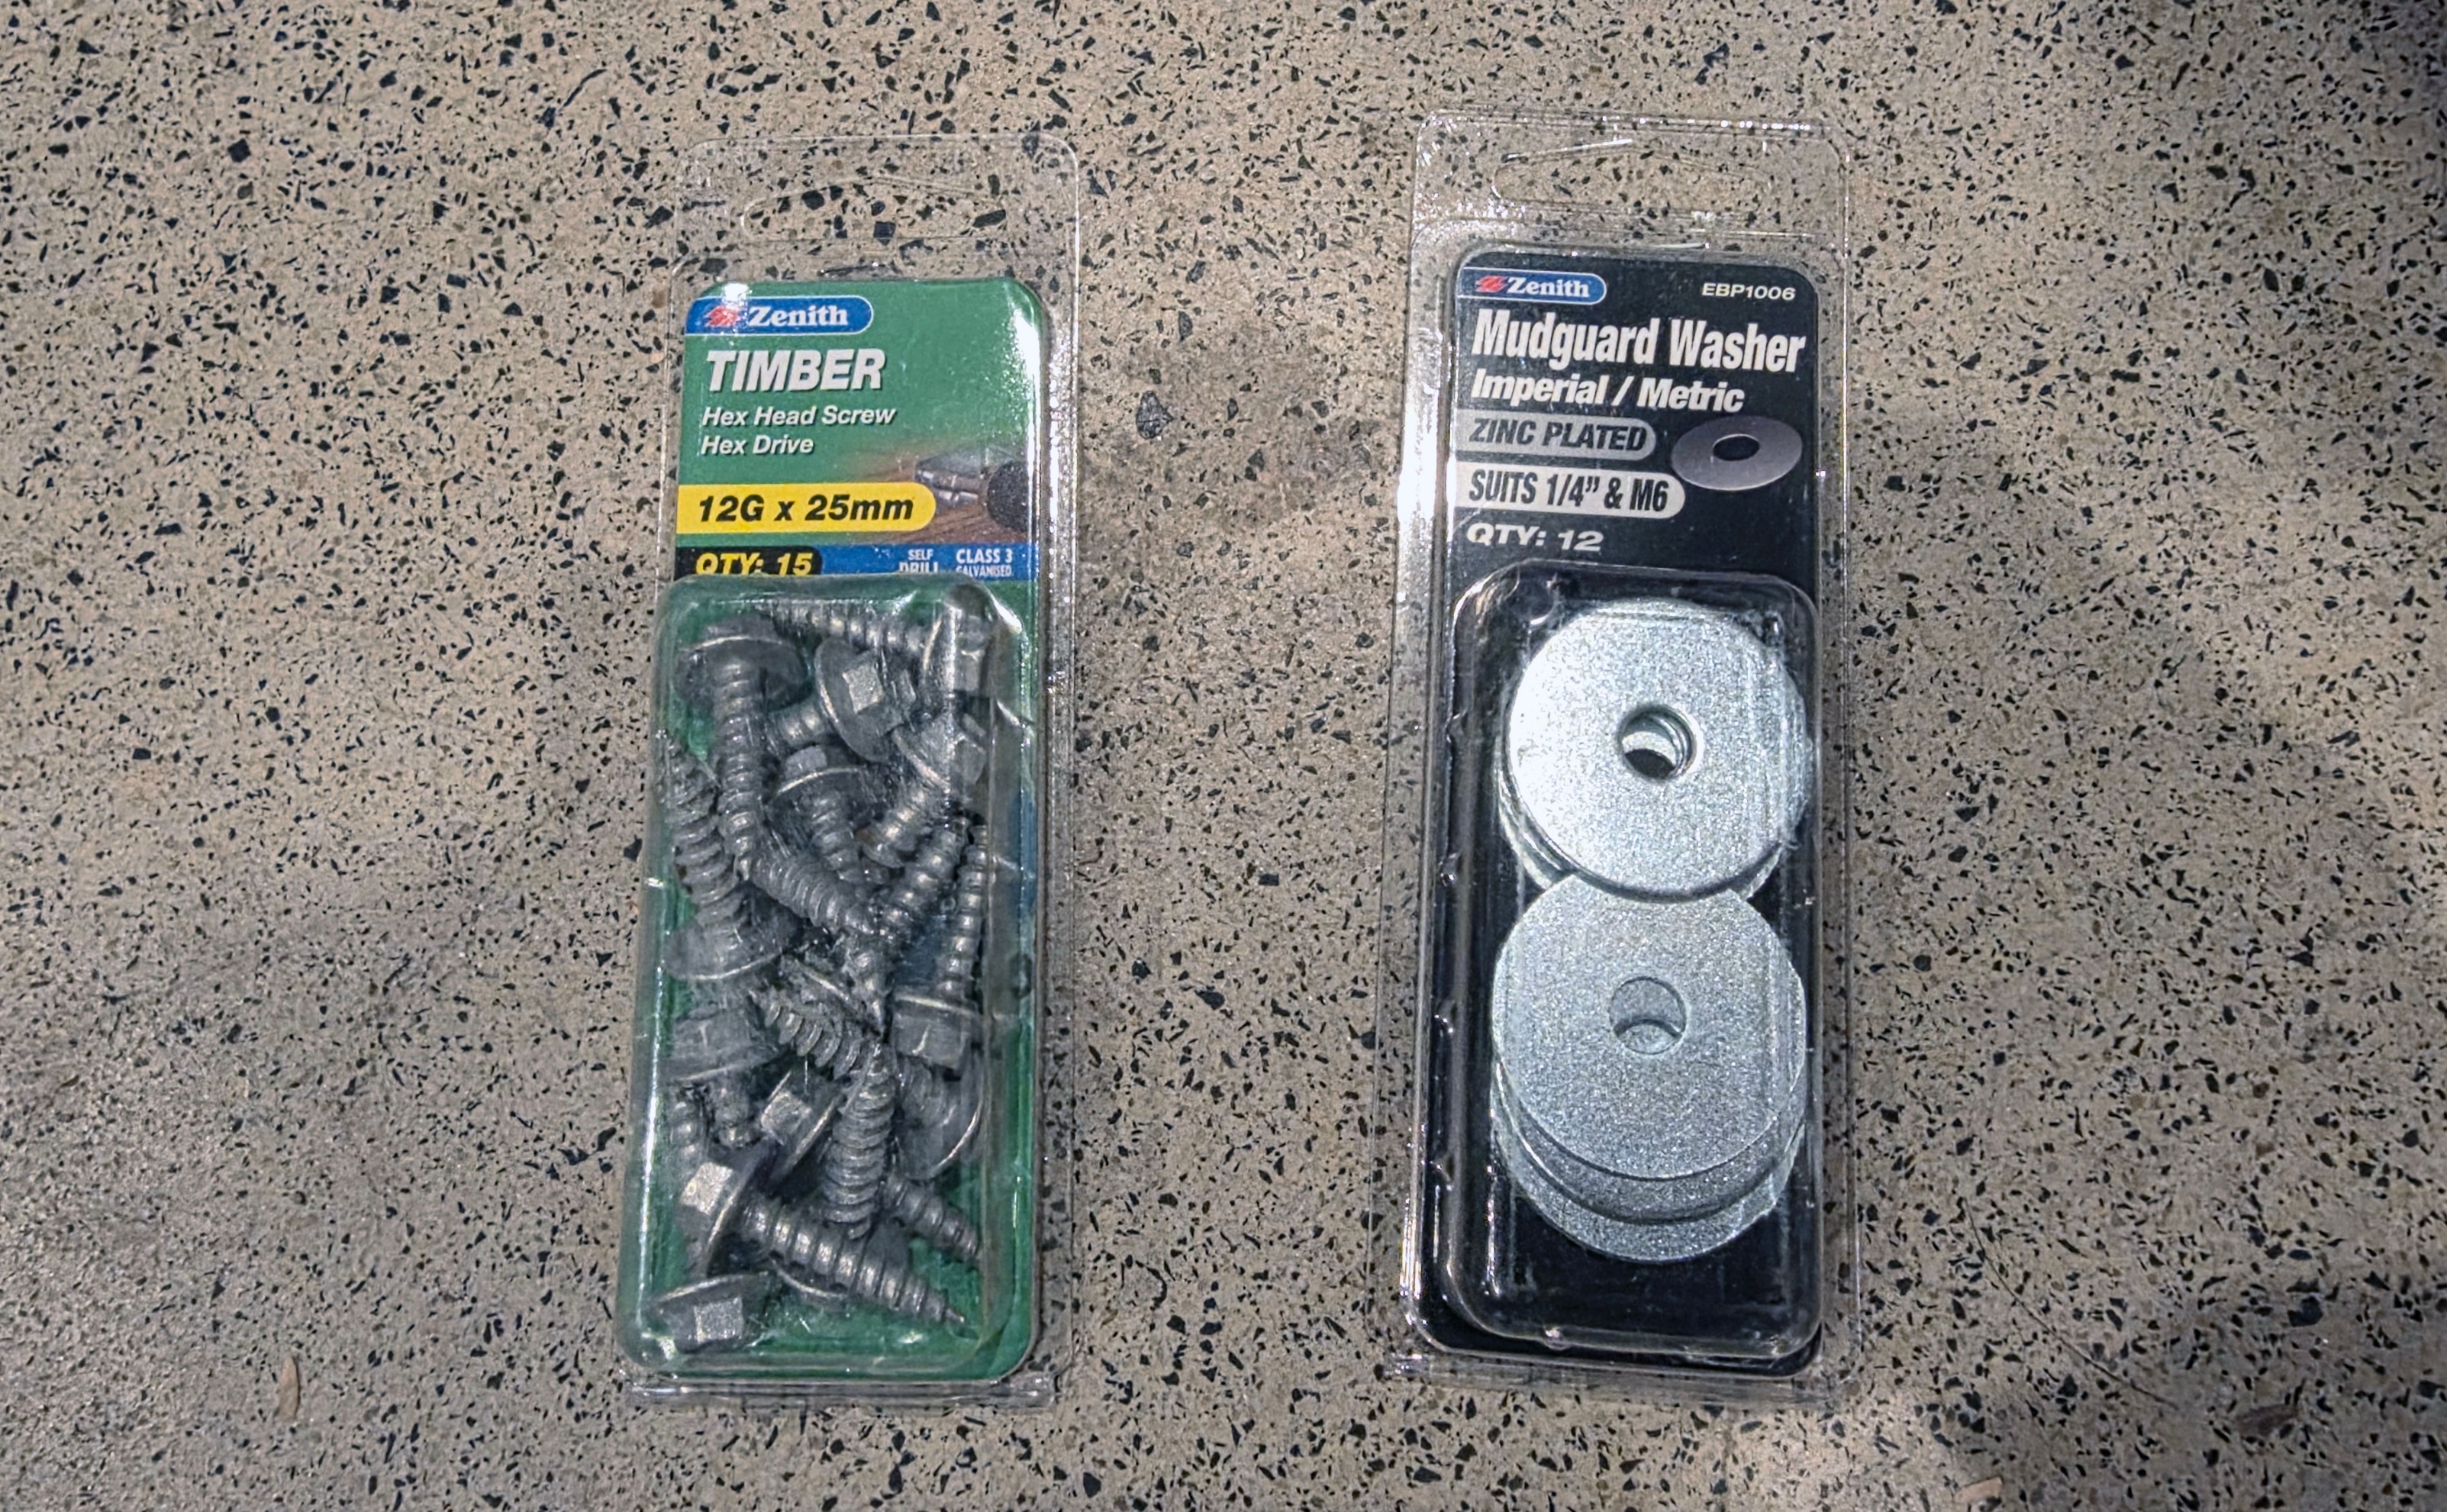
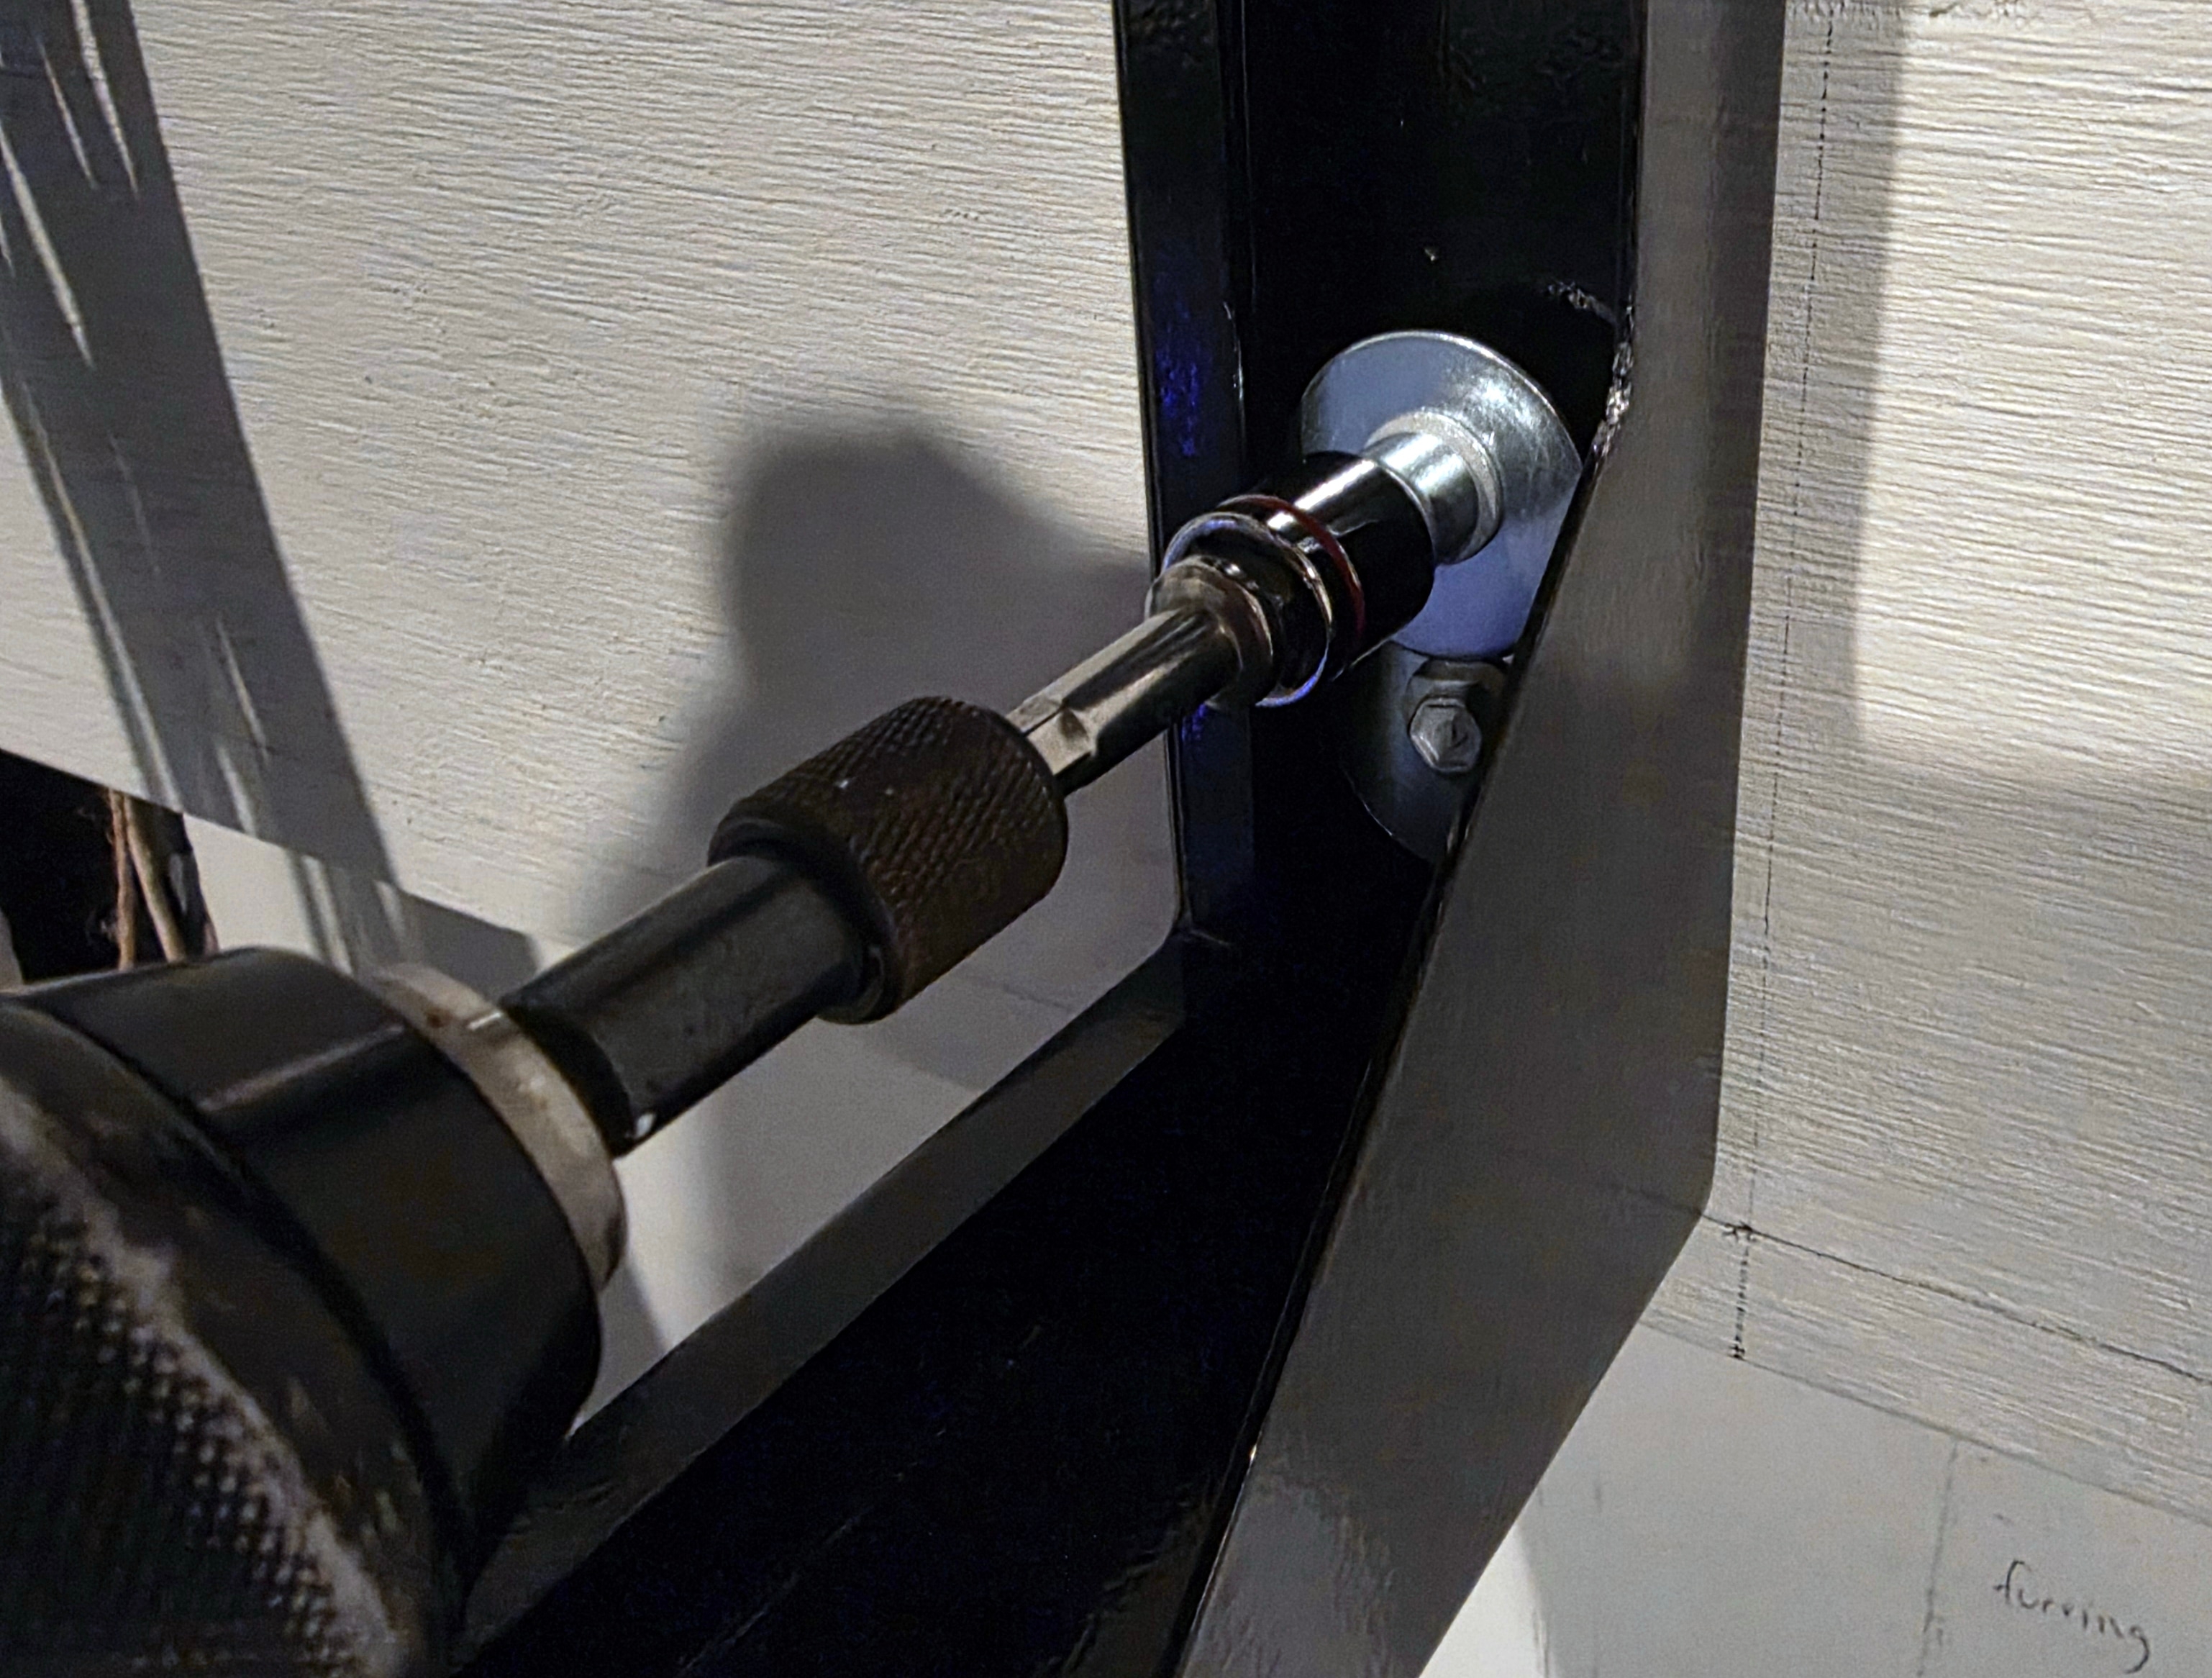
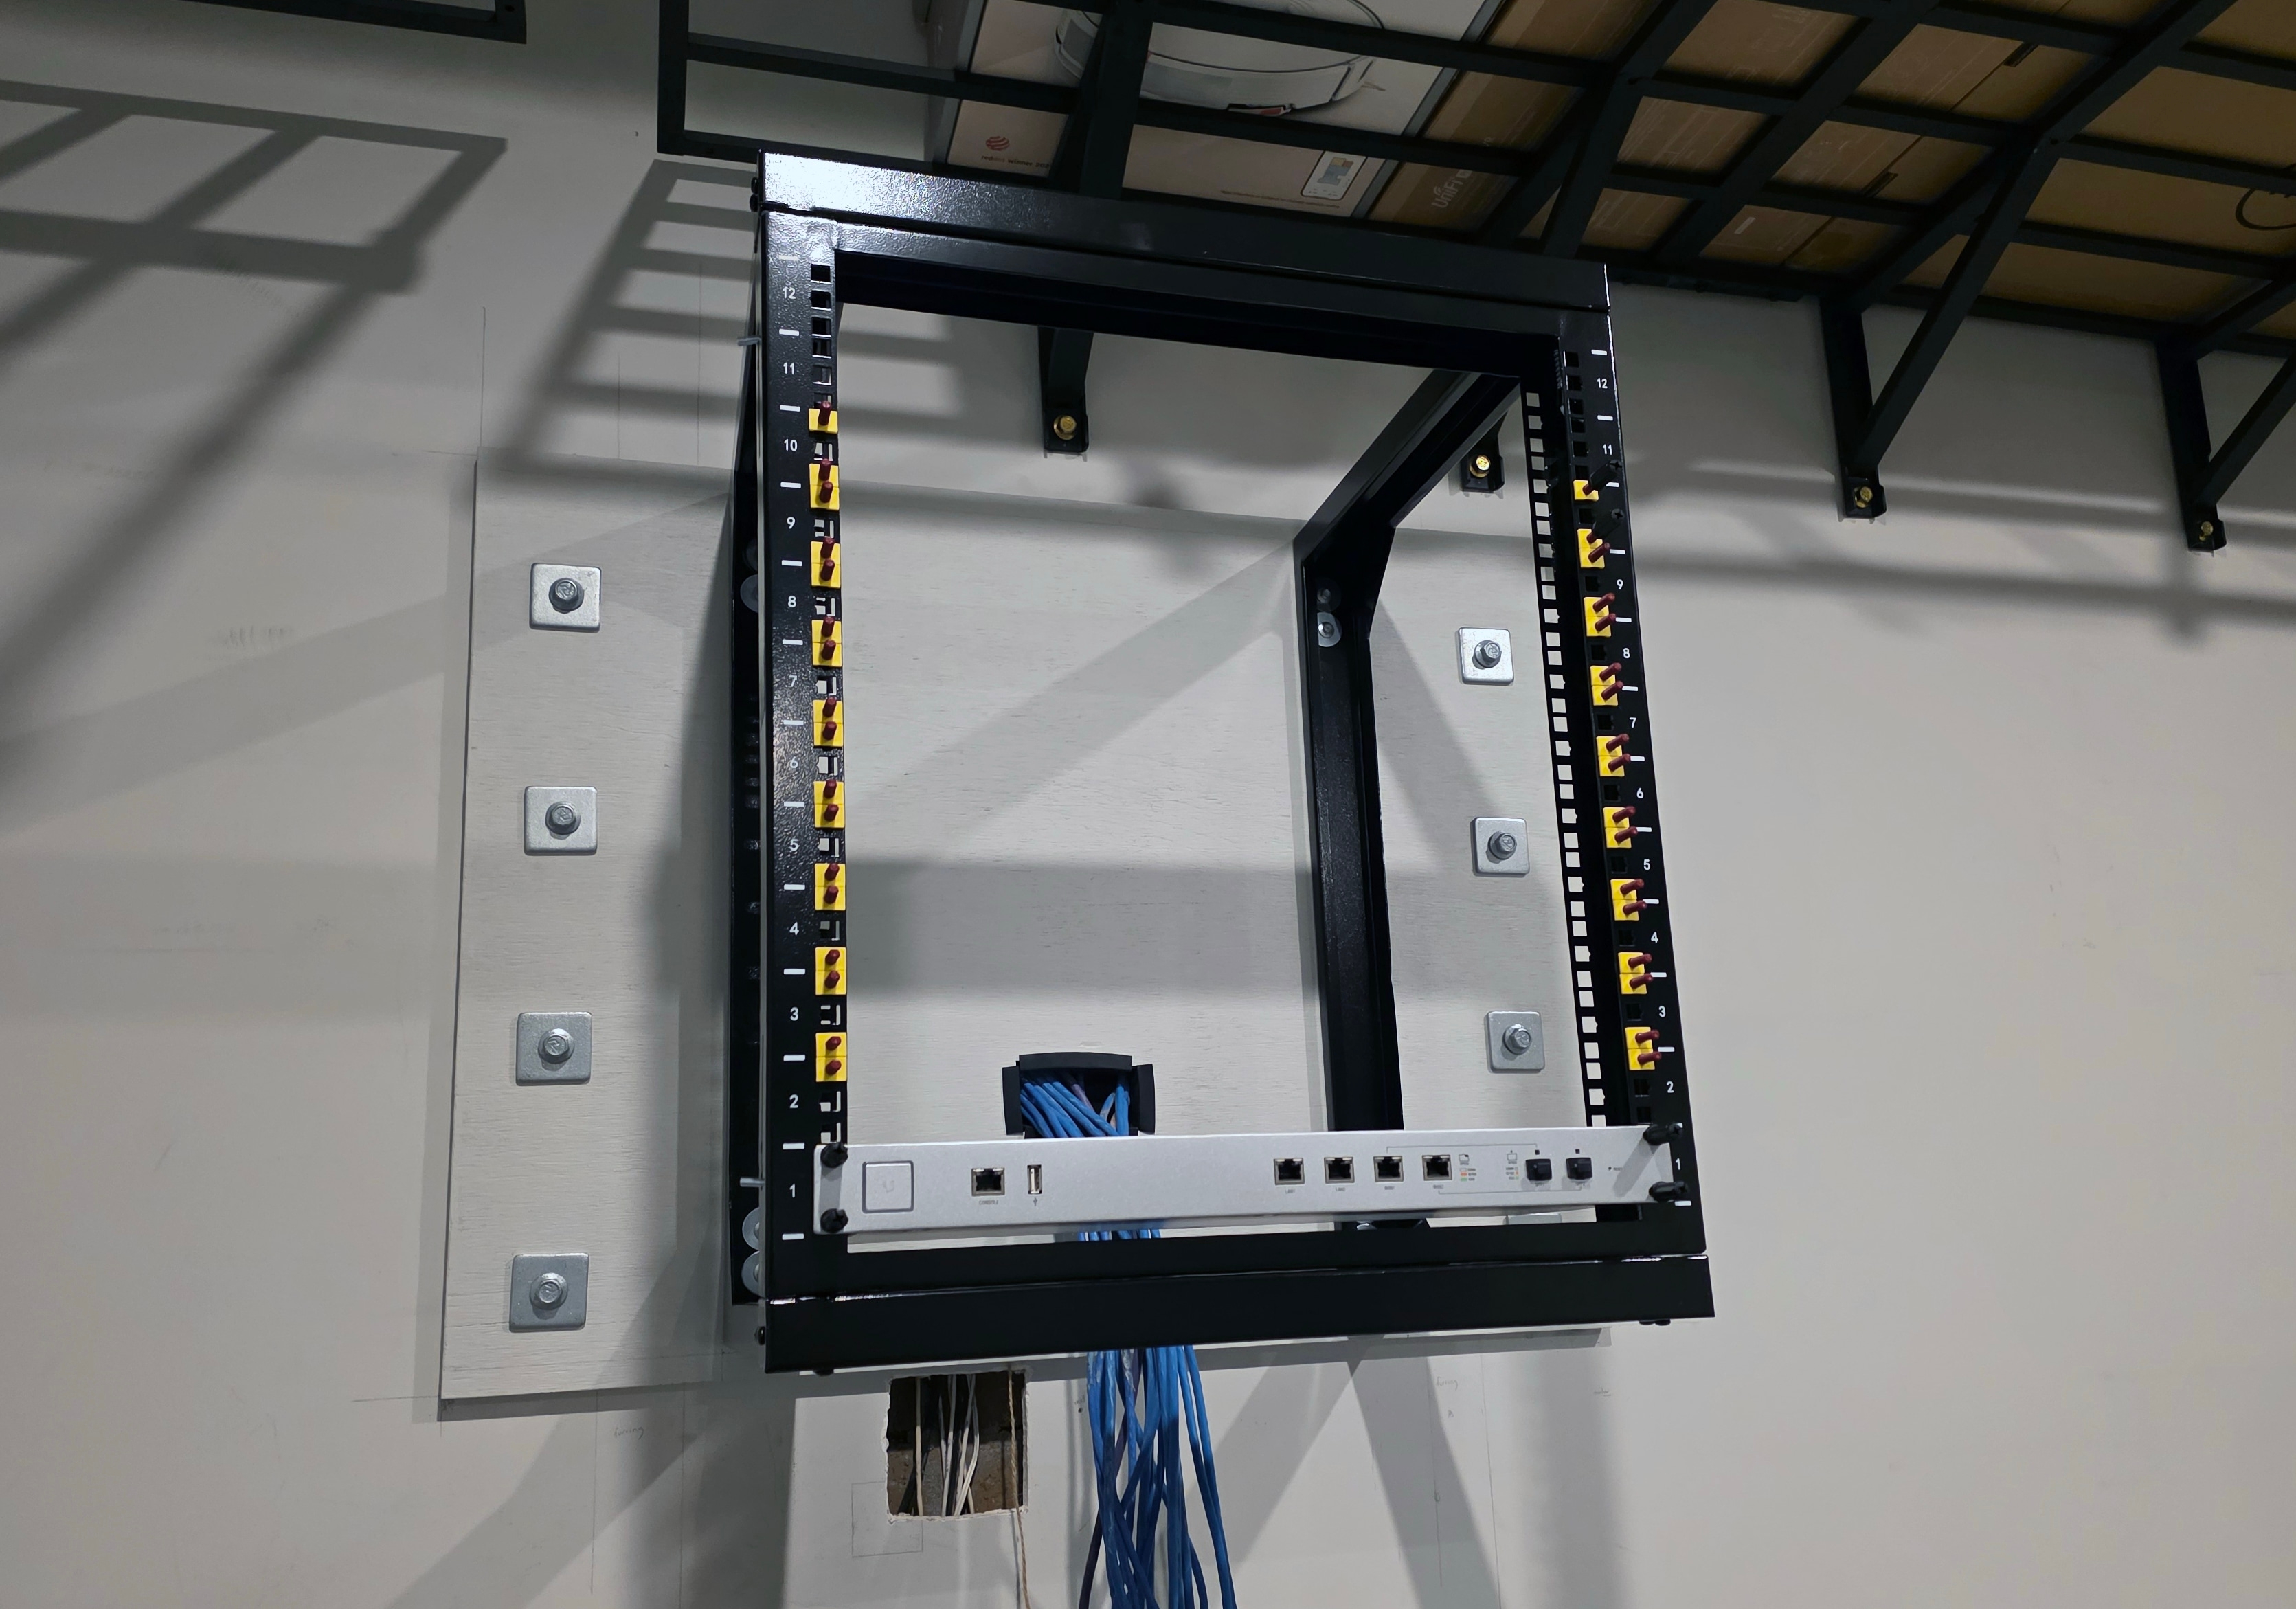
I mounted the rack to the backboard through its four keyhole slots using timber screws and mudguard washers. I fitted two washers per keyhole, eight in total. The 25mm screws passed through the 17mm plywood and slightly into the plasterboard behind it.
RackStuds
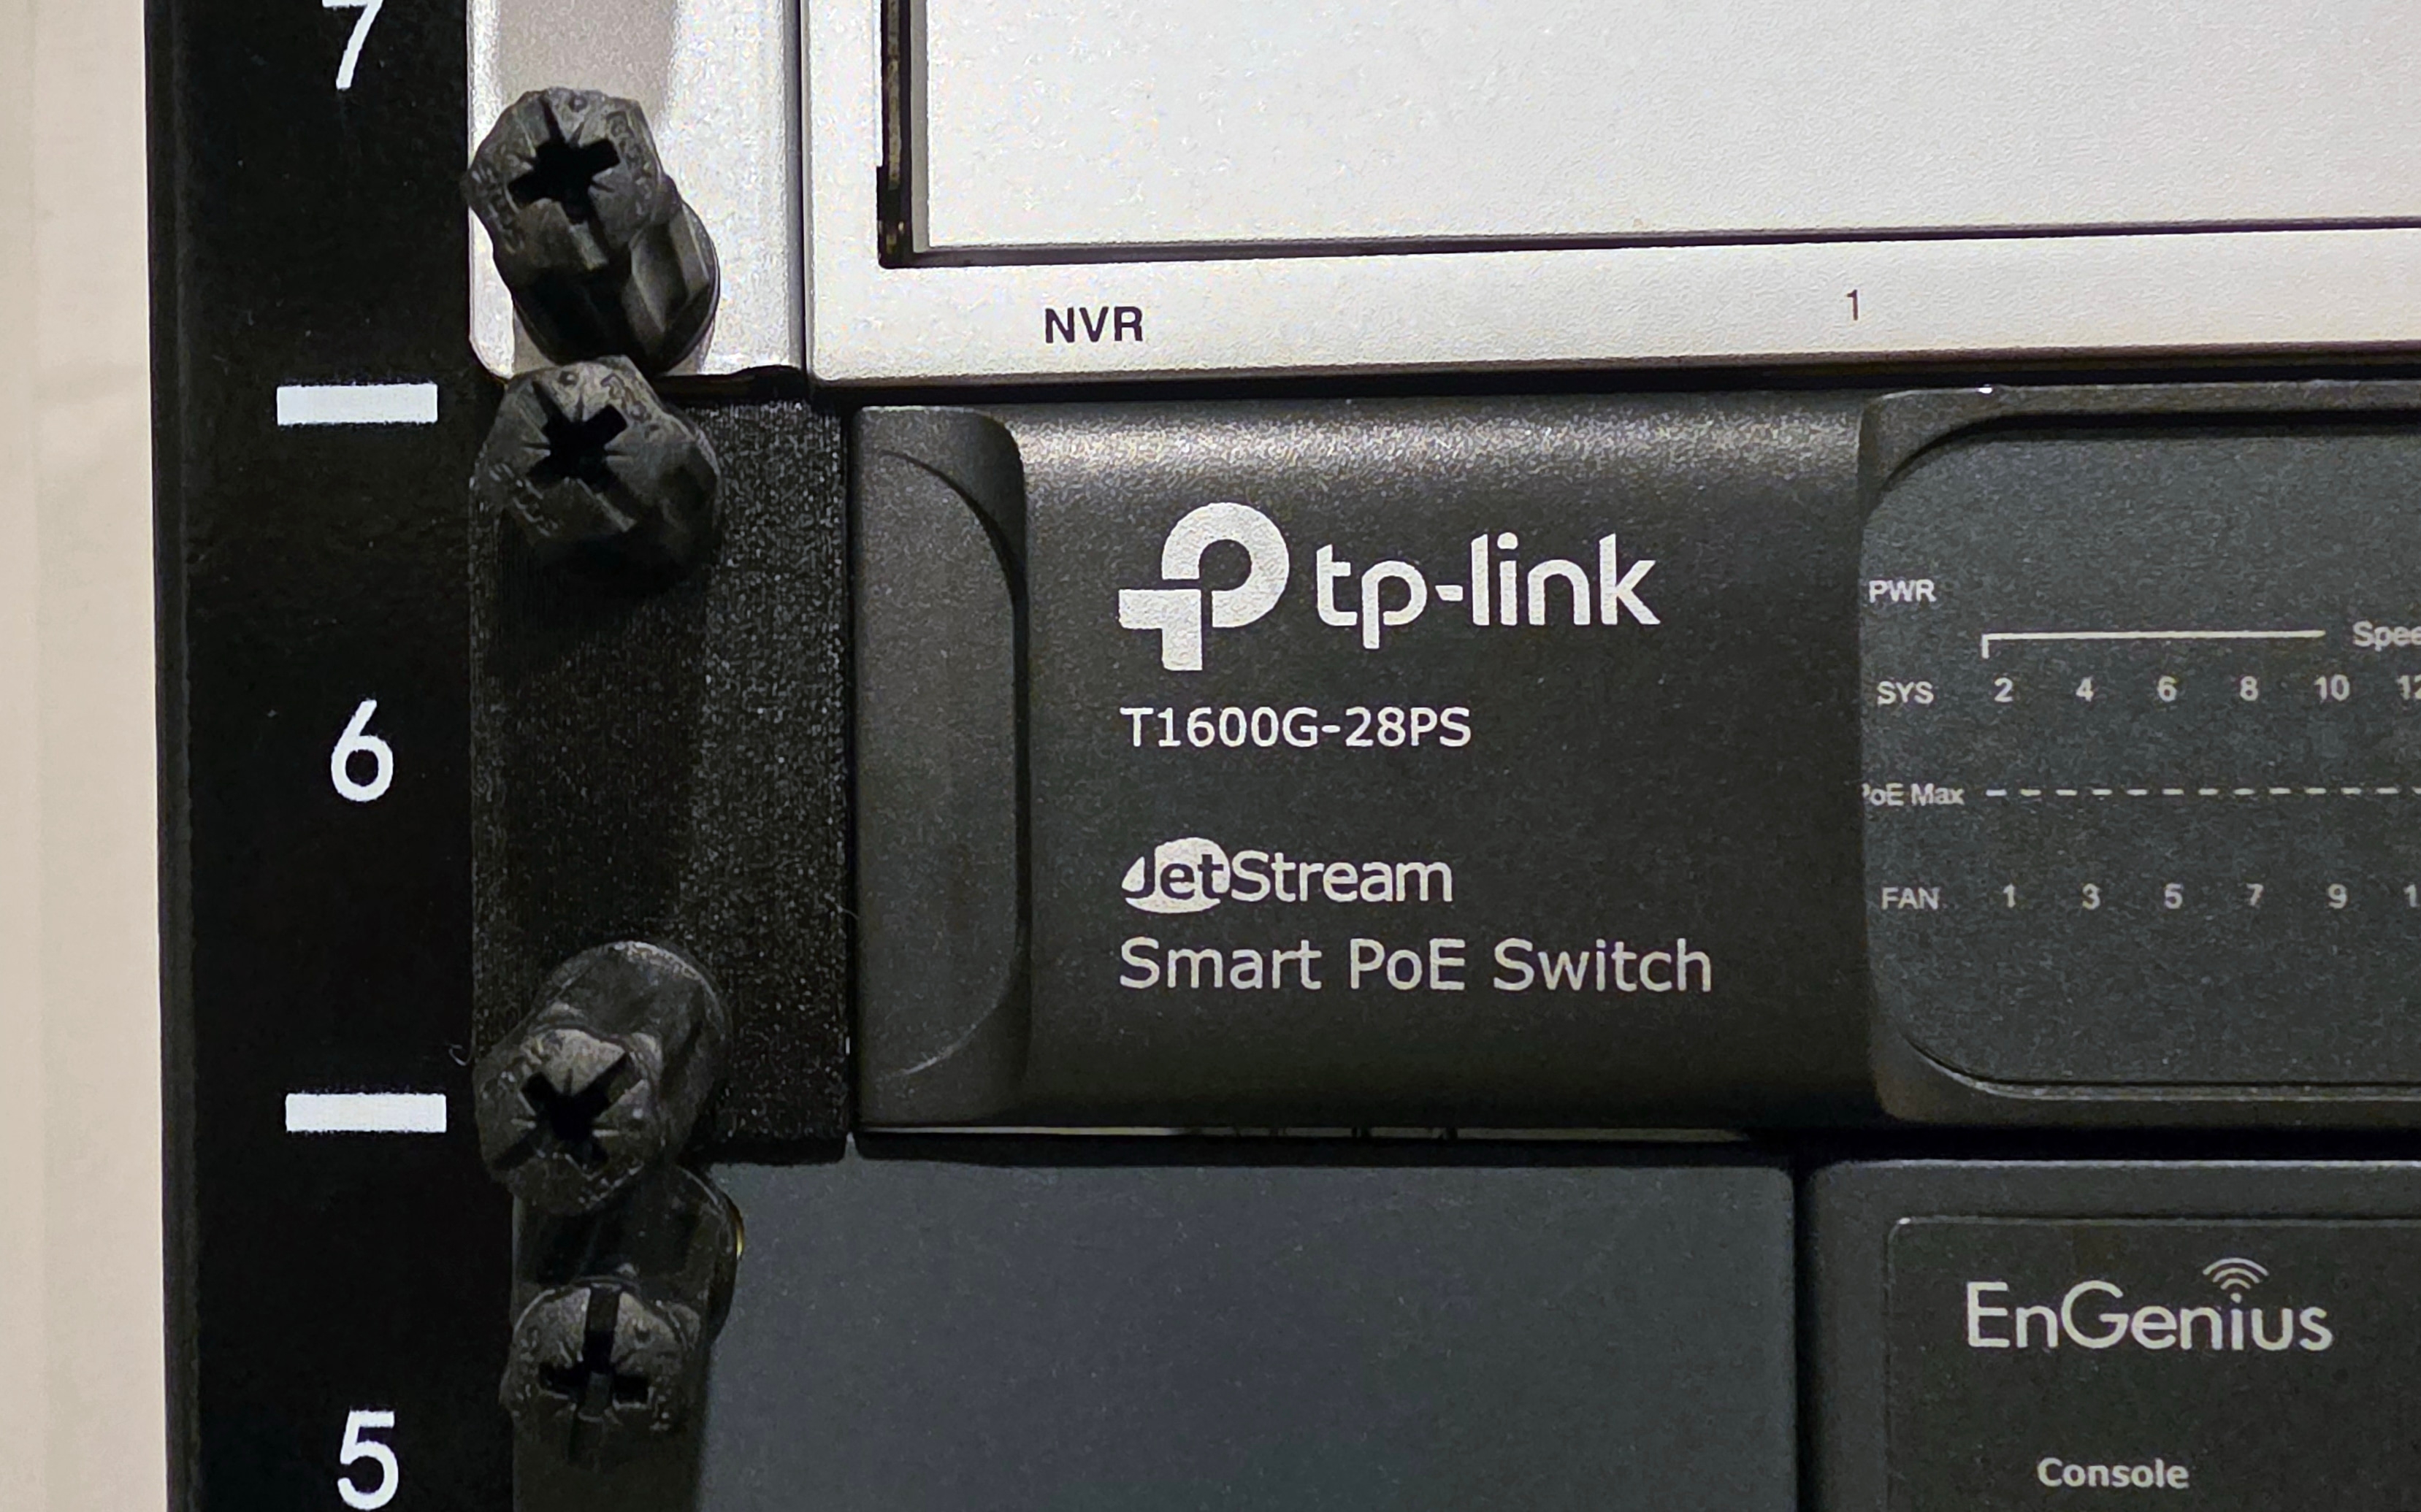
RackStuds replace the cage nuts and screws used to secure equipment to the rack's rails. Cage nuts clip into the square holes in the rails and provide a threaded hole for each mounting screw. I have never liked working with them, and I had only heard good things about RackStuds, so I wanted to give them a try. I bought two packs of the red Series 2 version, giving me 40 for $40.
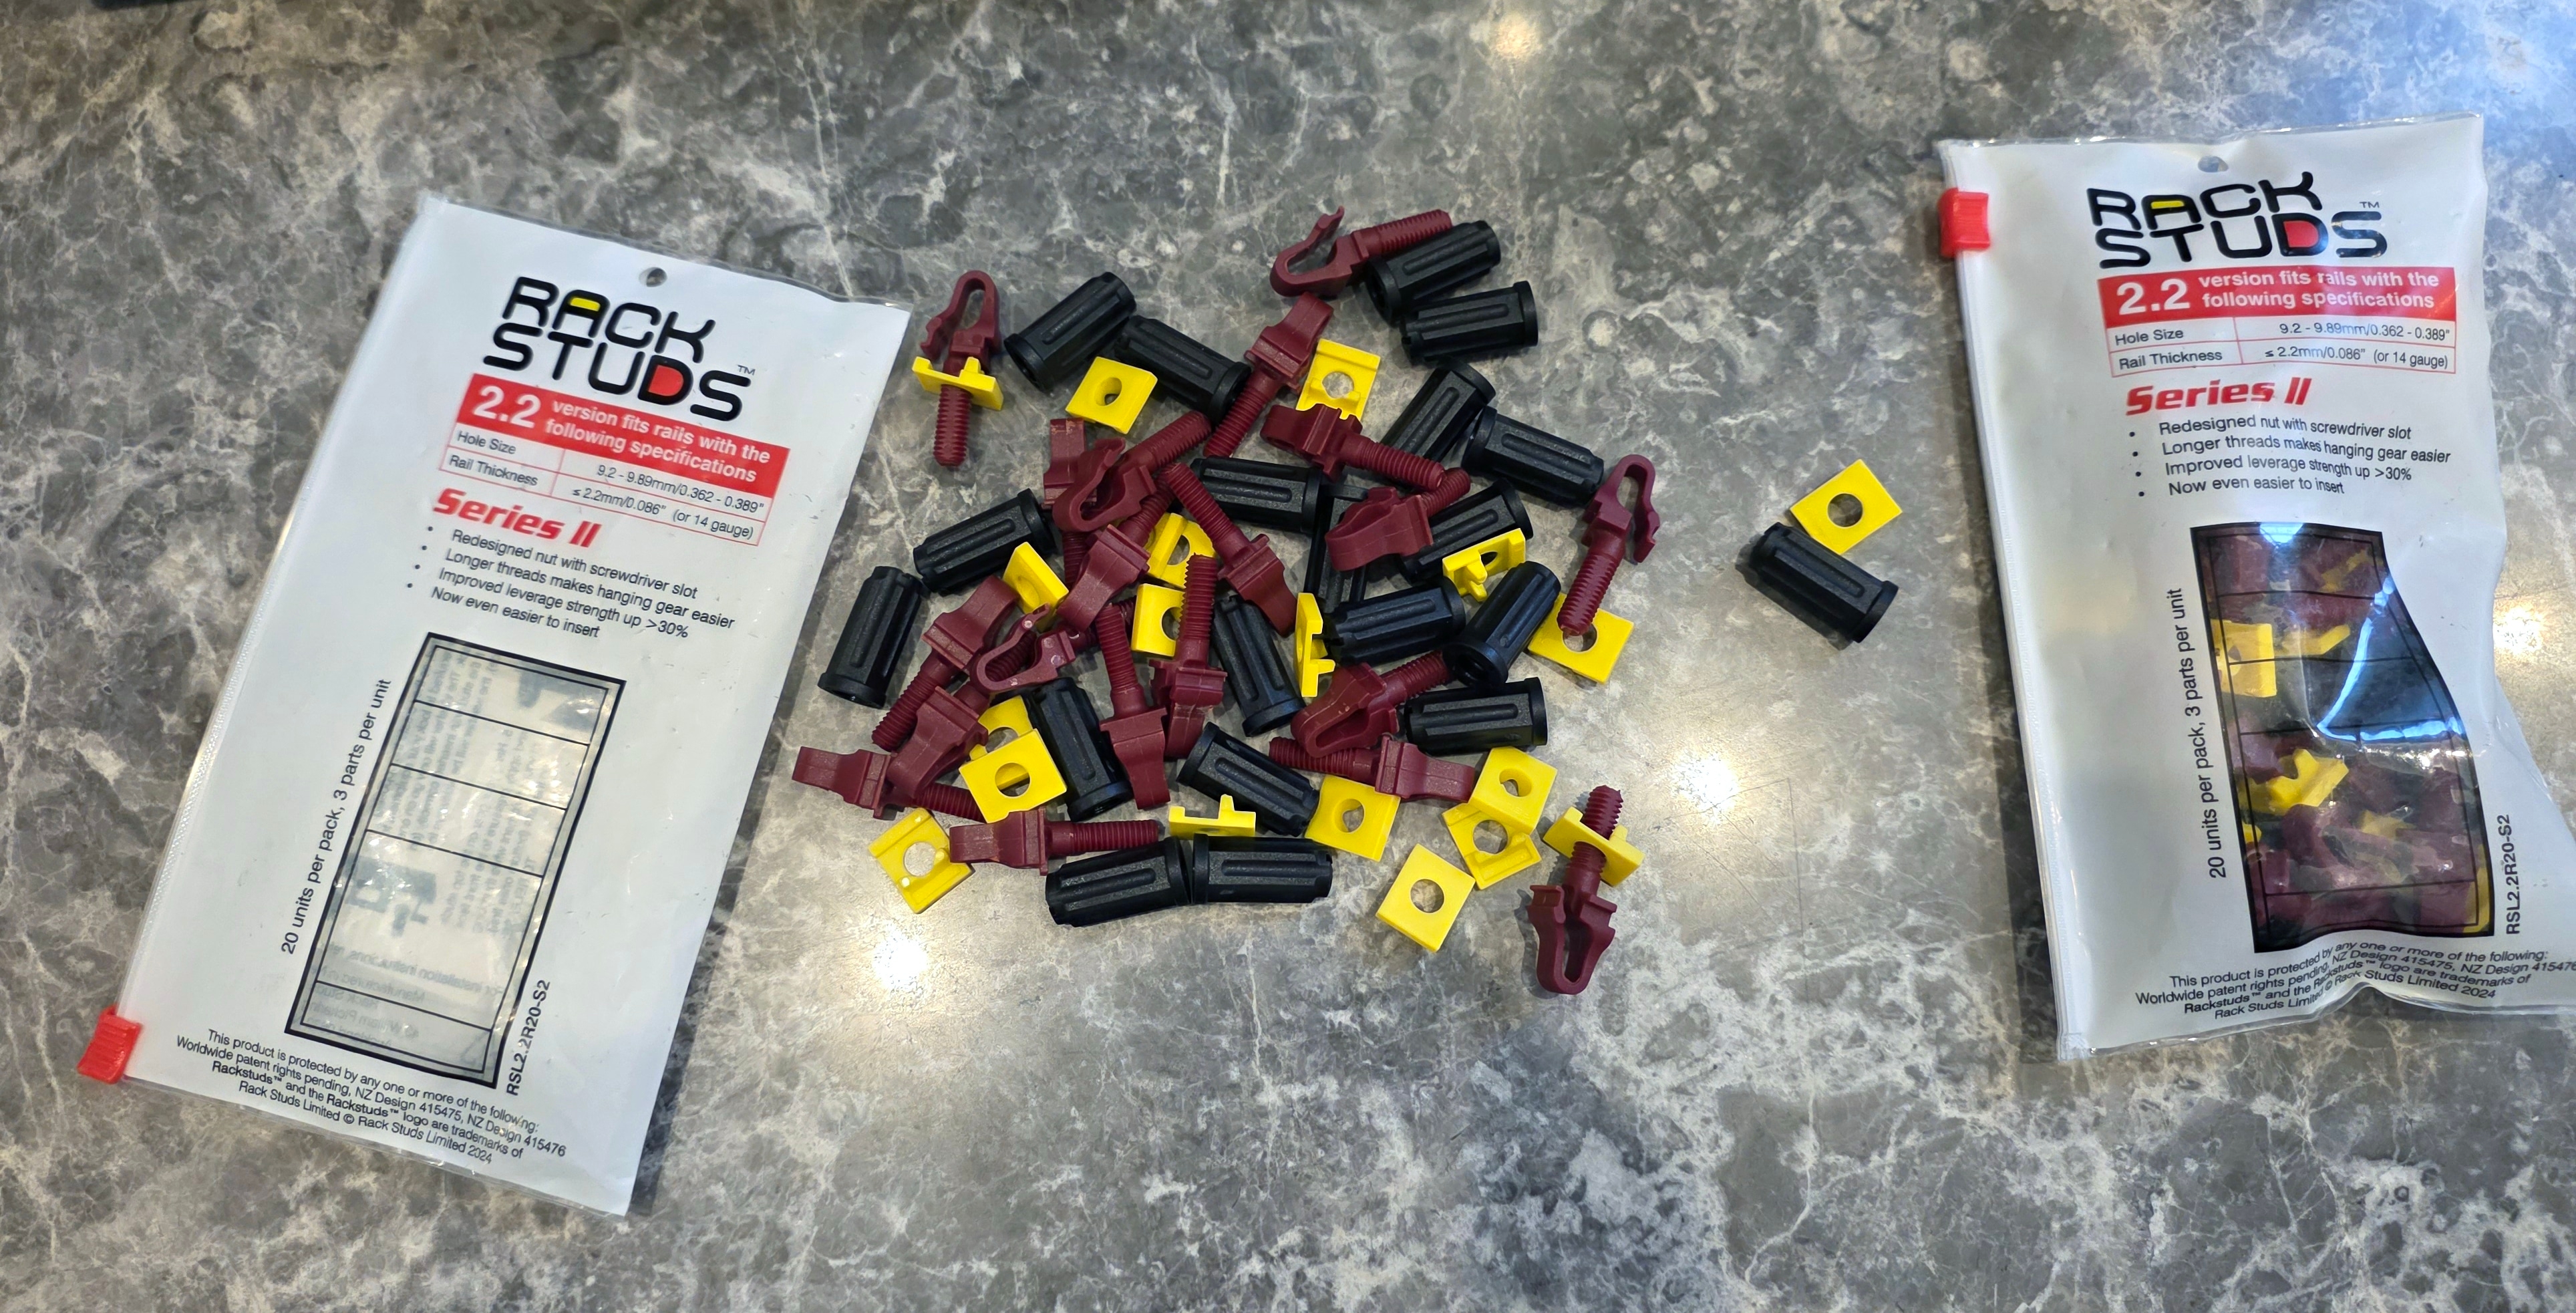
RackStuds fit from the front of the rail and are held in place by yellow locking washers. The equipment's mounting ears slide over the projecting studs, then nuts secure it from the front. Having the studs there gives you something to locate the equipment on while fastening it, instead of trying to line up a screw with a cage nut behind the rail.
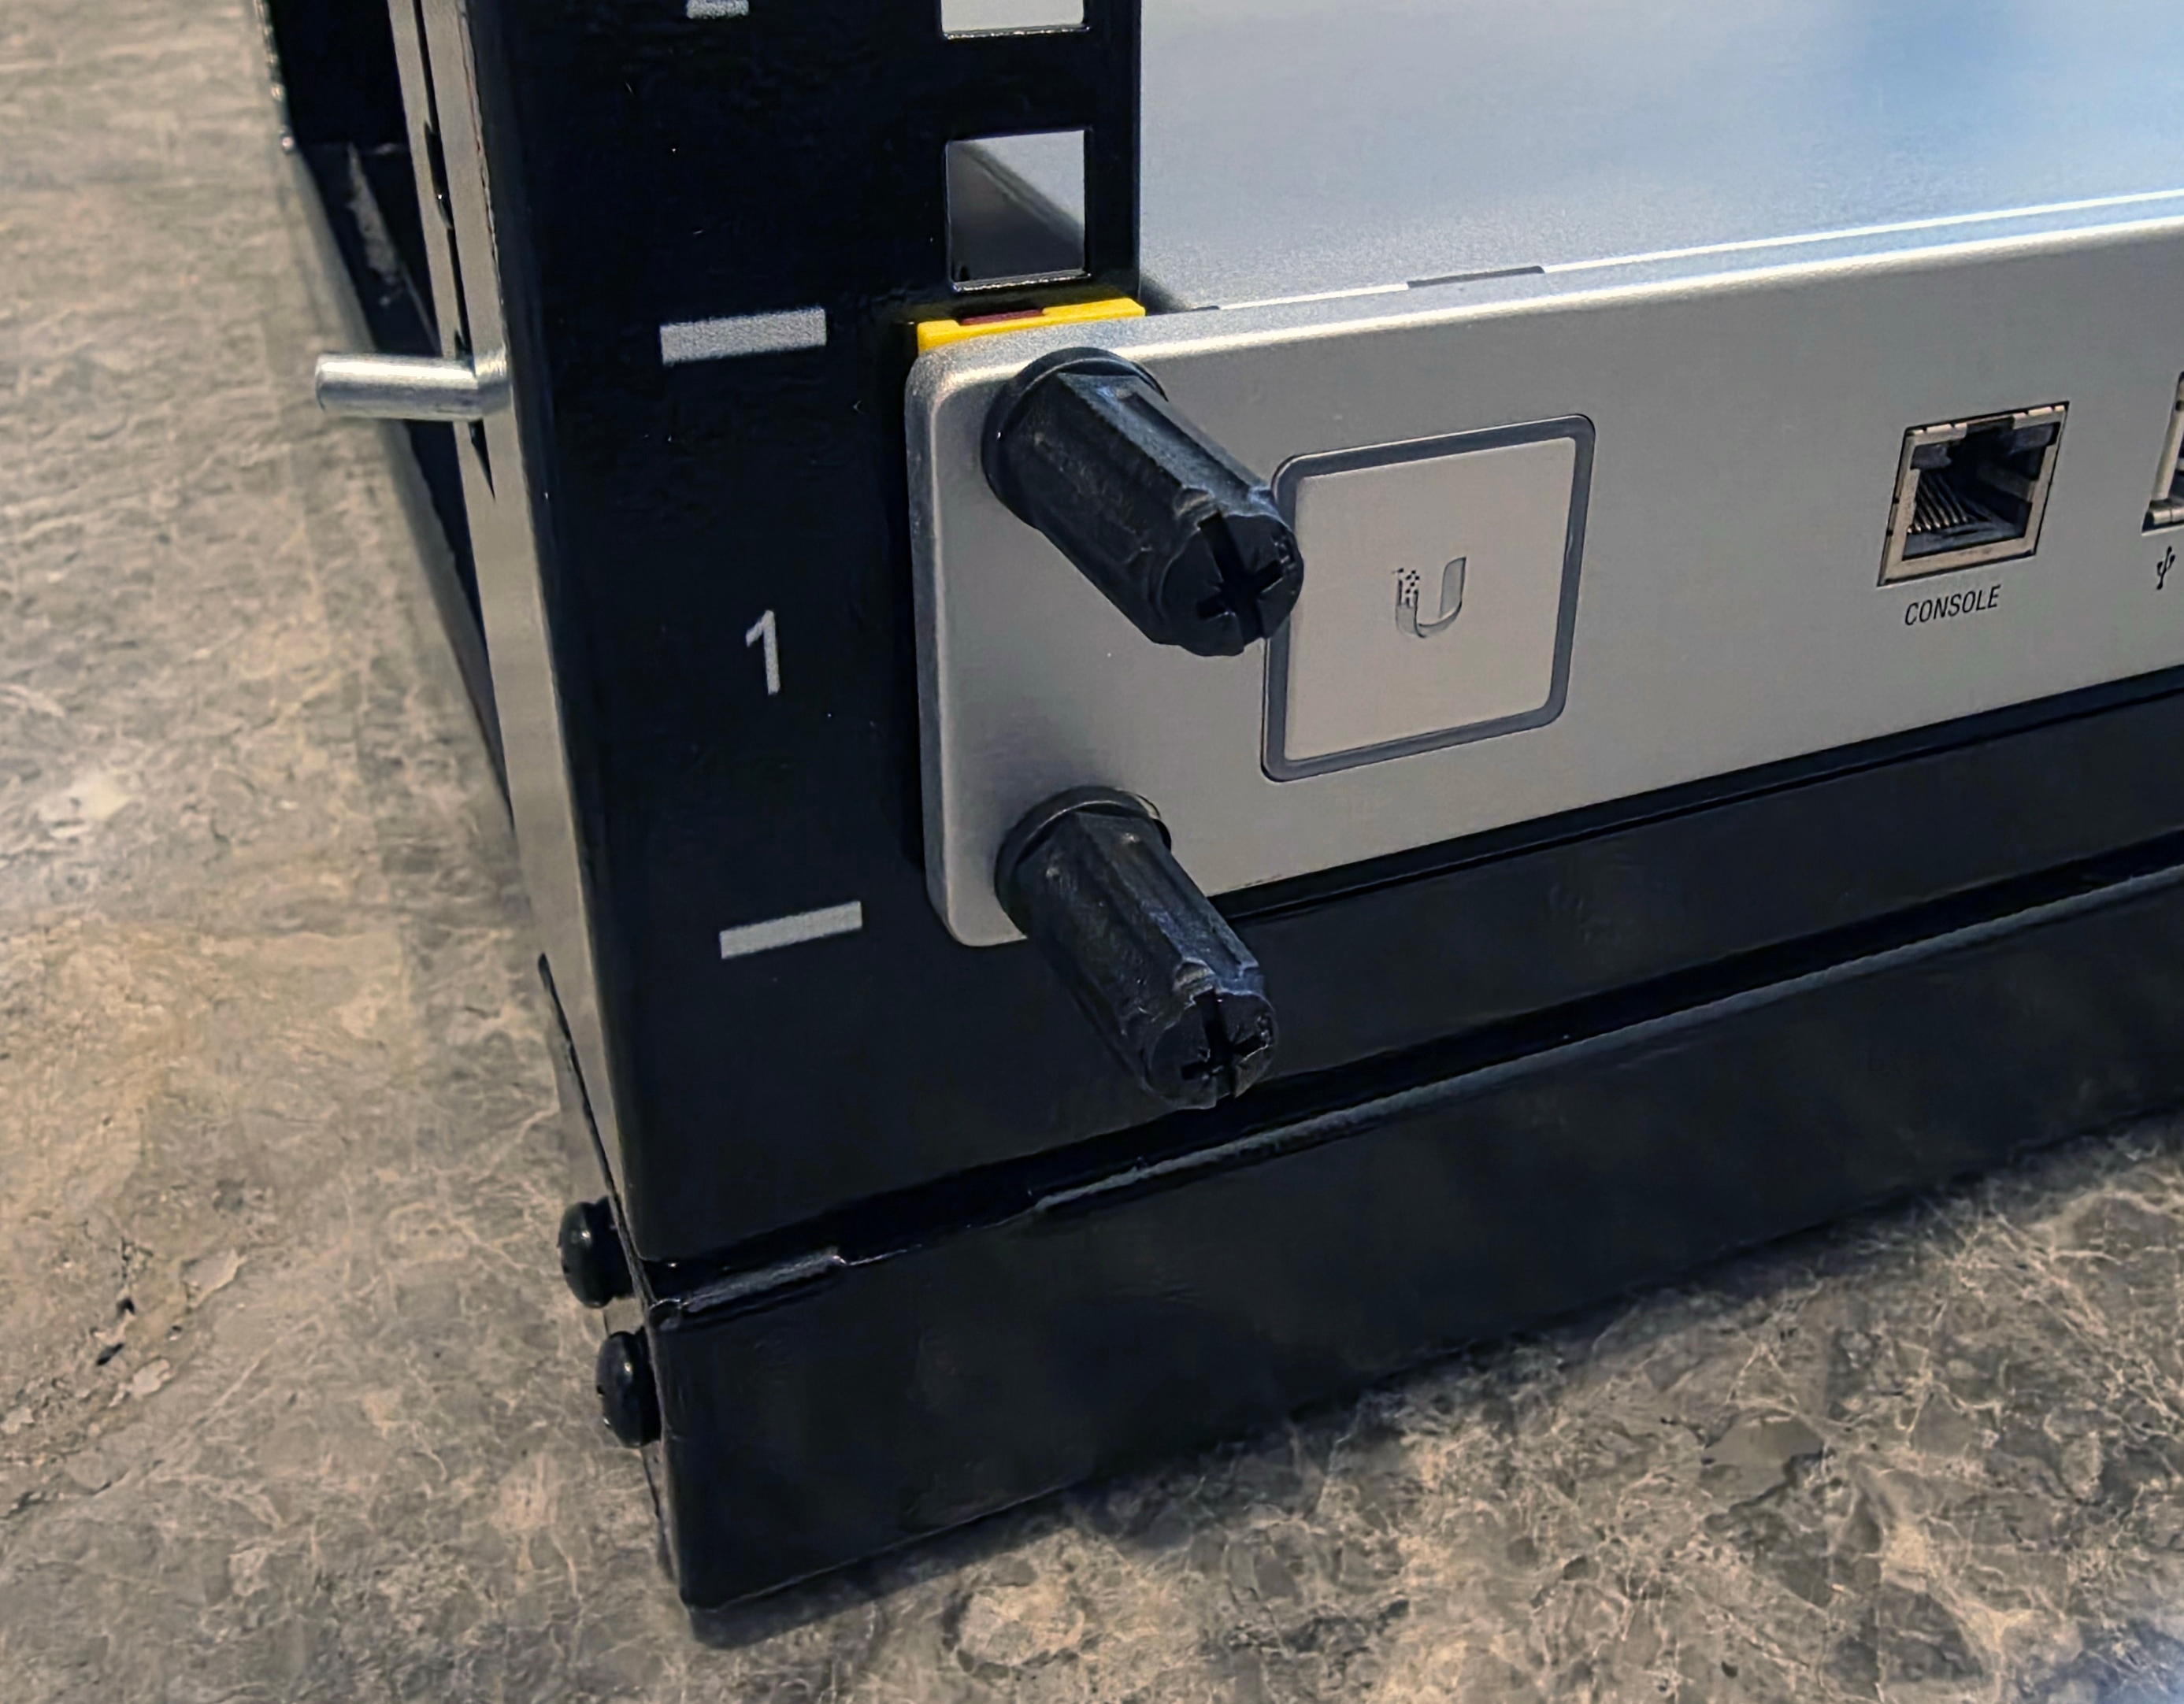
They lived up to the recommendations. Mounting equipment was much less frustrating than dealing with cage nuts, and I would happily use them again.
UPS
An uninterruptible power supply (UPS) keeps the equipment running during a power cut and gives the home server time to shut down cleanly. I previously wrote about using Network UPS Tools (NUT) to monitor a UPS and coordinate that shutdown.
My previous UPS was a CyberPower 1500VA rackmount model (OR1500ELCDRM1U). It was 485mm deep, too long for the 455mm rack.
I found that CyberPower also sold short-depth models in its PFC Sinewave (E) series, rated at 1200VA (720W), 1600VA (1000W) and 2000VA (1200W). All three have the same dimensions, are only 274mm deep and occupy 2U.
I bought the CP1600EIPFCRM2U, the 1600VA model, which came with two 12V 9Ah batteries. The identical dimensions made me wonder how different the three models really were inside. I contacted CyberPower to ask, but they seemed clueless. I suspect the inverter hardware differs too, rather than just the battery capacity.
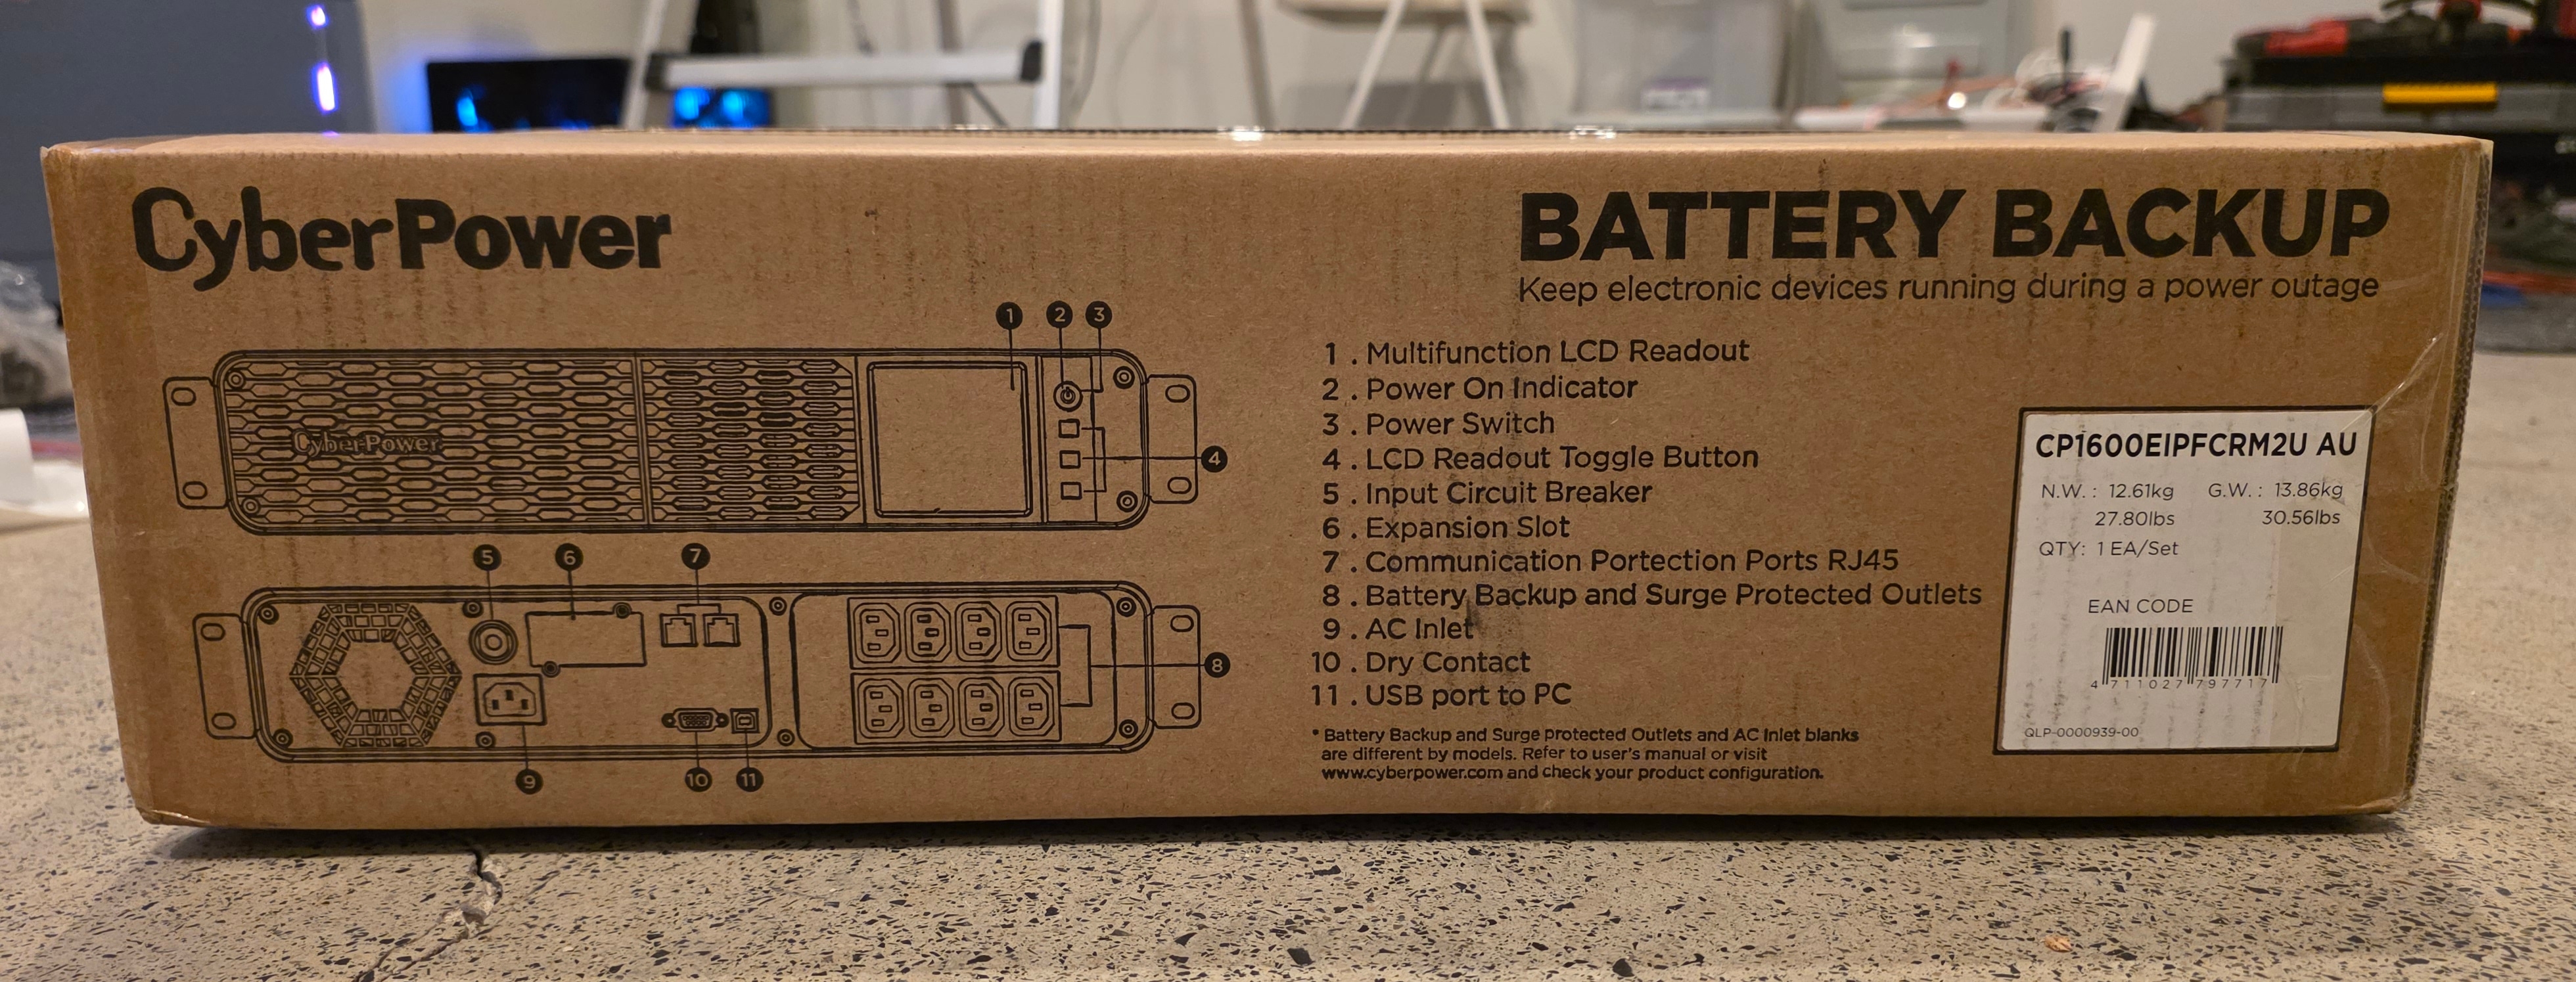
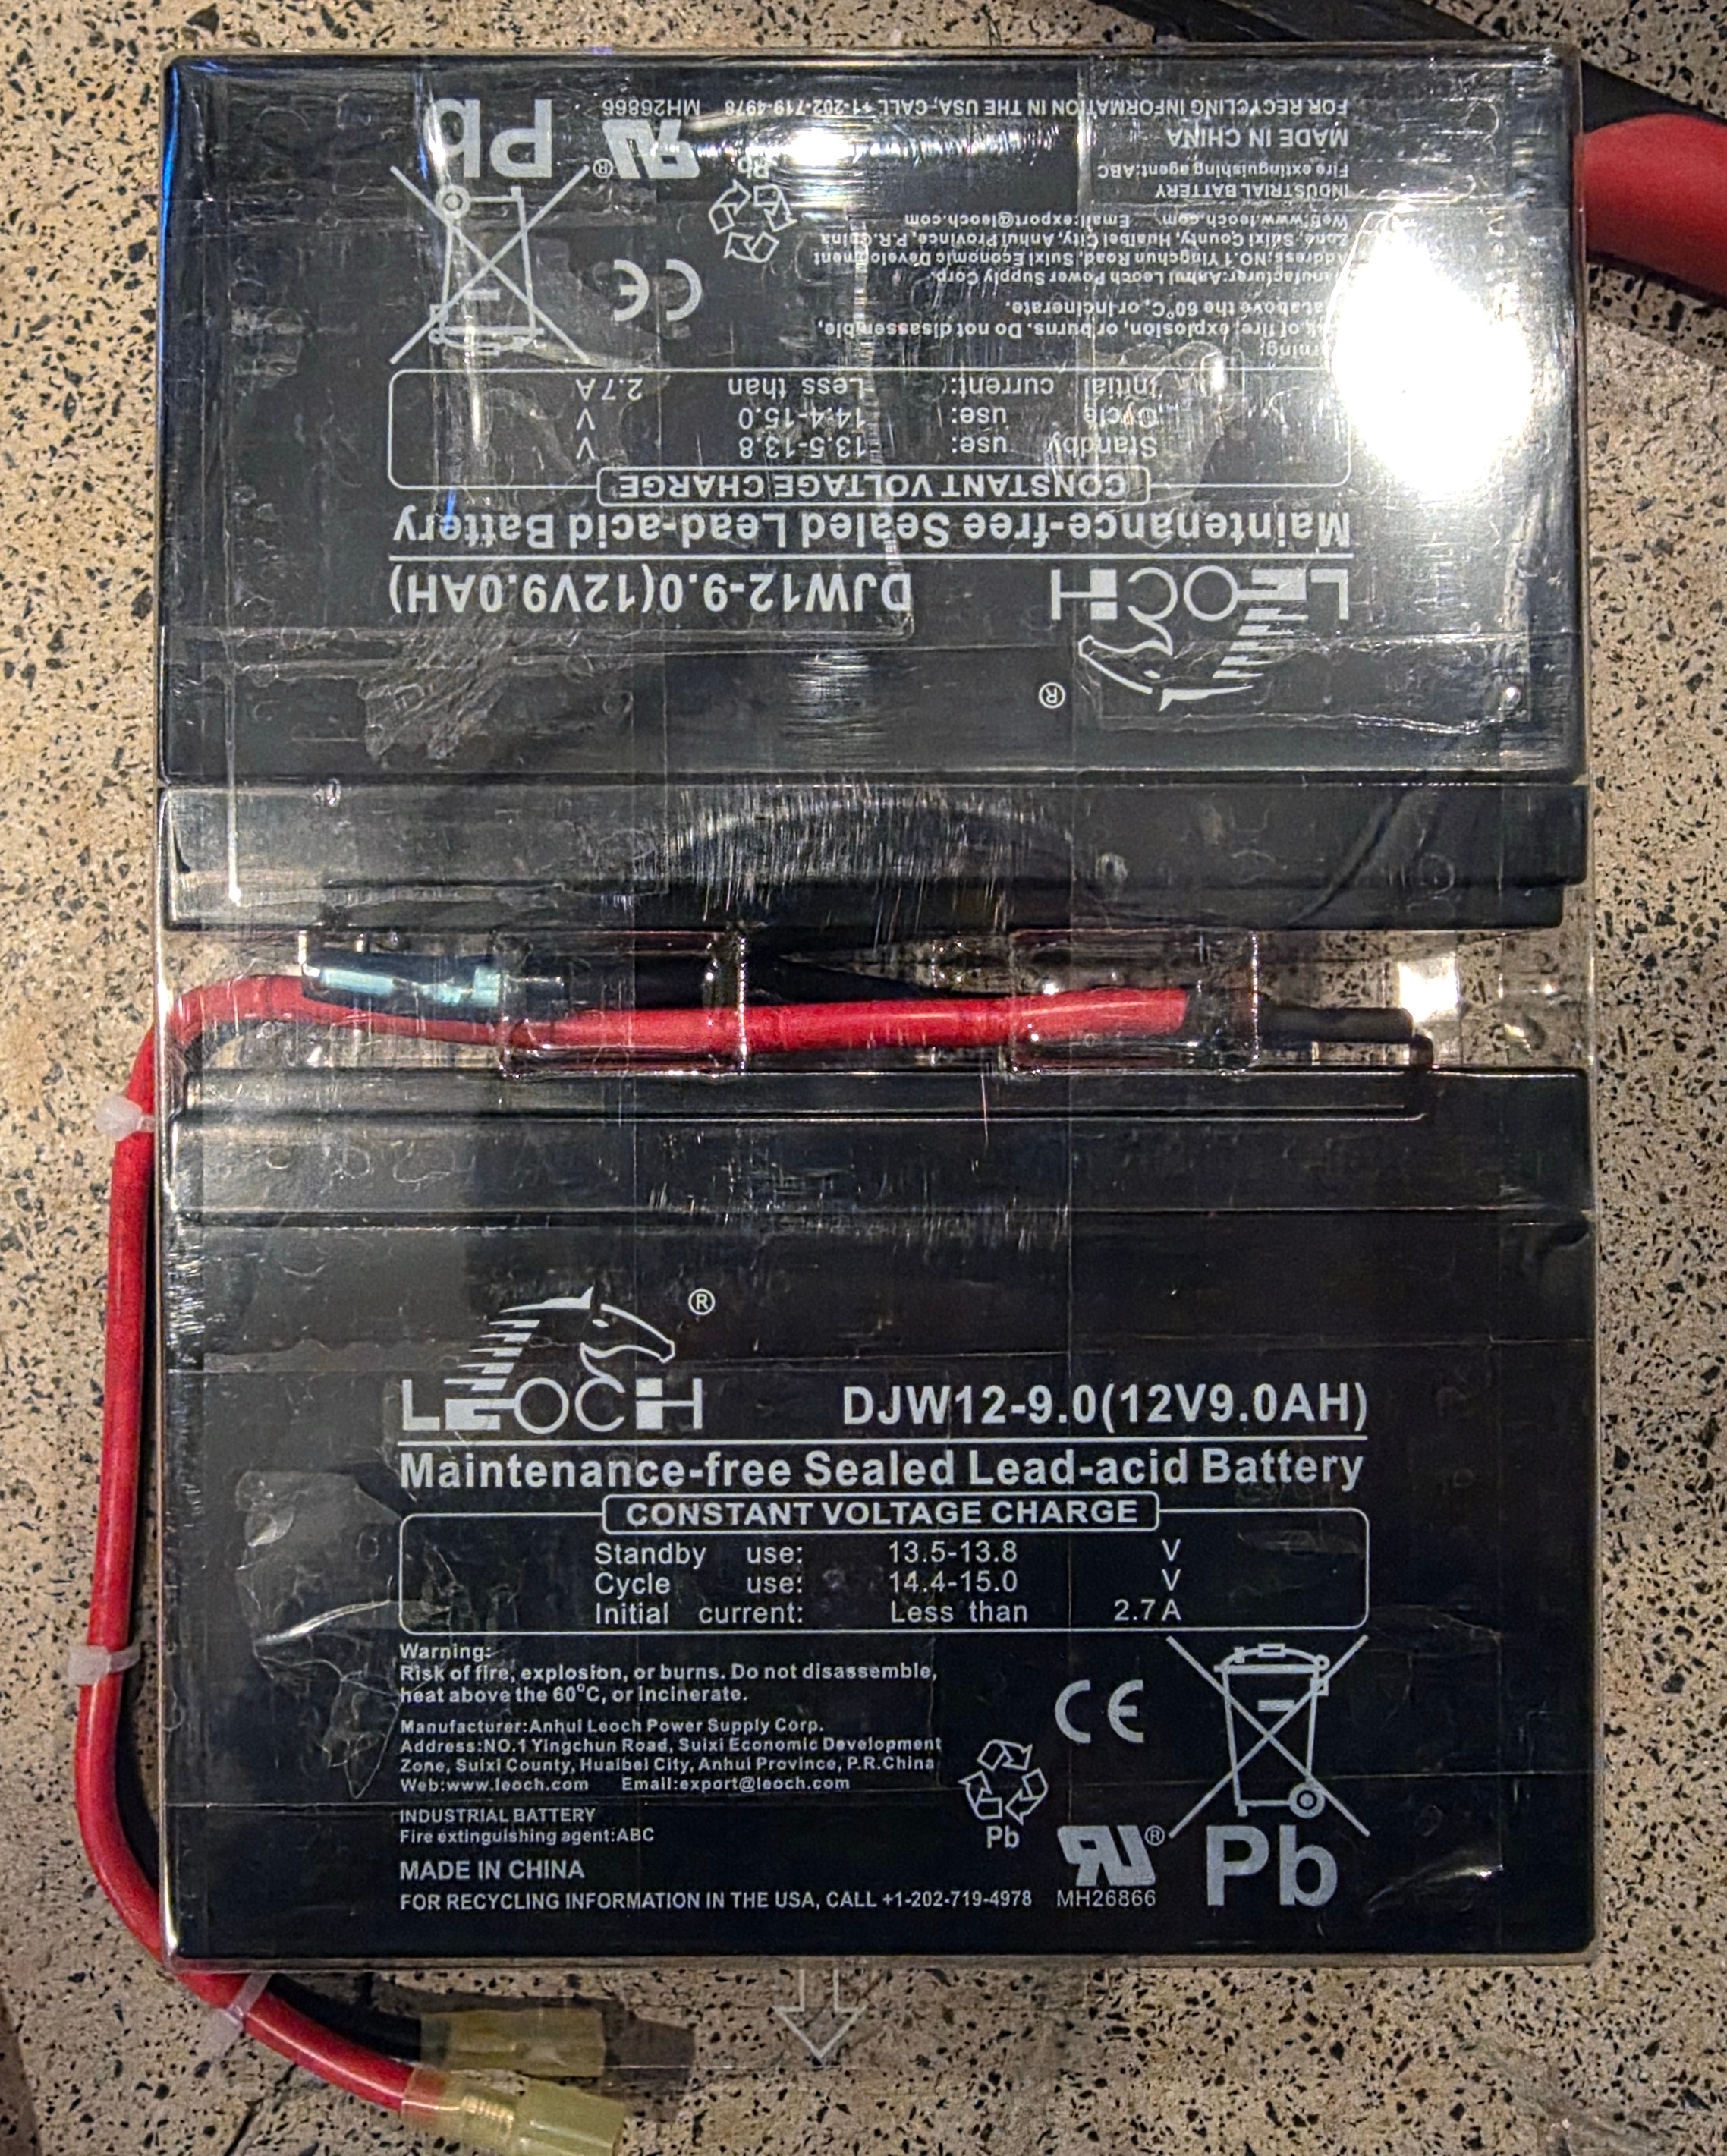
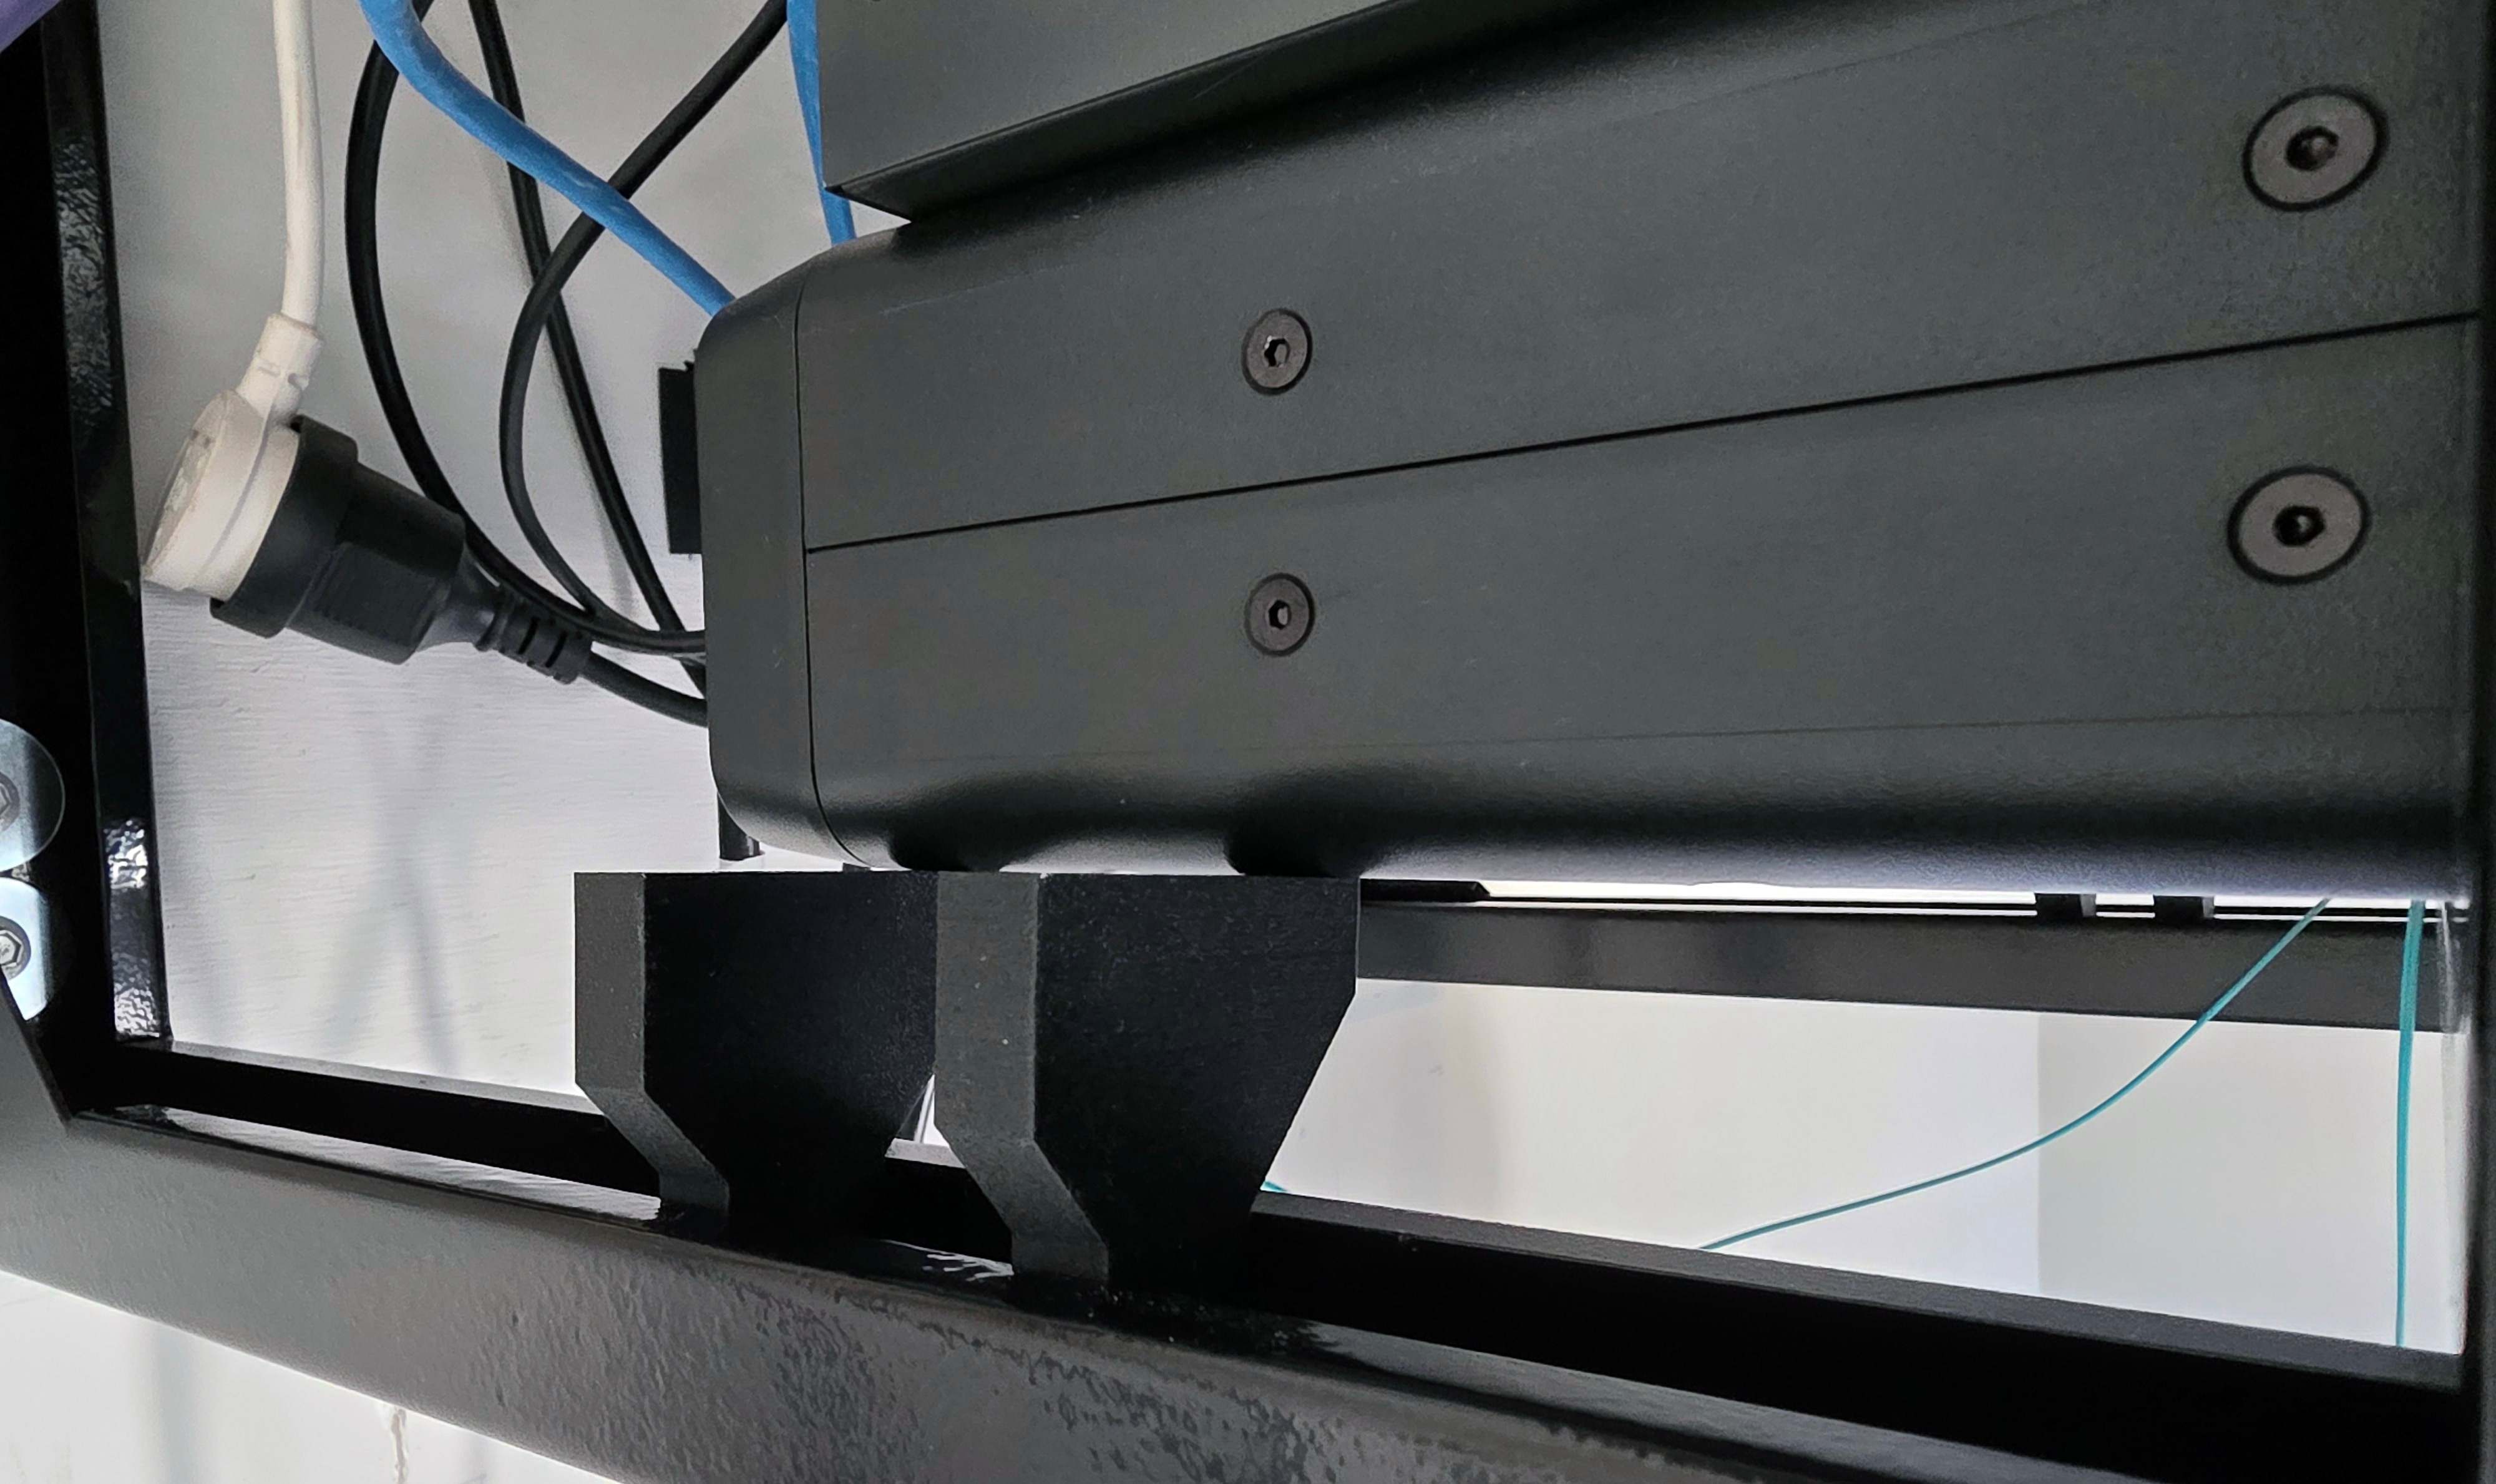
The UPS weighs 12.56kg, within RackStuds' 20kg maximum equipment weight across four studs. I still designed and 3D-printed some additional supports for peace of mind. RackStuds also recommends rear support where possible.
TP-Link Rack Ears
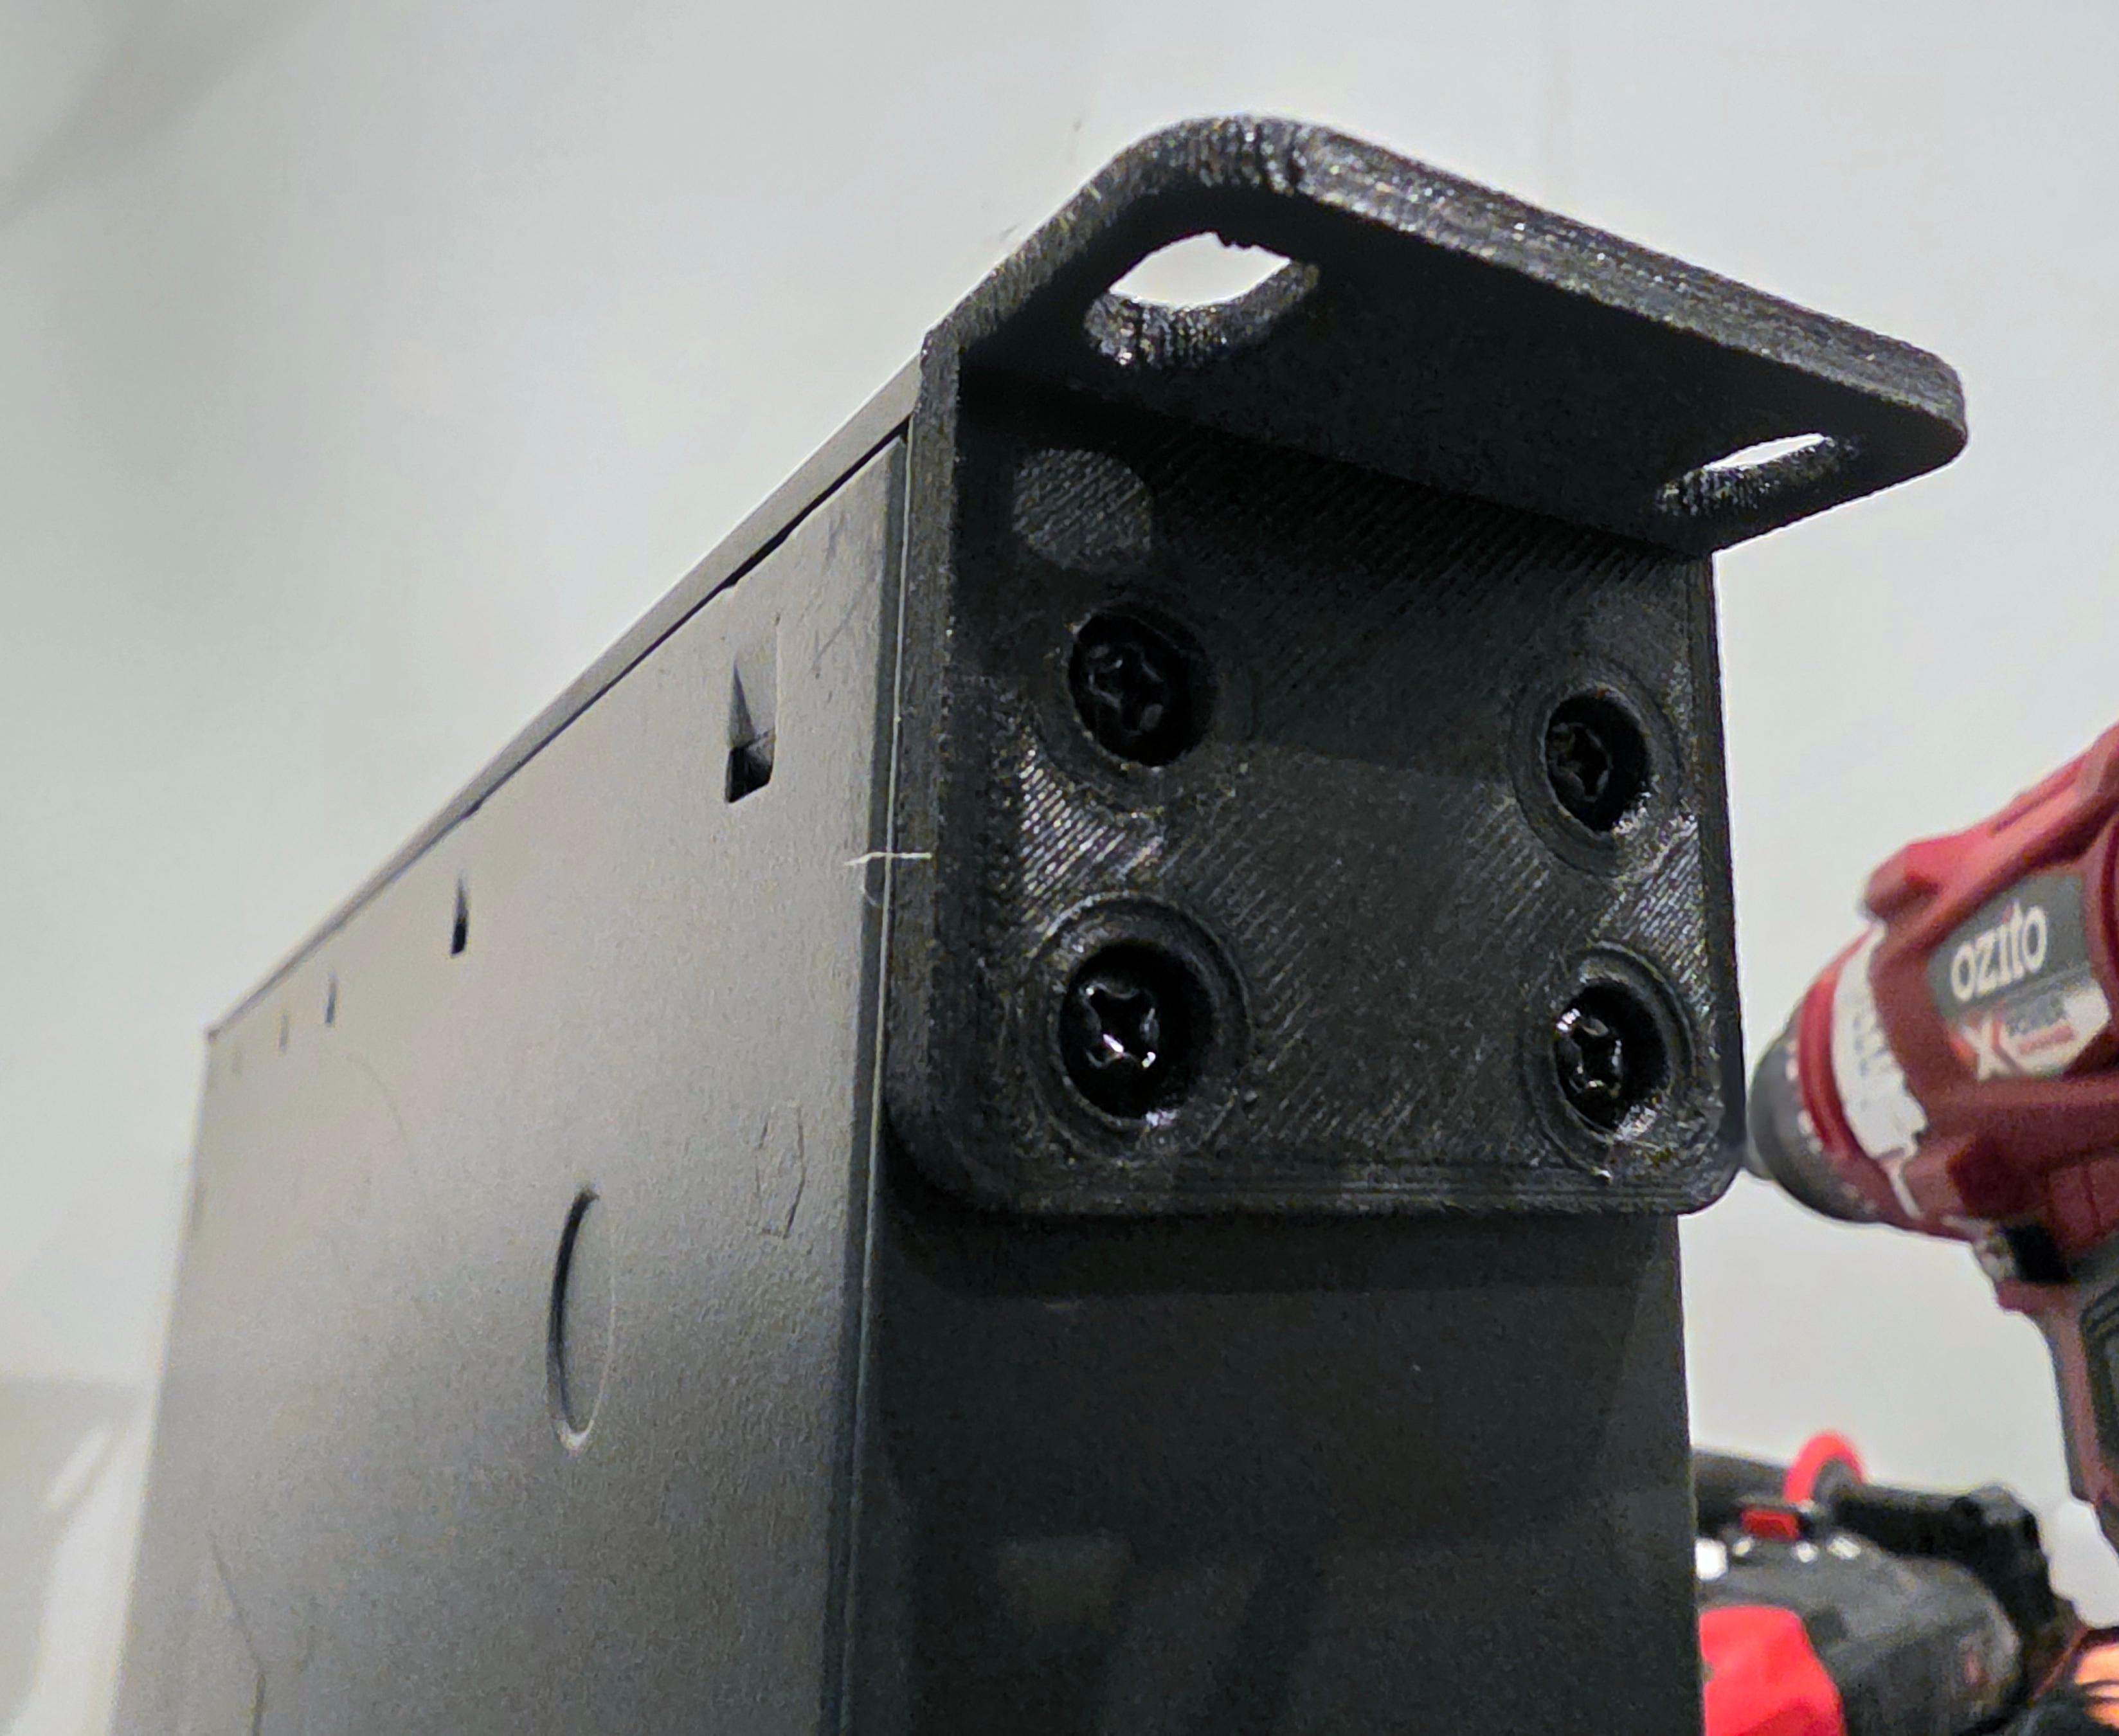
The rack ears for my TP-Link T1600G-28PS switch was missing. These brackets attach to the sides of the switch and provide the mounting holes that secure it to the rack's rails.
I tried a universal replacement, but its screw holes did not line up with the holes in the switch. TP-Link would not sell me a replacement either, so I modelled and 3D-printed one to match.
Home Server
The home server I built in a previous post uses a Jonsbo N5 case, which is not rack-mountable. There are a few neat rack-mount cases on AliExpress with room for the hardware and all 12 hard drives.
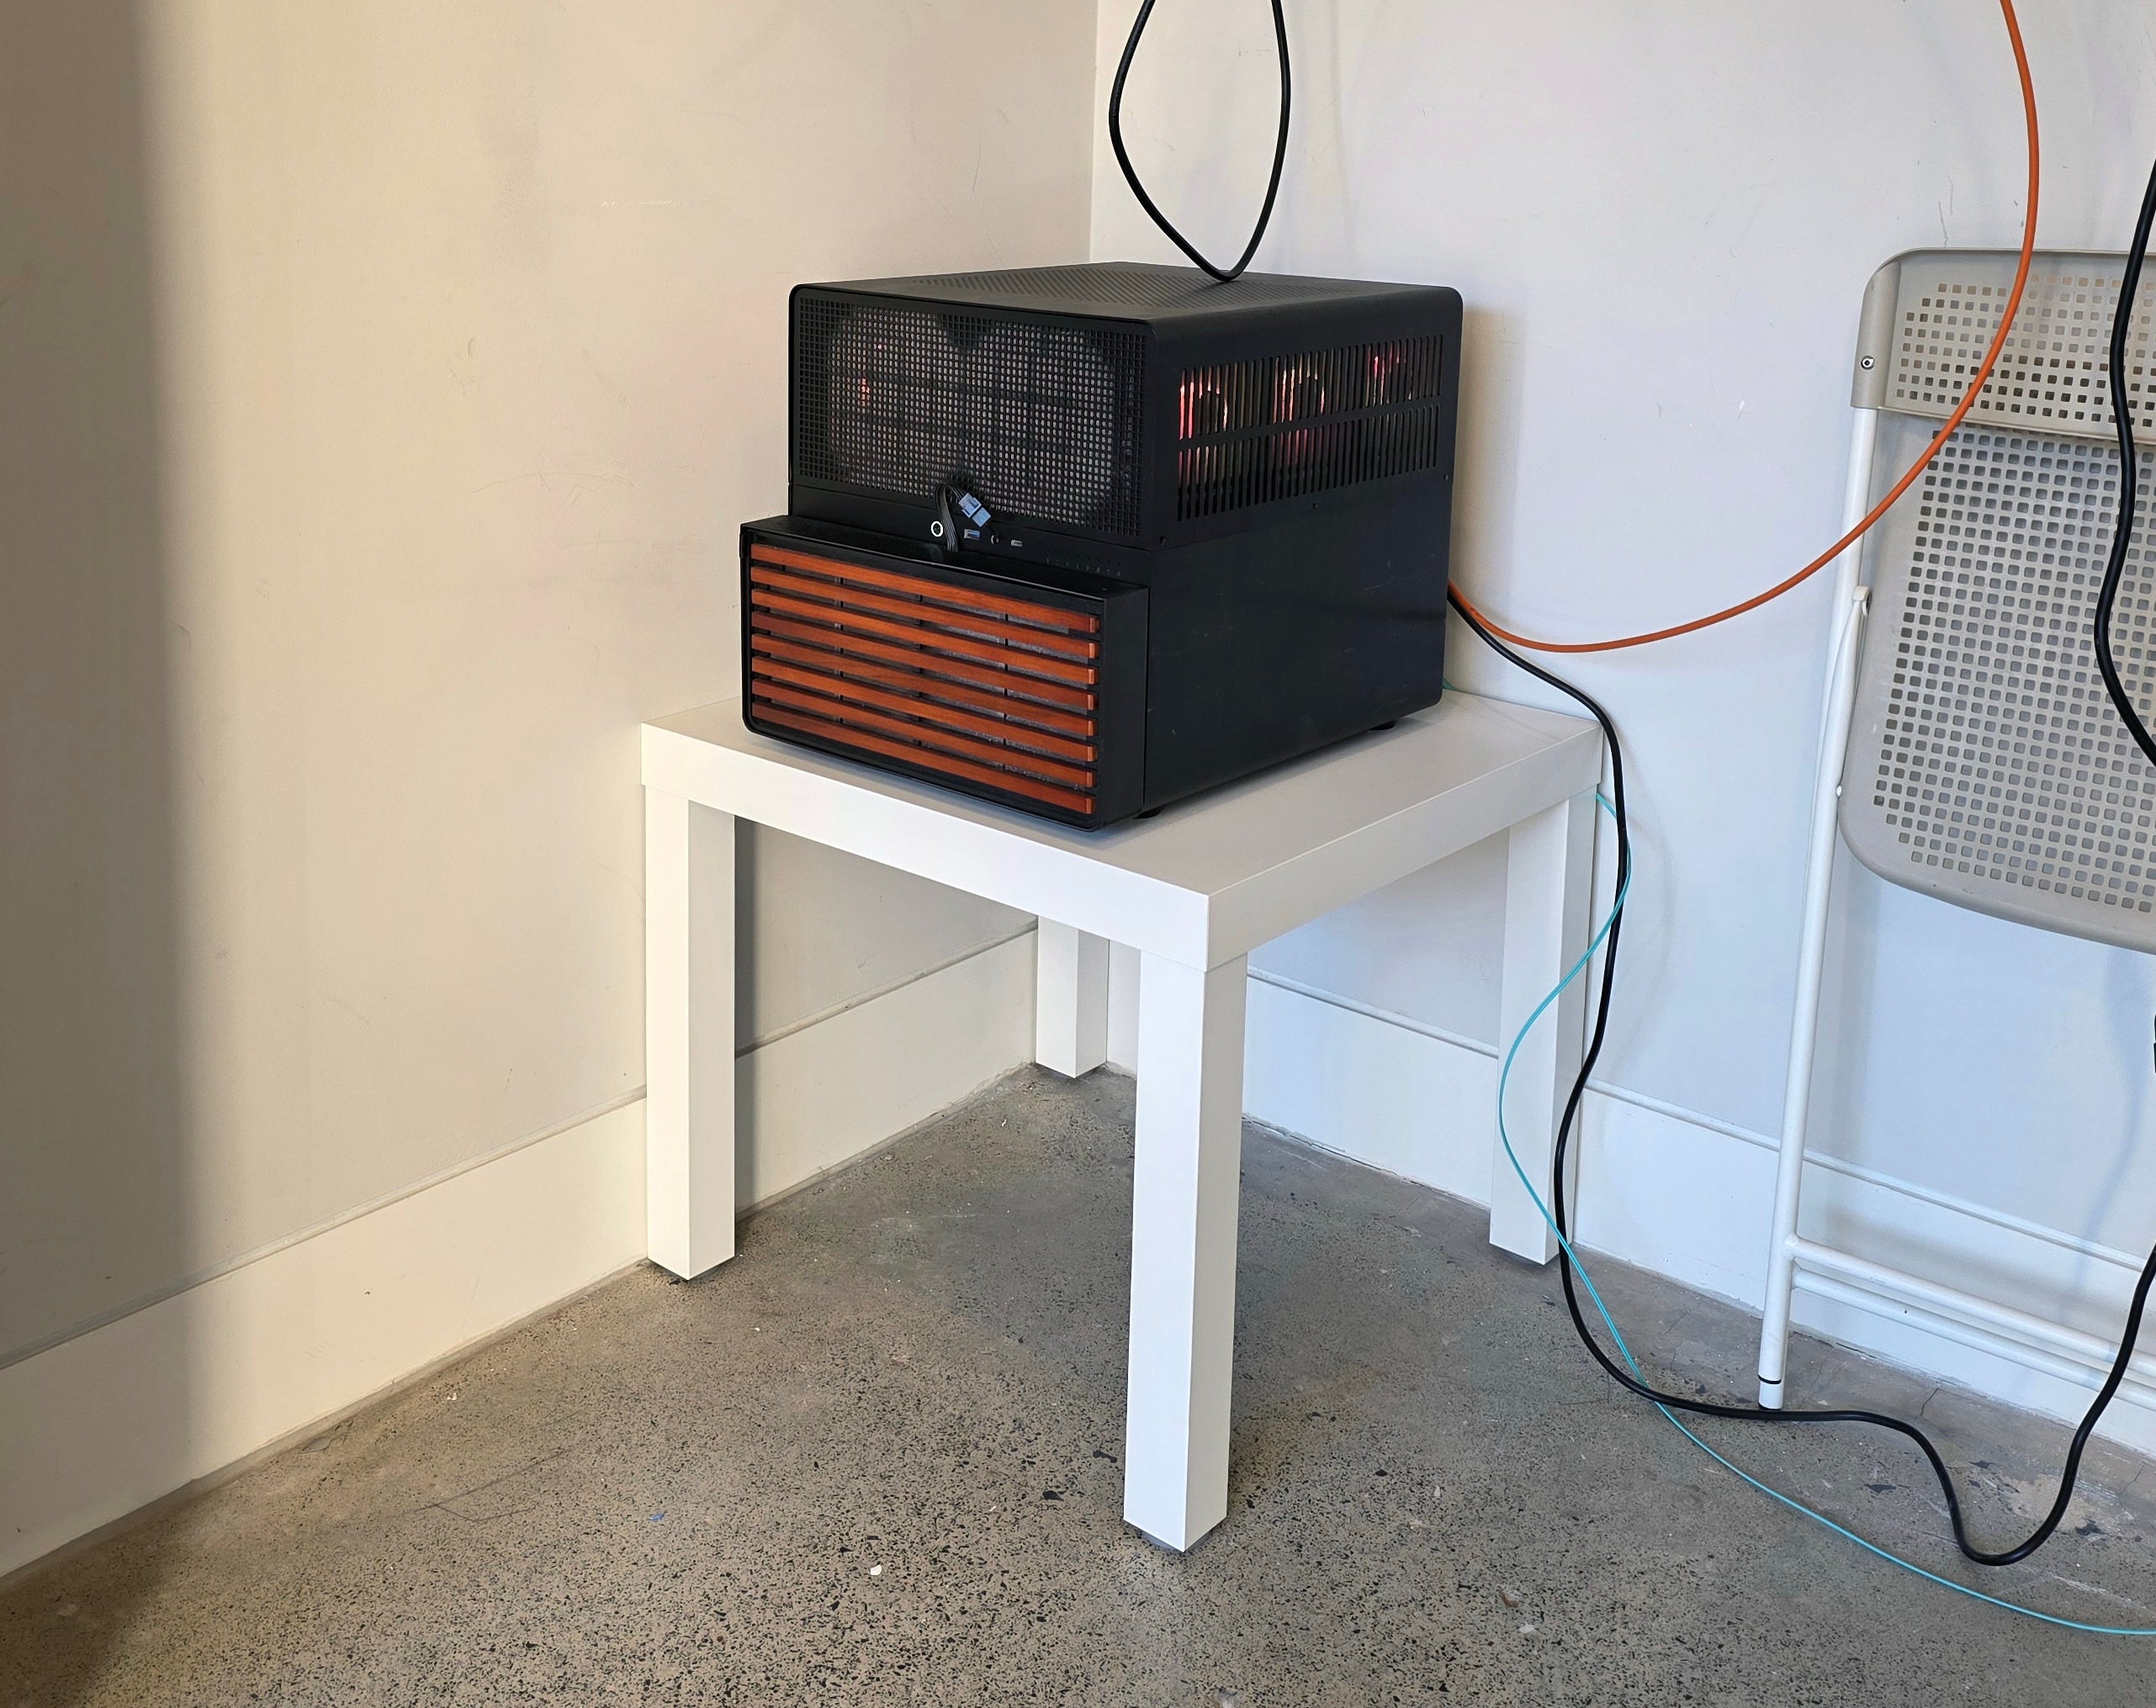
The server weighs a ton with all the drives installed, and I was not confident that even the larger 15U VEVOR rack could support it. Maintenance was another concern with the rack mounted so high up. Without sliding rails, lifting the server down to work on it would be a pain.
Unfortunately, keeping it near floor level was the most practical option. I bought an IKEA LACK table and put the server on it in a corner of the garage. I ran the fibre, power and network cables back up to the rack, using cable organisers on the wall to keep them tidy.
Result
The networking gear is now mounted on the wall instead of sitting on IKEA IVAR shelving. Together with the wall-mounted garage storage, that let me remove the last floor-standing shelving from my garage and recover the space needed for the longer car.
Here's the before and after: