
After upgrading my home network to 10 gigabit, I turned my attention to the cabling.
Background
Electromagnetic interference is the constant fight in any home network corner that lives near power equipment. Switching power supplies, inverters, motors, and high-current circuits all radiate noise across a wide frequency range. When that noise couples into a copper data cable it shows up as bit errors, retransmits, and degraded link speeds. Shielded cable, shielded keystones, a shielded panel, and an earth path are how you push that noise back out.
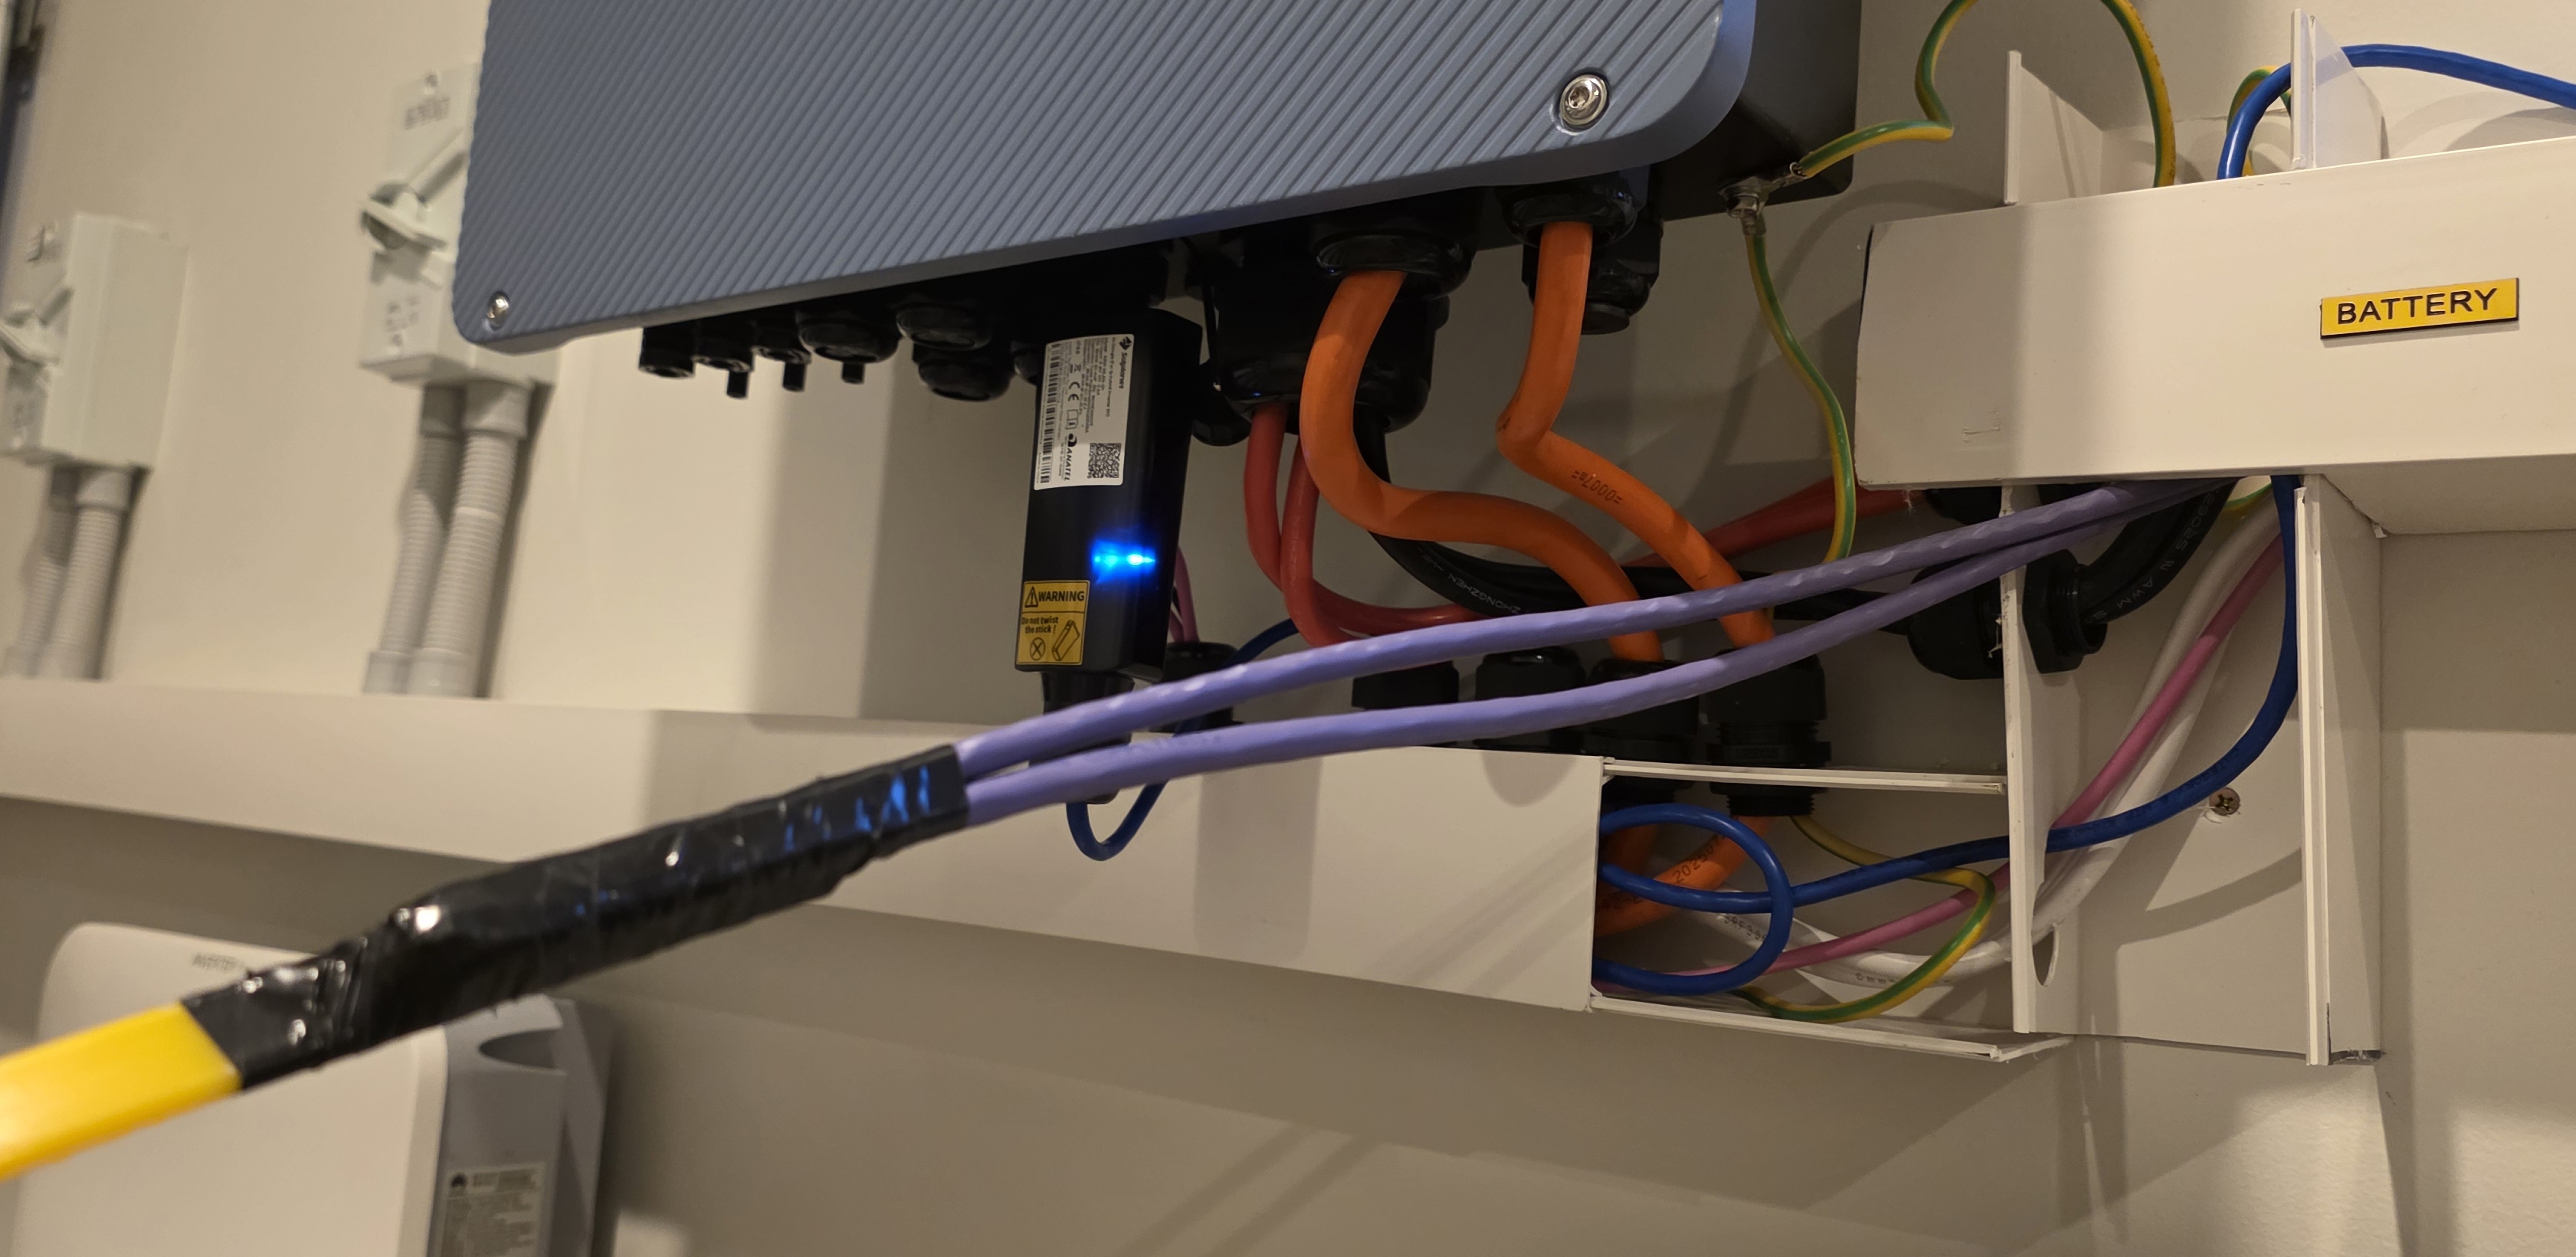
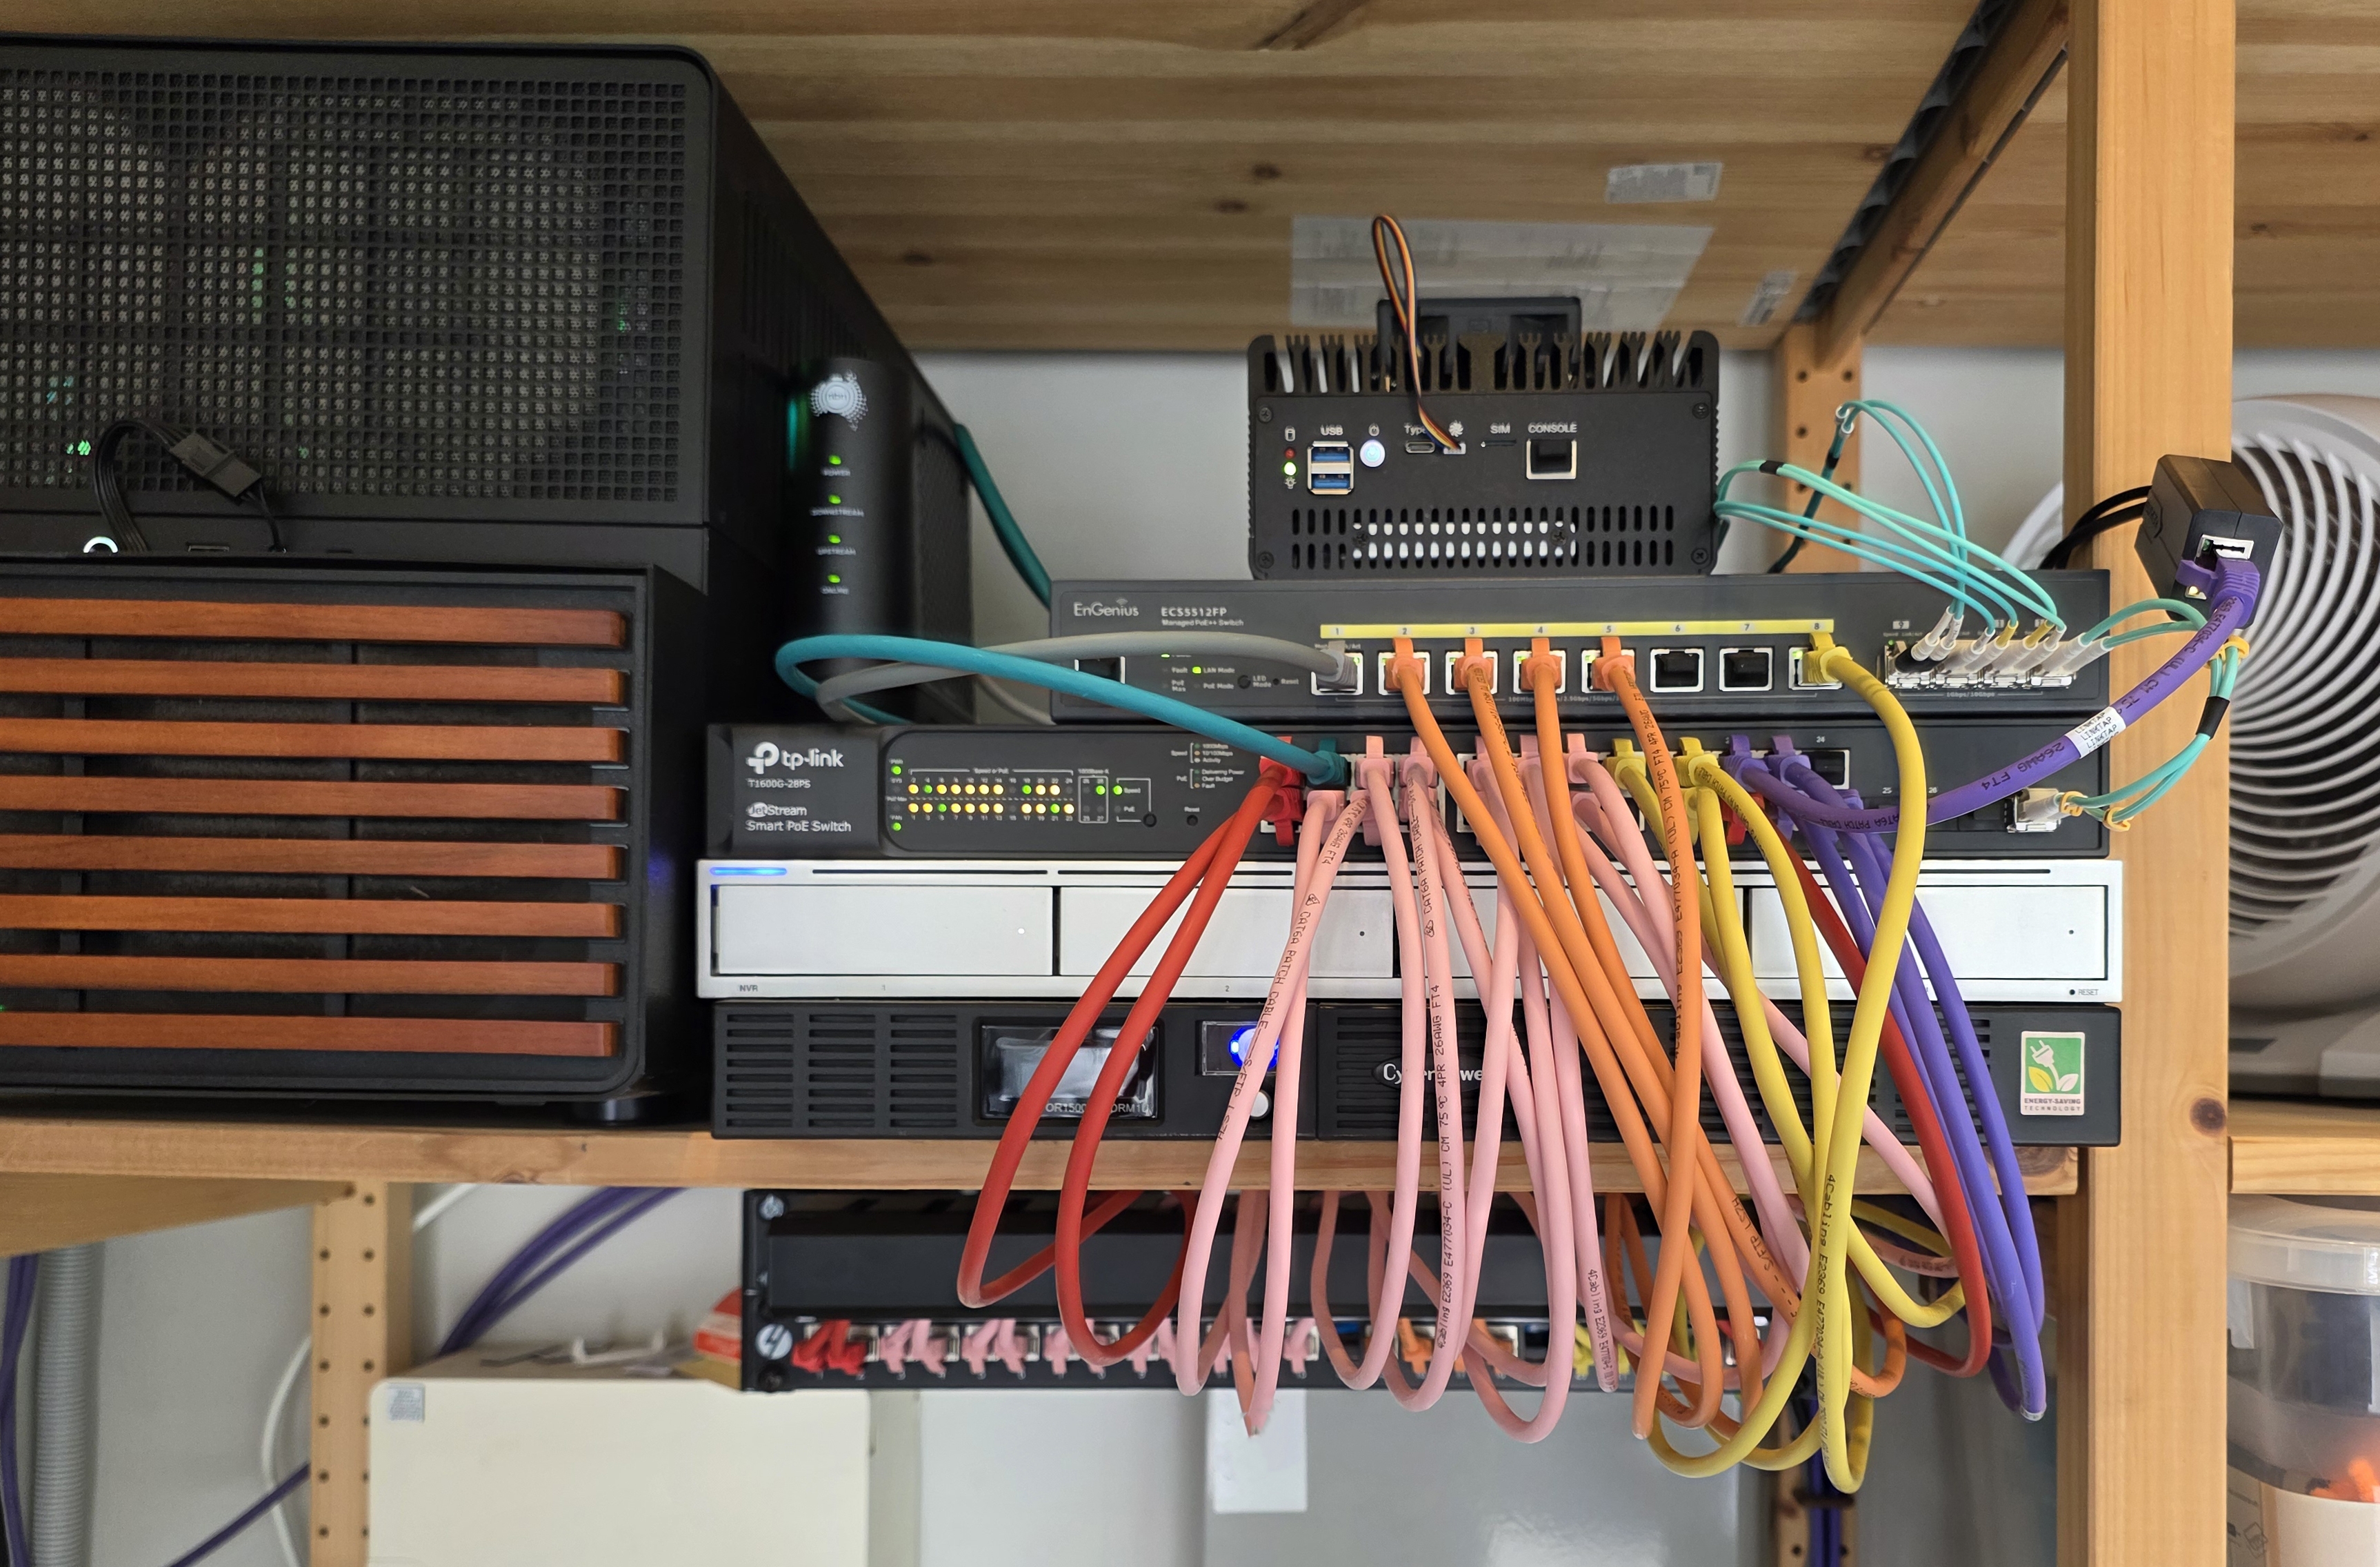
All the networking gear sits in the corner of my garage, about two metres from:
- The main electrical switchboard
- Two solar inverters
- The solar battery and its battery inverter
- A 3D printer
The switchboard and inverters are the worst offenders. Inverters chop DC into AC at high switching frequencies, and the switchboard is the highest-current point in the house. The 3D printer's stepper motors add to that during a print.
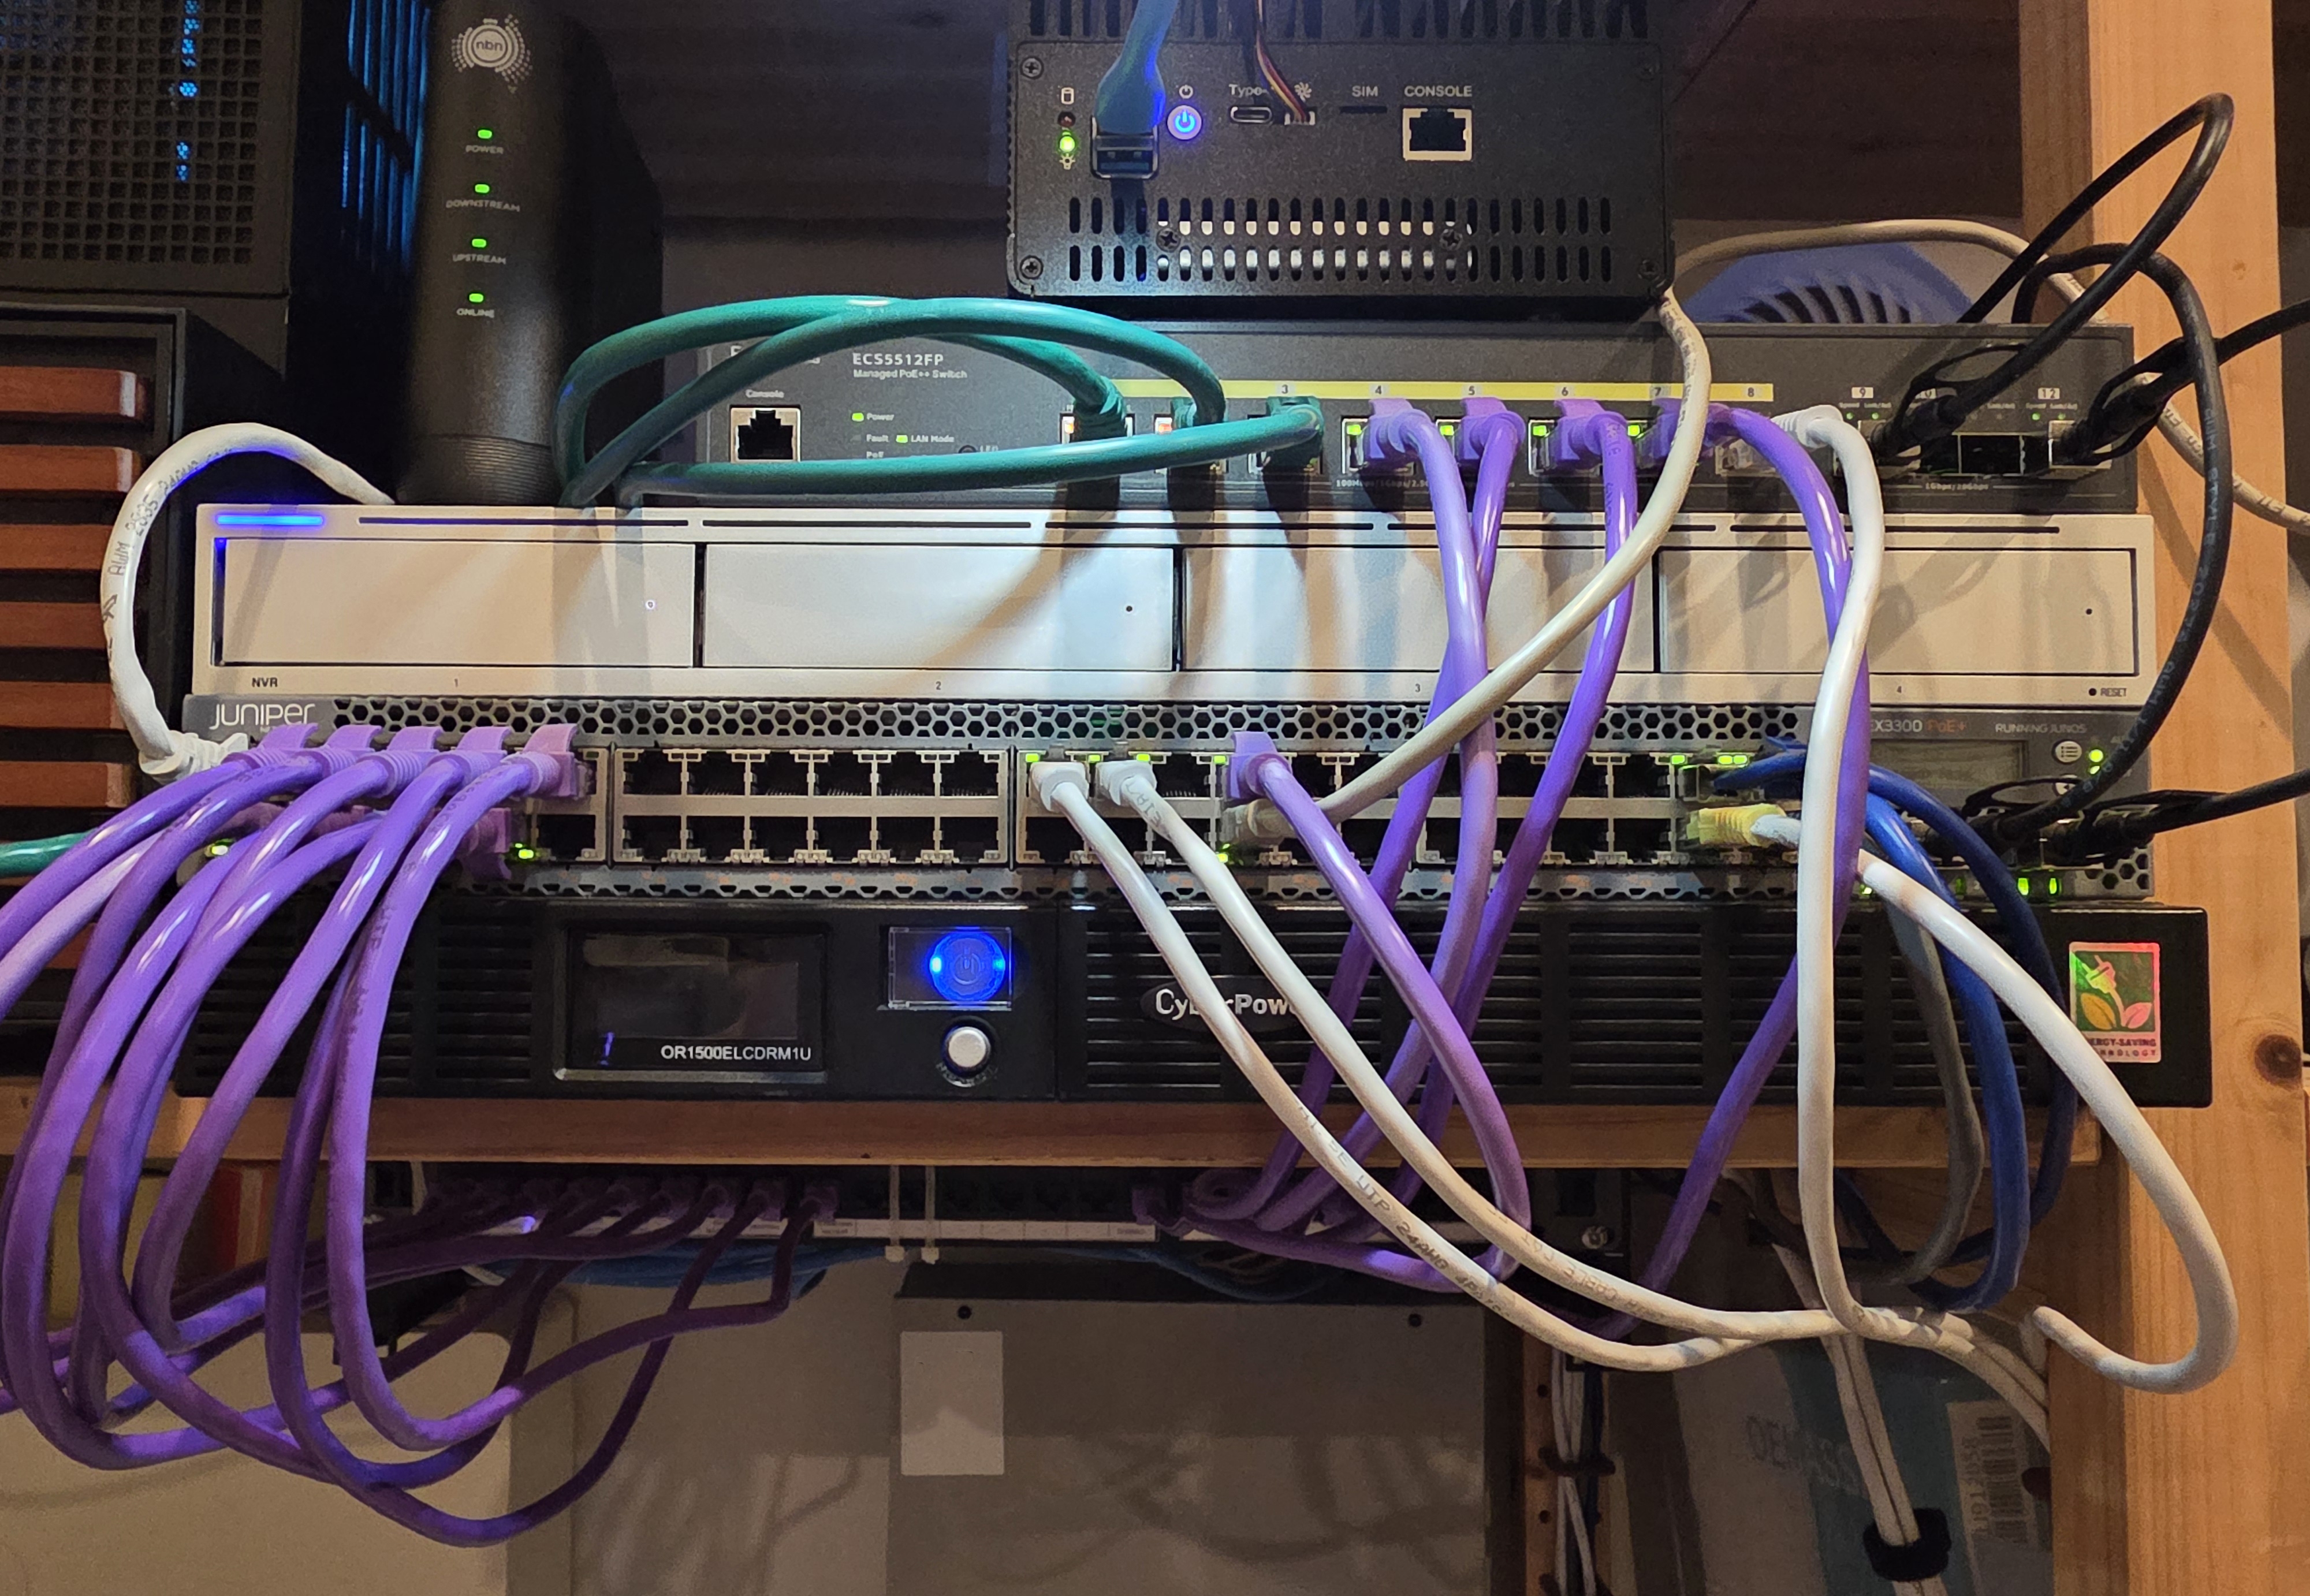
The patch panel had been built with the wrong cable category, the patch leads were a mix of whatever was on the shelf, and every copper SFP+ link ran straight past those EMI sources. Several generations of cabling had accumulated:
- My electricians ran CAT6A S/FTP for the Wi-Fi access points and cameras. The cable and keystones at the device end were shielded, but the patch panel they terminated into was an unshielded CAT6 U/UTP, and the patch cables at both ends were unshielded. The shielded chain was broken twice over.
- The patch leads between the panel and the switch were whatever I had on the shelf, mixed CAT5, CAT6, mixed brands, no consistency.
- For new devices, I had been bypassing the patch panel and plugging straight into my Juniper EX3300-48P, so half the patch panel sat empty.
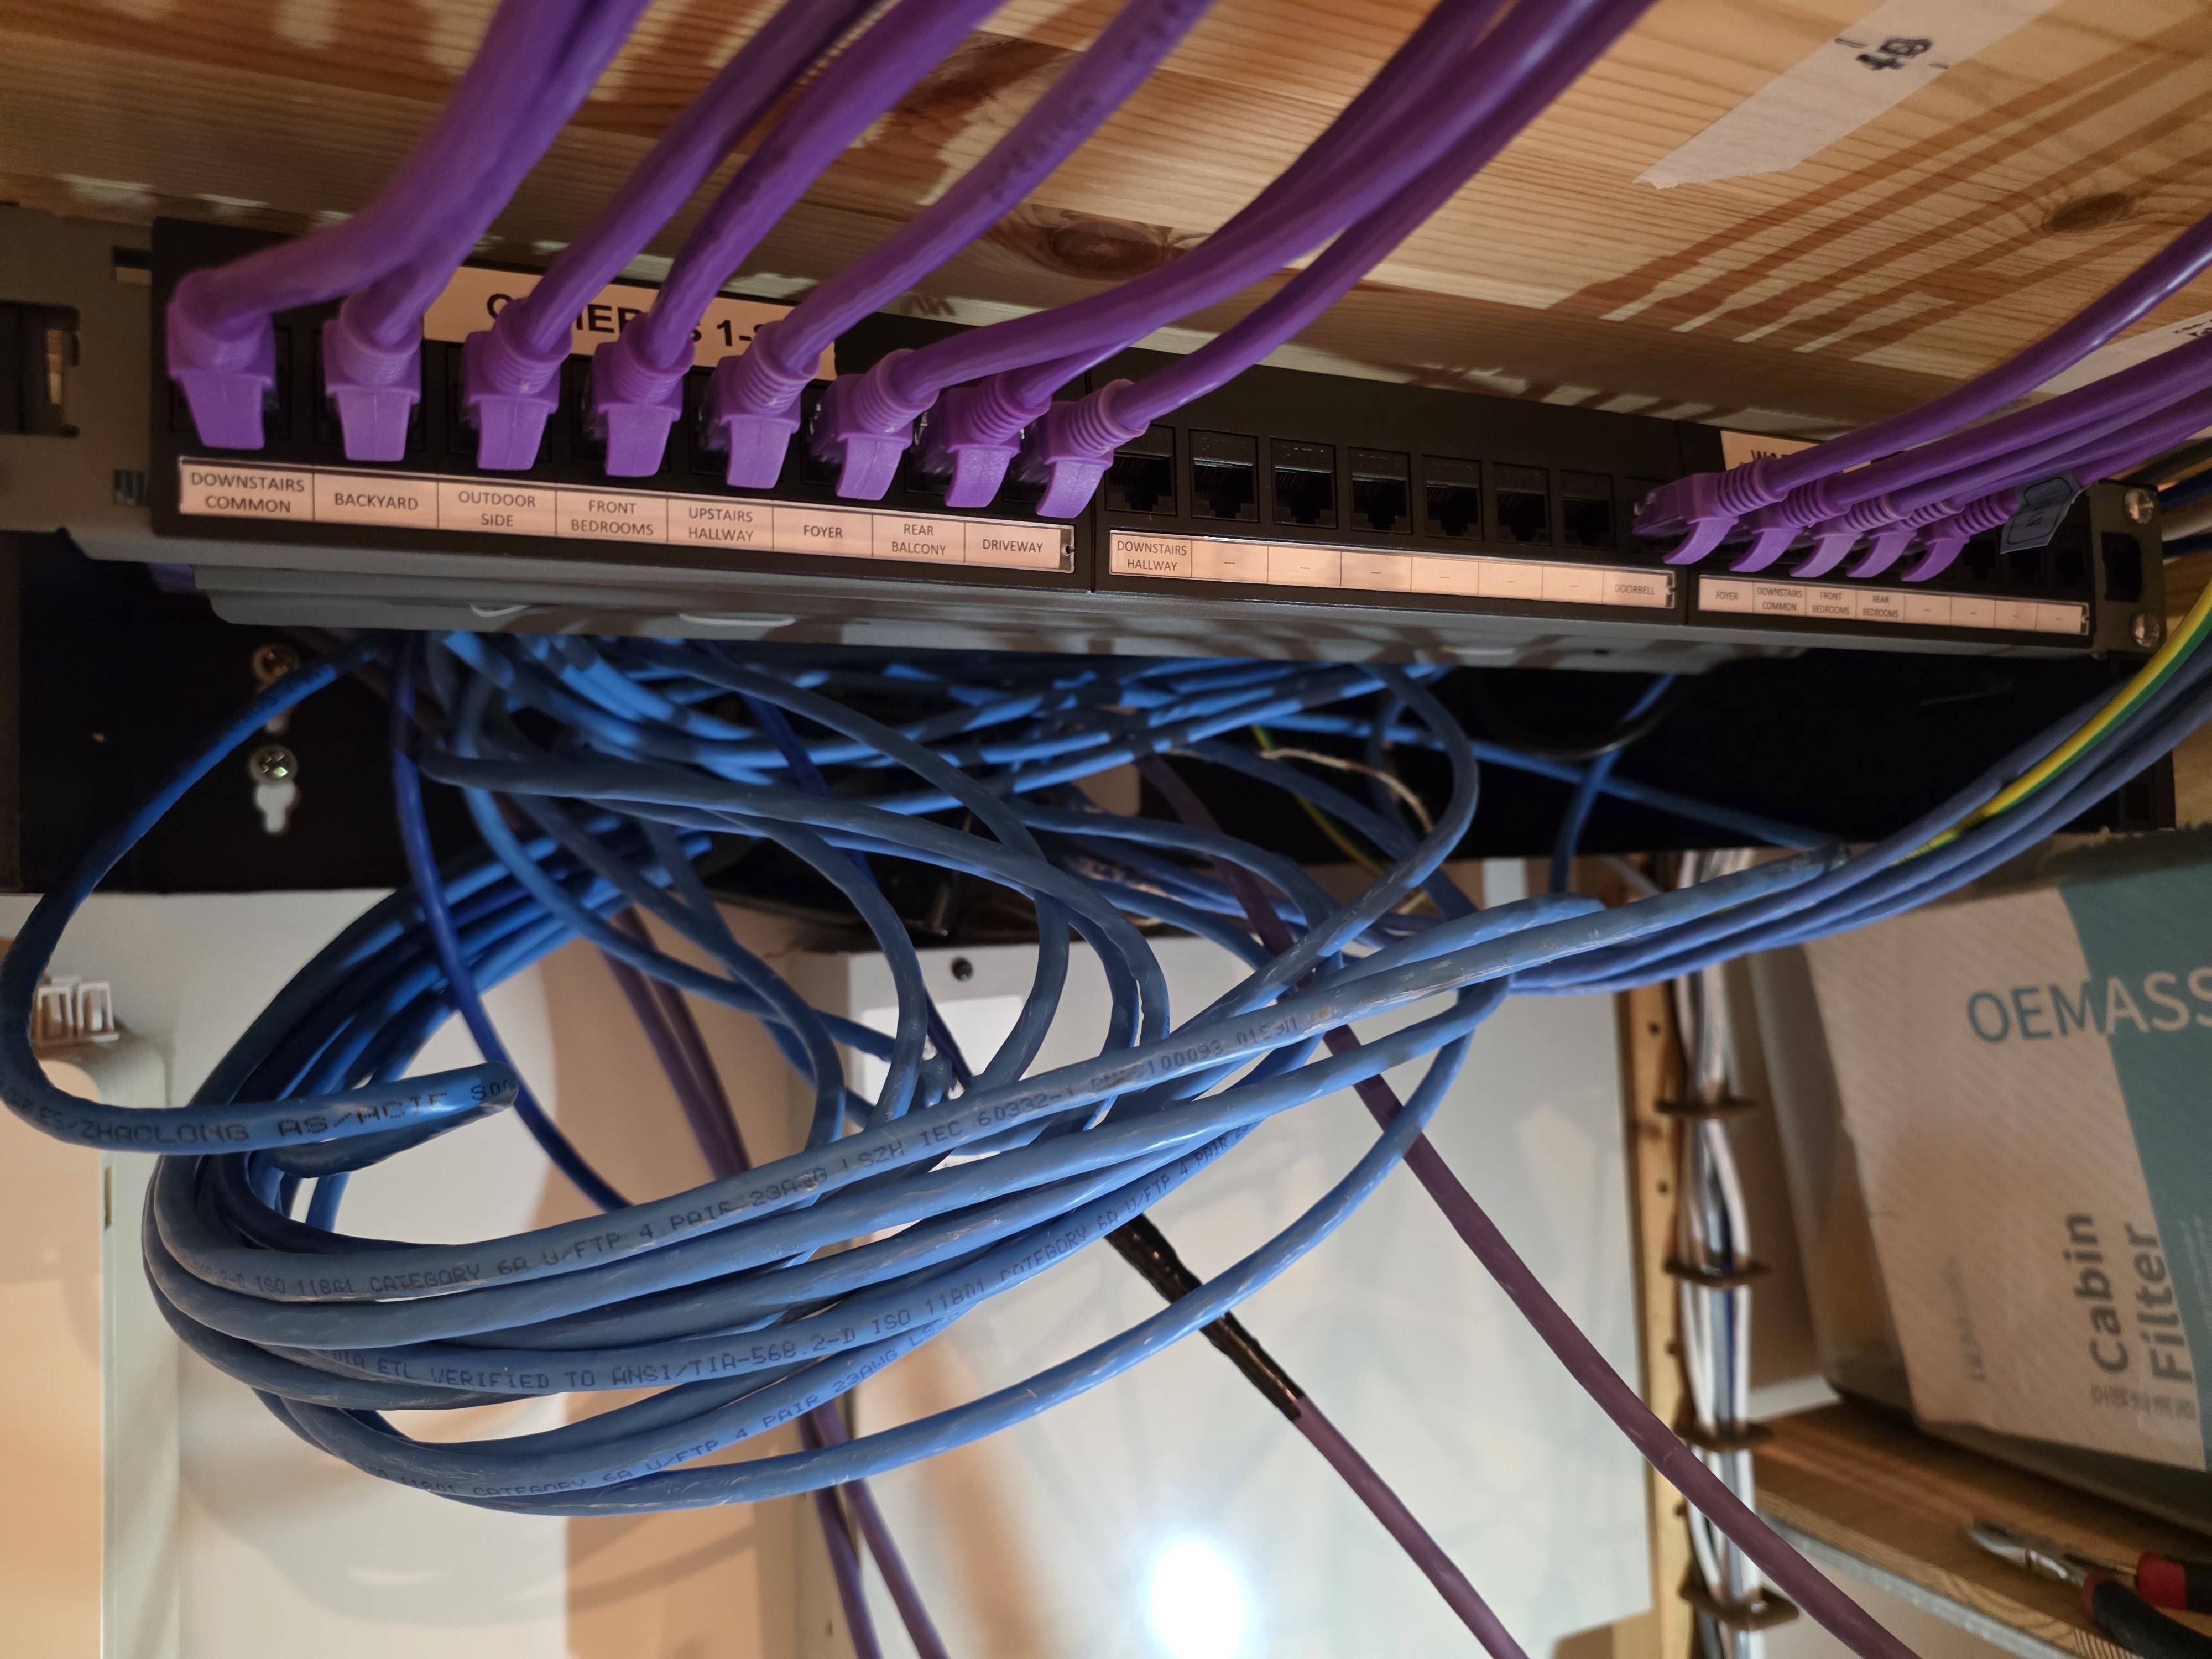
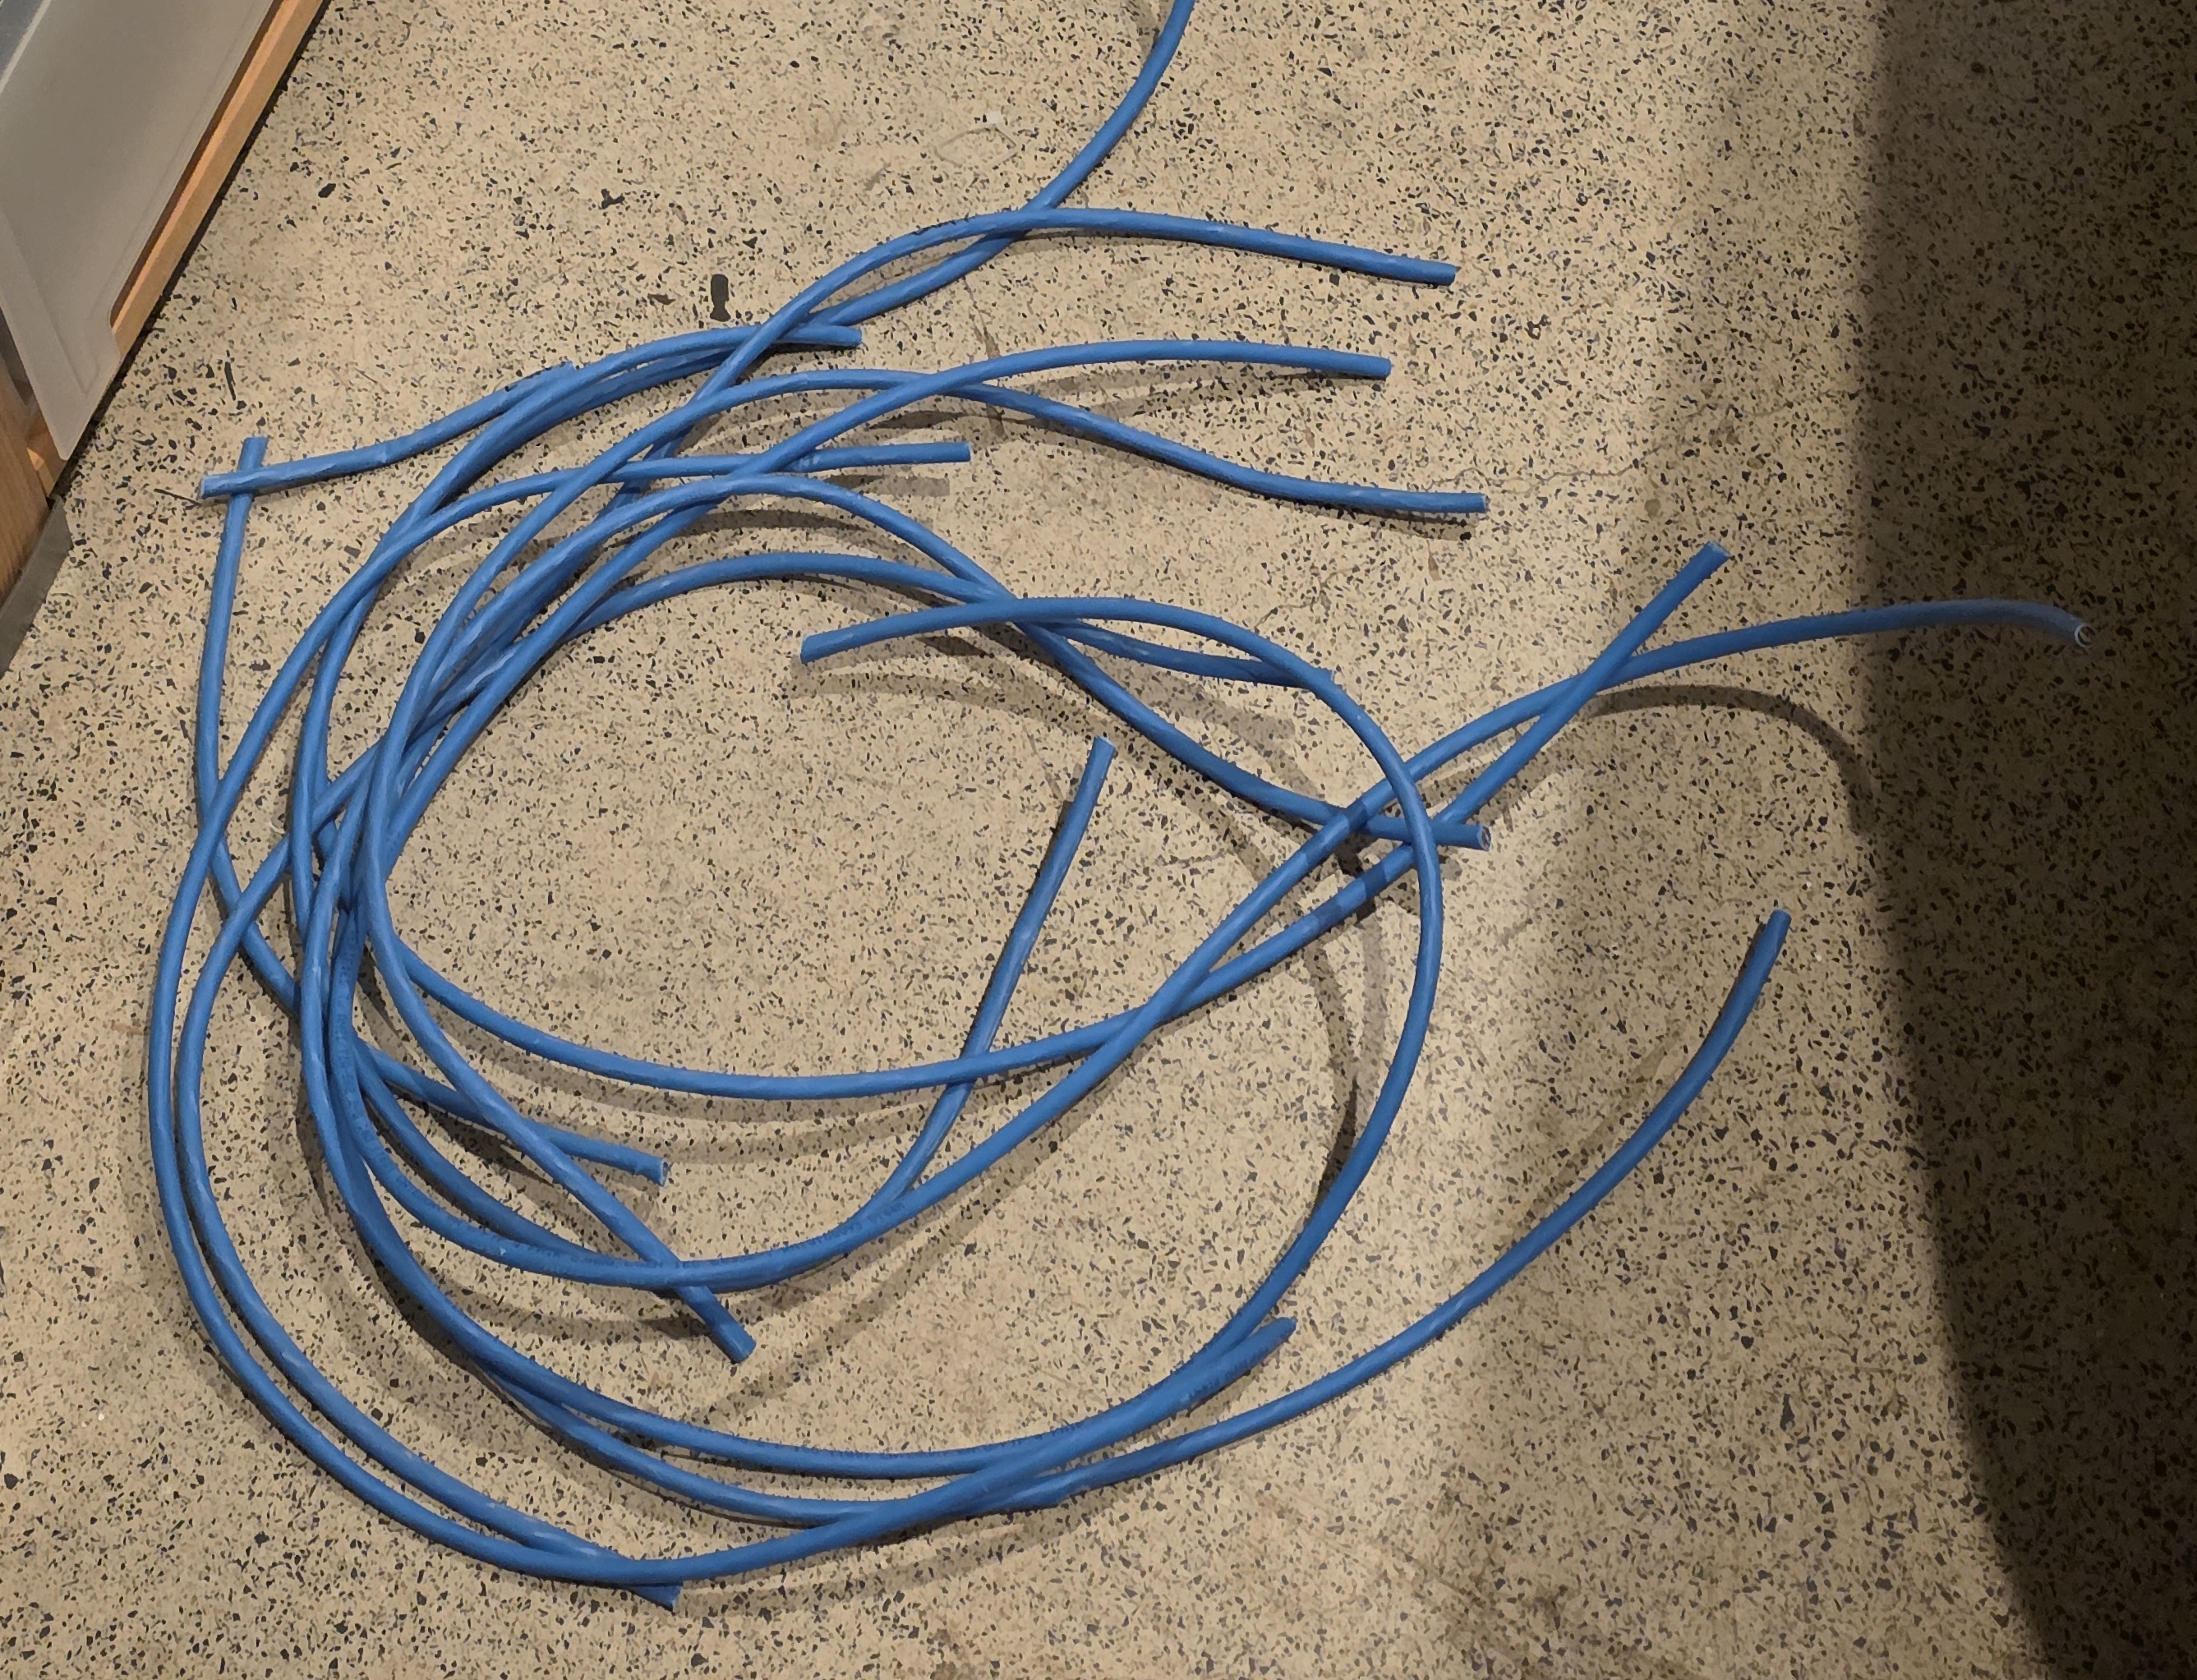
- The electricians had pulled too much cable on some runs, and the excess sat outside the panel as cable spaghetti.
Goals
The common thread was an incomplete shielded chain and no consistent cabling standard. I wanted to fix both at once:
- CAT6A end to end where possible, shielded all the way through
- A new shielded patch panel with shielded keystones to replace the CAT6 U/UTP one, and matching shielded patch cables
- Move every device that's nailed down (battery inverter, alarm panel, etc.) onto the patch panel rather than going straight into the switch. Things that move around (the Zigbee coordinator, the 3D printer) can stay on direct patch leads.
- Pull the three builder wall ports into the patch panel so there is only one place to look
- Replace the SFP+ DAC copper uplinks with fiber optic to take EMI out of the equation
- Tidy the cable spaghetti
Switch (TP-Link T1600G-28PS)
I swapped the Juniper for a TP-Link T1600G-28PS, a 24-port managed switch with 4 SFP slots. It had been running the camera system at my grandma's place. Once I replaced that system, it came here as a direct swap. The Juniper had been overkill, only half the ports were used, and the TP-Link is much quieter and draws less power.
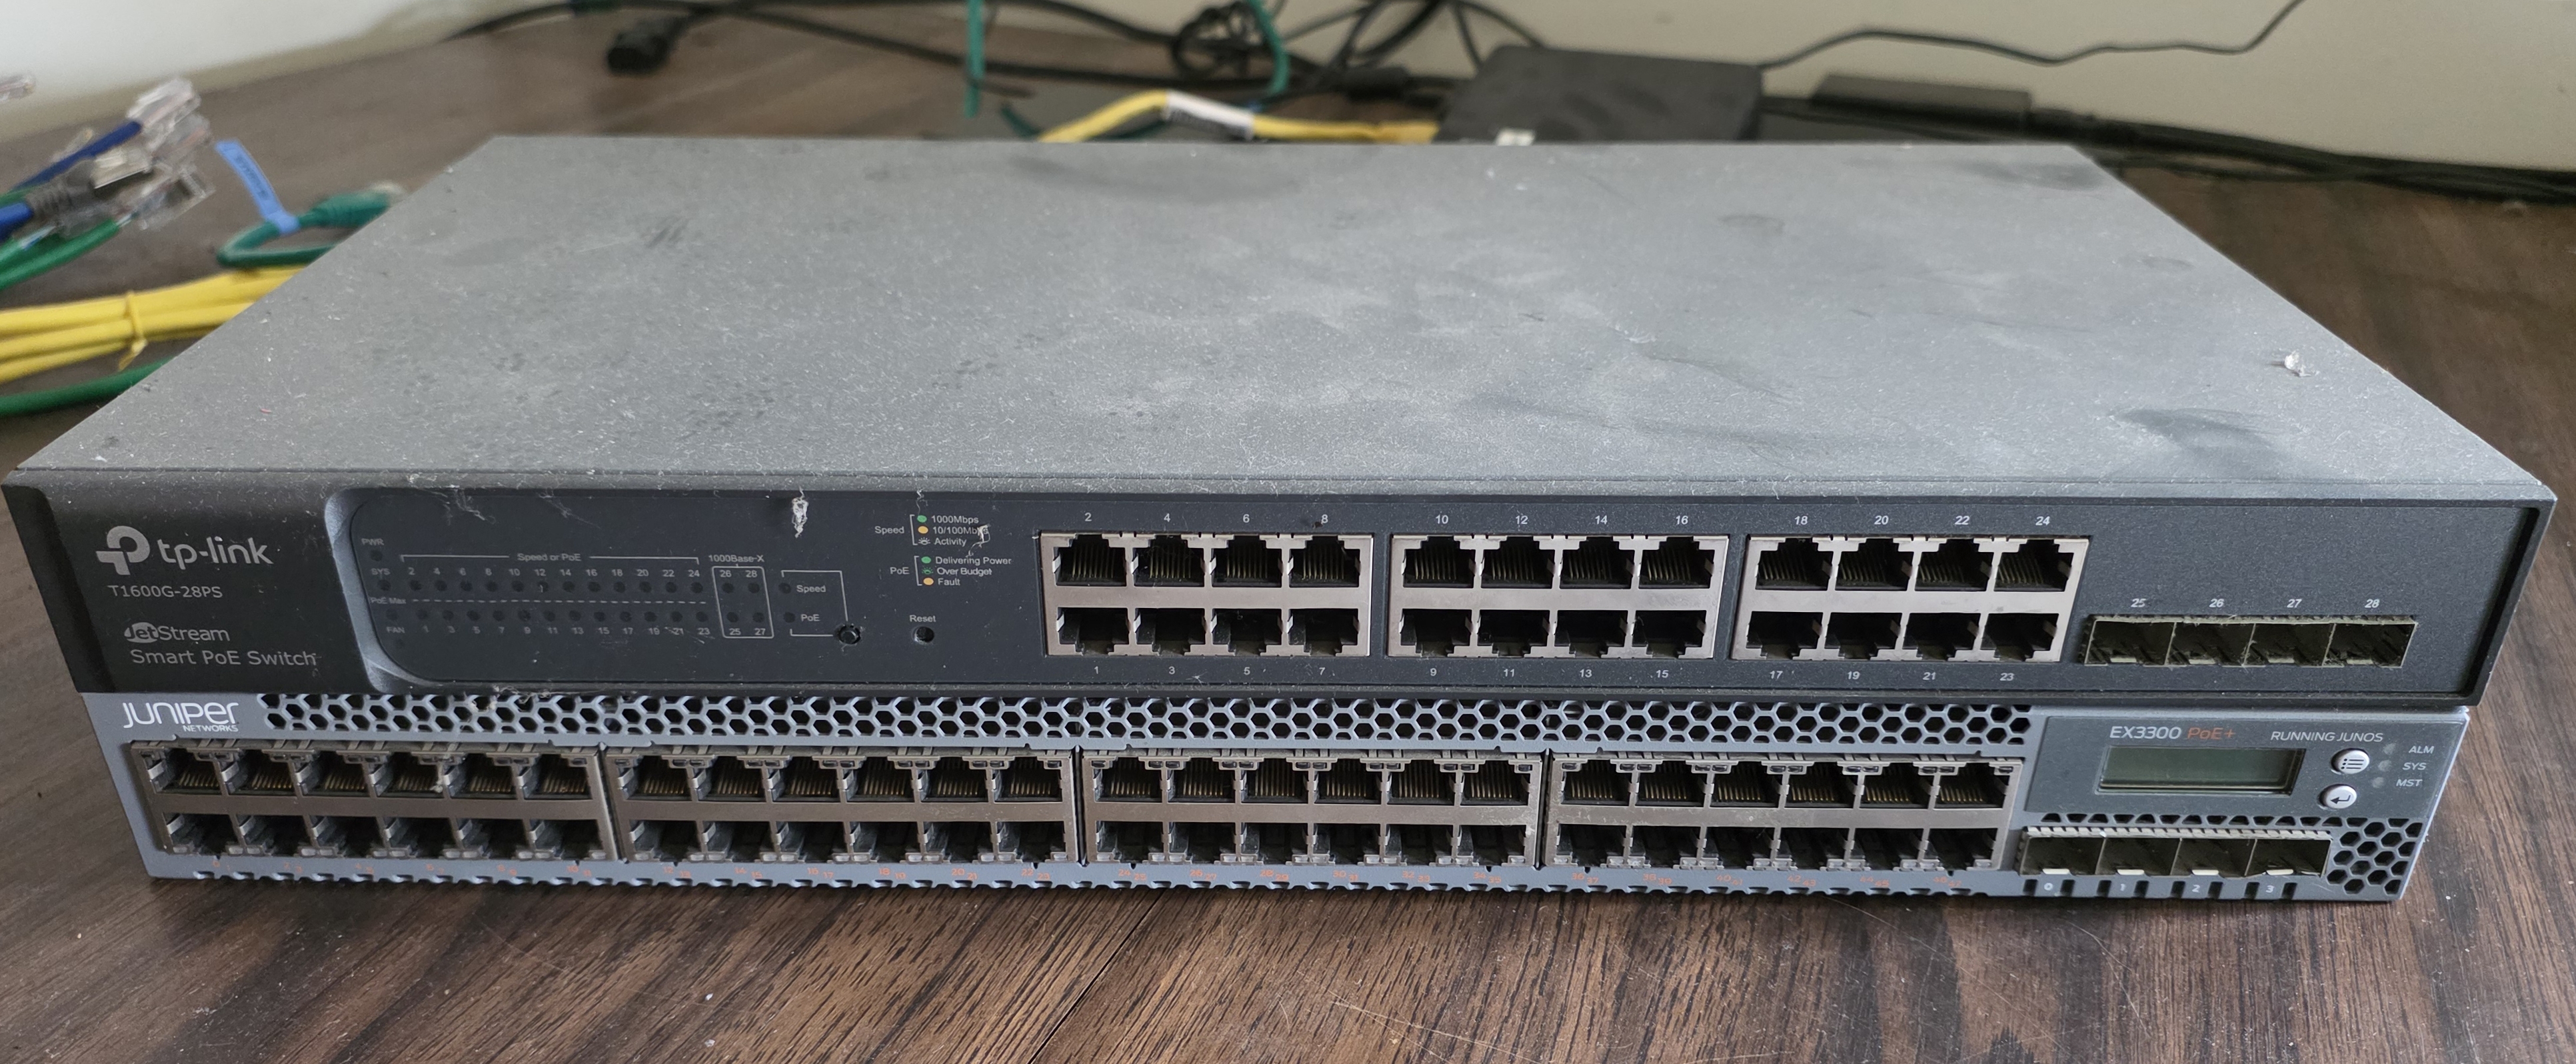
The trade-offs:
- No SFP+. The T1600G has 4 x 1G SFP slots, so anything 10G has to live on the EnGenius ECS5512FP (the 10G core switch I added in the previous post) instead.
- No Ansible configuration. The Juniper had been managed with Ansible. The TP-Link is a TP-Link JetStream "smart" switch with a web UI only.
For my use, 1G is fine on the TP-Link side. Almost everything on it is 100M. 11 UniFi cameras (including the doorbell), the Zigbee adapter, the printer, the alarm panel, the battery inverter dongle all sit at that speed. UniFi Protect reports about 26 Mbps real-time across all 11 cameras combined. The only 1G client on this switch is my living room NVIDIA Shield, and even a 4K Plex stream rarely pushes above 80 Mbps. The 1G uplink to the EnGenius is comfortably above the aggregate.
Fiber Optics
Copper cable carries electricity, which means nearby electromagnetic interference can couple into the signal. Fiber uses light instead. EMI does not interact with light, so the noise sources two metres away become irrelevant.
Fiber optic comes in two main flavours, single-mode and multi-mode. Single-mode uses a very thin glass core and a laser source, designed for long-haul links measured in kilometres. Multi-mode uses a thicker core and a cheaper LED or VCSEL source, designed for short runs inside a building. For a garage, multi-mode is the obvious choice. It is cheaper, more forgiving on connector alignment, and more than capable at the distances involved.
Multi-mode itself is graded by an OMx number, which describes the core's bandwidth-distance product. OM3 is rated for 10G at up to 300 m. OM4 extends that to 400 m. OM5 goes further again with wavelength multiplexing. For my runs, all under 5 m, OM3 was already overkill.
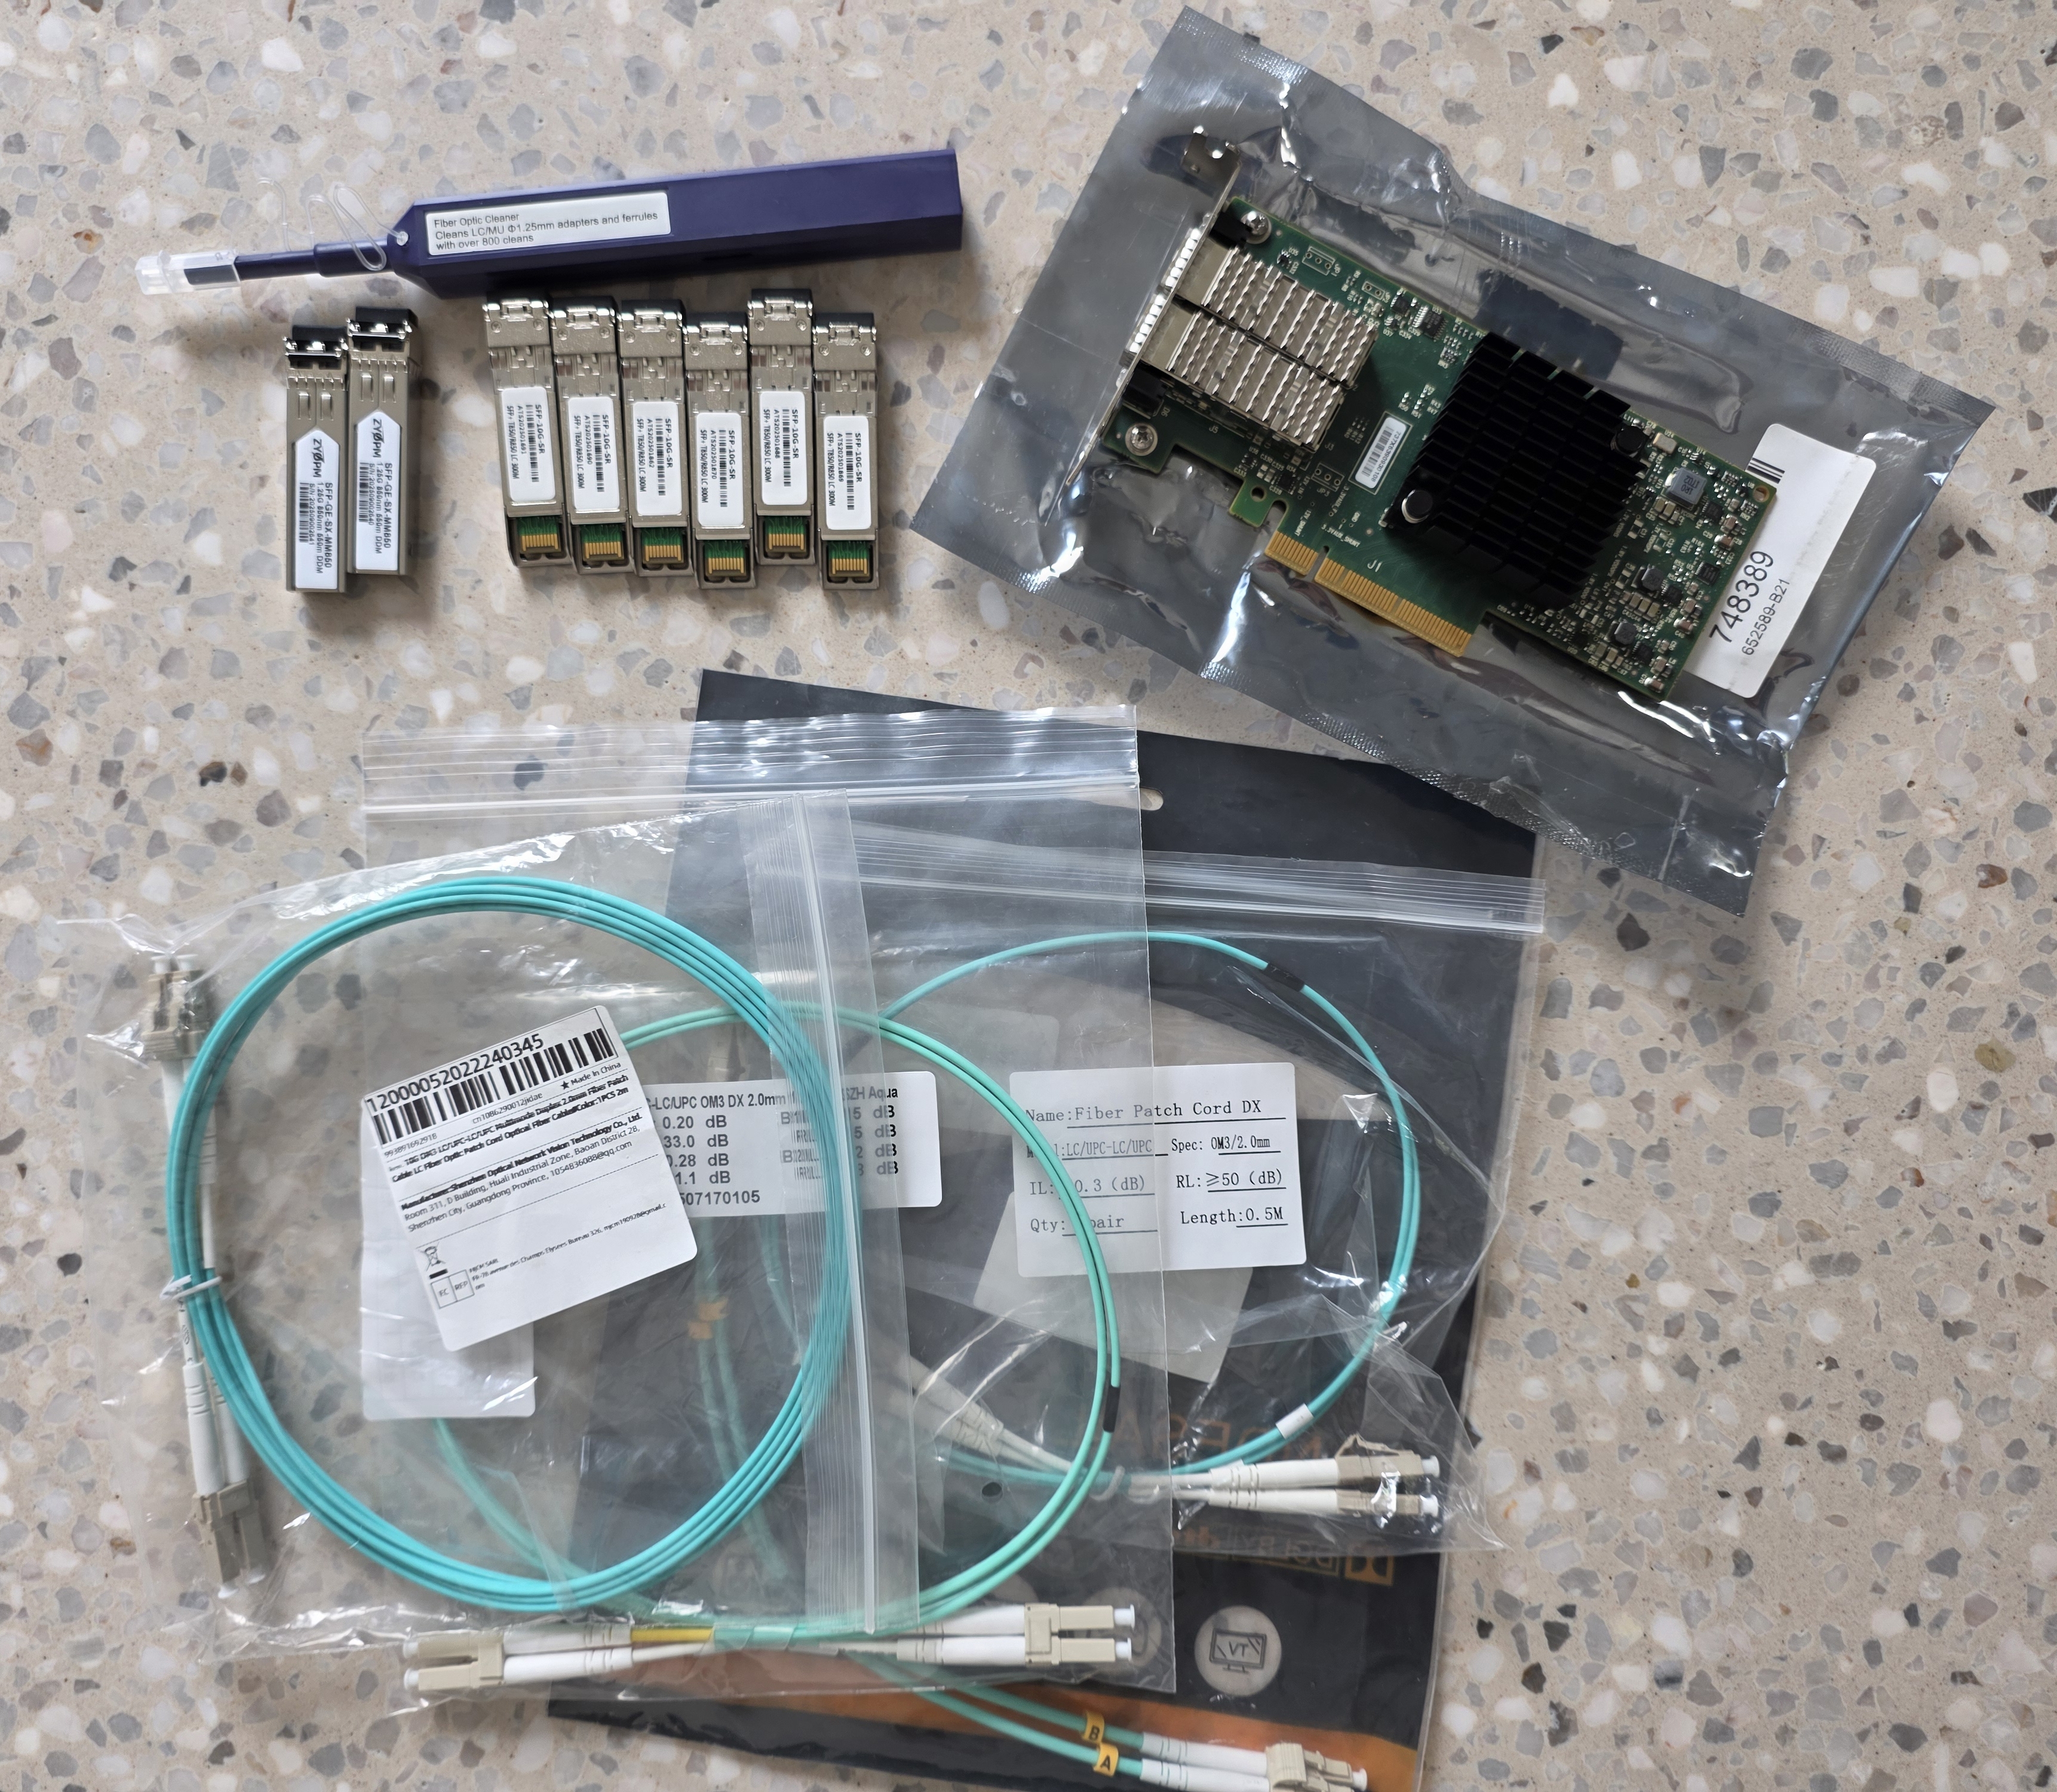
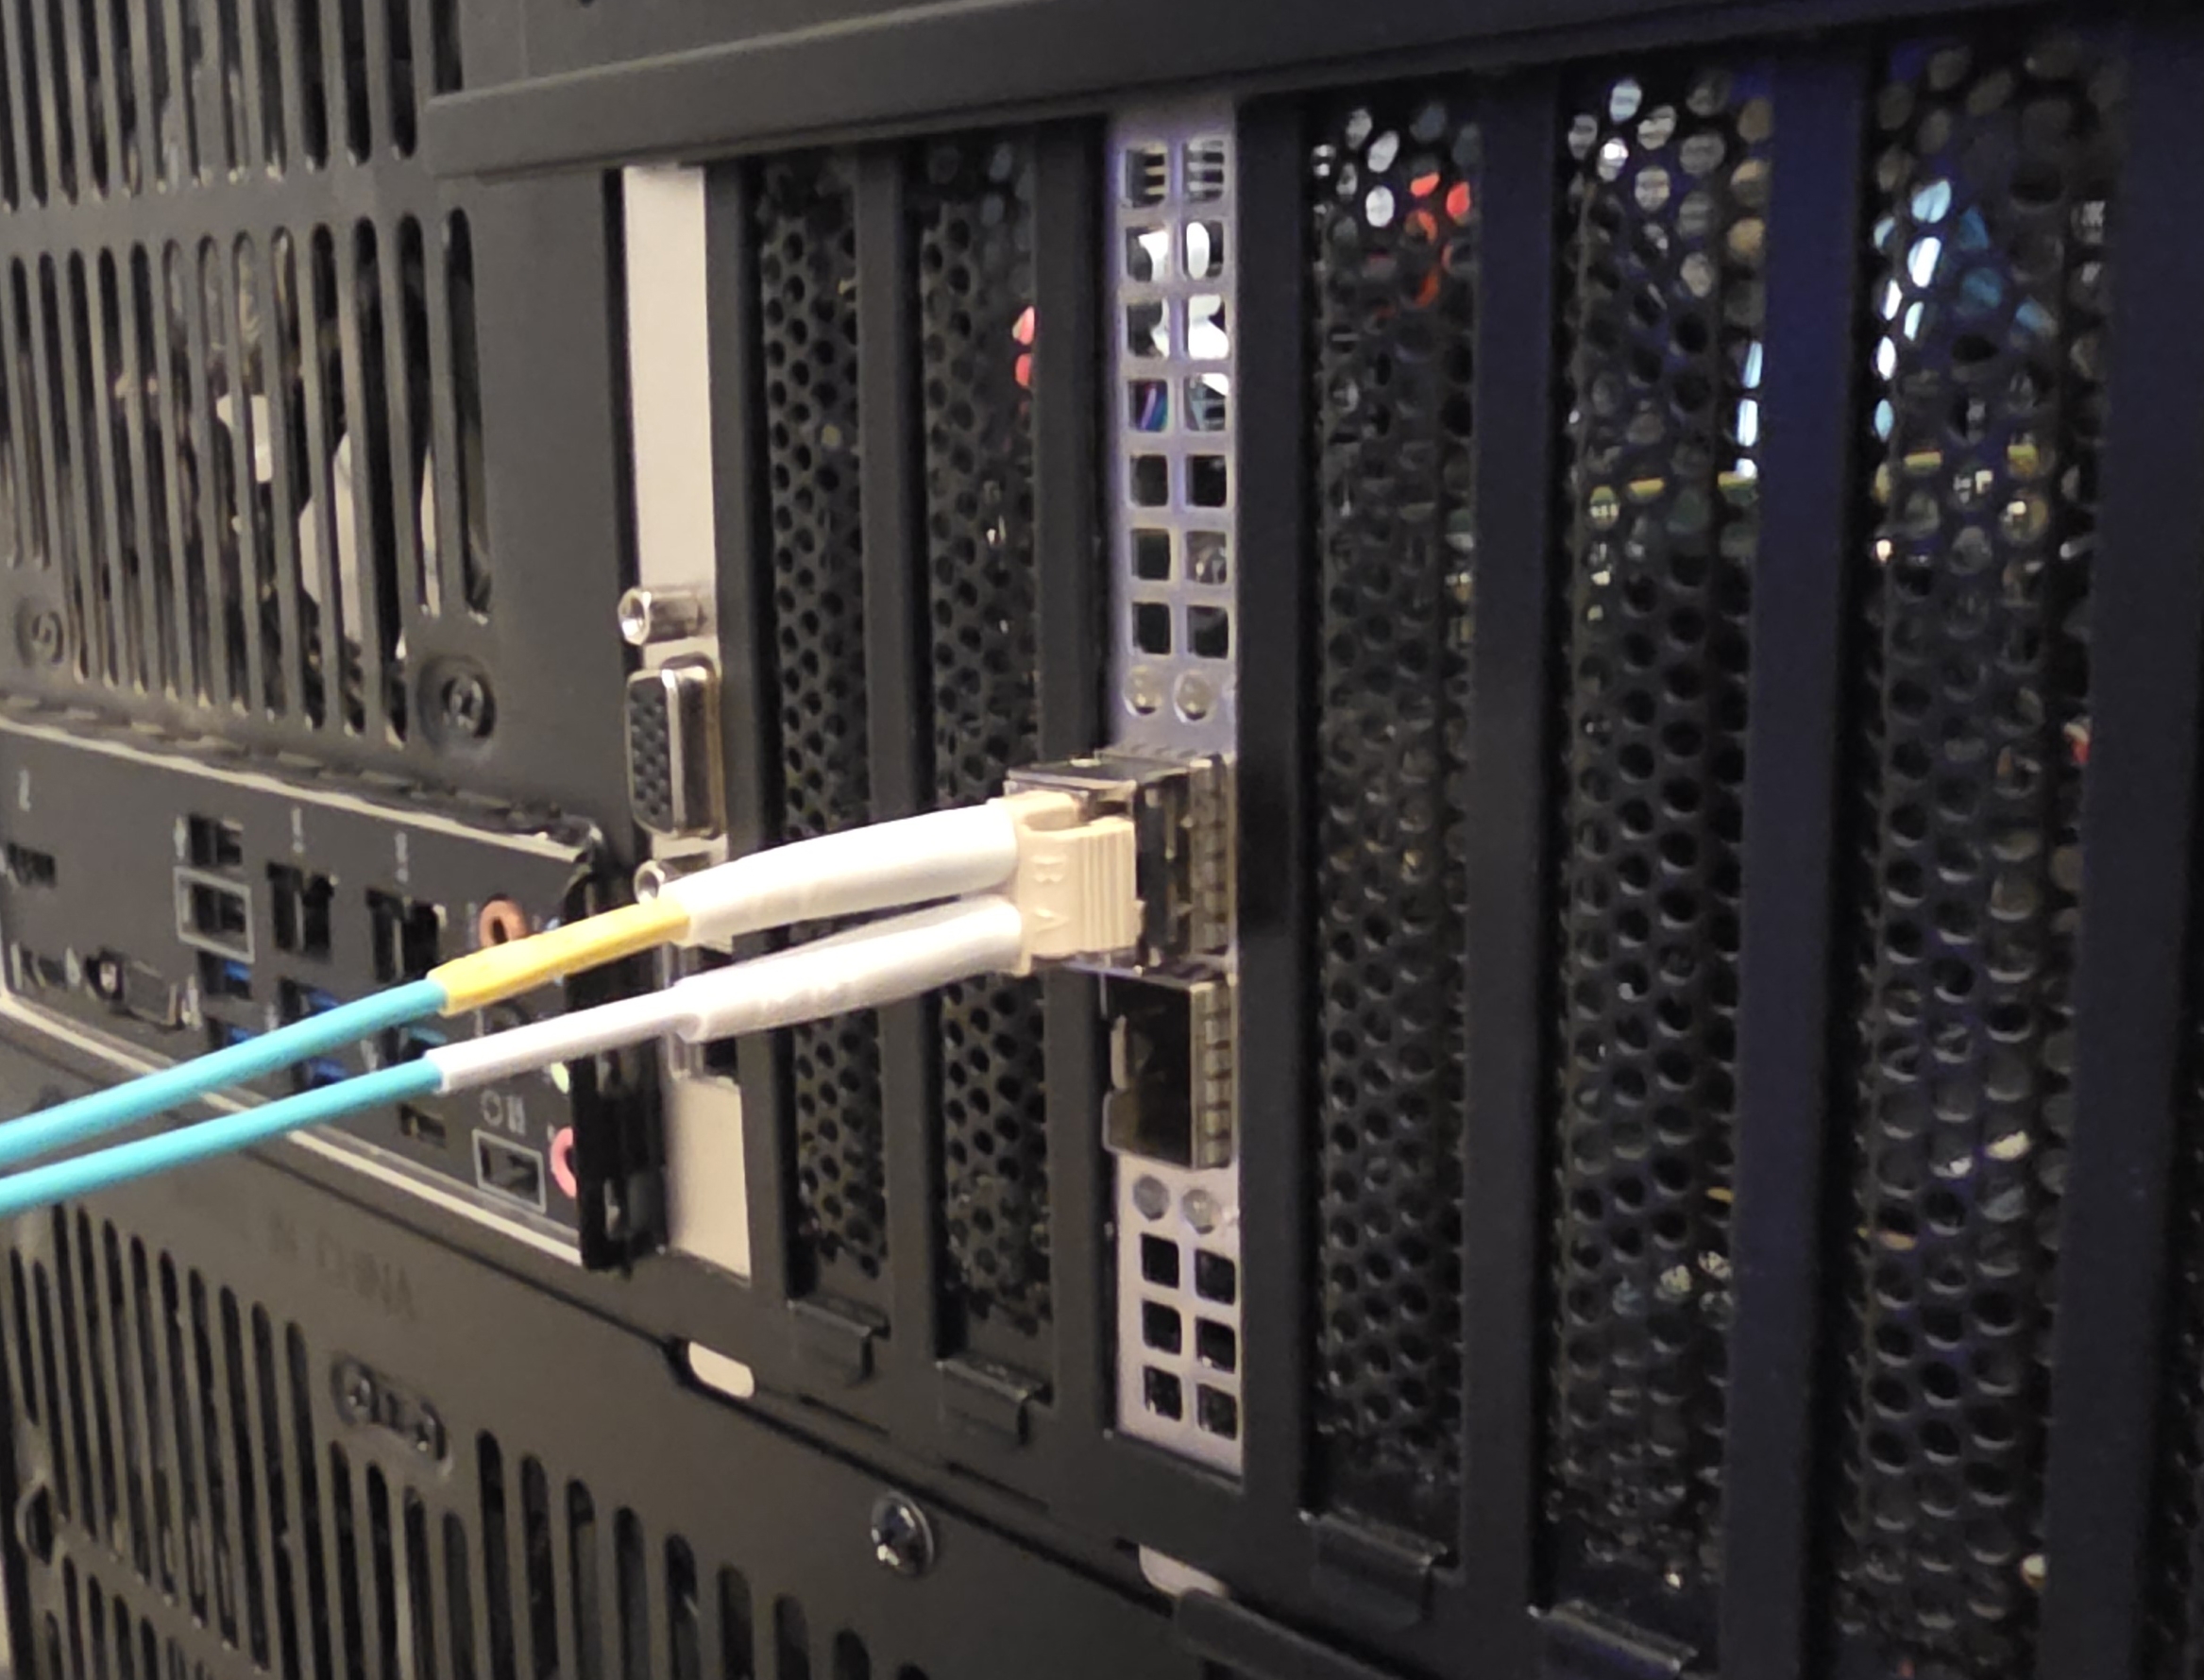
Every SFP+ link moved from copper DAC to OM3 fiber:
- OPNsense router to EnGenius switch
- Home server to EnGenius switch, terminated on the Mellanox ConnectX-4 from the previous post
- NVR to EnGenius switch
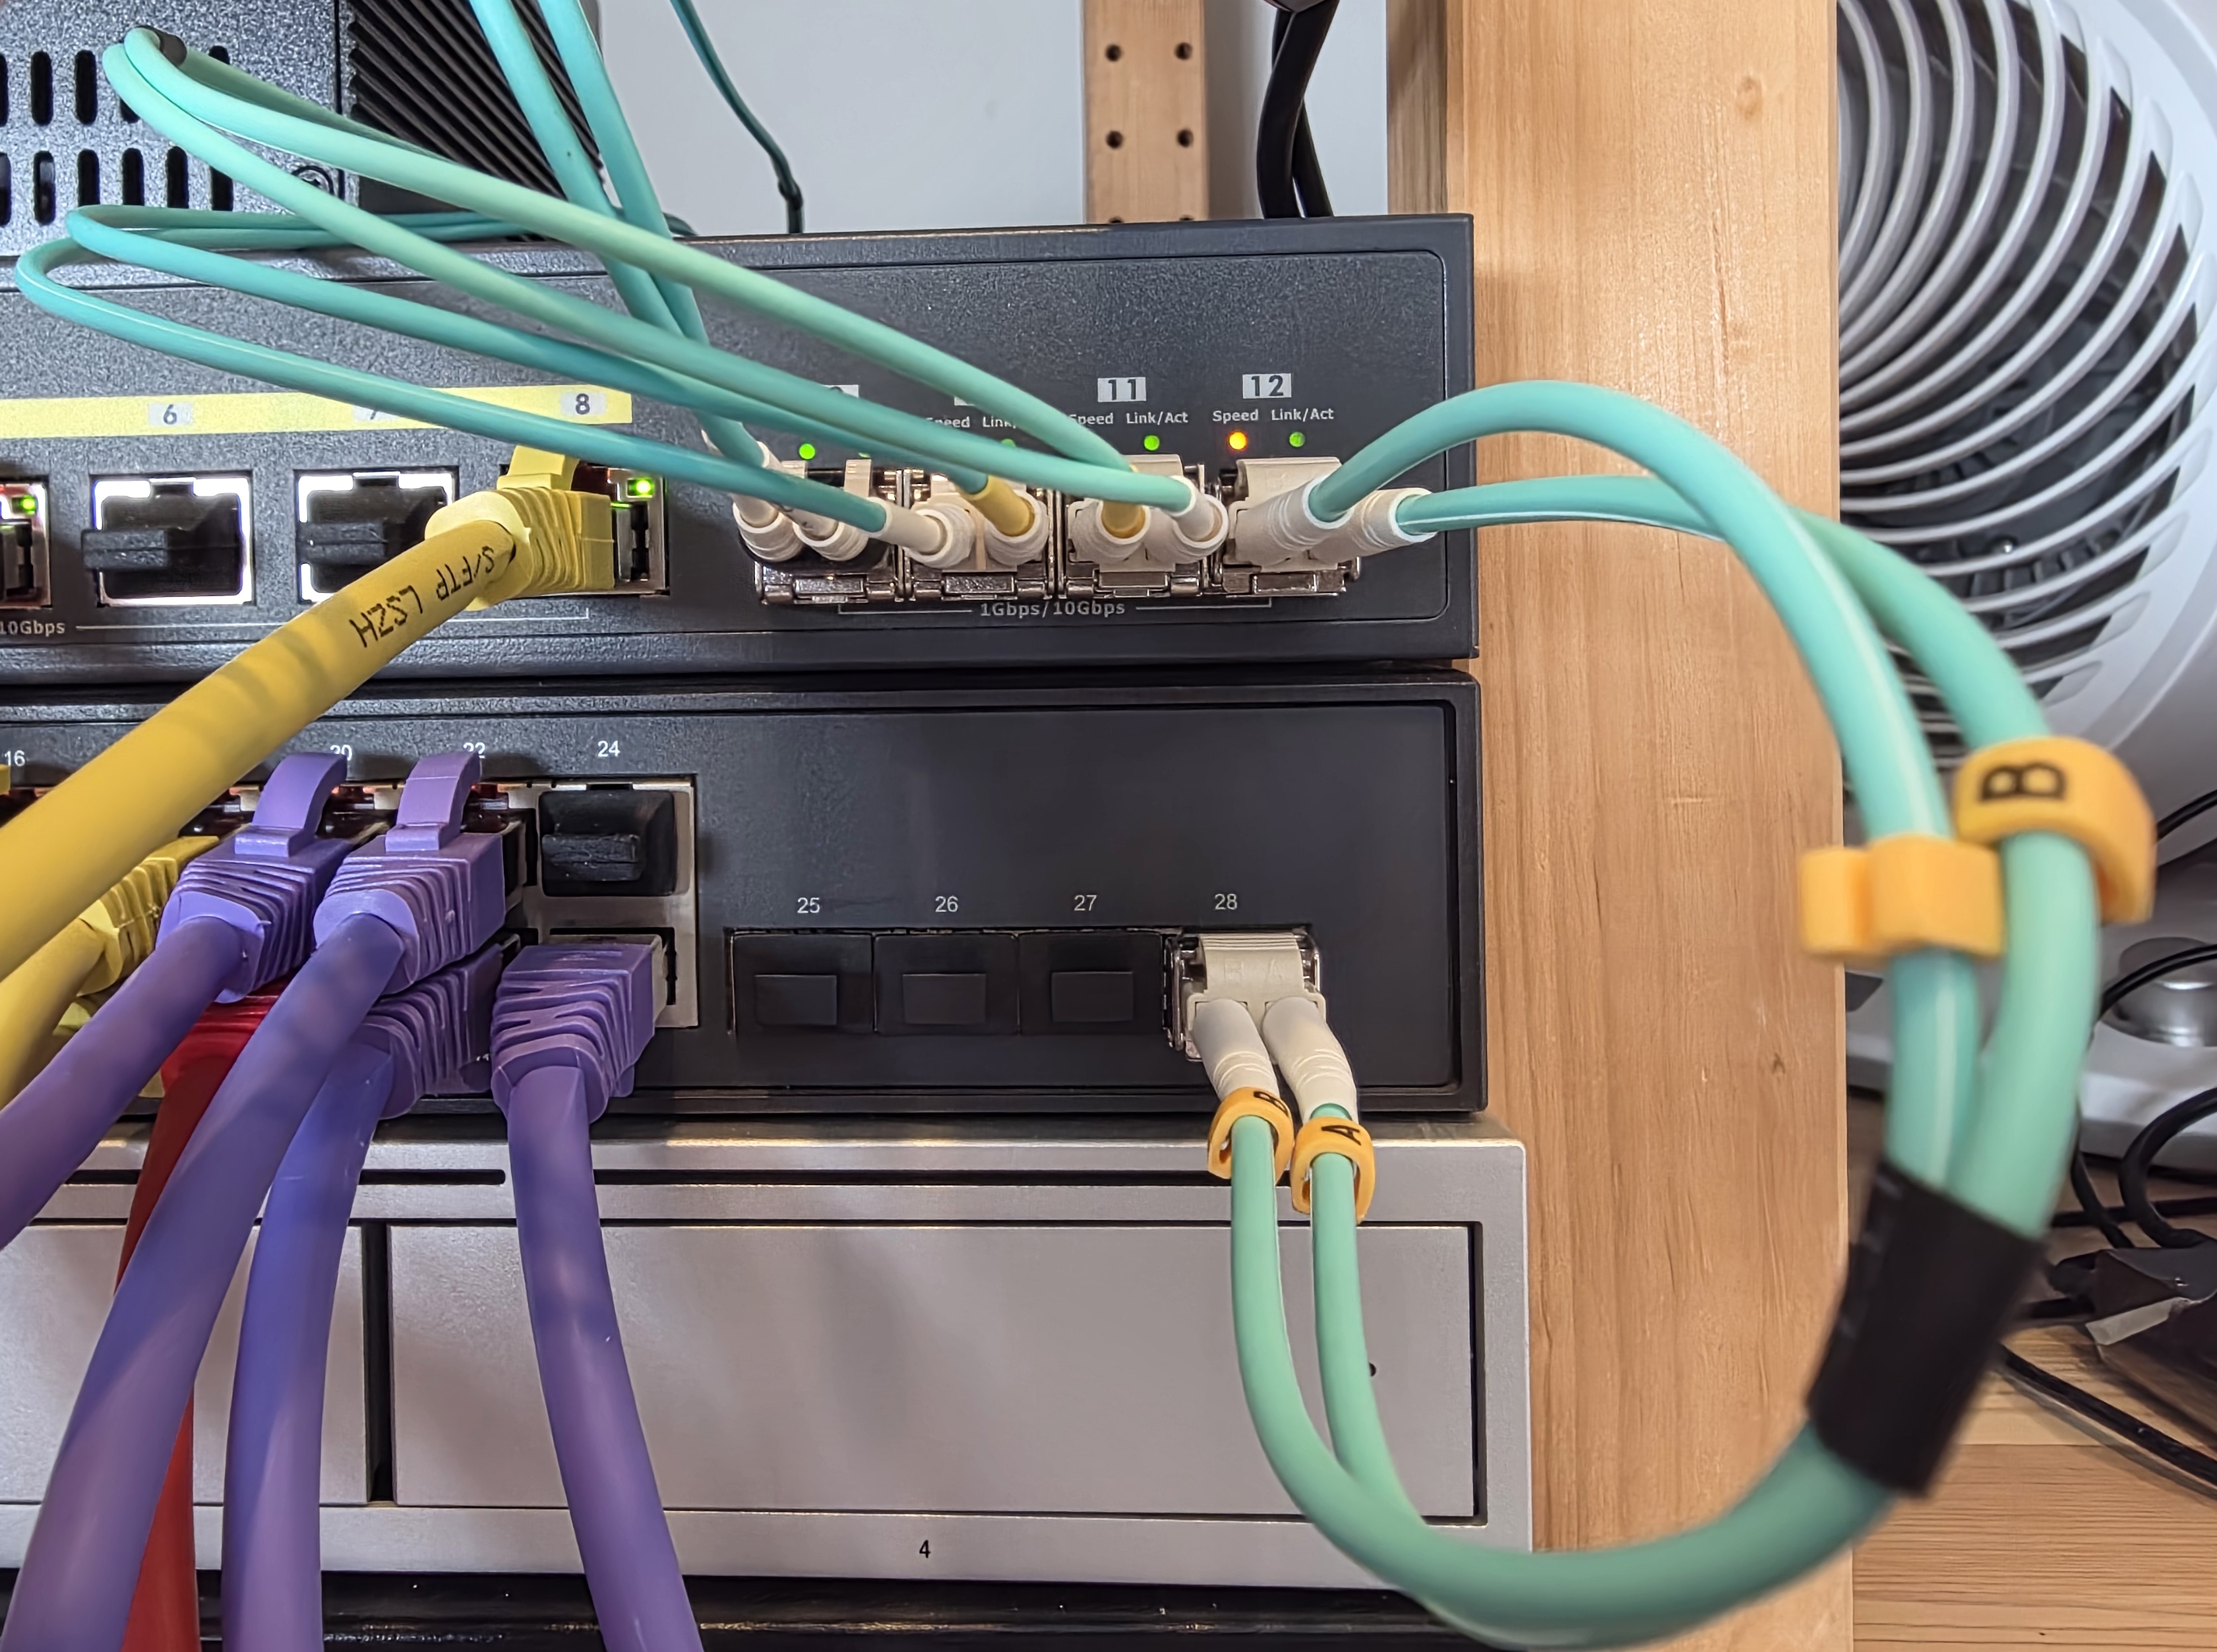
- EnGenius switch to TP-Link switch (1G uplink, not 10G)
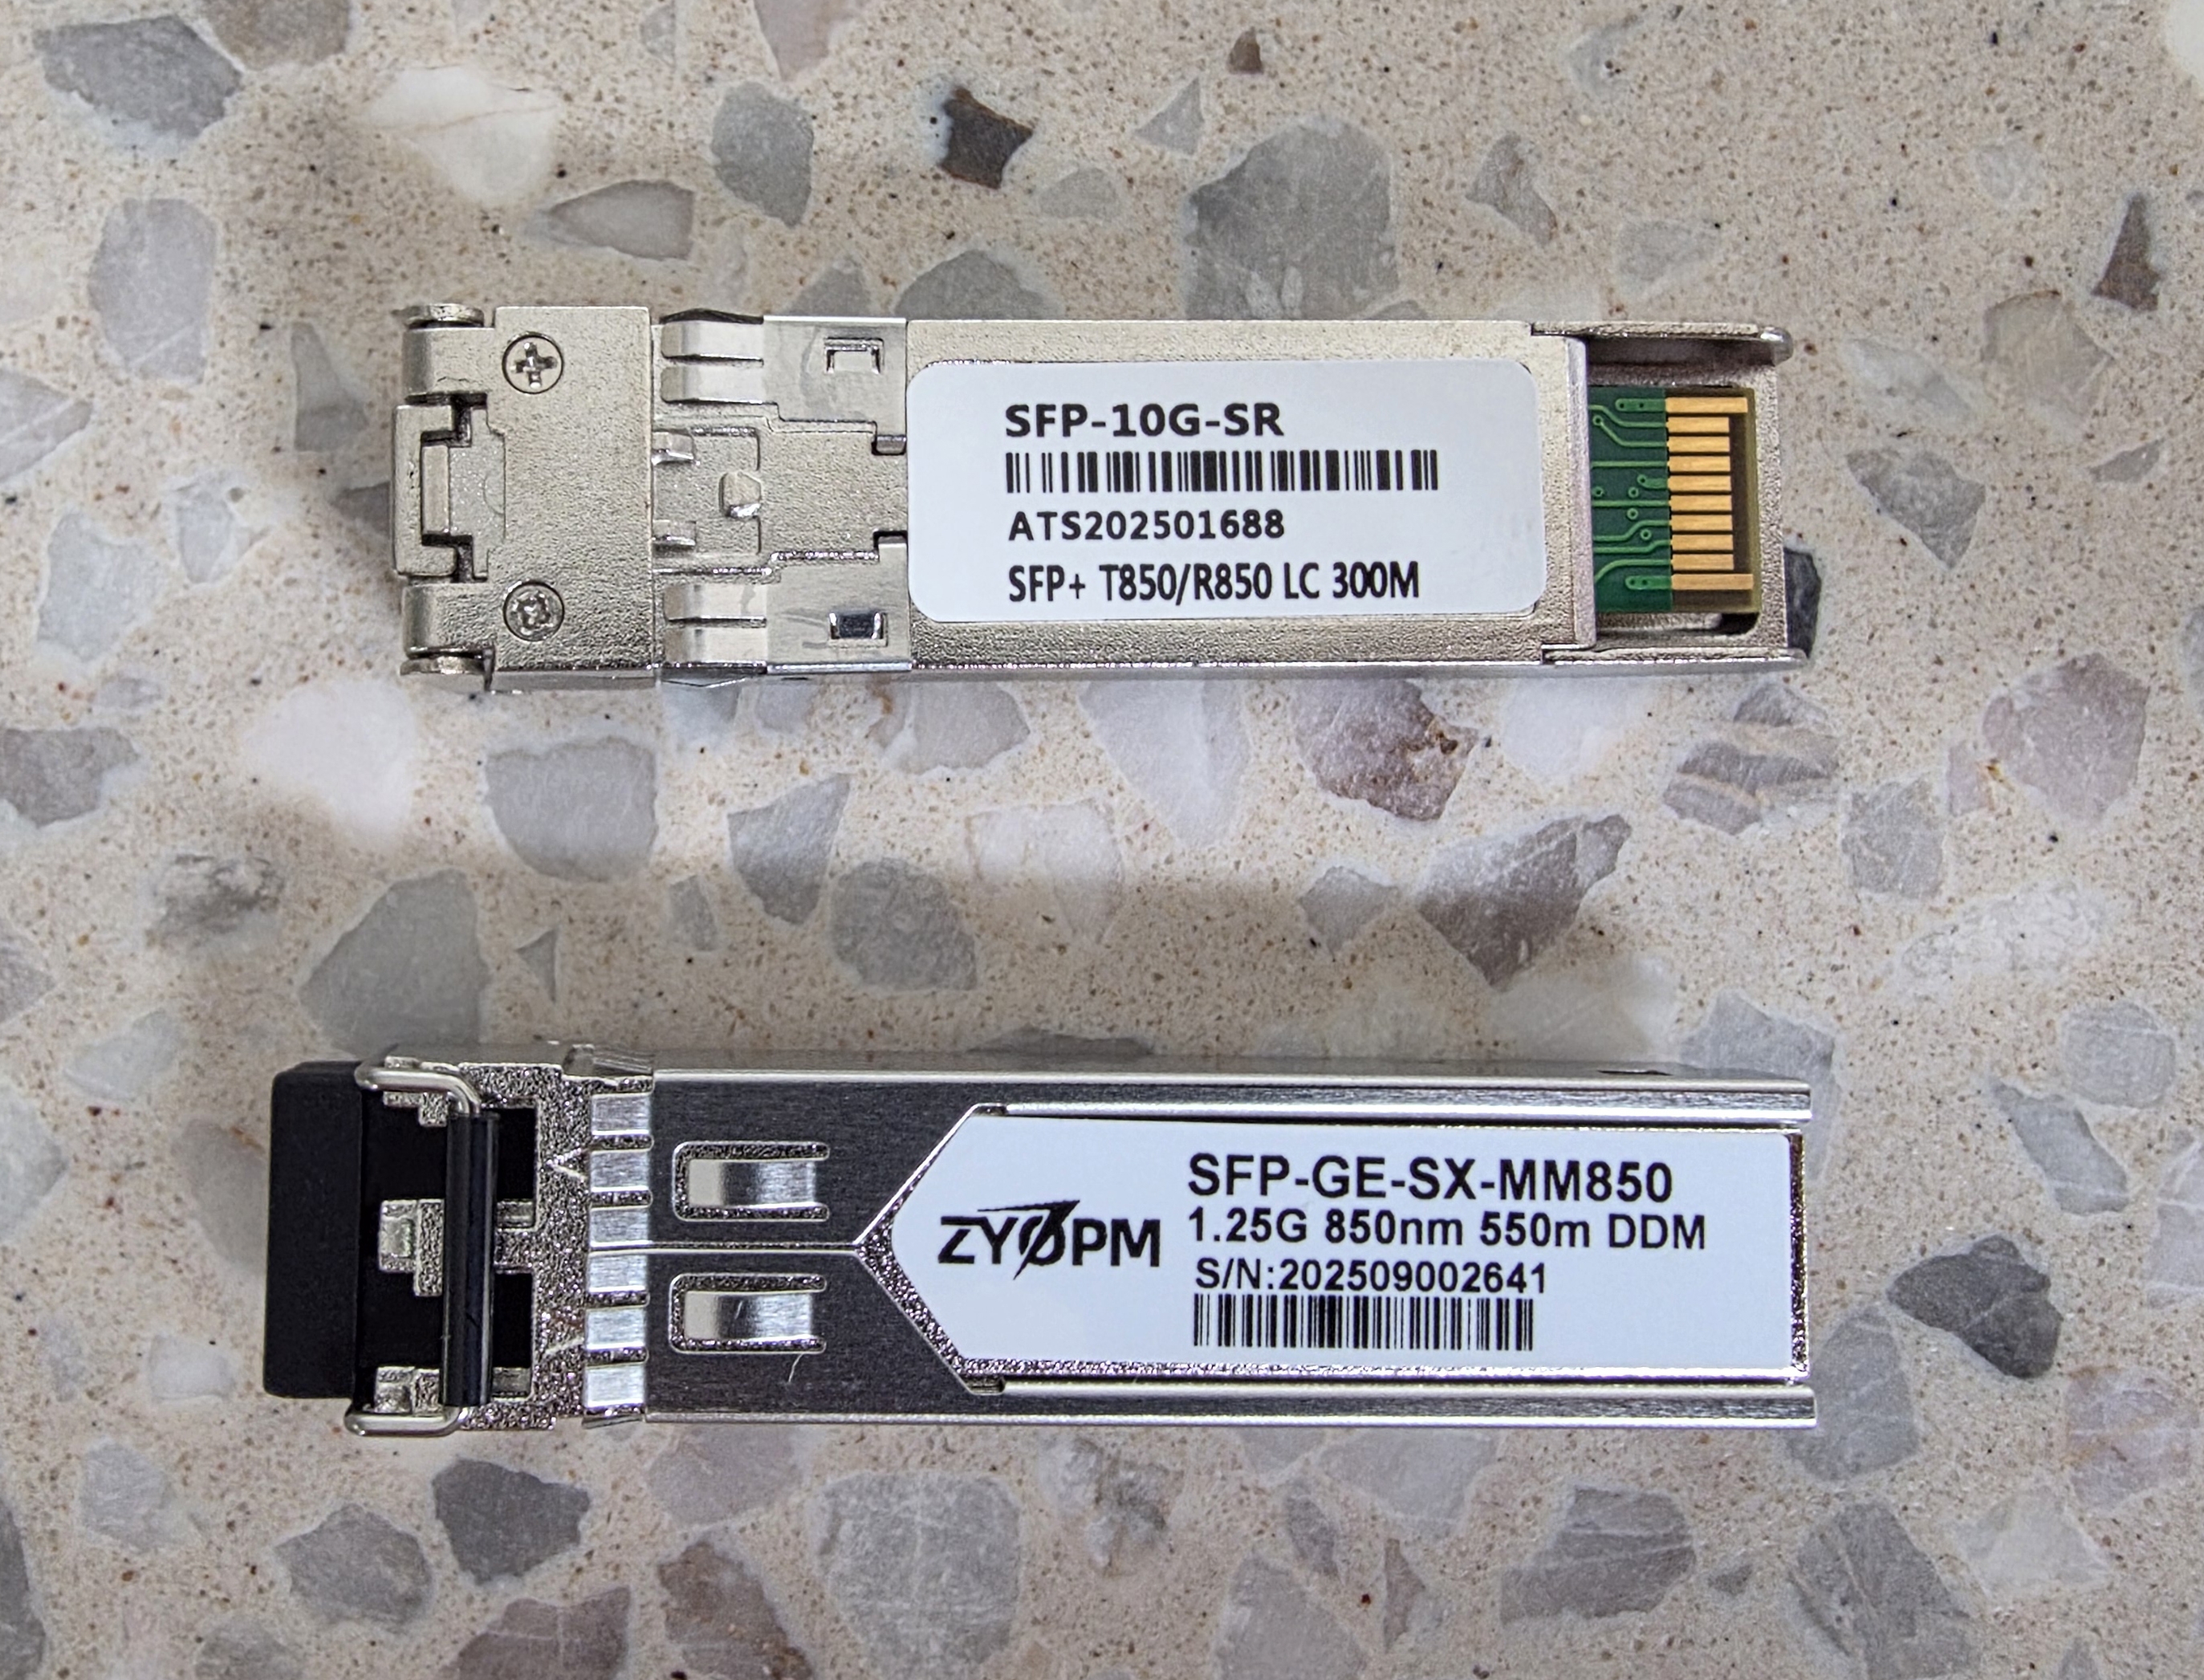
I bought SFP+ optical transceivers and OM3 patch leads from AliExpress in 0.2 m, 0.5 m, 1 m, and 2 m lengths so each run could be cut to size.
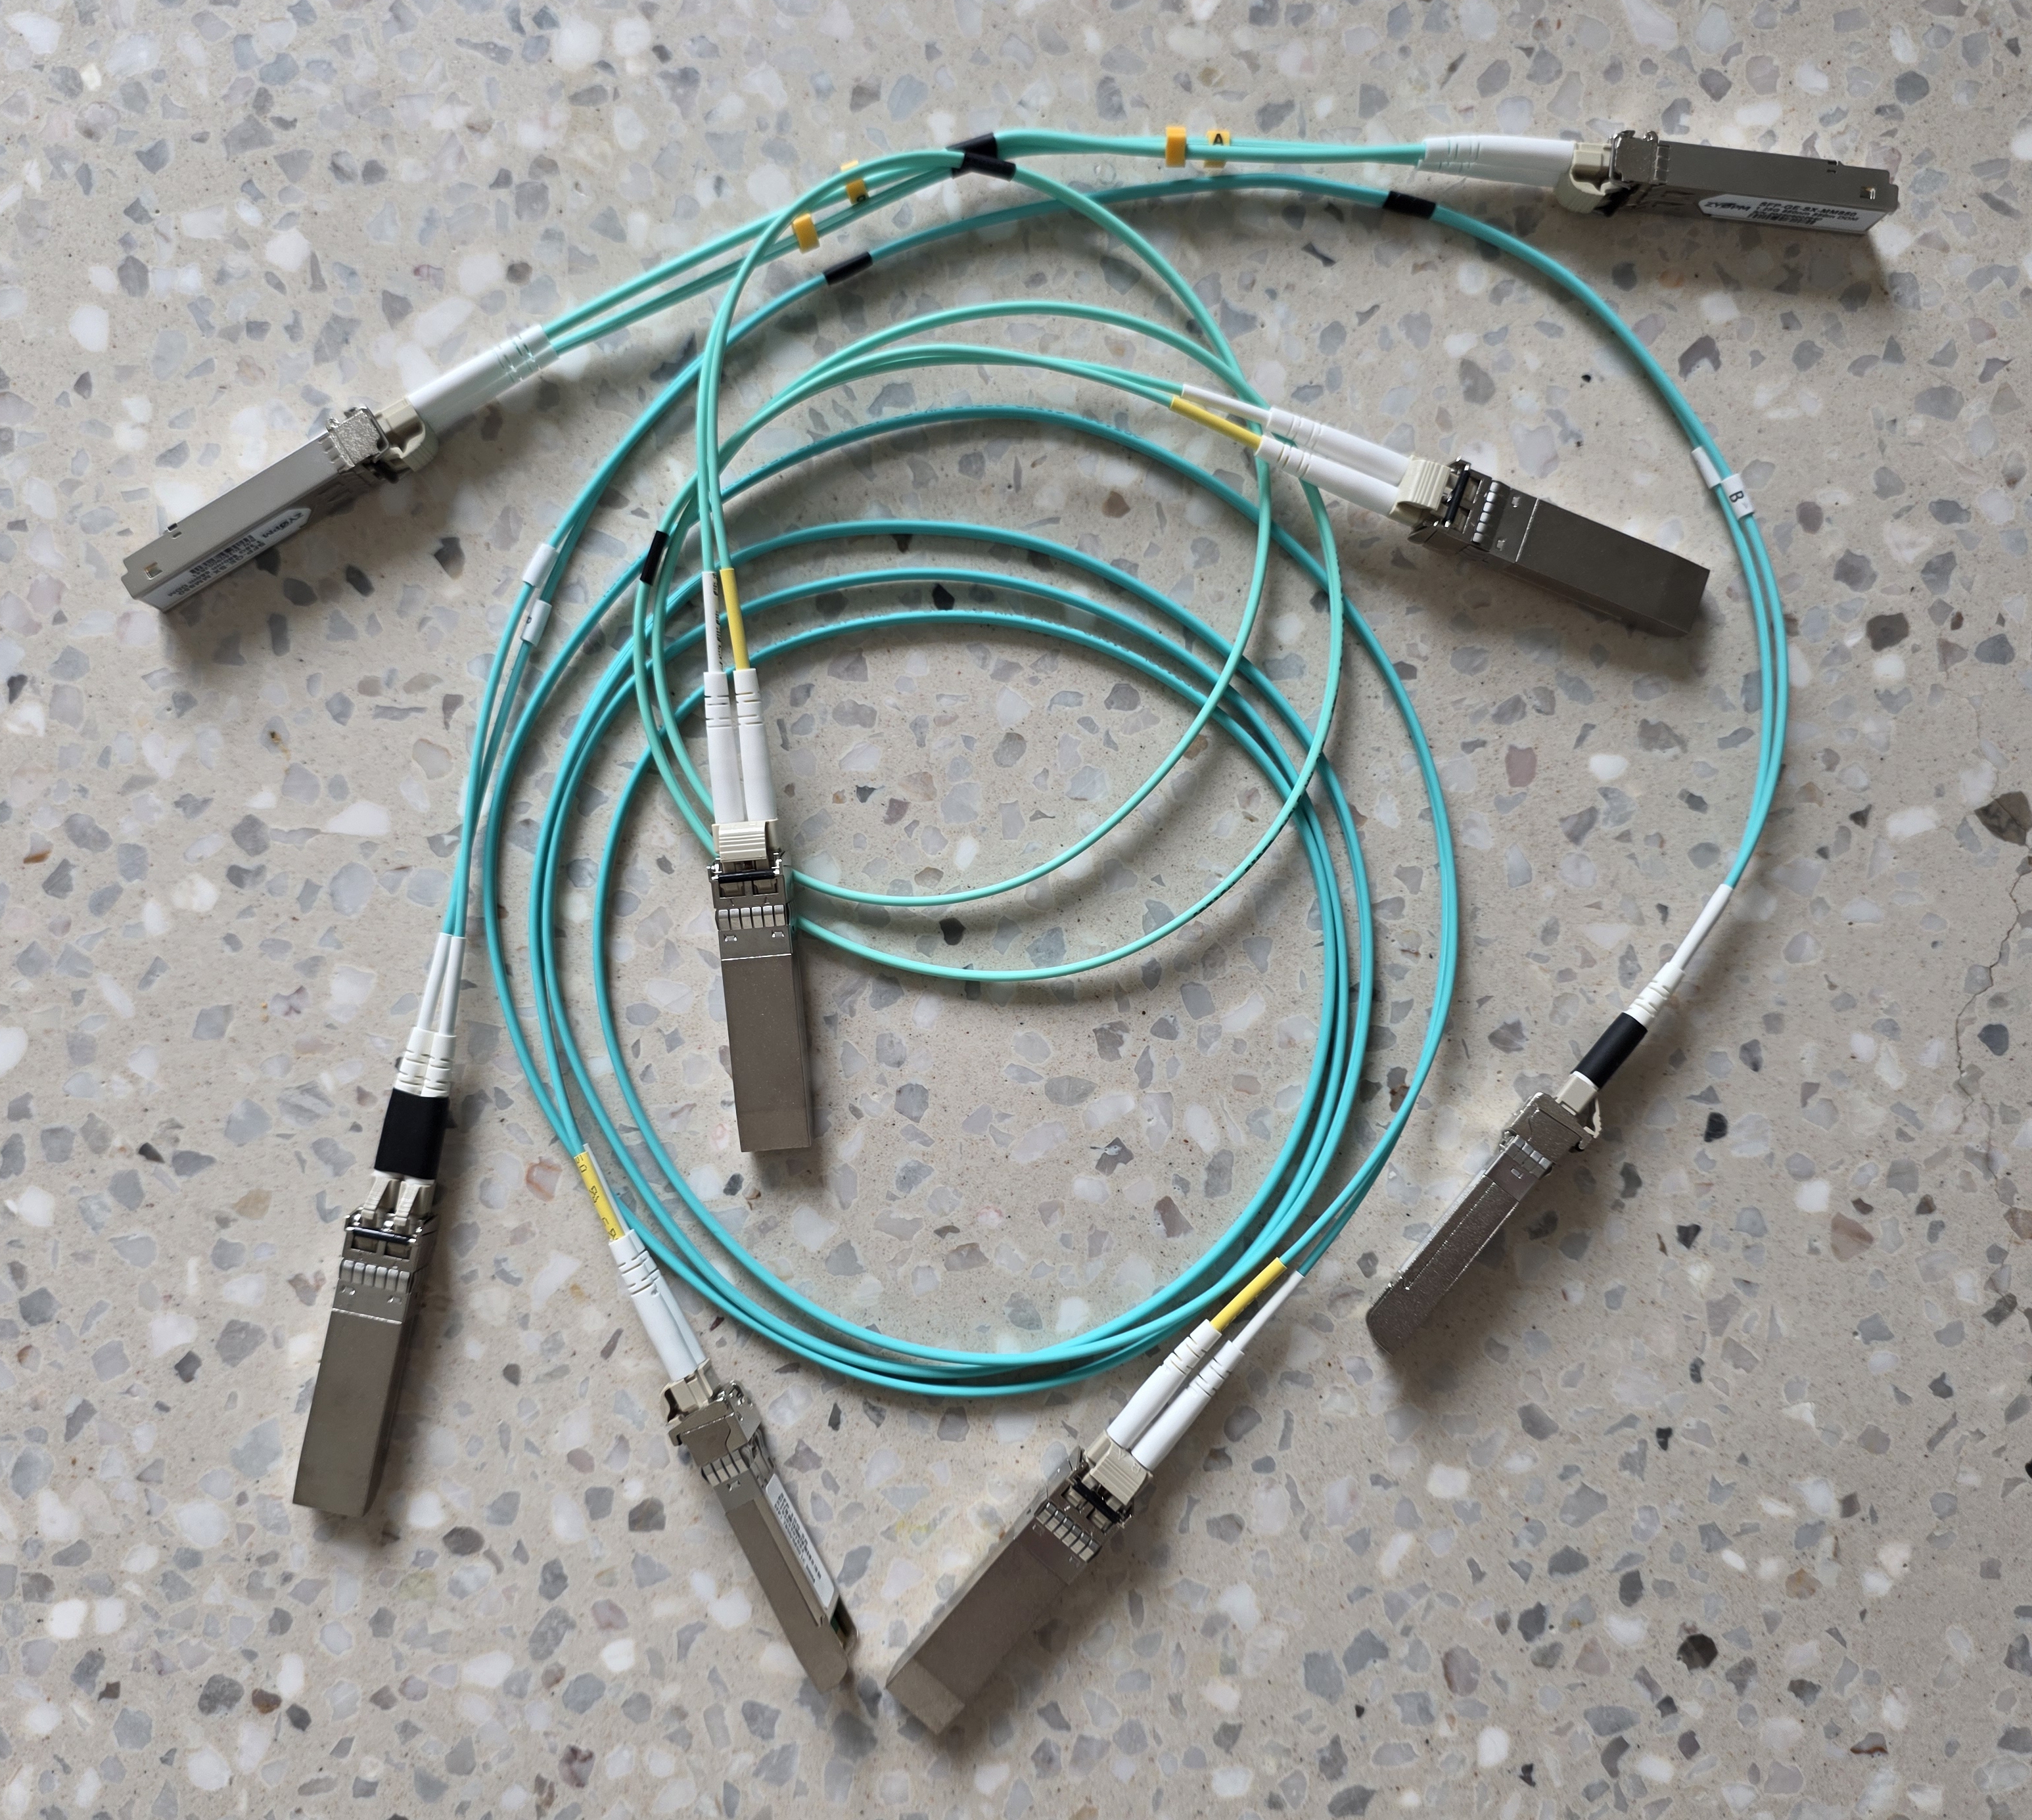
A few things that came up:
- The TP-Link uplink to the EnGenius needed 1.25G LC 850 nm SFP transceivers at both ends. The wavelength is the colour of light used (850 nm sits in the near-infrared range and is standard for short-range multi-mode), and LC is the connector type. Generic 10G SFP+ transceivers would not negotiate down to 1G.
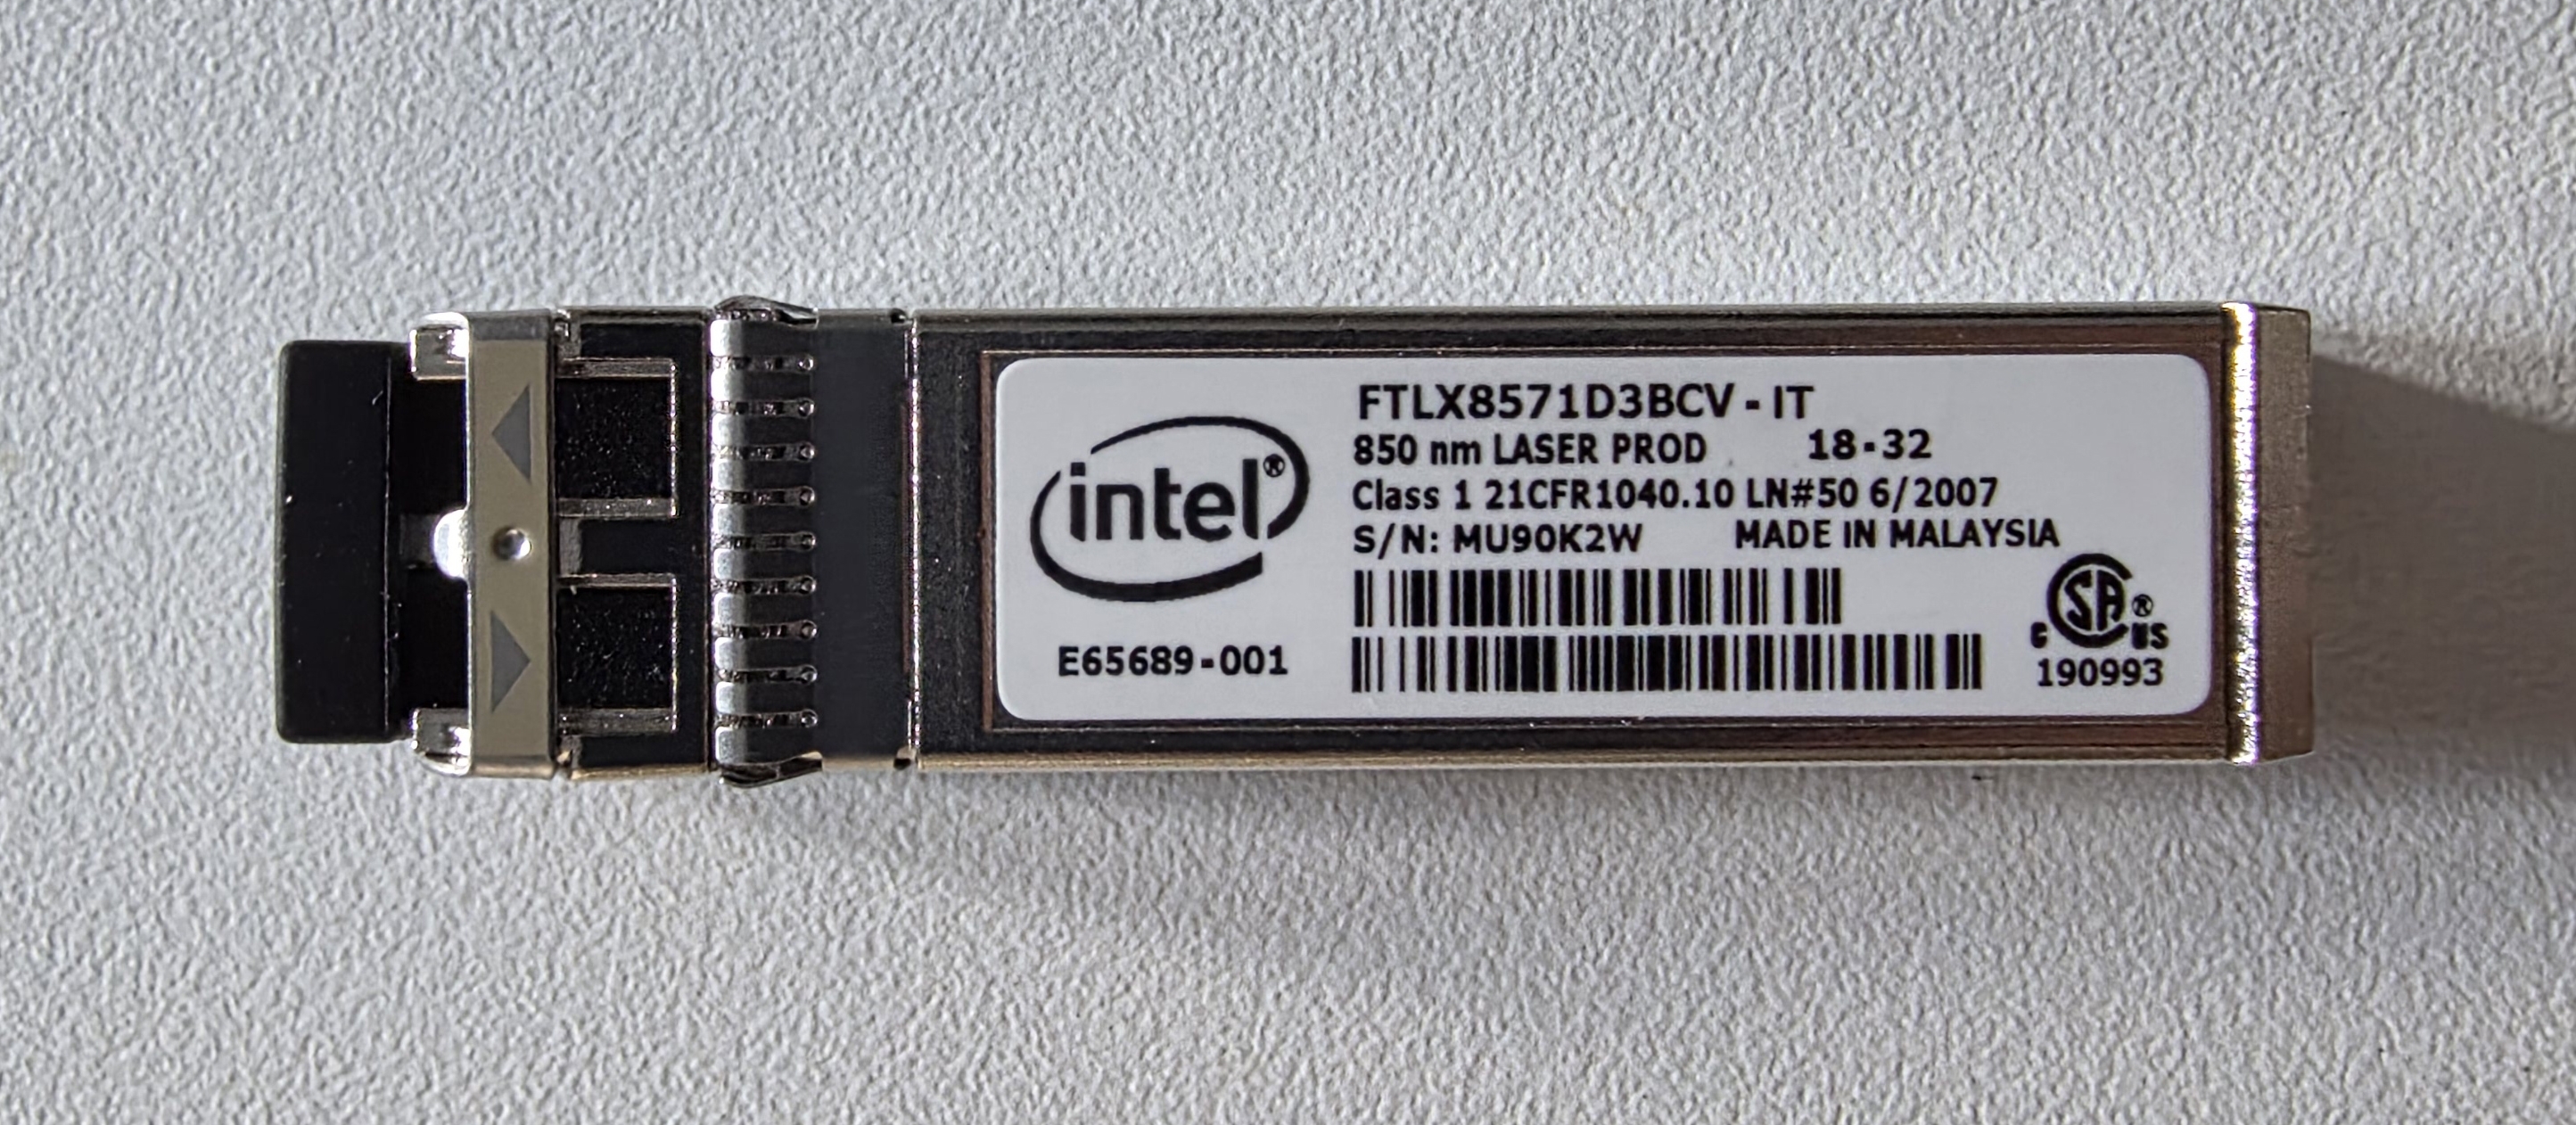
- My OPNsense router (Topton mini PC) has an older Intel ES82599ES NIC that did not like the AliExpress transceivers. Slow link, dropped packets. It only behaved after I matched it with an Intel-branded SFP+ transceiver.
Cable Theory
A few things on a cable spec mattered for what I was doing.
Categories
Cable categories describe the physical construction of the twisted-pair cable. How tightly the pairs are twisted, how thick the conductors are, and what bandwidth the cable can carry. Higher categories support faster speeds over longer distances, but cost more and tend to be stiffer.
| Category | Bandwidth | Speed | Notes |
|---|---|---|---|
| CAT5 | 100 MHz | 100M to 100 m | Legacy |
| CAT5e | 100 MHz | 1G to 100 m | Cheap, fine for 1G |
| CAT6 | 250 MHz | 10G to ~55 m | What the builder ran |
| CAT6A | 500 MHz | 10G to 100 m | What I want everywhere |
| CAT7 / CAT8 | 600+ MHz | 10G+ | Non-standard or datacentre |
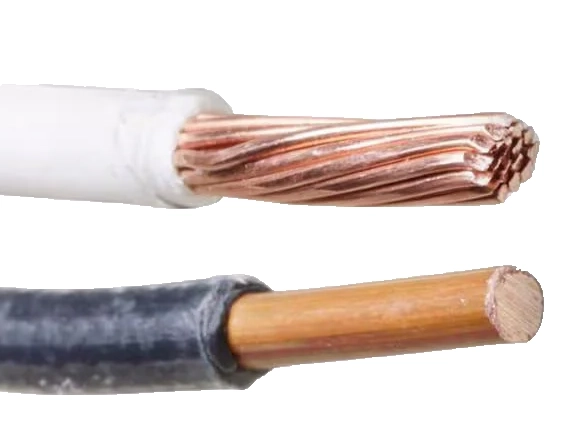
Solid vs Stranded
Solid-core cables use one thick conductor per wire. Stranded cables use many thin strands twisted together.
| Solid | Stranded | |
|---|---|---|
| EMI resistance | Better | Worse |
| Attenuation | Lower | Higher |
| Flexibility | Stiff | Flexible |
| Punchdown | Reliable | Unreliable |
| Typical use | Fixed in-wall runs | Patch leads |
Solid is the right choice for in-wall runs, keystones, and patch panels. The single thick conductor cuts cleanly into the punchdown blade of a keystone and stays put. Stranded can technically be punched down, but the multiple small strands tend to splay or break under the blade, and a connection that tests fine on day one can fail months later.
Stranded is the right choice for patch leads because the many small strands survive the repeated bending that patch leads go through every time a device is unplugged and replugged.
The split I went with:
- New short runs (alarm, battery inverter, garage camera): CAT6A U/FTP solid, from a Molex-branded cable roll
- Patch leads and device tails: CAT6A S/FTP stranded, from 4Cabling
Shielding
Shielding wraps the conductors in a foil or braid layer to block electromagnetic interference from coupling into the signal. It can appear in two places. Around the entire cable jacket, and around each individual twisted pair inside.
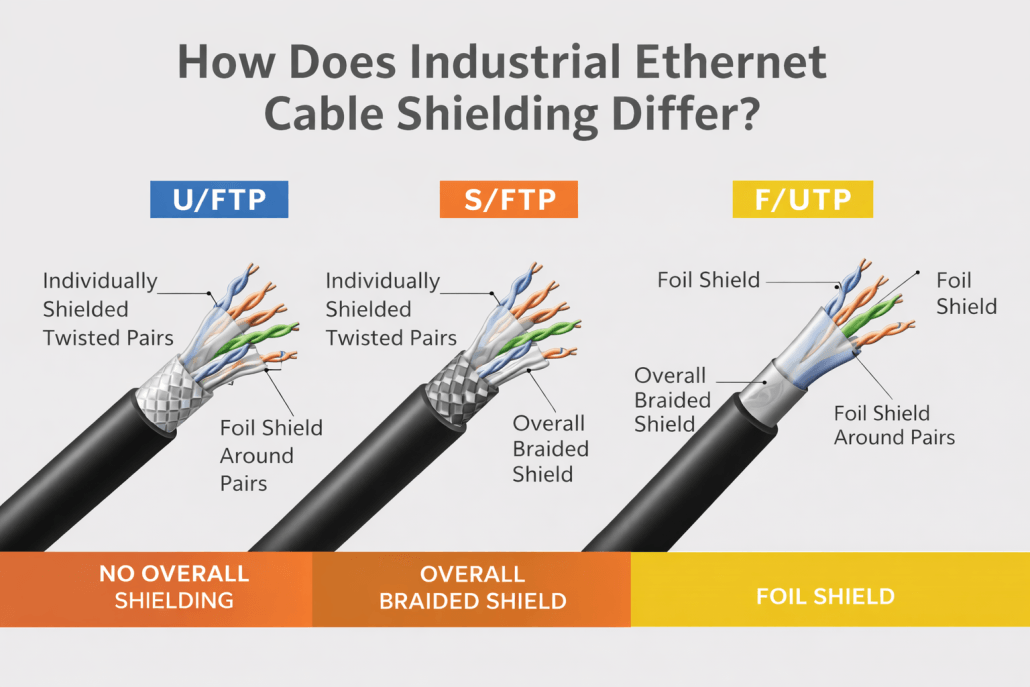
The code on a cable spec reads as overall / pairs. The letters describe what kind of shielding is at each level.
| Unshielded pairs (UTP) | Foil-shielded pairs (FTP) | |
|---|---|---|
| U (no outer shielding) | U/UTP | U/FTP |
| F (foil outer jacket) | F/UTP | F/FTP |
| S (braid outer jacket) | S/UTP | S/FTP |
For a setup next to inverters and a switchboard, U/FTP and S/FTP are the only options worth running. The shielding only works if every link in the chain is shielded: cable, keystone, patch panel, and patch lead. A single unshielded link breaks the whole thing.
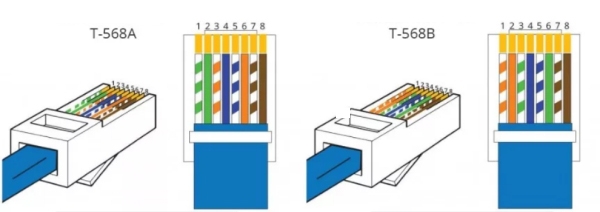
T568A vs T568B
Two pin-out standards, electrically identical. In Australia, T568A is the convention for in-wall terminations, which is what the electricians used. T568B is the convention for patch cables. The only rule is consistency at both ends of a run.
Cables
Cable comes in two forms: pre-terminated patch leads ready to plug in, which are typically stranded, and bulk solid cable you punch down yourself, which goes into keystones and patch panels. I needed both.
Patch Leads (4Cabling)
4Cabling sold the patch leads I needed in every length and colour, with bulk discounts at 5+ per SKU. Their standard CAT6A S/FTP leads are 26 AWG, thicker than the 30 AWG cables most other shops sell.
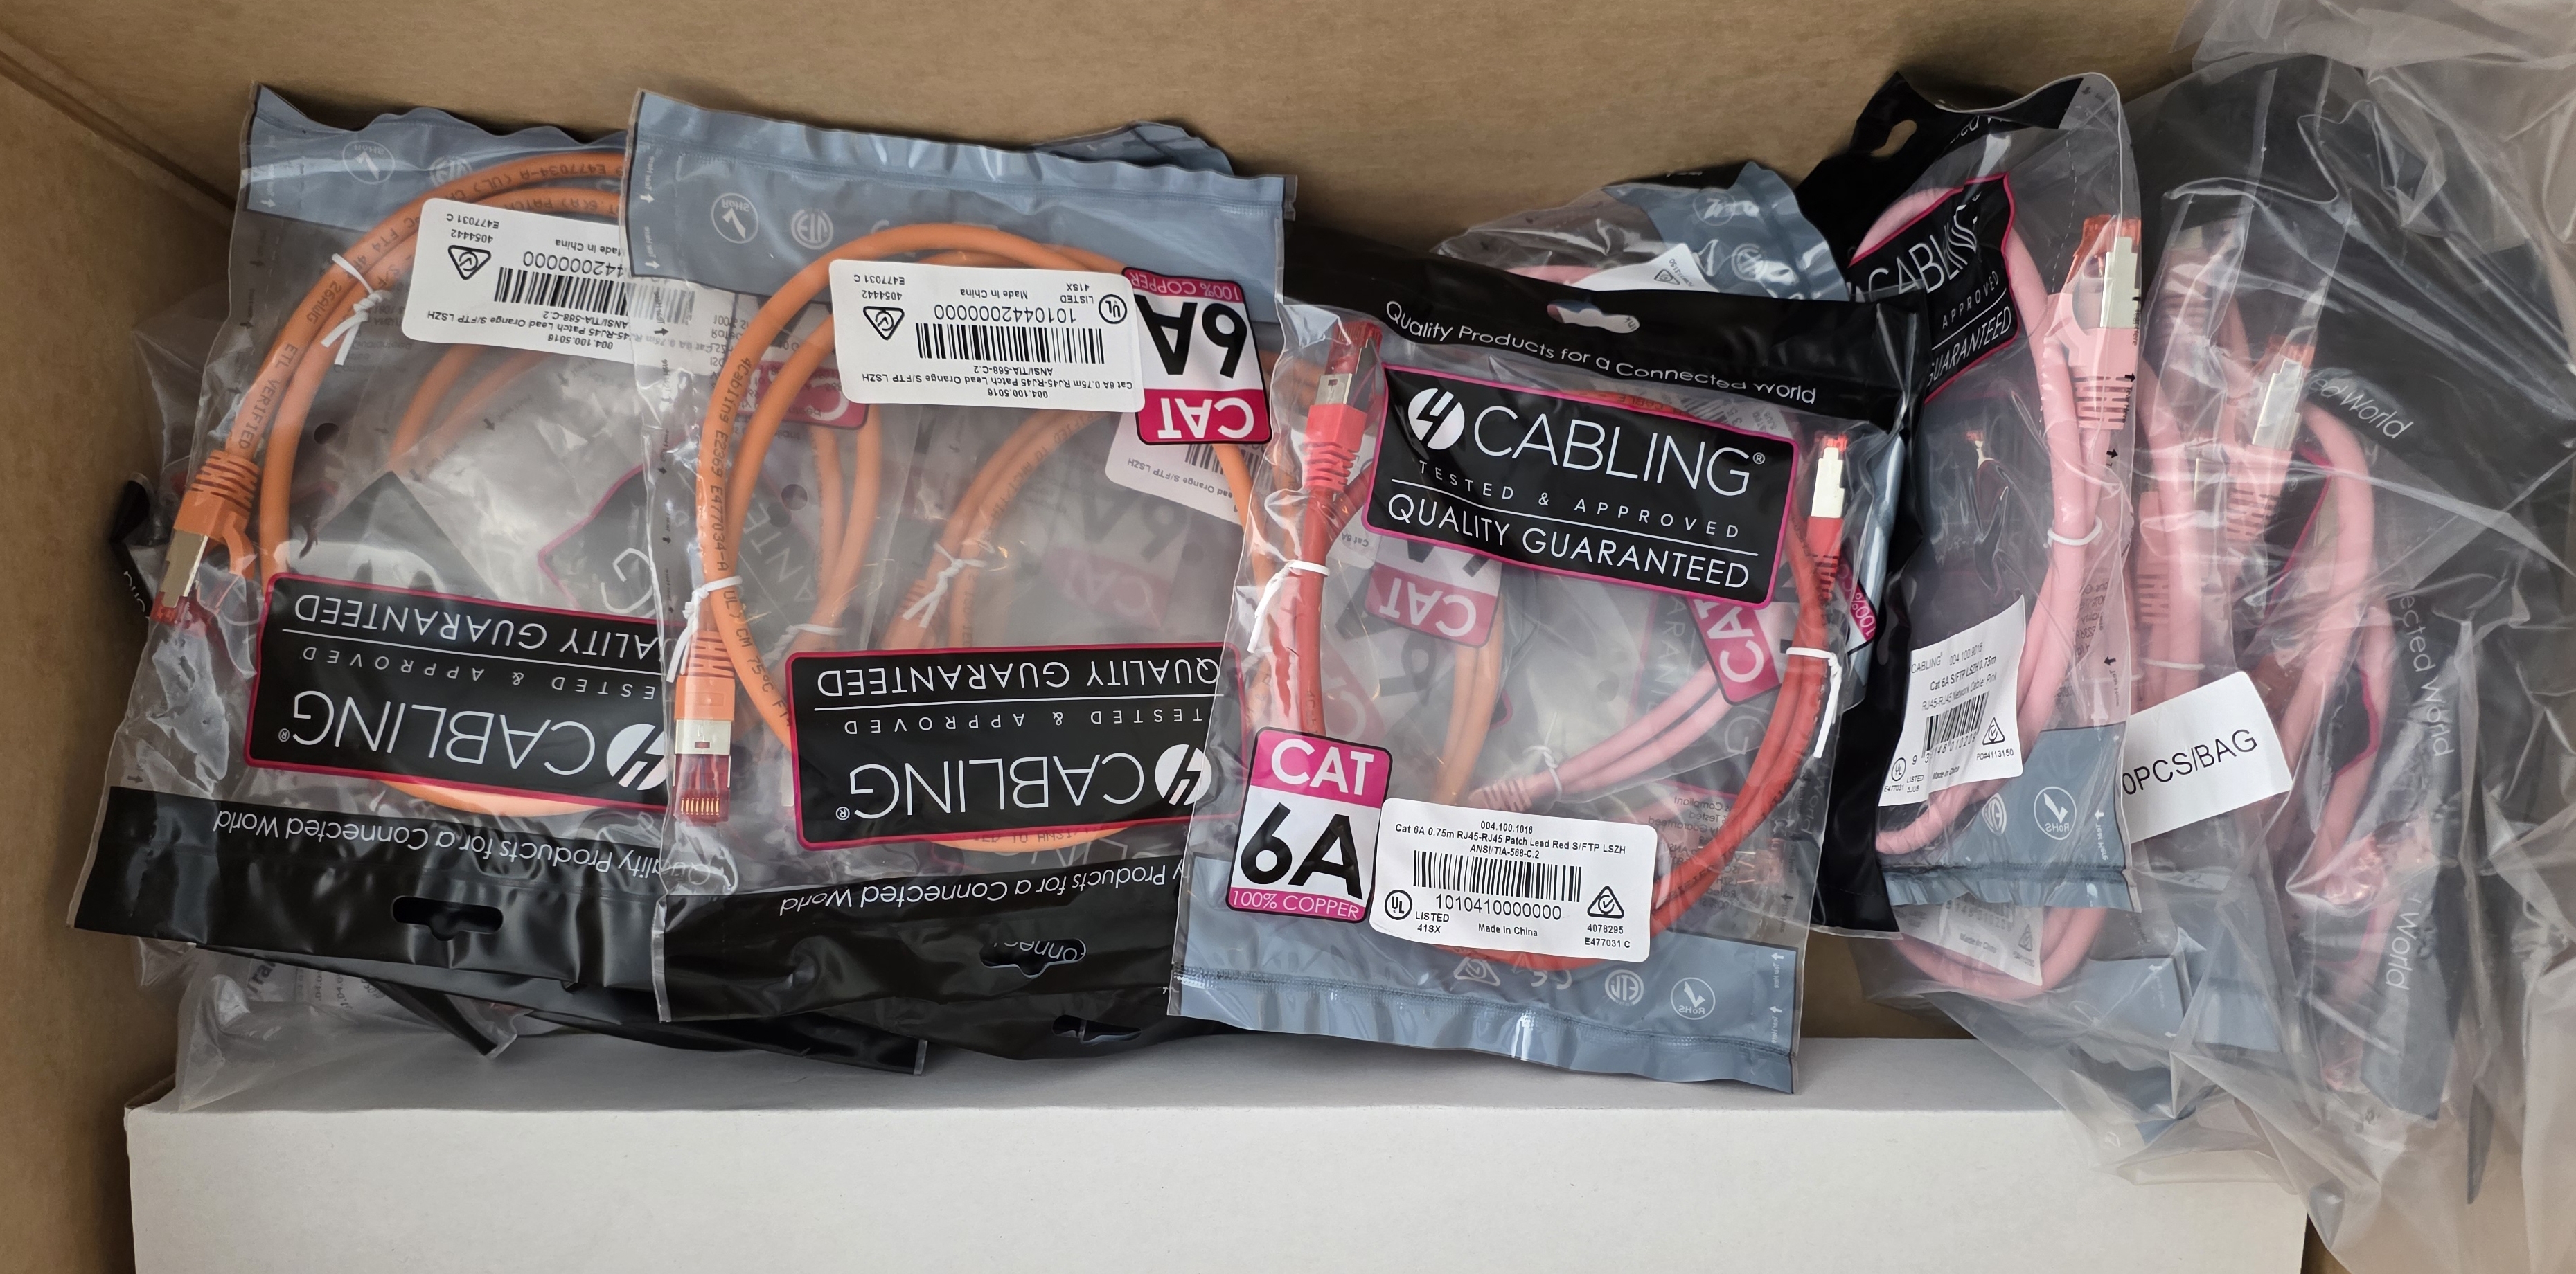
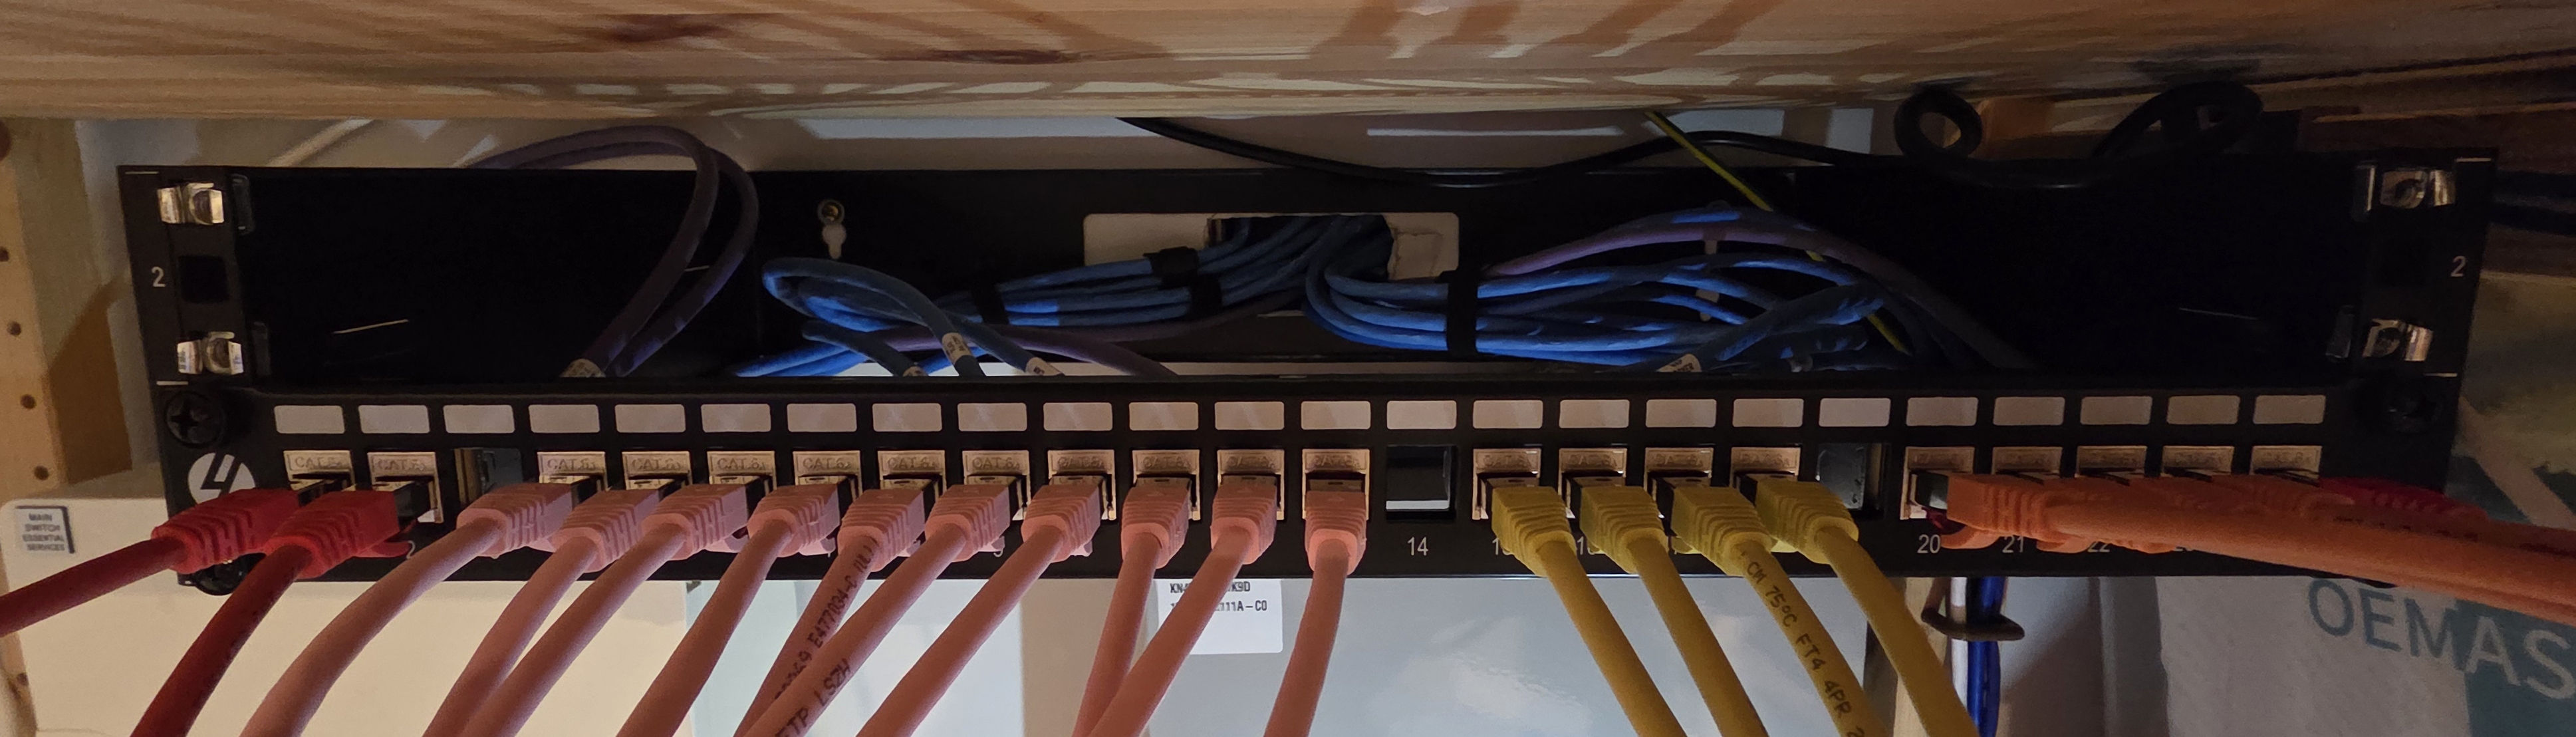
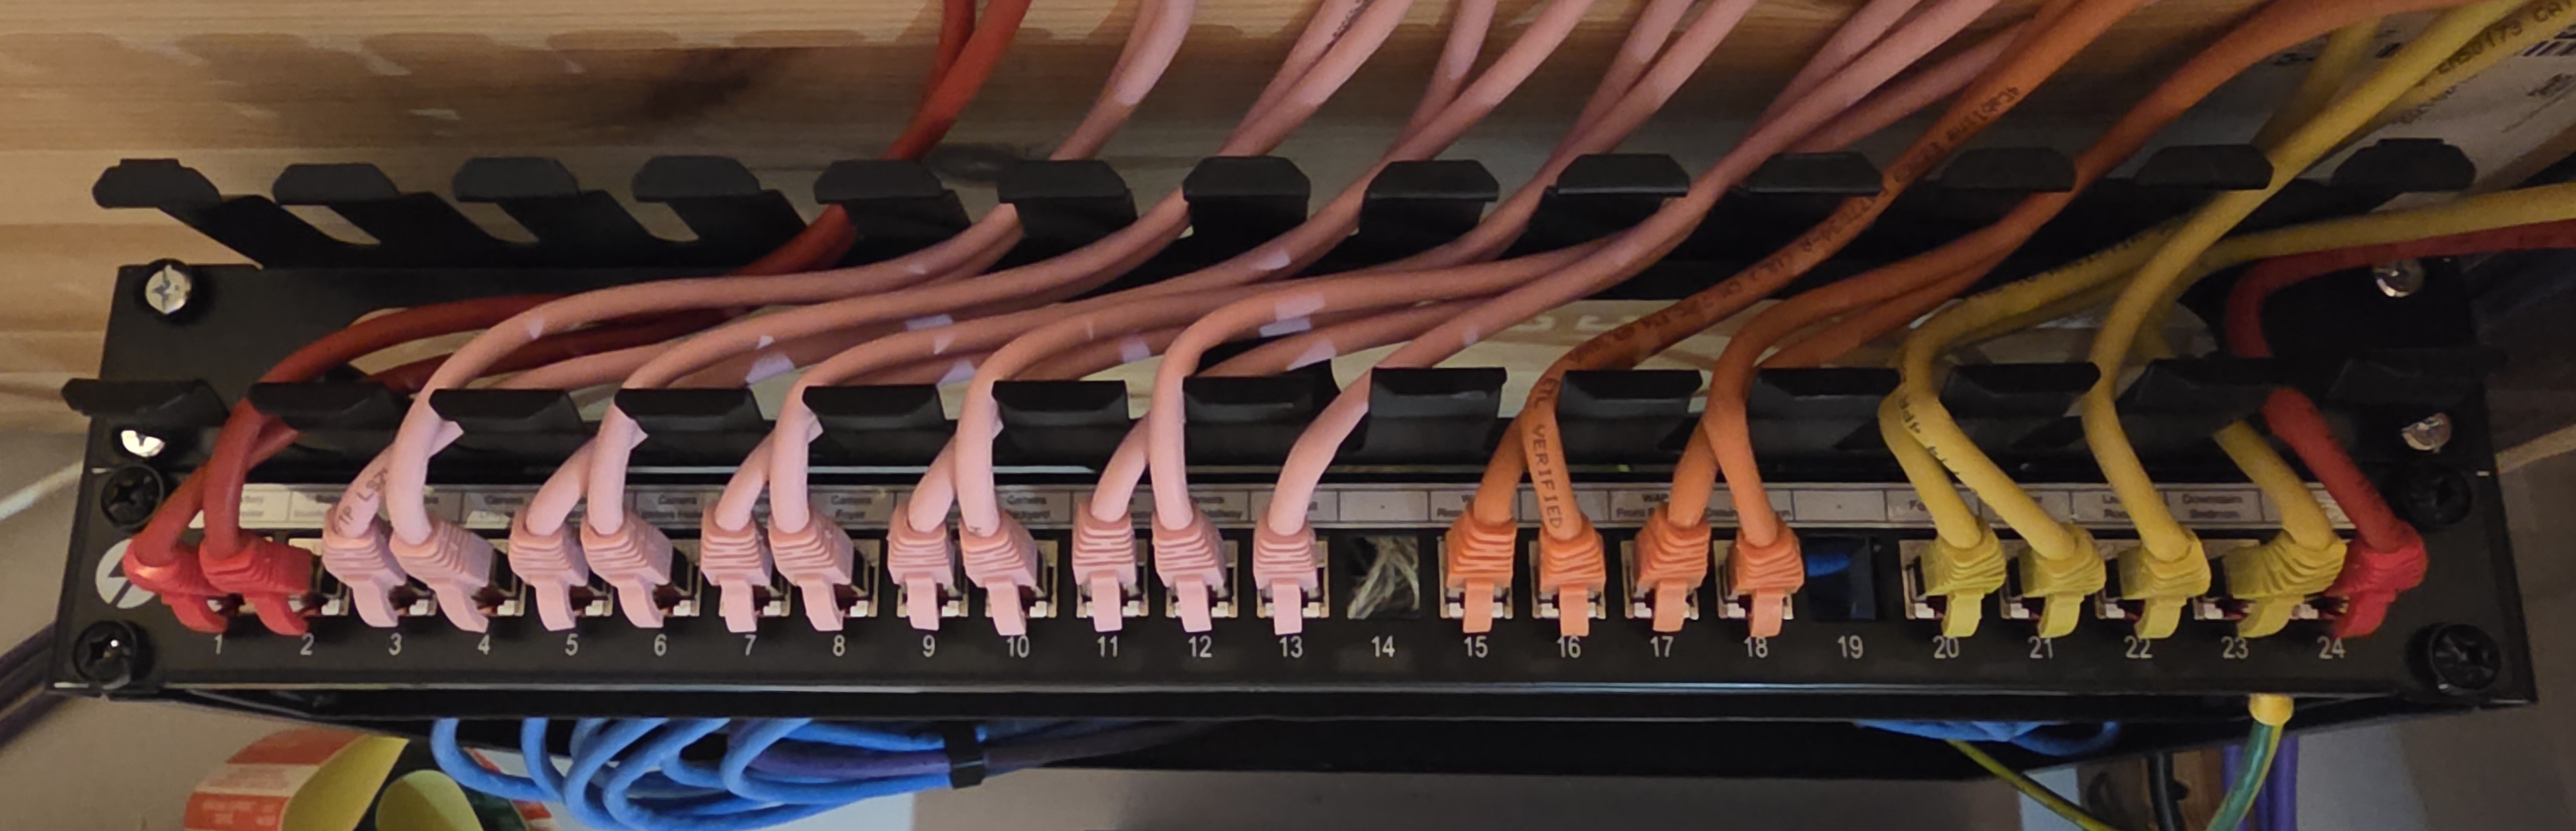
I colour-coded my cables by purpose:
| Purpose | Colour | Length | Quantity |
|---|---|---|---|
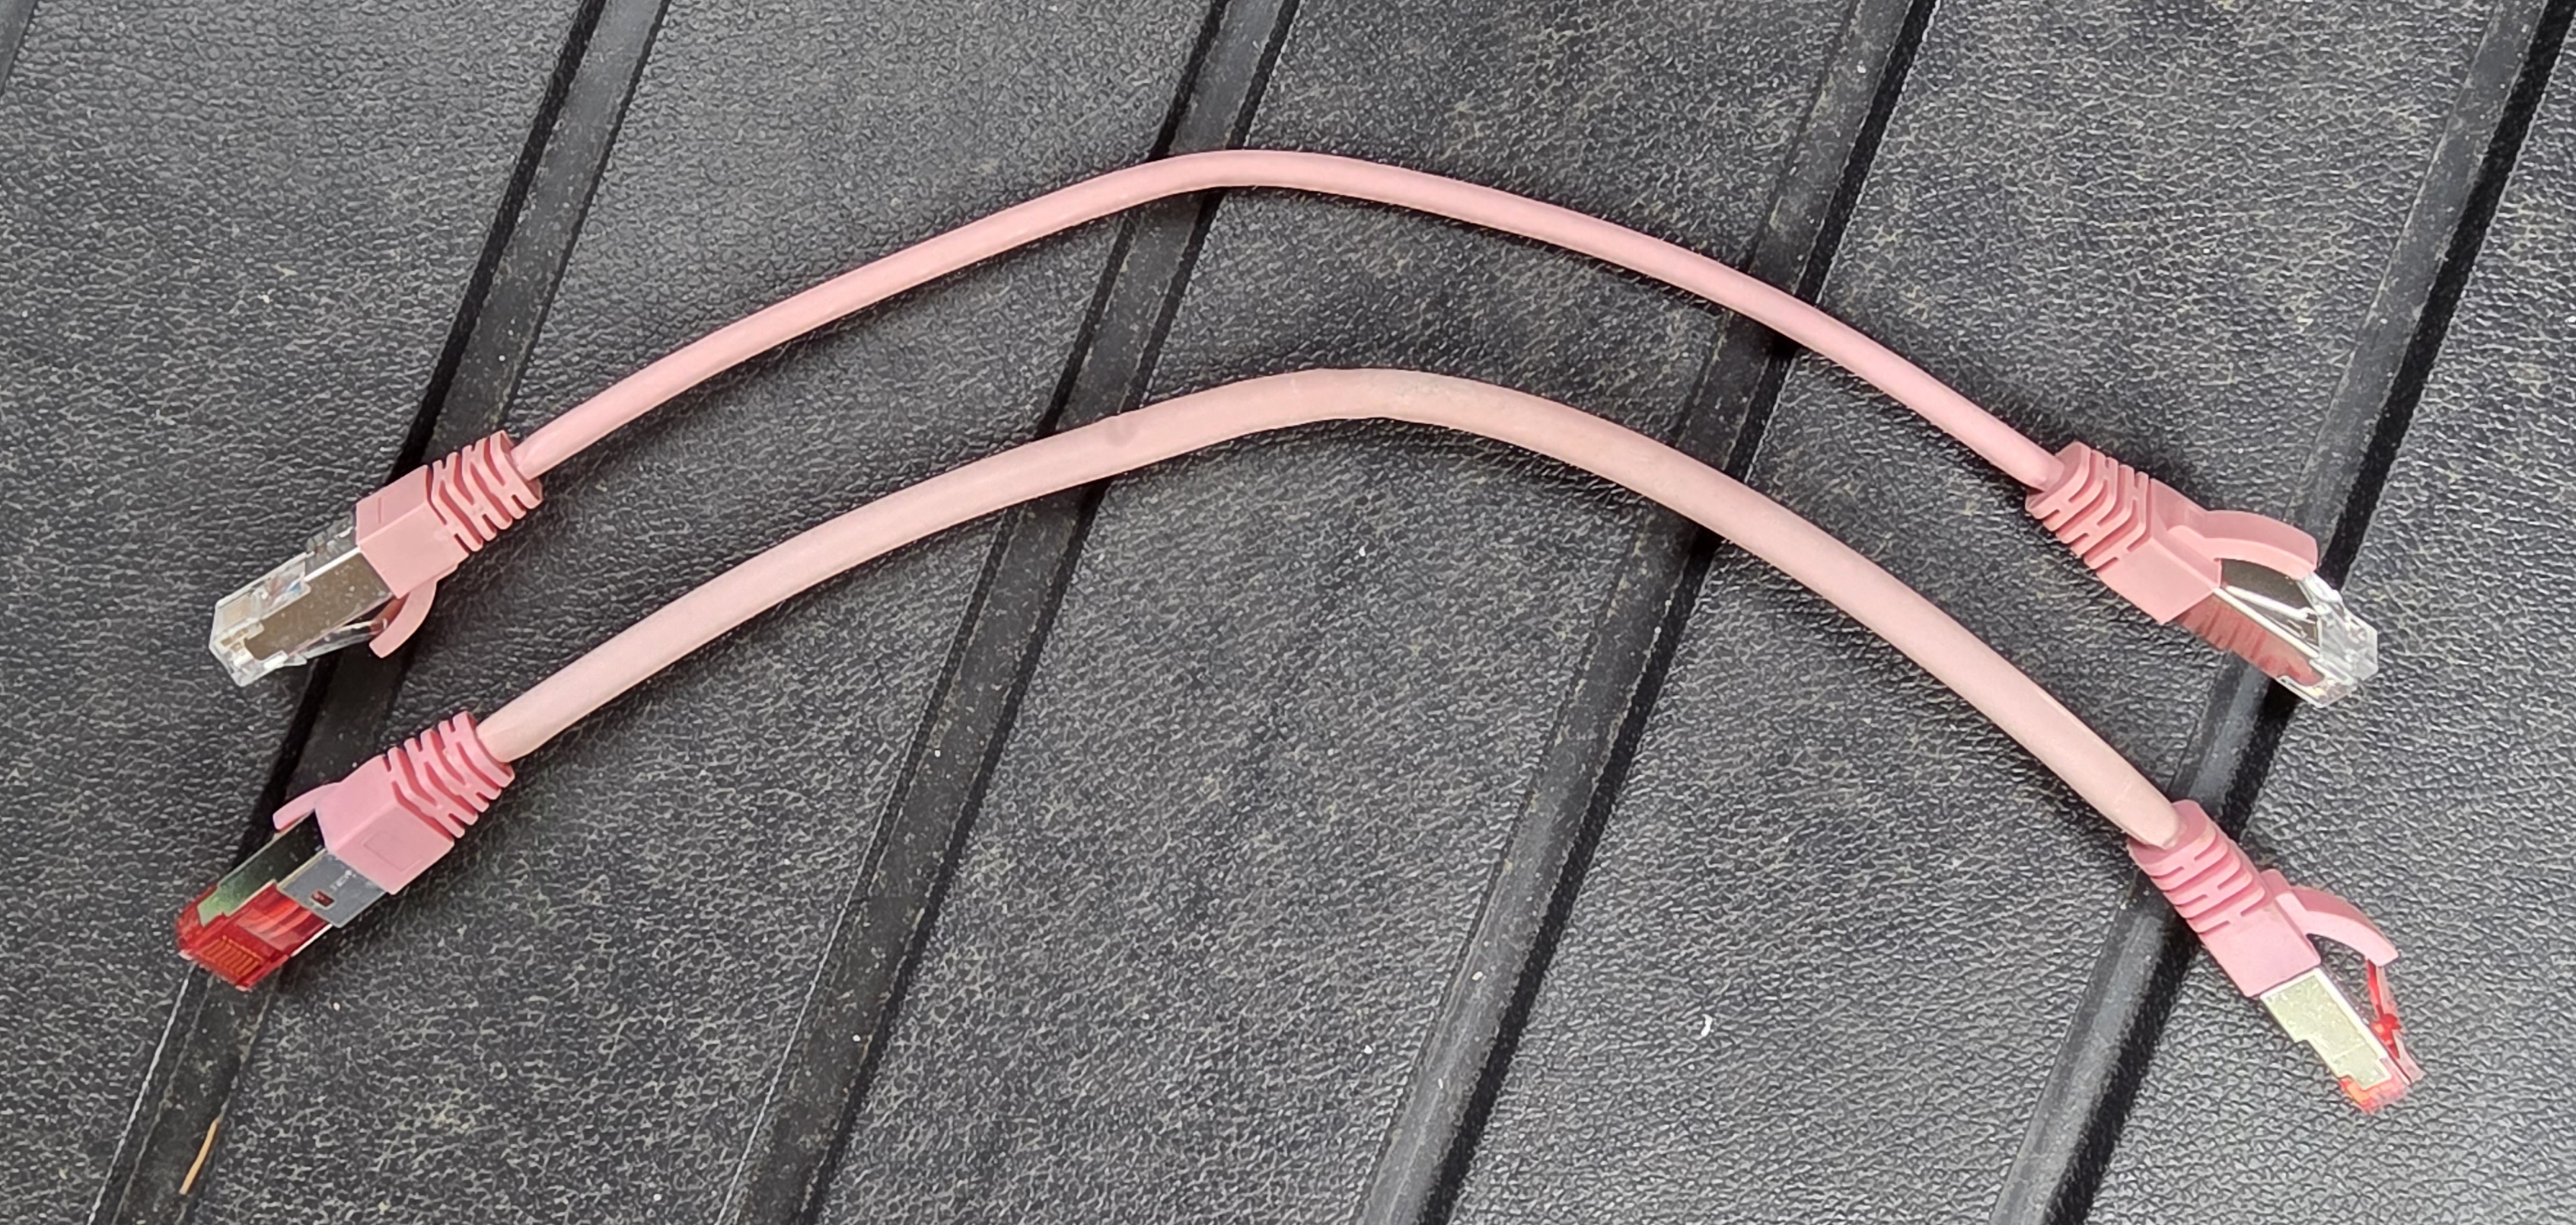
| Cameras | Pink | 0.75 m + 0.25 m tail | 13 + 17 |
| Wi-Fi access points | Orange | 0.75 m + 0.25 m tail | 5 + 4 |
| Wall ports / rooms | Yellow | 0.75 m | 5 |
| Other fixed devices | Red | 0.75 m | 5 |
| Direct device runs | Mixed | 0.5–4 m | 9 |
They also stock a thin 30 AWG variant for tight spots, which I used for the camera runs that needed extra flexibility around bends.
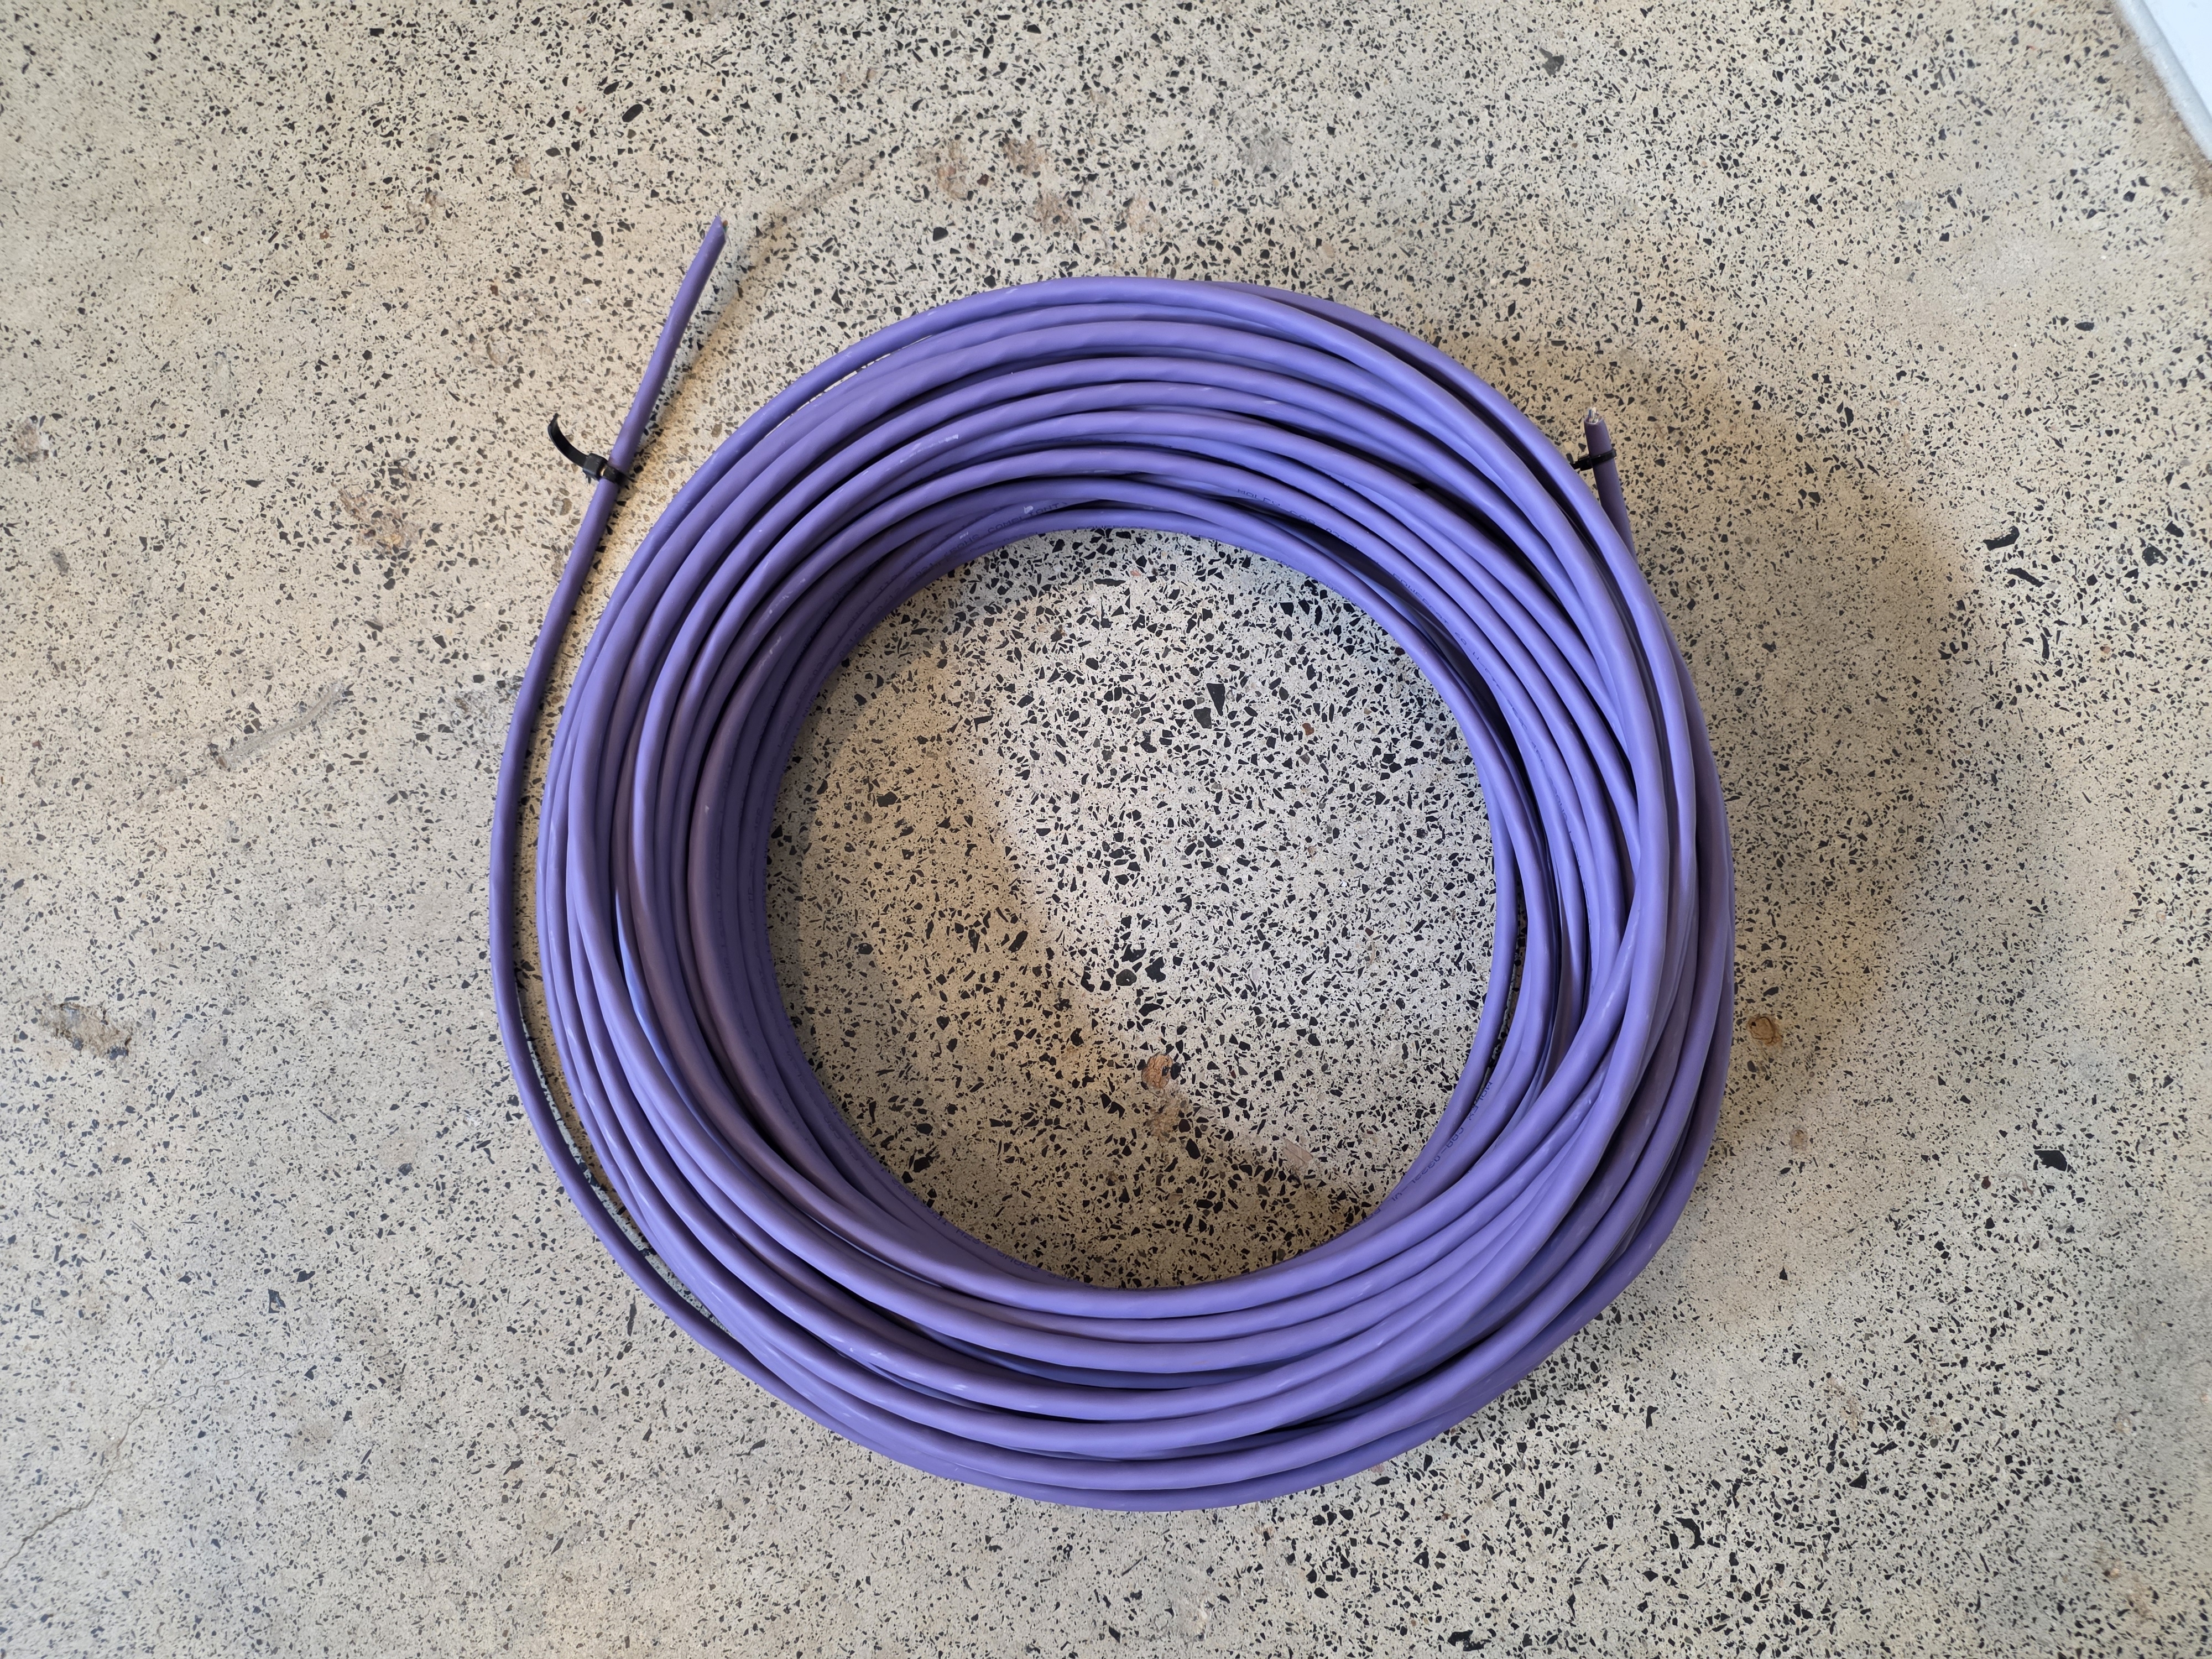
Solid Cable (Molex CAT6A U/FTP)
Solid CAT6A shielded cable in Australia is only sold by the 305 m box for close to $400. I did not need anywhere near 305 m, but it is impossible to buy it cut to length.
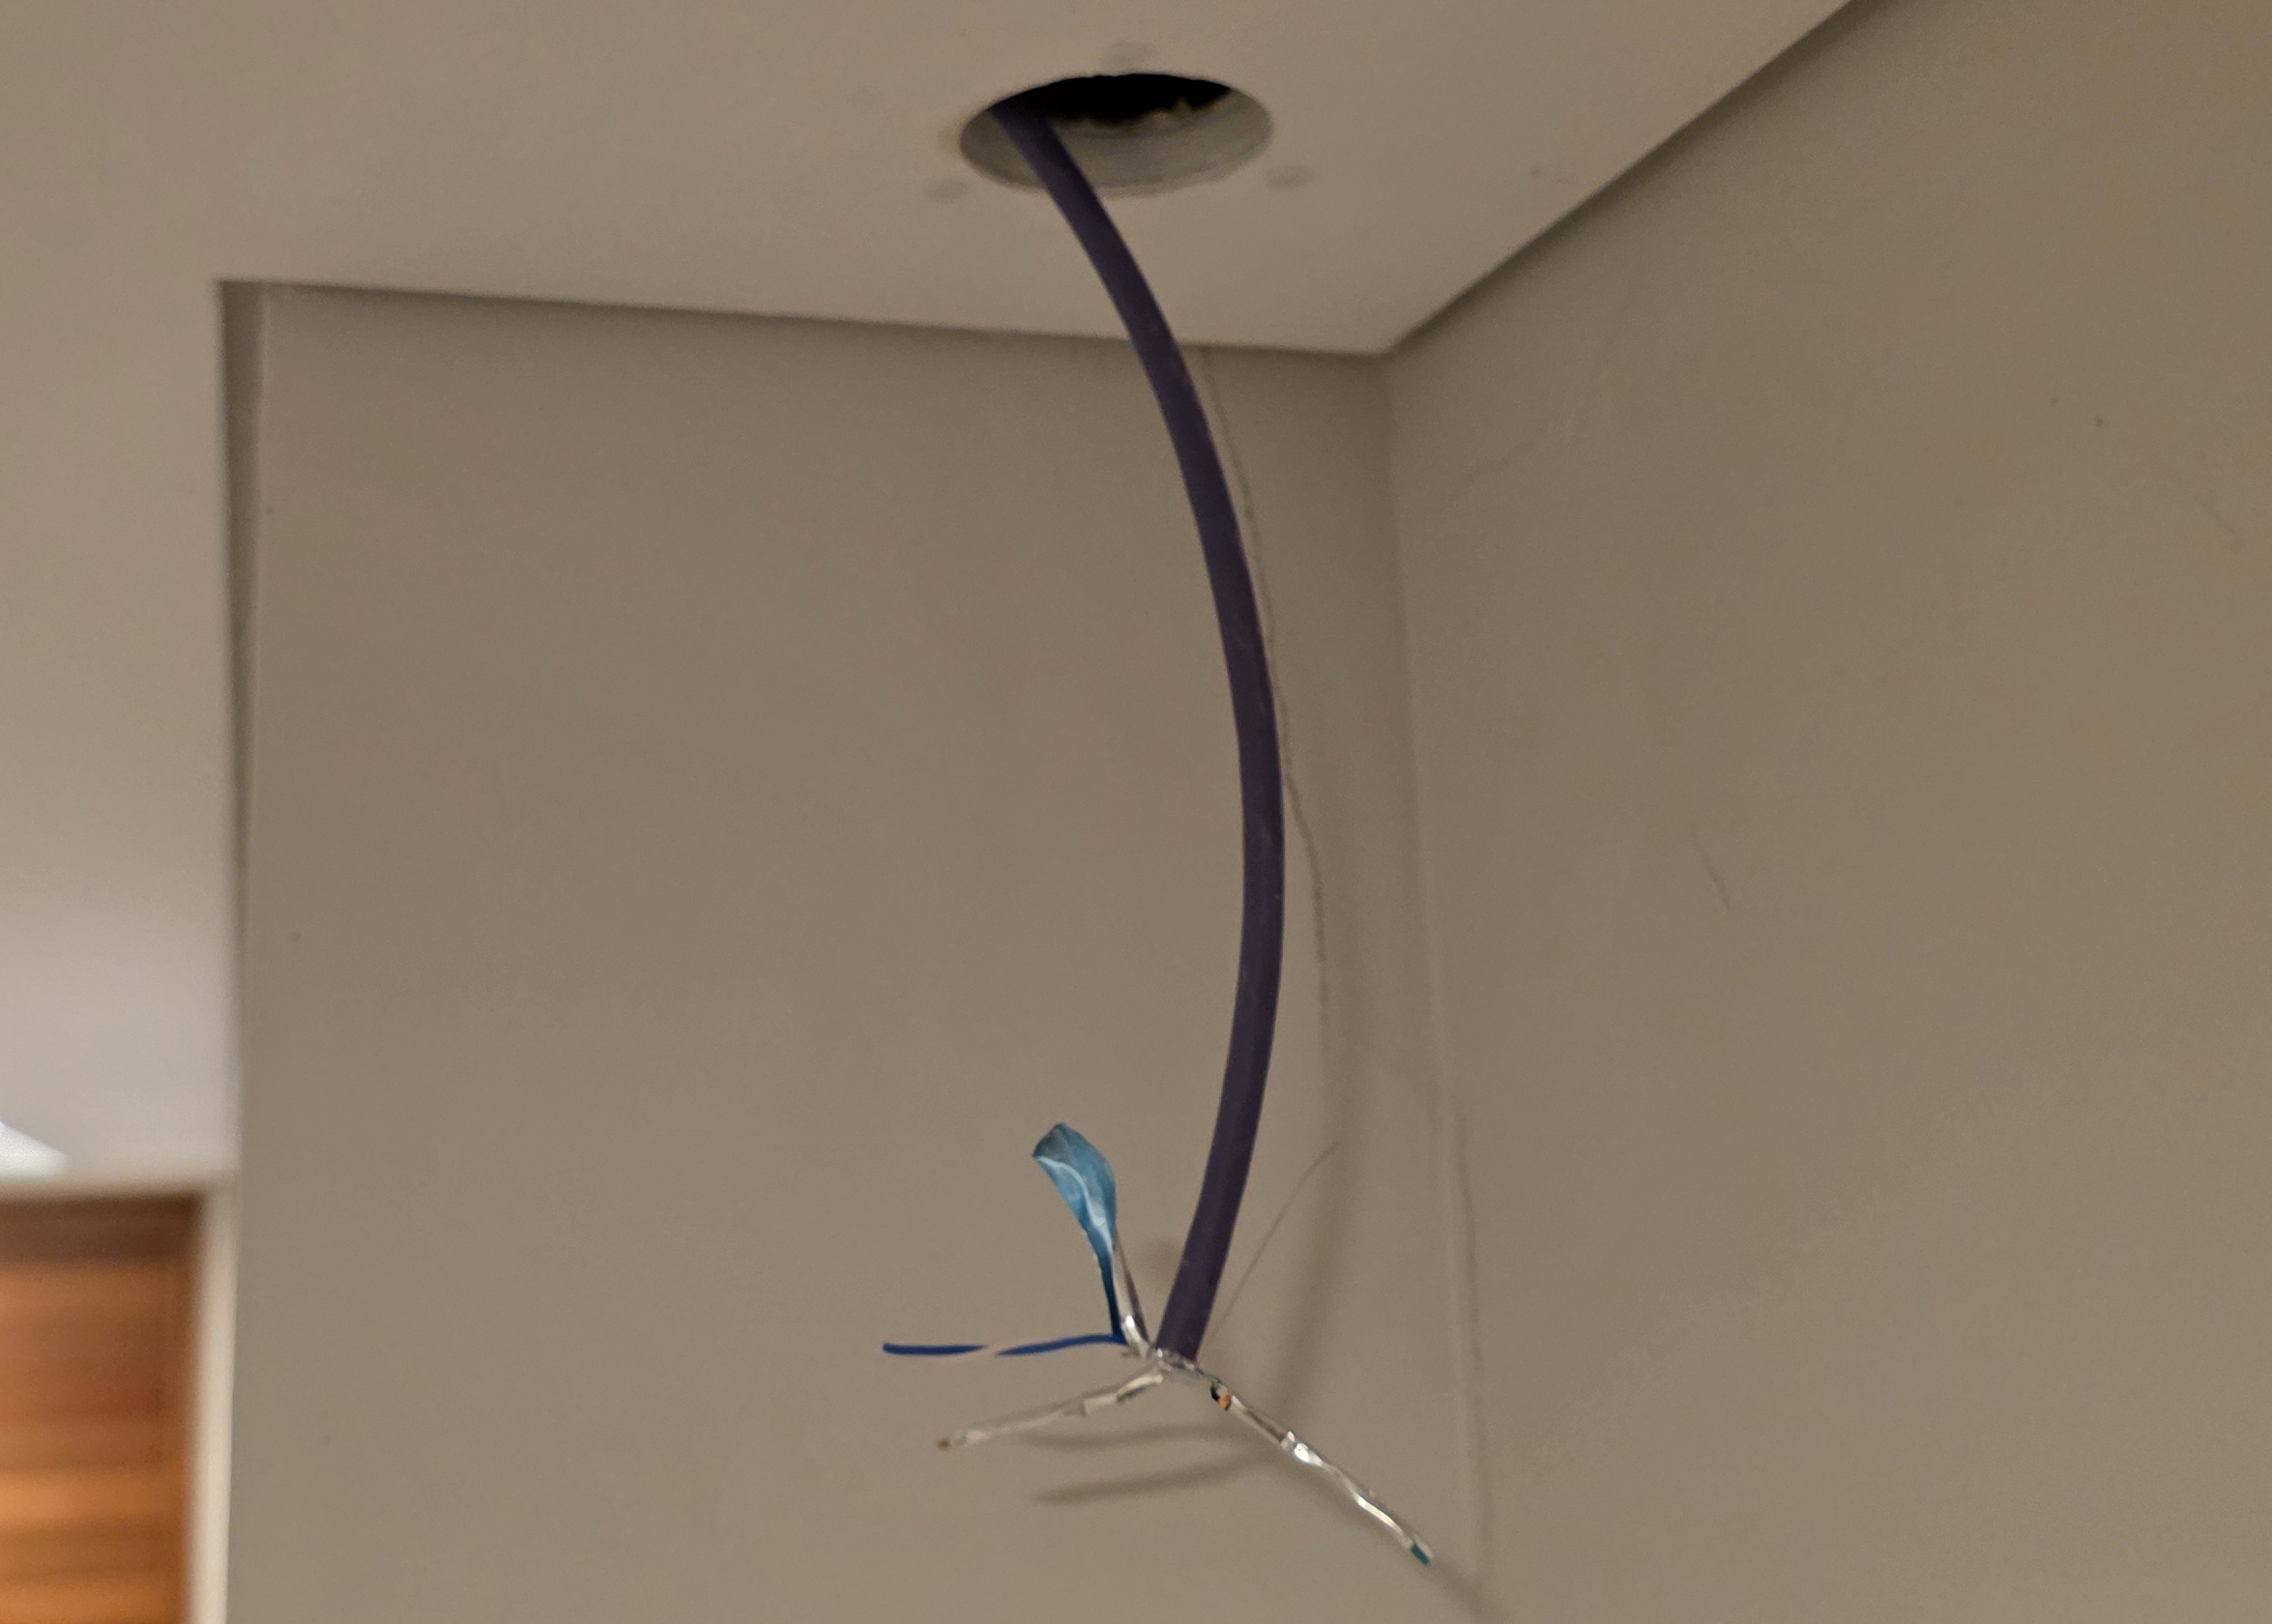
I got lucky on Facebook Marketplace. Someone had bought a roll, used part of it, and was offloading the rest. I paid $60 for 50 m of purple Molex CAT6A U/FTP solid core. The annoyance with this particular cable is that all the pair stripes are white. No blue, green, brown, or orange tint to identify a pair after the foil comes off. The workaround was to keep each pair twisted right up to the moment of seating it in the keystone, untwist only the last few millimetres needed to fan the wires out into the slots, and rely on position rather than colour. The tighter the twist runs, the better the noise rejection anyway.
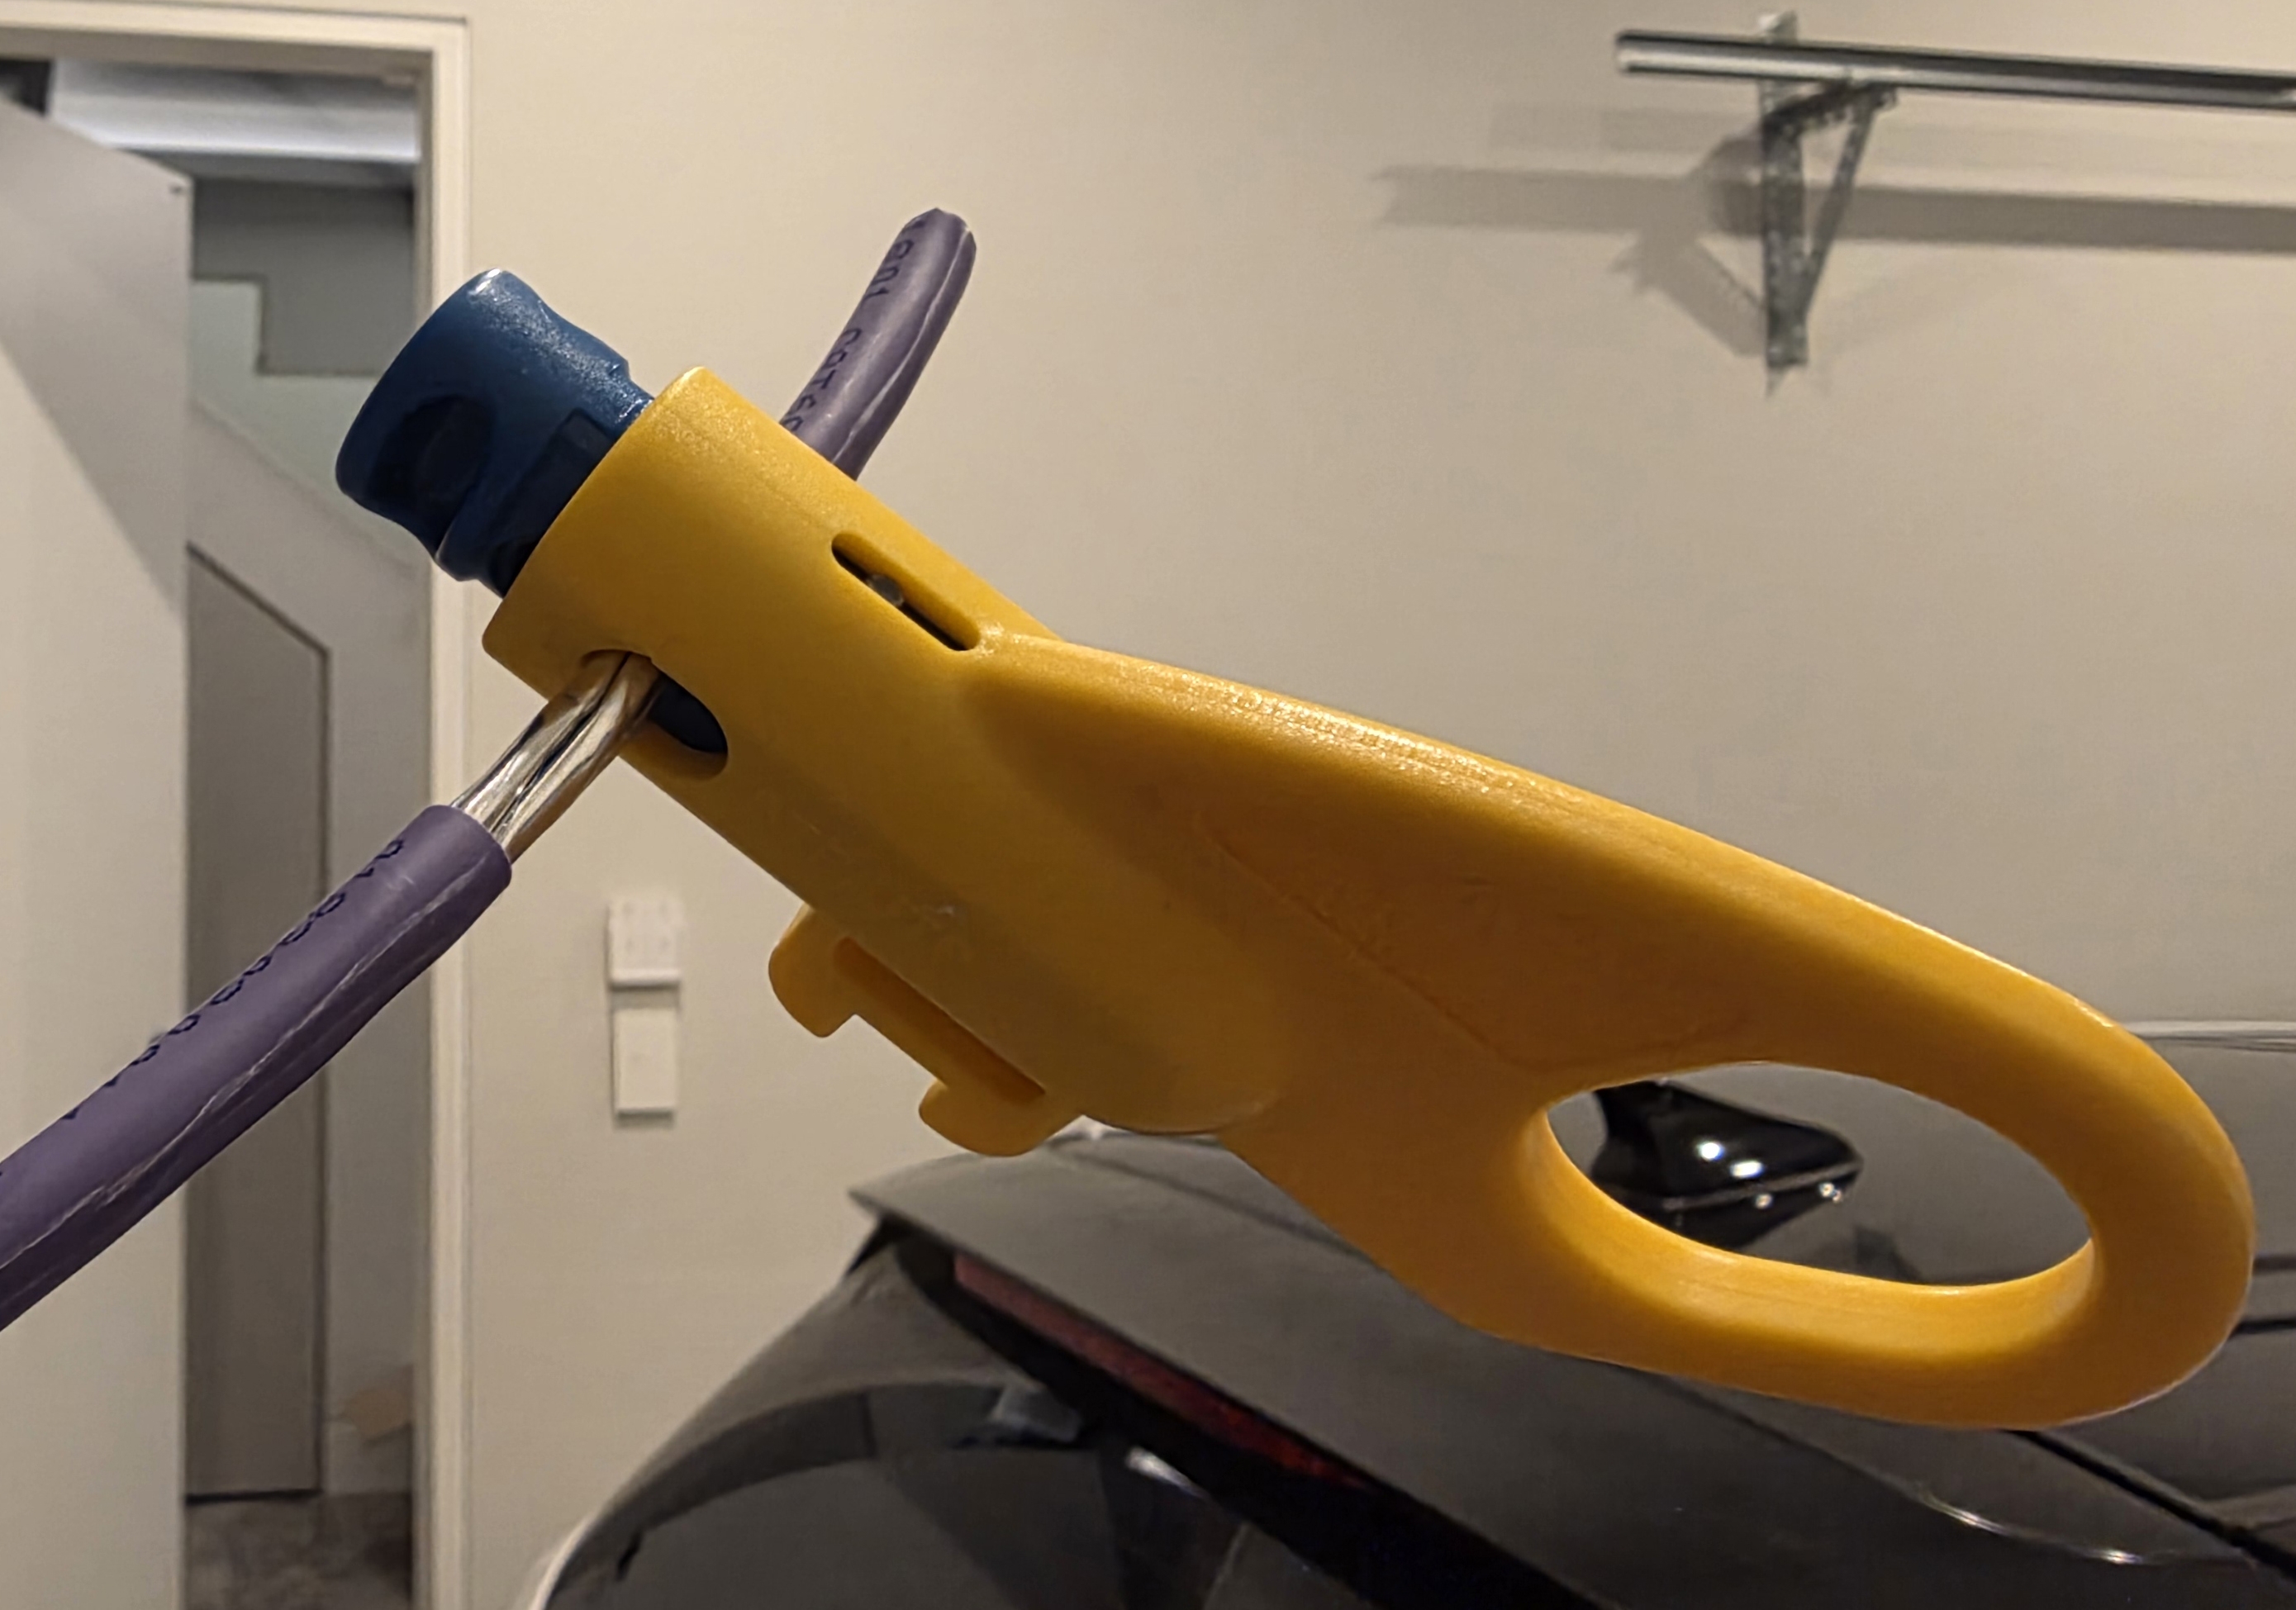
Cable Stripper (Klein Tools)
A cable stripper scores the outer jacket of a cable at a fixed depth so you can peel it back without nicking the conductors underneath. The usual alternative is side cutters or a knife, which will cut into the conductors if you are not careful. A nicked conductor either fails immediately or causes intermittent continuity that is hard to trace.
I have used a lot of cabling tools over the years and the Klein Tools Twisted Pair Radial Stripper is the best of the lot by a long way. It works by rotating around the cable rather than pressing in from one side, the scoring depth is consistent run after run, and it handles the full range of twisted-pair cable diameters without adjustment. The entire job went much faster than it had any right to.

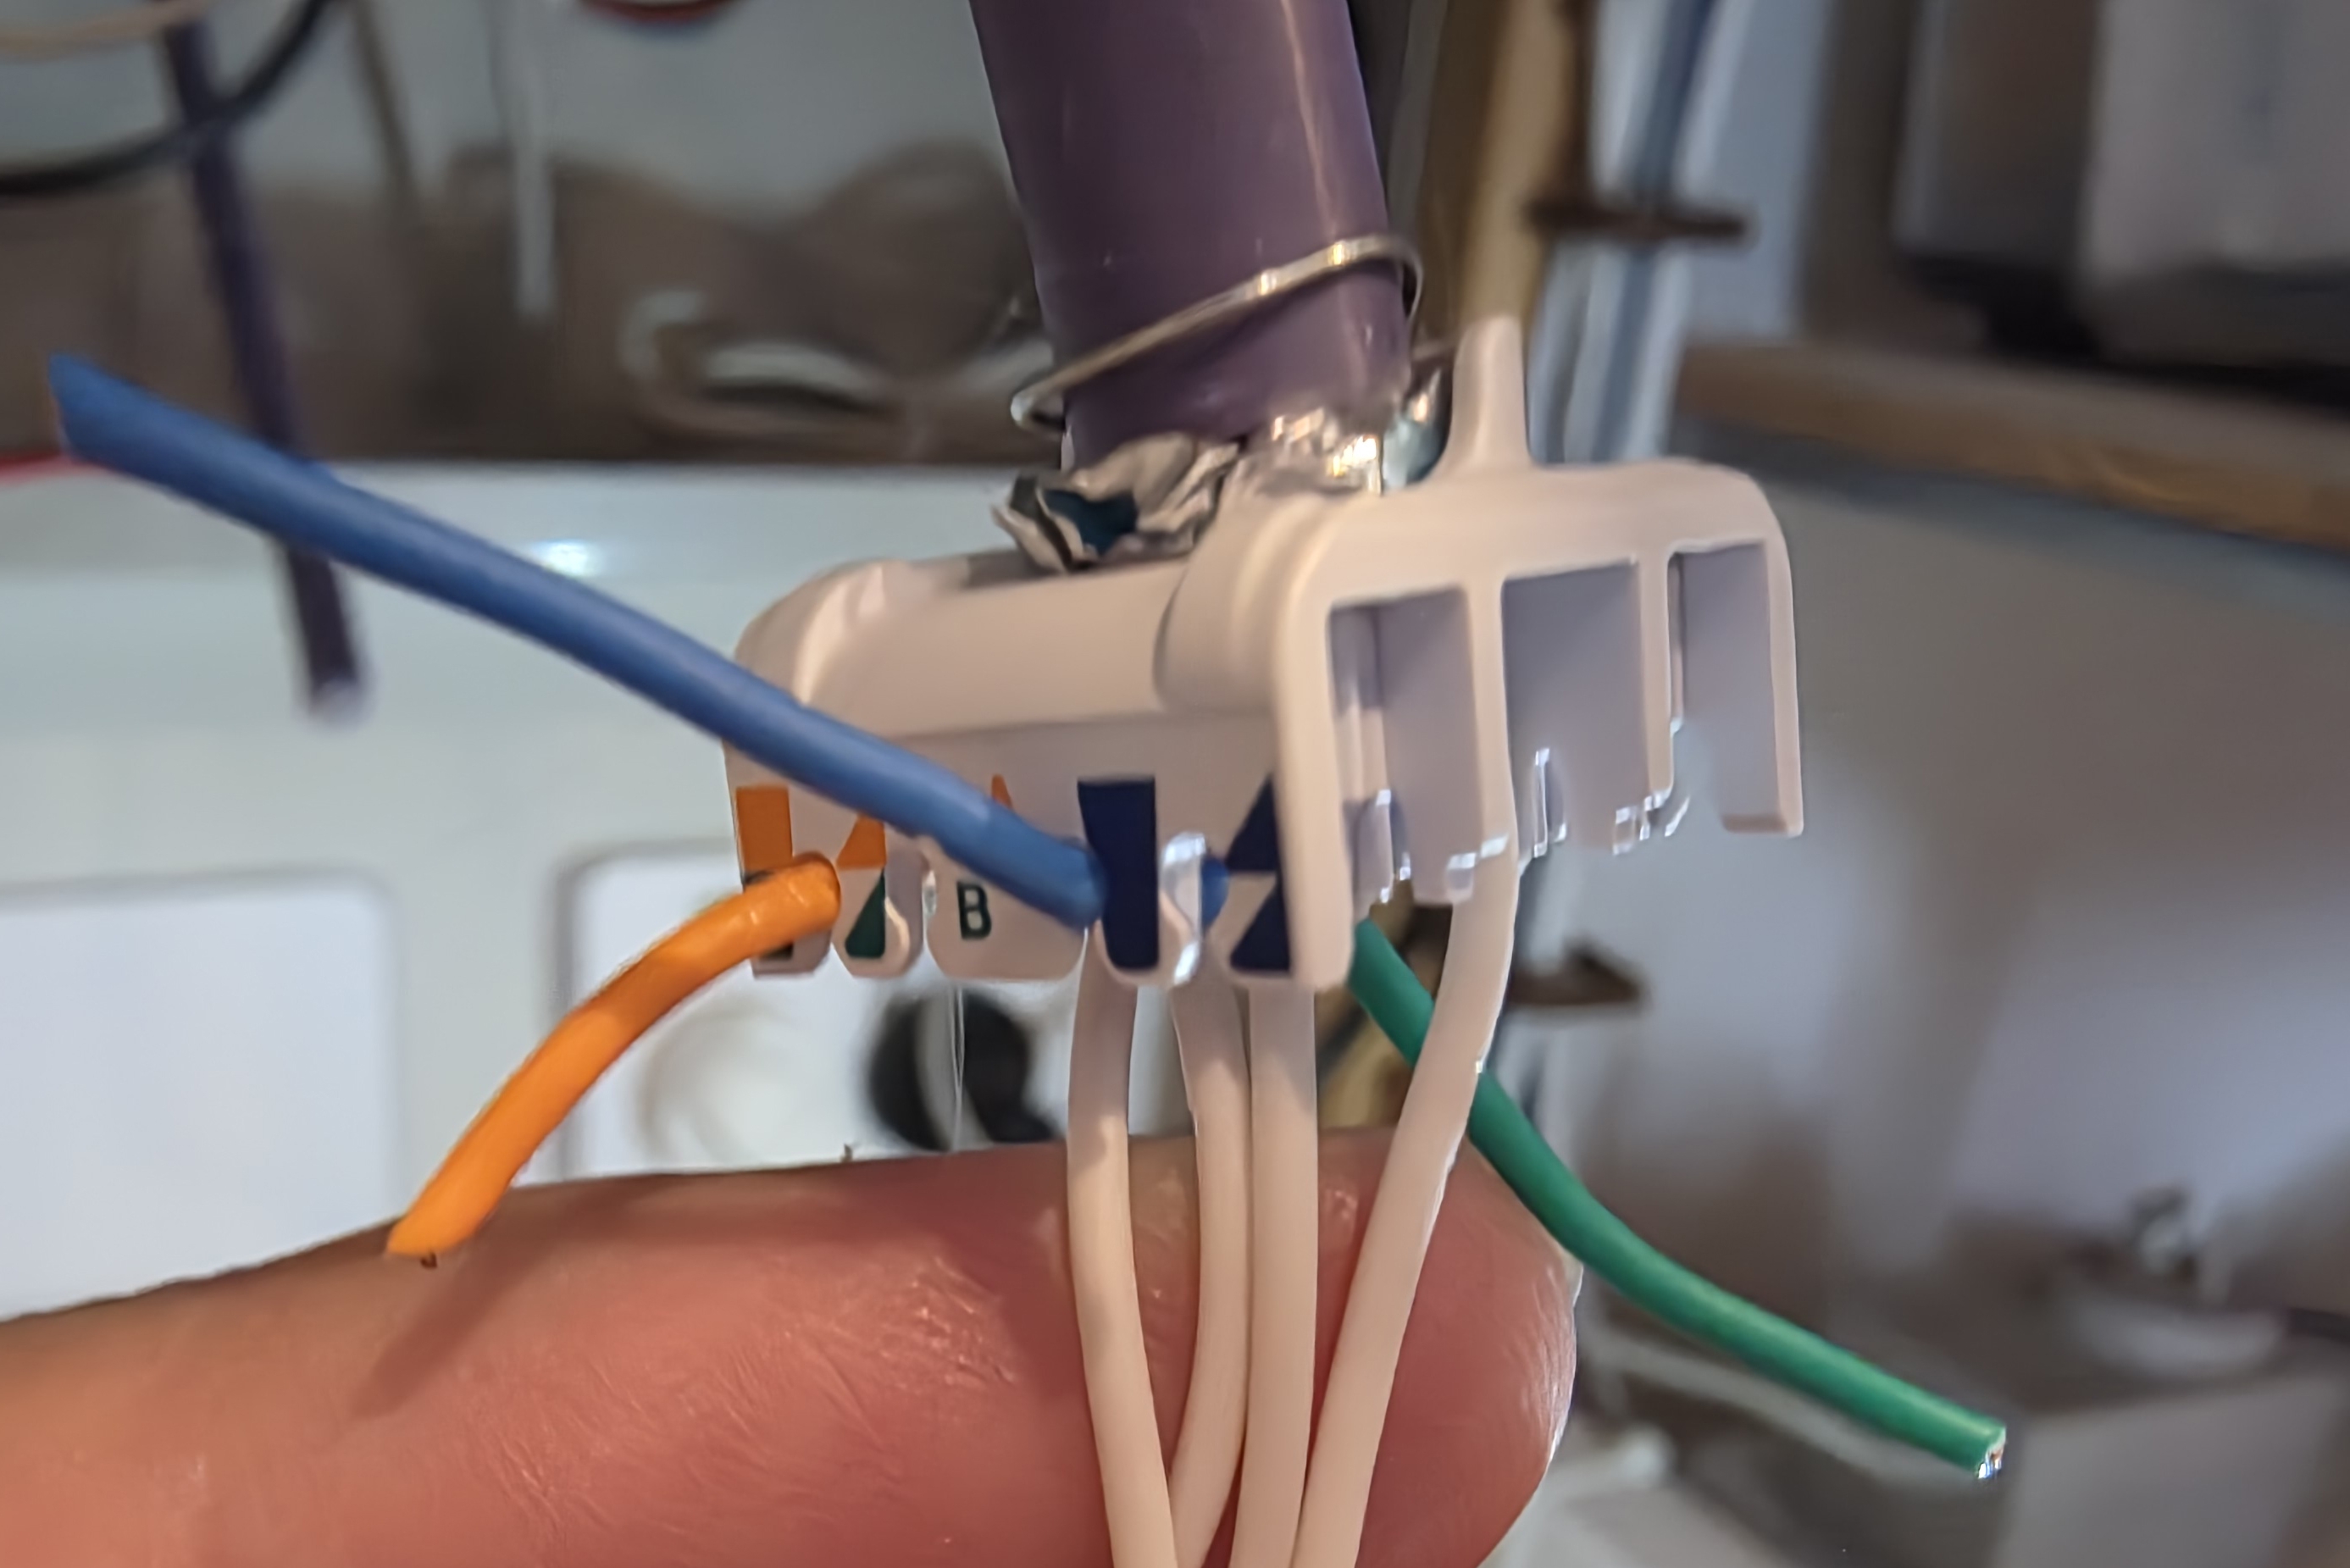
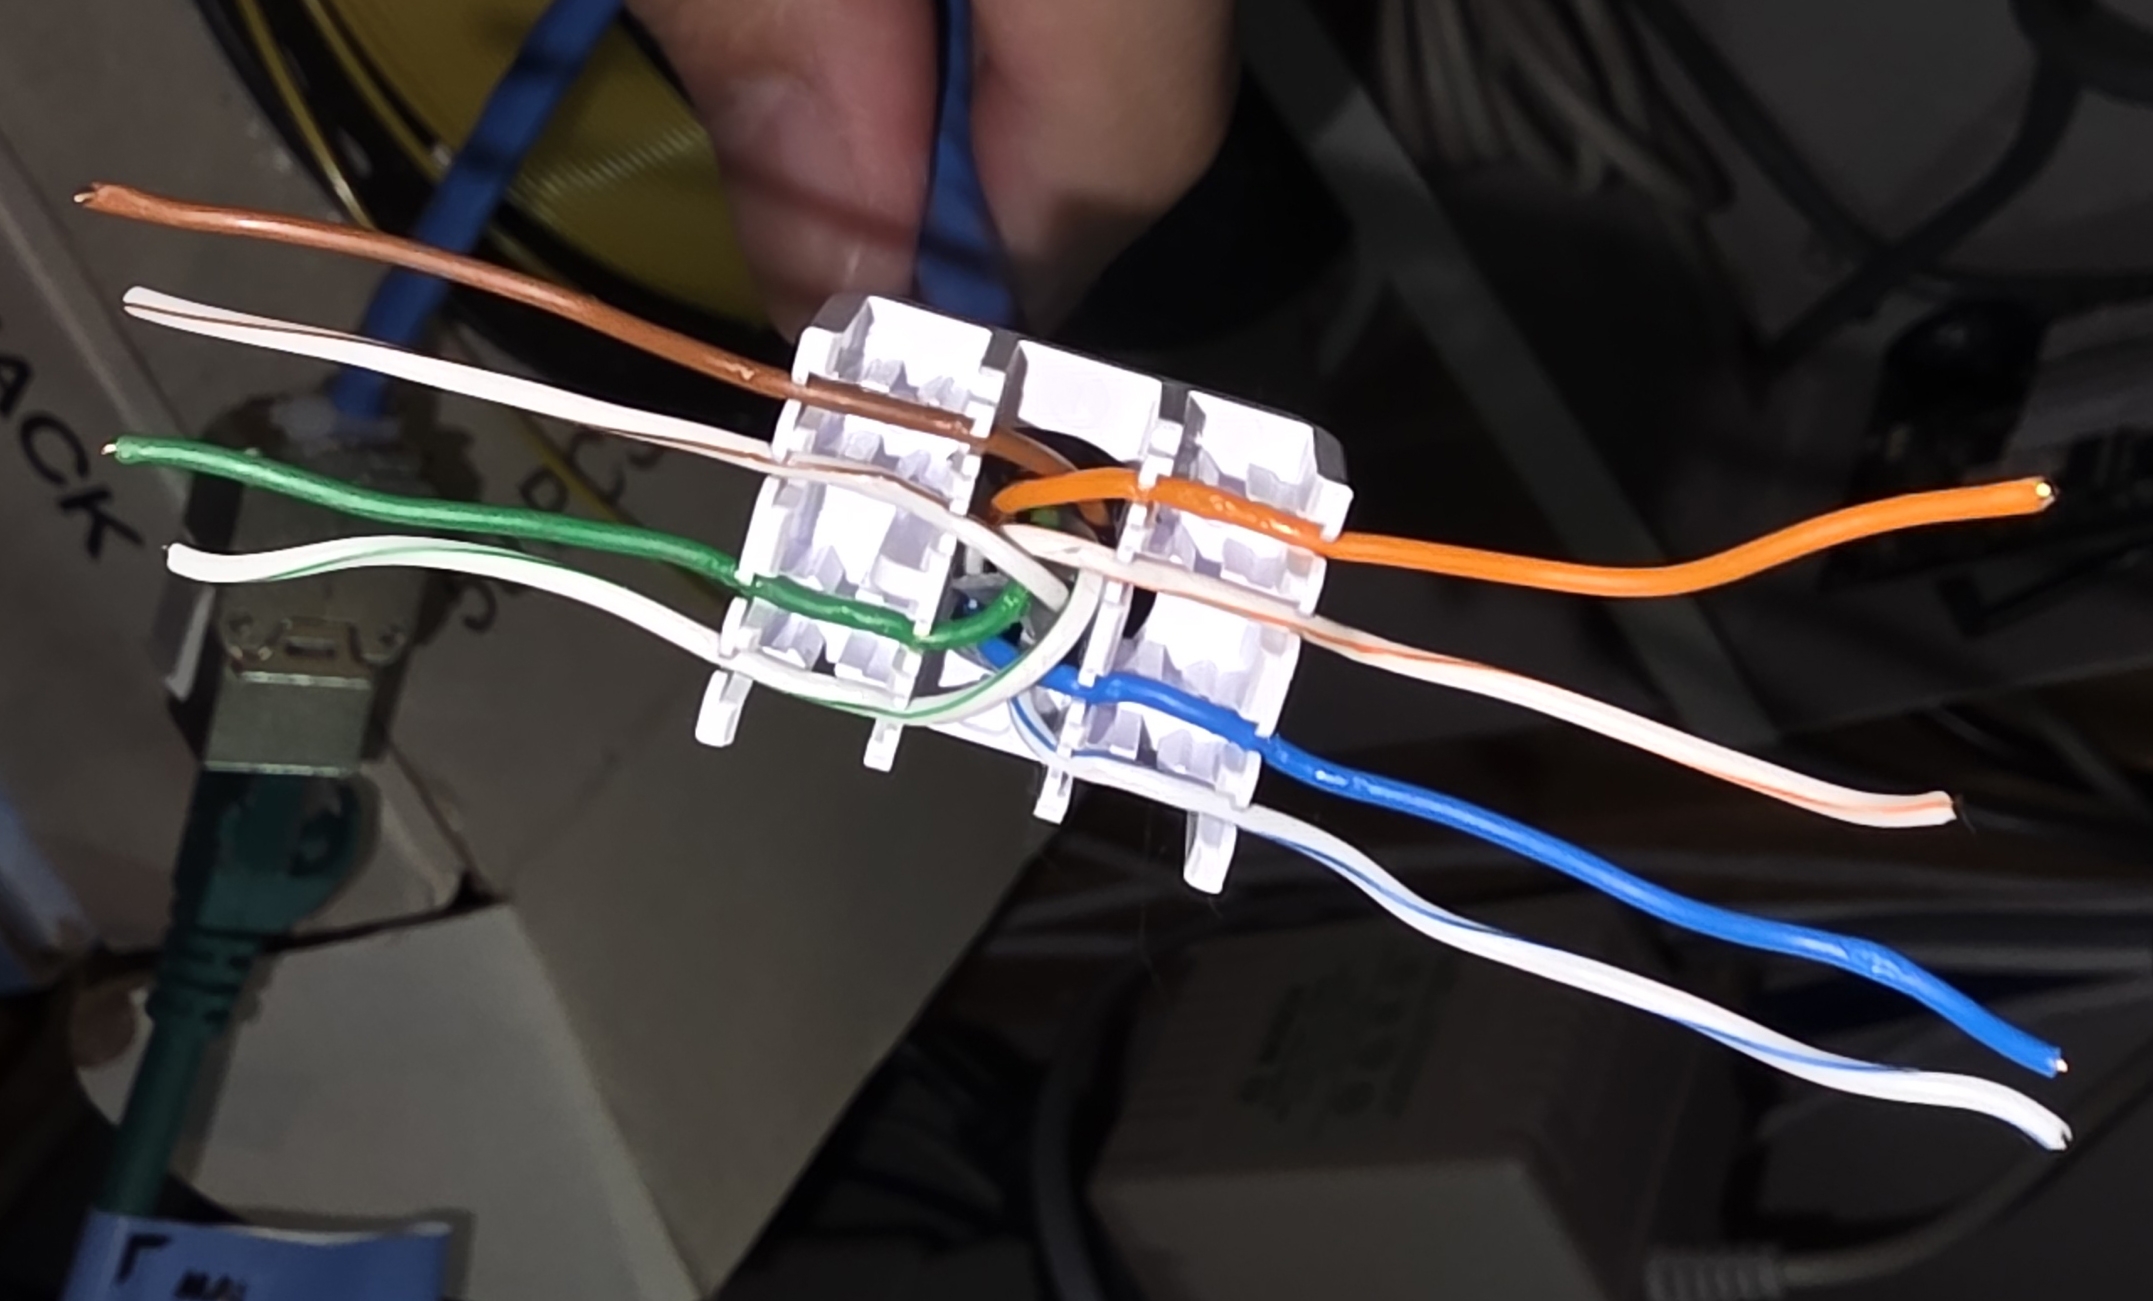
Keystones (4LAN)
Keystones are the small modules that terminate solid-core cable at a wall plate or patch panel. You punch each pair into the colour-coded slot, click the cap shut, and the keystone snaps into the panel or plate.
I bought 50 CAT6A shielded toolless keystone jacks for $10 on Facebook Marketplace, which was an unbelievable price given that a single keystone from a supplier is around $10. The brand is 4LAN, which 4Cabling acquired a few years ago.

Toolless means each pair gets dropped into the right slot and the cap clamps it shut. In practice my hands were sore after a dozen, so I switched to using pliers. Inside a shielded cable, alongside the foil, runs a bare metal drain wire. That drain wire gets wrapped around the metal keystone body and is what carries the shield through to the patch panel.

For each device that's nailed down (alarm panel, battery inverter, inverter dongle) I terminated the cable into a keystone on the device side as well, then ran a short patch lead from the keystone to the device. This keeps the shield unbroken end to end.
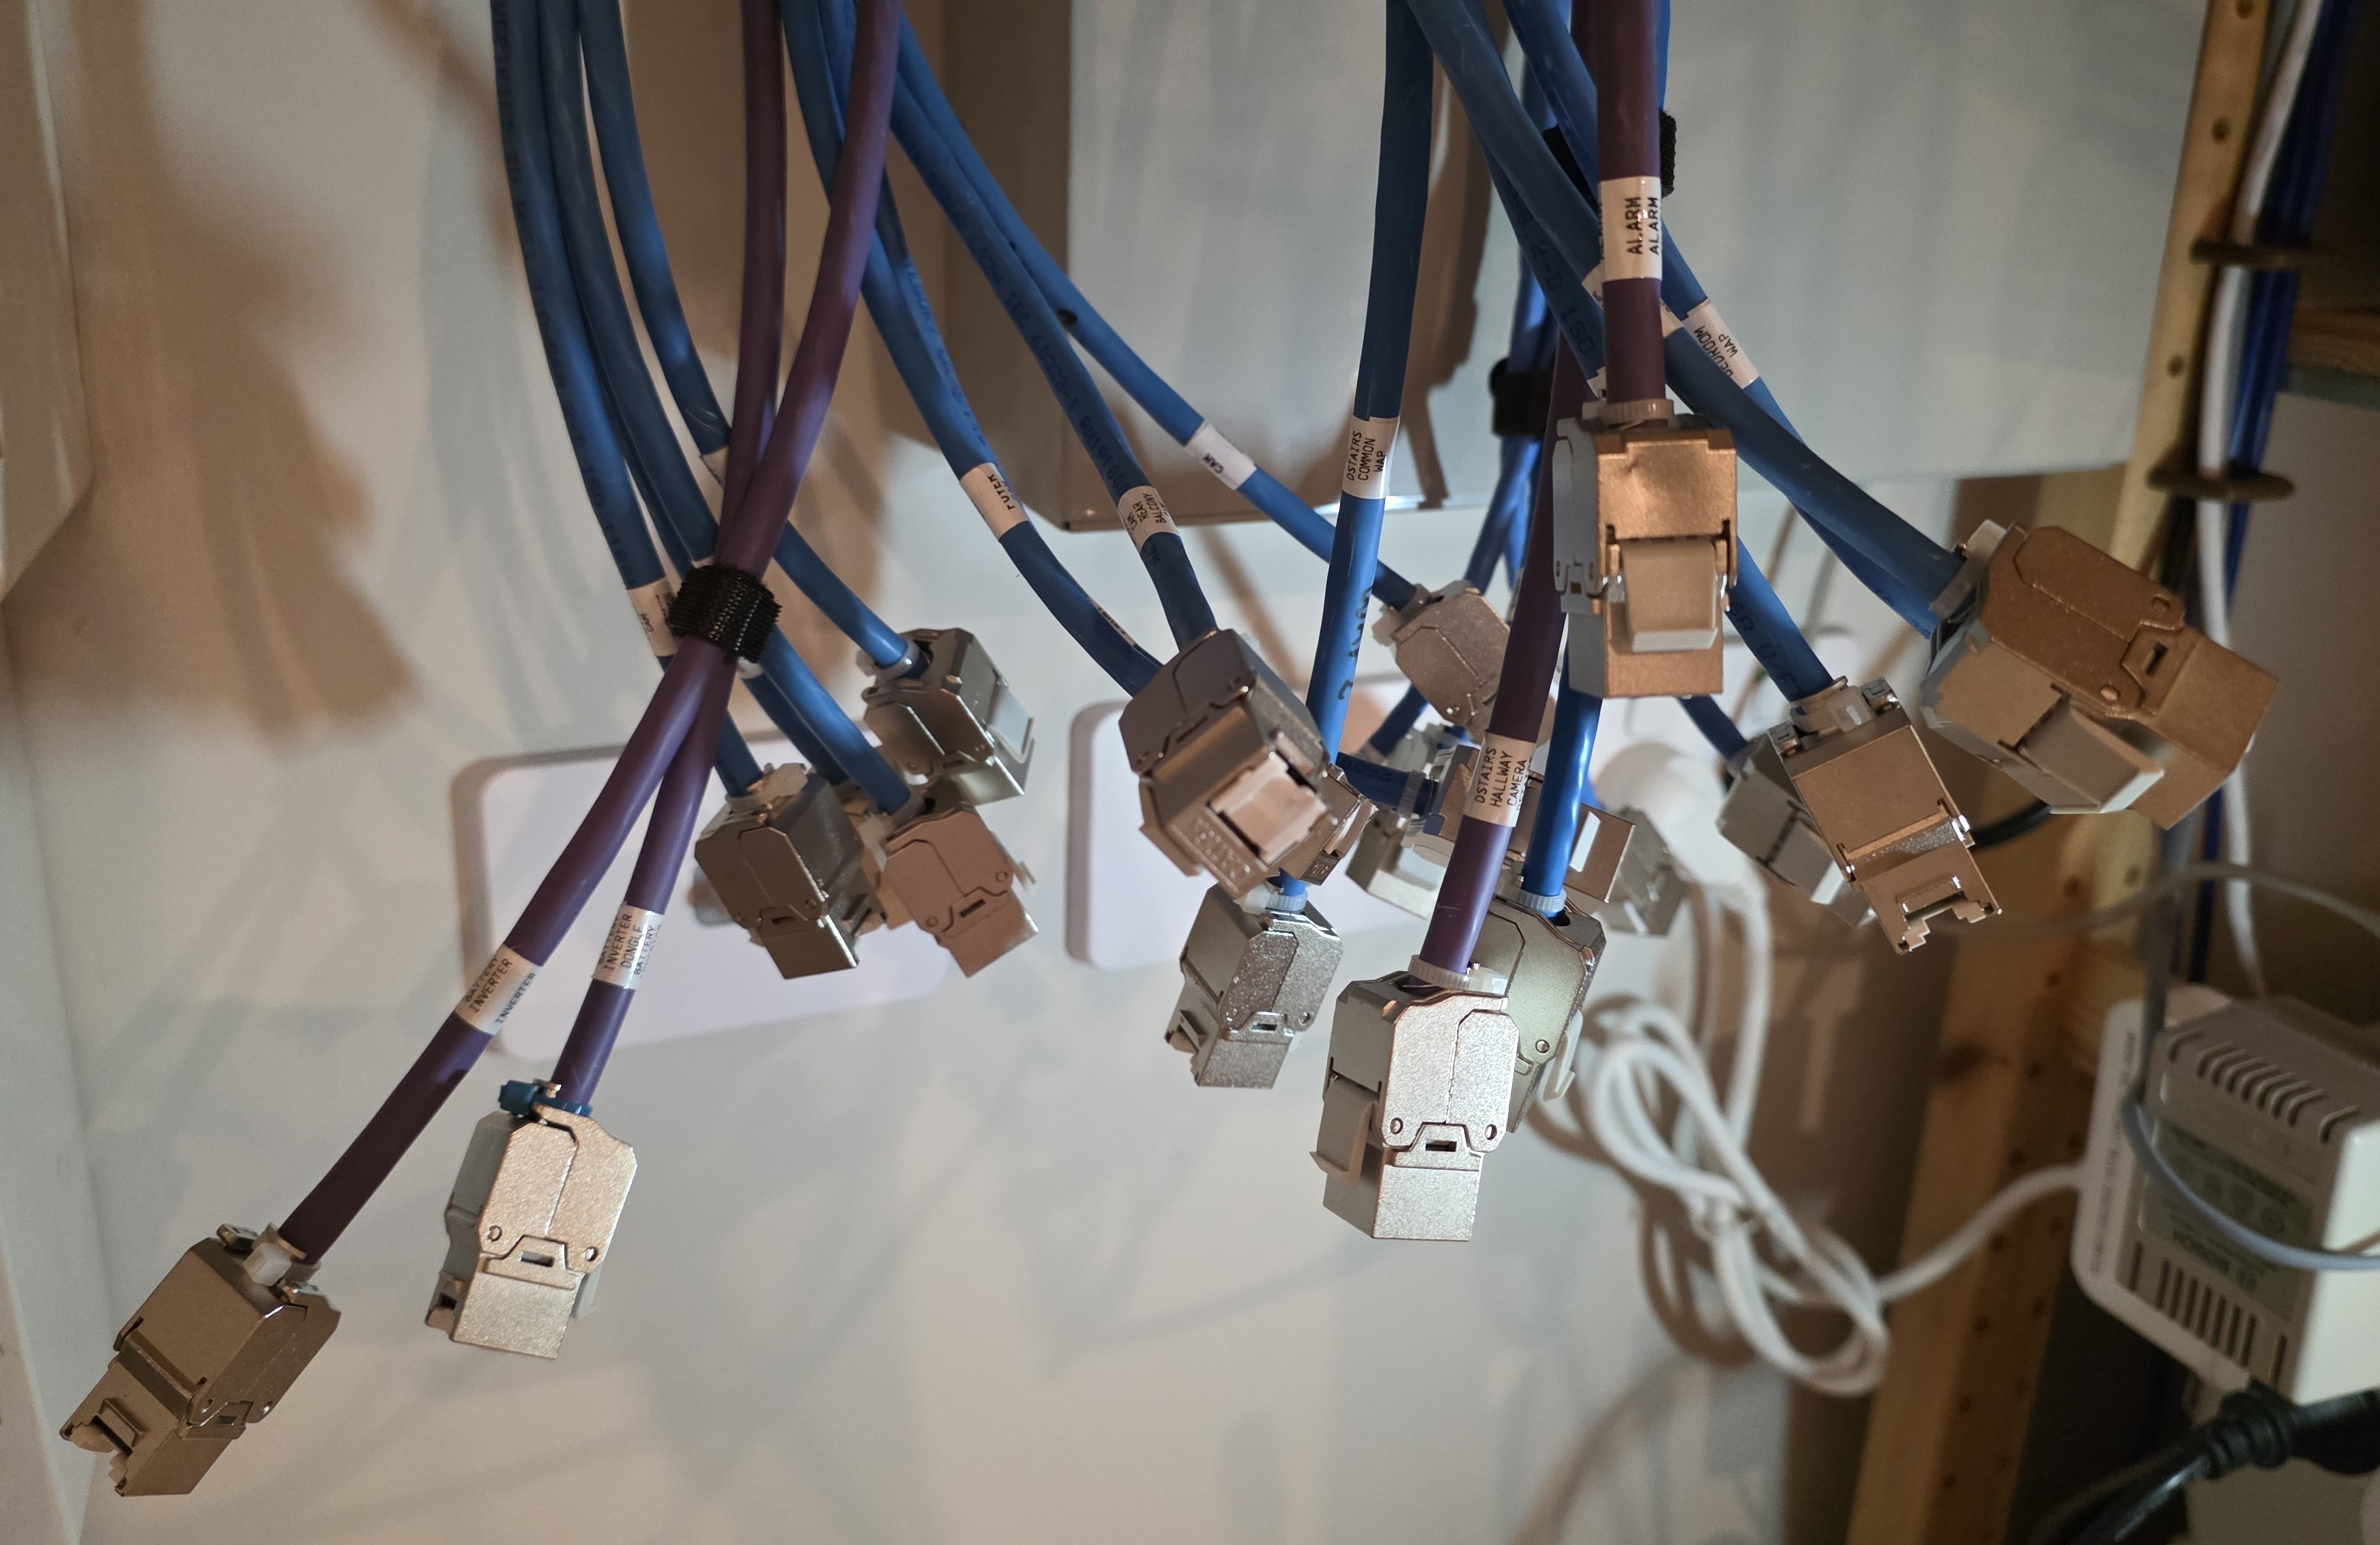
The electricians had done the same at the camera and Wi-Fi access point end with shielded keystones, but the patch cables at both ends were unshielded, so I replaced those too.
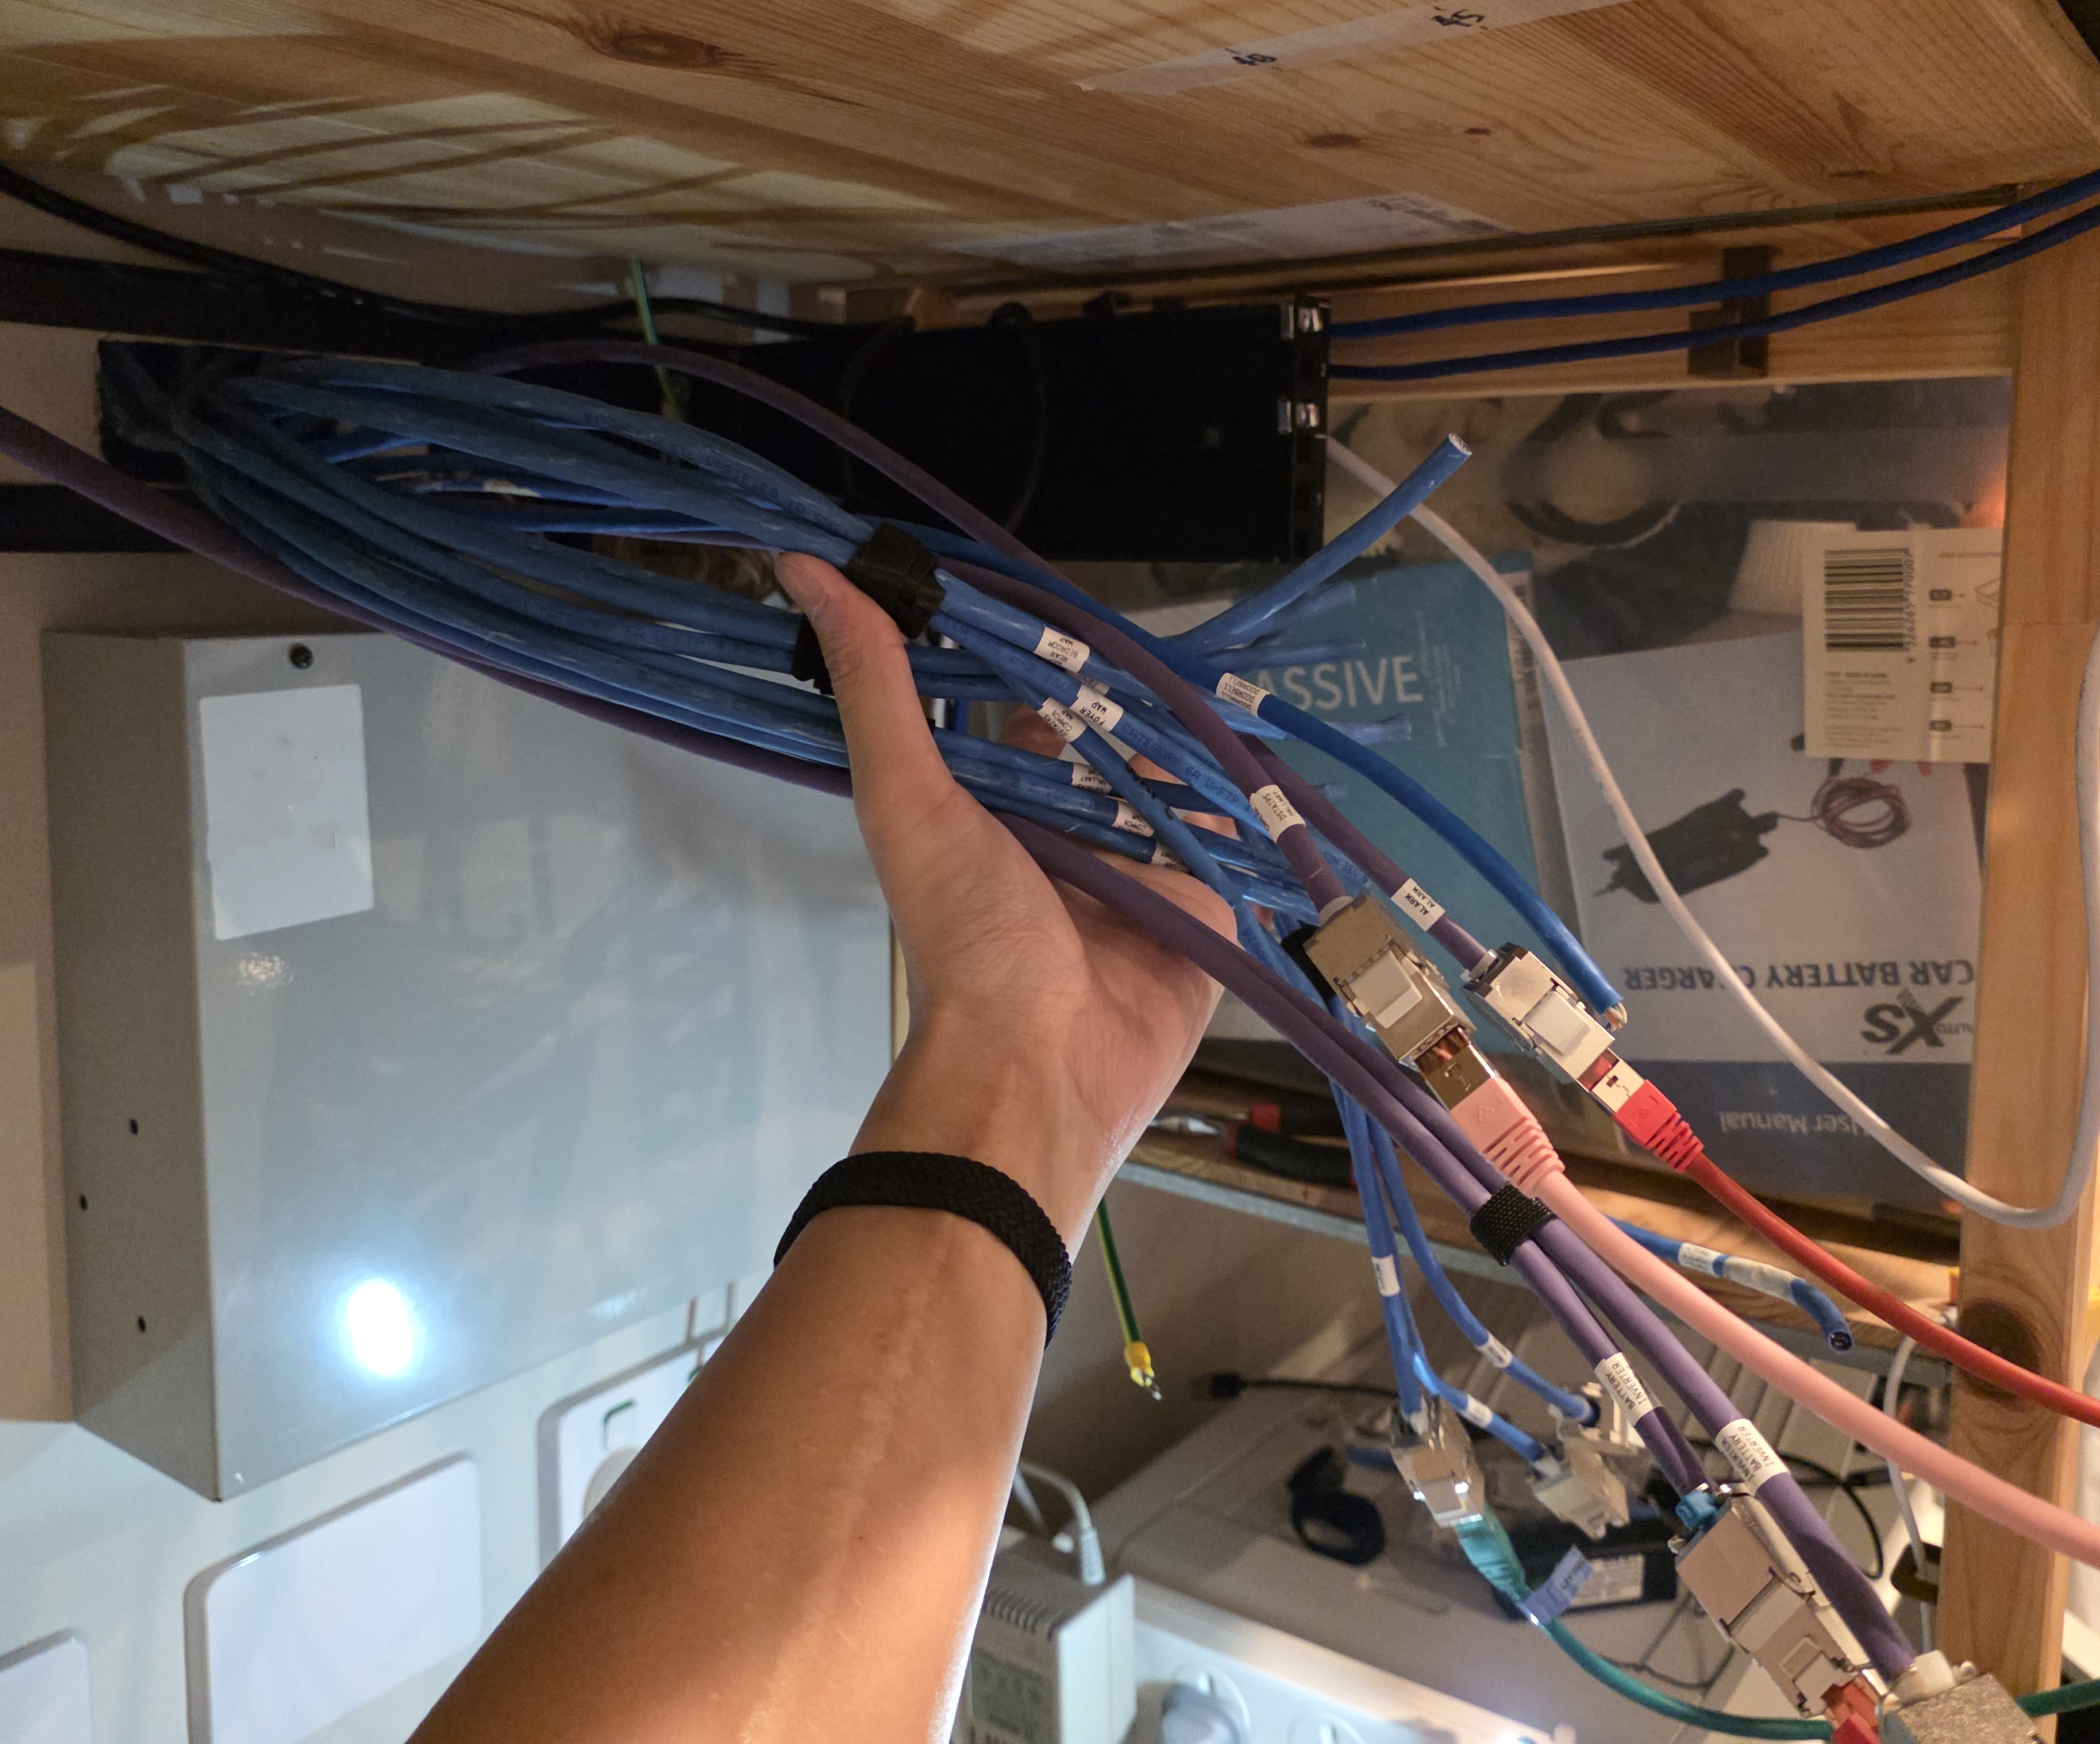
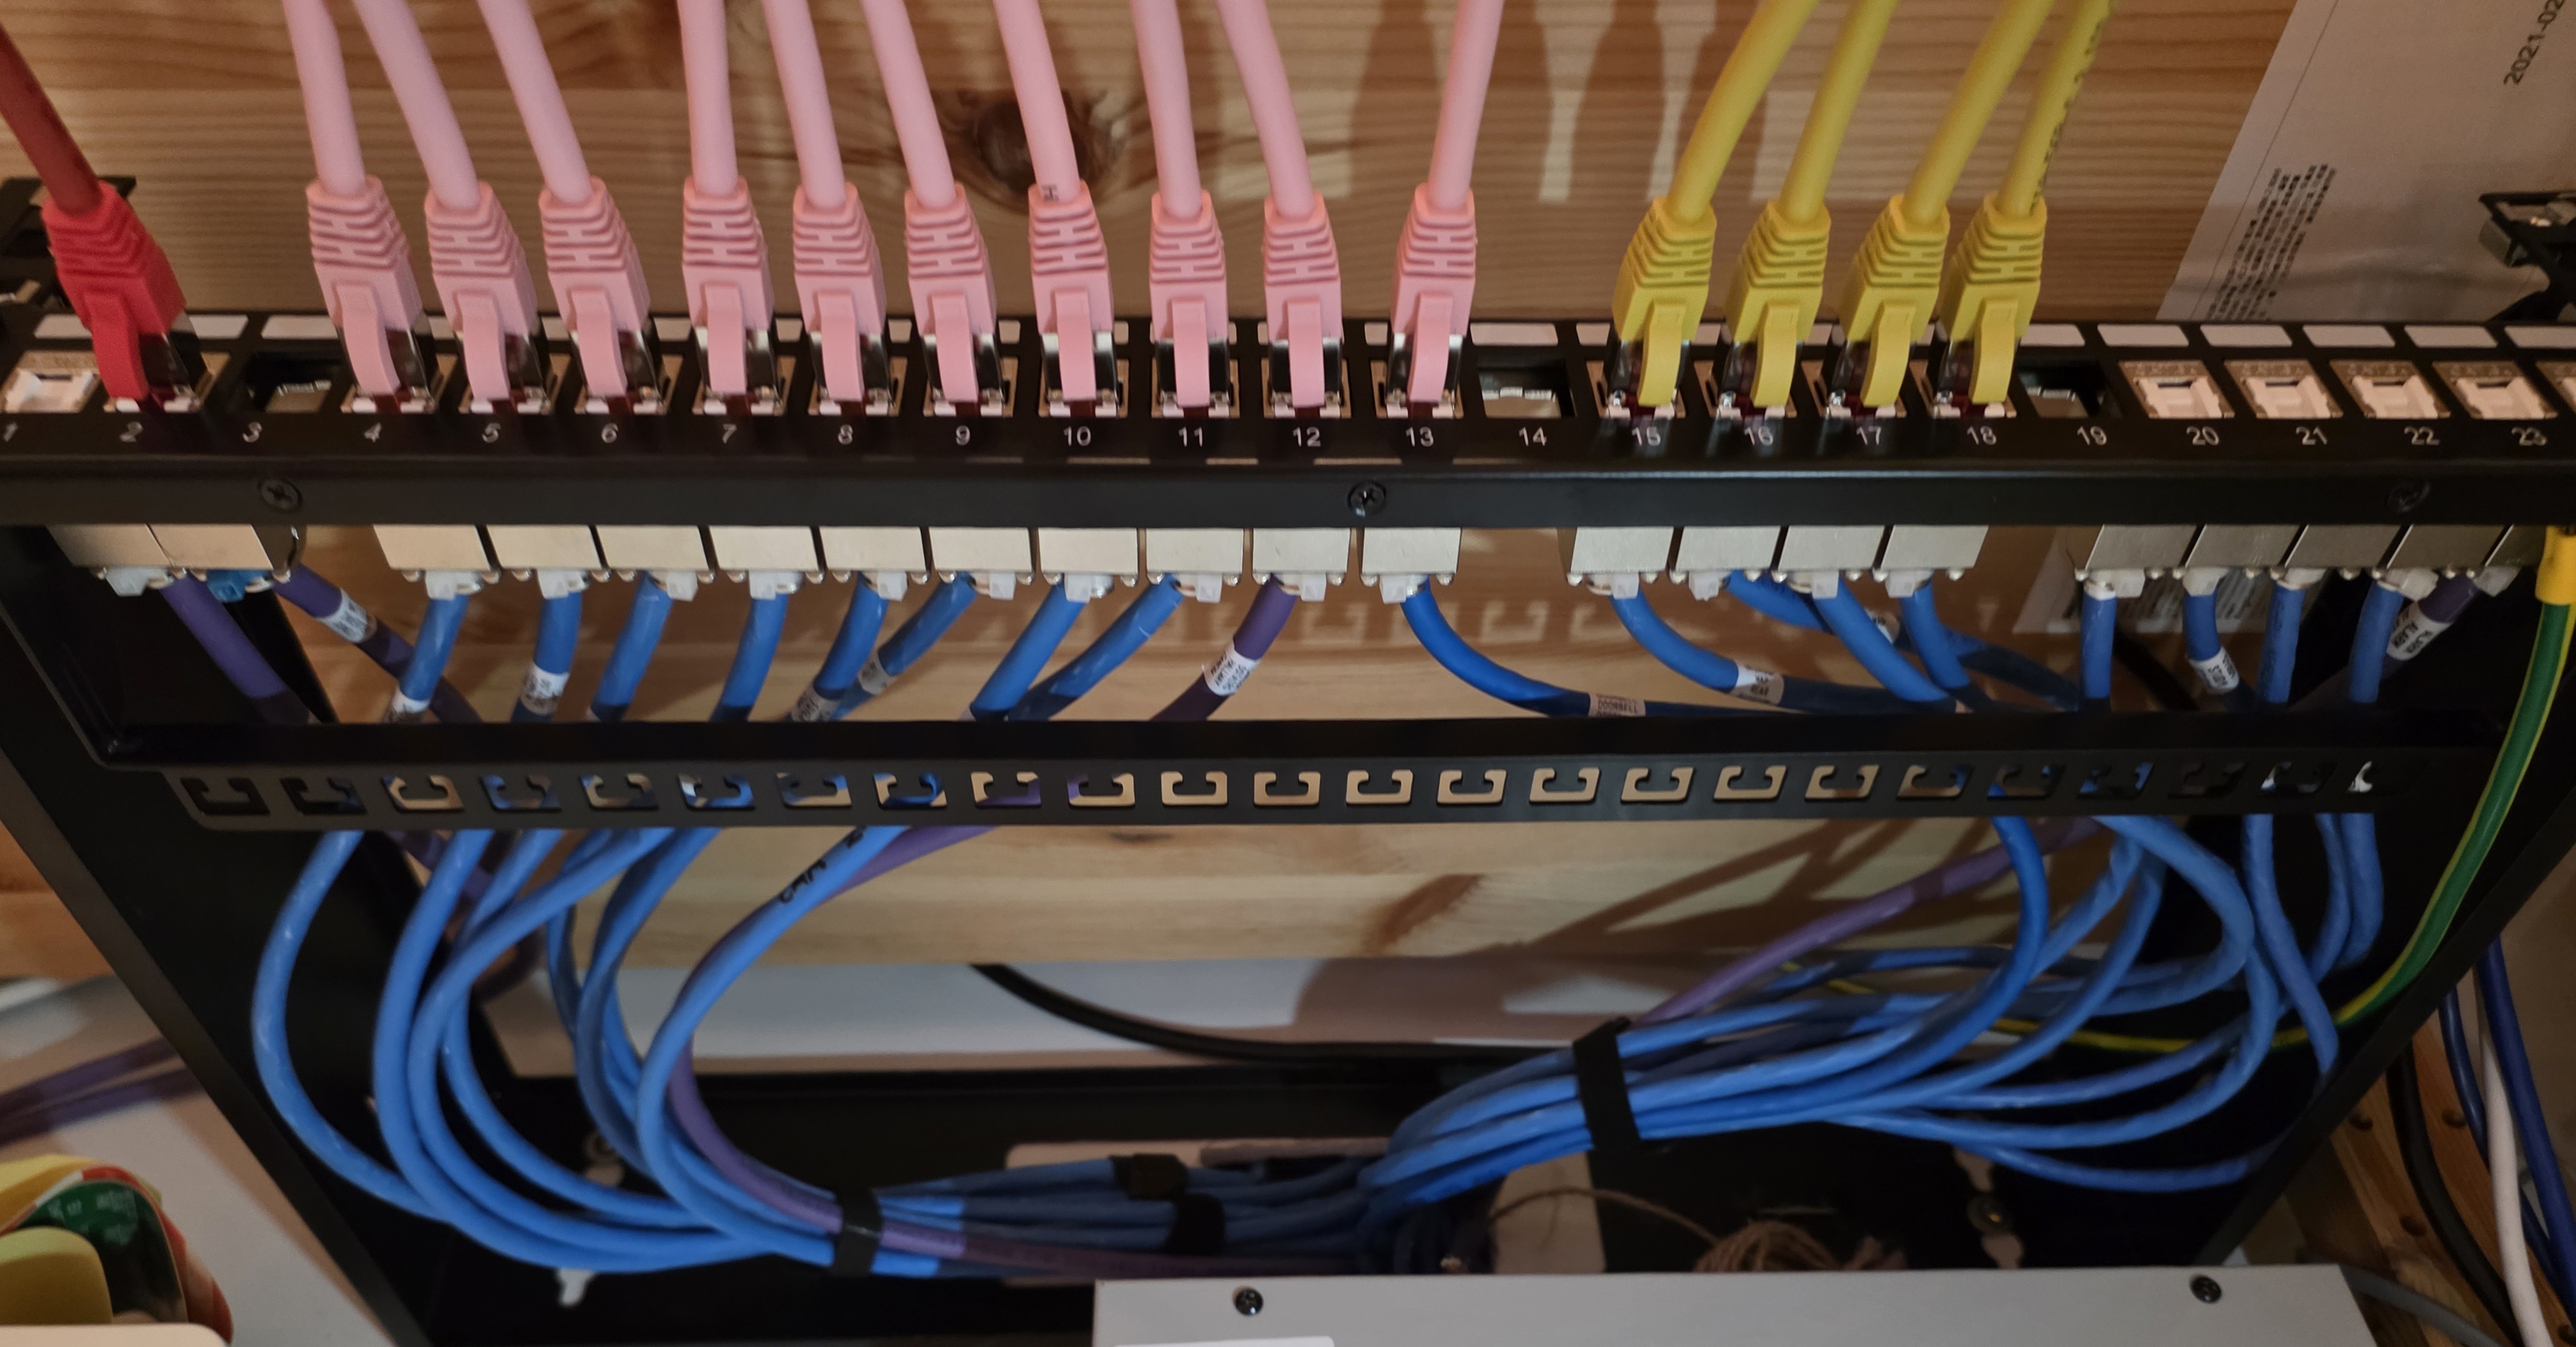
Before terminating, I taped a measuring strip to the shelf and trimmed every existing run to a uniform length.
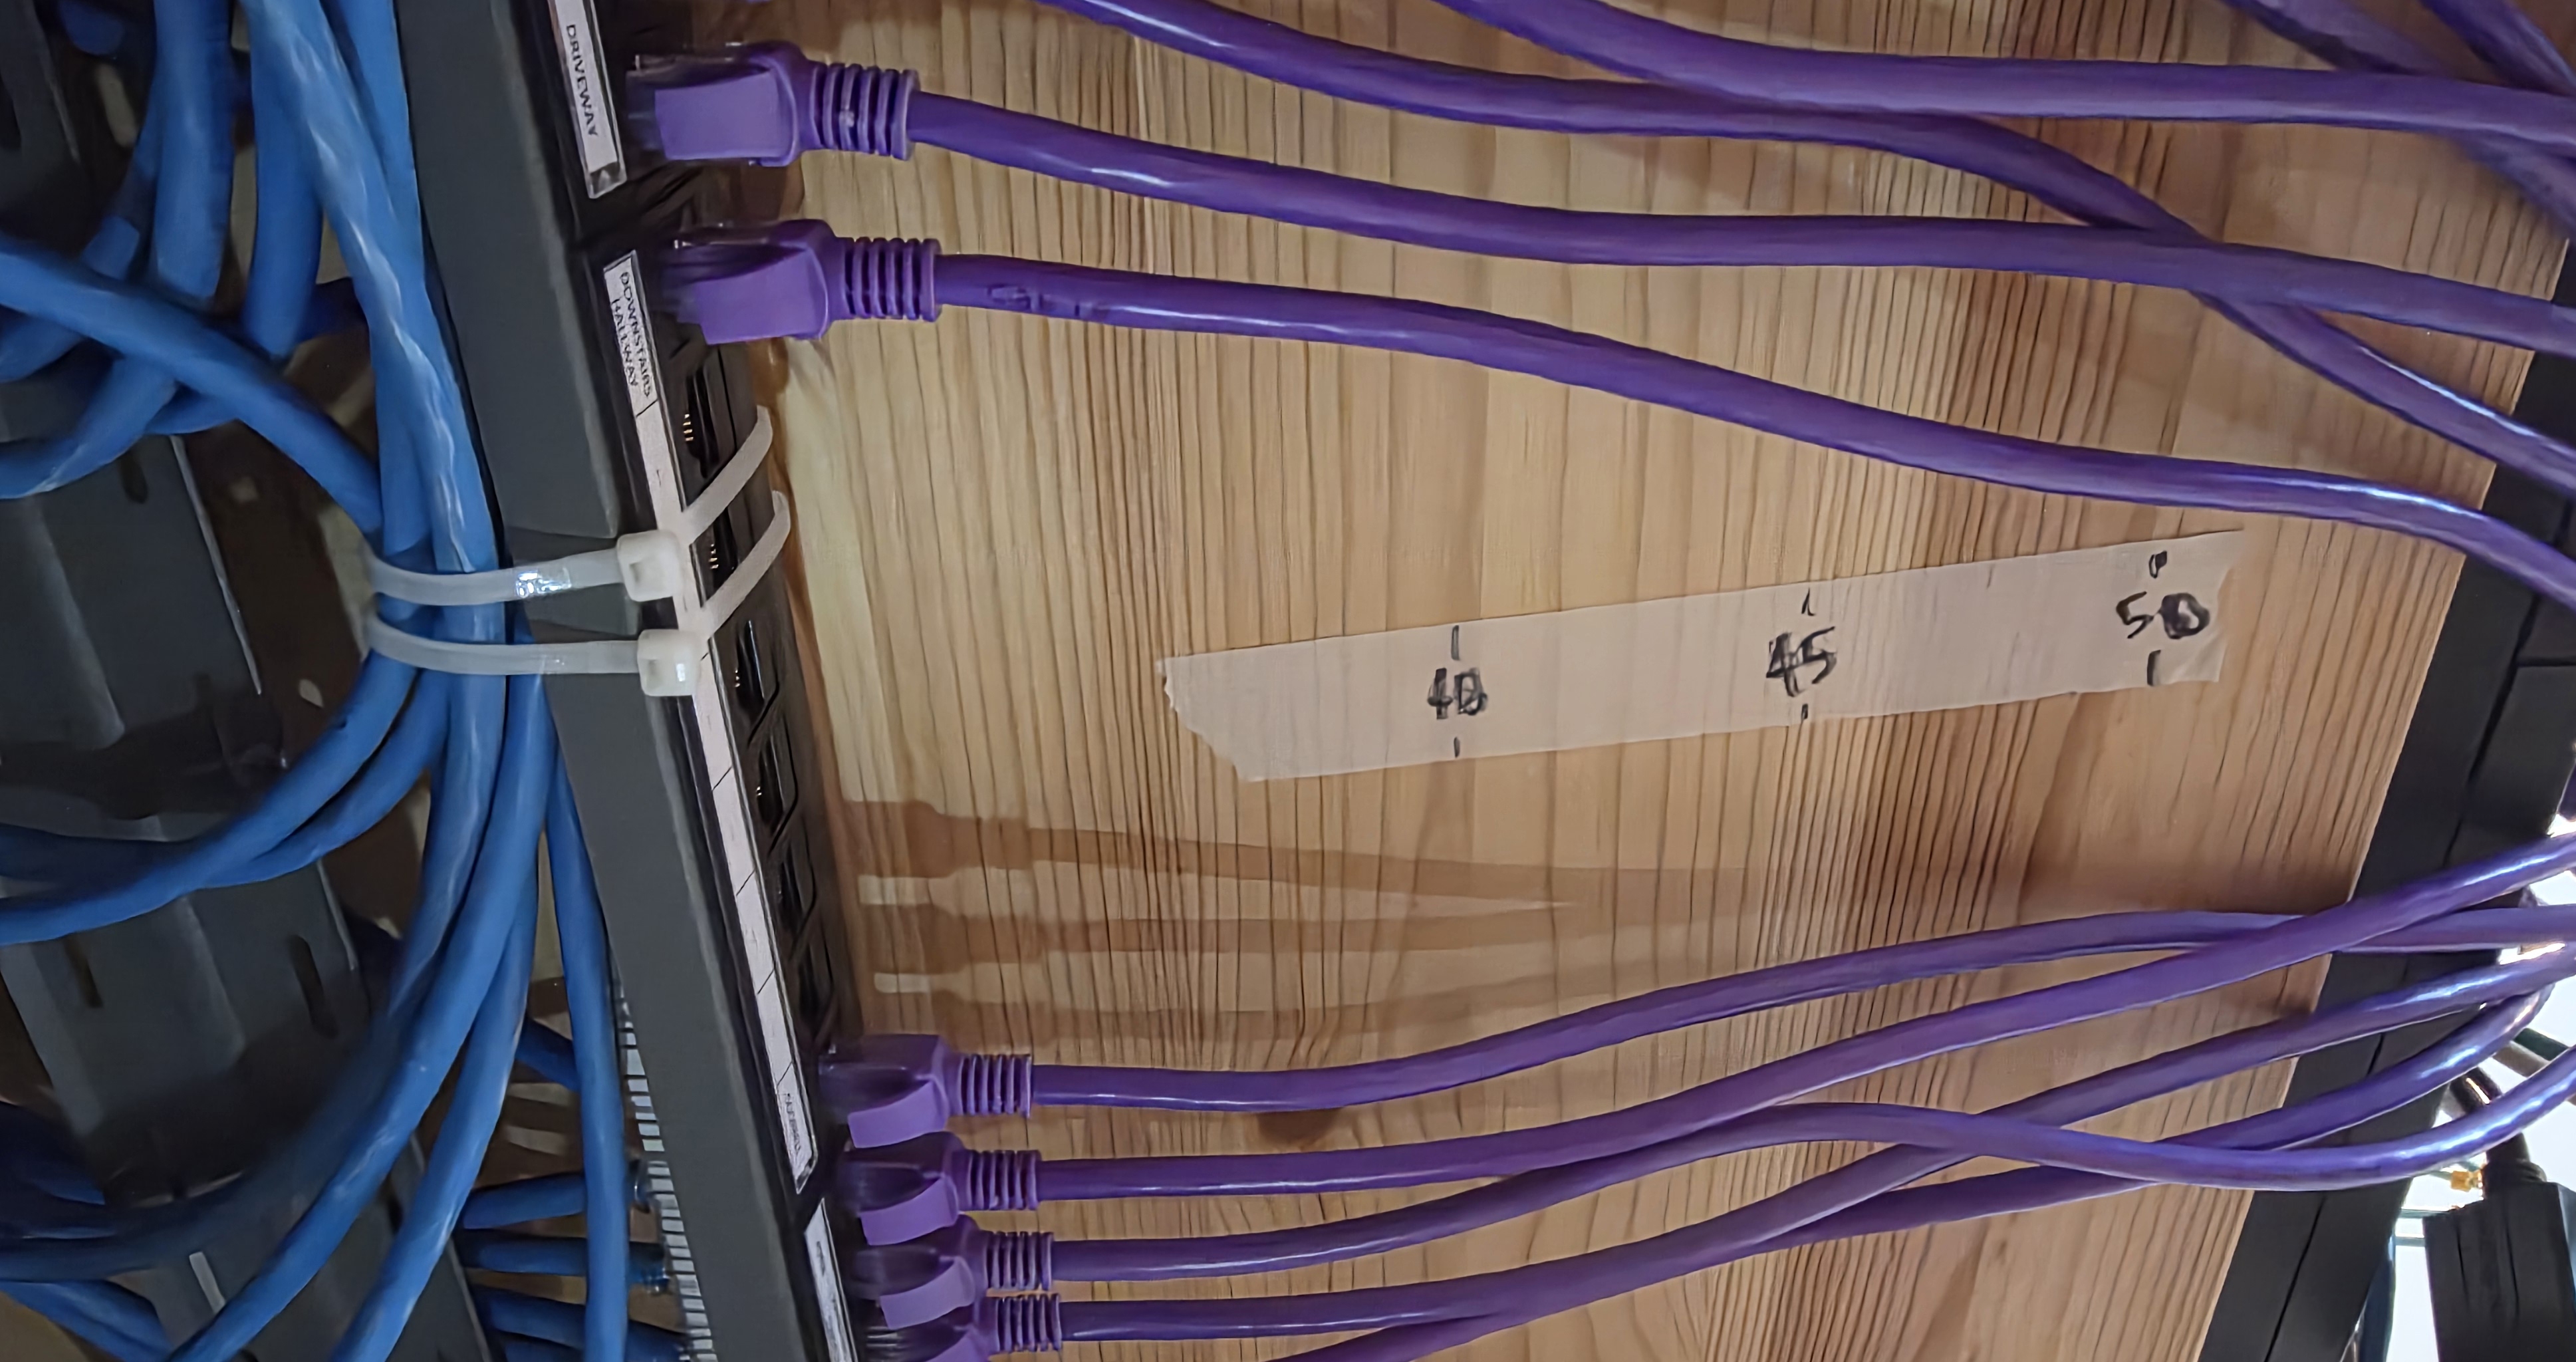
It didn't look like I removed much, but the cable spaghetti was cleared.
Cable Tester (Klein Tools / NOYAFA)
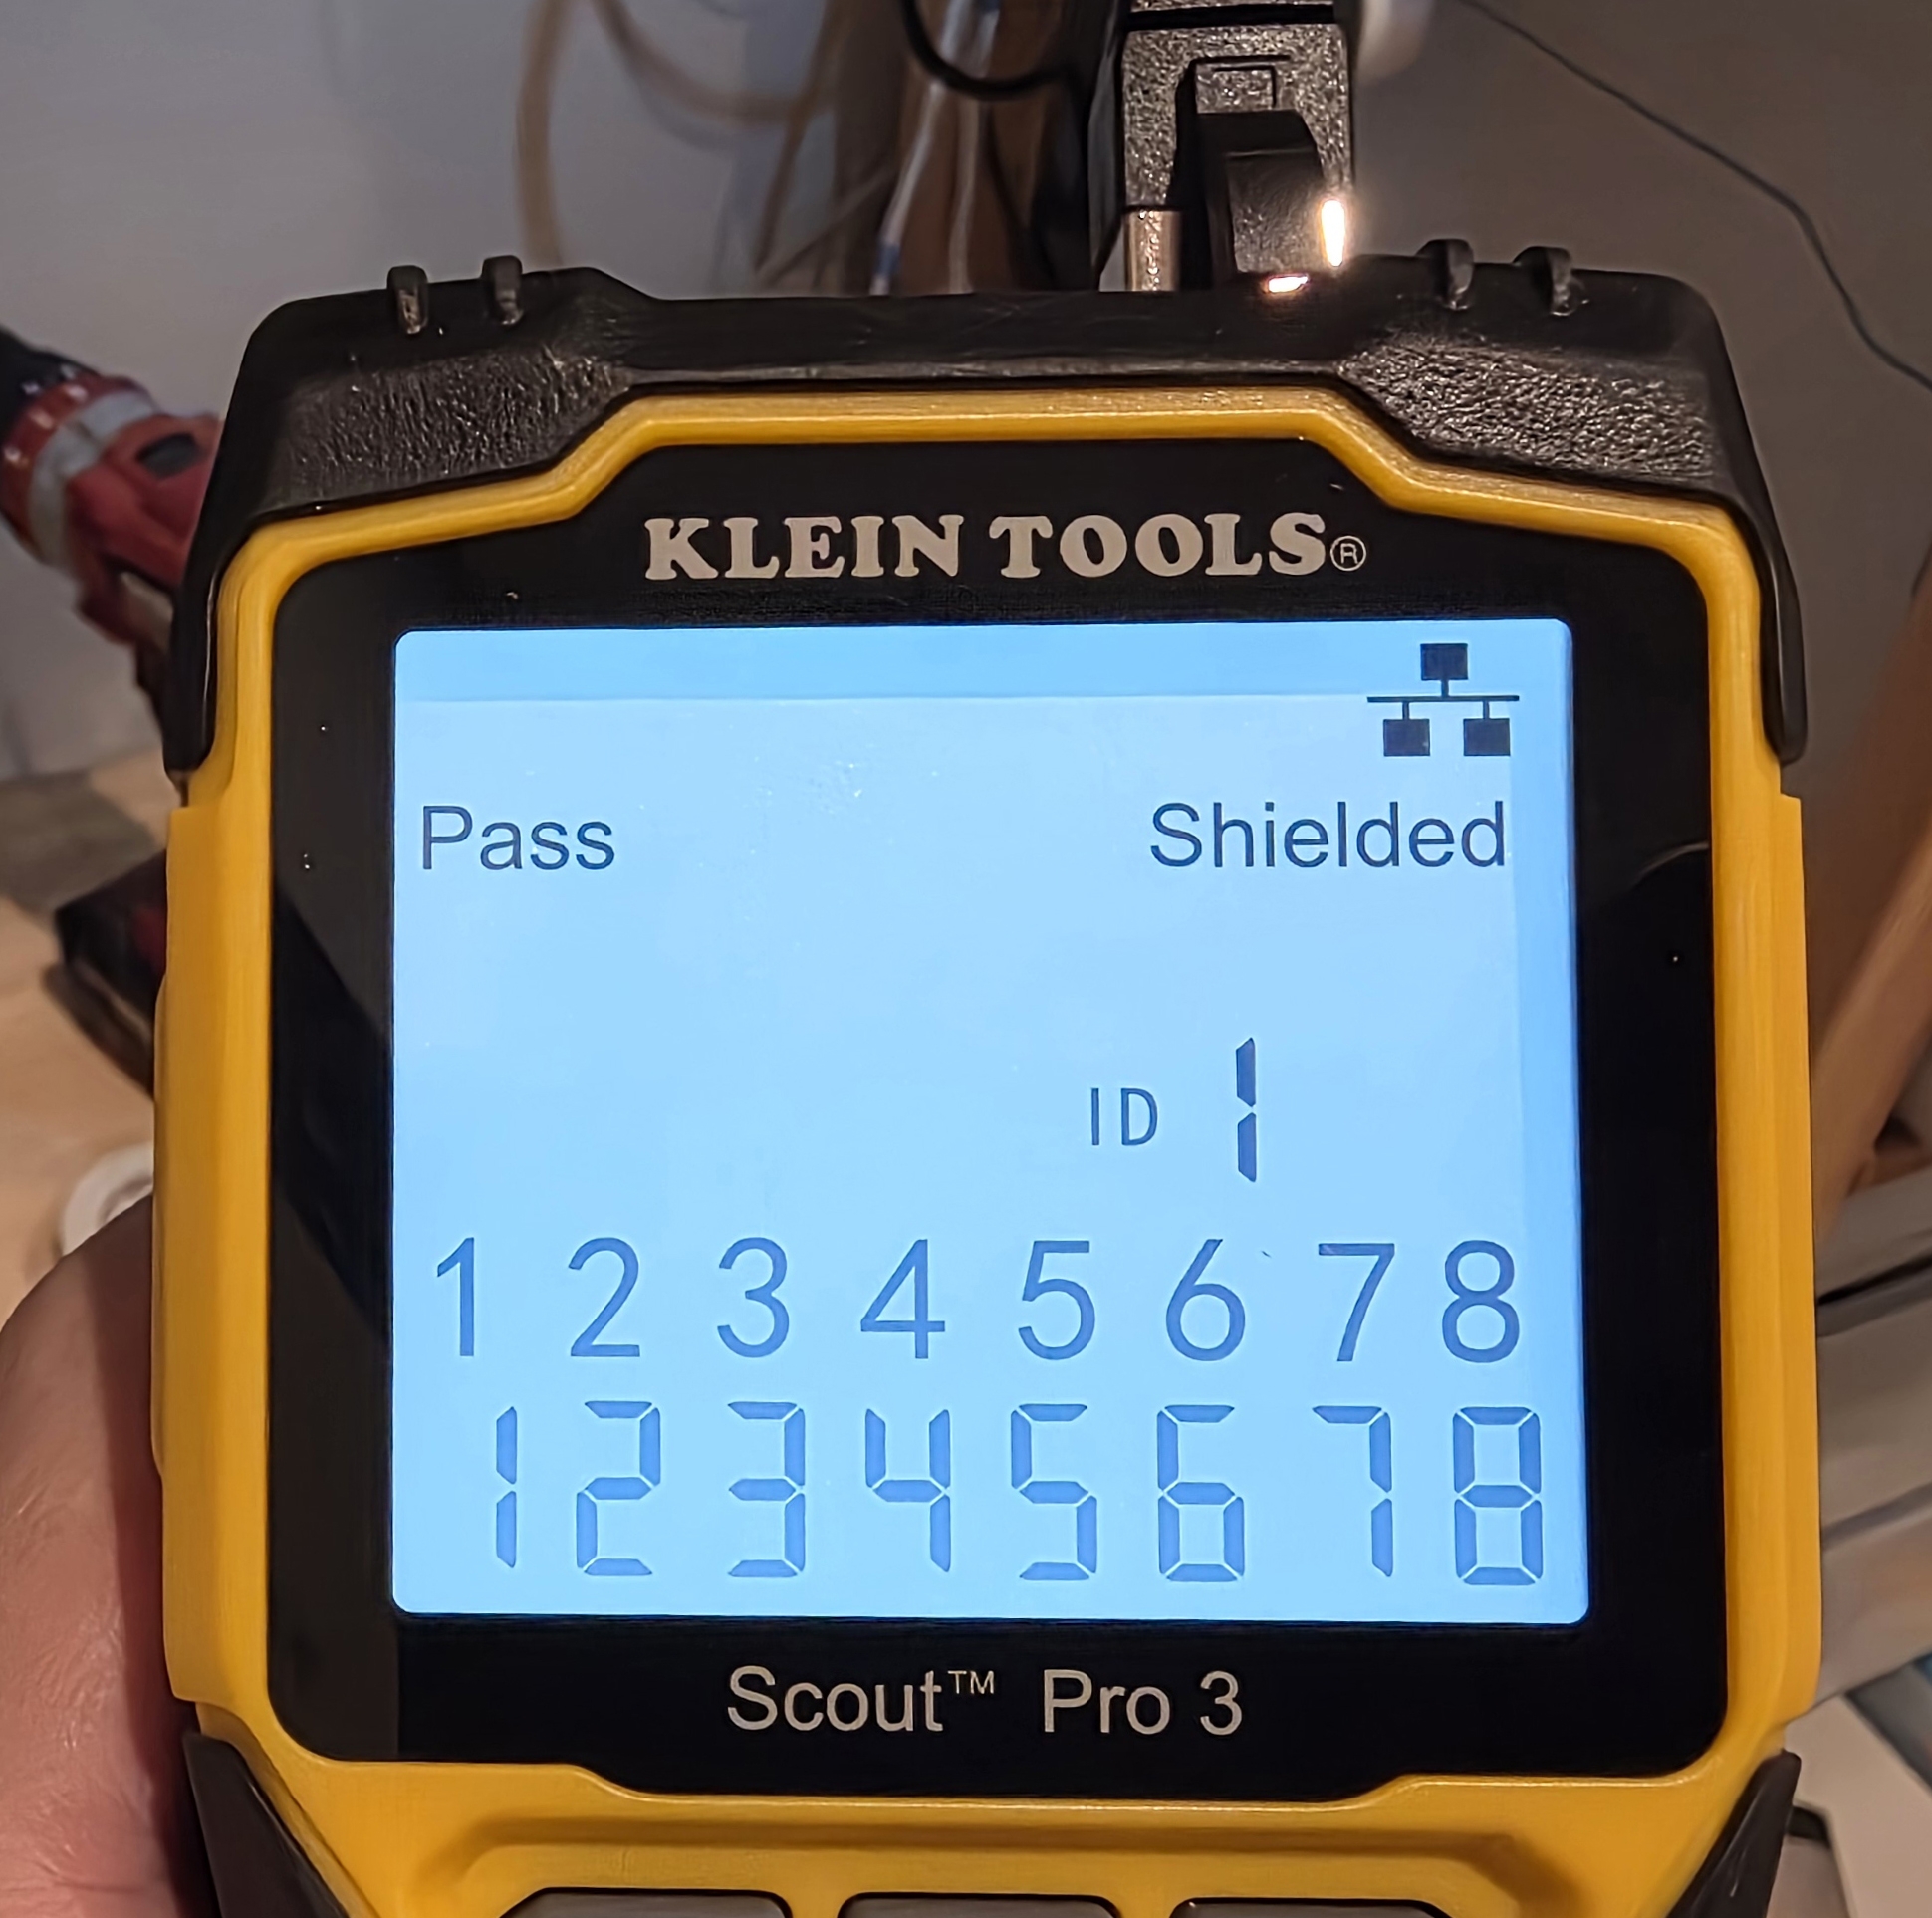
A cable tester sends a signal down each conductor and confirms it arrives on the correct pin at the other end. It catches reversed pairs, crossed wires, miswired keystones, and open circuits. Both of the testers I used also confirm whether the cable shield is continuous, which matters for a shielded chain. Without one, a punchdown mistake means tracing faults by hand or guessing.
I started with a Klein Tools Scout Pro 3. It found three faulty keystones I had wired, which justified the tool straight away.
The pet peeve is that the Scout Pro 3 ships in three SKUs under the same model number. The more expensive ones include additional accessories, which I had assumed was the only difference, except they also quietly unlock features like PoE testing. None of that was made obvious before I bought it. The base unit I ended up with did not have PoE testing, and I felt tricked.
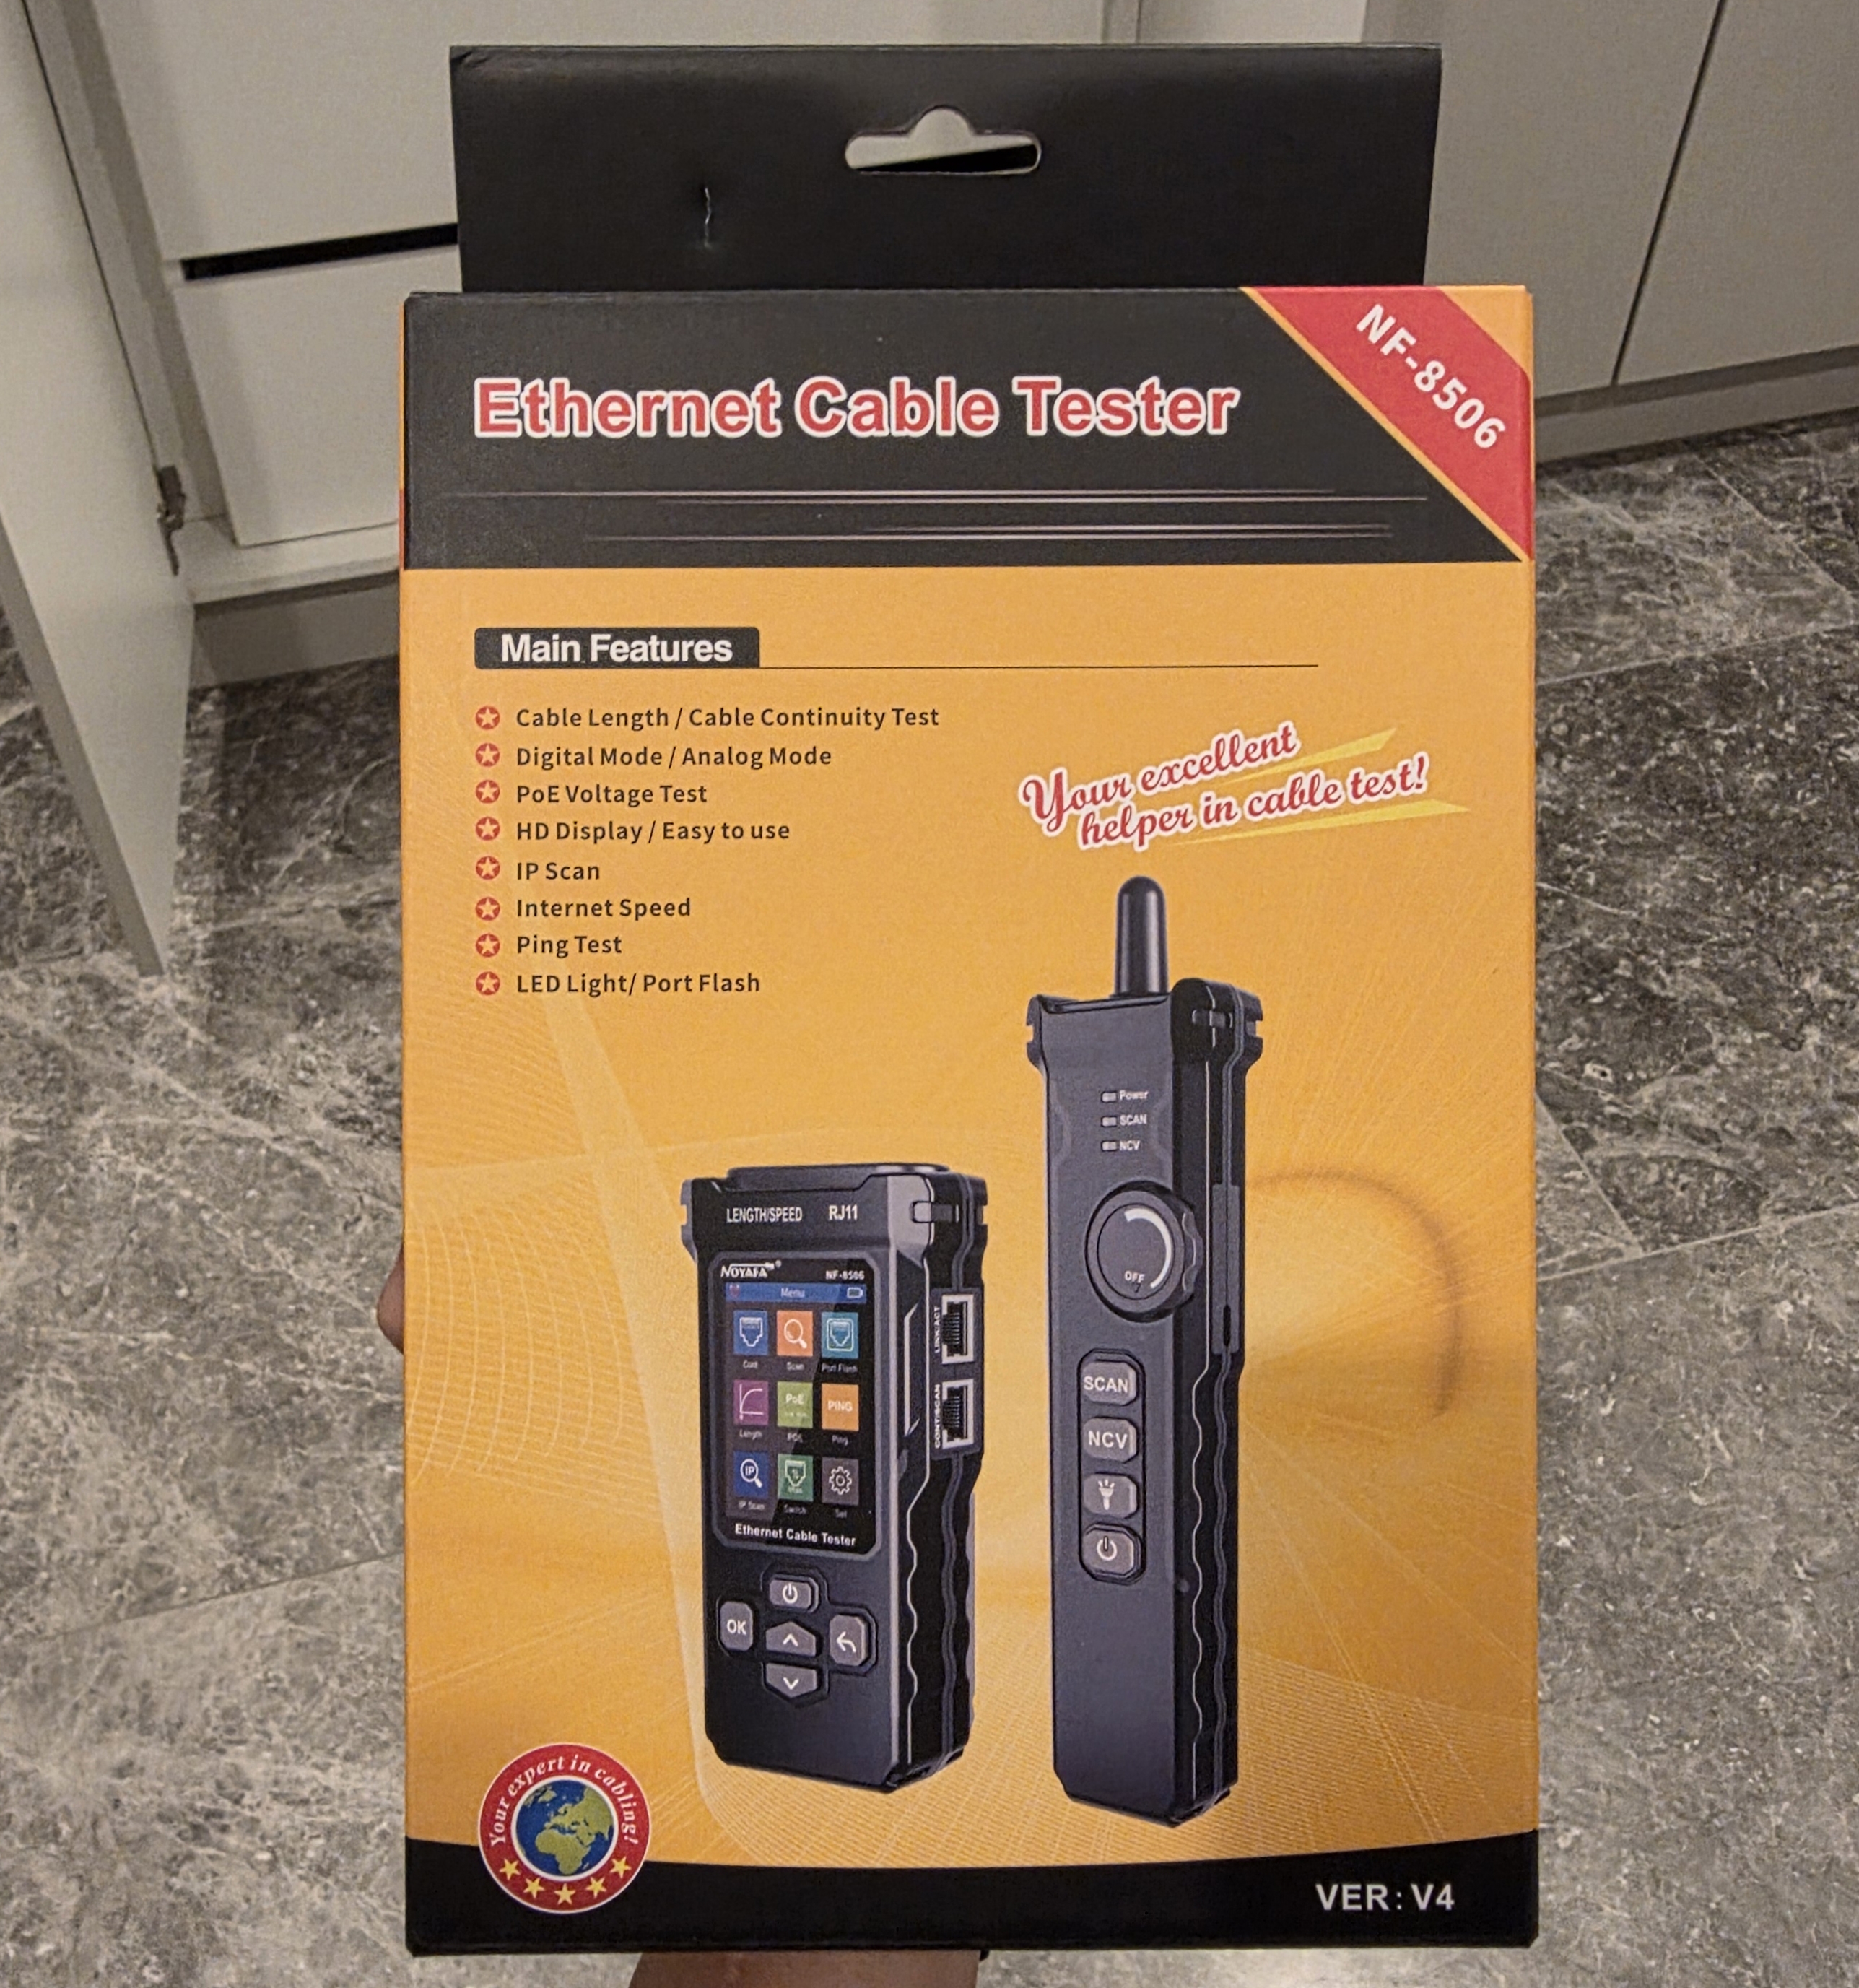
Out of spite, I sold it and bought a NOYAFA NF-8506 instead. Every feature of the top-tier Scout Pro 3 at roughly half the price, including PoE testing and a carry case.
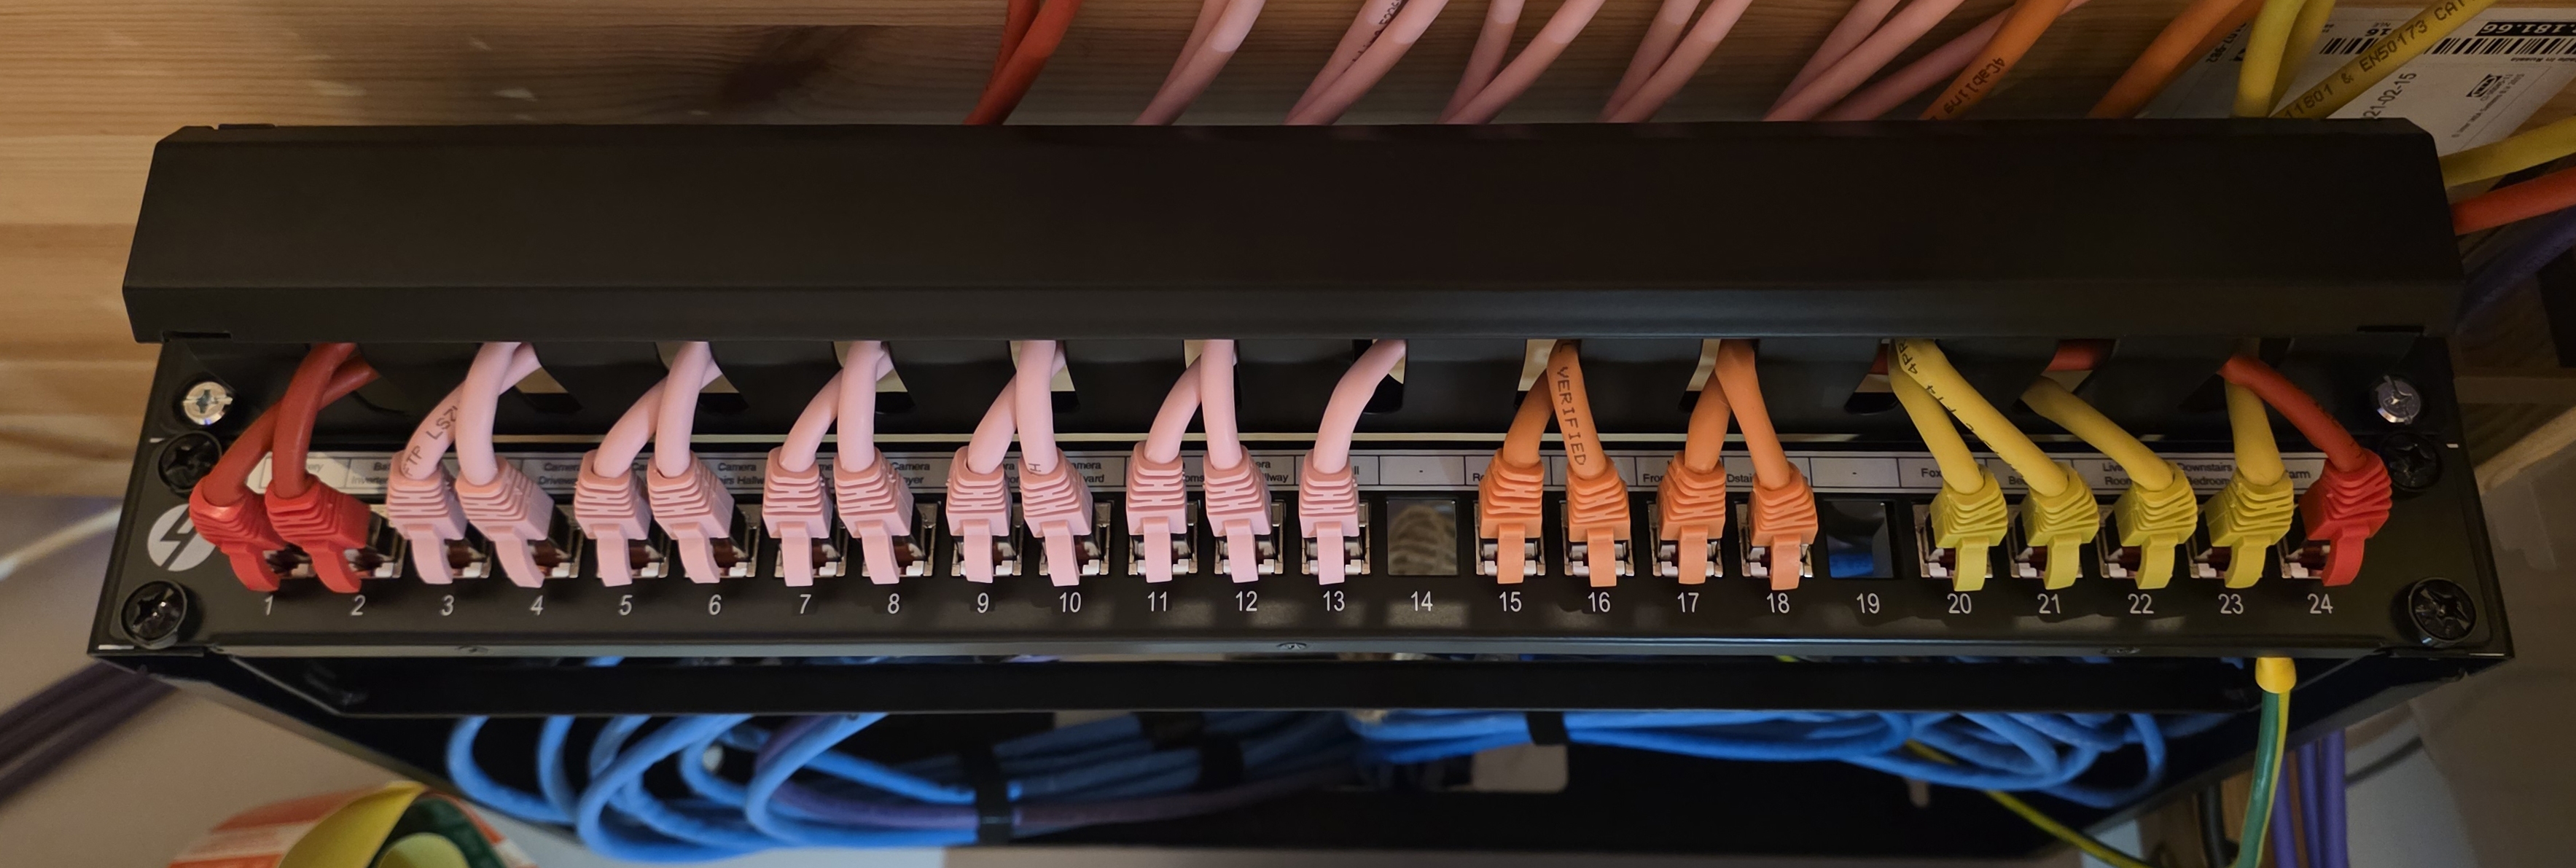
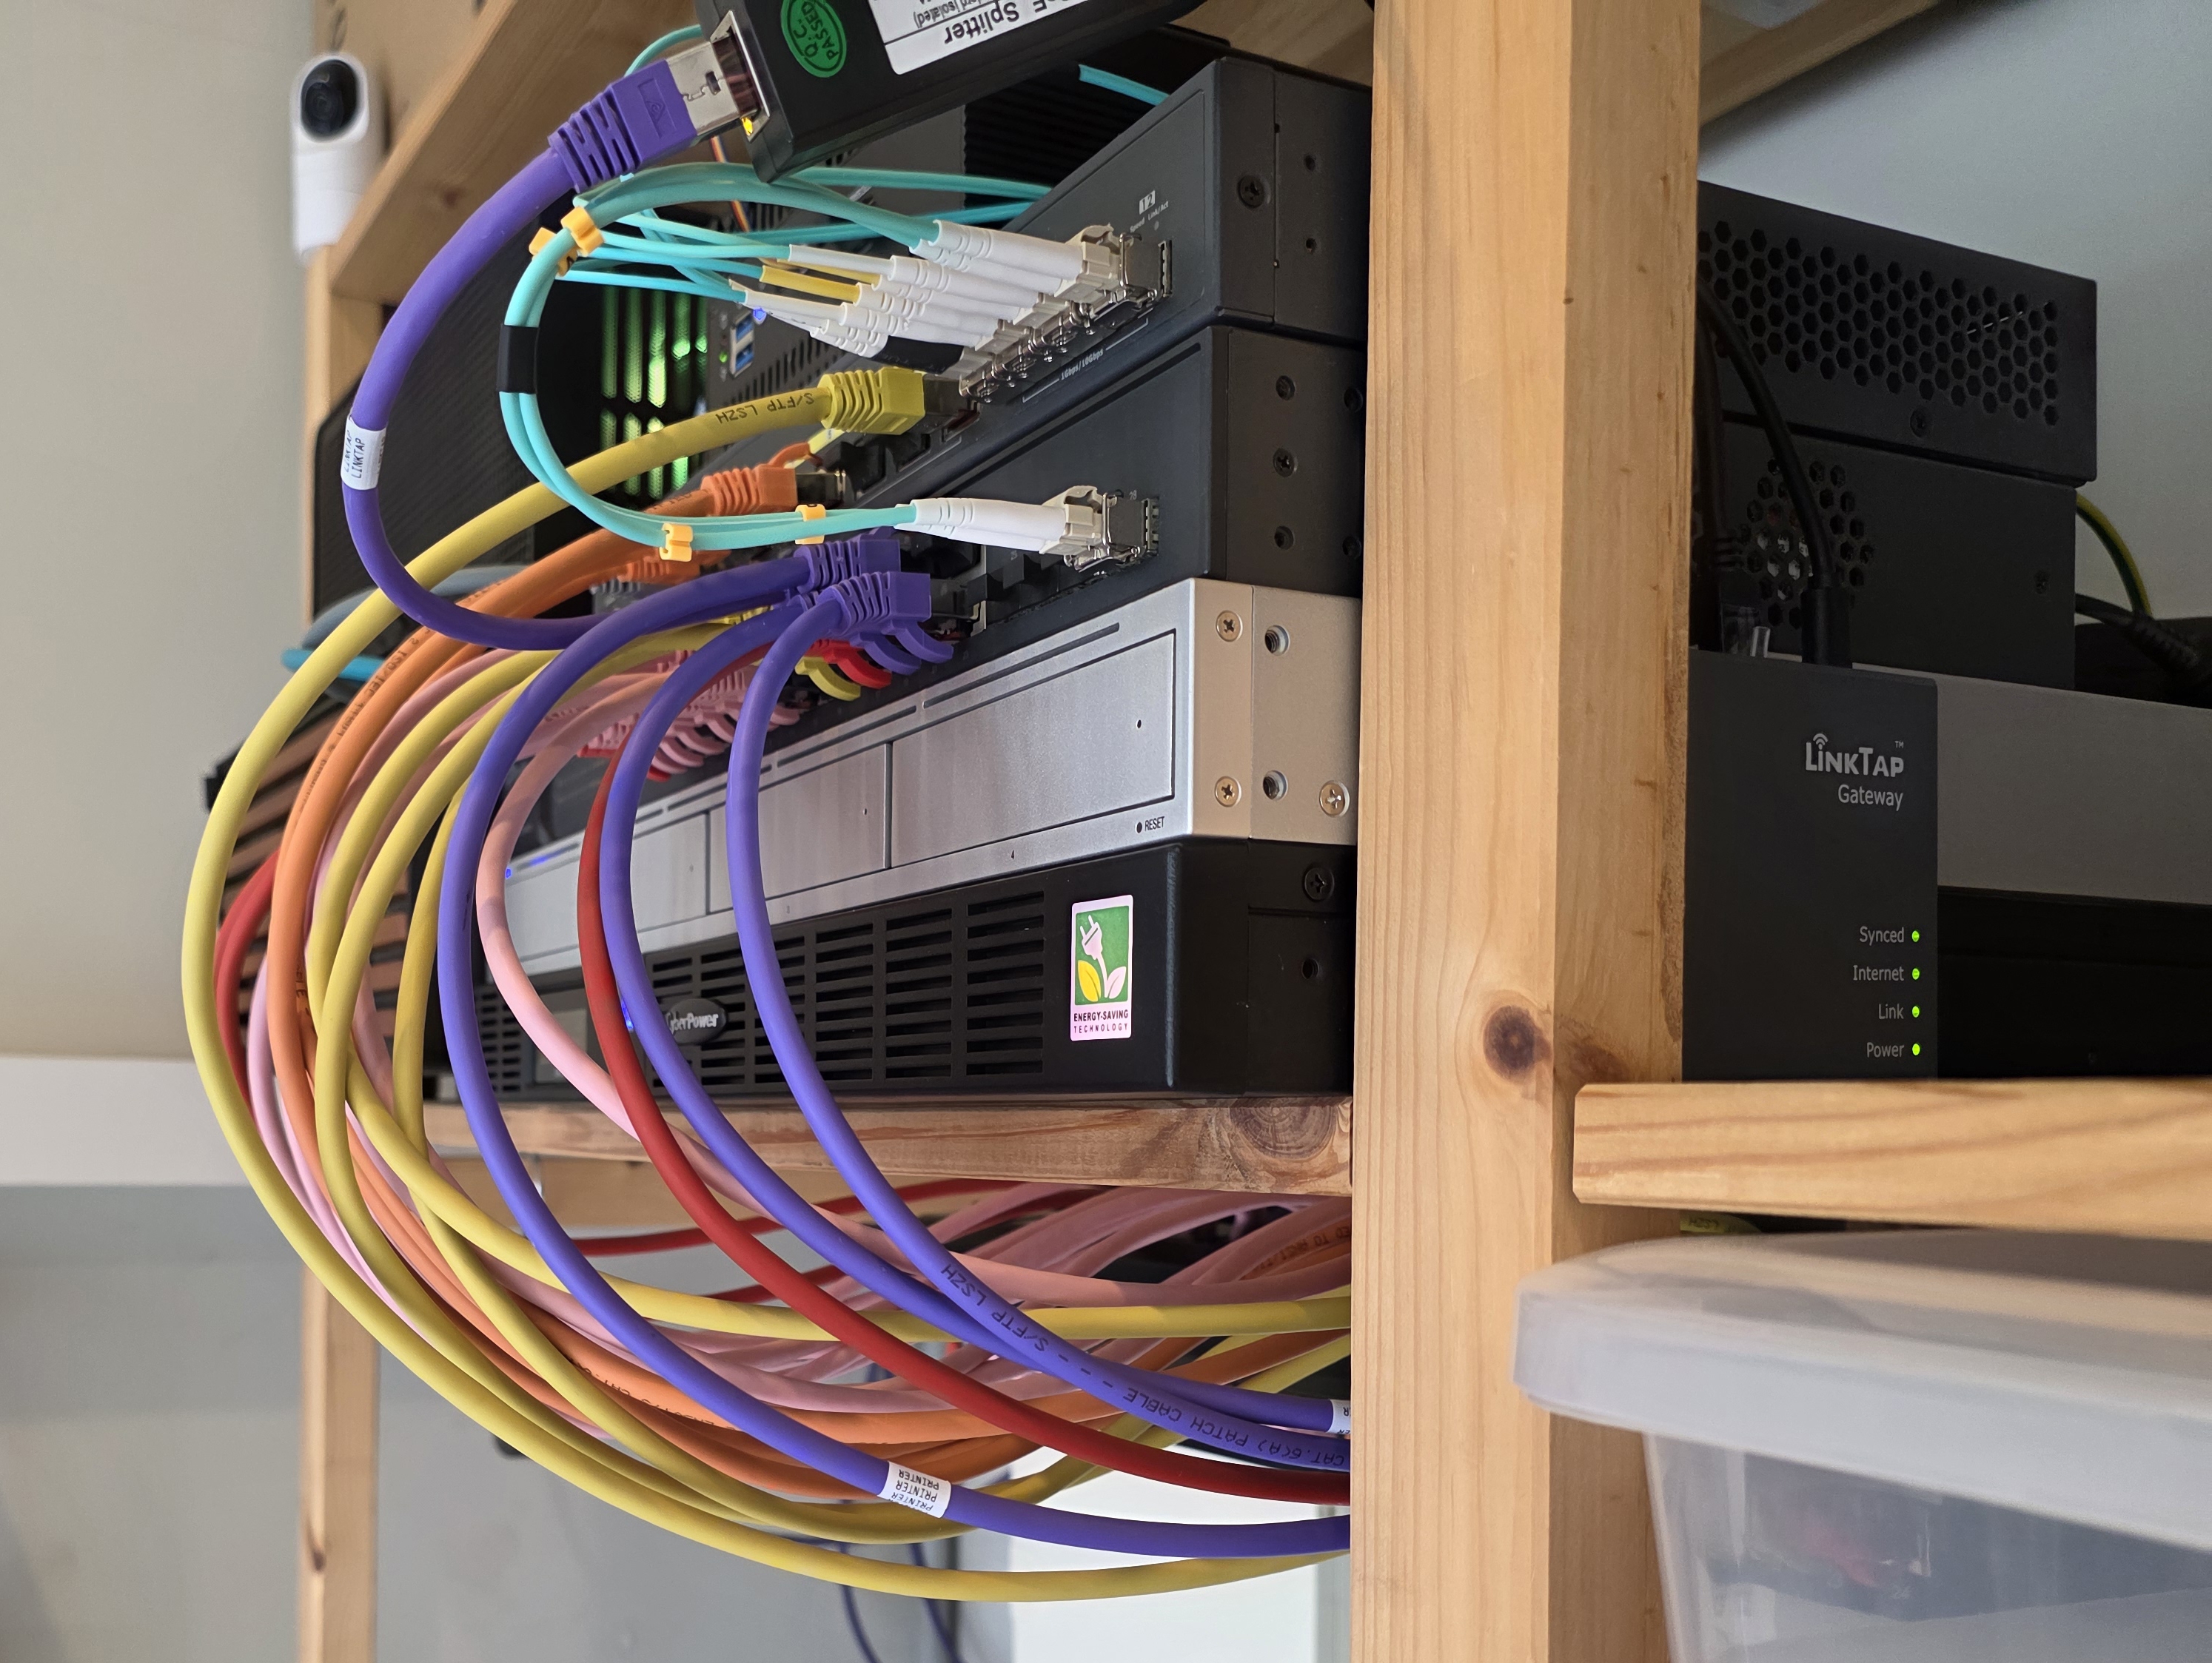
Patch Panel
I bought an unloaded 1U 24-port CAT6A shielded patch panel from 4Cabling.
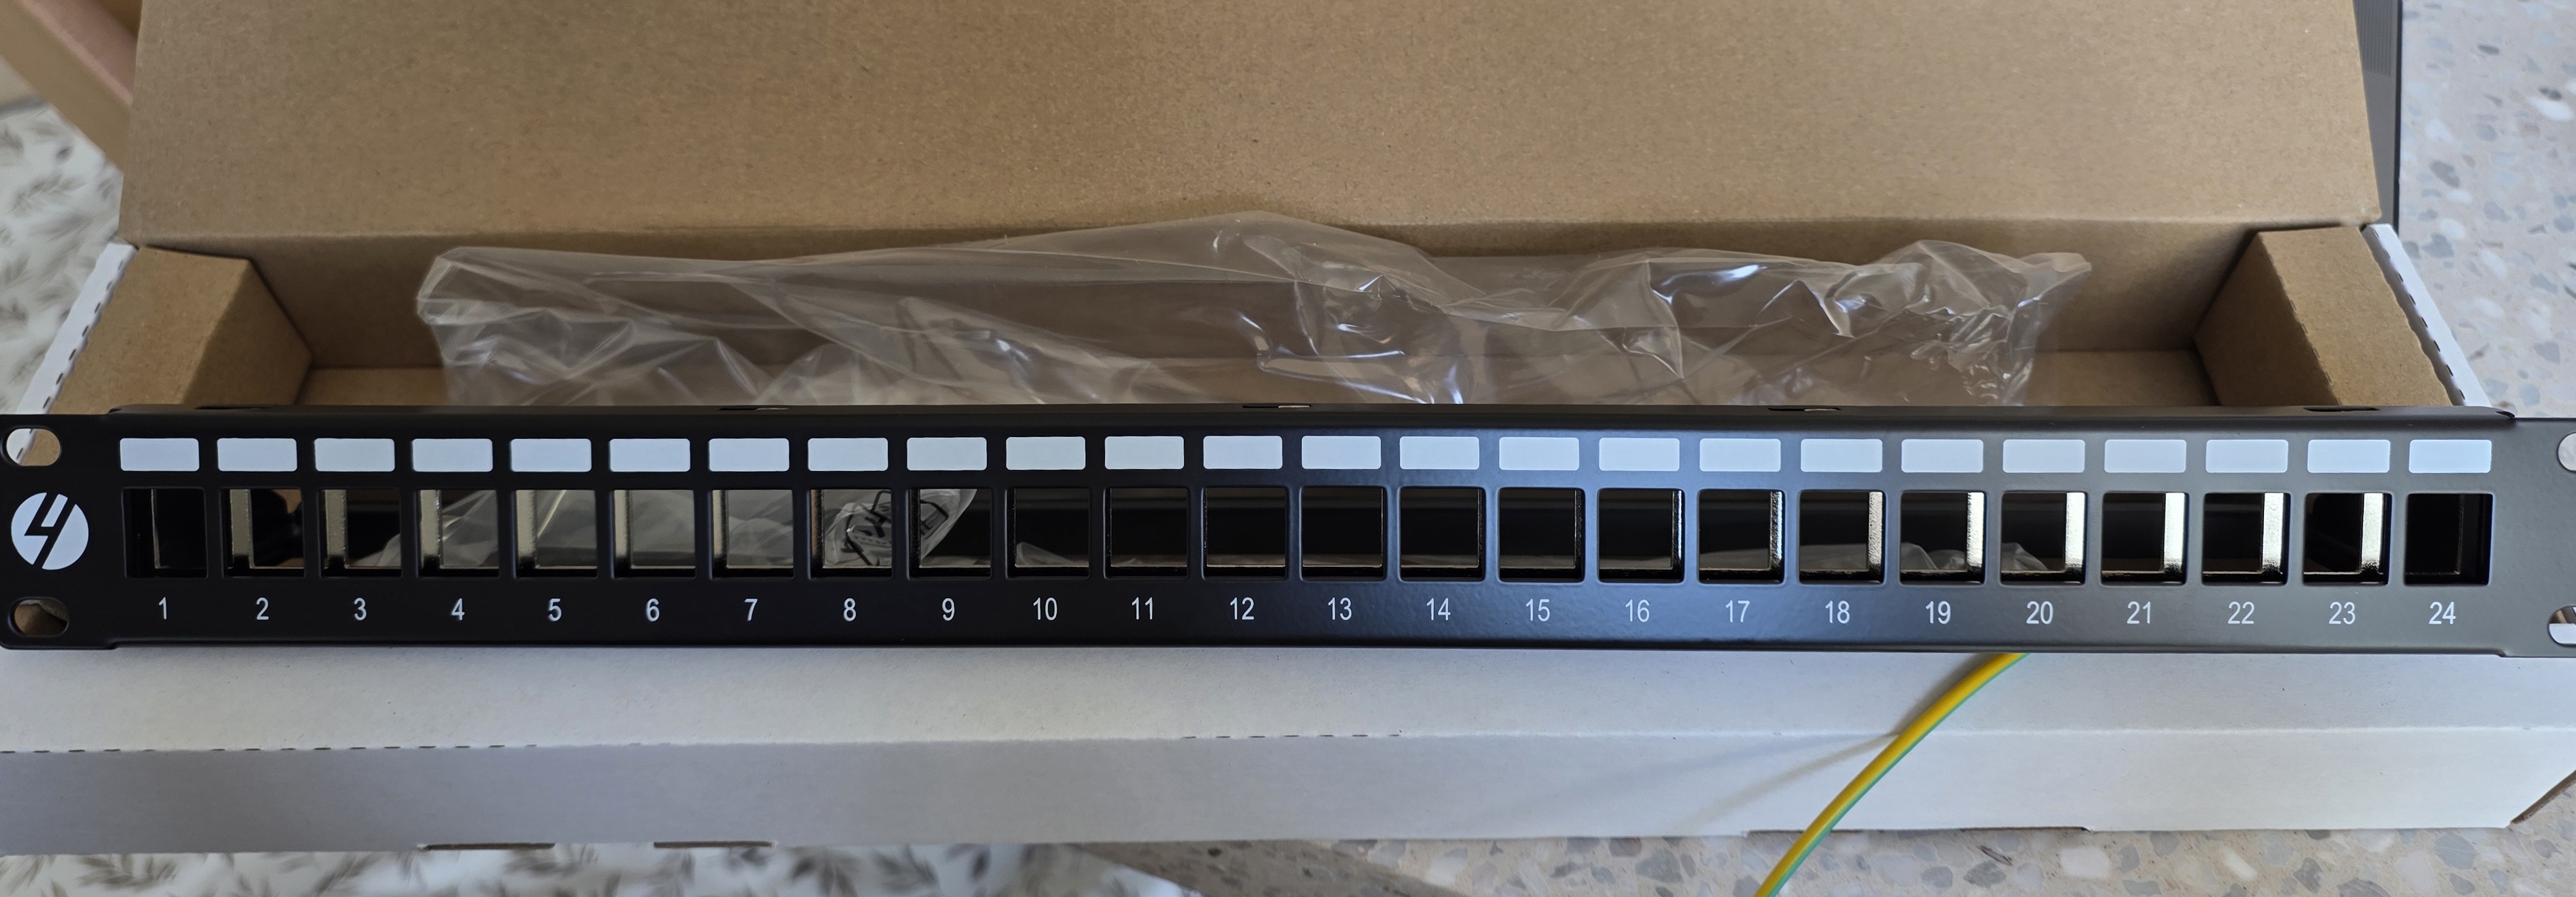
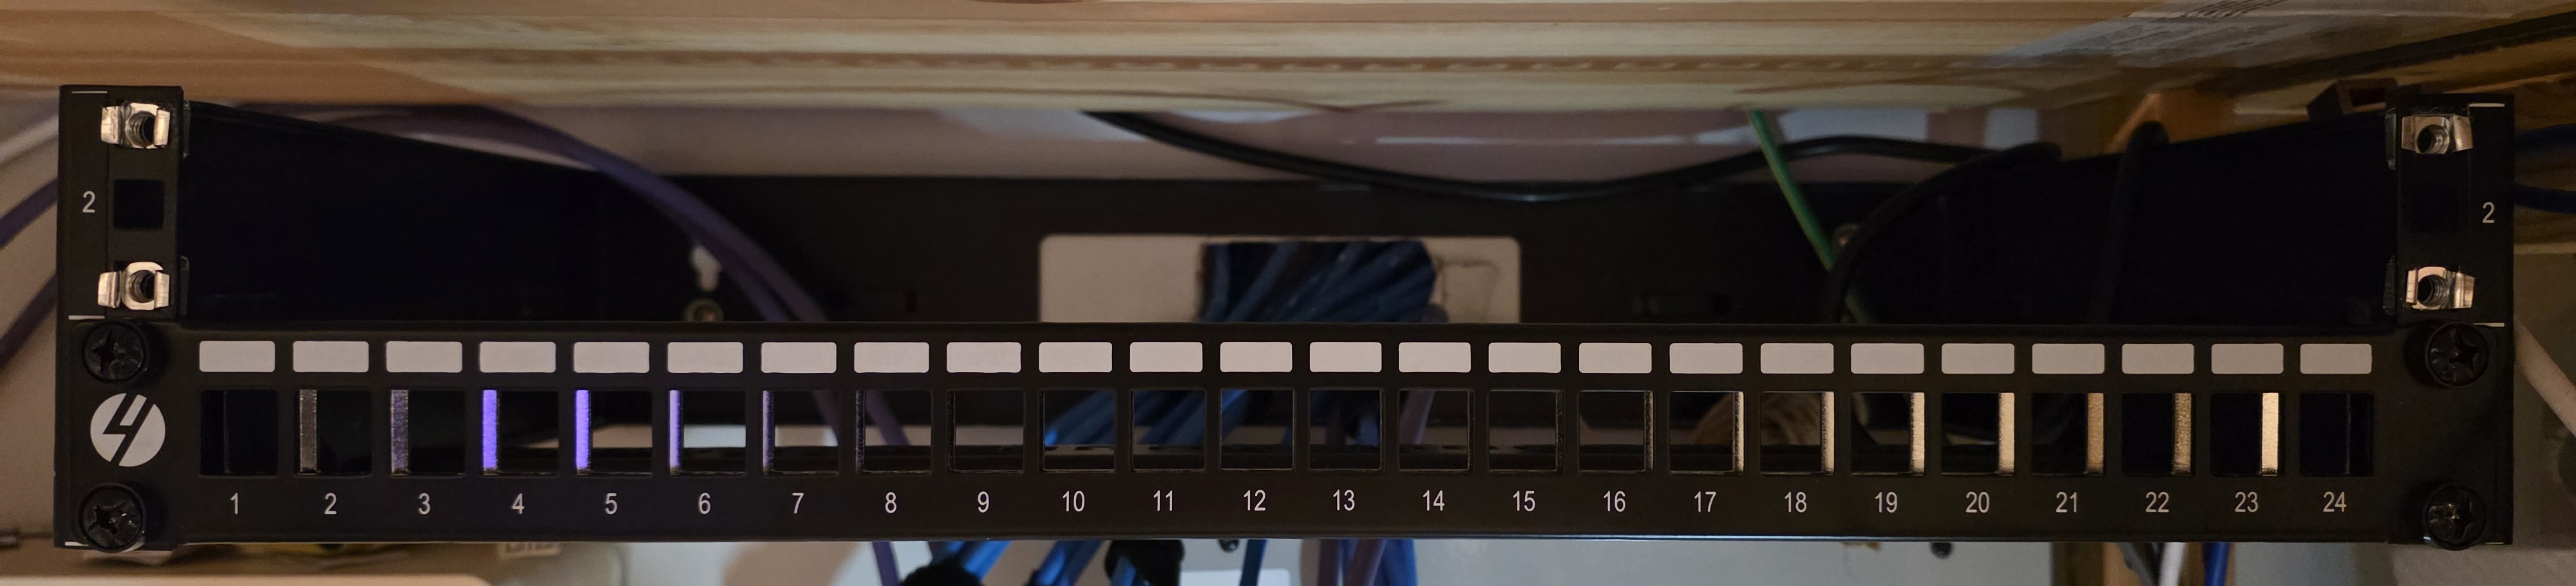
The 4LAN keystones slot straight in. They are tough to remove afterwards, but a pair of pliers gets them out without damage.
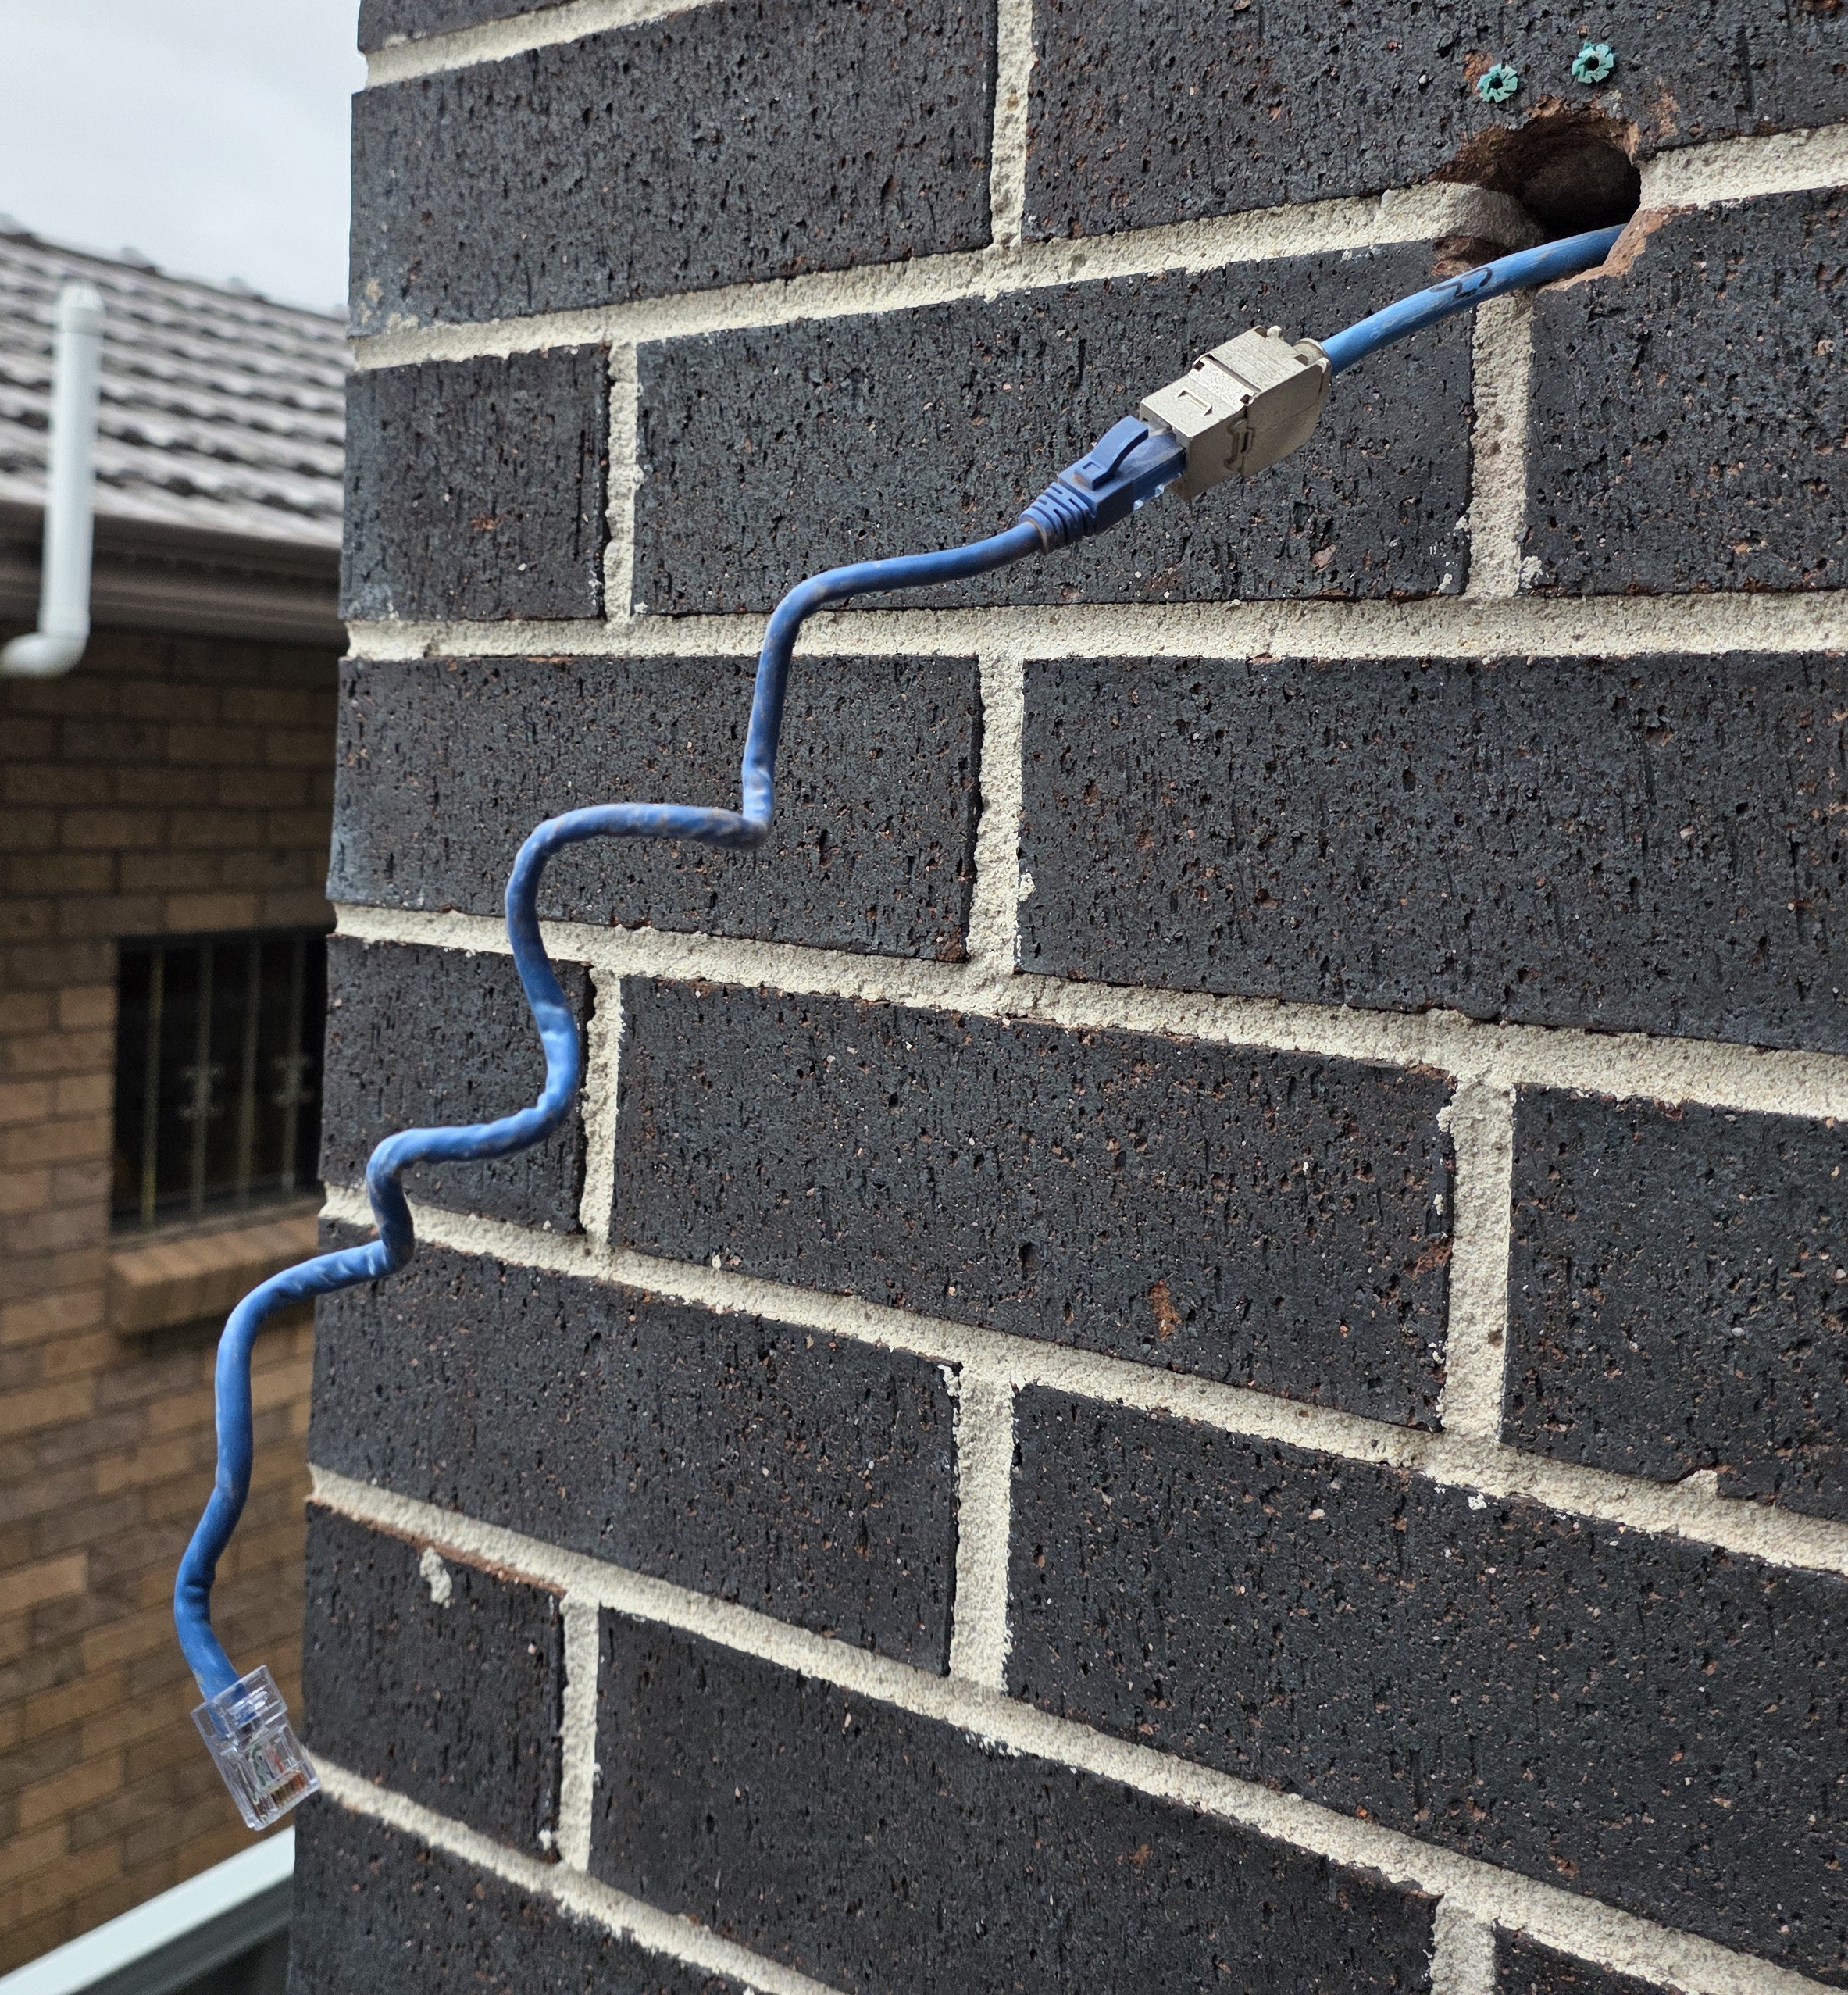
Migrate Wall Ports
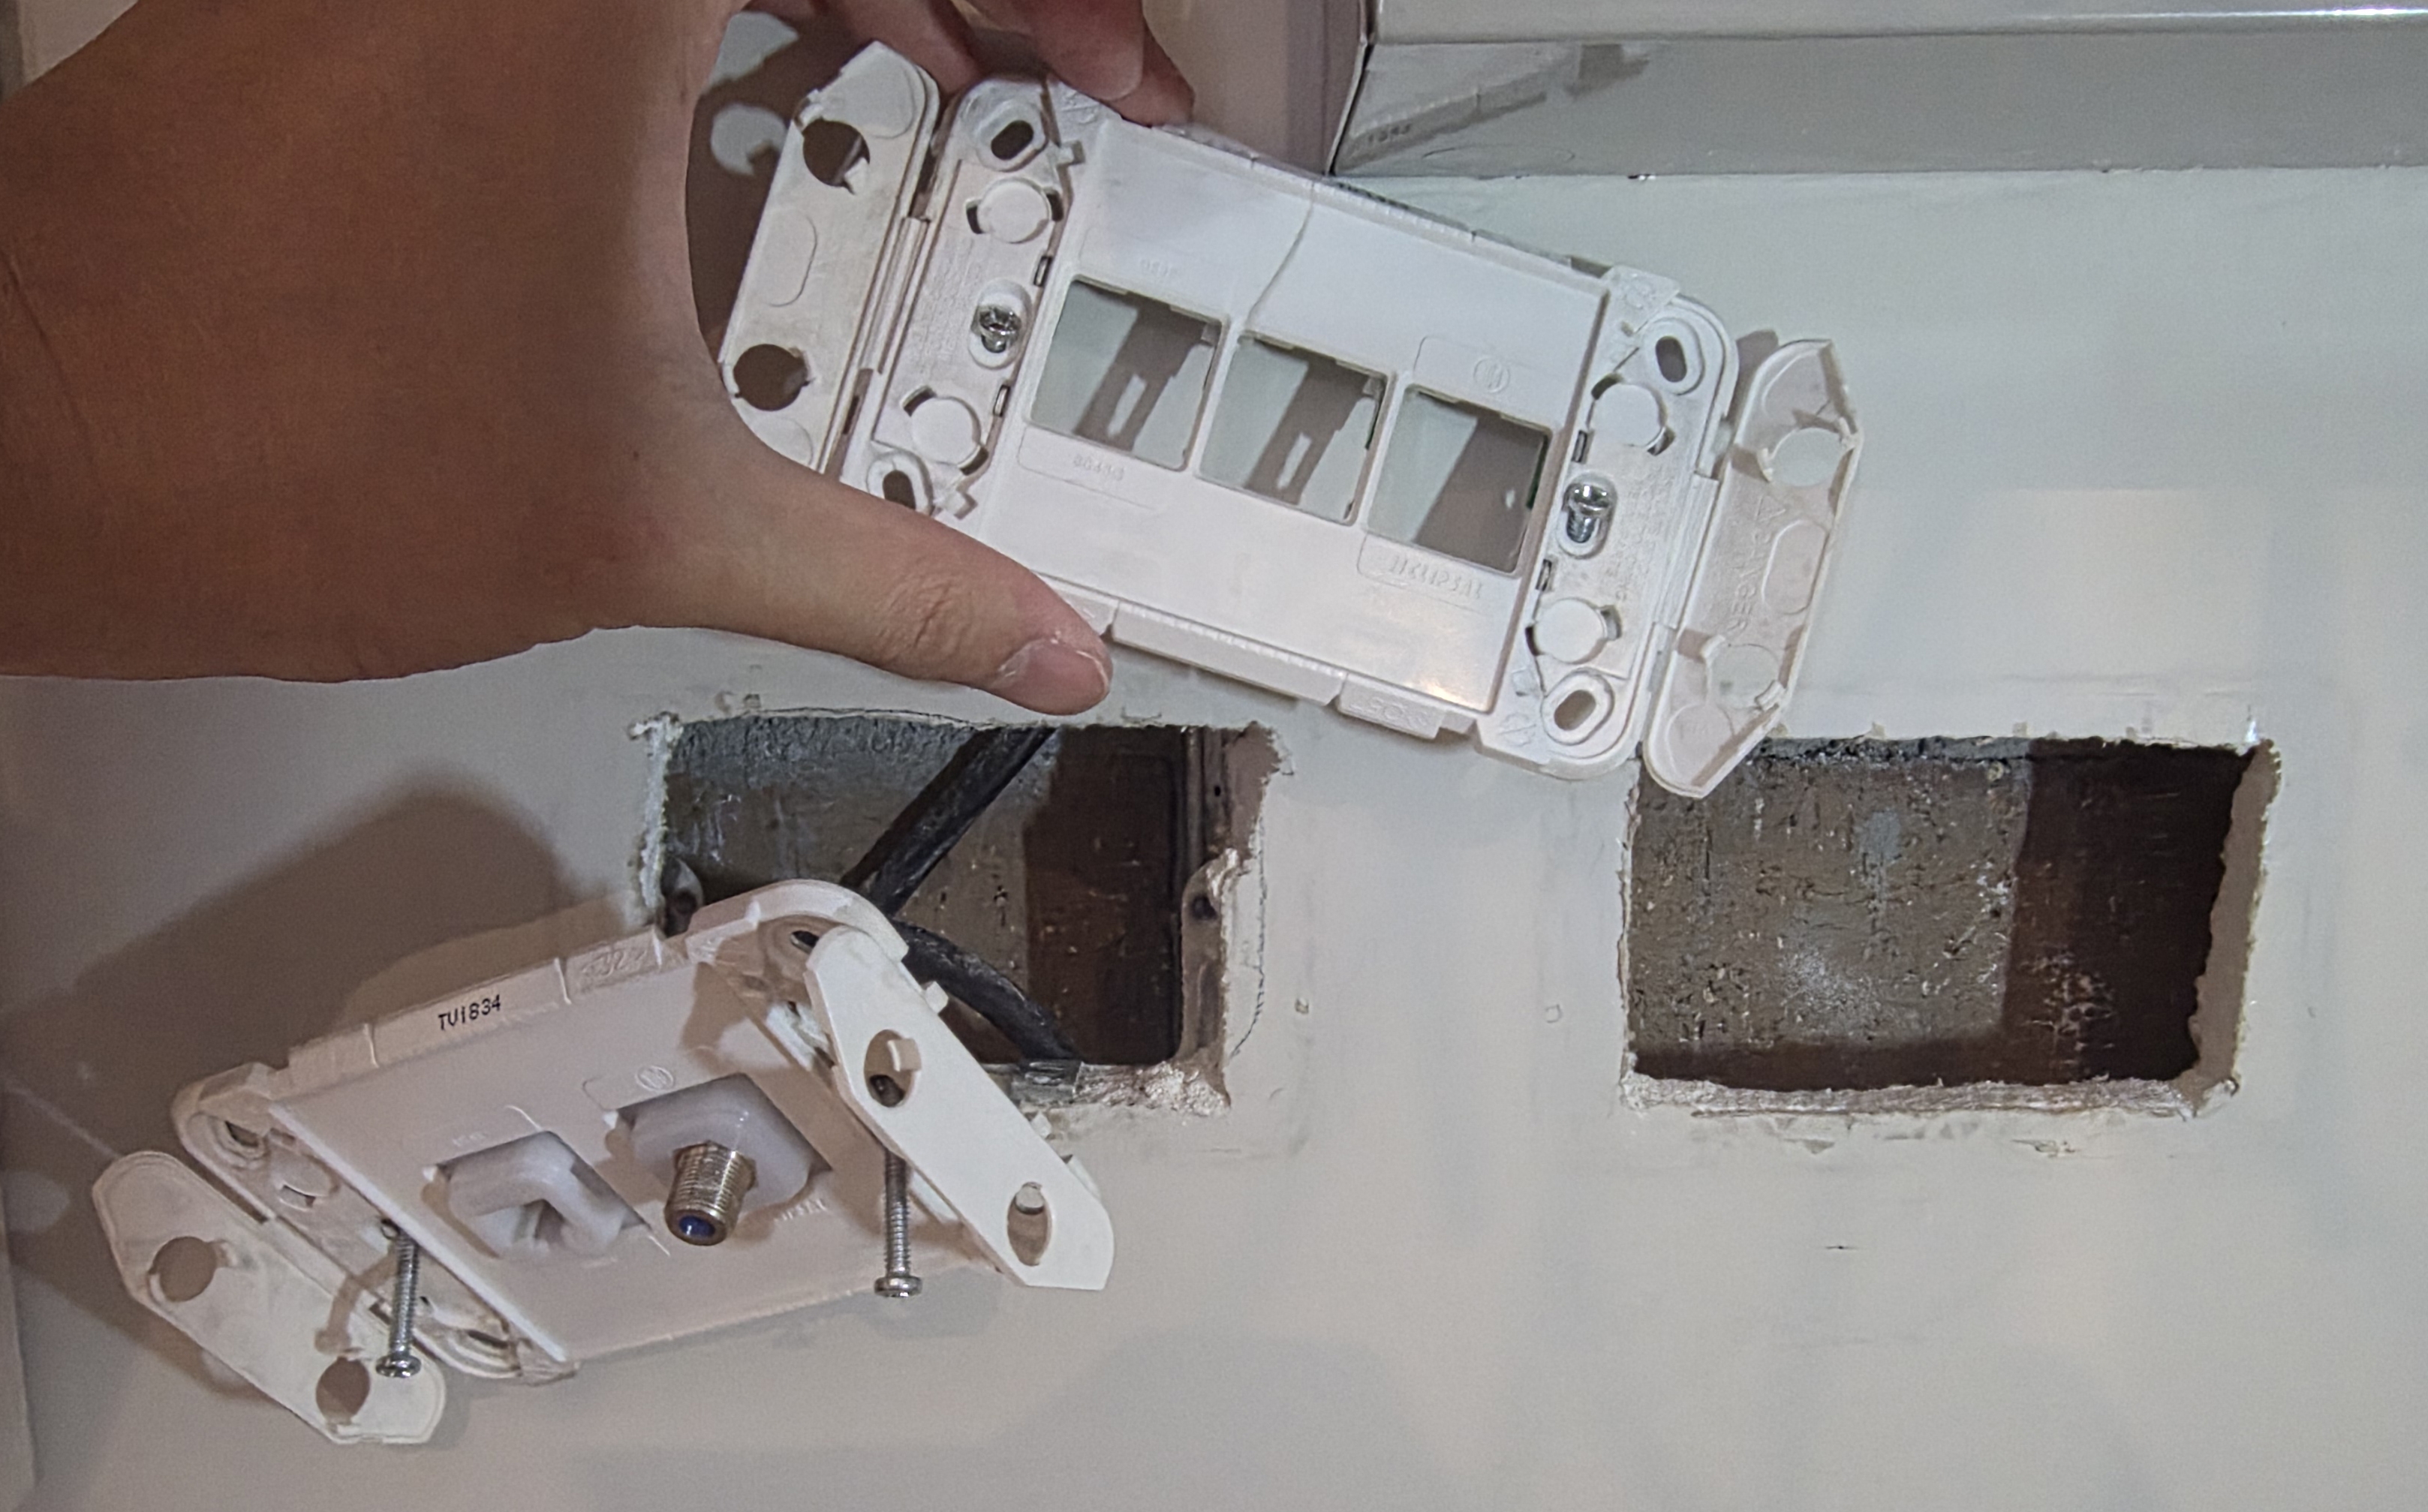
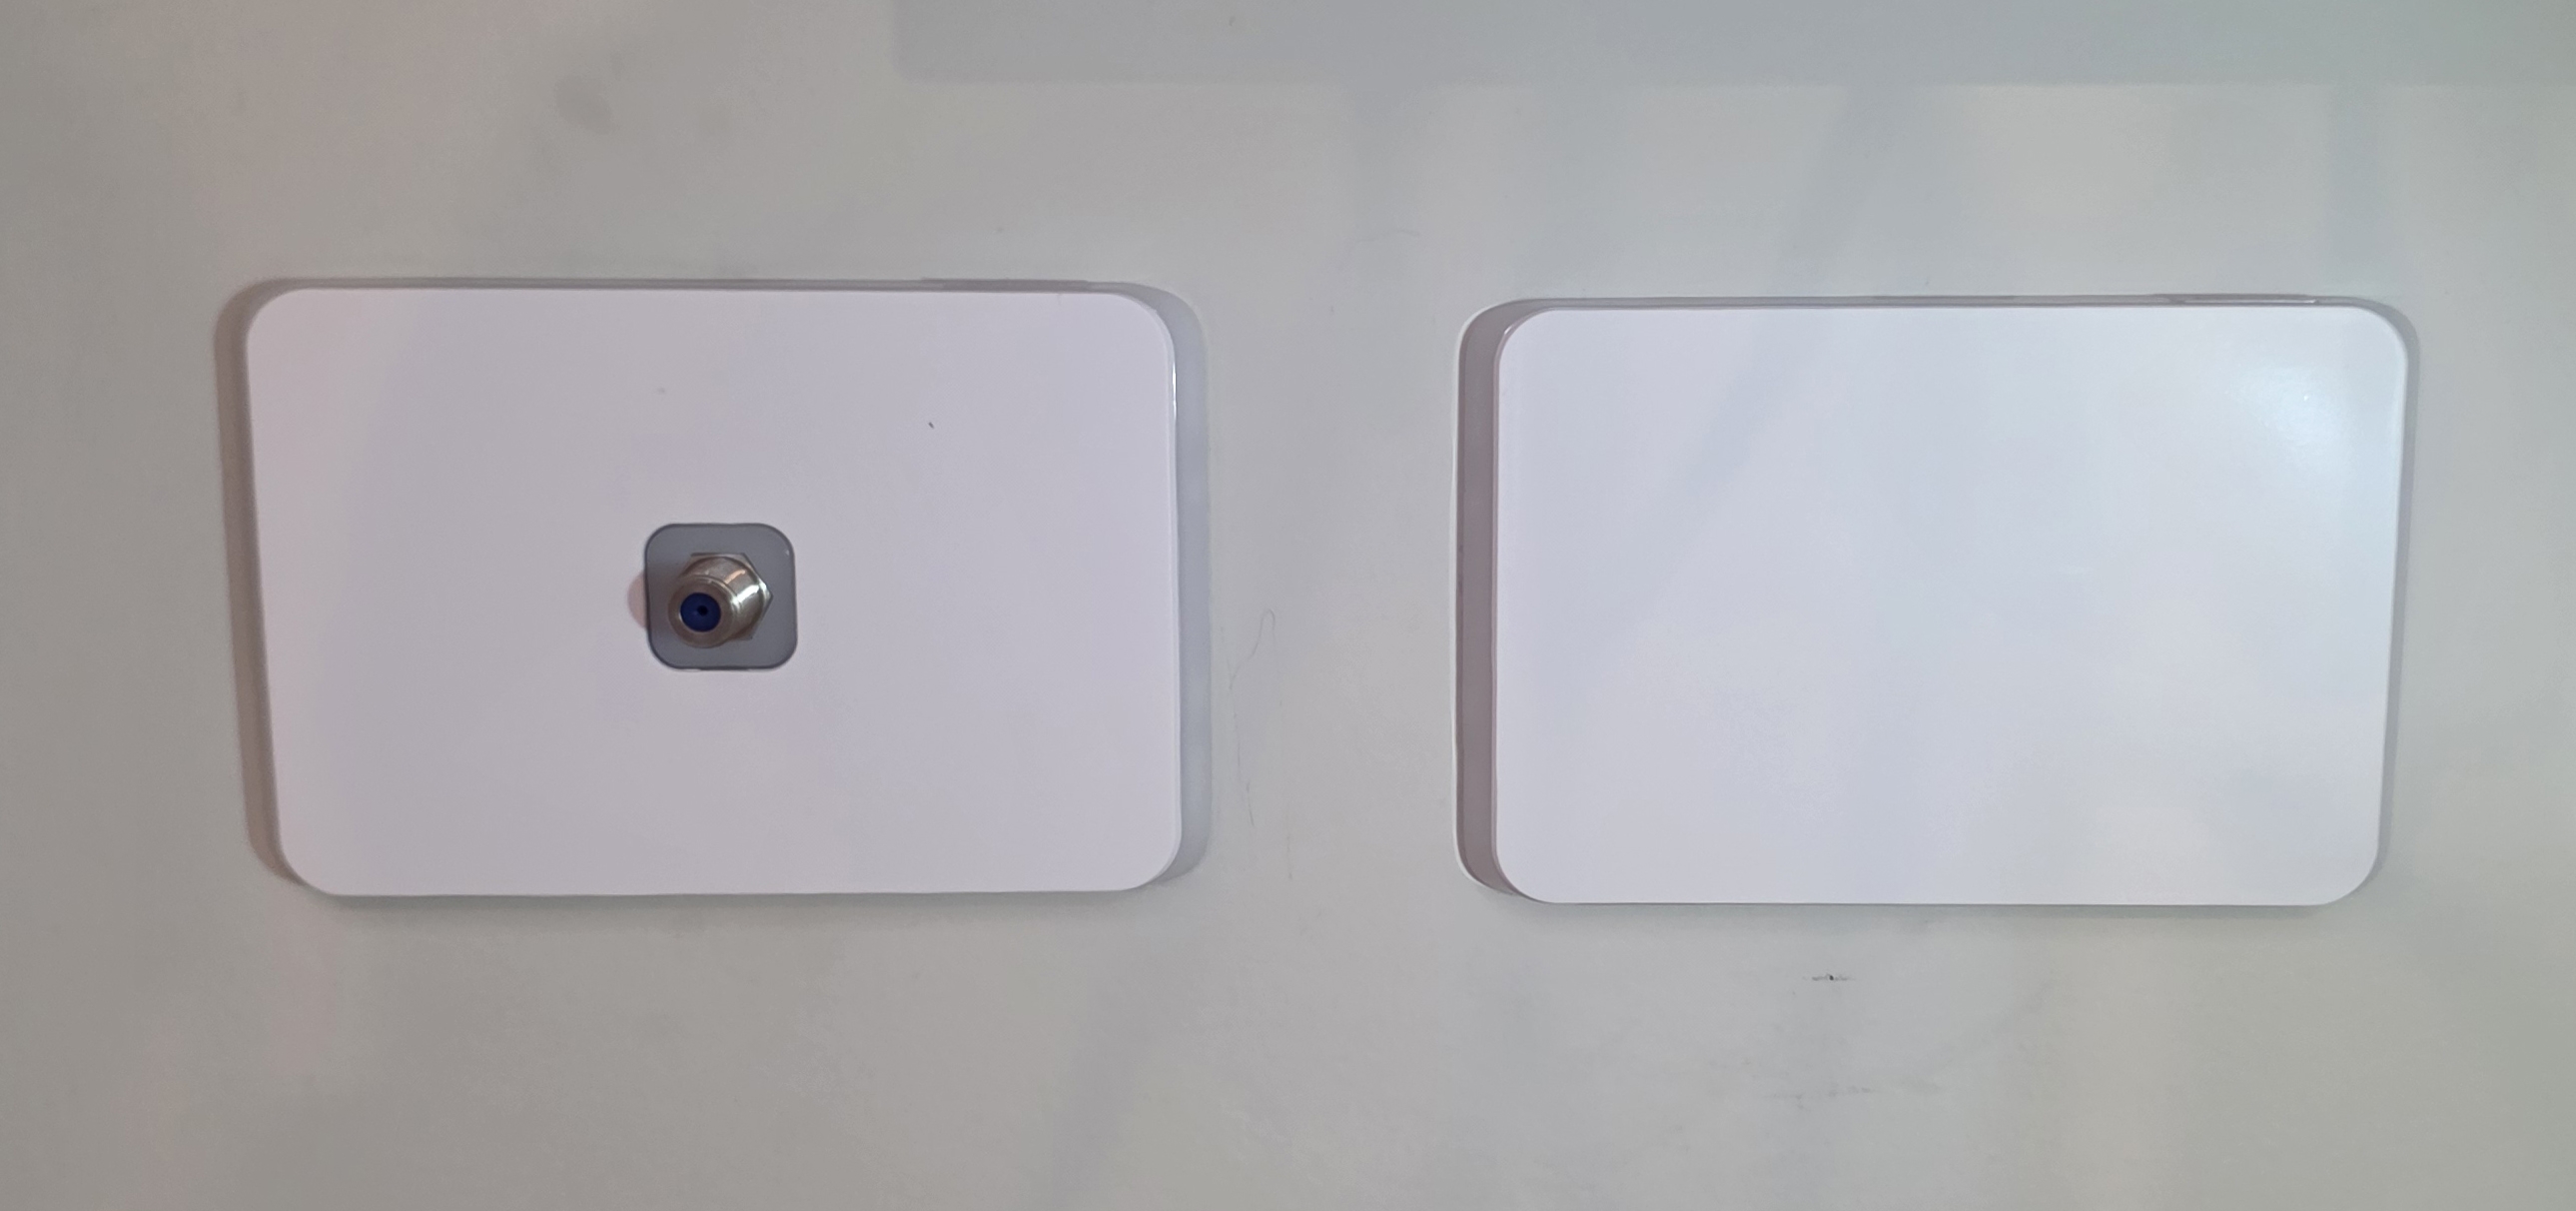
I pulled the three builder wall ports (plus an unidentified one with a Foxtel connector) out of the Clipsal plate and ran them up into the patch panel.
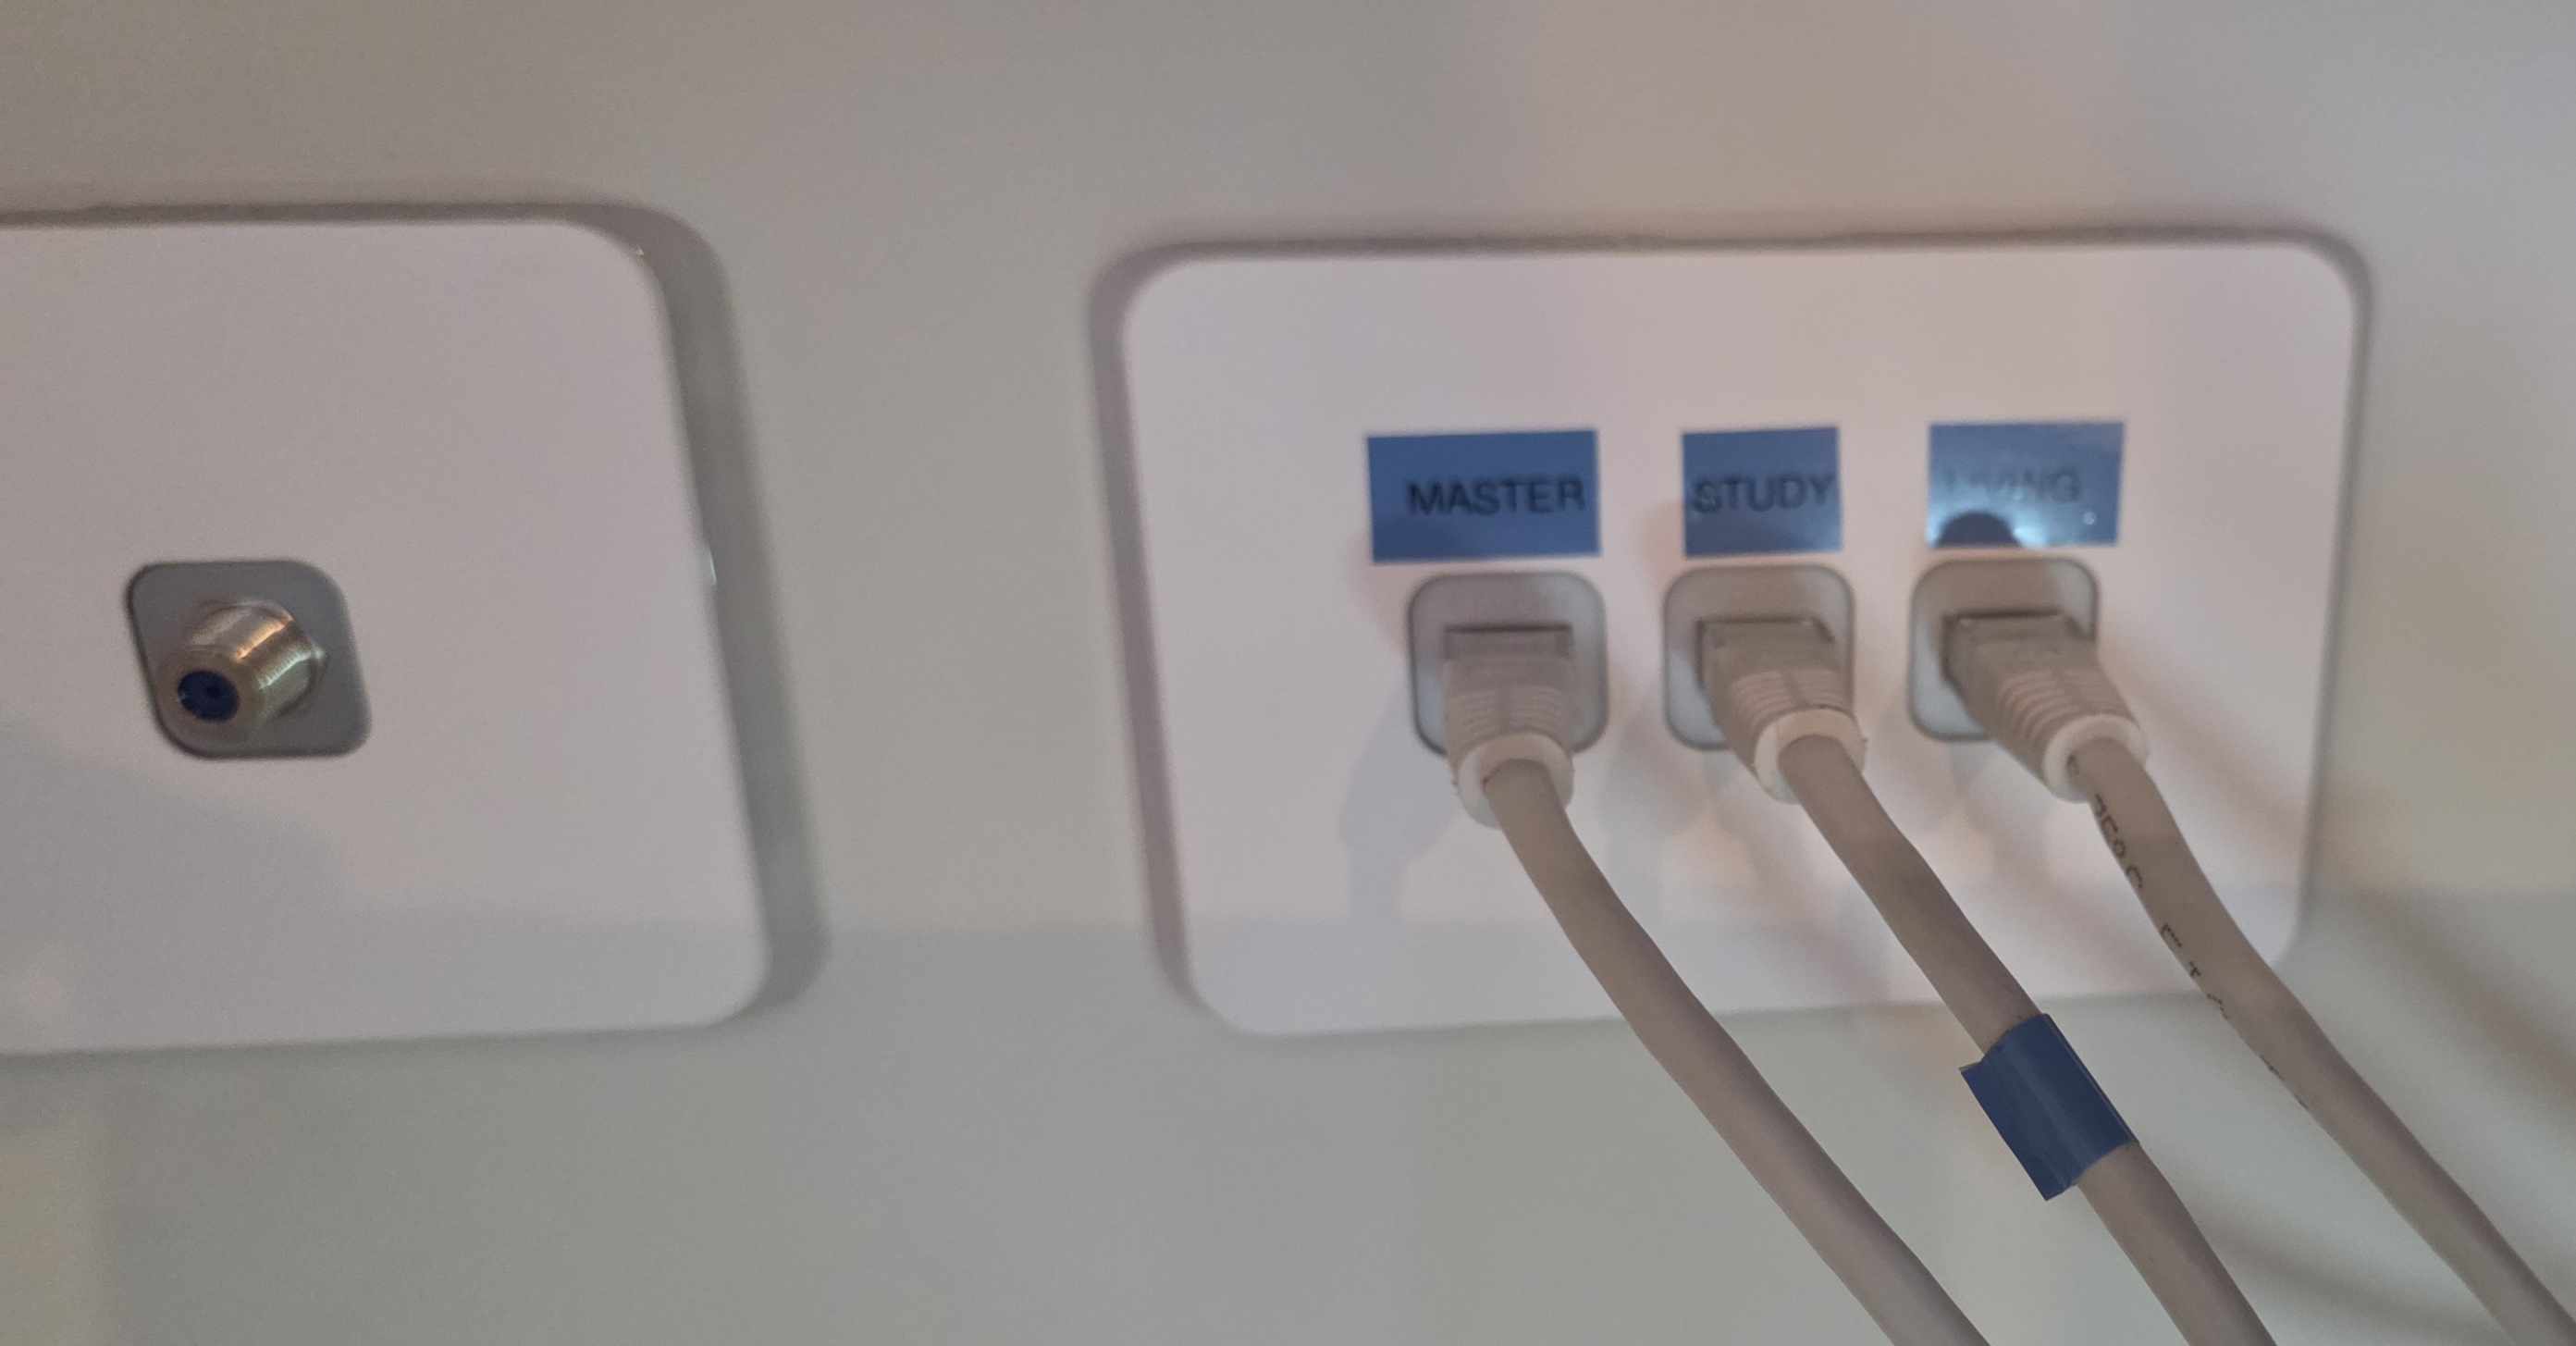
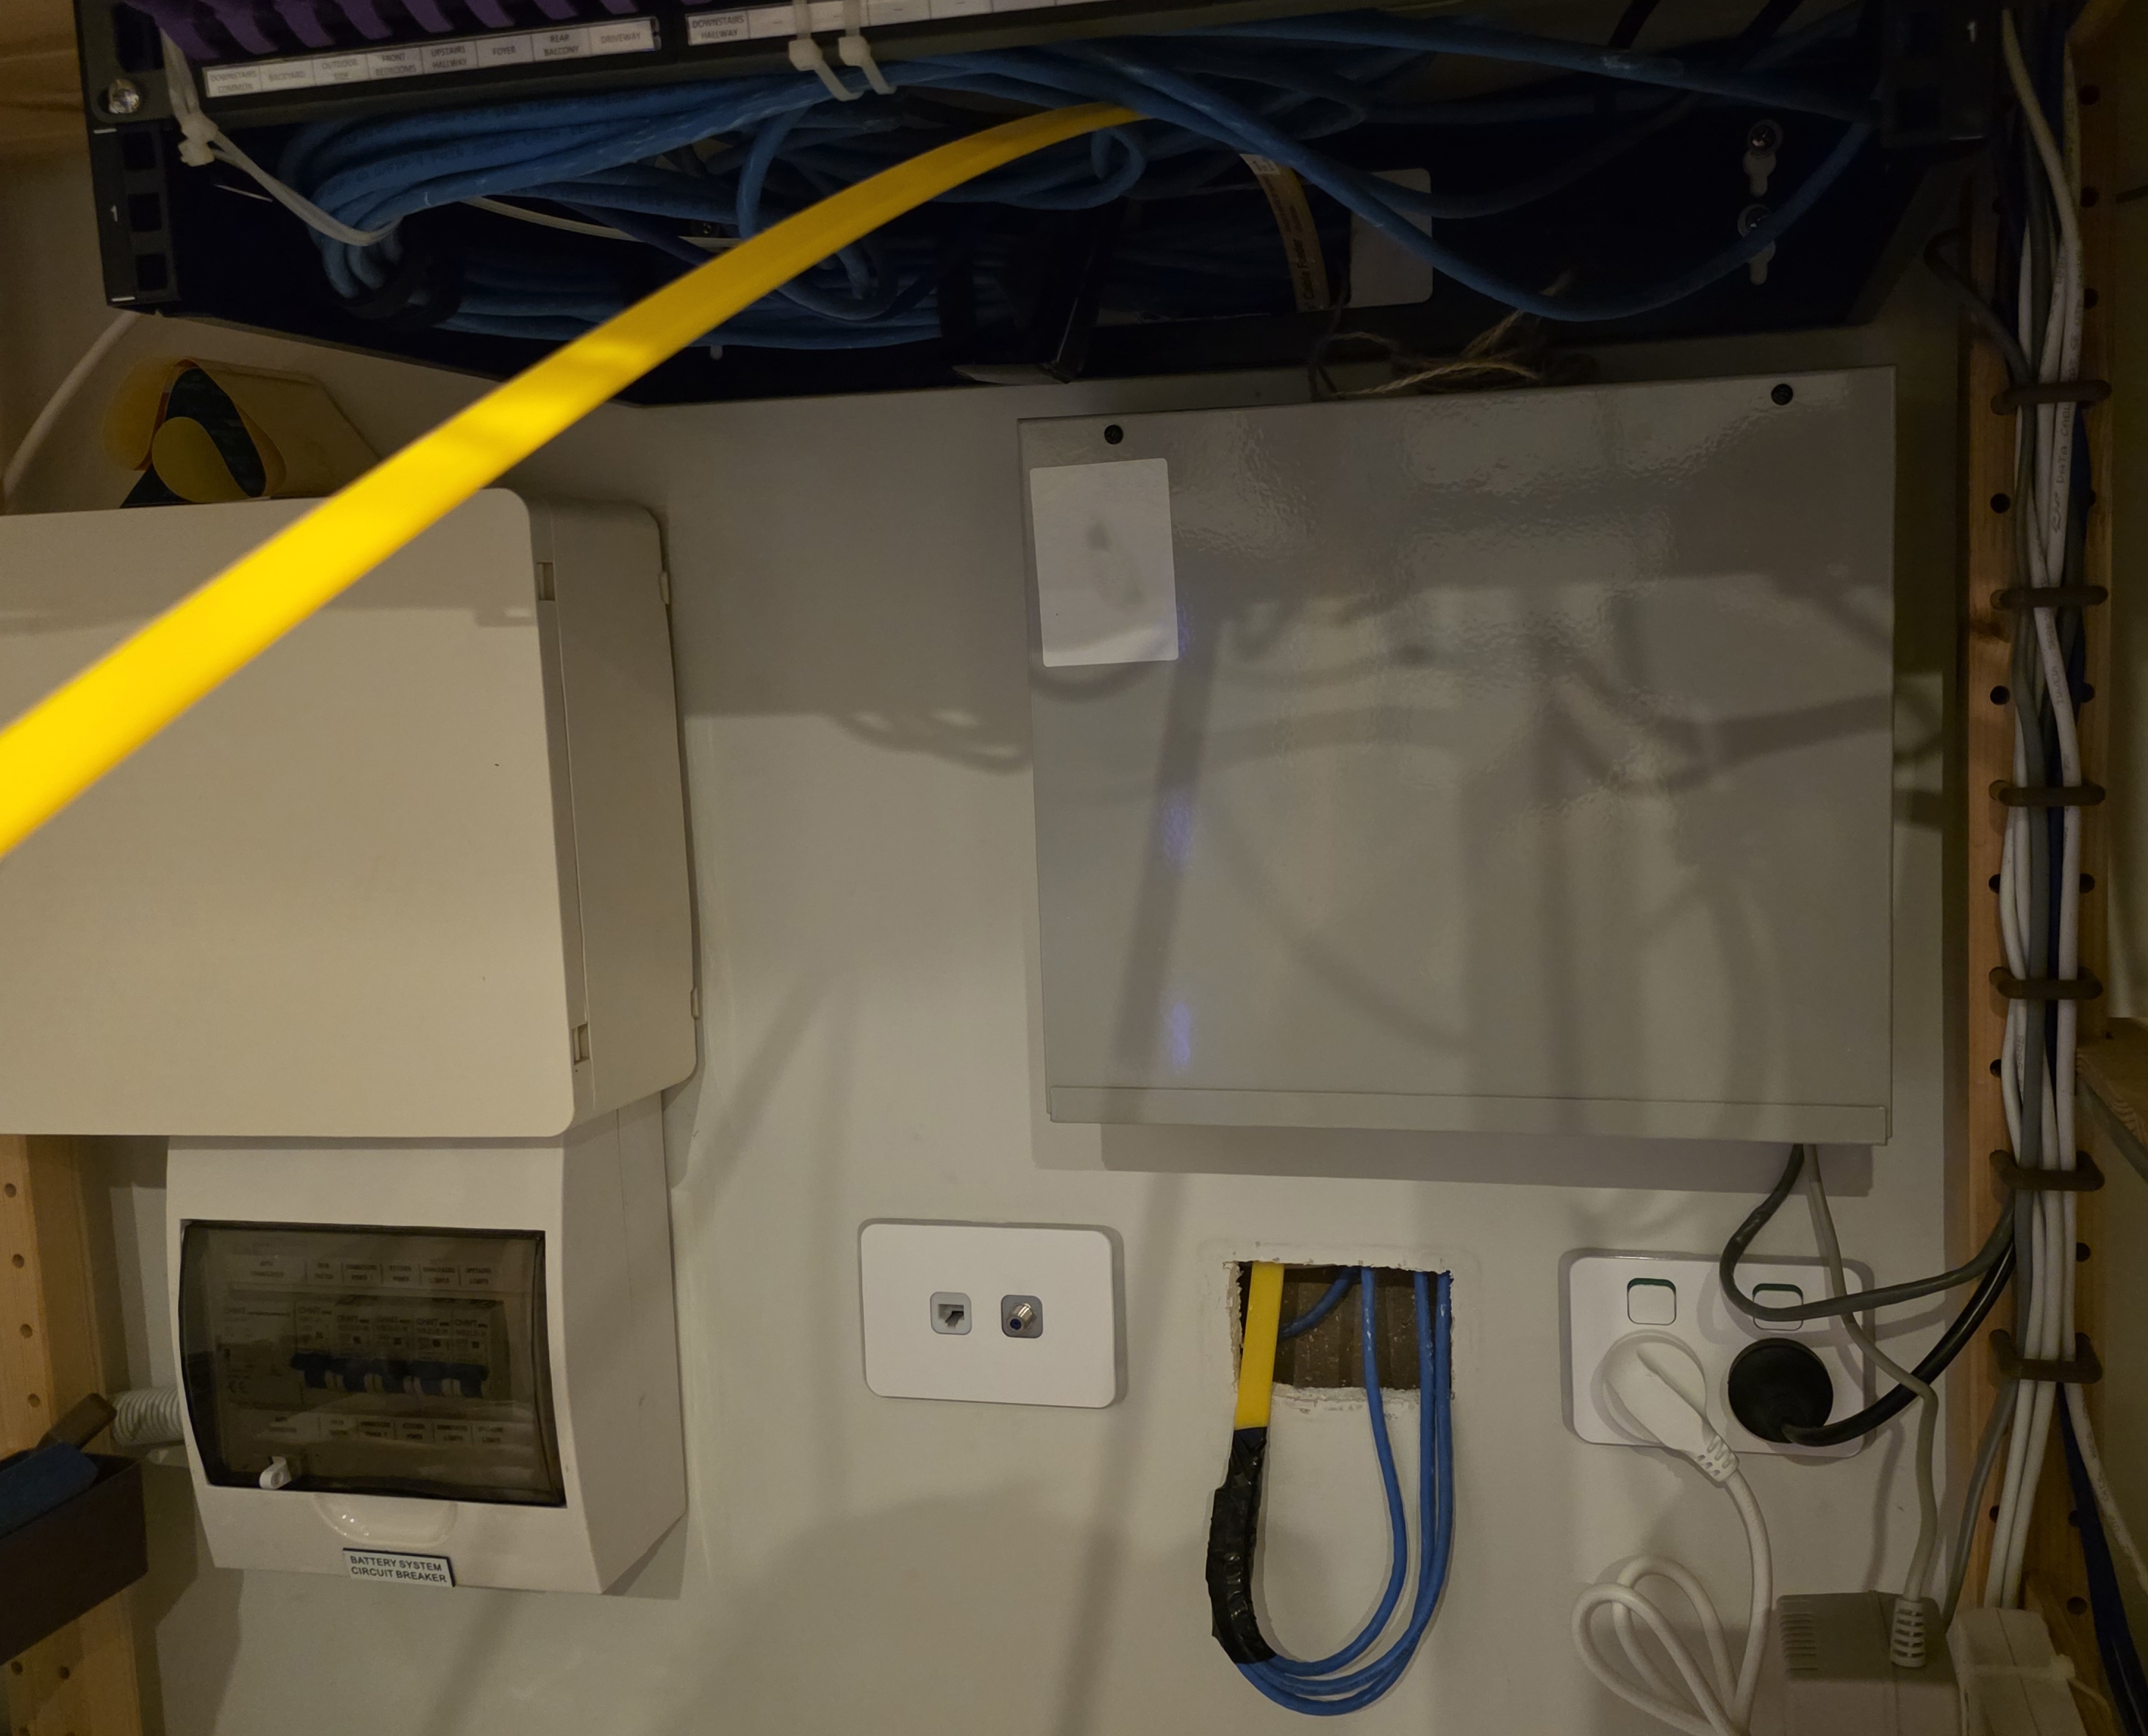
The Clipsal hole got covered with a 1-gang plate and a blank from my electrical wholesaler.
Earthing
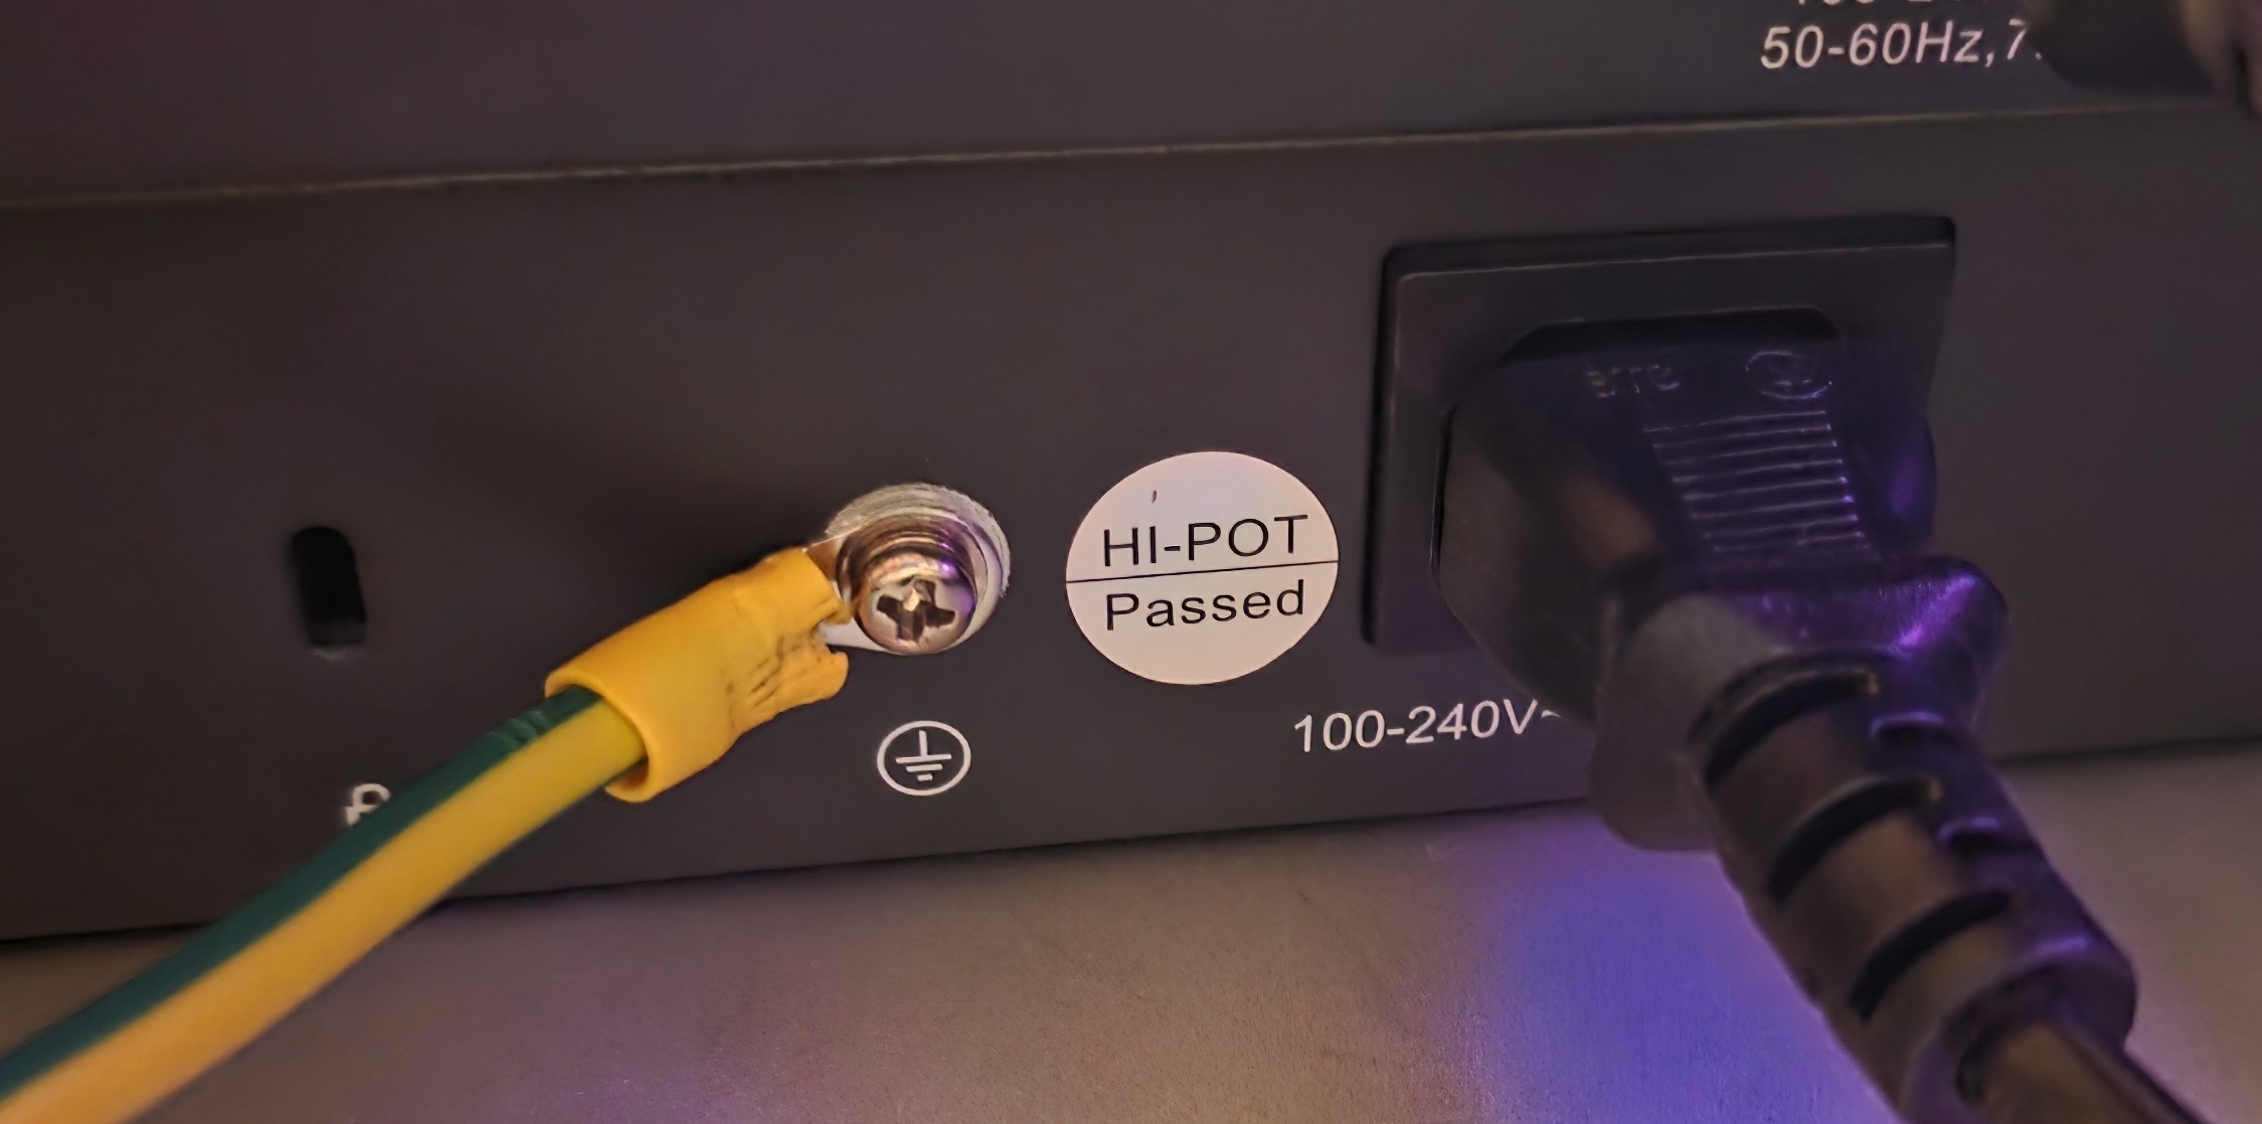
The patch panel needs to be earthed for the shielding to do anything useful. EMI that couples into the foil or braid has to go somewhere. Without an earth path, induced currents sit on the shield and re-radiate back into the conductors, which is worse than no shield at all. Earthing gives those currents a low-impedance path to ground so they actually drain off, and provides a fault-current path for safety.
The included earth lead was too short to reach the switch, so I picked up a longer one from my electrical wholesaler. AWG matters here. This is not just a green-and-yellow signal wire, it needs the right gauge to carry a fault current.
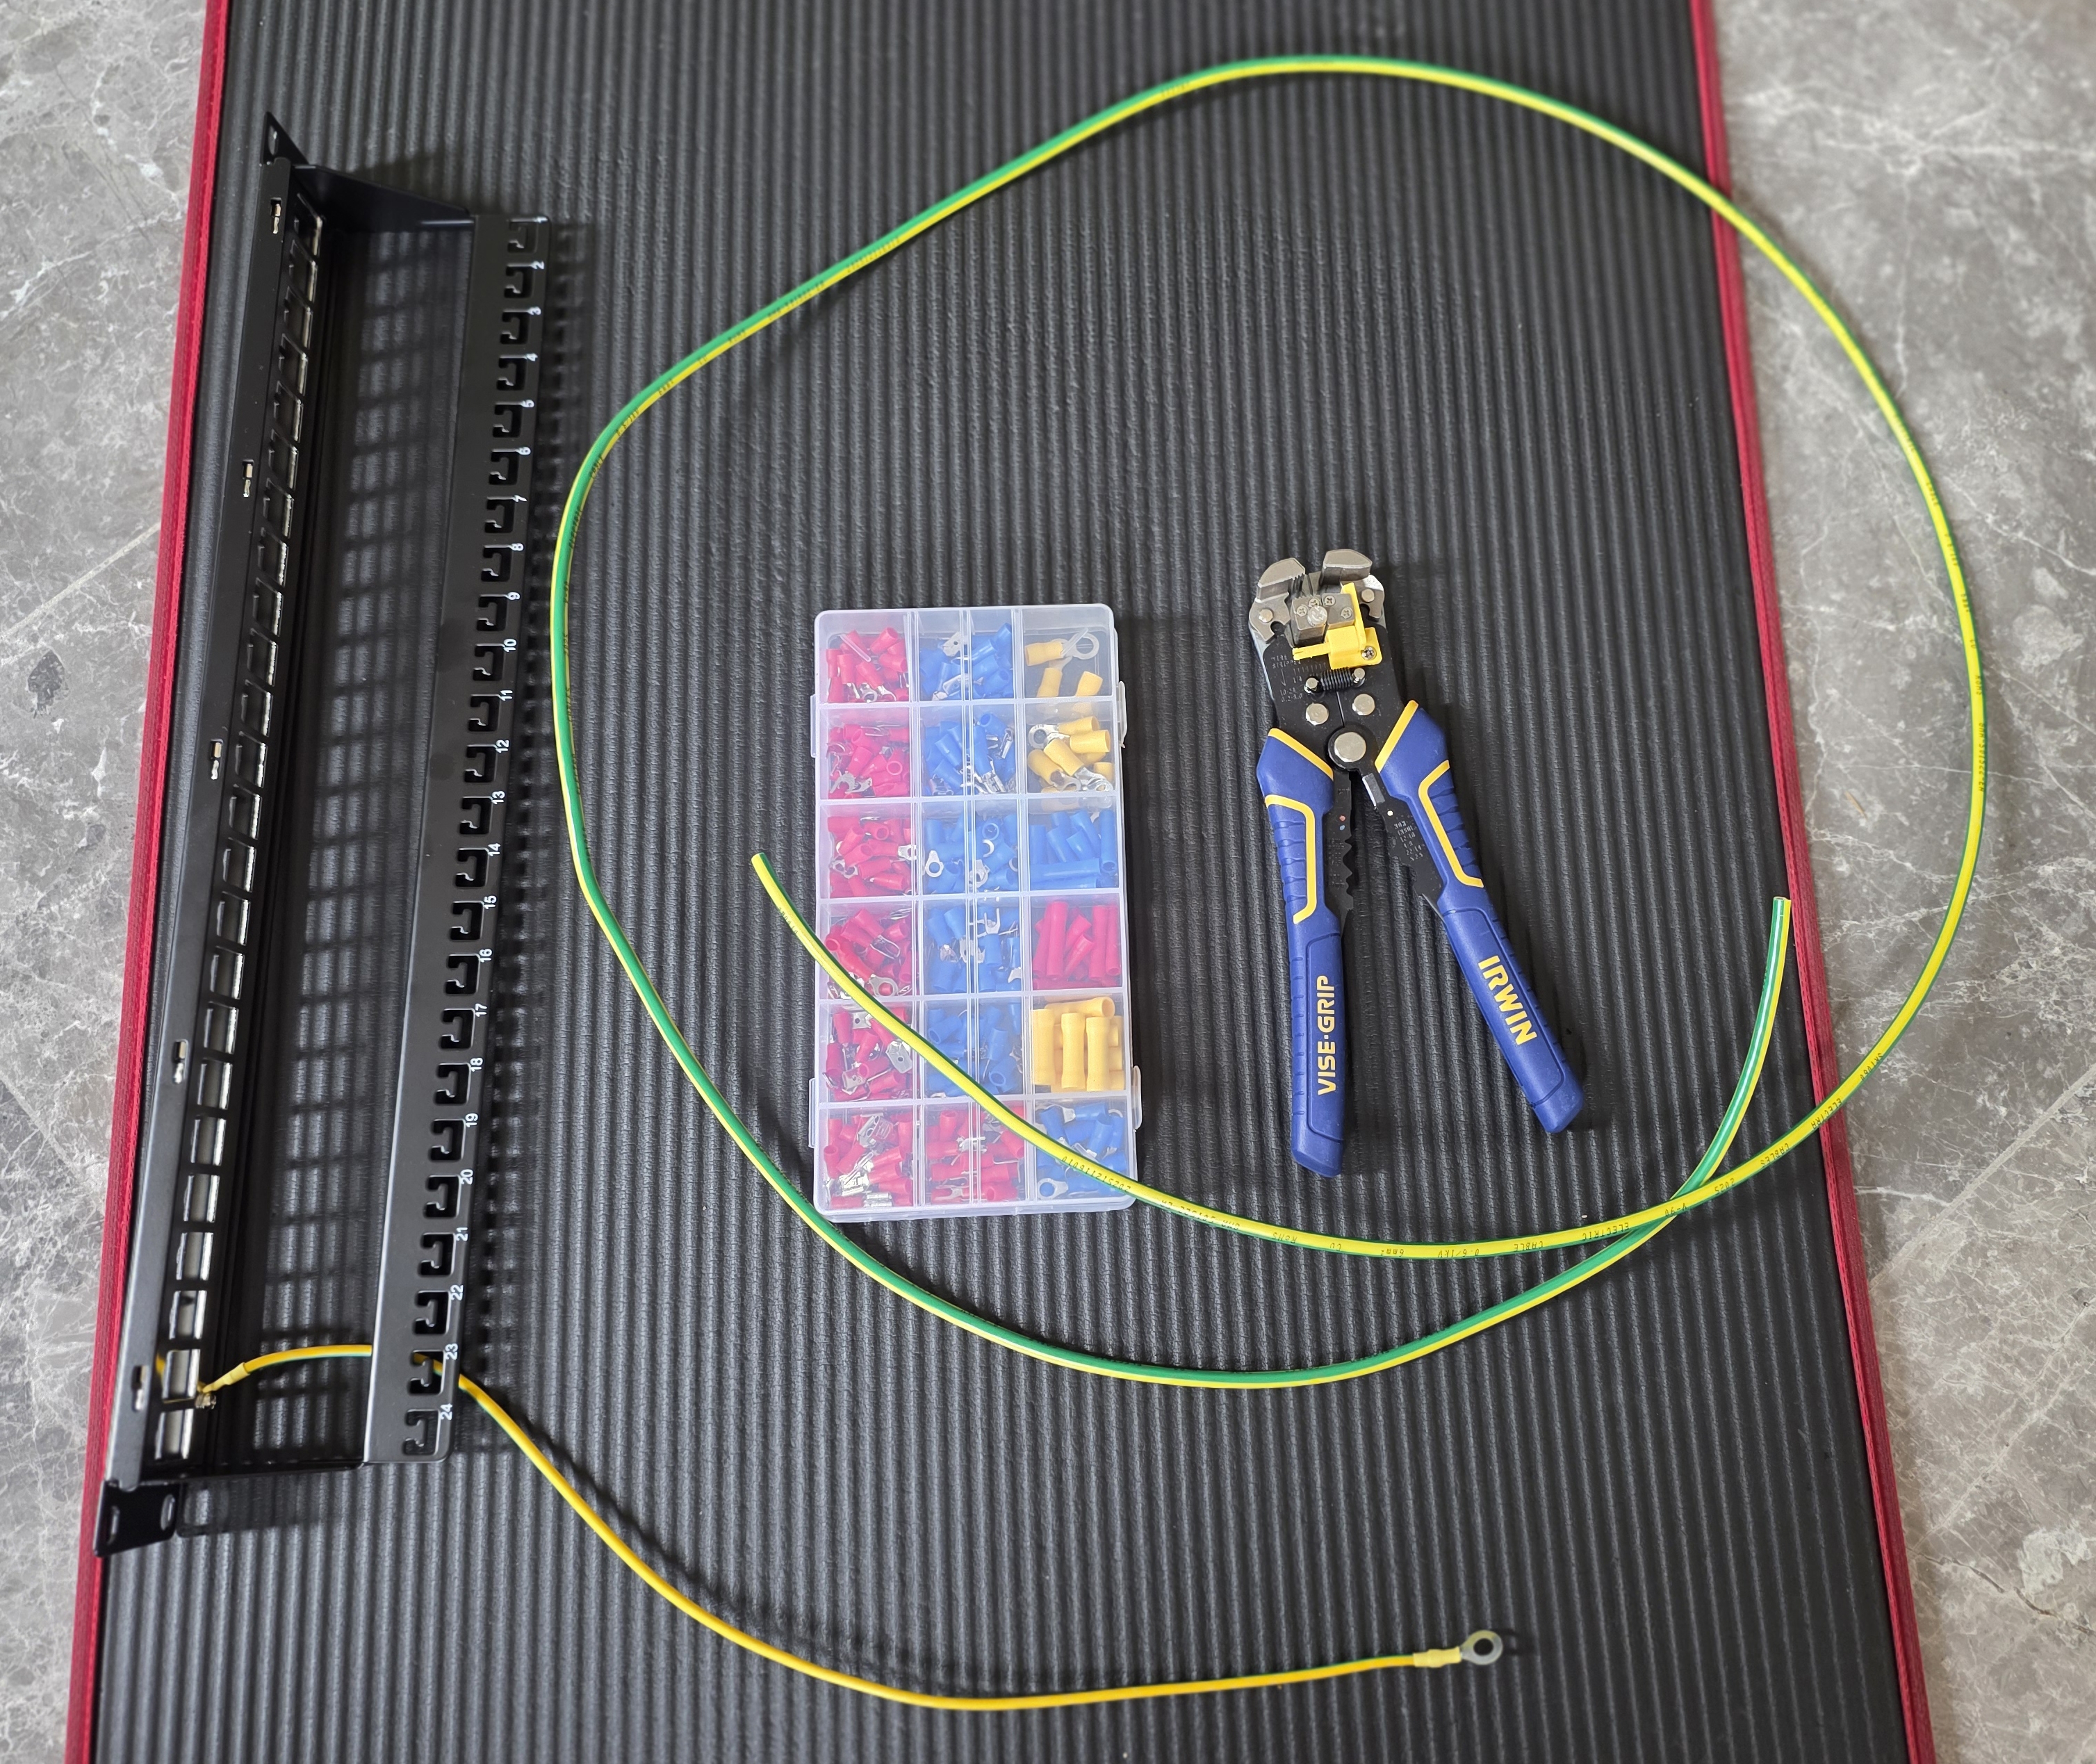
I crimped the connectors on and ran it to the ground lug on the back of the TP-Link switch. I confirmed it worked using my multimeter.
Labelling
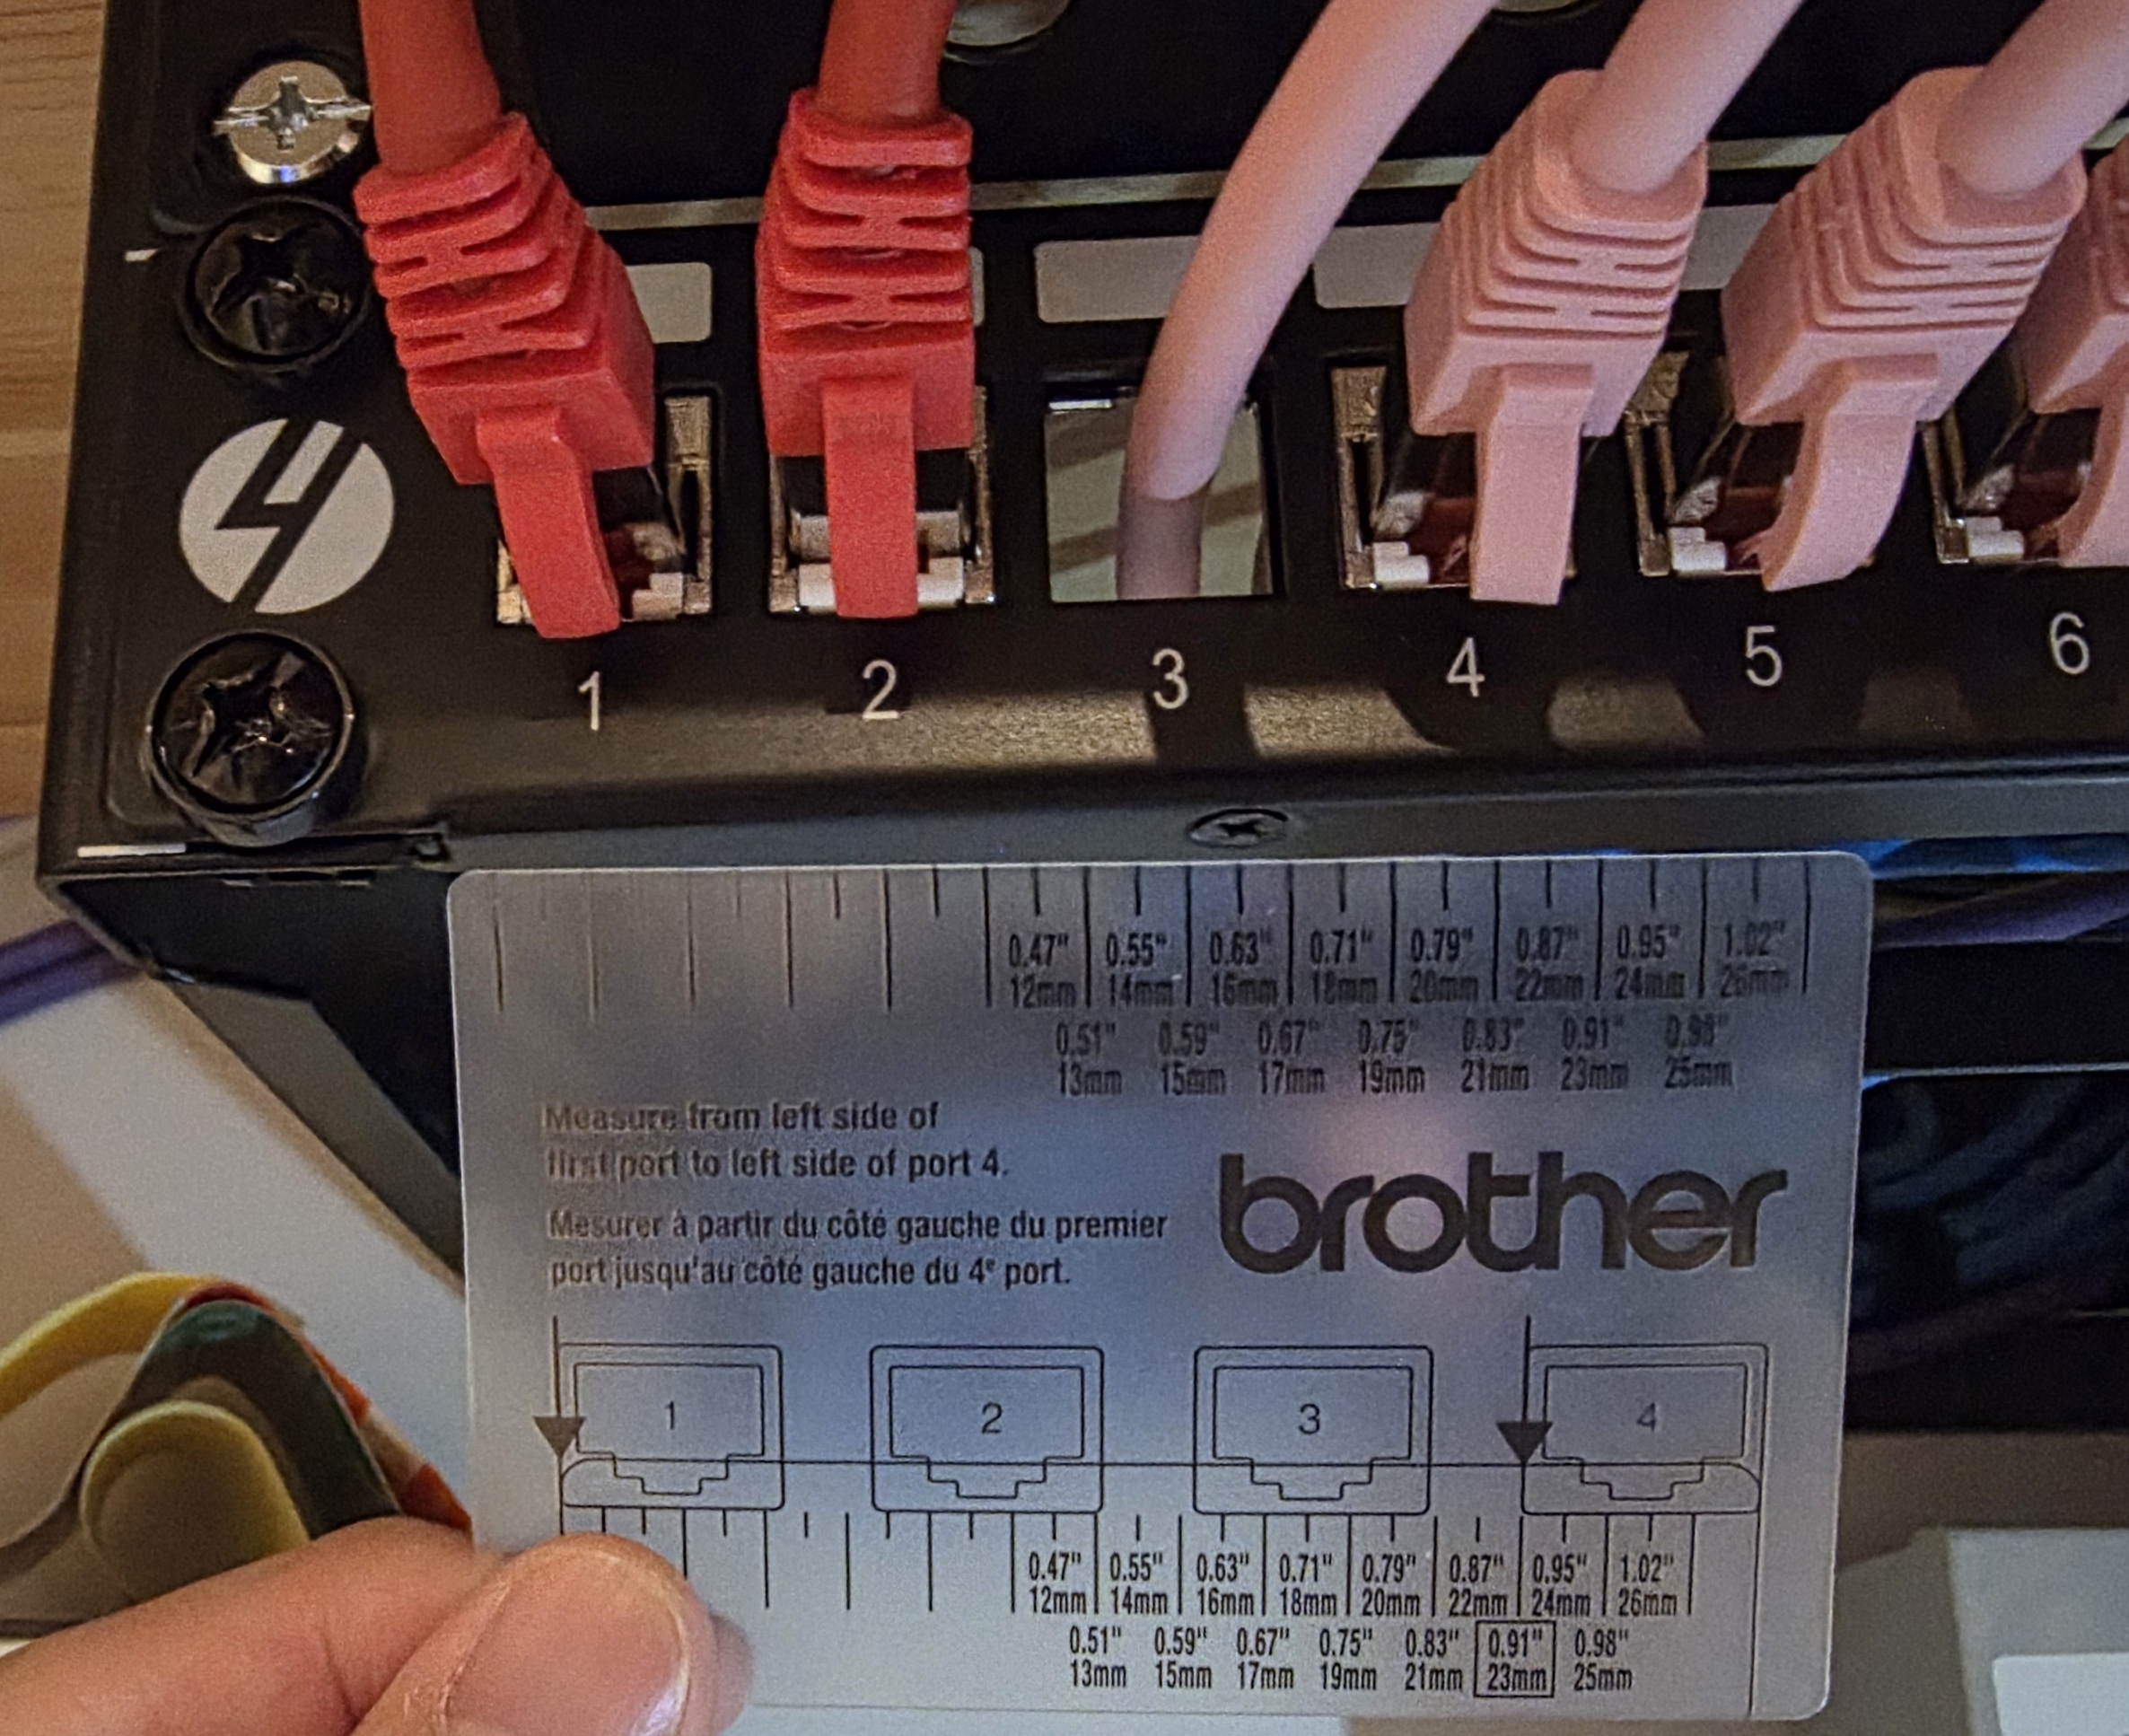
For labelling, my Brother PT-E560 label maker has a patch panel mode with a built-in ruler for the spacing between ports.
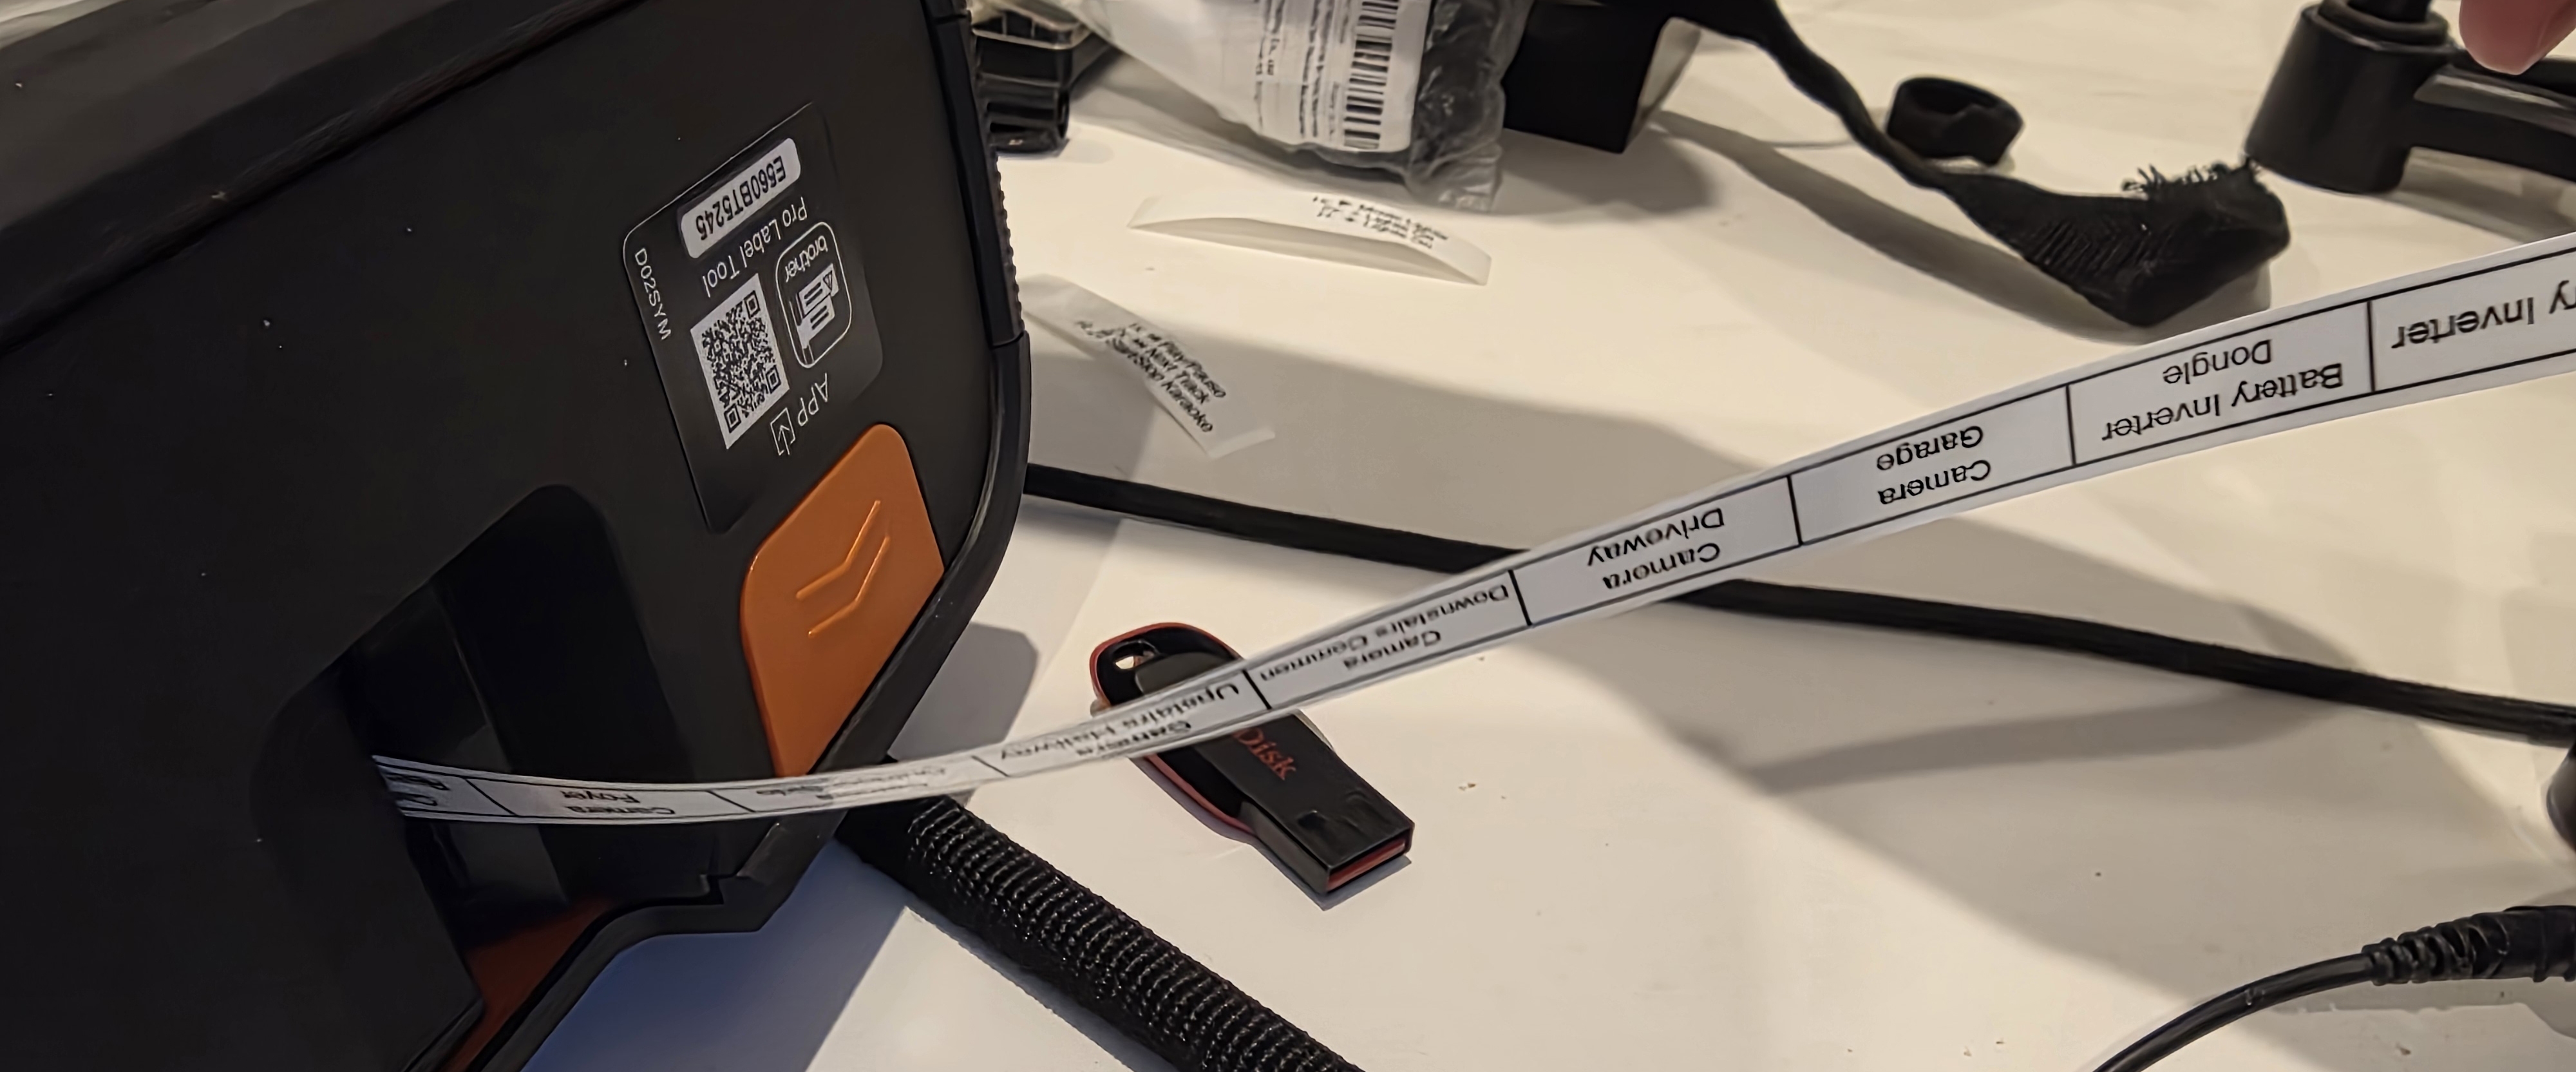
The labels are designed in Brother's PC app and sent over Bluetooth, so there is no fighting with the small buttons on the device itself.
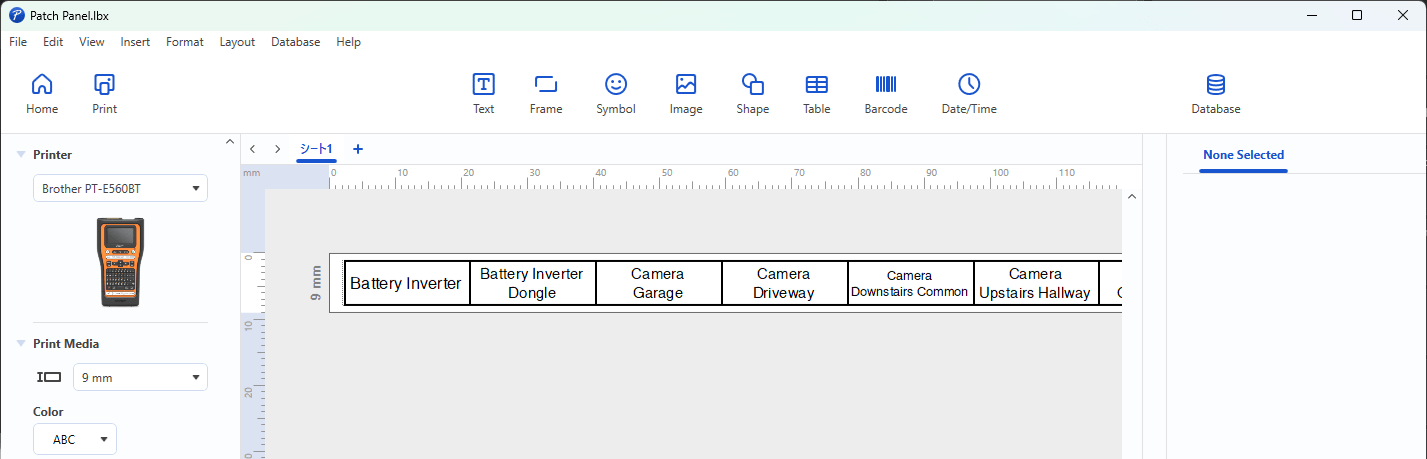
I used 9mm tape which was the perfect size.
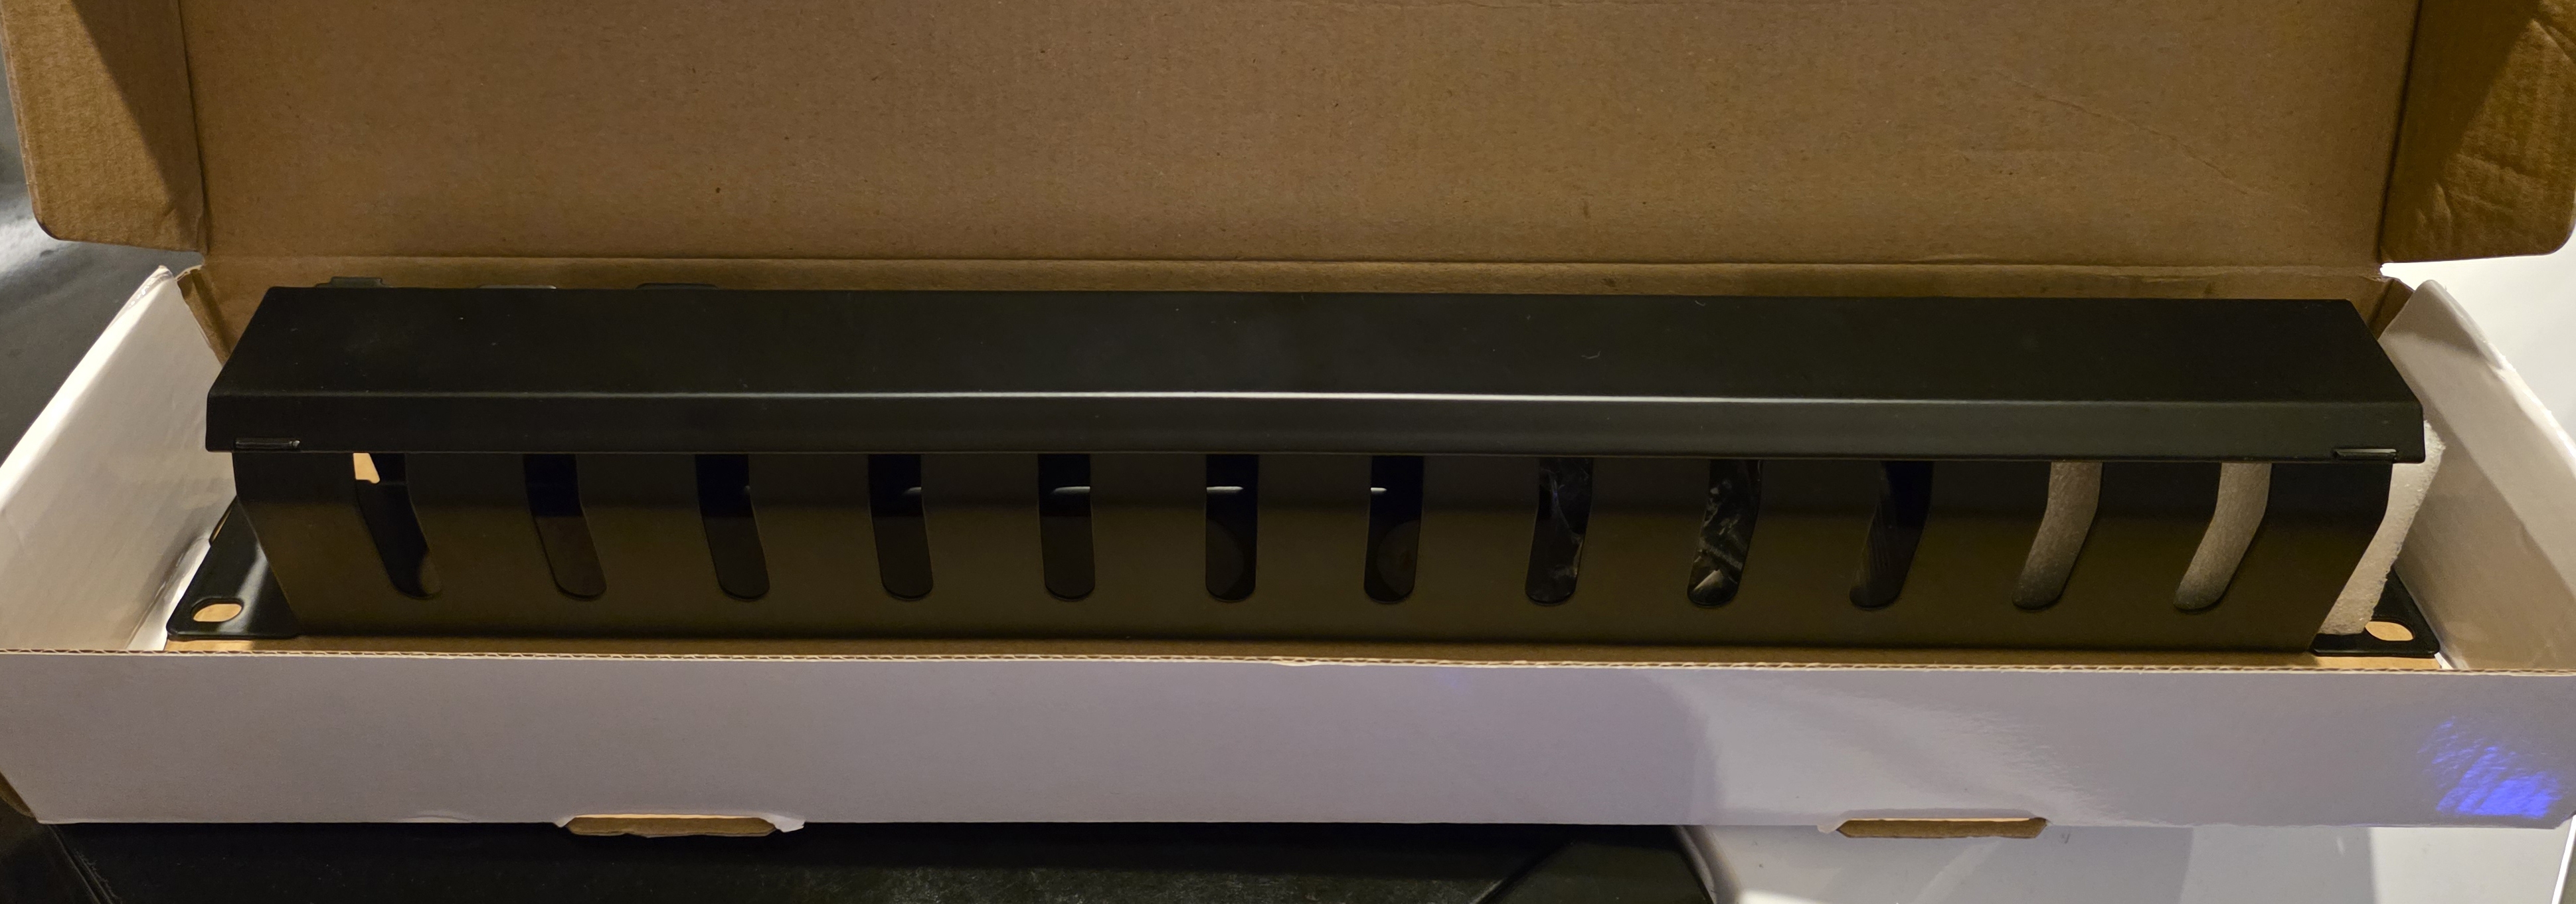
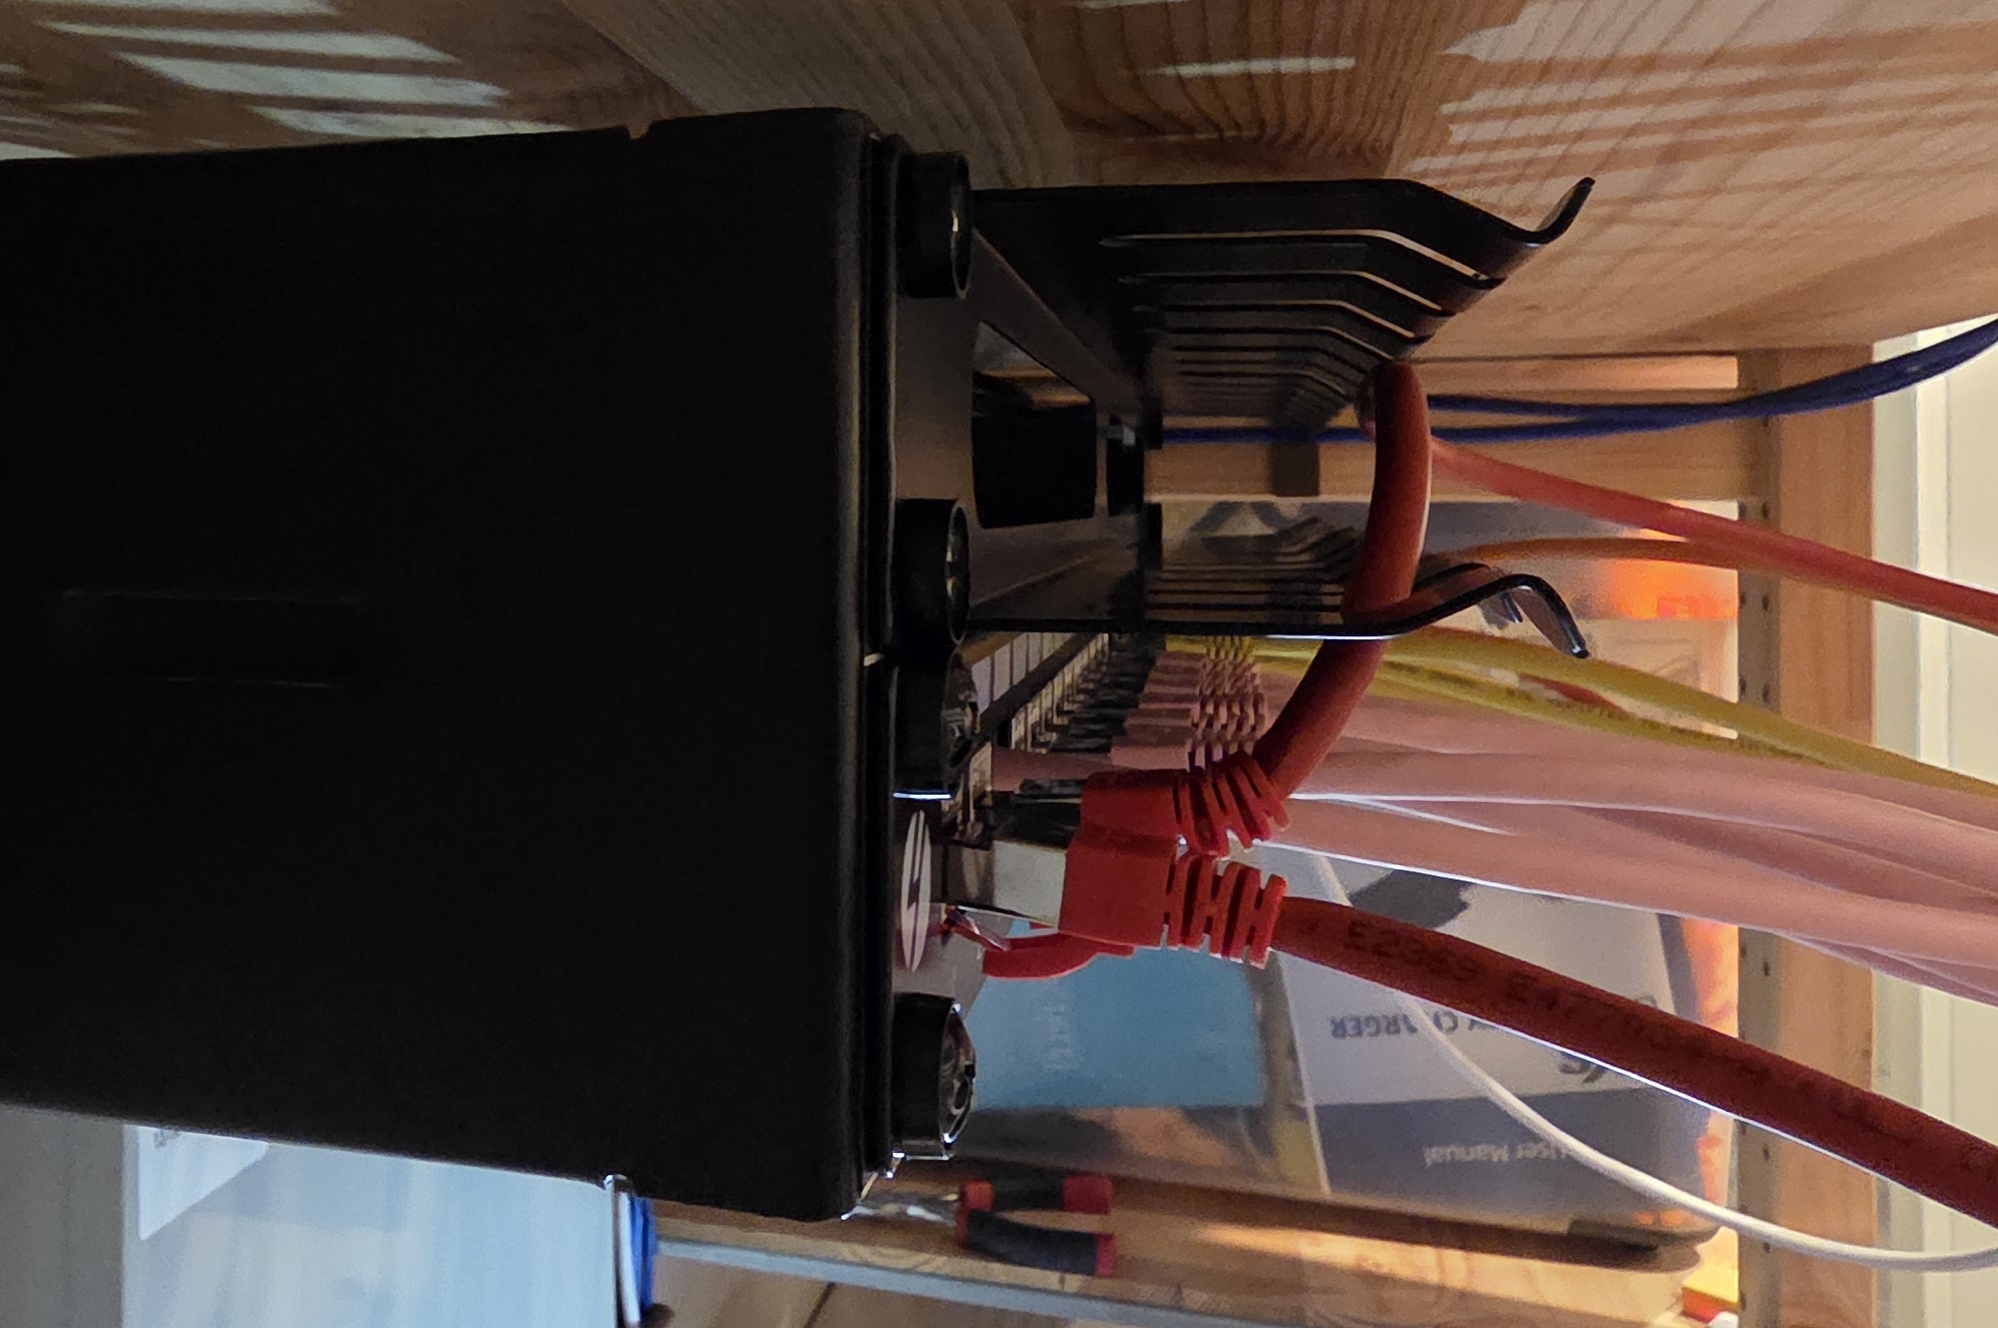
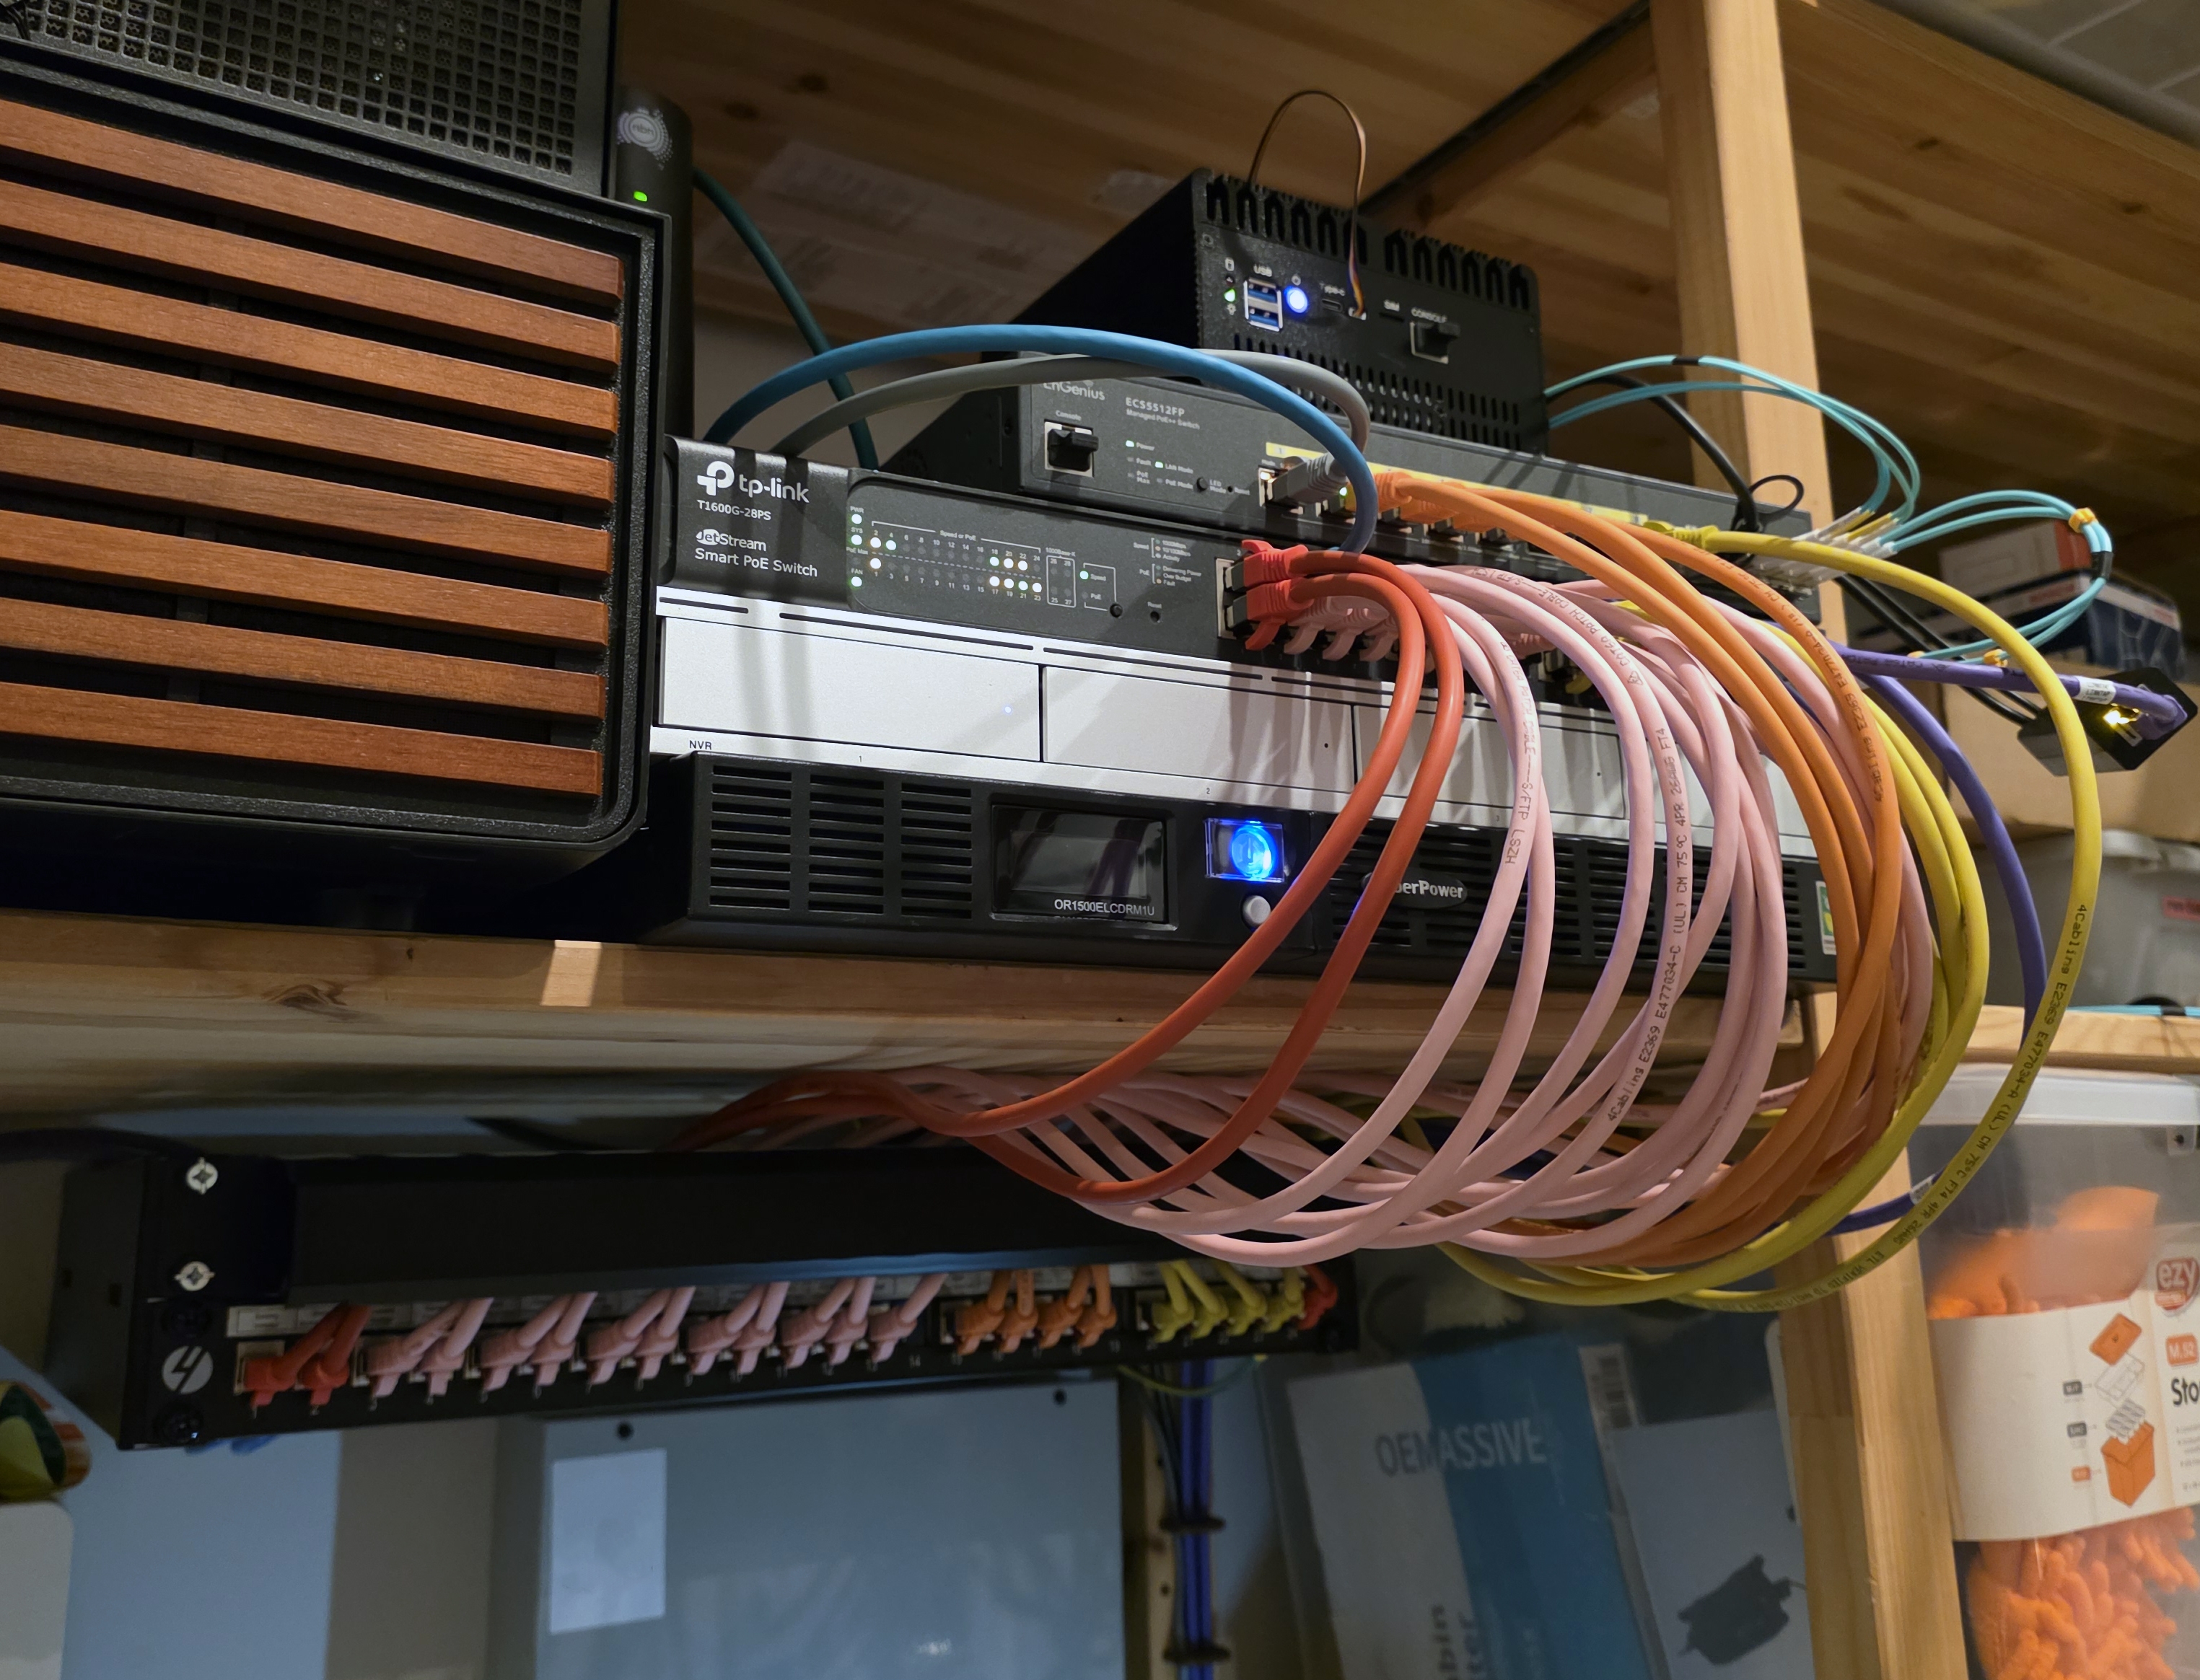
Cable Management
To finish things off, I picked up a 4Cabling-branded 1U cable management rail off Facebook Marketplace. It stops the patch leads dangling and gives me a clean horizontal run from the panel into the switch.
Finished
The cabling no longer features on the suspect list when something else goes wrong. Every run is end-to-end shielded CAT6A, every patch lead is the right category and length, and every SFP+ link is on fiber optic. The cable spaghetti is gone. For a corner sat right next to a pile of EMI-emitting equipment, I can now expect consistent fast speeds across every port without having to think about it again.
Costs
| Item | Cost (AUD) |
|---|---|
| 24-port CAT6A shielded patch panel (4Cabling) | $43 |
| 4Cabling patch leads (62 cables, mixed) | $181 |
| 50 x 4LAN CAT6A shielded keystones (Marketplace) | $10 |
| Molex CAT6A U/FTP solid 50 m (Marketplace) | $60 |
| 1U cable management rail (Marketplace) | $10 |
| 6 x SFP+ 10G transceivers (AliExpress) | $31.50 |
| 2 x 1.25G SFP transceivers (AliExpress) | $8.50 |
| OM3 patch leads, mixed lengths (AliExpress) | $11.50 |
| Fiber optic cleaning pen (AliExpress) | $3.50 |
| Klein Tools Twisted Pair Radial Stripper | $36 |
| Klein Tools Scout Pro 3 (paid $101, sold for $100) | $1 |
| NOYAFA NF-8506 cable tester | $80 |
| Earth cable | $4.50 |
| Rubber grommets | $1 |
| Clipsal 1-gang plate and blank | $10 |
| Total | $491.50 |
Excludes the TP-Link switch, which I already had, and the Brother PT-E560 label maker.