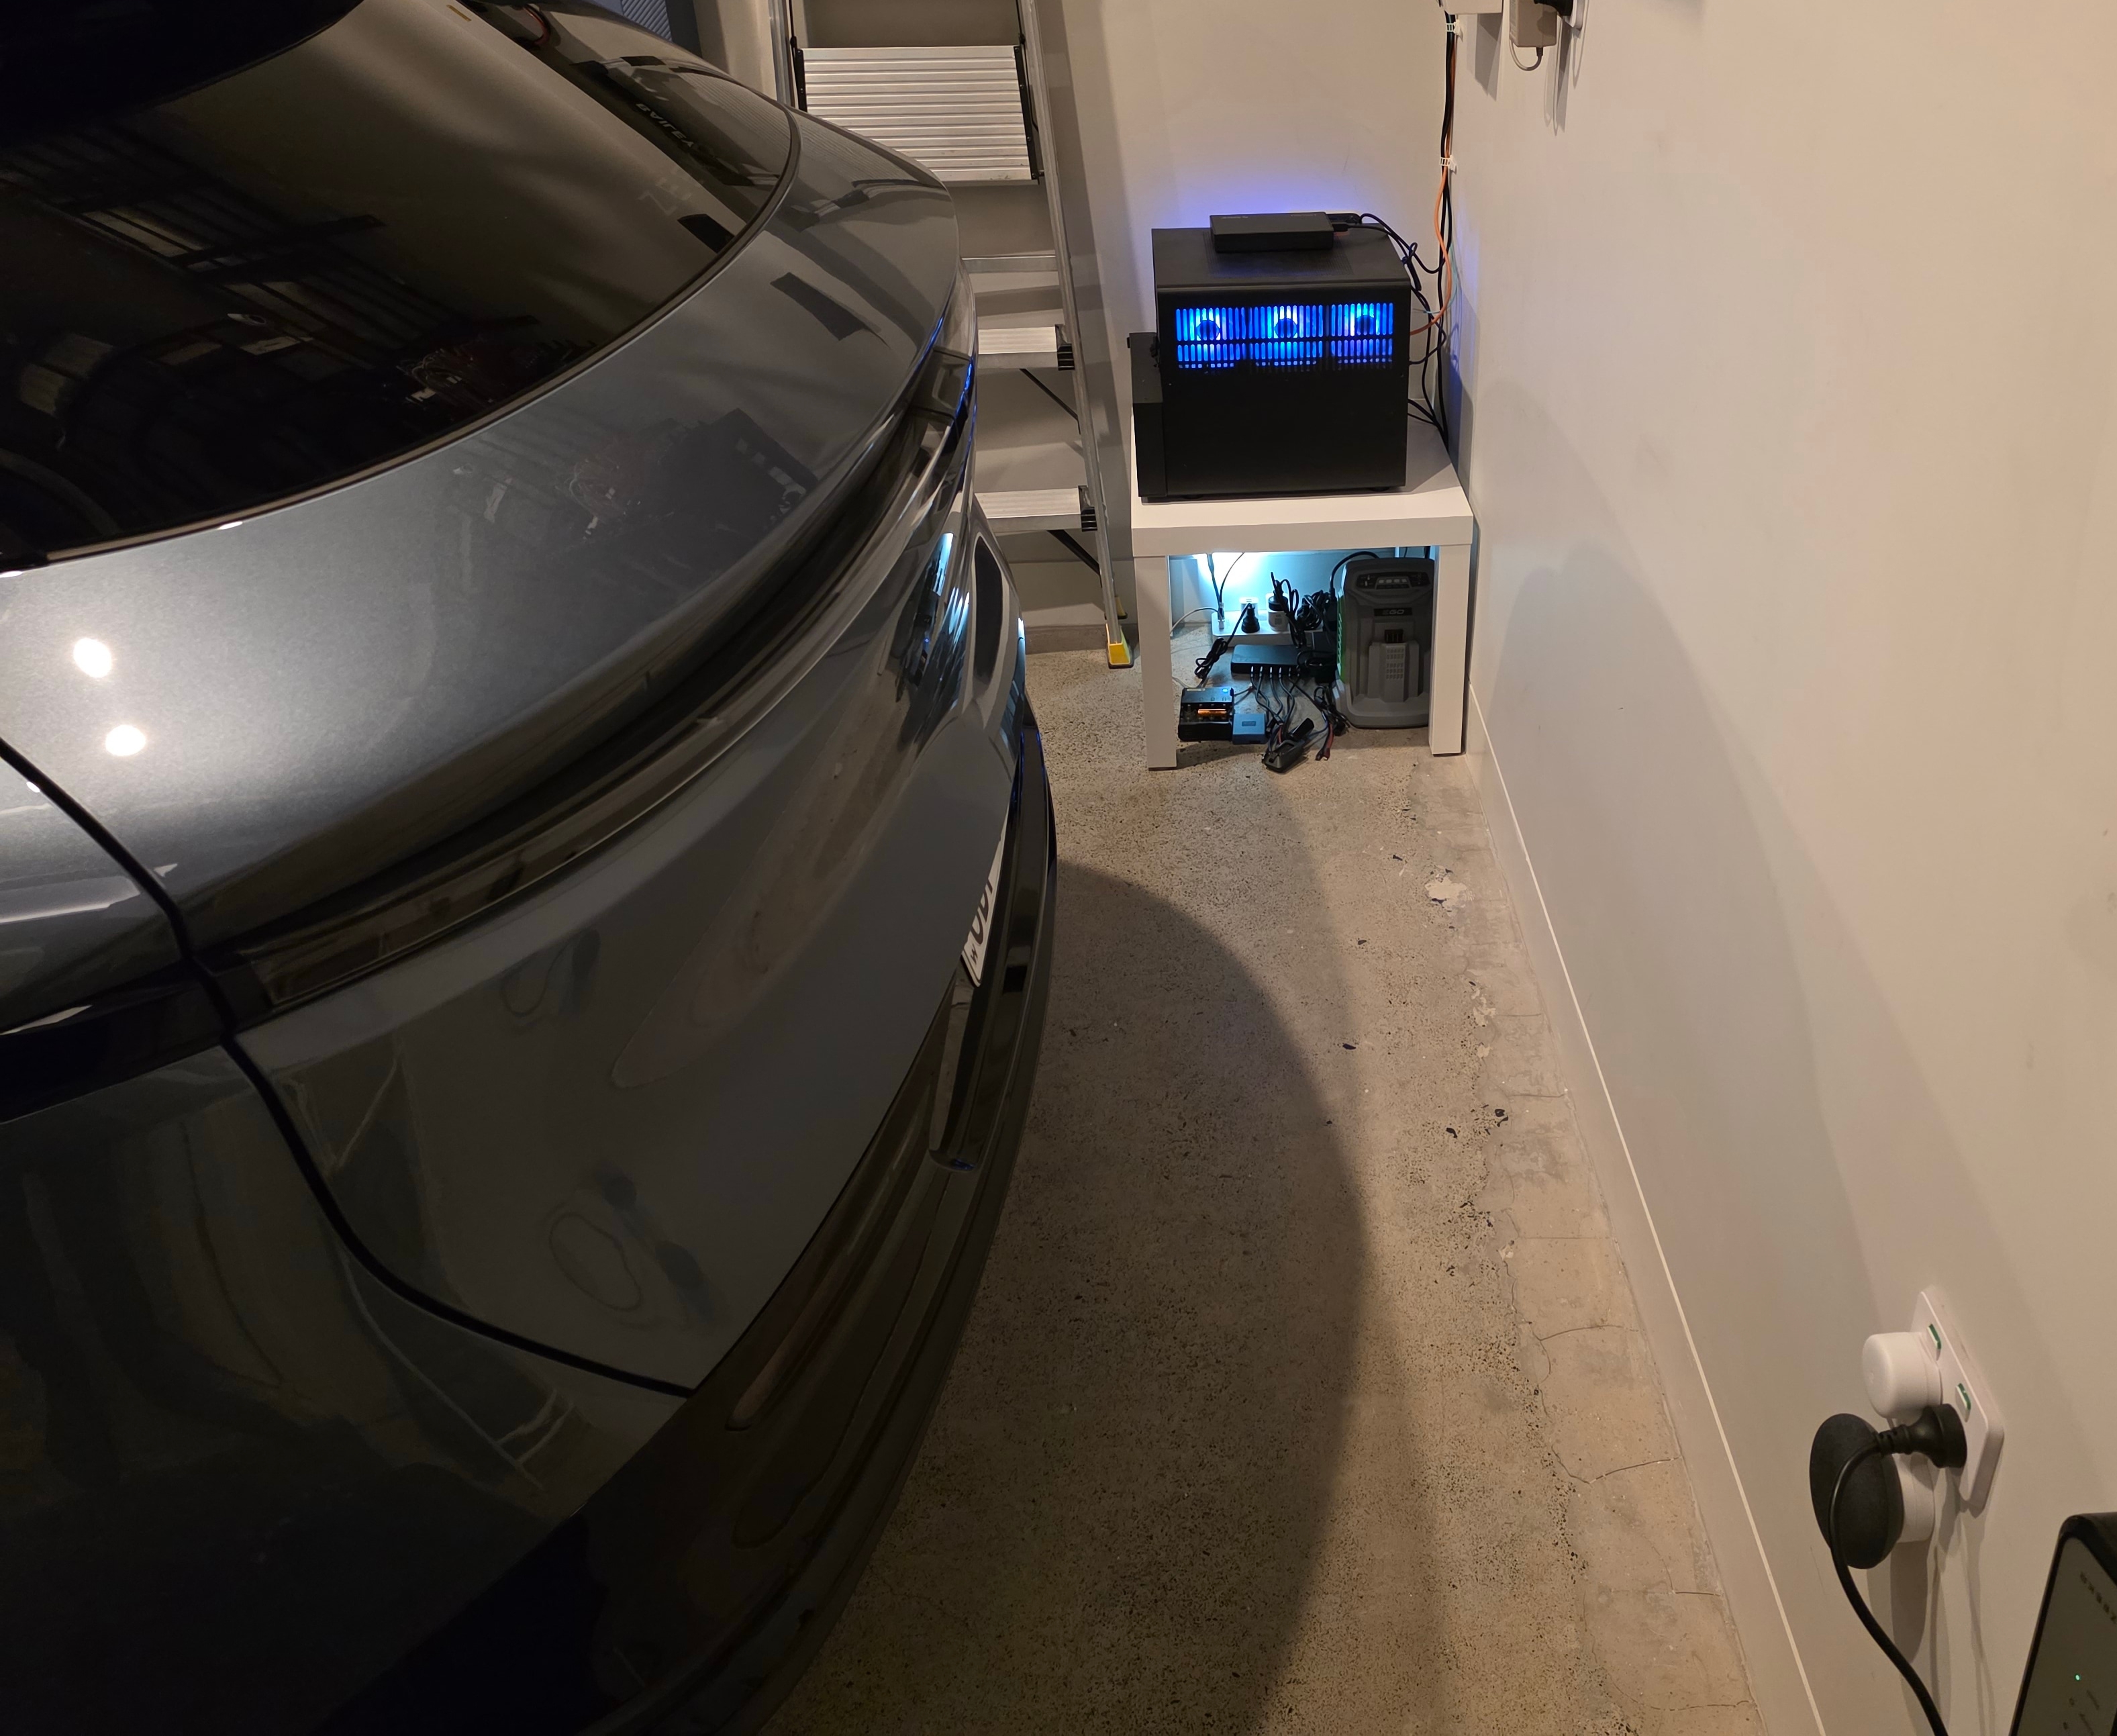
I installed wall-mounted shelves all around my garage to make room for a longer car.
Background
My single-car garage already does a lot. At the start of this project it held my 50 kWh solar battery, home networking gear and 3D printer, along with all the normal garage storage.
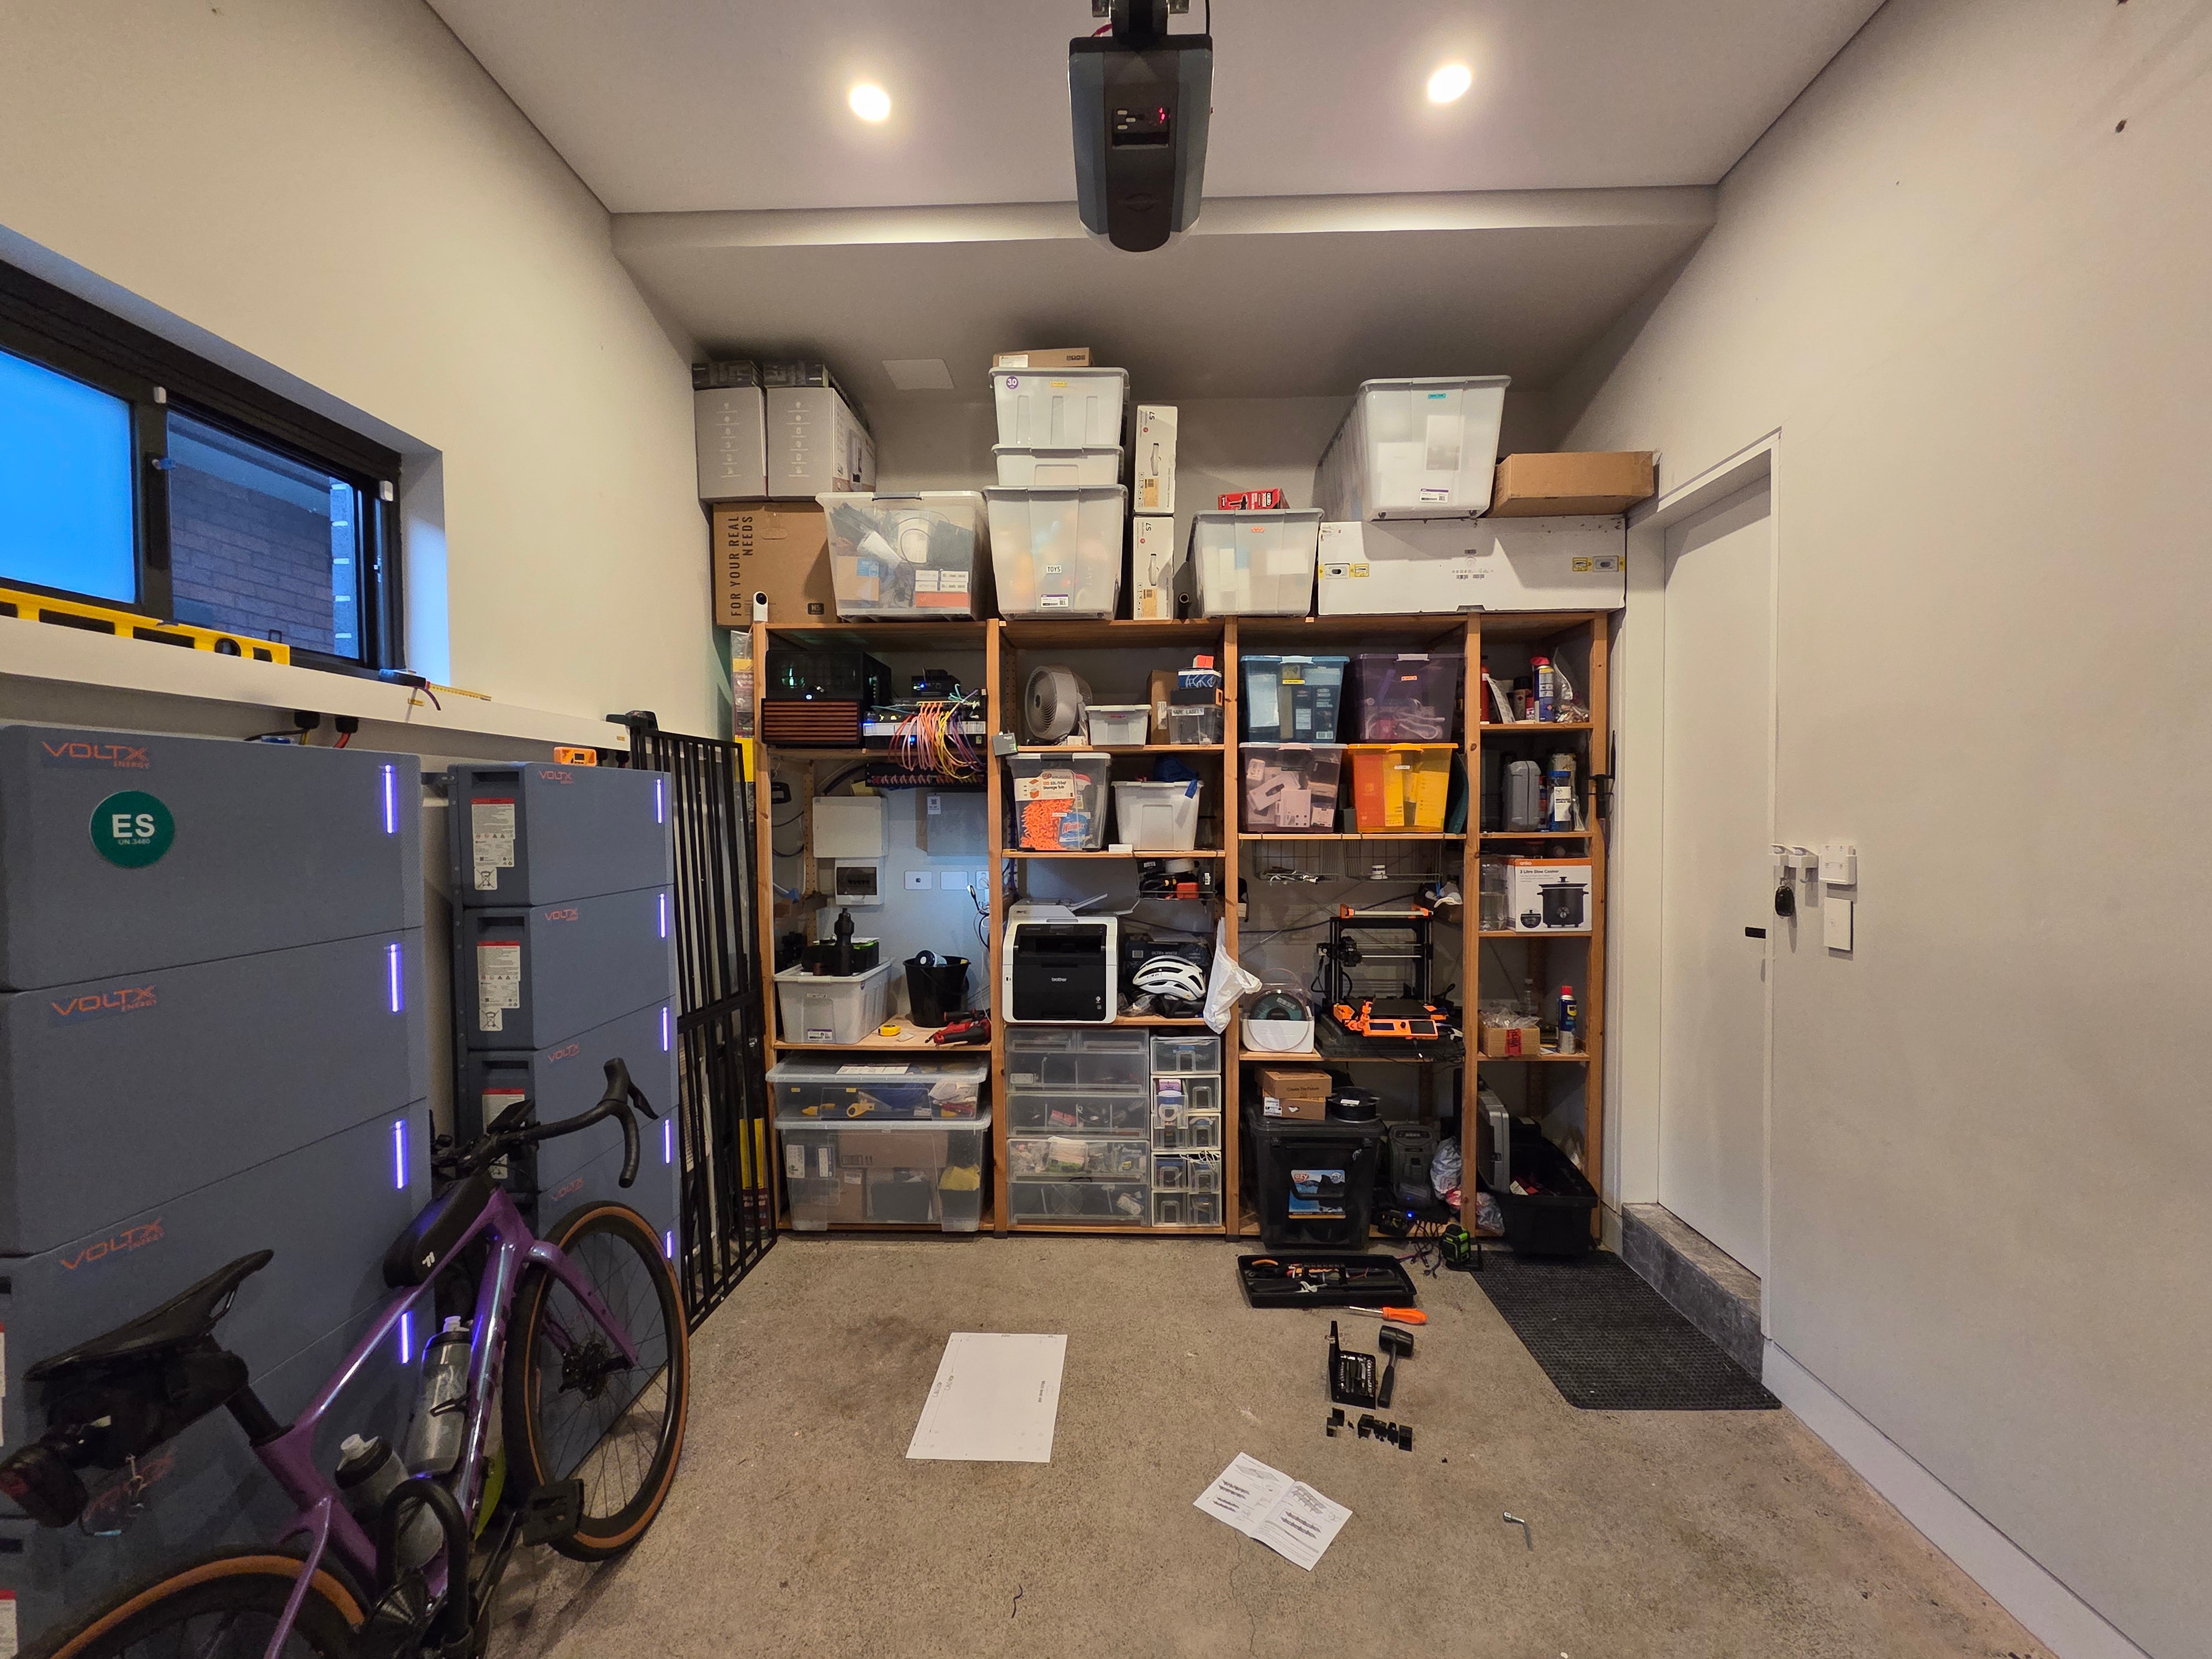
Most of the storage, along with the networking gear and home server, sat on IKEA IVAR shelving. I wanted to remove all of the IKEA IVAR shelving and everything sitting on it. The storage boxes moved onto these wall shelves, the 3D printer went into my study, and I worked on a separate wall-mounted rack for the networking gear while relocating the home server.
The Hyundai i30 happened to fit comfortably. With a longer car to accommodate, keeping the IVAR shelving on the floor stopped making sense. The remaining space was along the walls, off the ground.
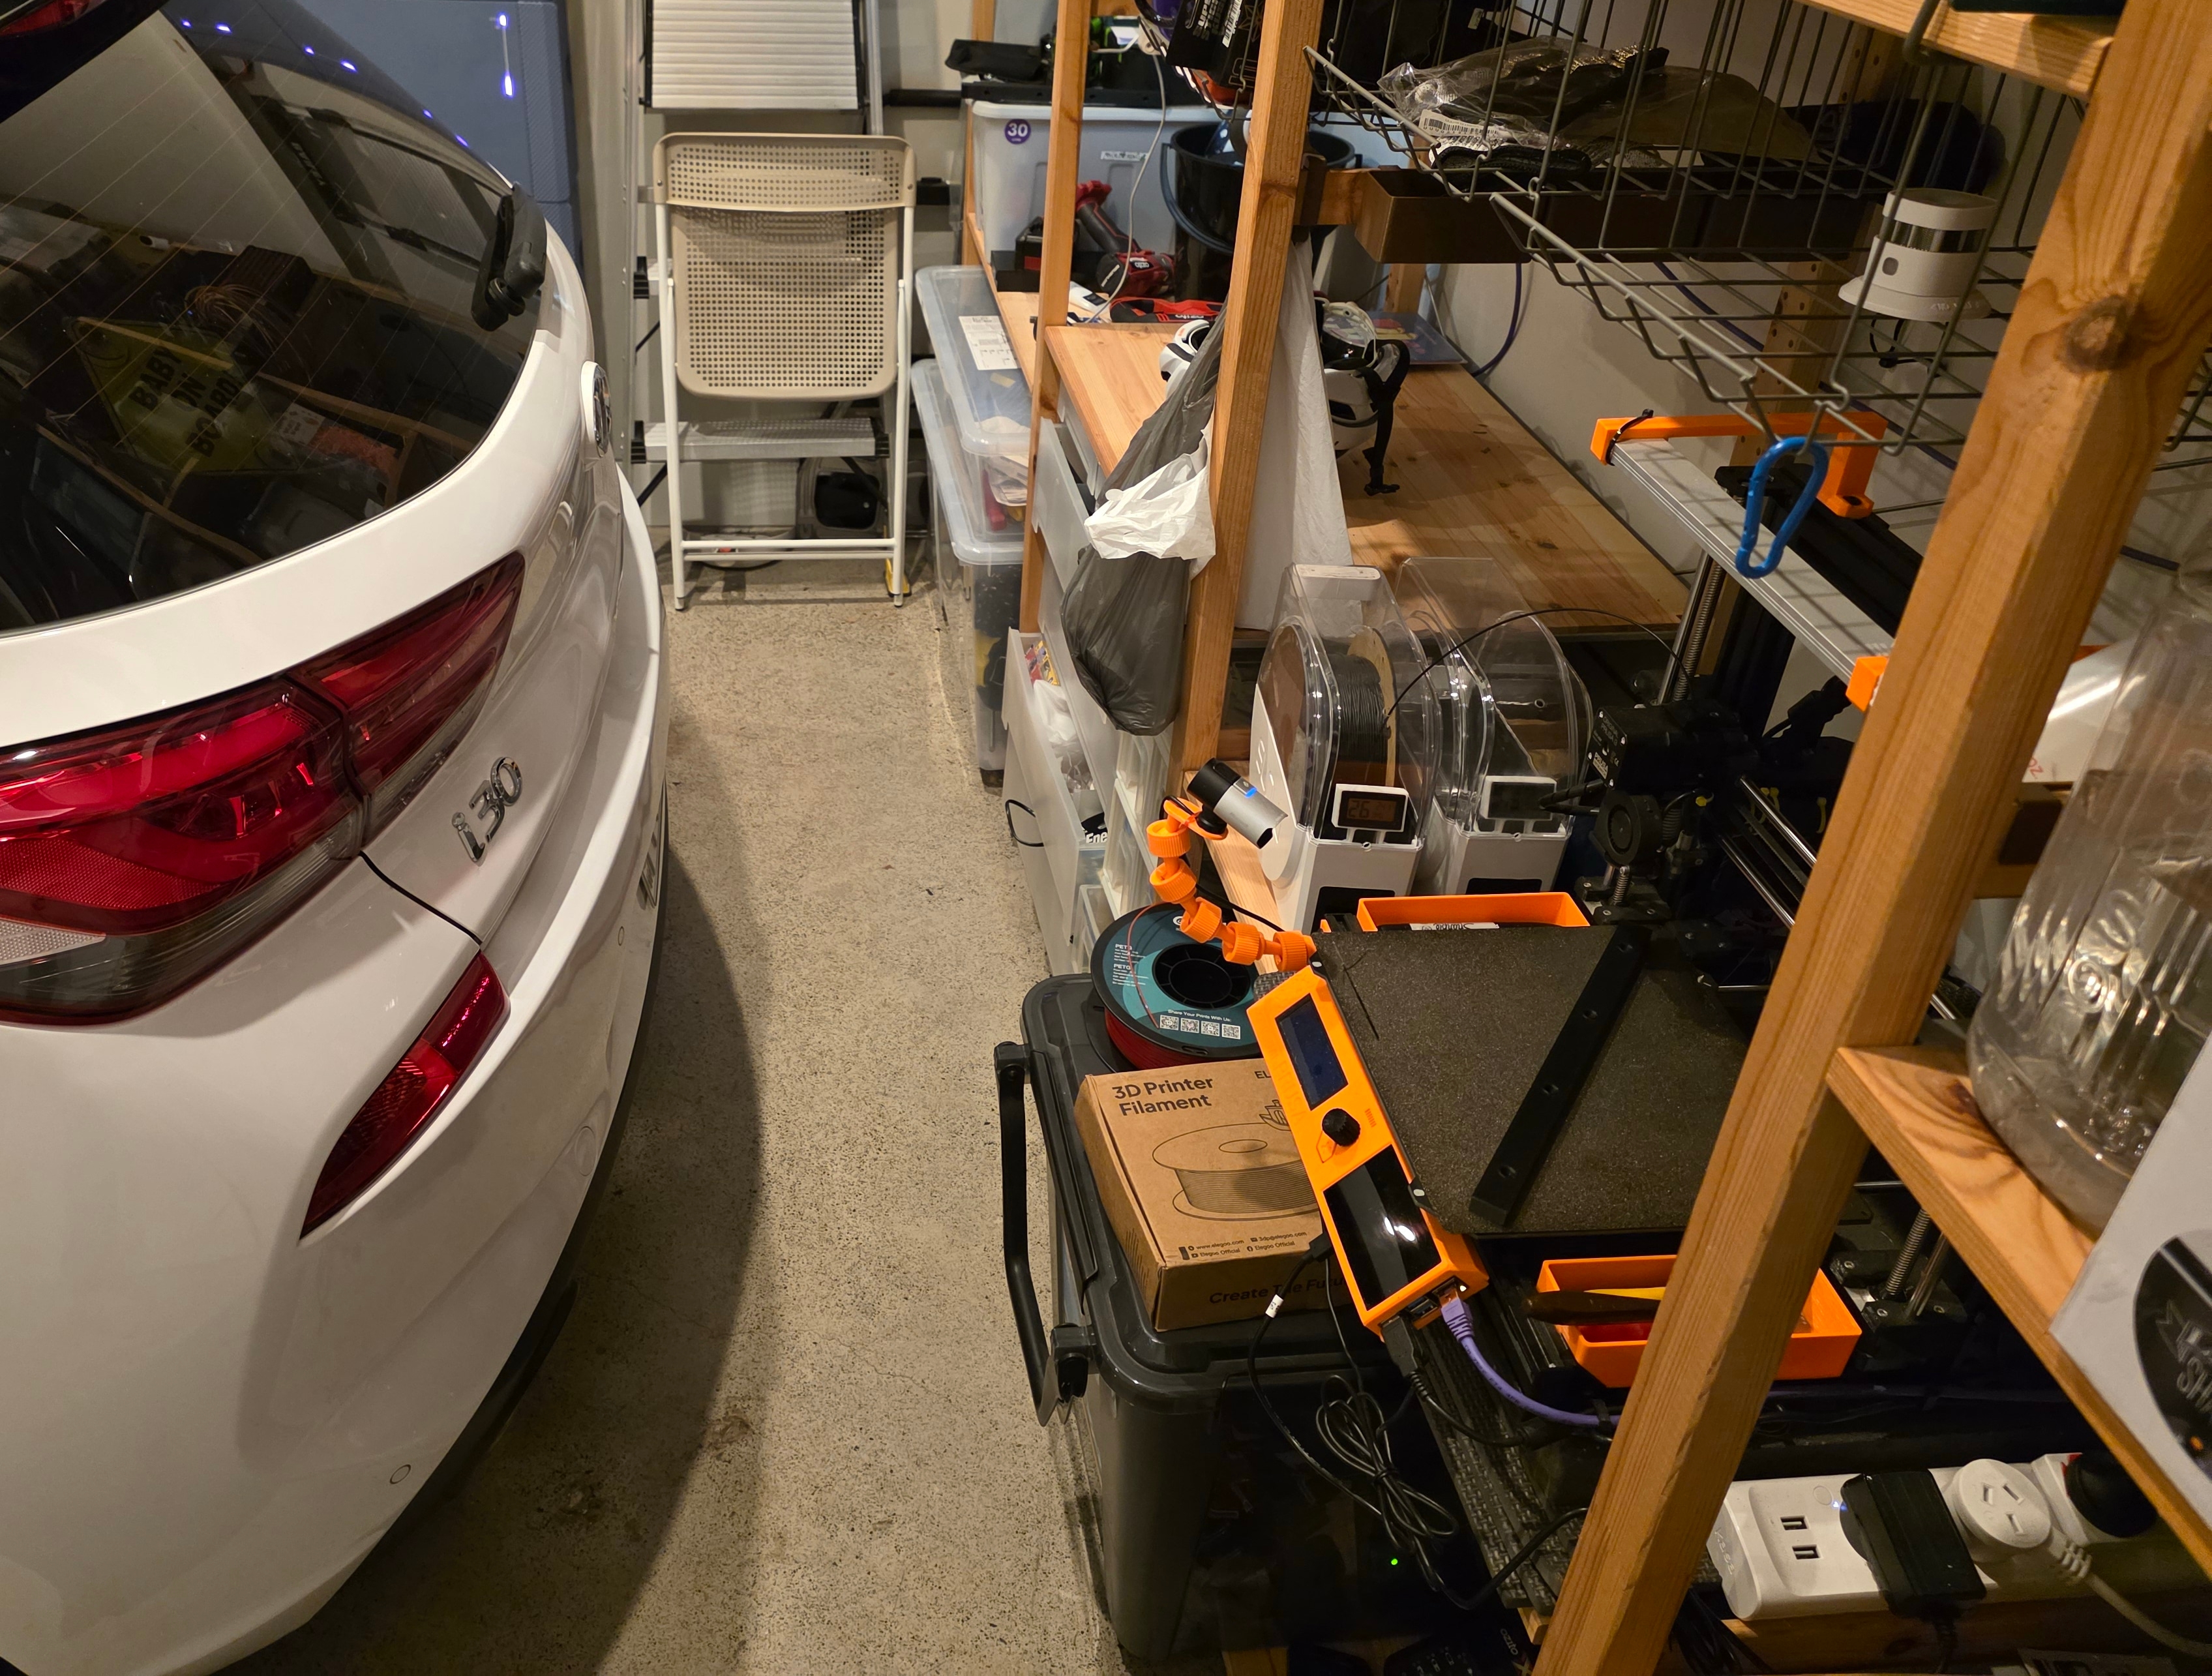
The requirements were fairly simple:
- No legs or other permanent floor footprint.
- Fit around the garage-door tracks, solar battery and network patch panel.
- Hold light plastic tubs rather than individual heavy items.
- Keep each tub manageable enough to lift down from a ladder.
- Cover several walls without turning into an expensive custom build.
VEVOR Wall Shelving
I first priced a DIY solution using individual brackets, structural plywood and Dynabolts. It would have let me make each run exactly the right size, but repeating that across the garage became expensive very quickly.
I then found the VEVOR HR2472 wall-mounted steel shelving. Each set cost $138.07 delivered and included two 610 x 1828mm shelves. I bought four sets, giving me eight shelves for $552.28.
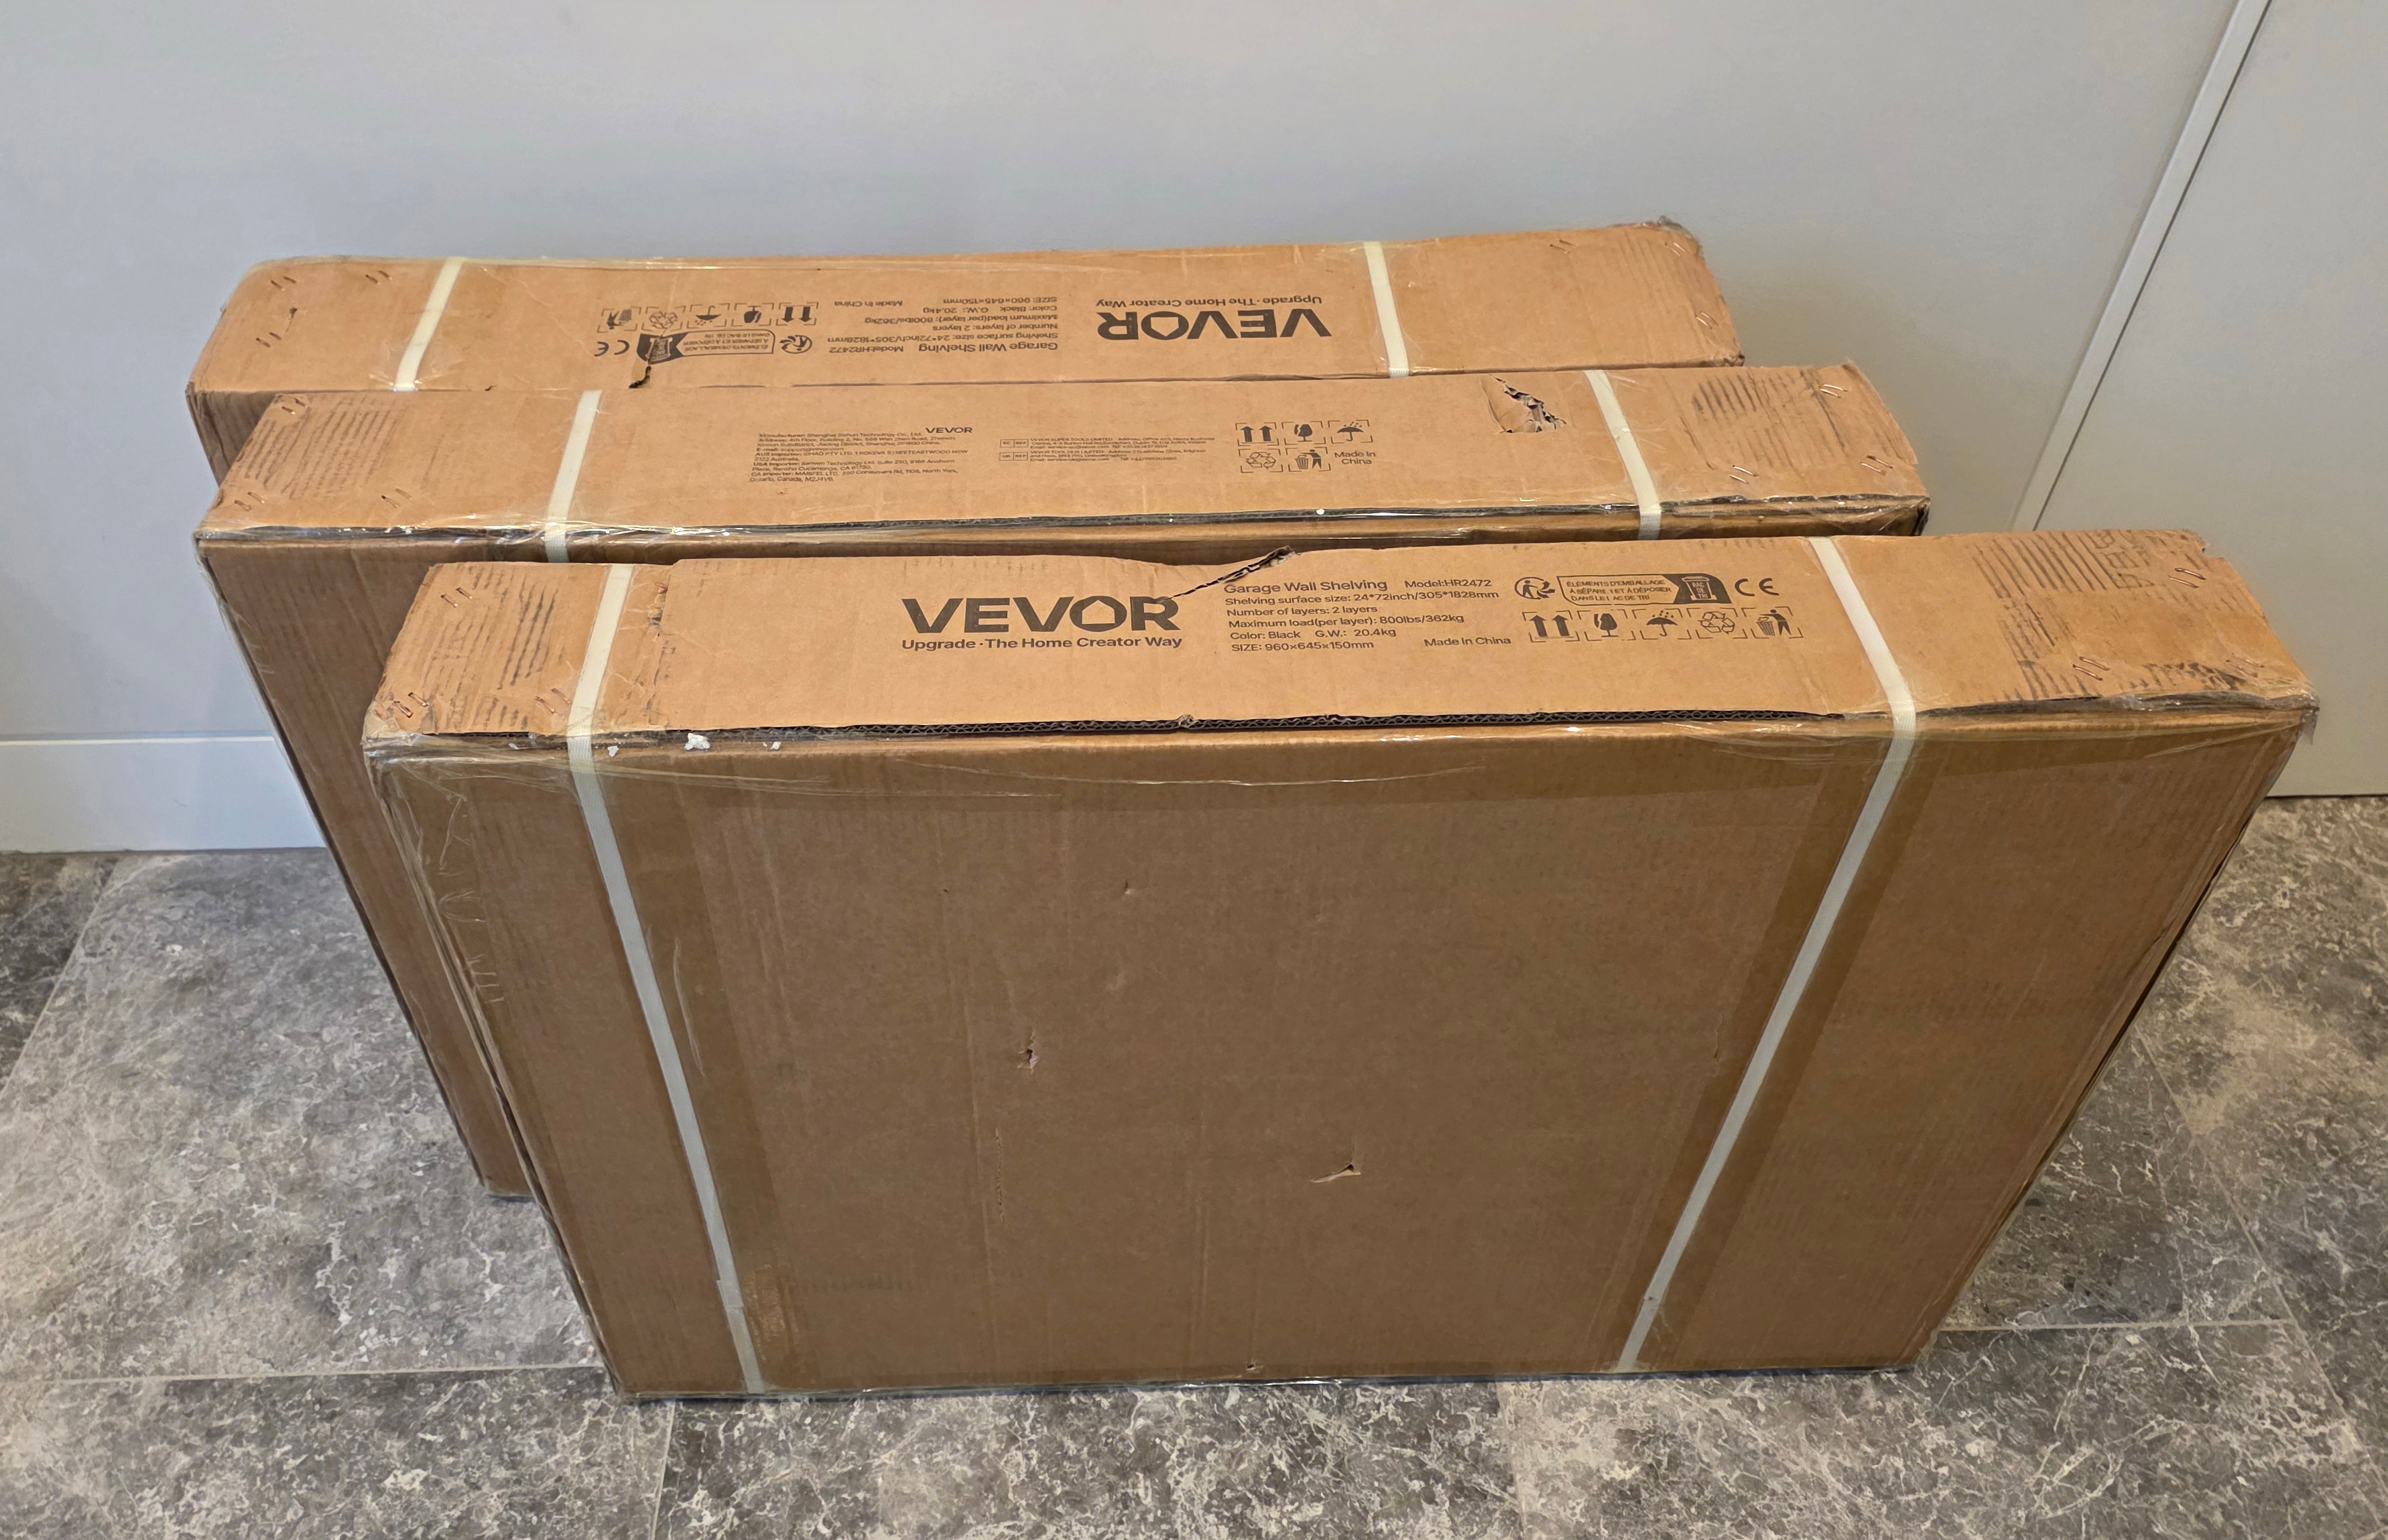
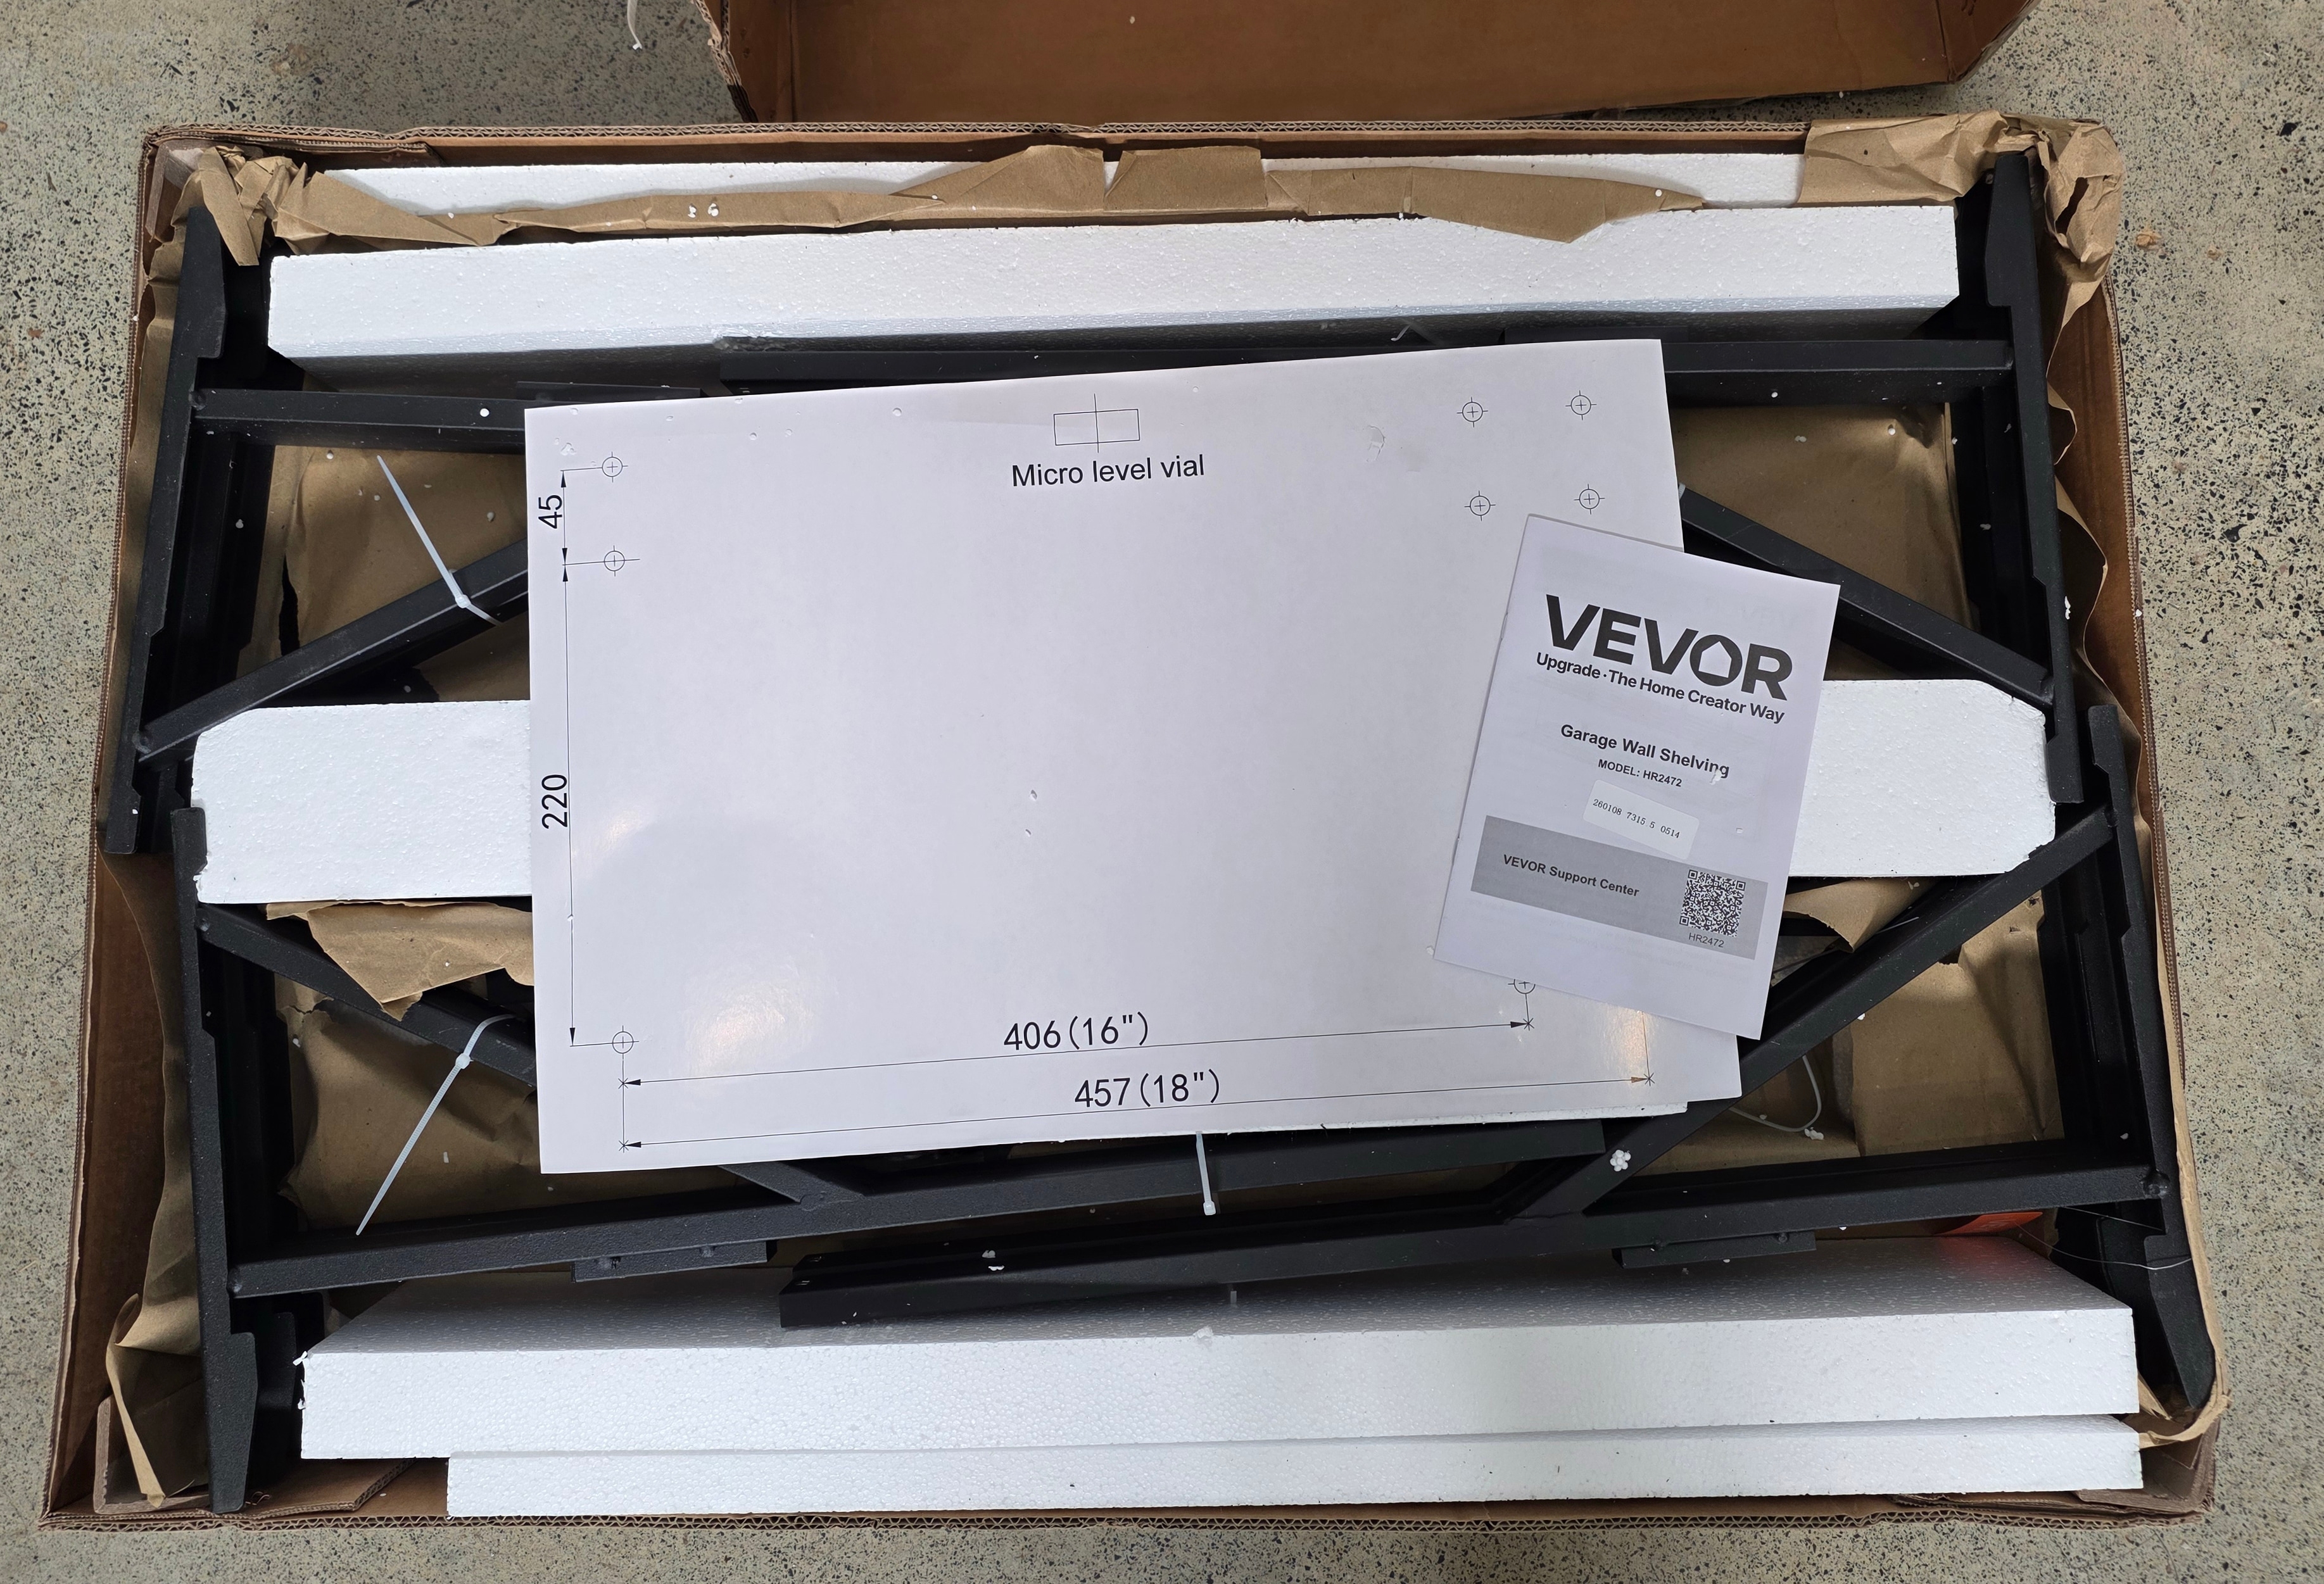
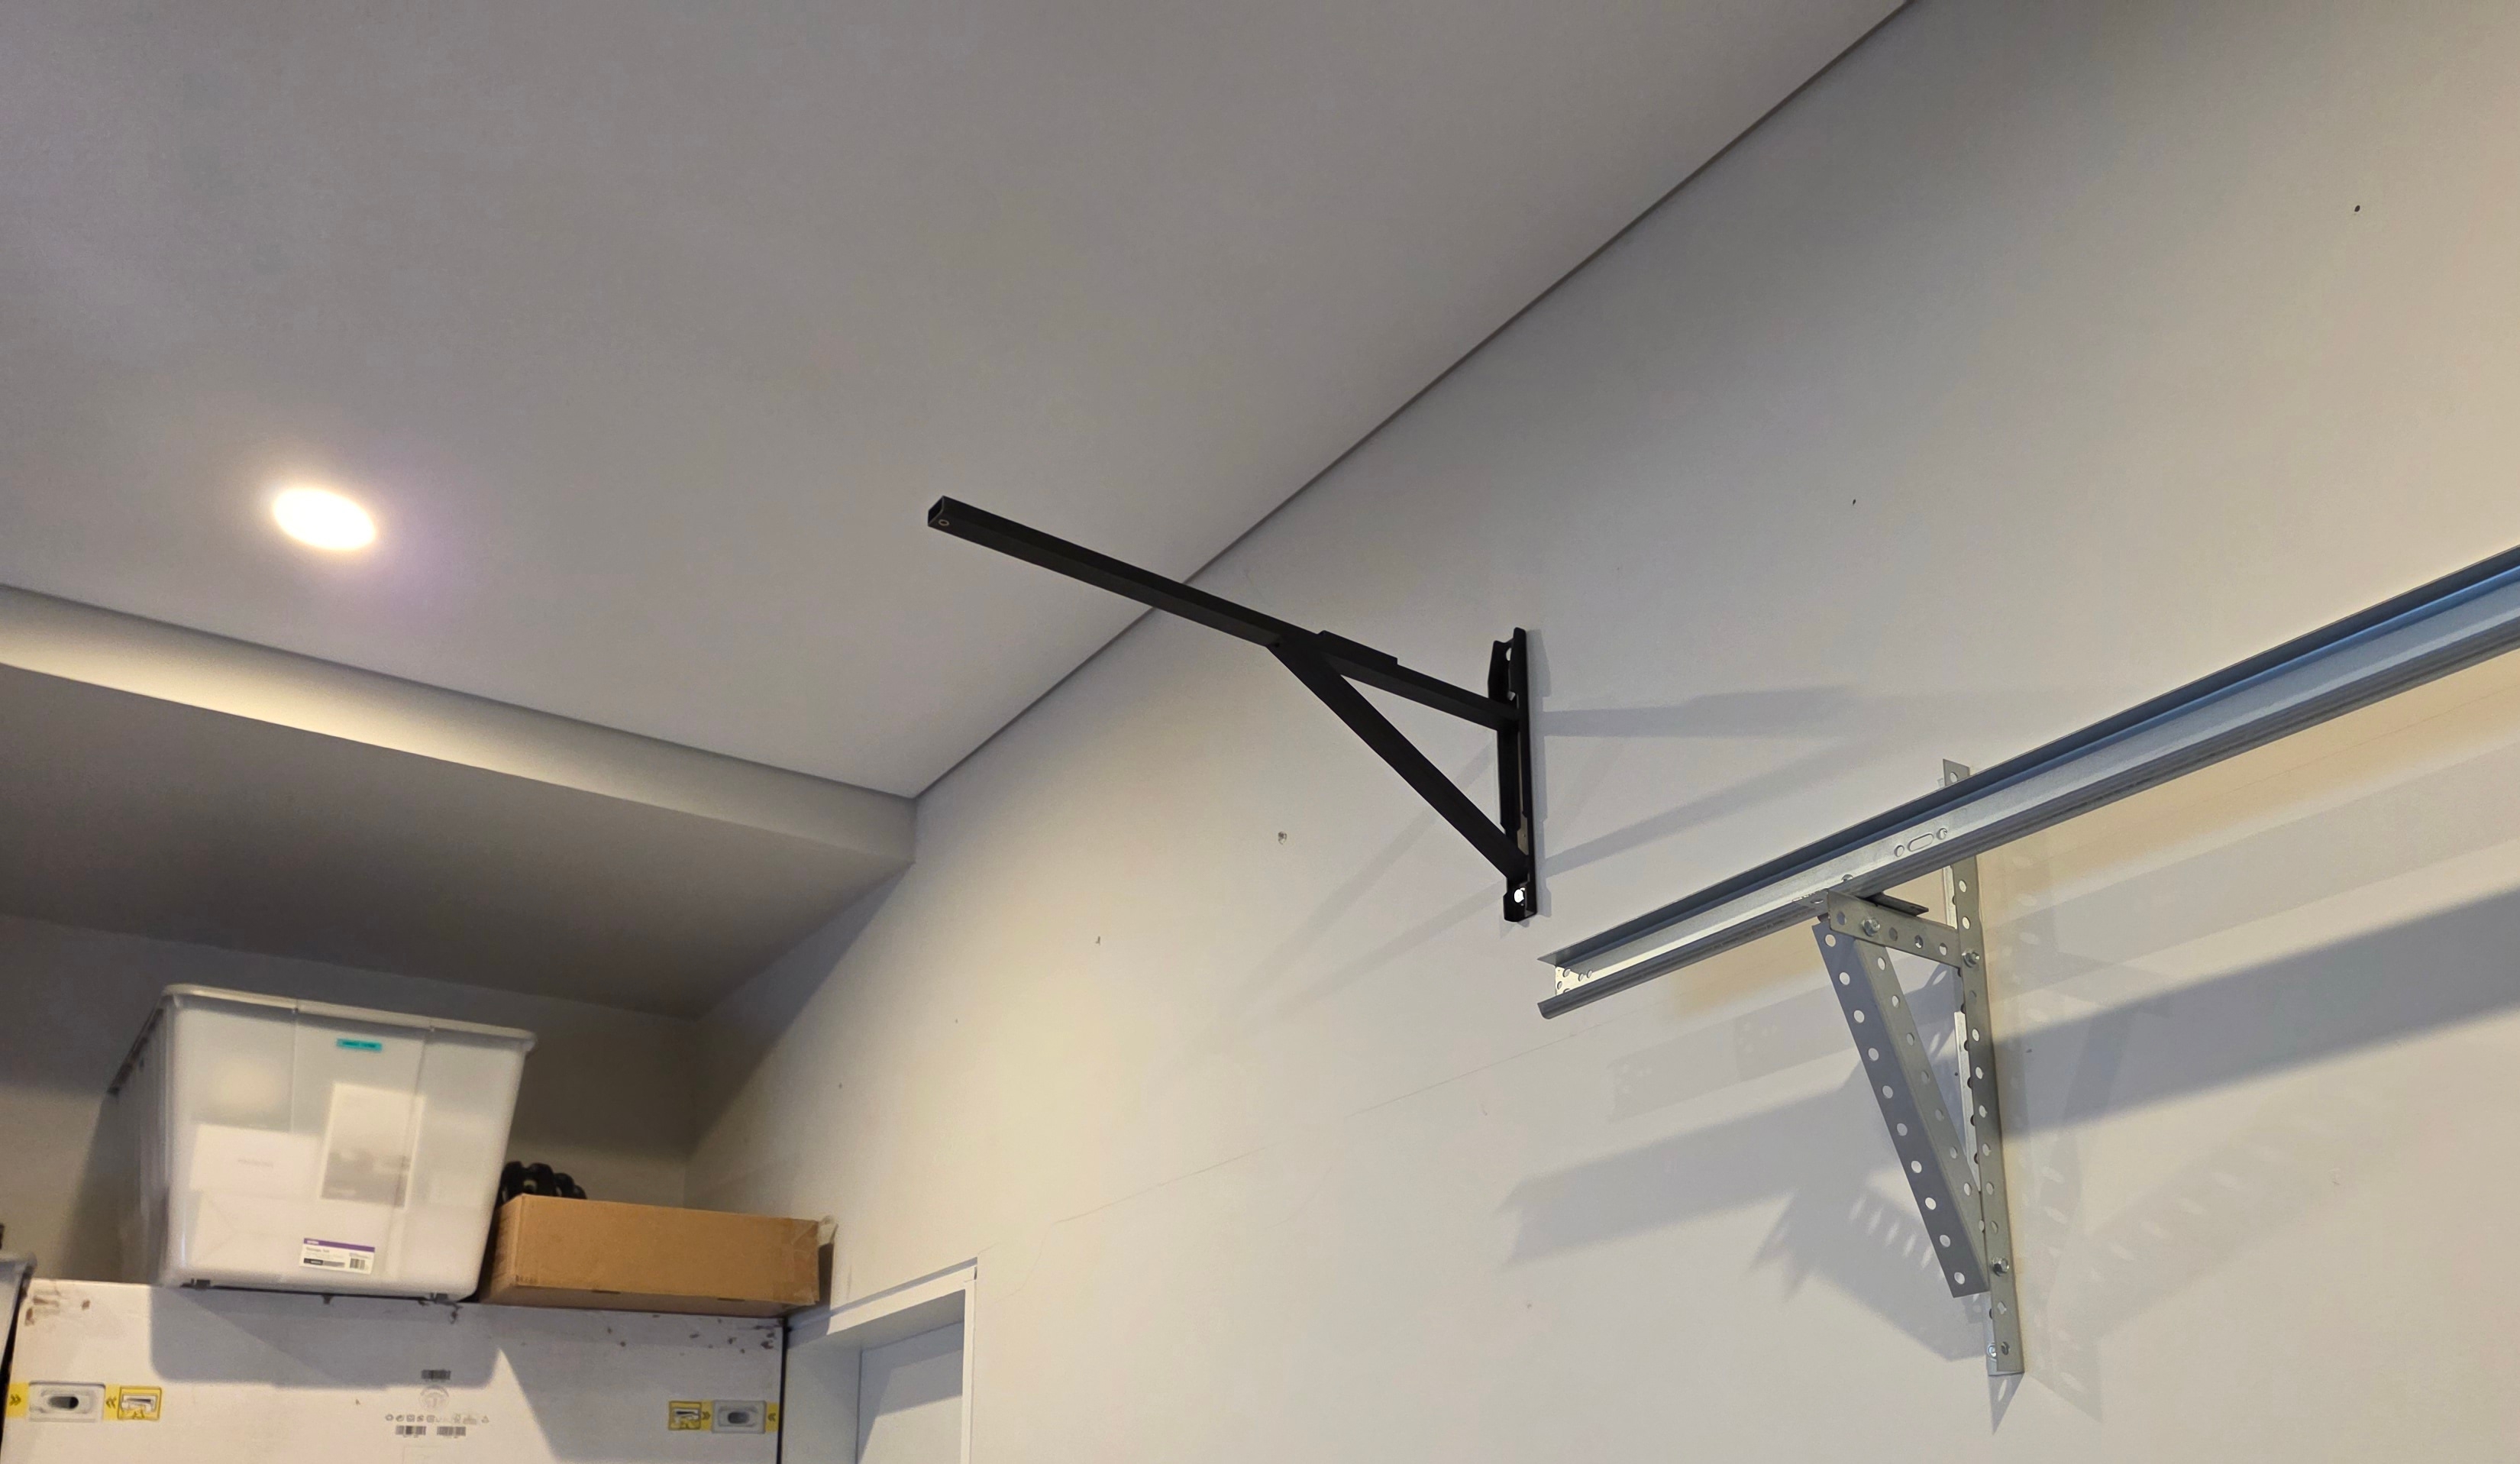
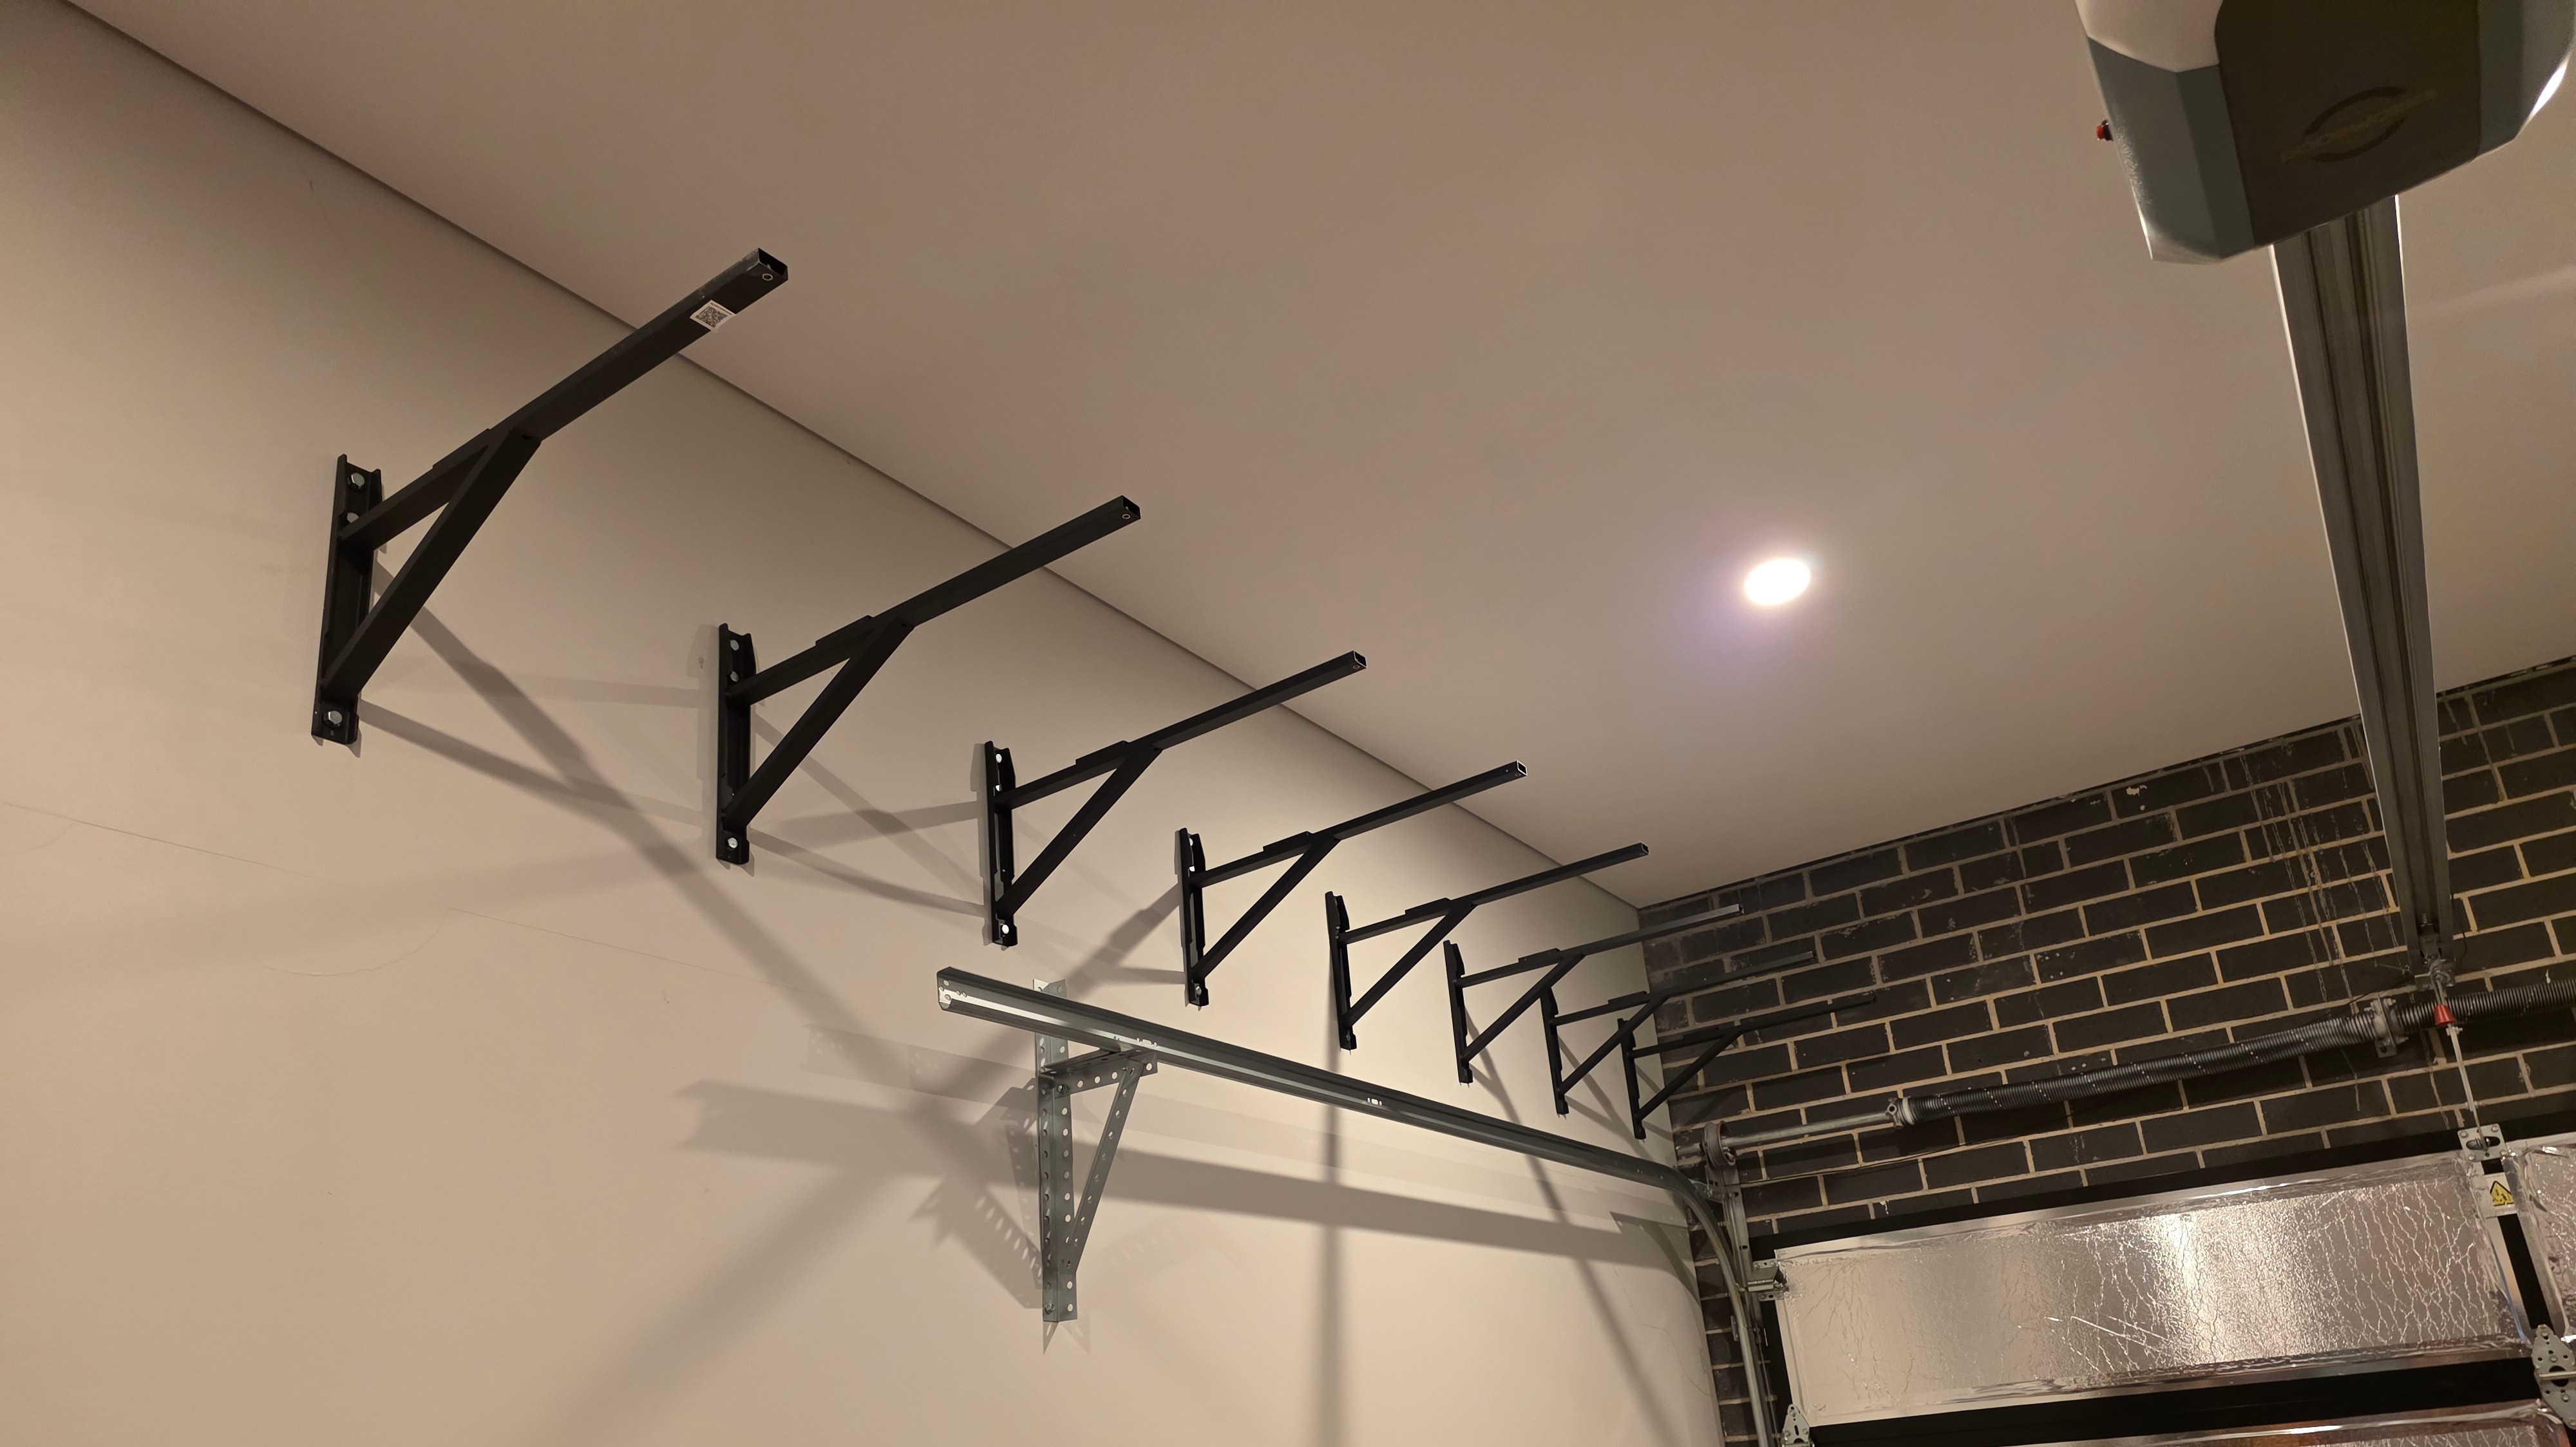
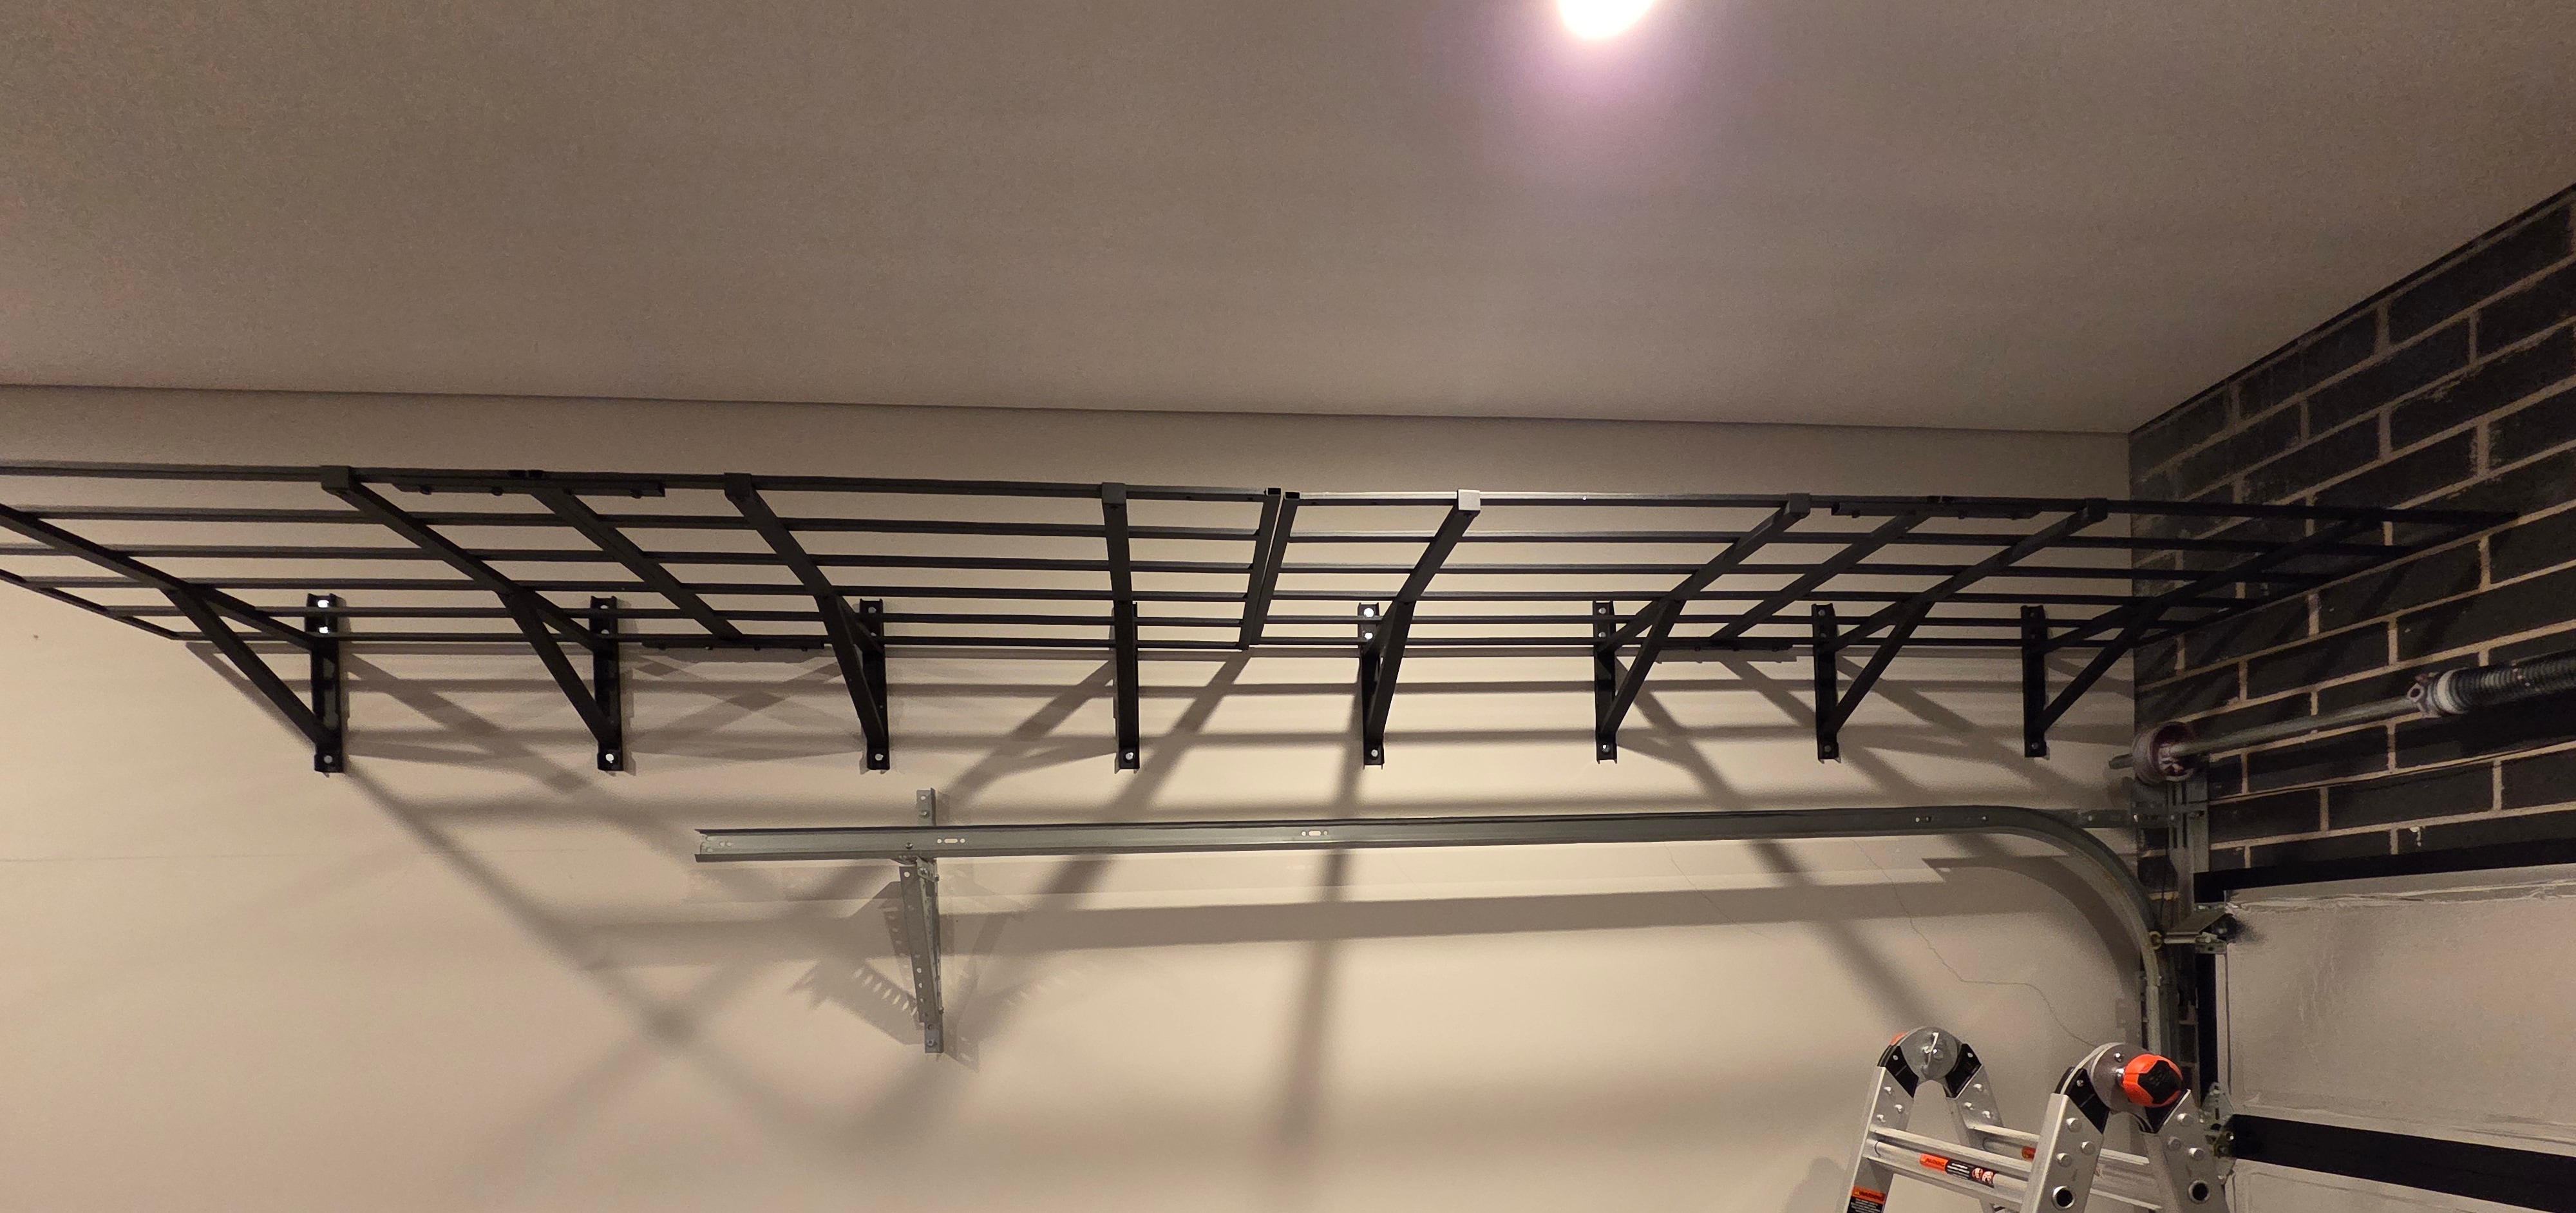
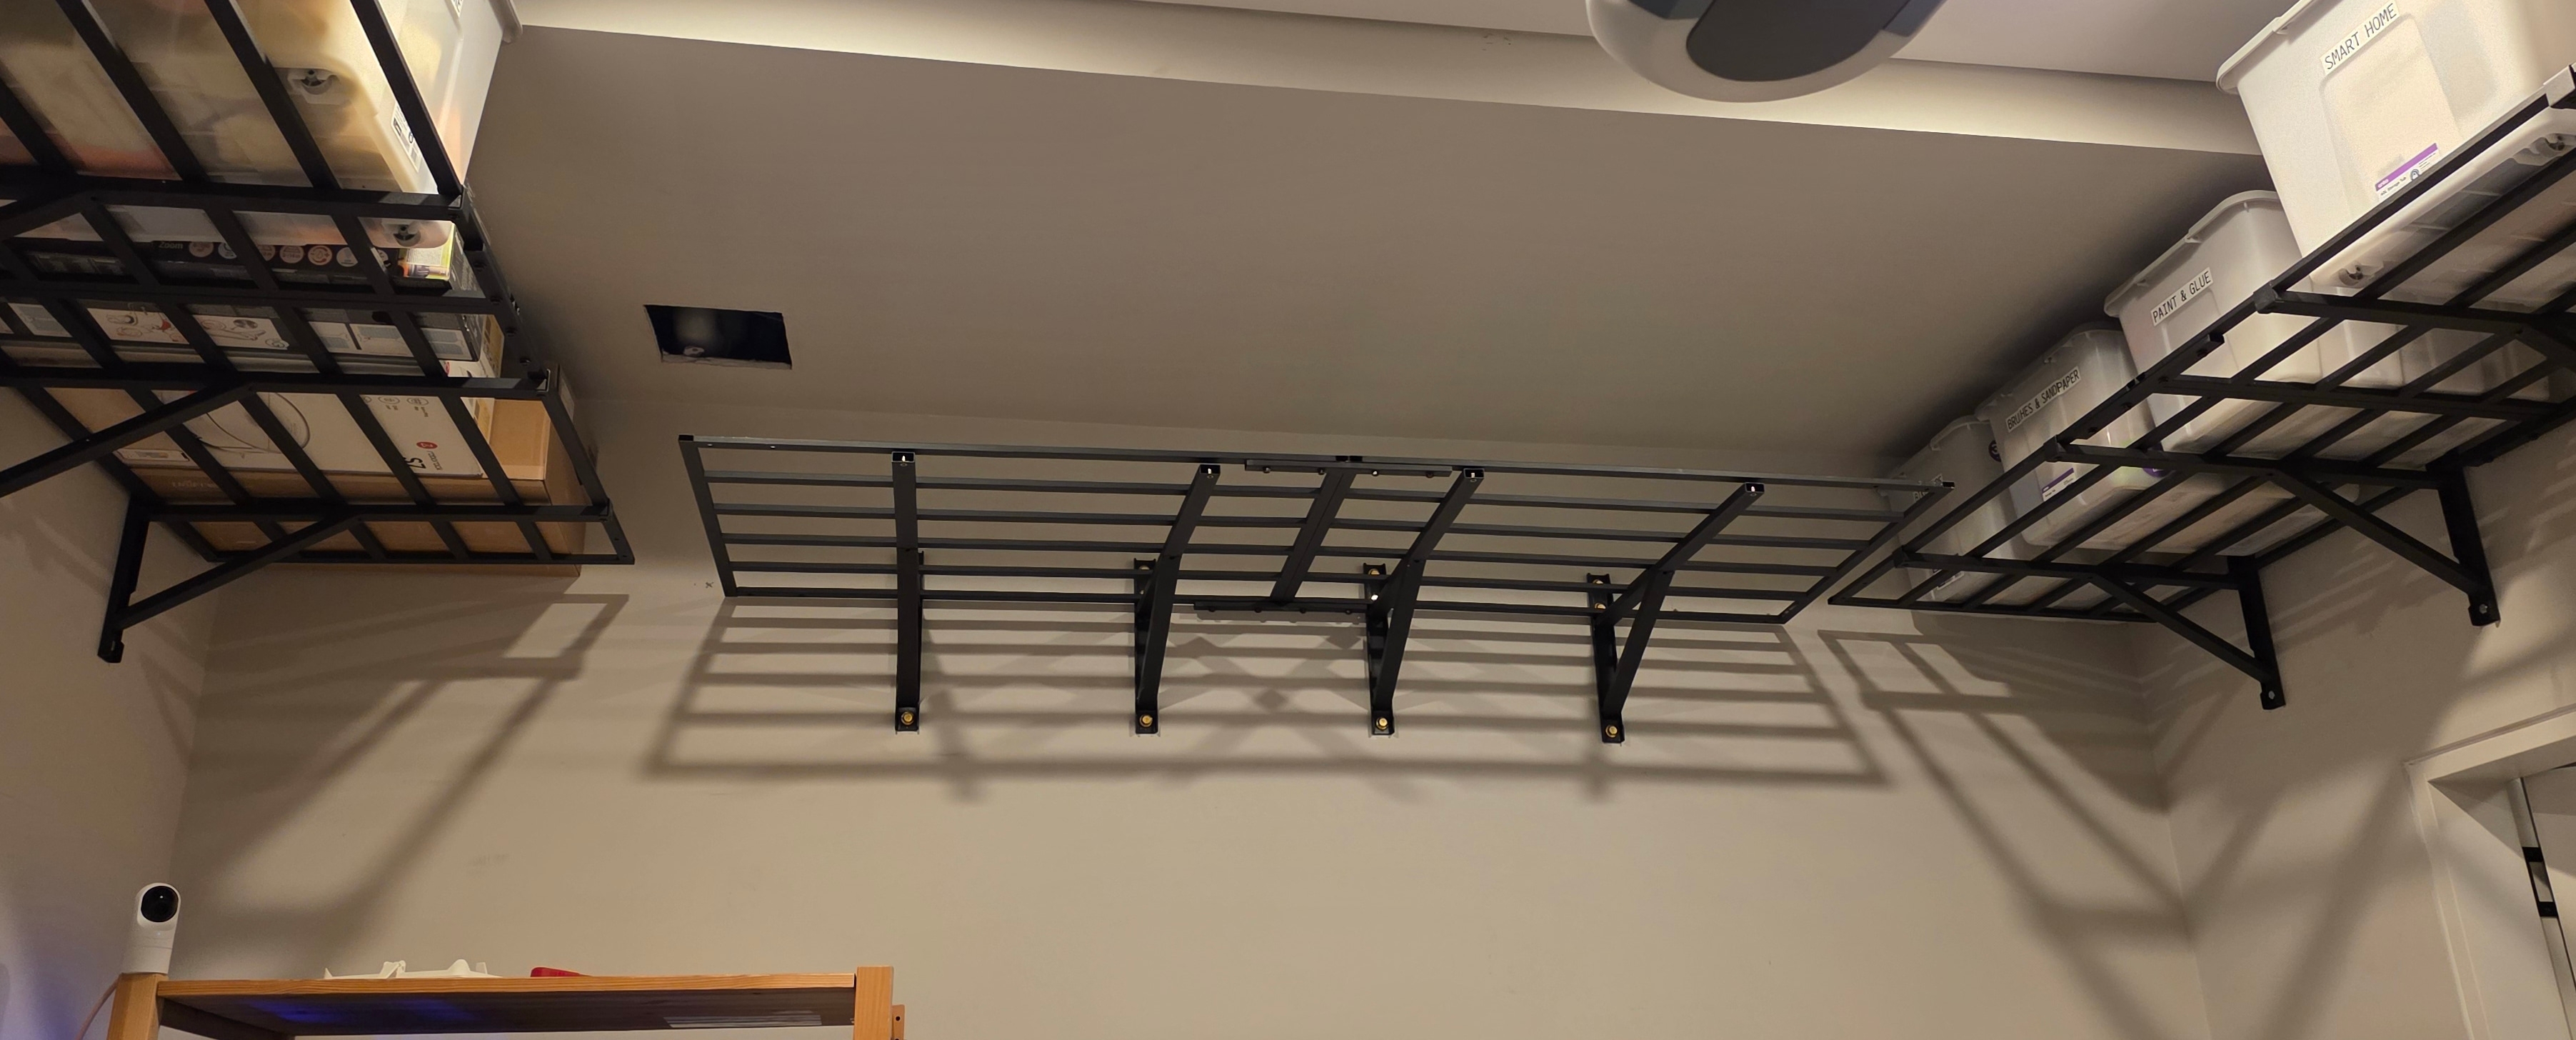
Each shelf uses four brackets, which I positioned to avoid mortar joints and other poor fixing points.
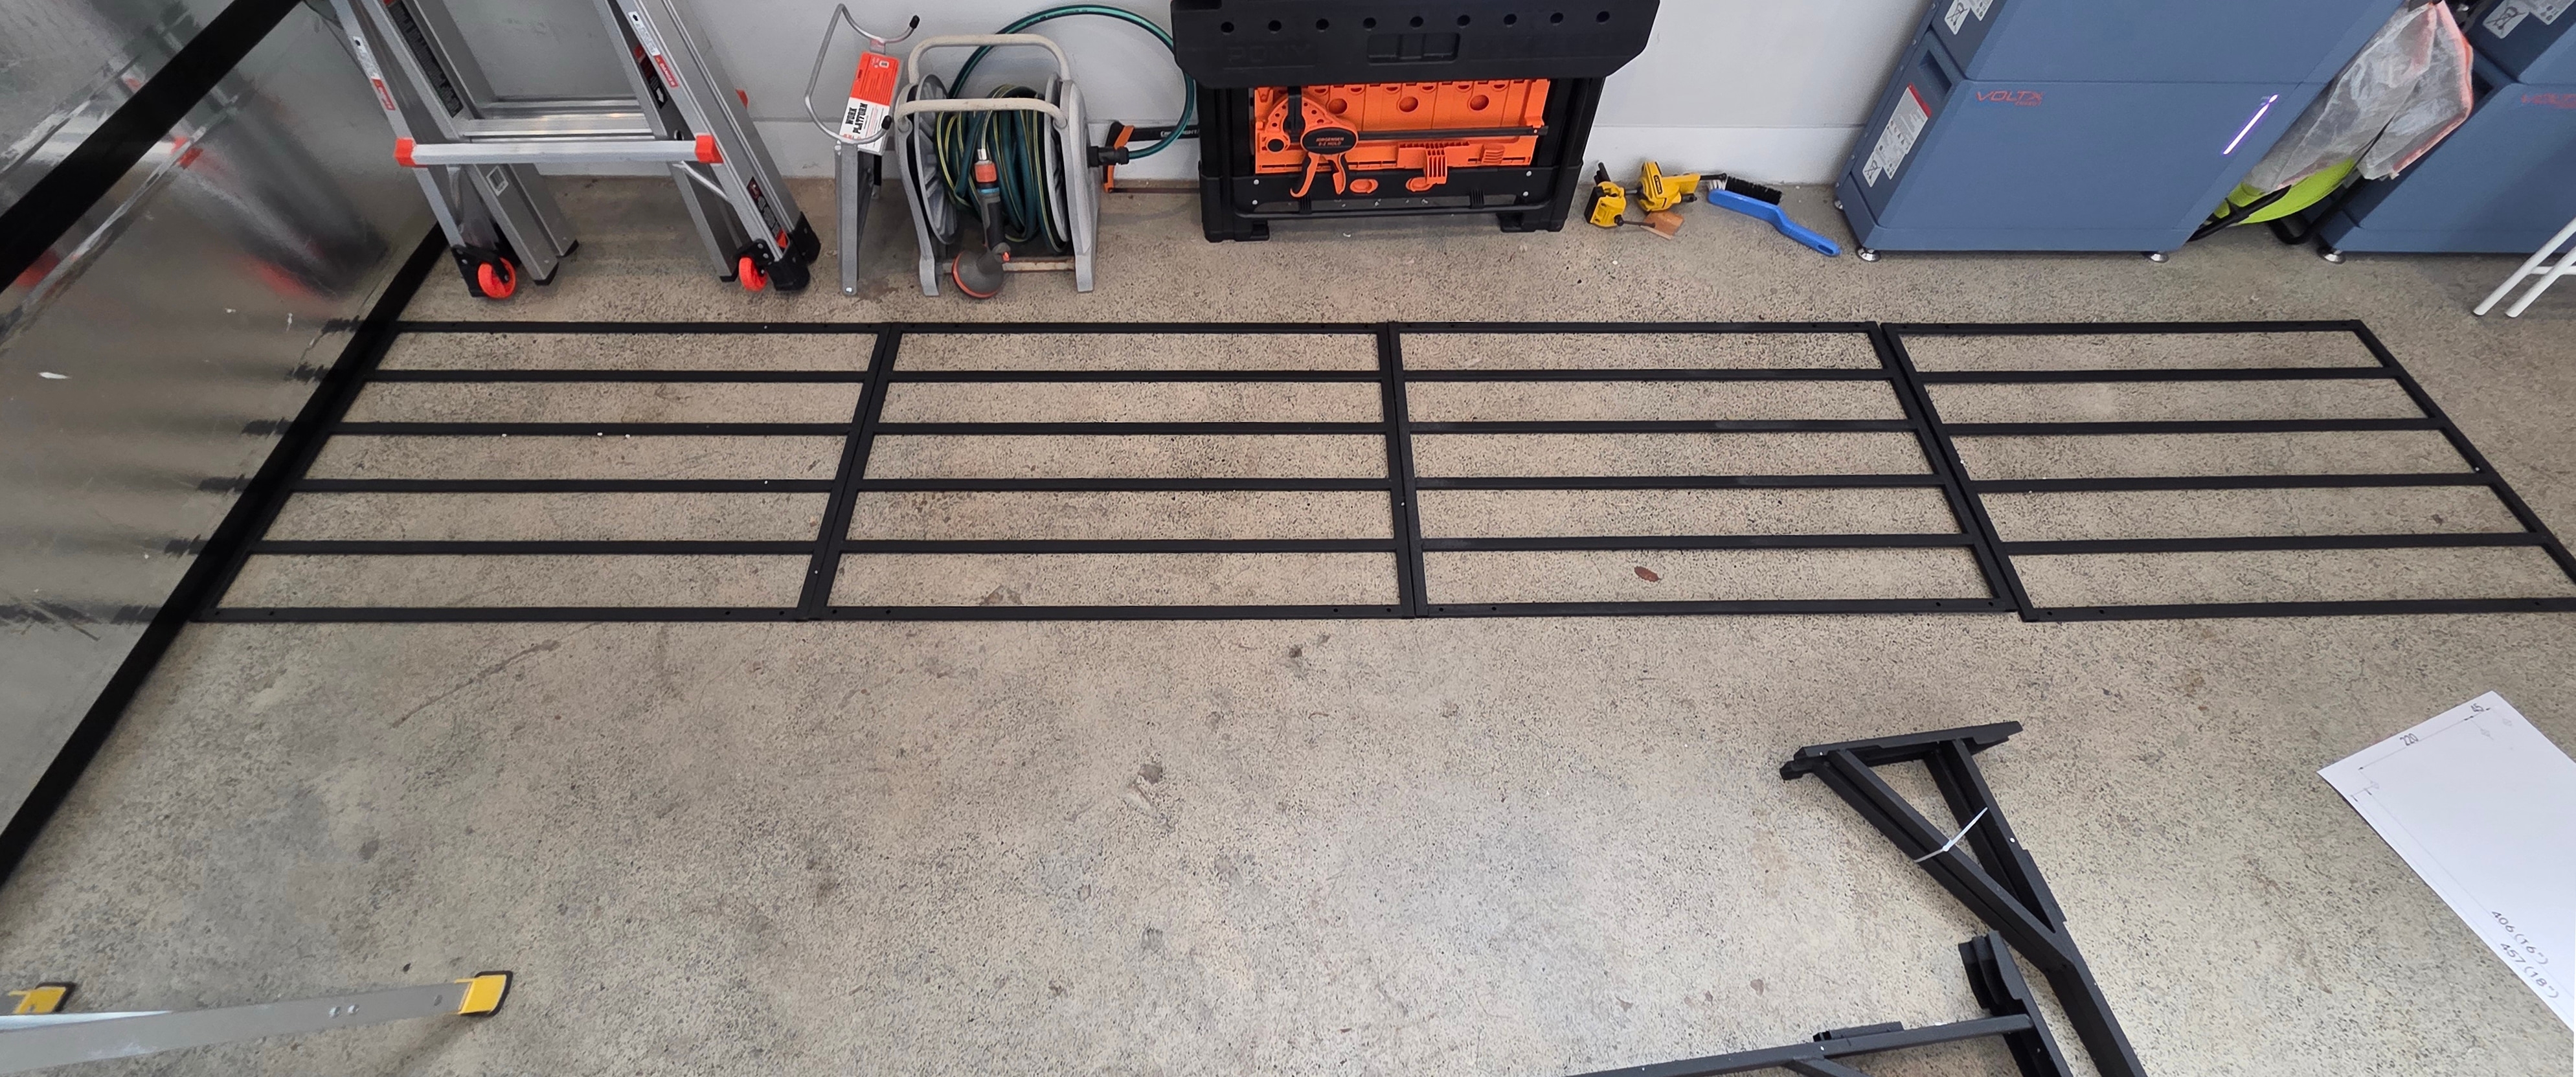
The IKEA IVAR shelving I was replacing held plastic tubs, boxes and other miscellaneous items. None of it was especially heavy, so the advertised load rating was far beyond what I needed.
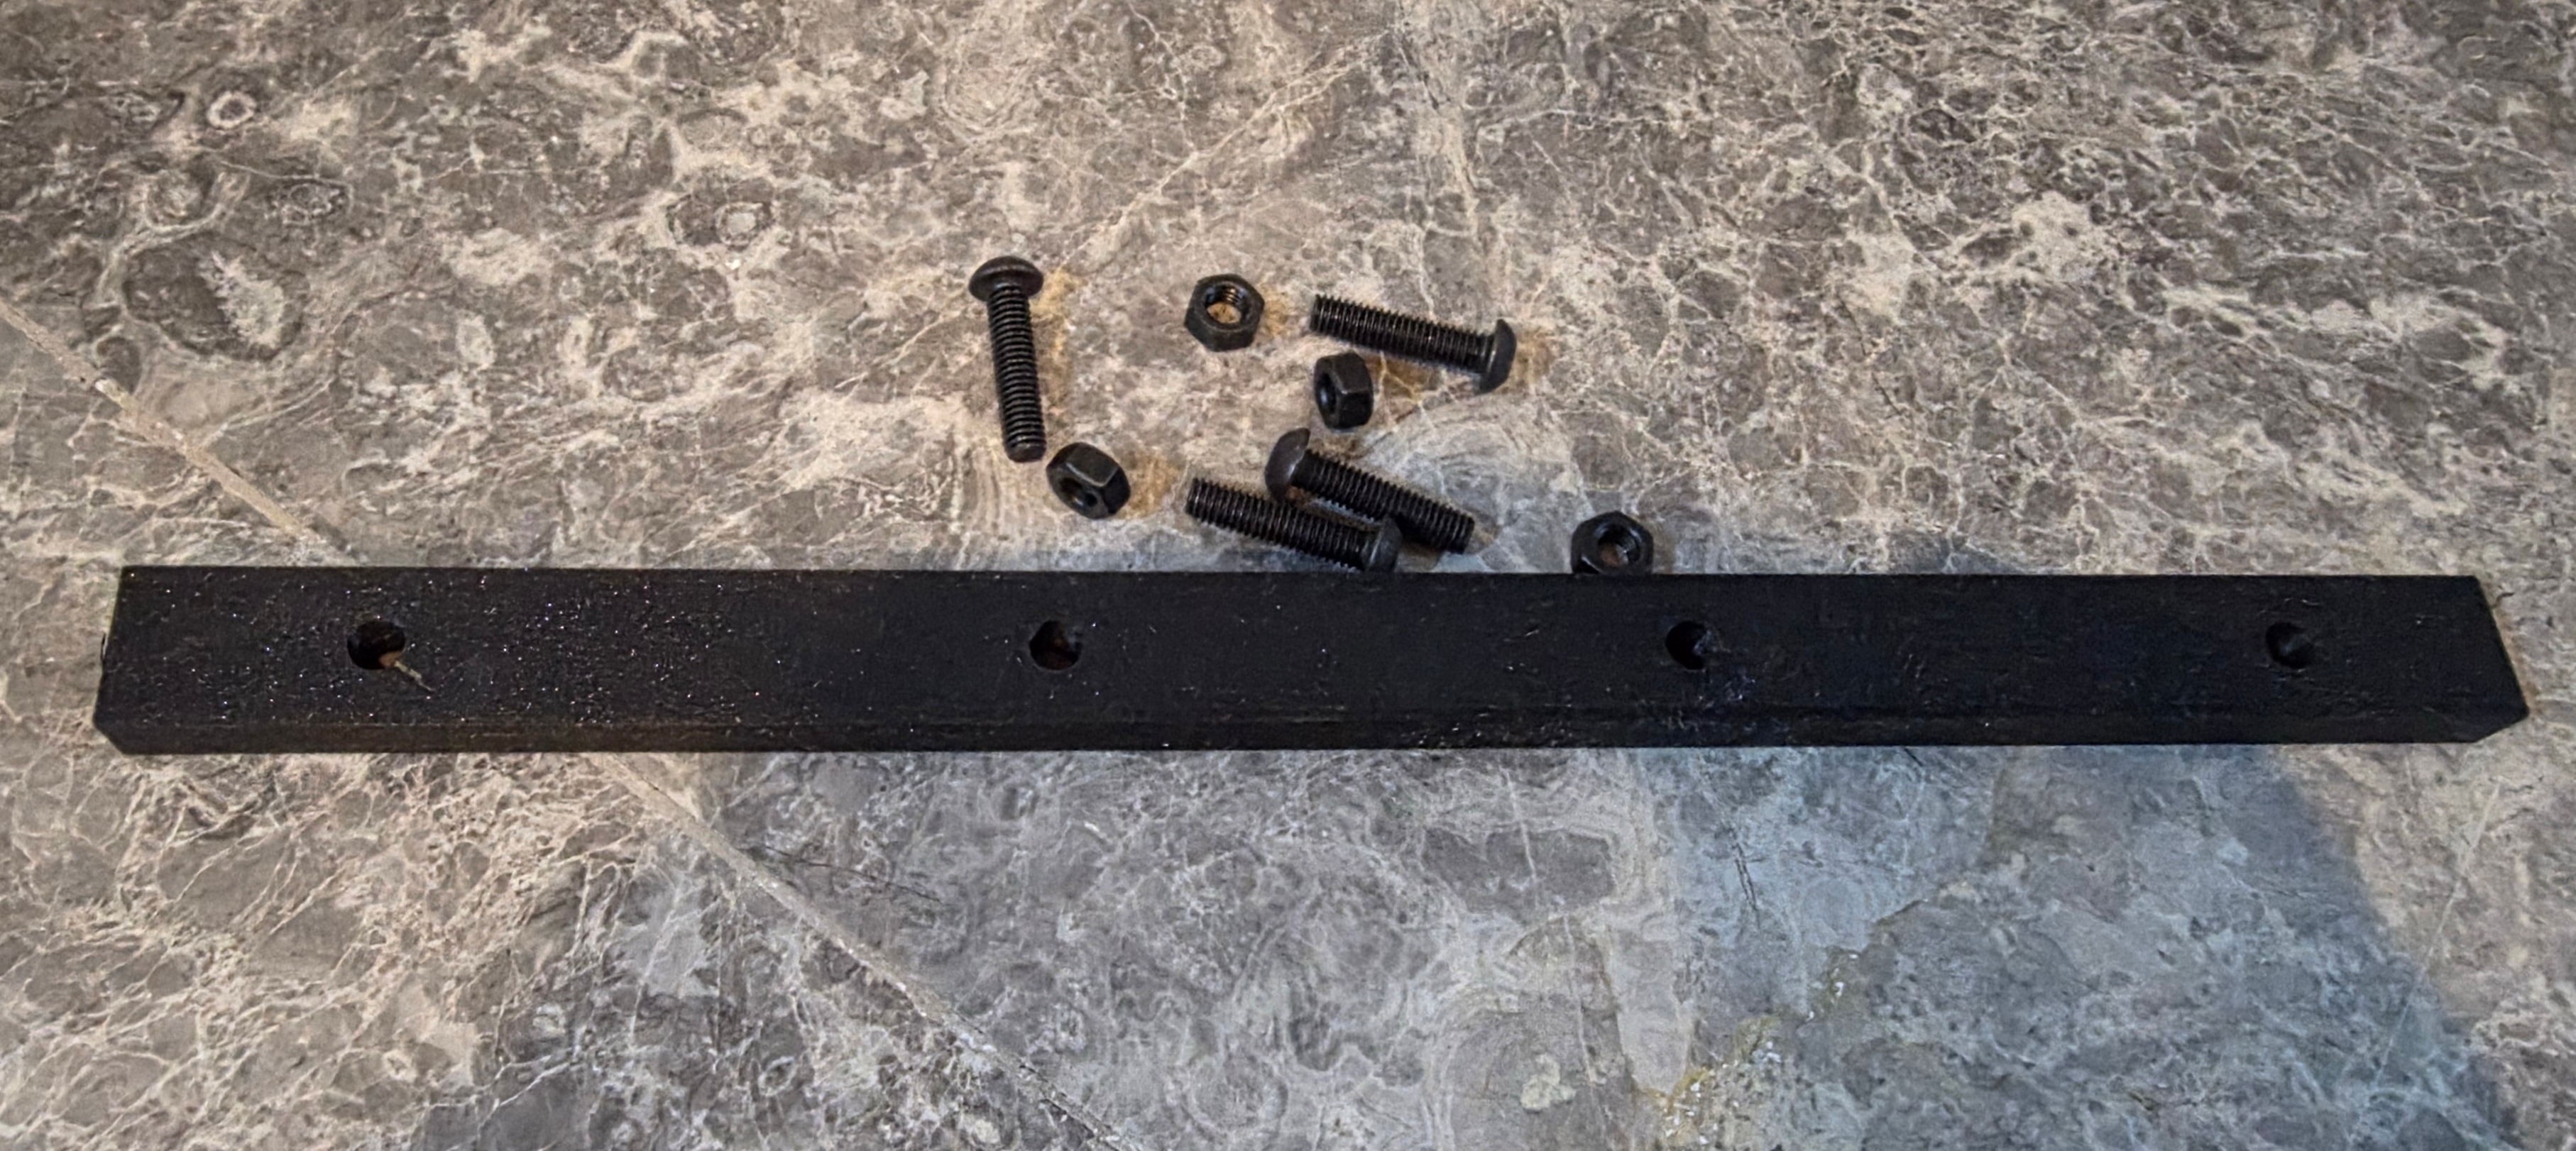
VEVOR includes only two fittings for joining adjacent shelves, which was not enough for my layout. I measured one of the supplied fittings and modelled a copy to use with M6 bolts and nuts.
Layout
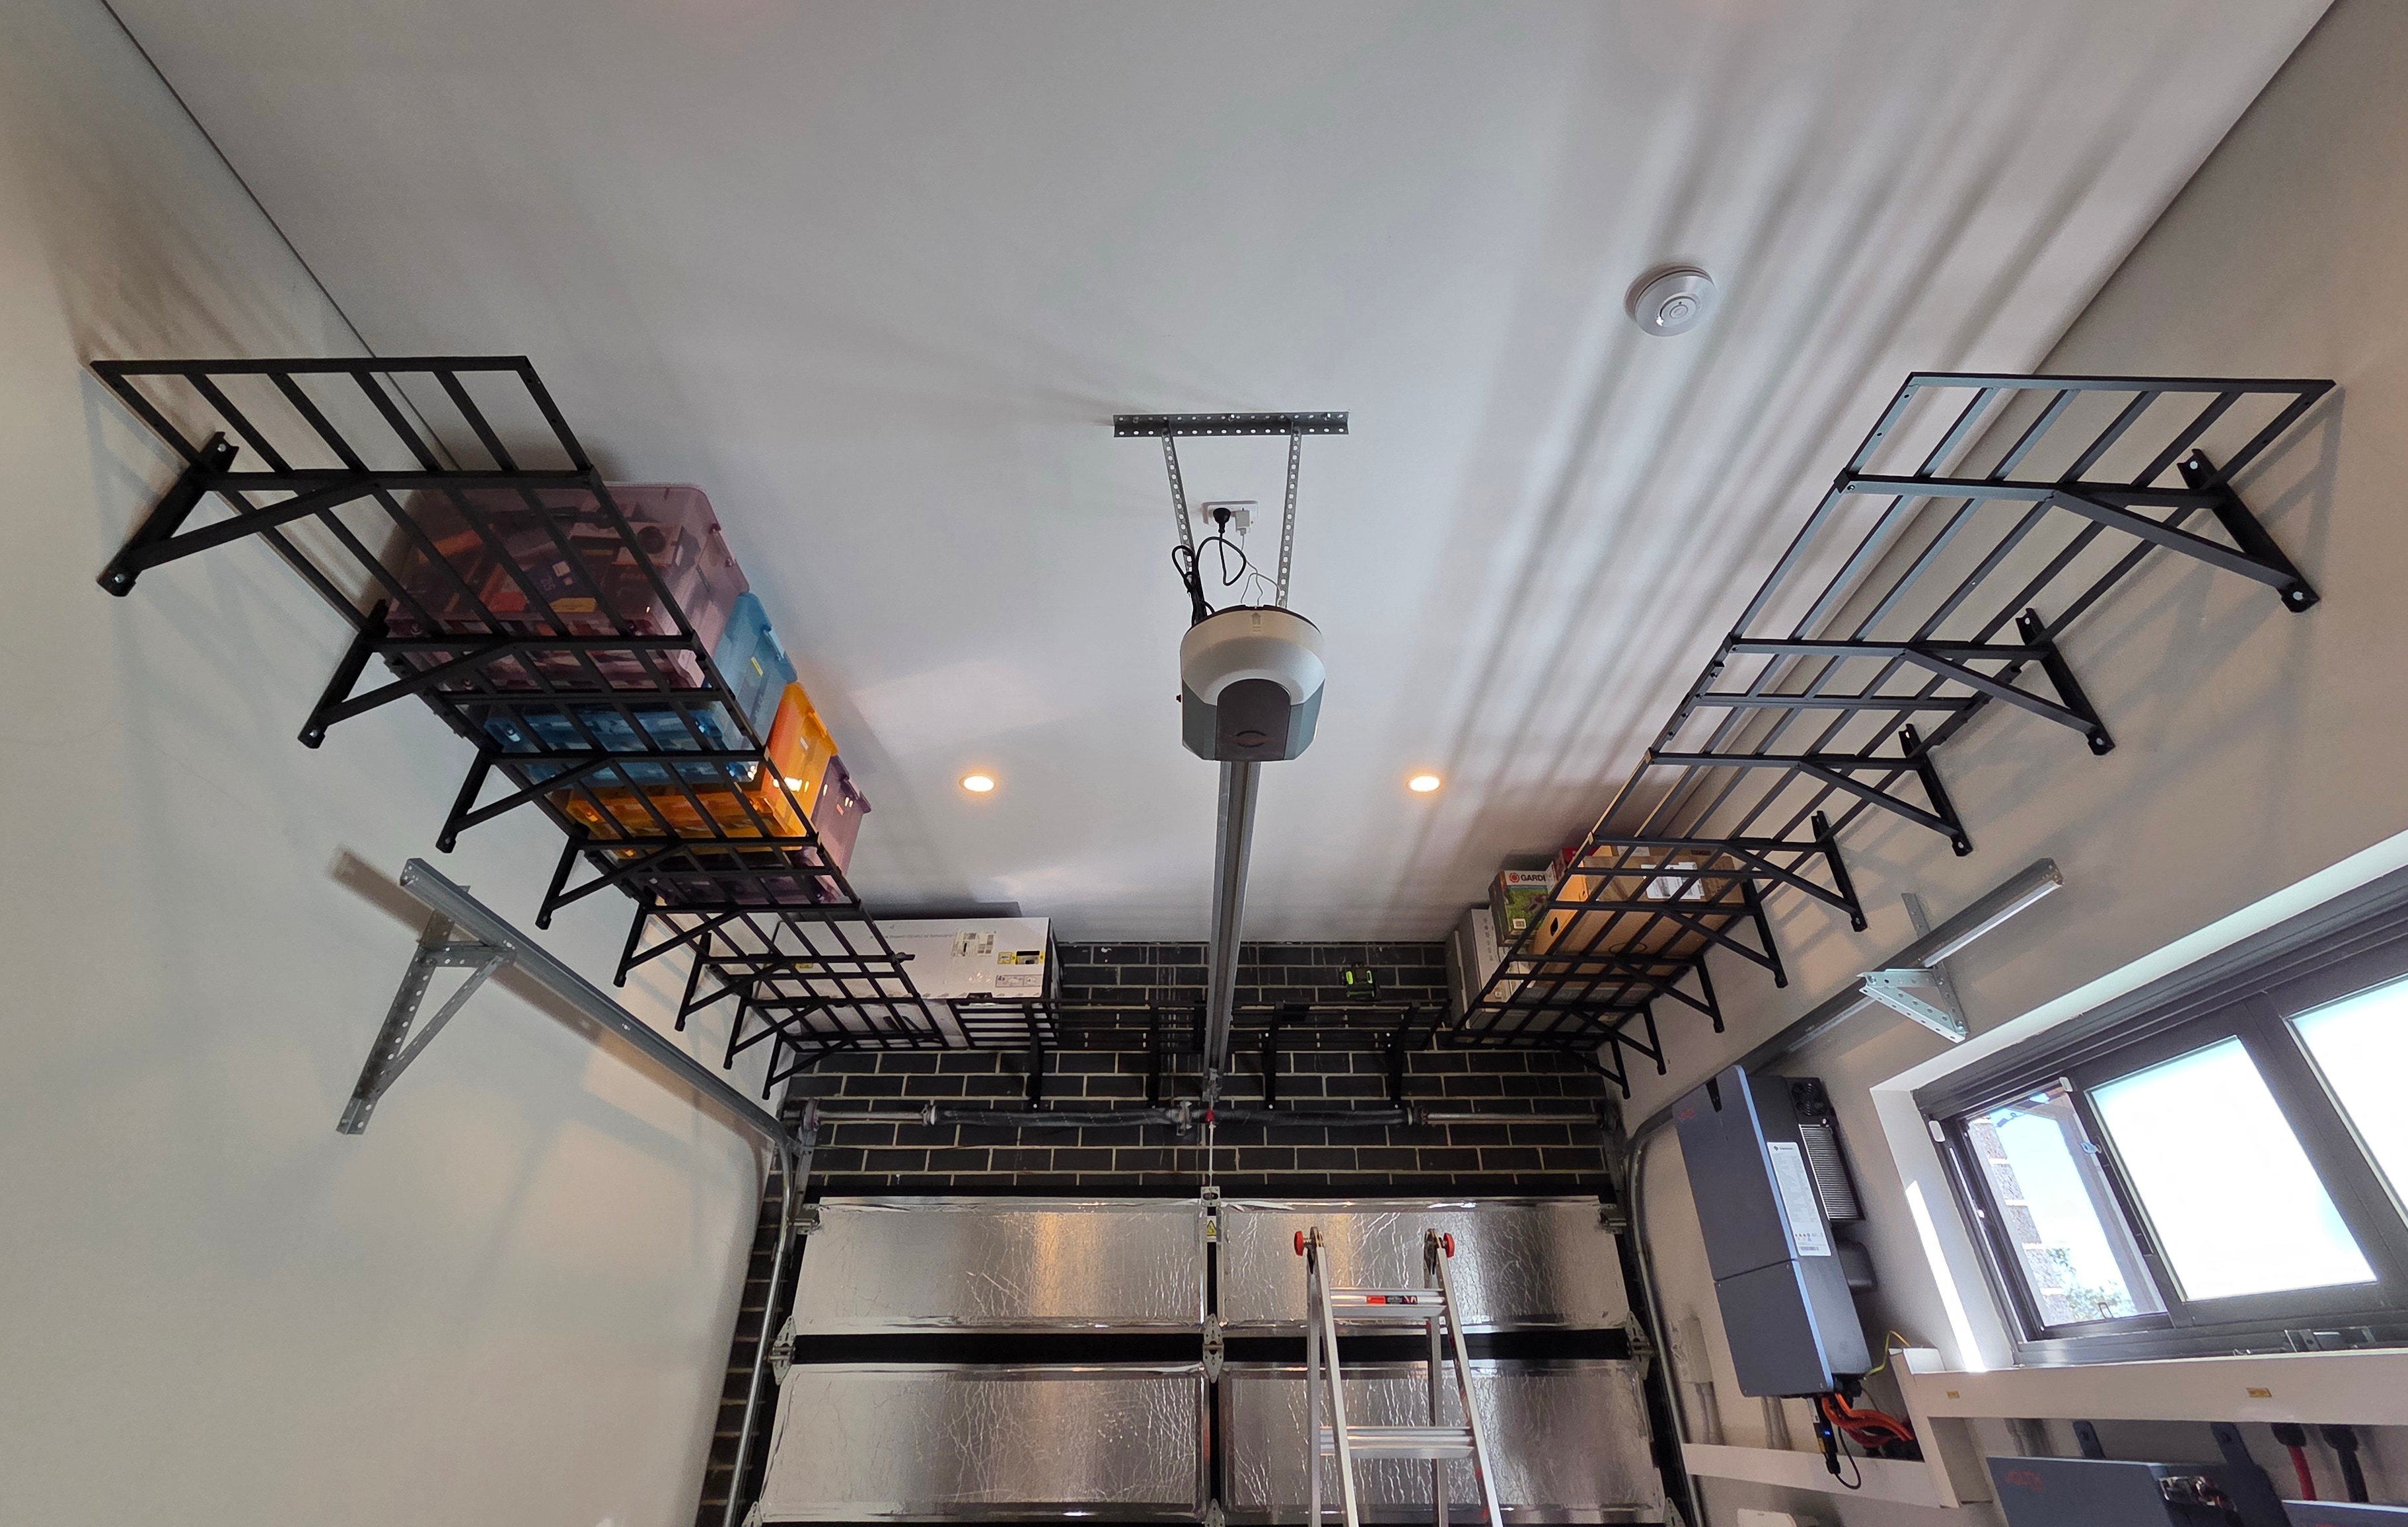
The garage is 5.58m long and 3.25m wide. The four garage walls do not share the same construction:
| Wall | Construction | Shelves | Fixing |
|---|---|---|---|
| Inside (House) | Dot-and-dab | 3 | Supplied fixings |
| Outside | Dot-and-dab | 3 | Supplied fixings |
| Garage Door (Front) | Bare brick | 1 | Supplied fixings |
| Back | Plasterboard on metal furring channels over brick | 1 | Custom (see below) |

The VEVOR shelves came with long masonry bolts and plugs. Each bracket had three anchor points. I used the supplied bolts and plugs for all shelves except the back wall, which required a different approach covered below.
To explain dot-and-dab walls, the plasterboard is fixed to the brick with small patches of adhesive instead of wooden studs. This leaves a narrow gap between the two. The gap means the plasterboard cannot support the shelving by itself, so the fixings have to pass through it and anchor into the brick behind. This generally requires more specialised fixings like Corefix or Fischer DDF, but I wasn't storing anything heavy and made sure to only hand tighten each bolt.
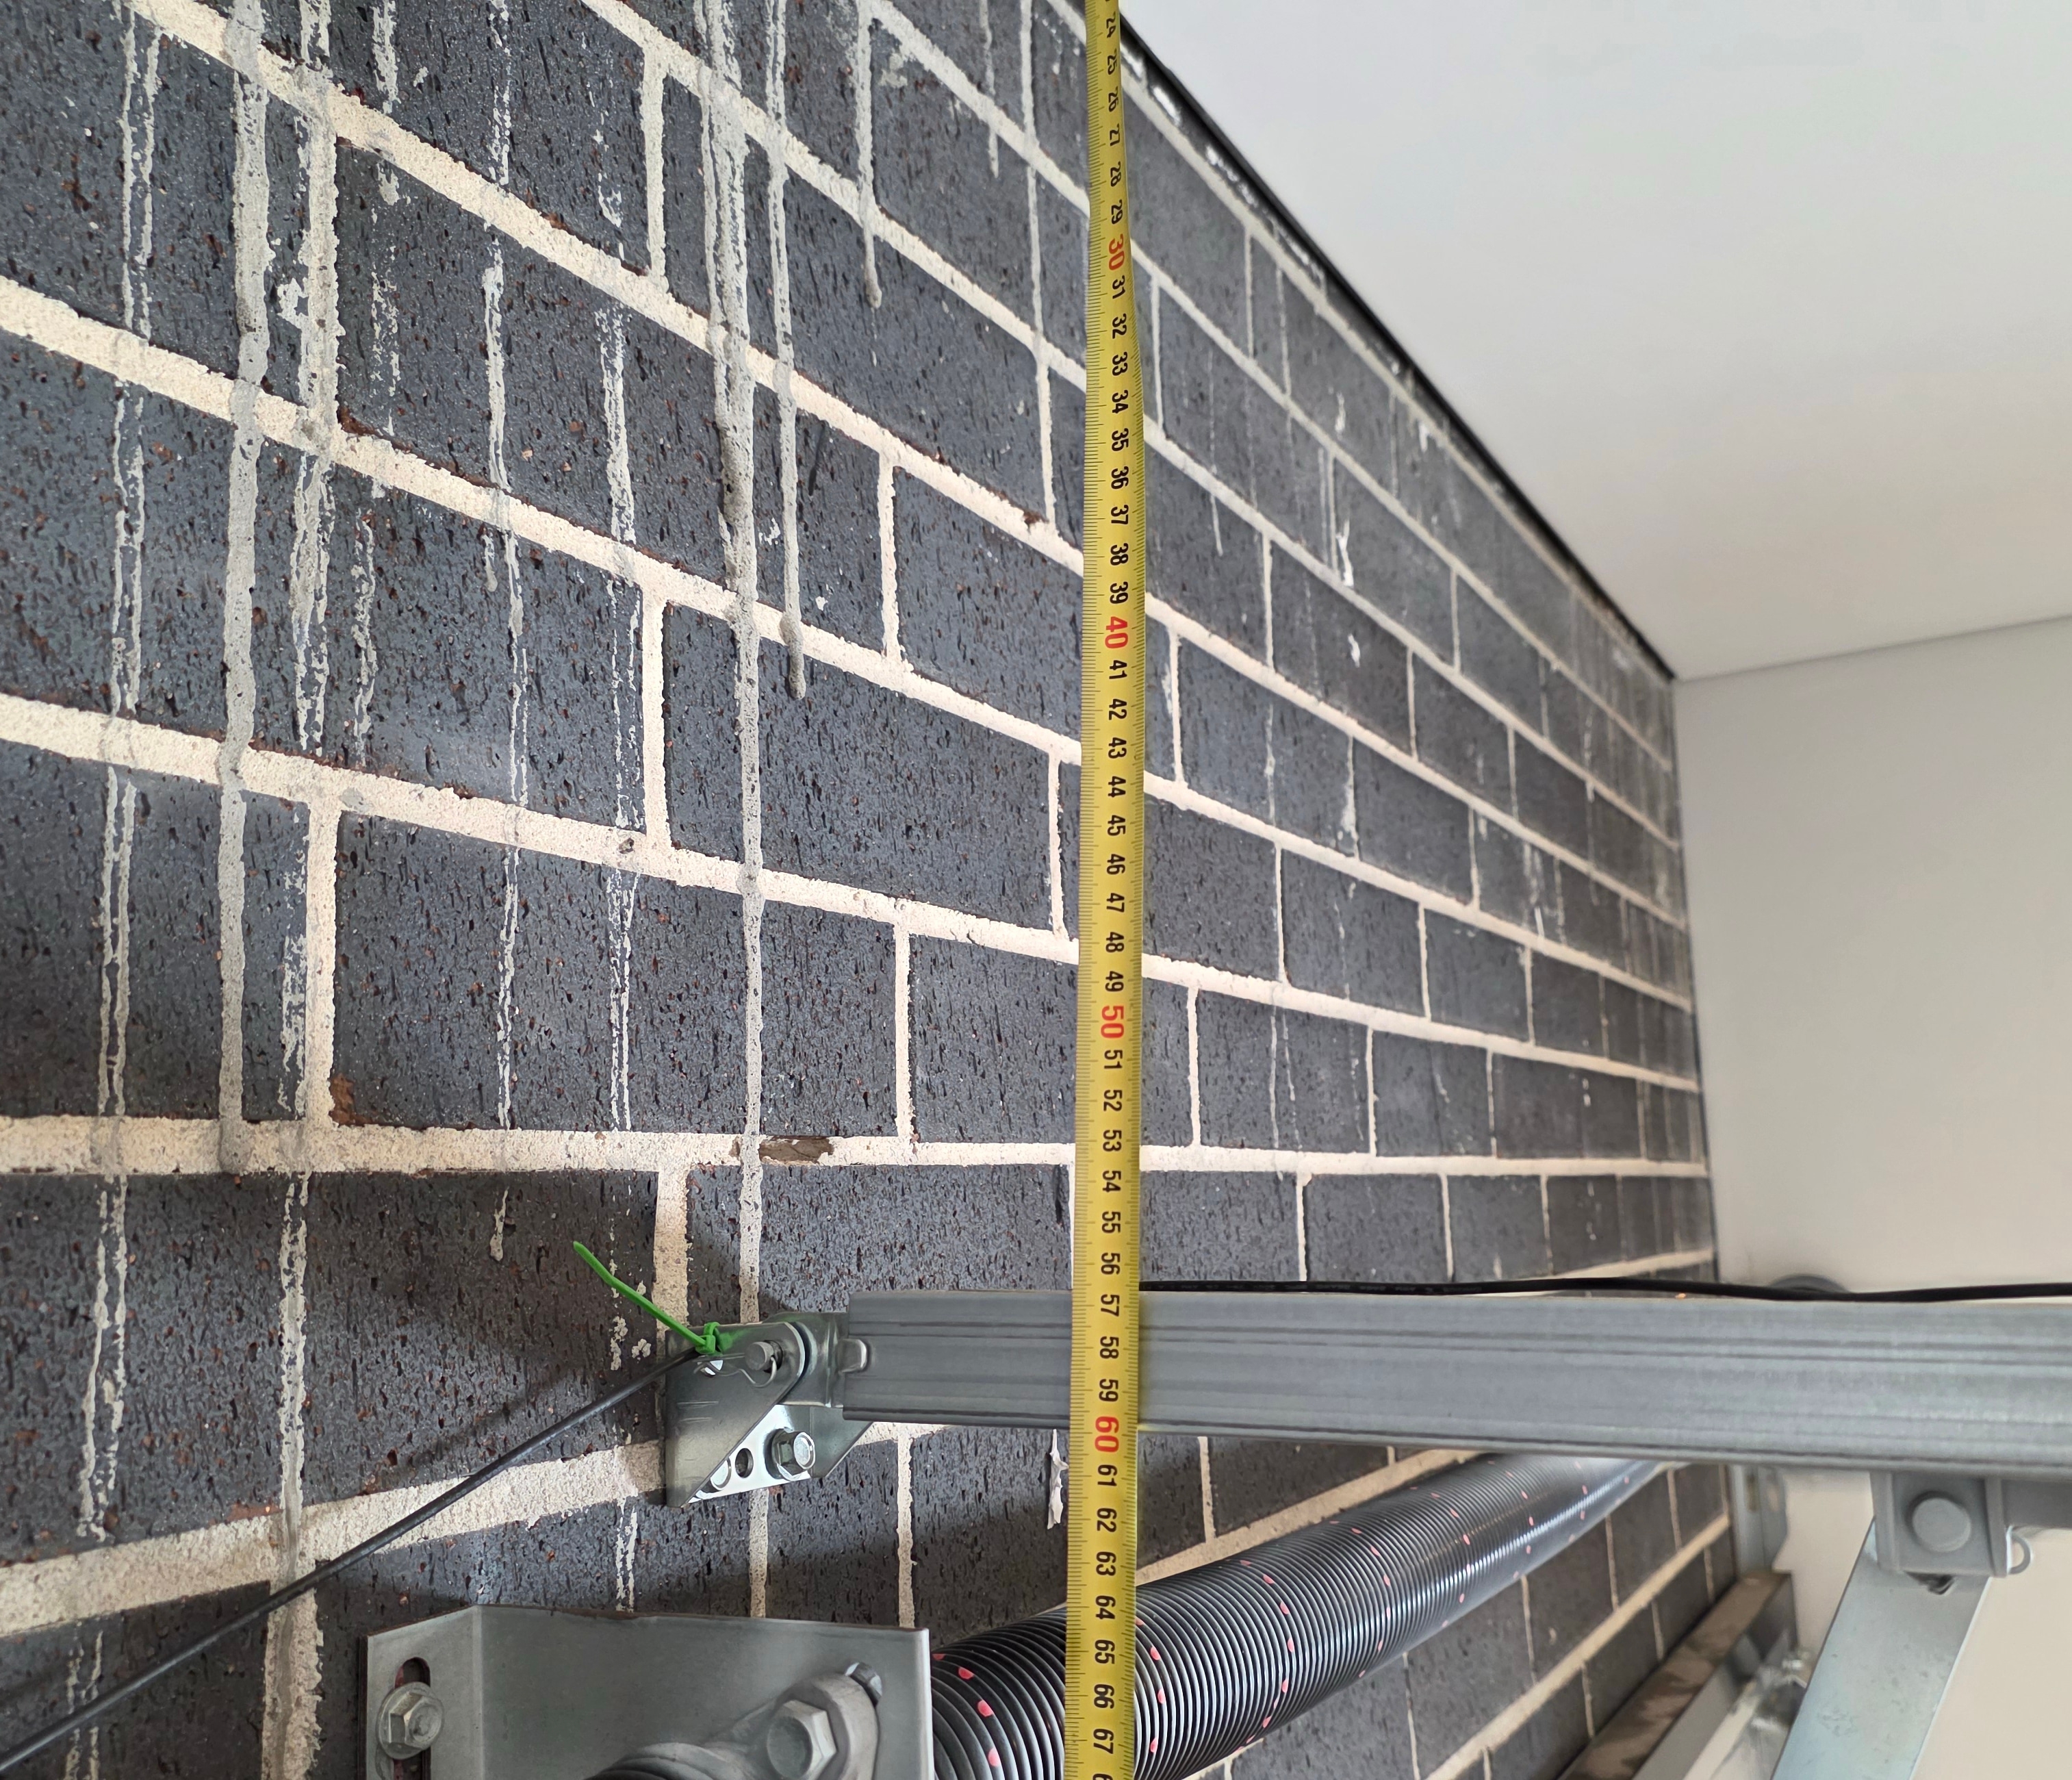
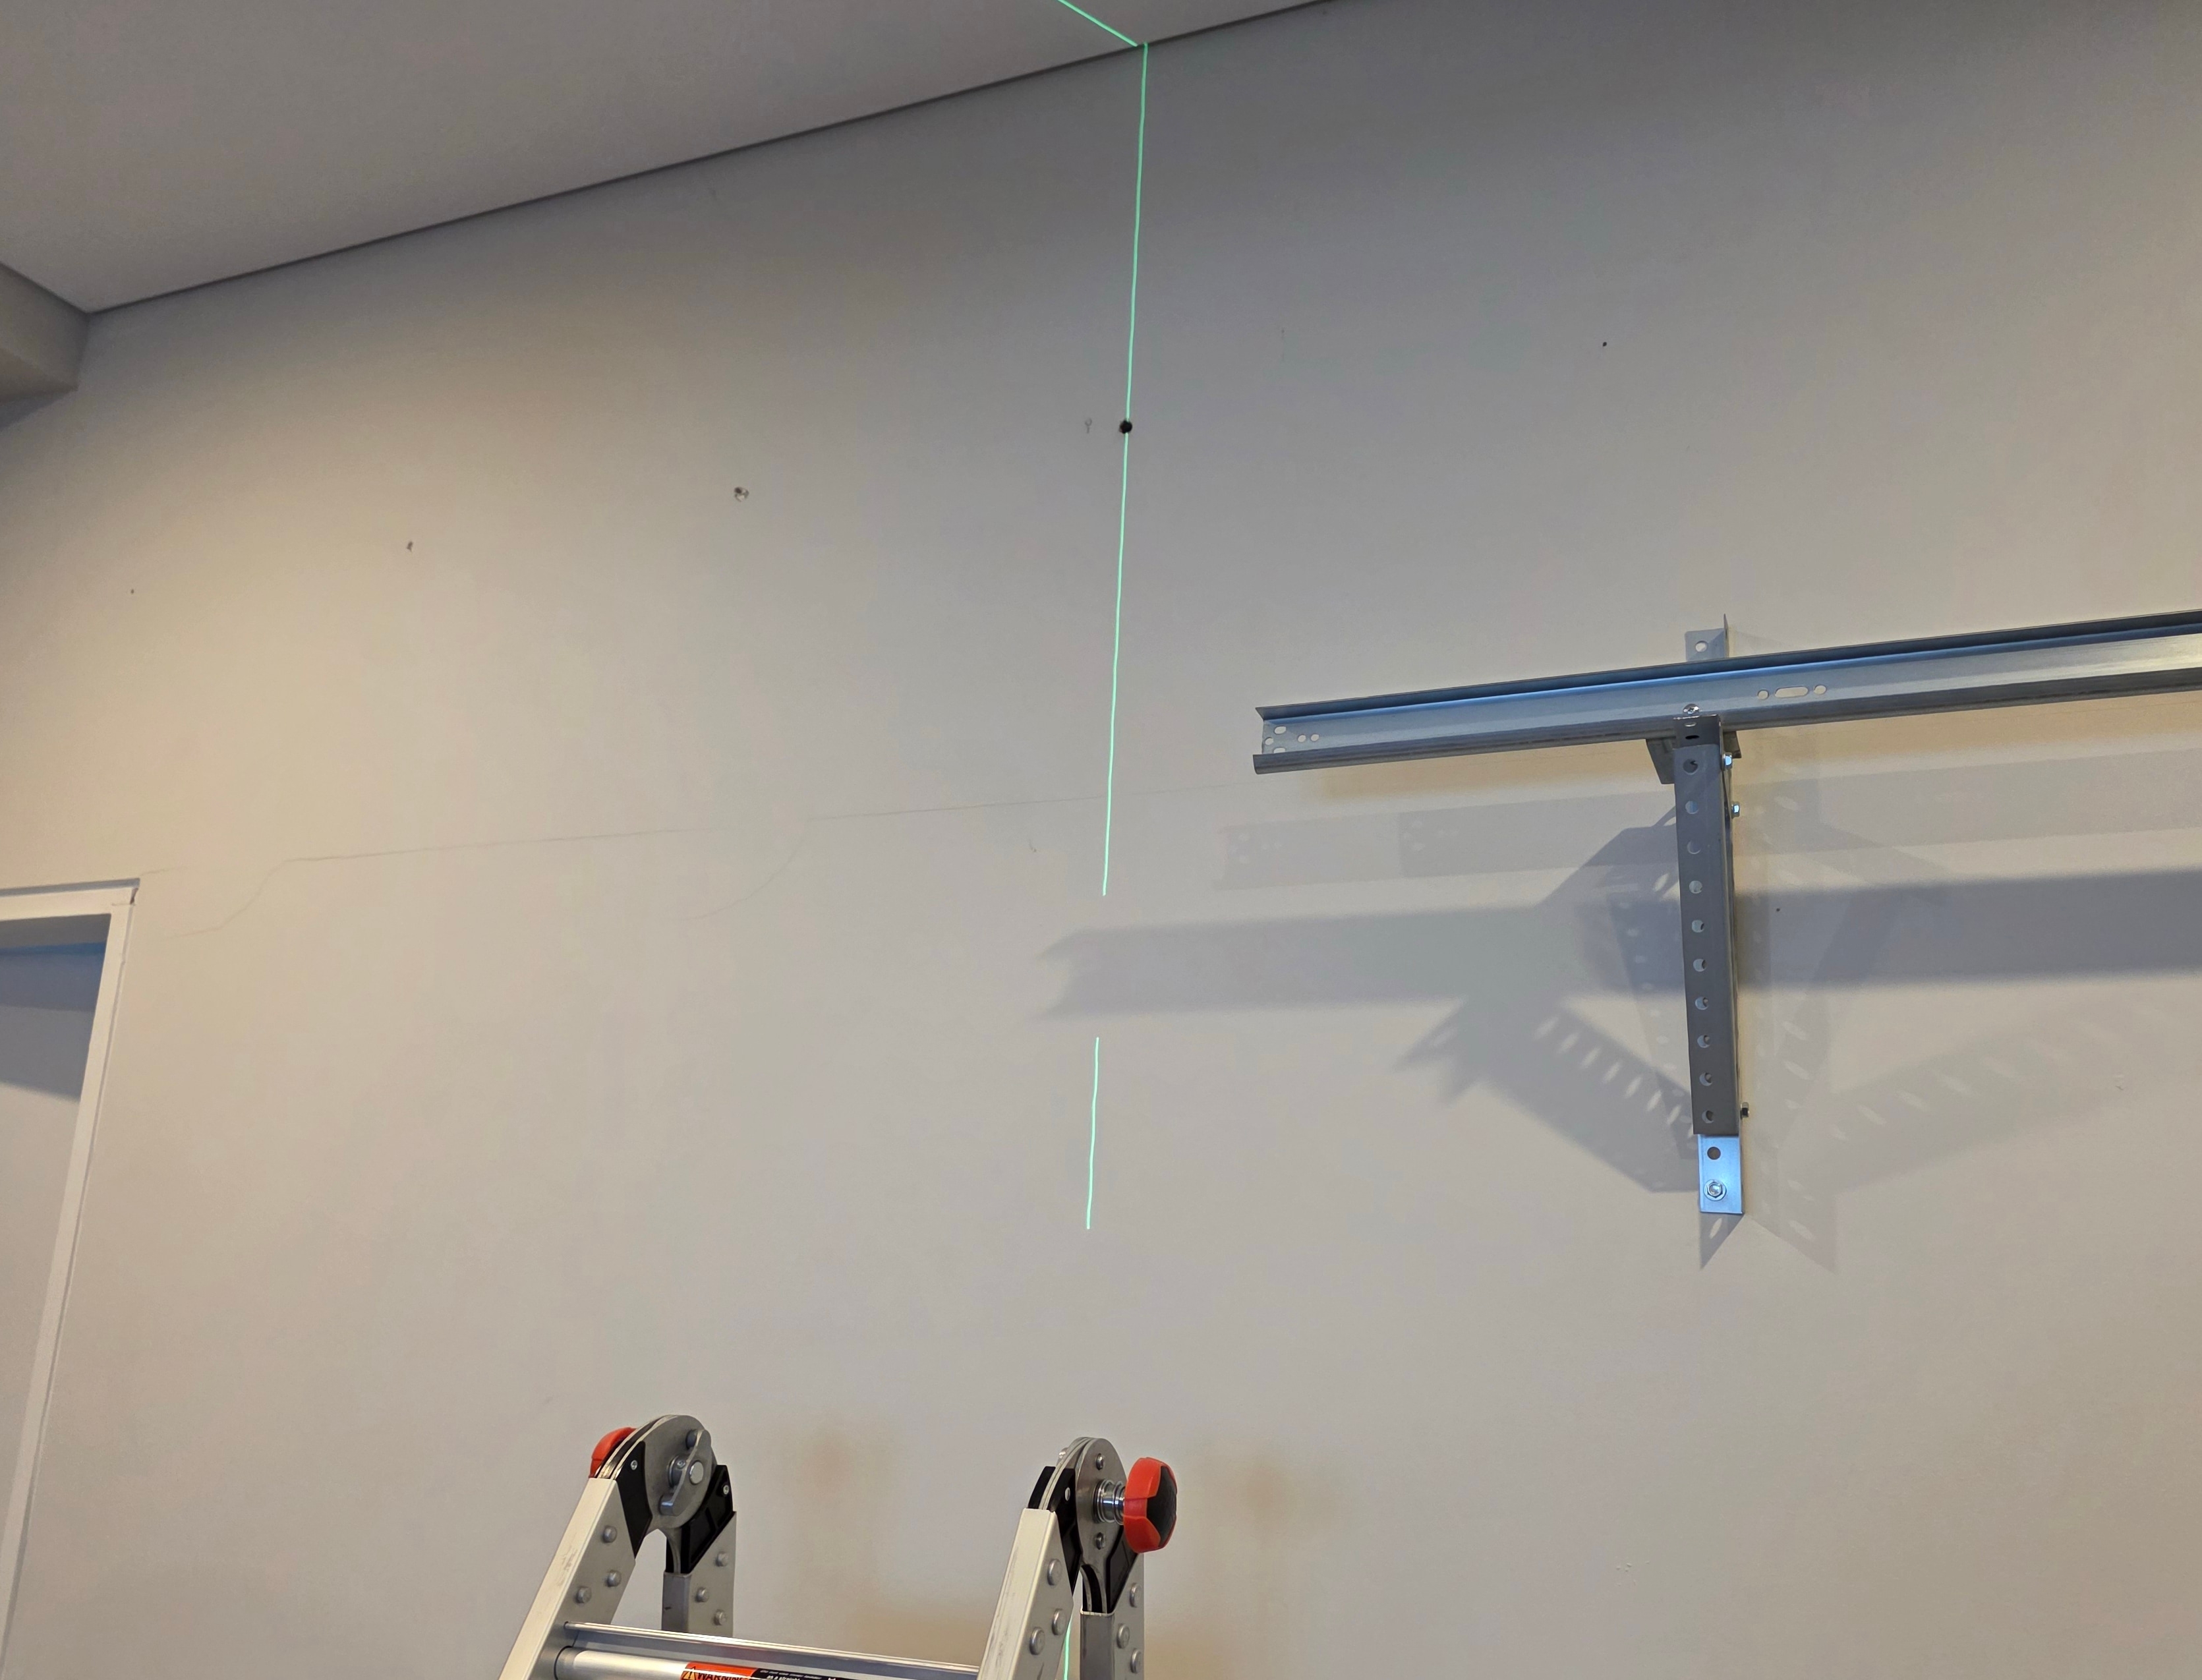
I wanted all eight shelves installed at the same height. The garage-door track was the limiting point, sitting 57cm below the ceiling, so I used that measurement across the garage.
Tools
SDS Hammer Drill
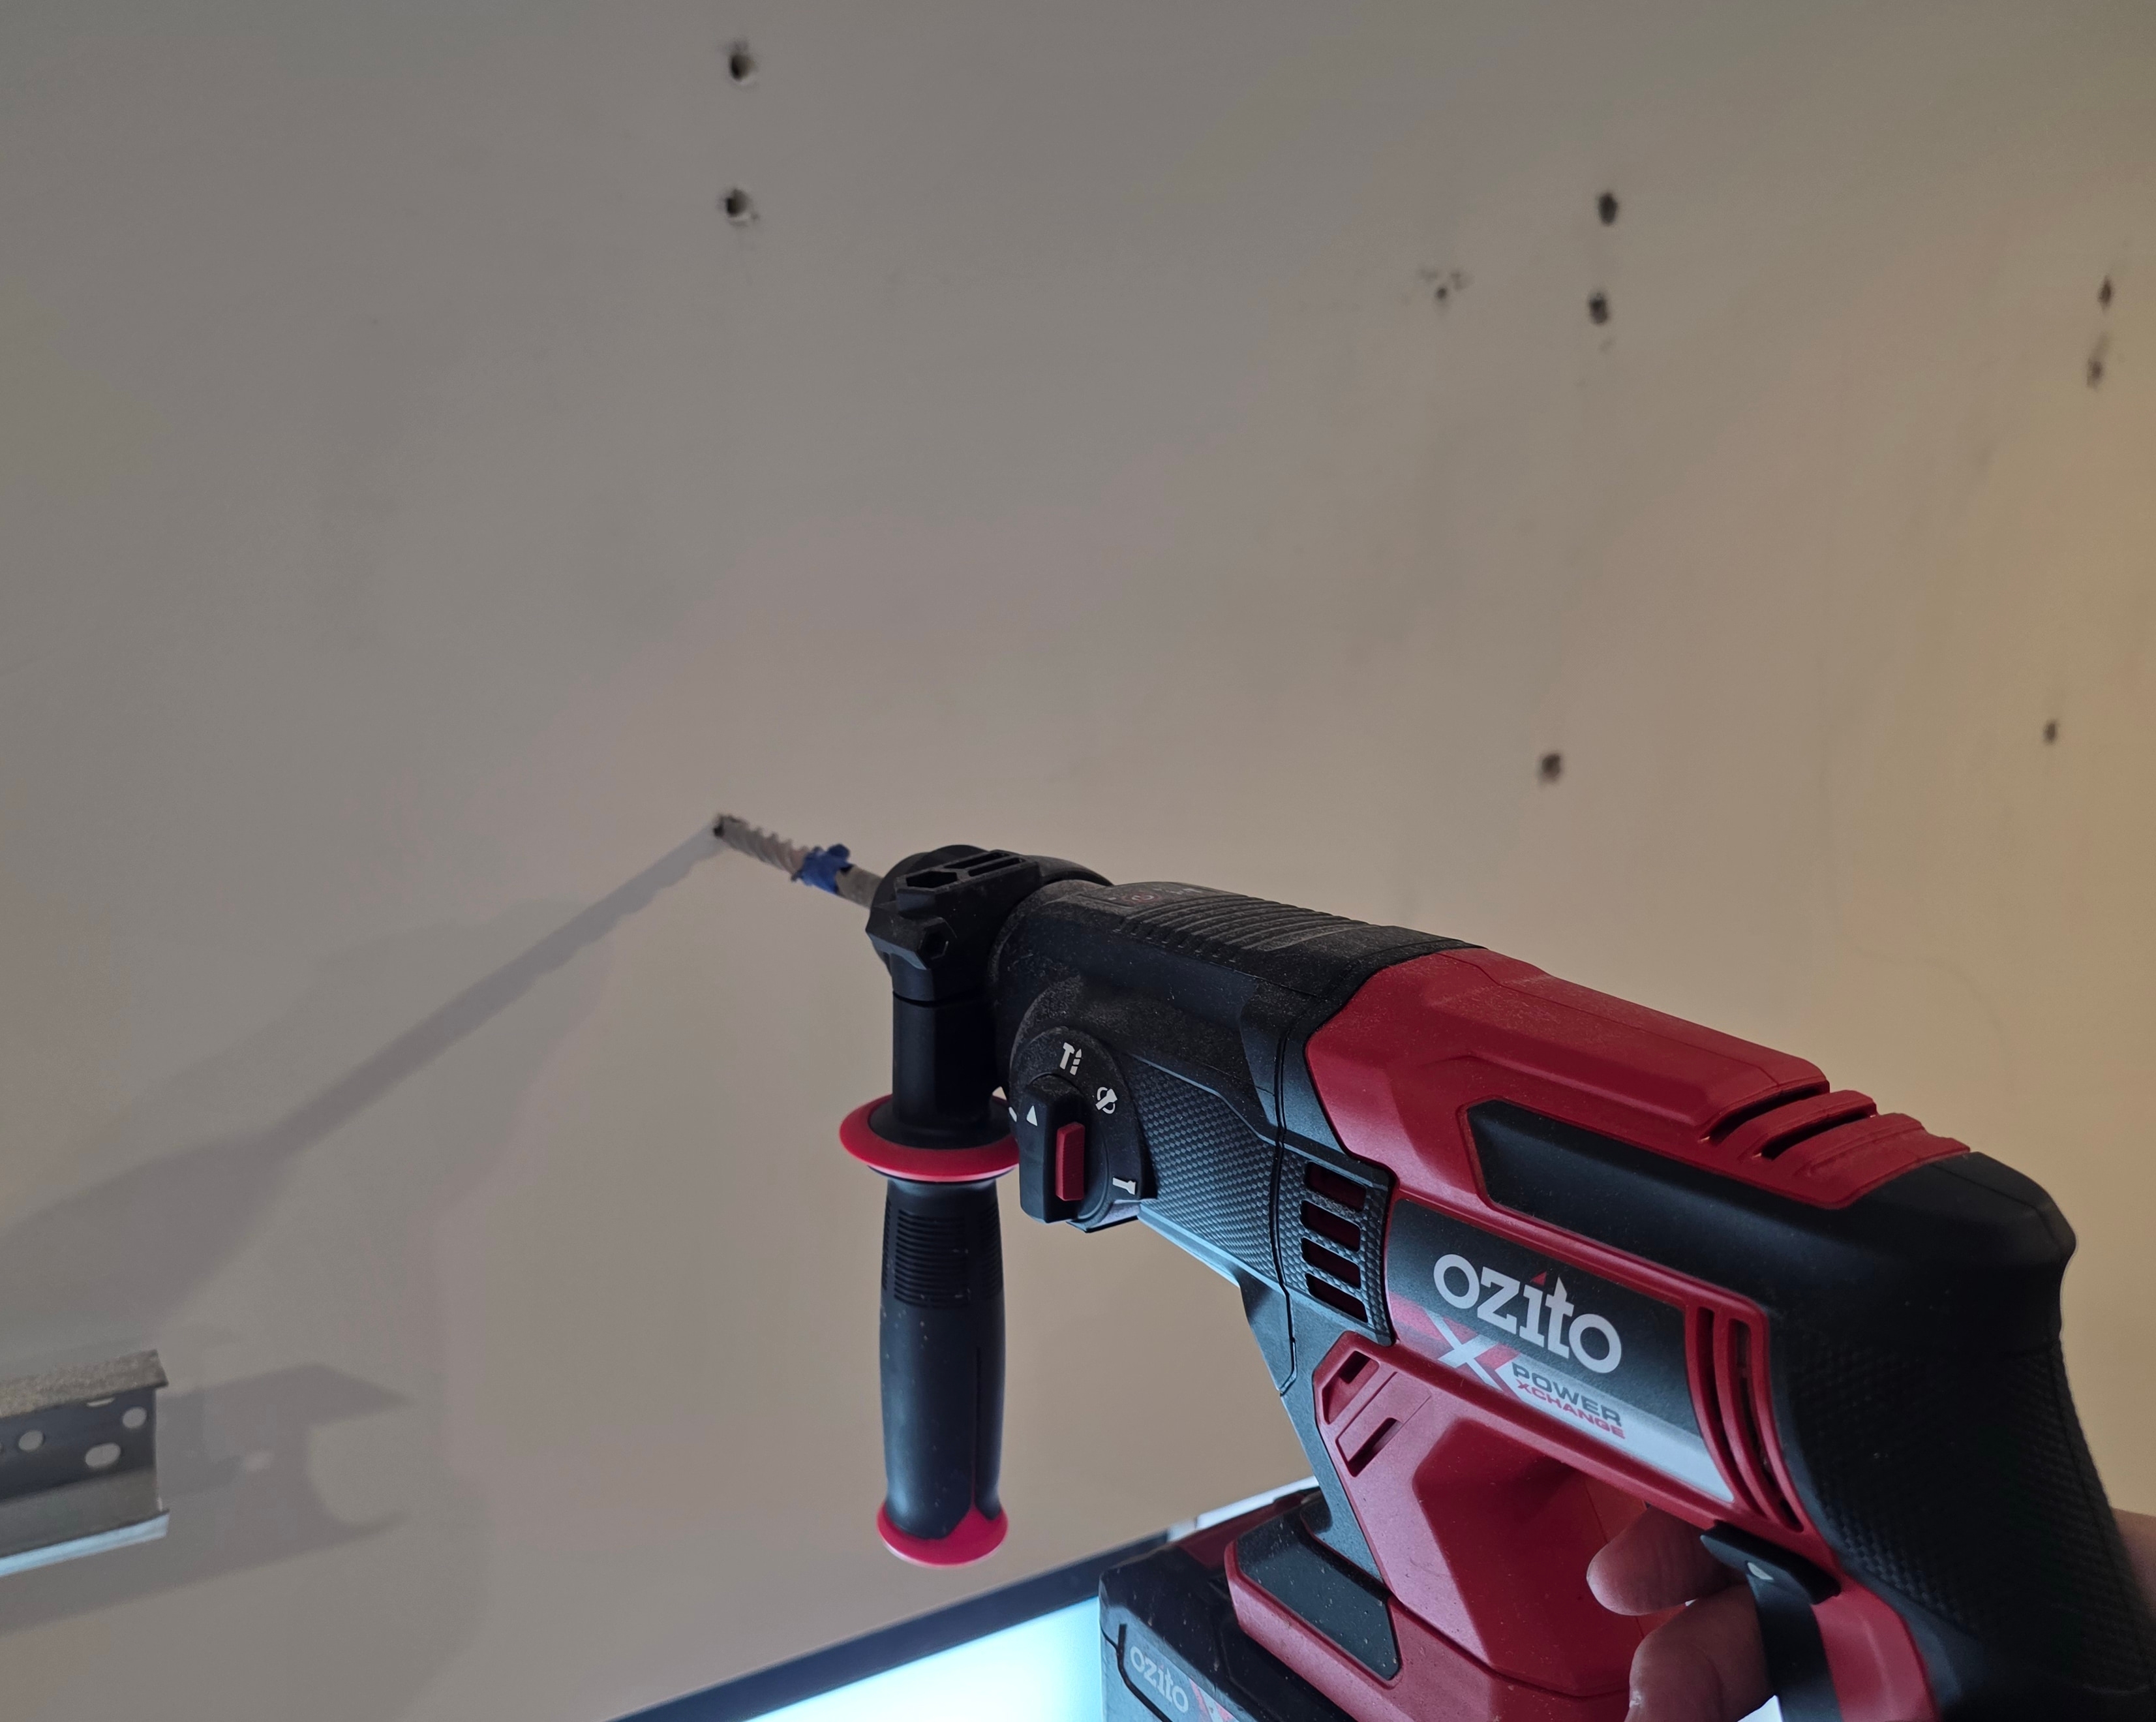
Eight shelves meant 32 brackets and 96 wall holes, so using a normal cordless hammer drill did not make much sense. I bought an Ozito PXC 18V PXRHS-180 SDS-plus rotary hammer instead. It runs on the Ozito batteries I already own and is light enough to hold overhead repeatedly. An SDS rotary hammer uses a piston mechanism to strike the bit, so the tool does the work instead of relying on me leaning into it for every hole.
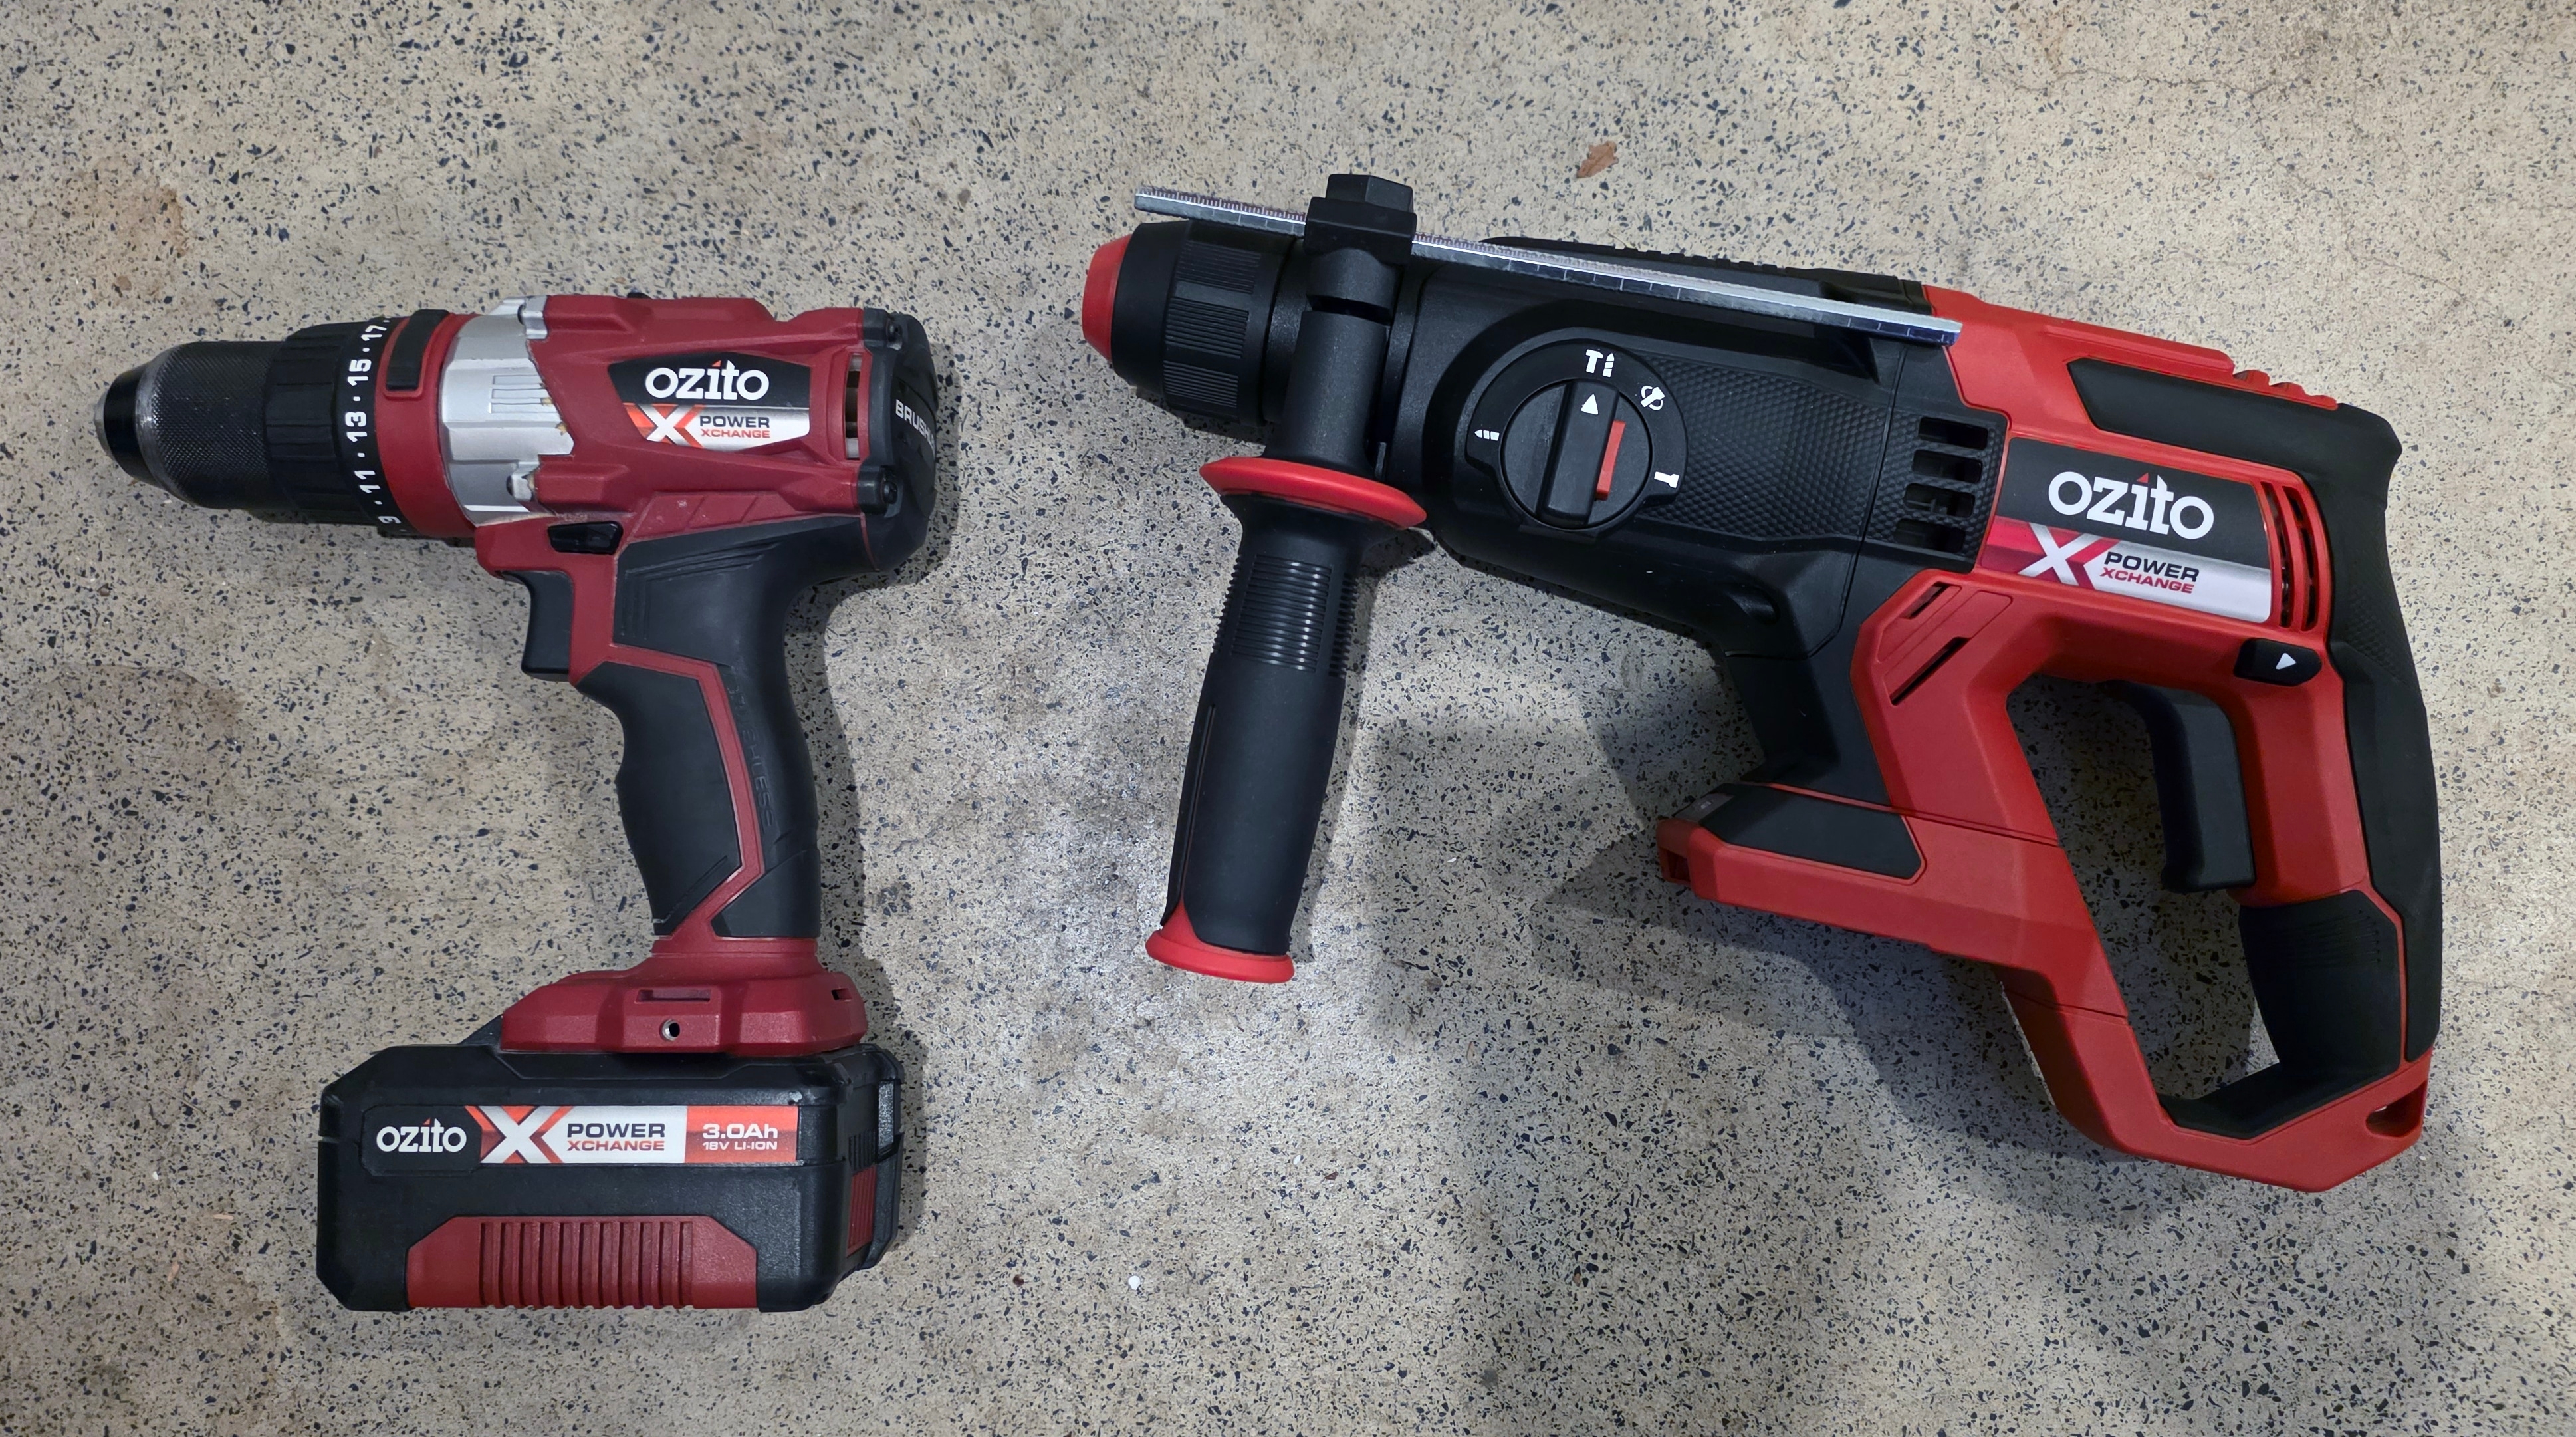
I paired it with a Kango K4 SDS-plus drill bit. The K4 has a four-cutter carbide head, which made sense for the number of repeated holes. The bit still looked as good as new once I was finished.
Levels
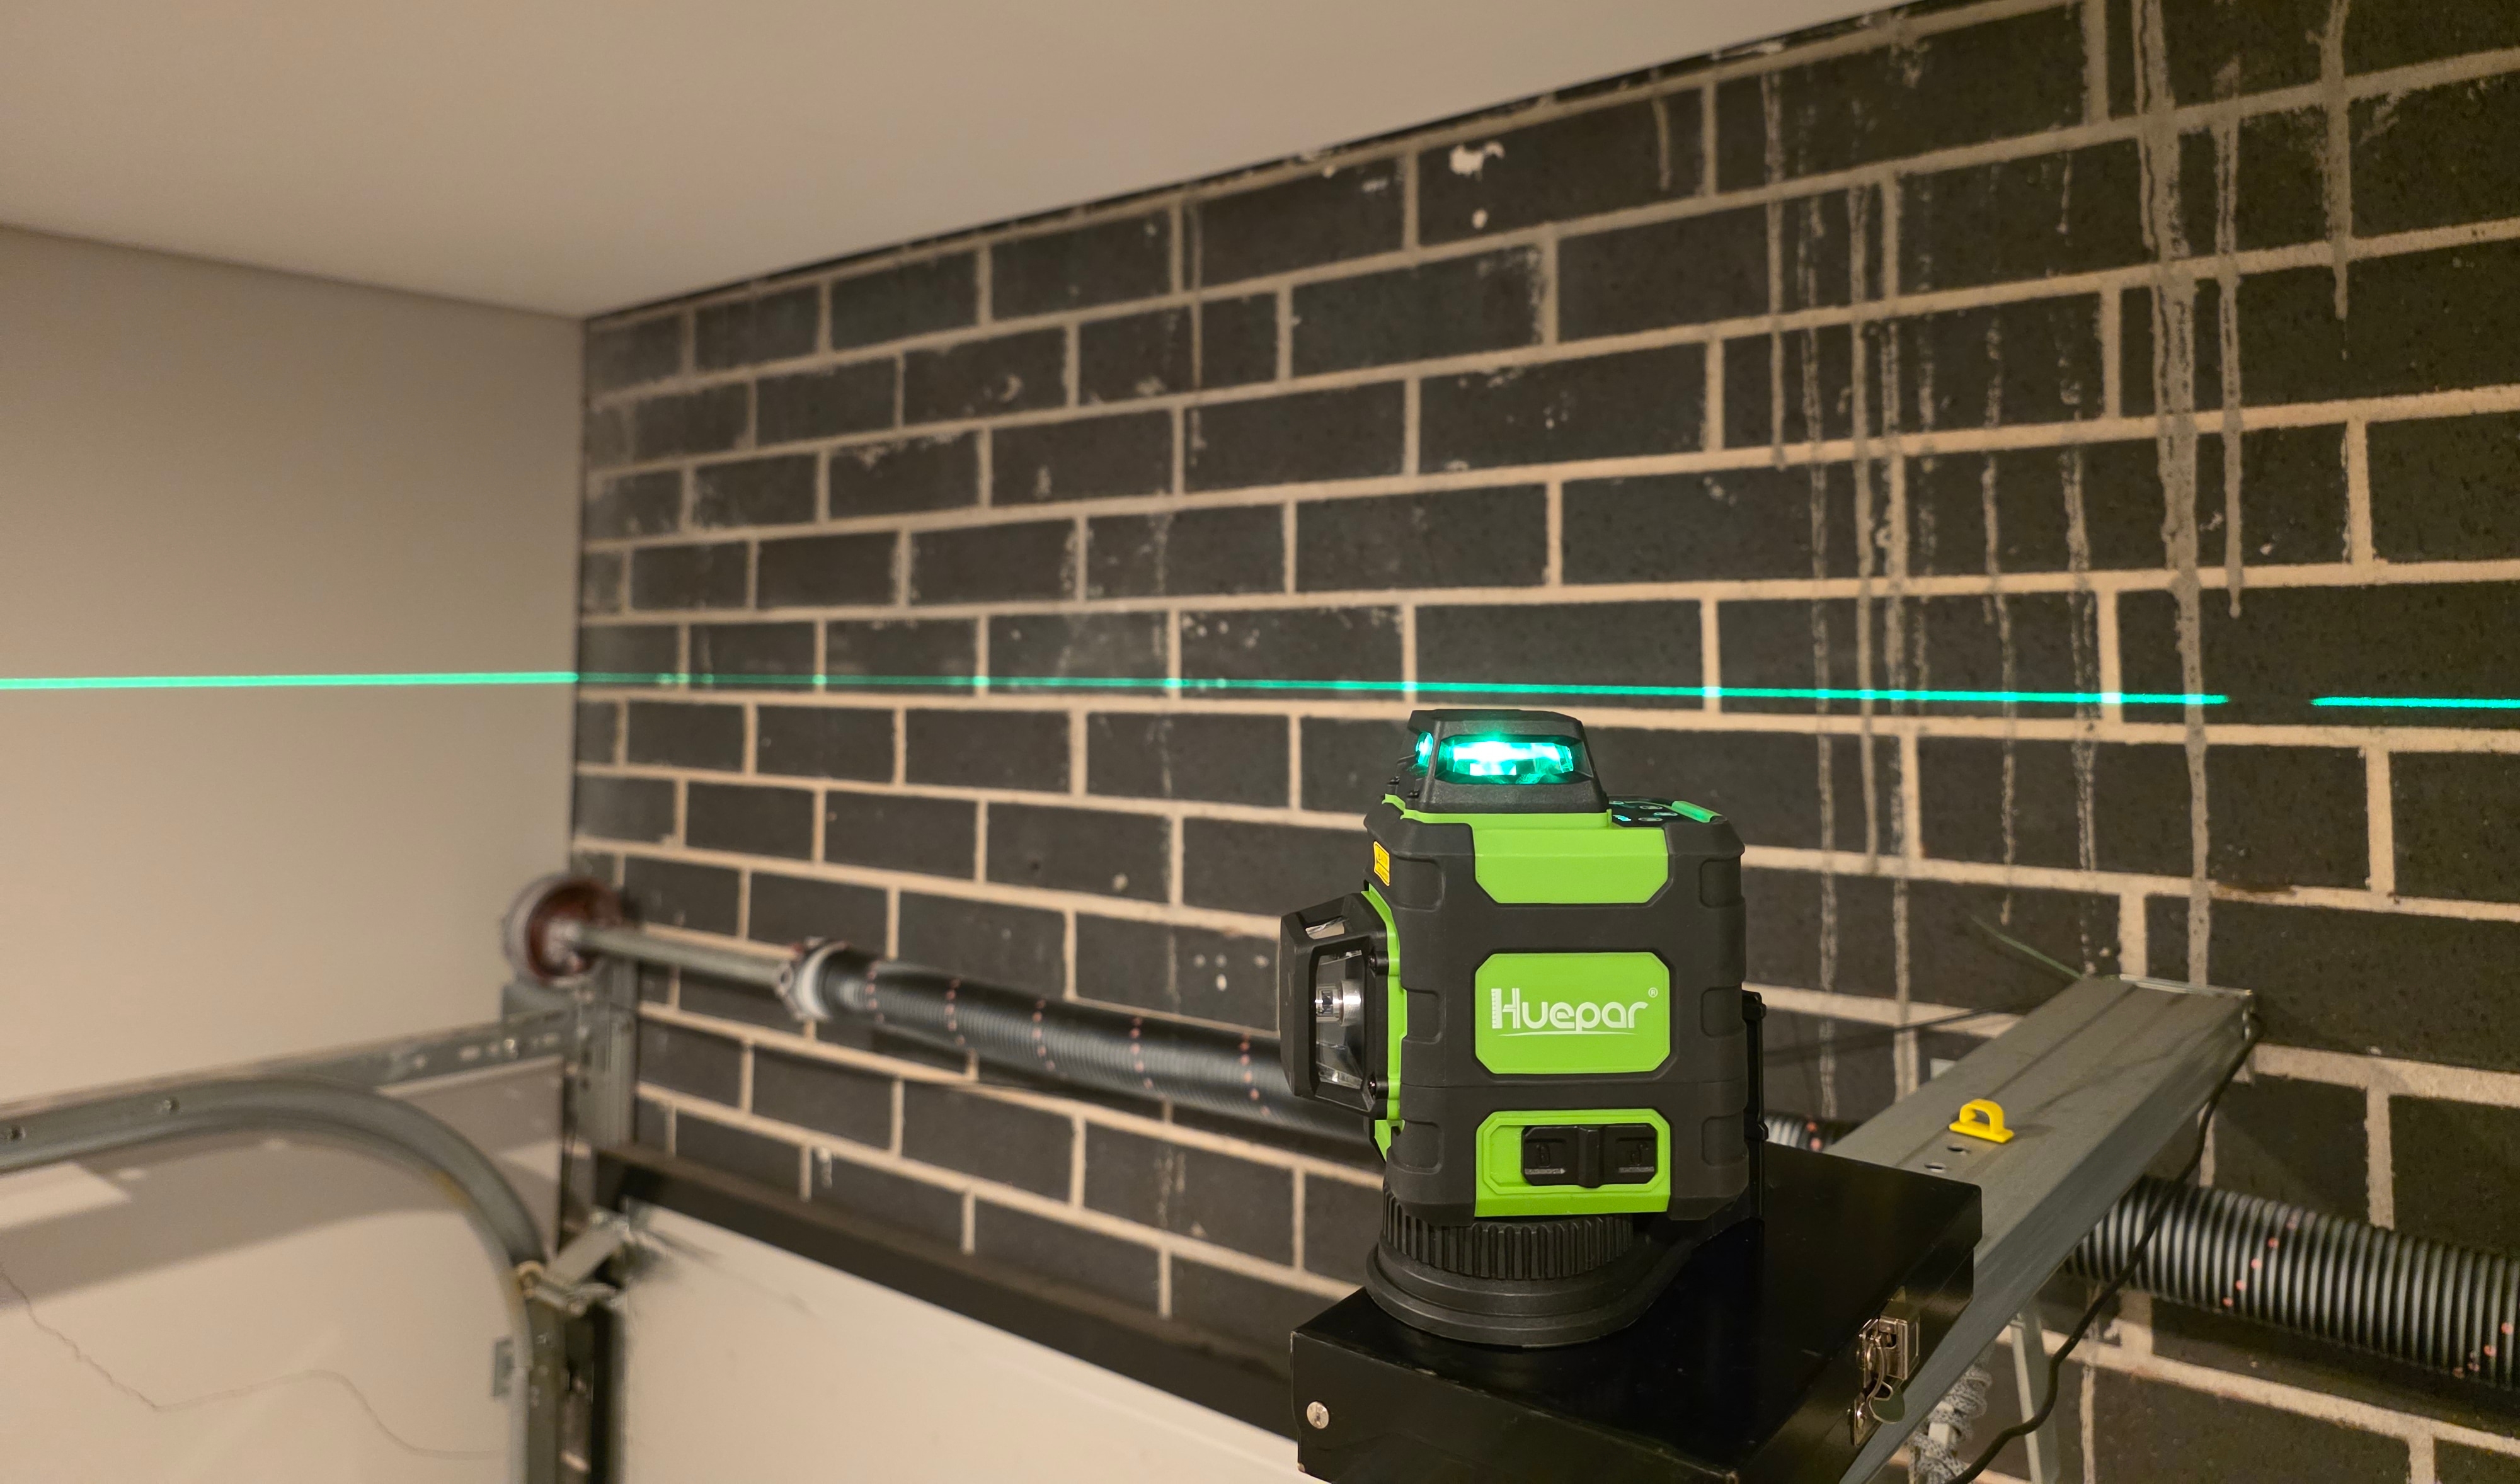
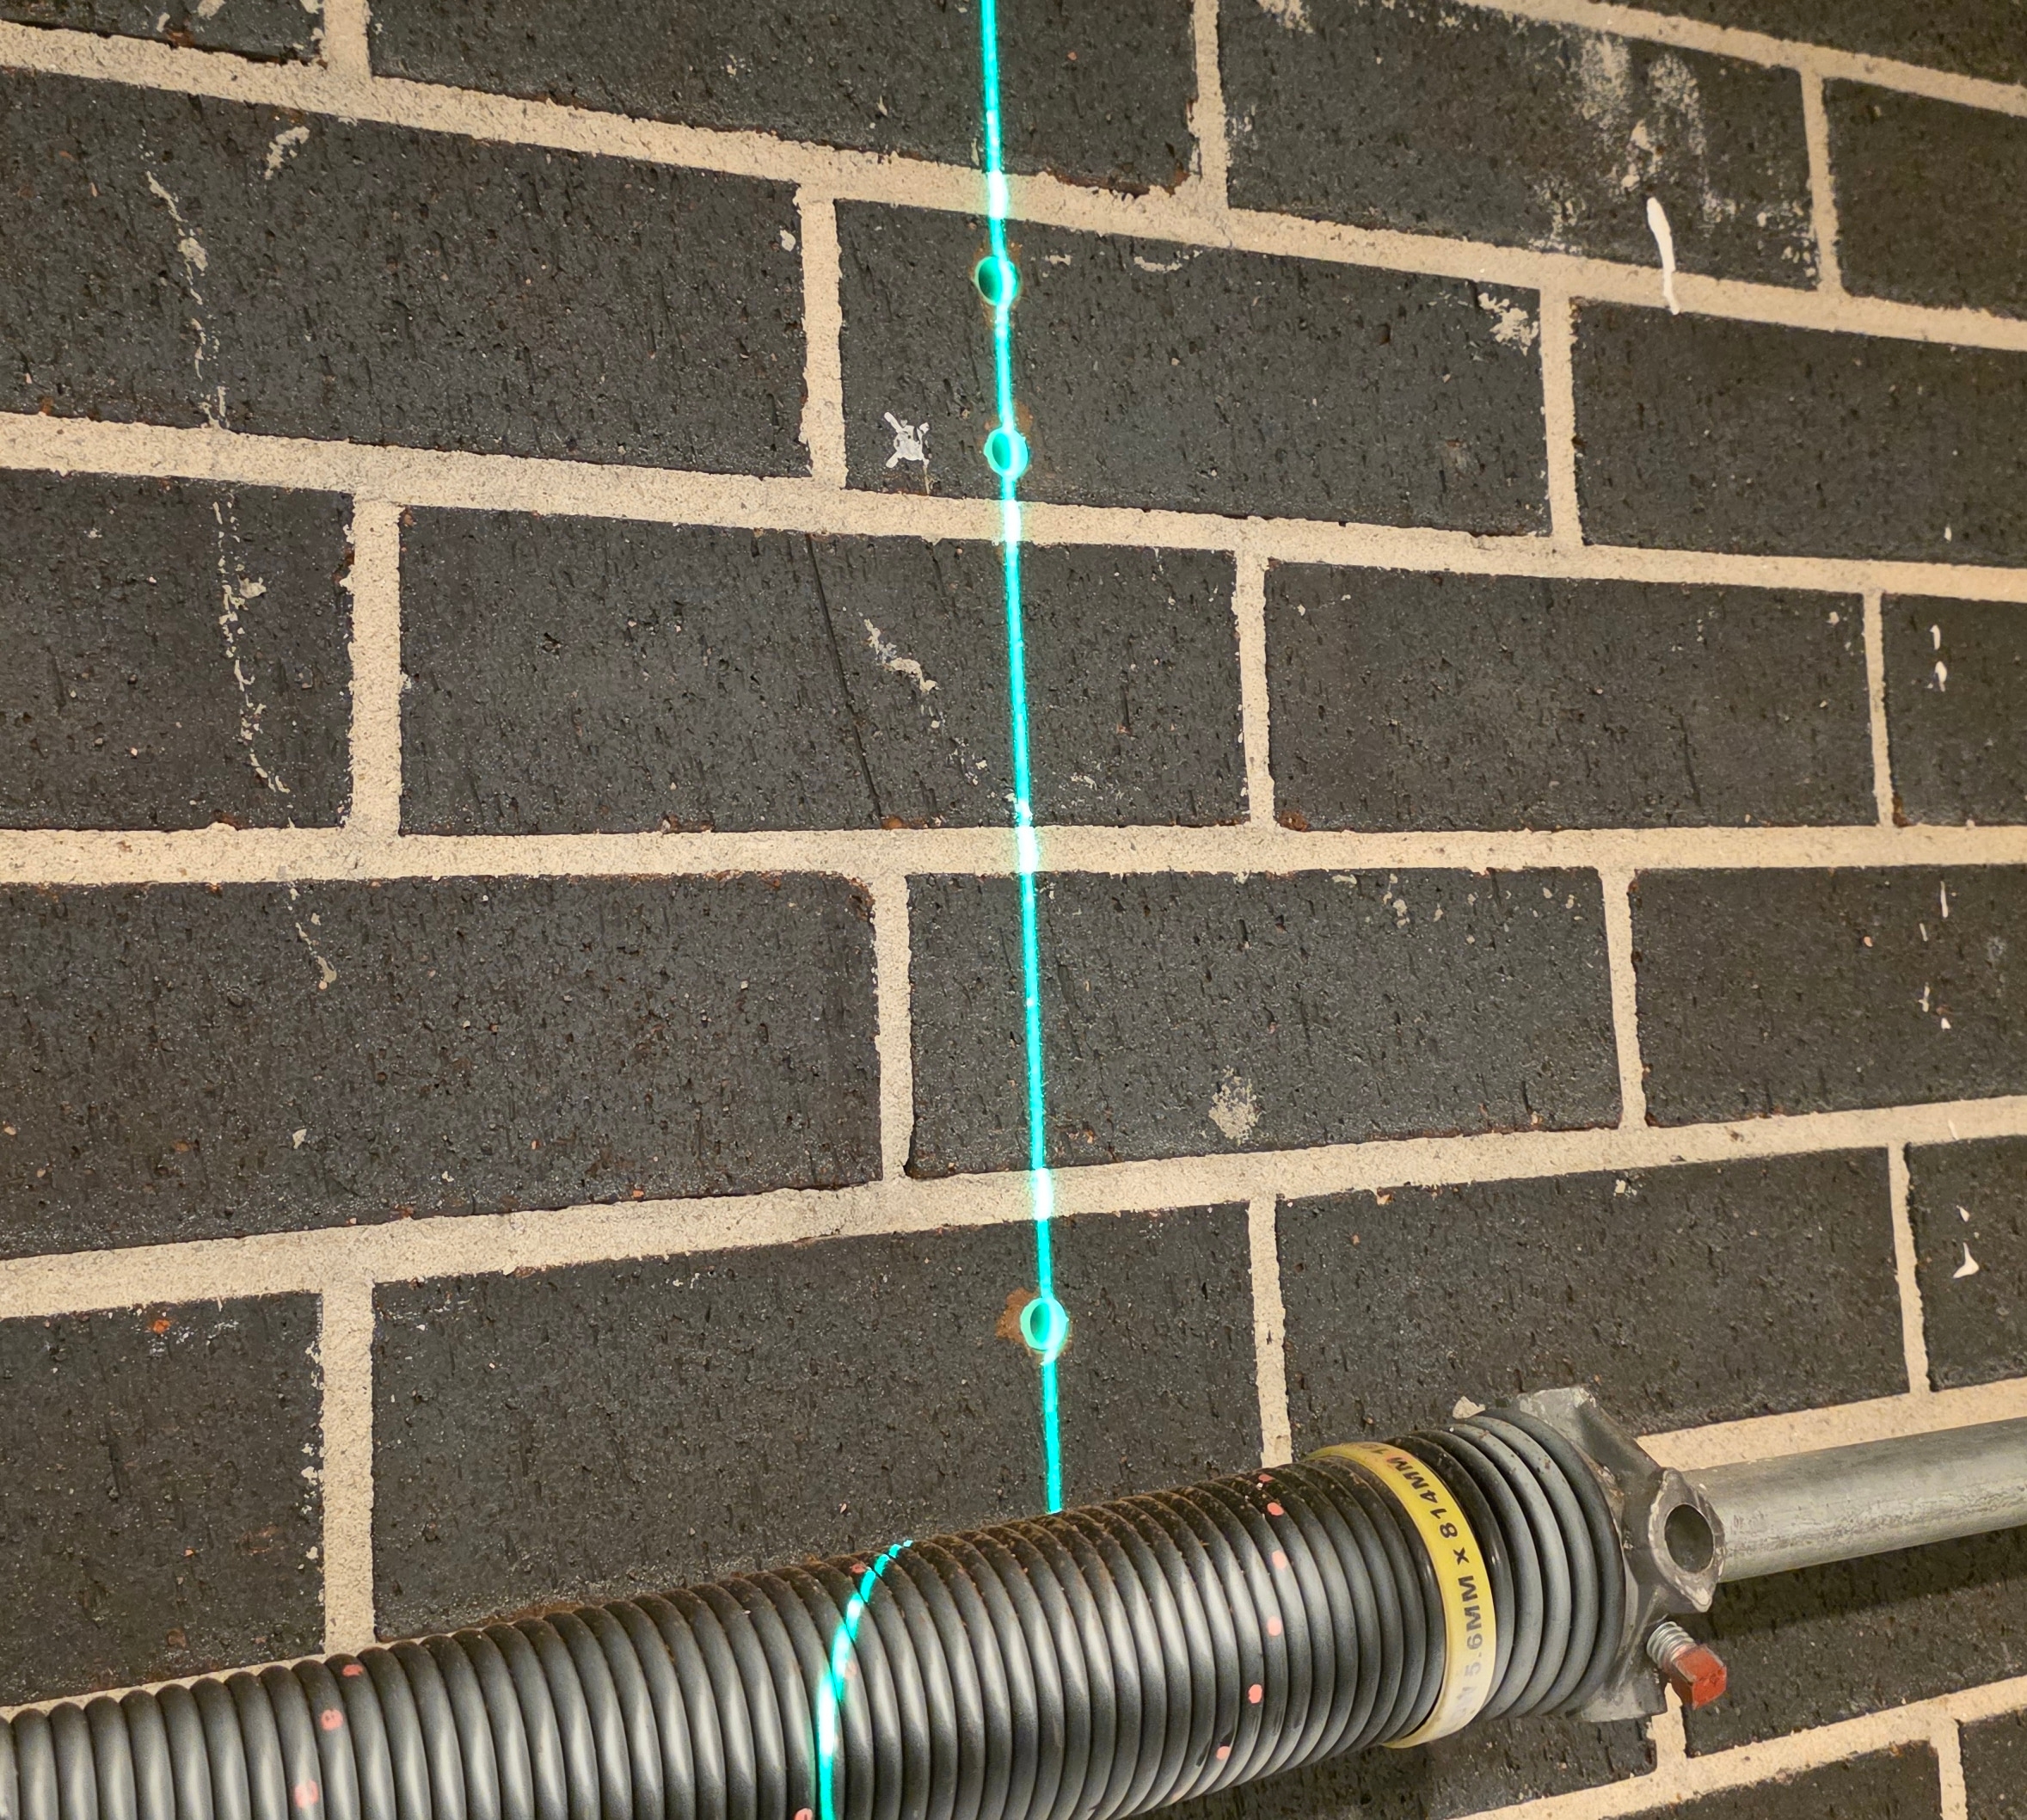
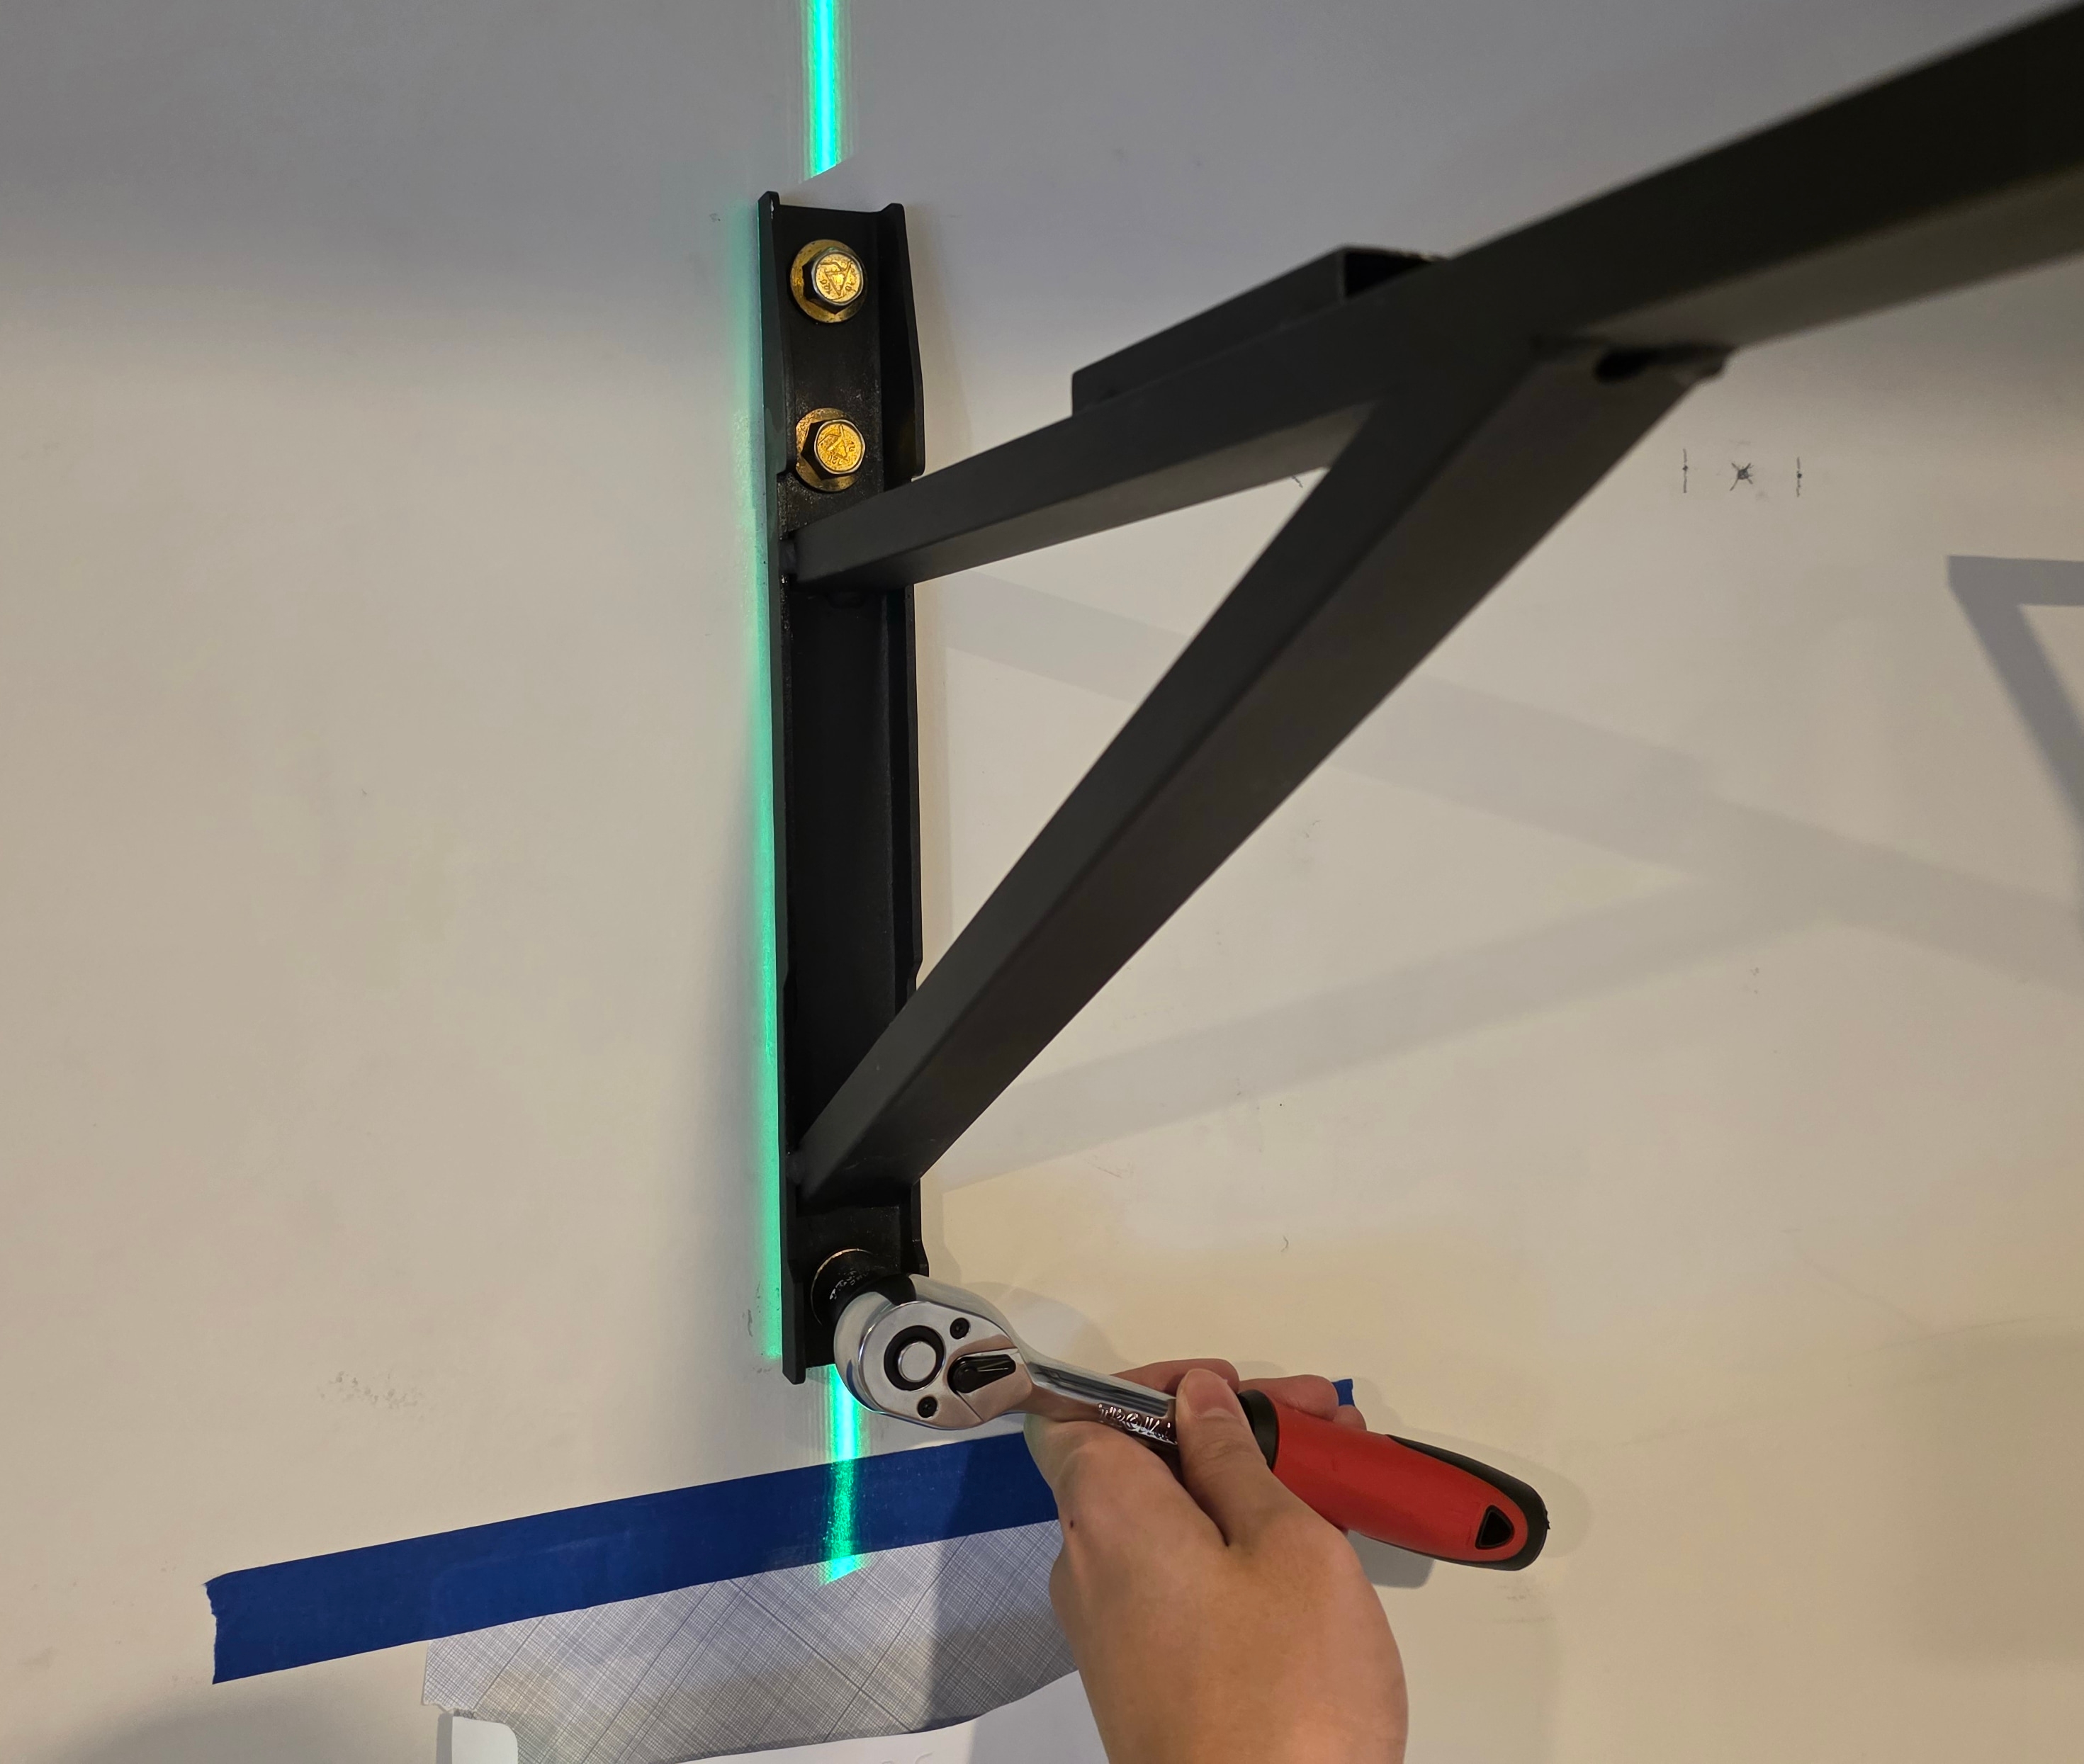
The Huepar laser level carried the 57cm reference line around the garage, keeping all eight shelves at the same height. I then used a Stanley spirit level to mark the fixing points for each bracket.
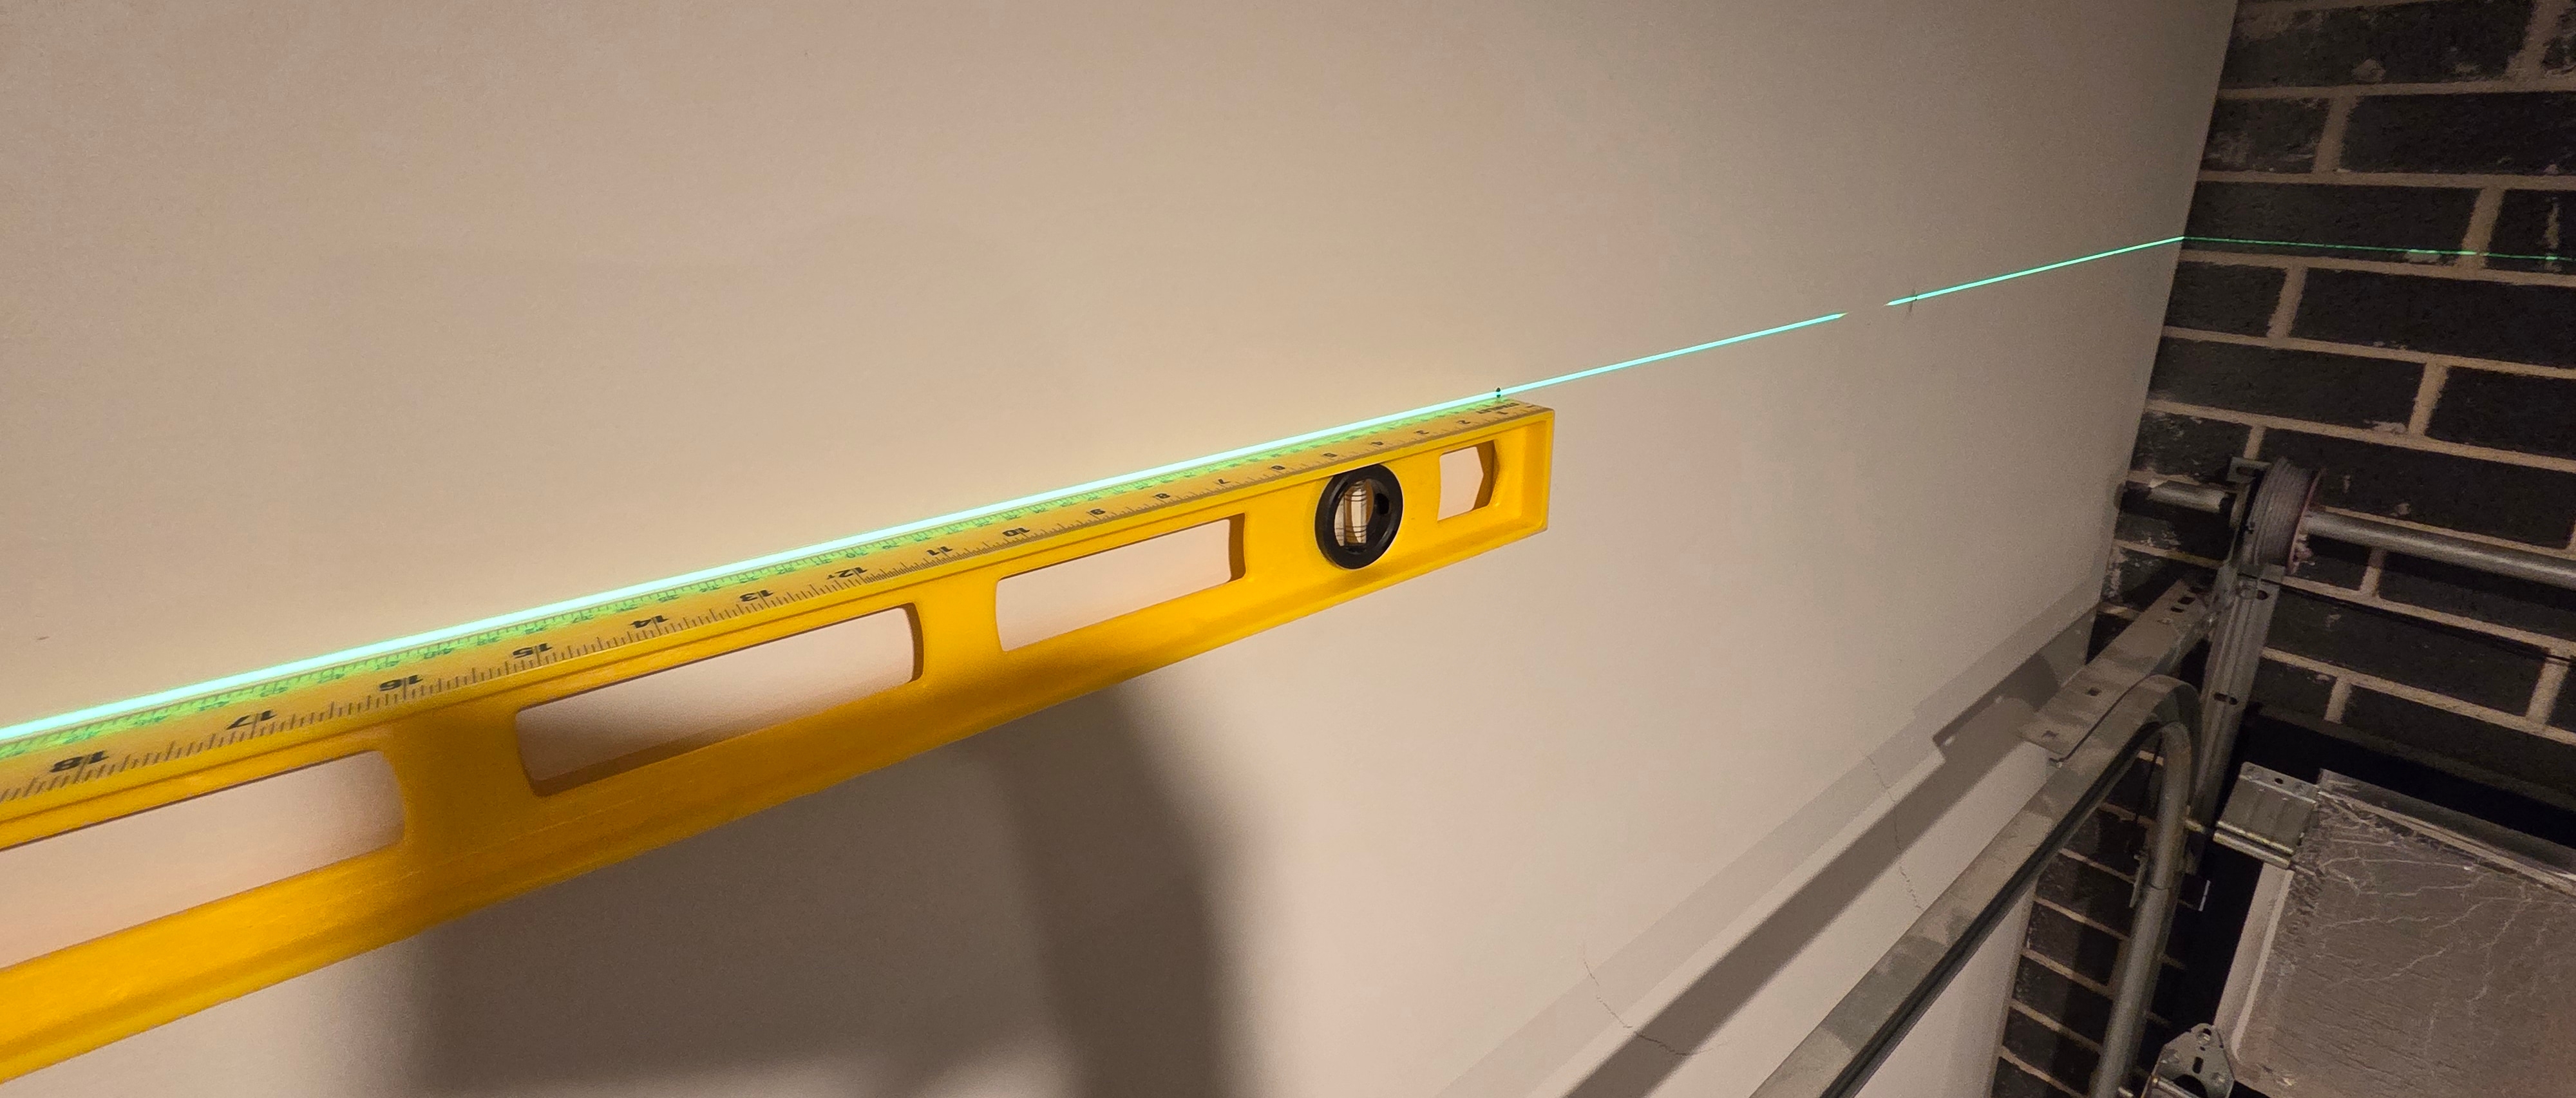
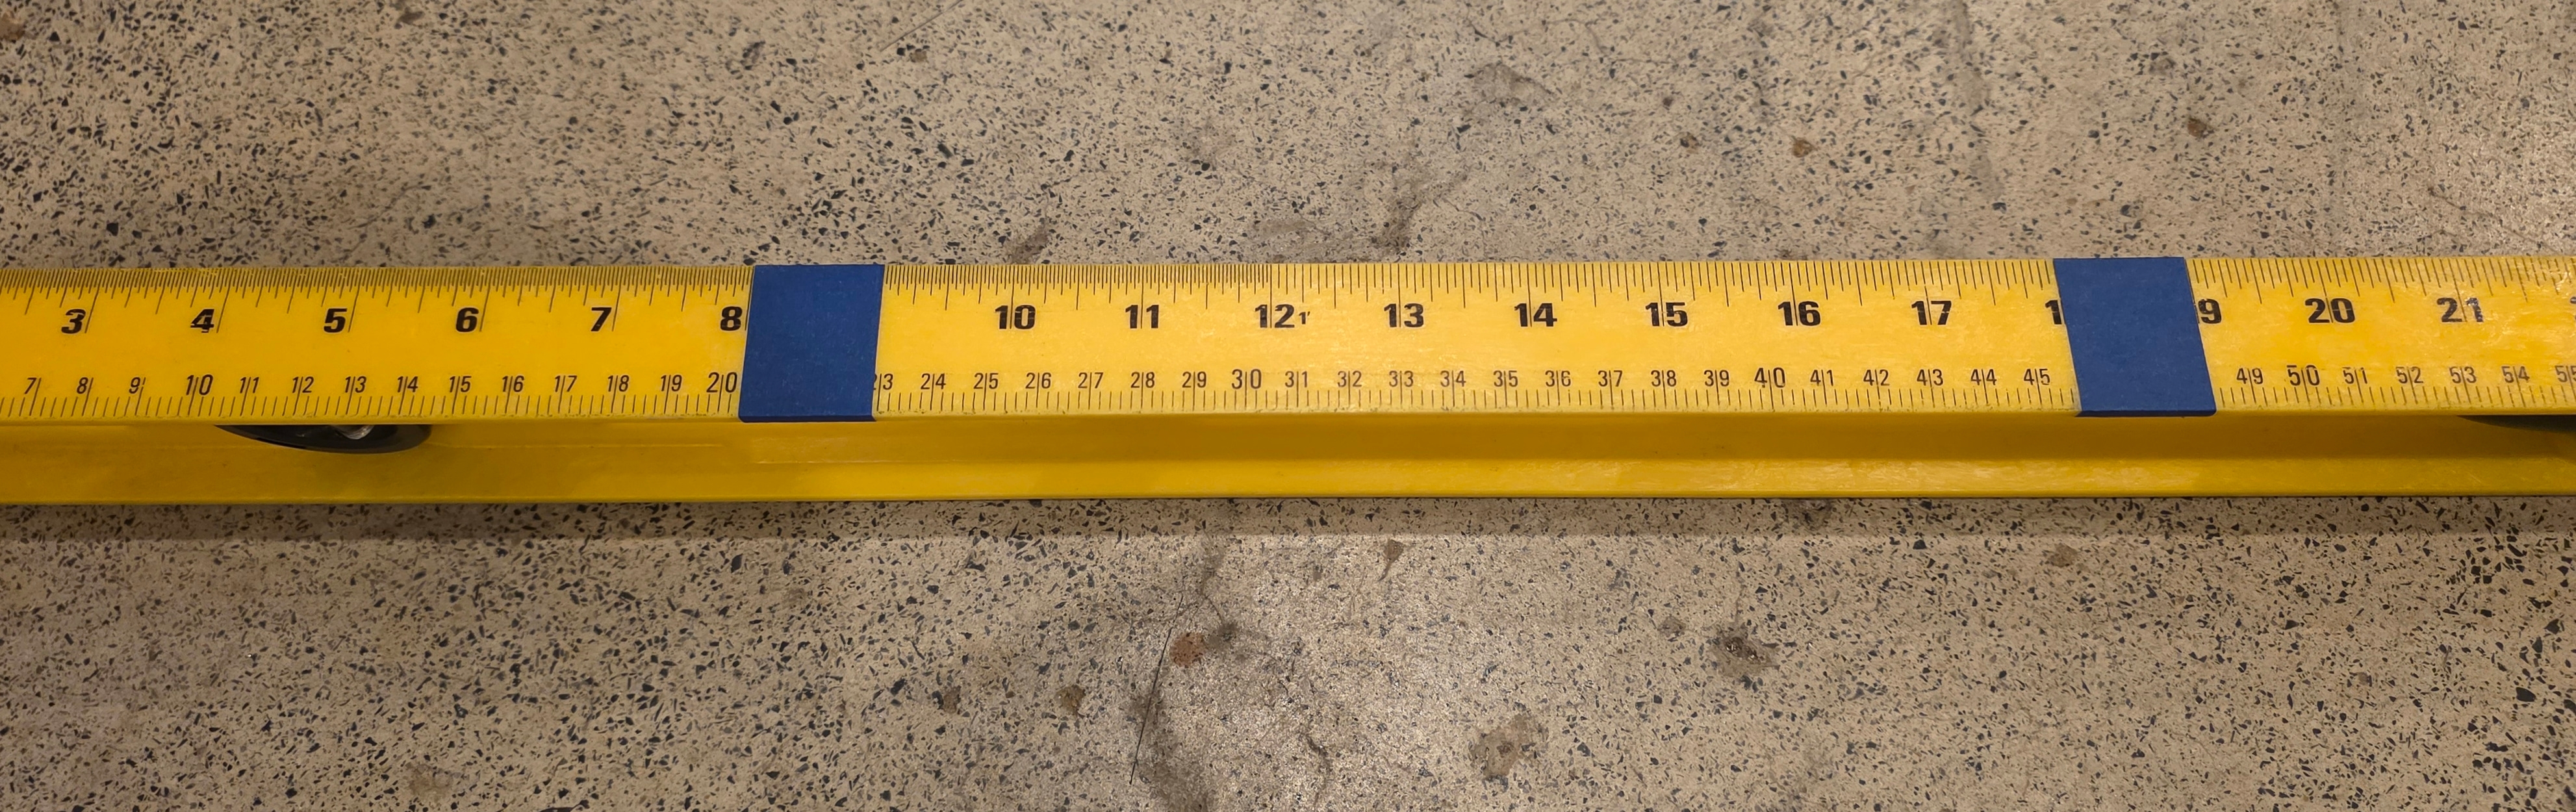
I added tape markers for the spacing between the three fixing holes. This let me transfer the same measurements to all 32 brackets without reading the ruler each time.
Ladders
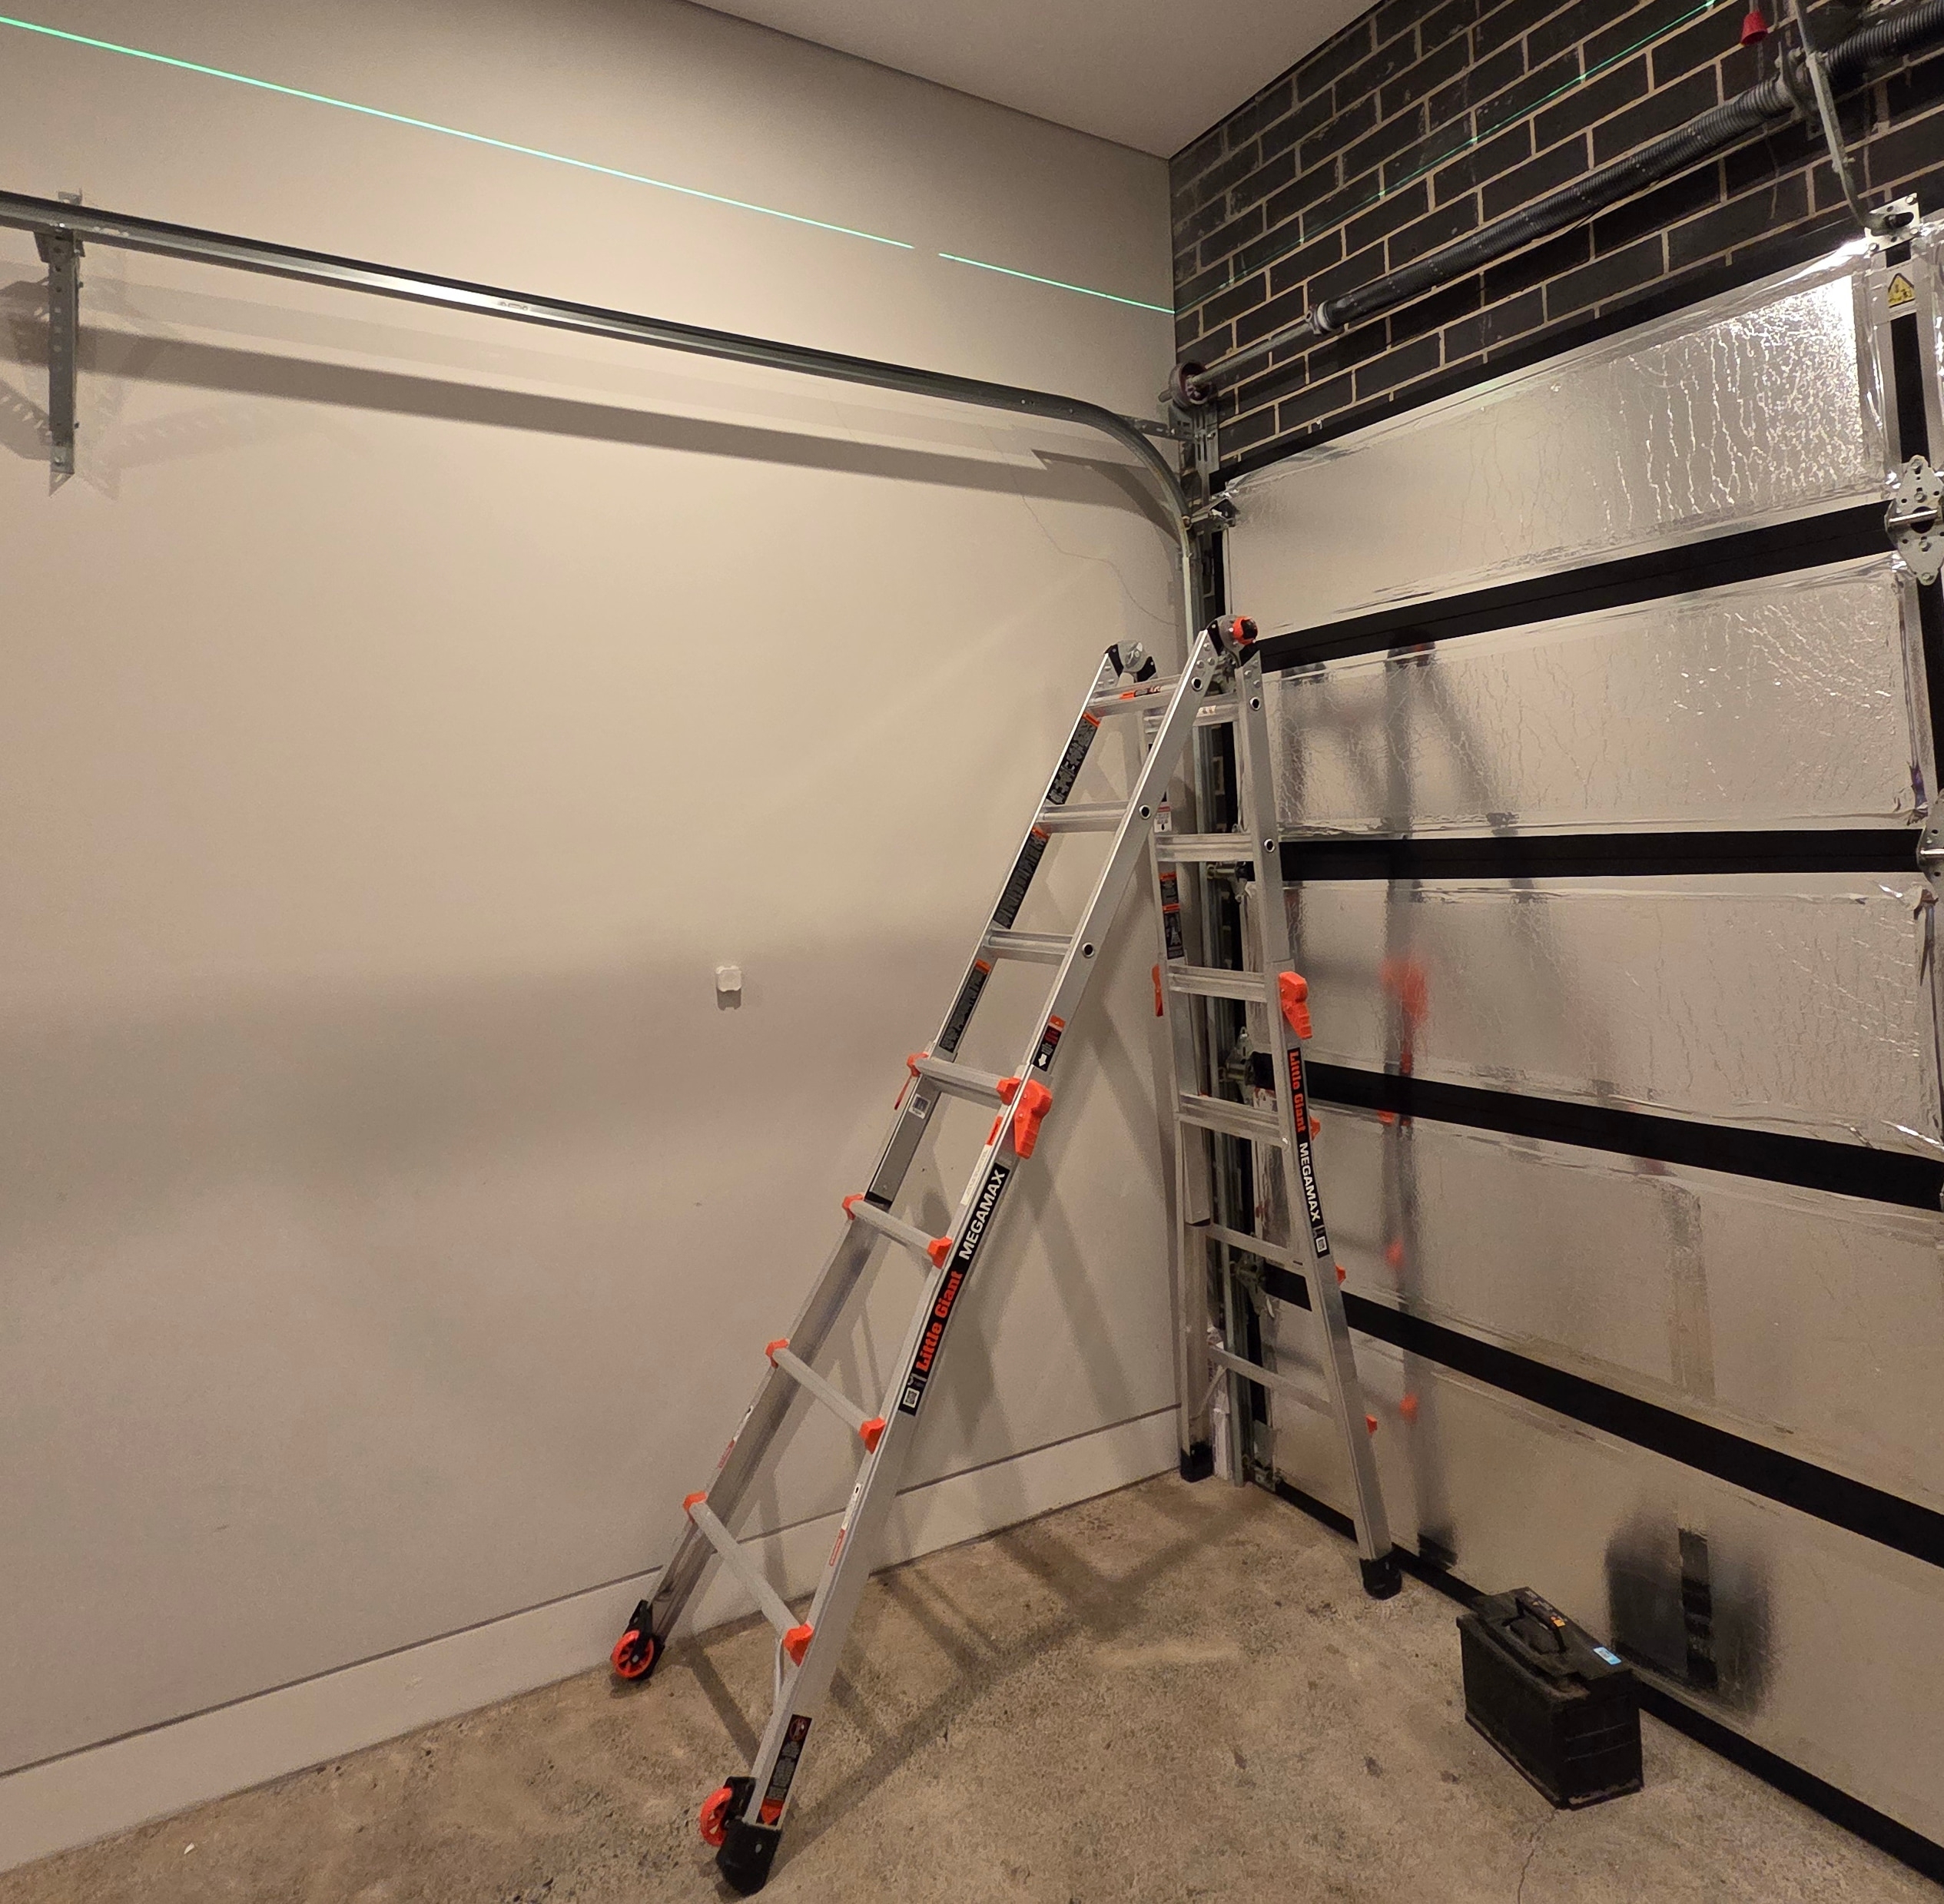
I had friends pick up a Little Giant MegaMax ladder from Costco while it was on sale. It is the Costco Australia-exclusive version of the Velocity 17 ladder.
It is heavy, but both its height and shape are adjustable. I mostly used it in the 90-degree position, which let me work closer to the wall than a normal A-frame ladder.
Installation
The whole project took me about five full working days. None of the individual steps were especially difficult, but every shelf involved climbing the ladder to measure, check, drill and install before moving everything along to the next one. Repeating that process across all eight shelves was where the time went.
Back Wall
The back wall needed a different approach. Its plasterboard is fixed to metal furring channels with a much larger cavity before the brick. The supplied fixings could reach the masonry, but were not long enough to anchor into it properly.

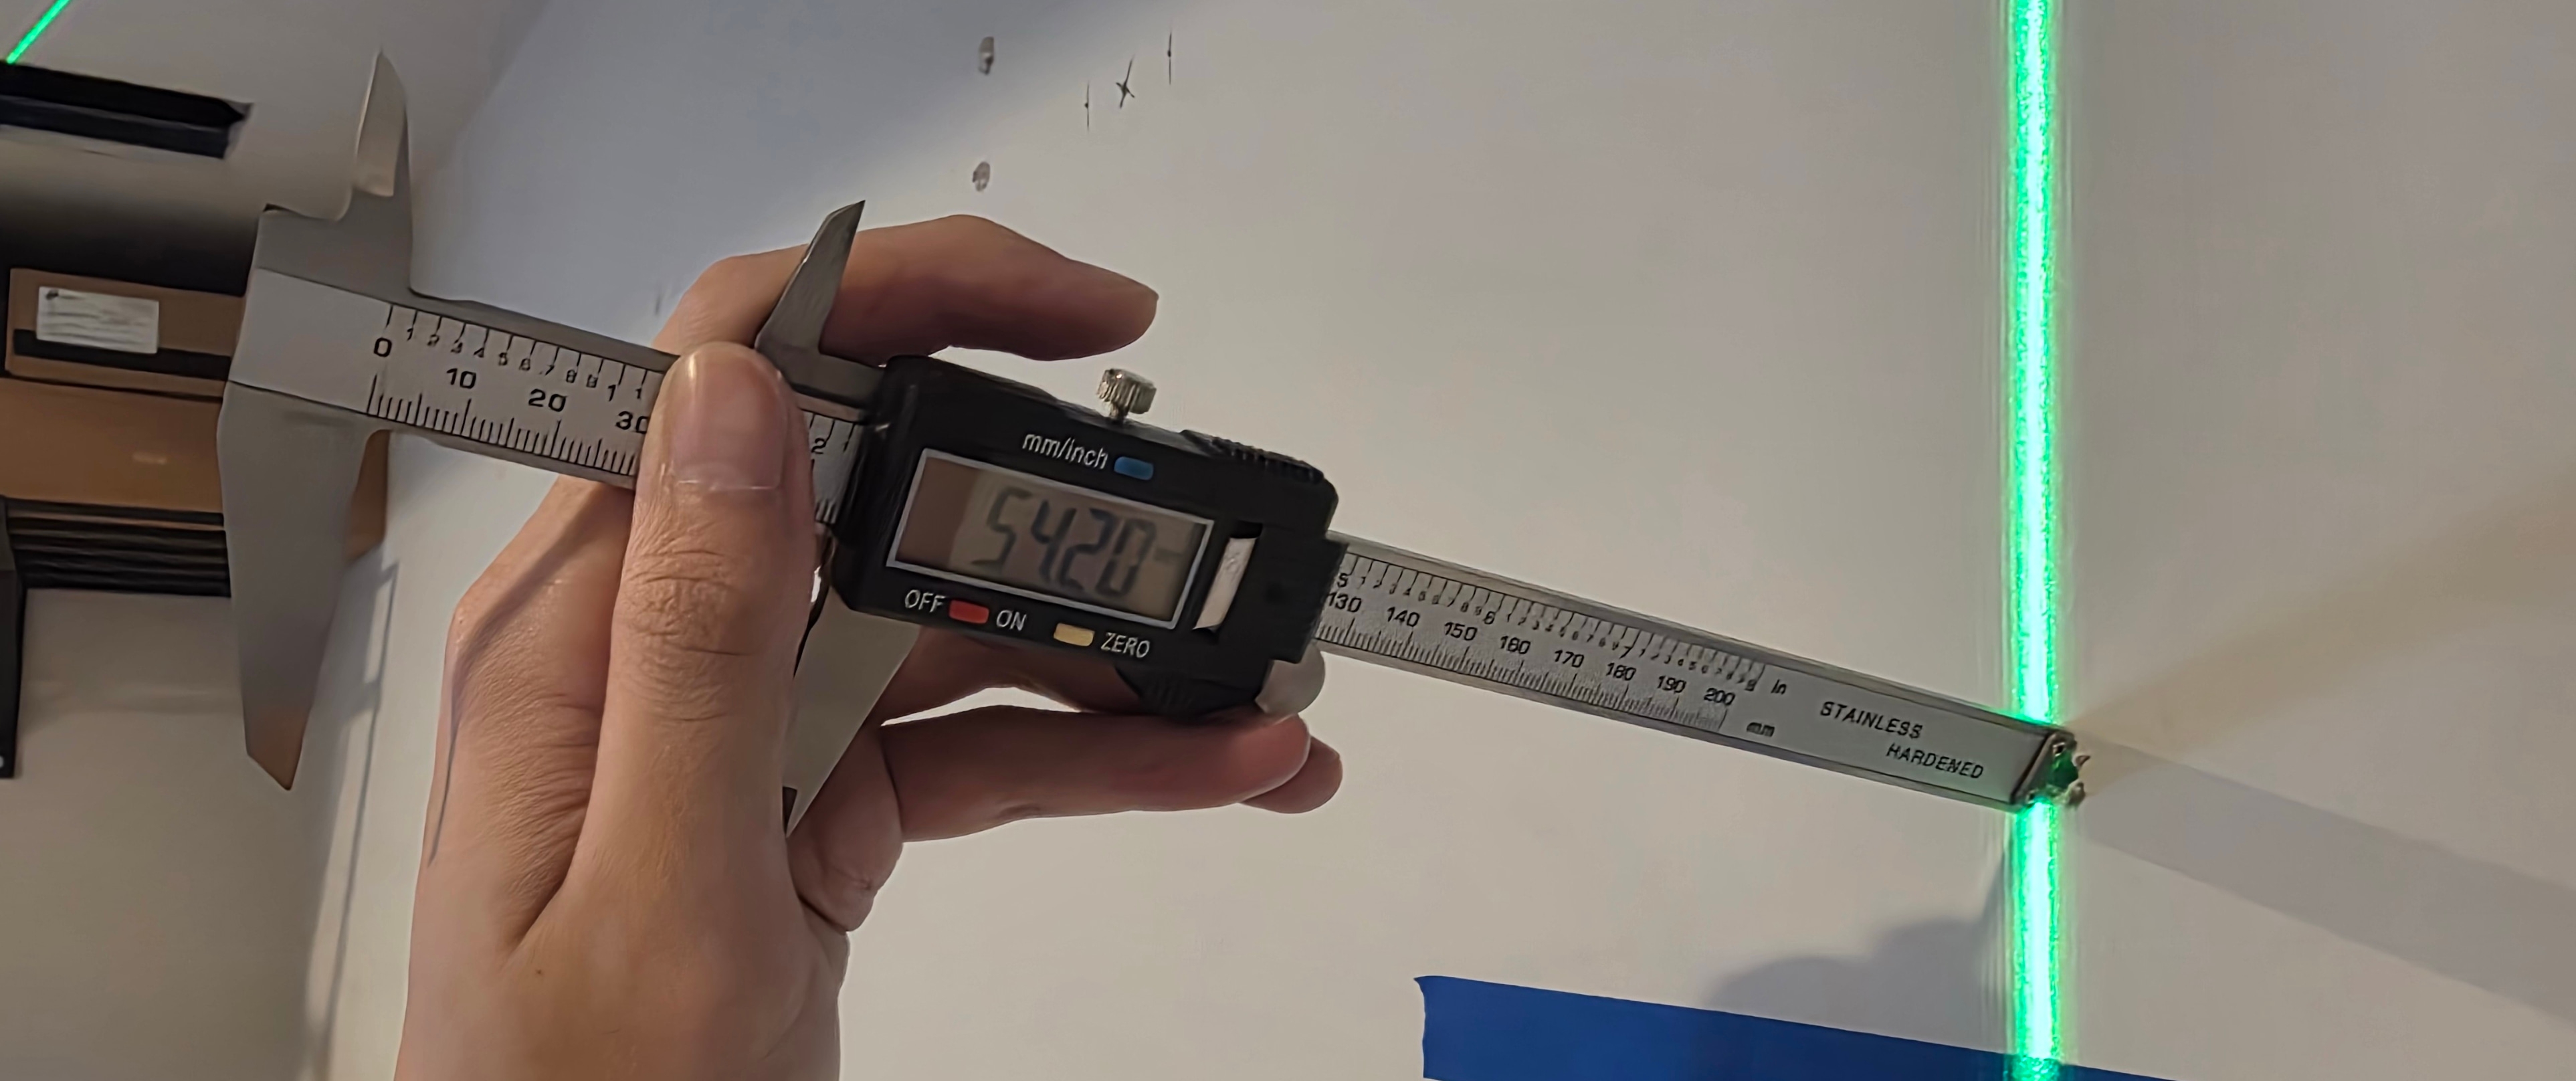
I considered the Corefix Connect and Fischer DDF fixings mentioned earlier, which are designed for exactly this problem. Corefix uses a steel core and DDF uses a reinforced plastic shaft to bridge the unsupported gap between the plasterboard and masonry. However, both are limited to a maximum distance of 45mm from the face of the plasterboard to the masonry. Mine measured about 54mm, so neither was suitable.
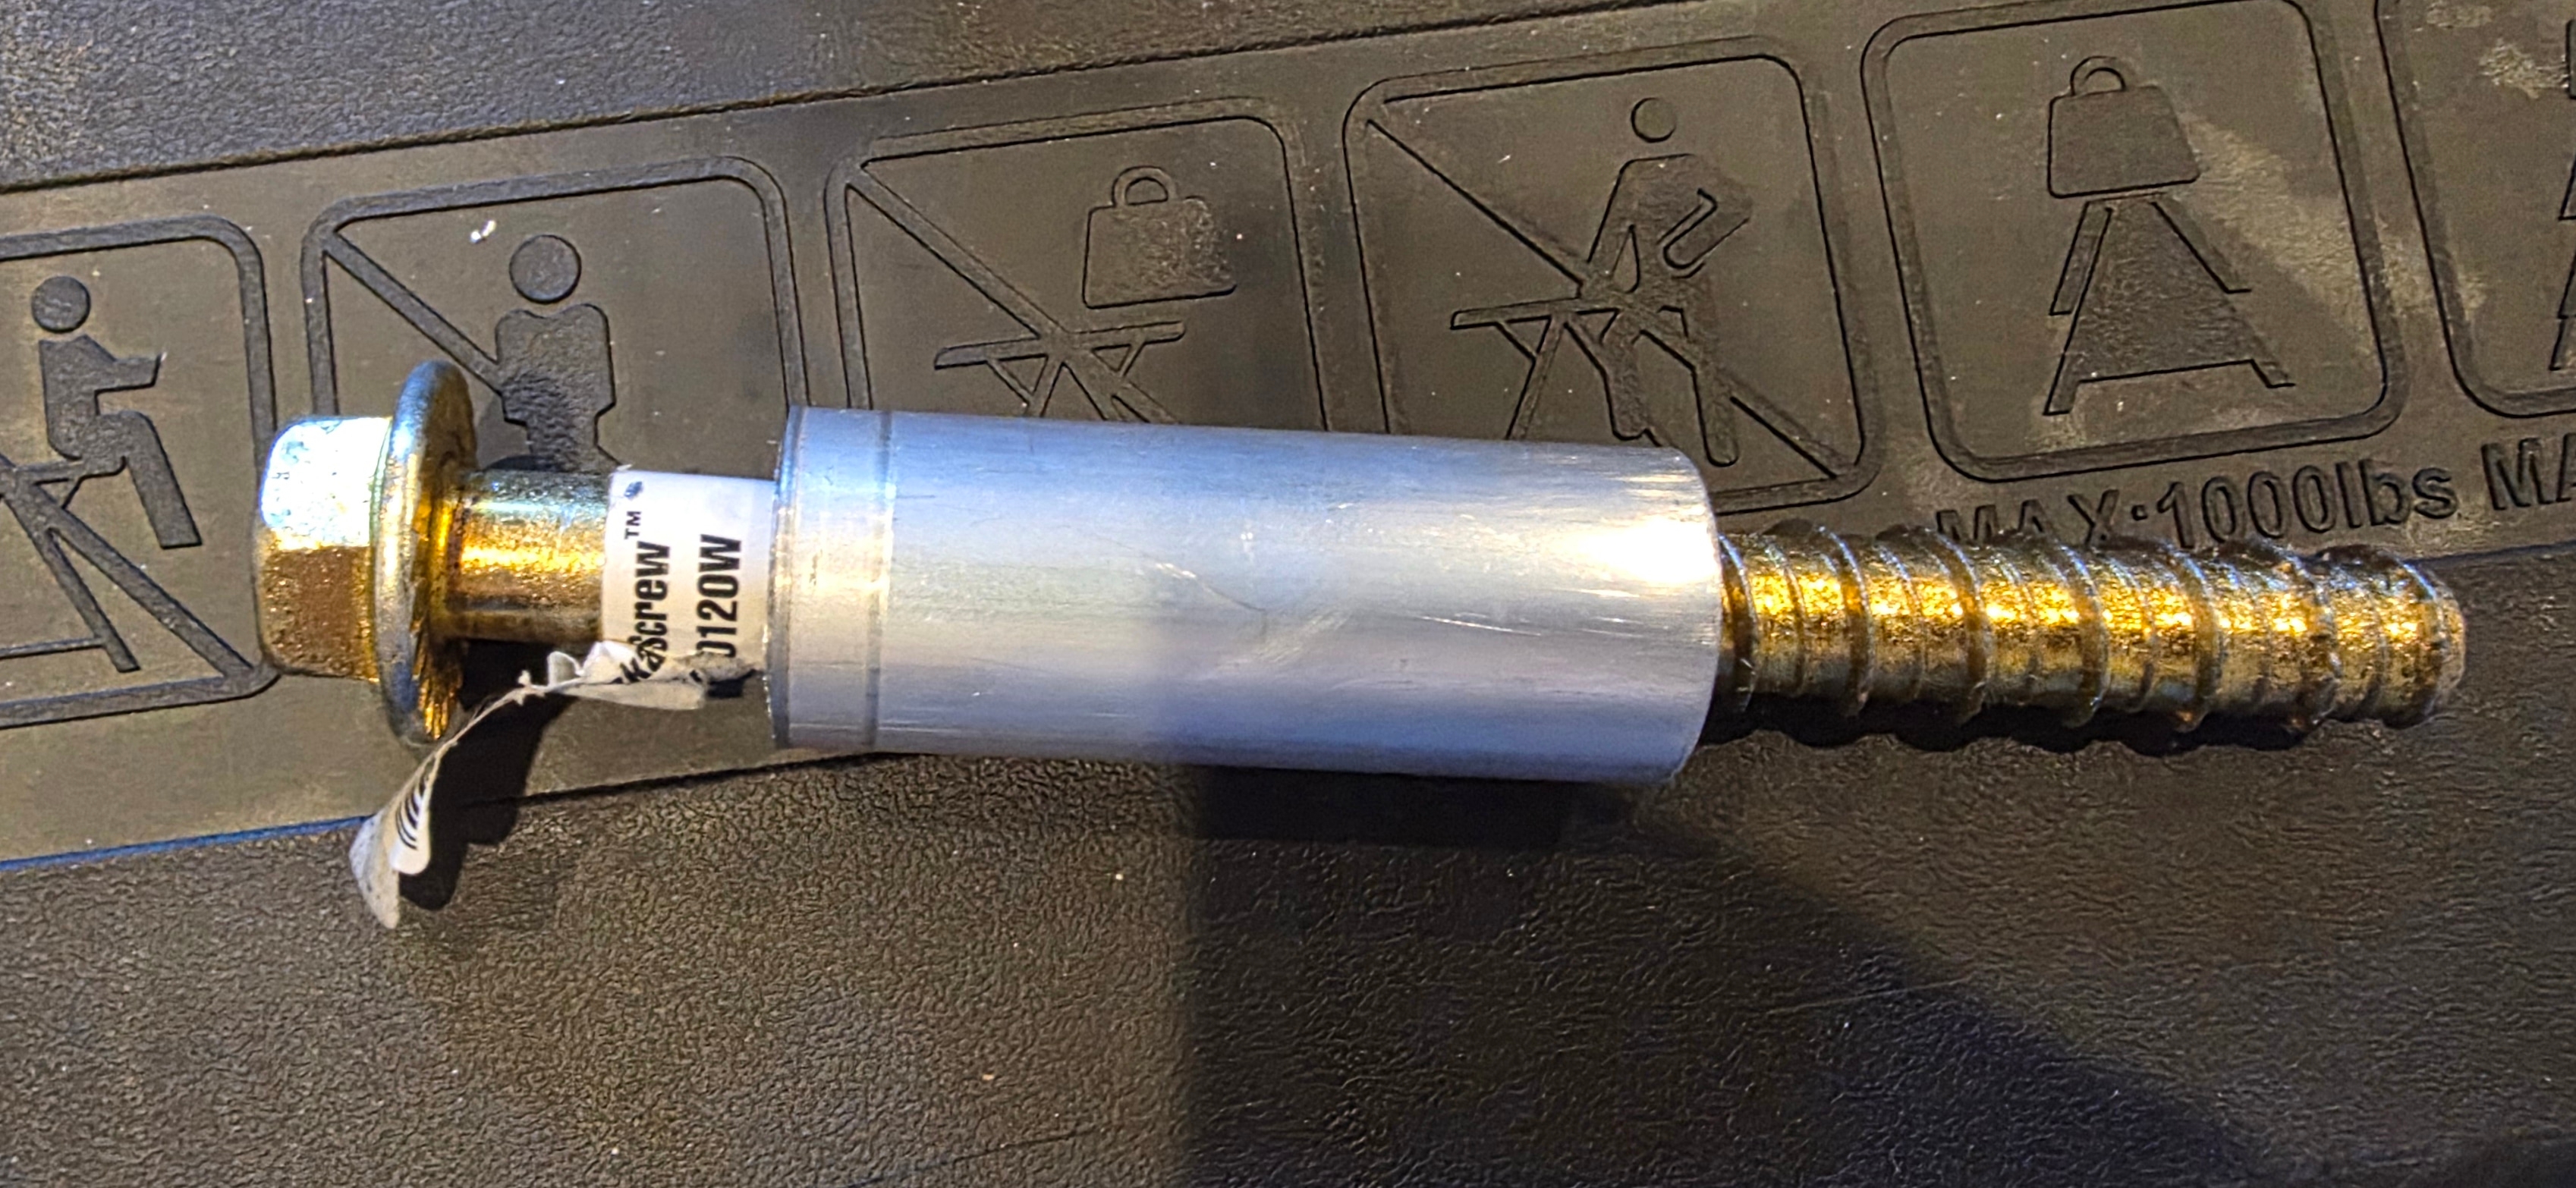
I used 10 x 120mm AnkaScrews instead. AnkaScrews are thread-forming masonry anchors that screw directly into a pre-drilled hole in the brick. Unlike the supplied bolts and plugs, there is no separate plastic plug to expand. The 120mm length gave me enough reach through the bracket, plasterboard and cavity to anchor into the brick.
Reaching the brick was only half the solution. Without solid support around each anchor, tightening the bracket would pull the plasterboard towards the brick and crush it into the empty cavity.
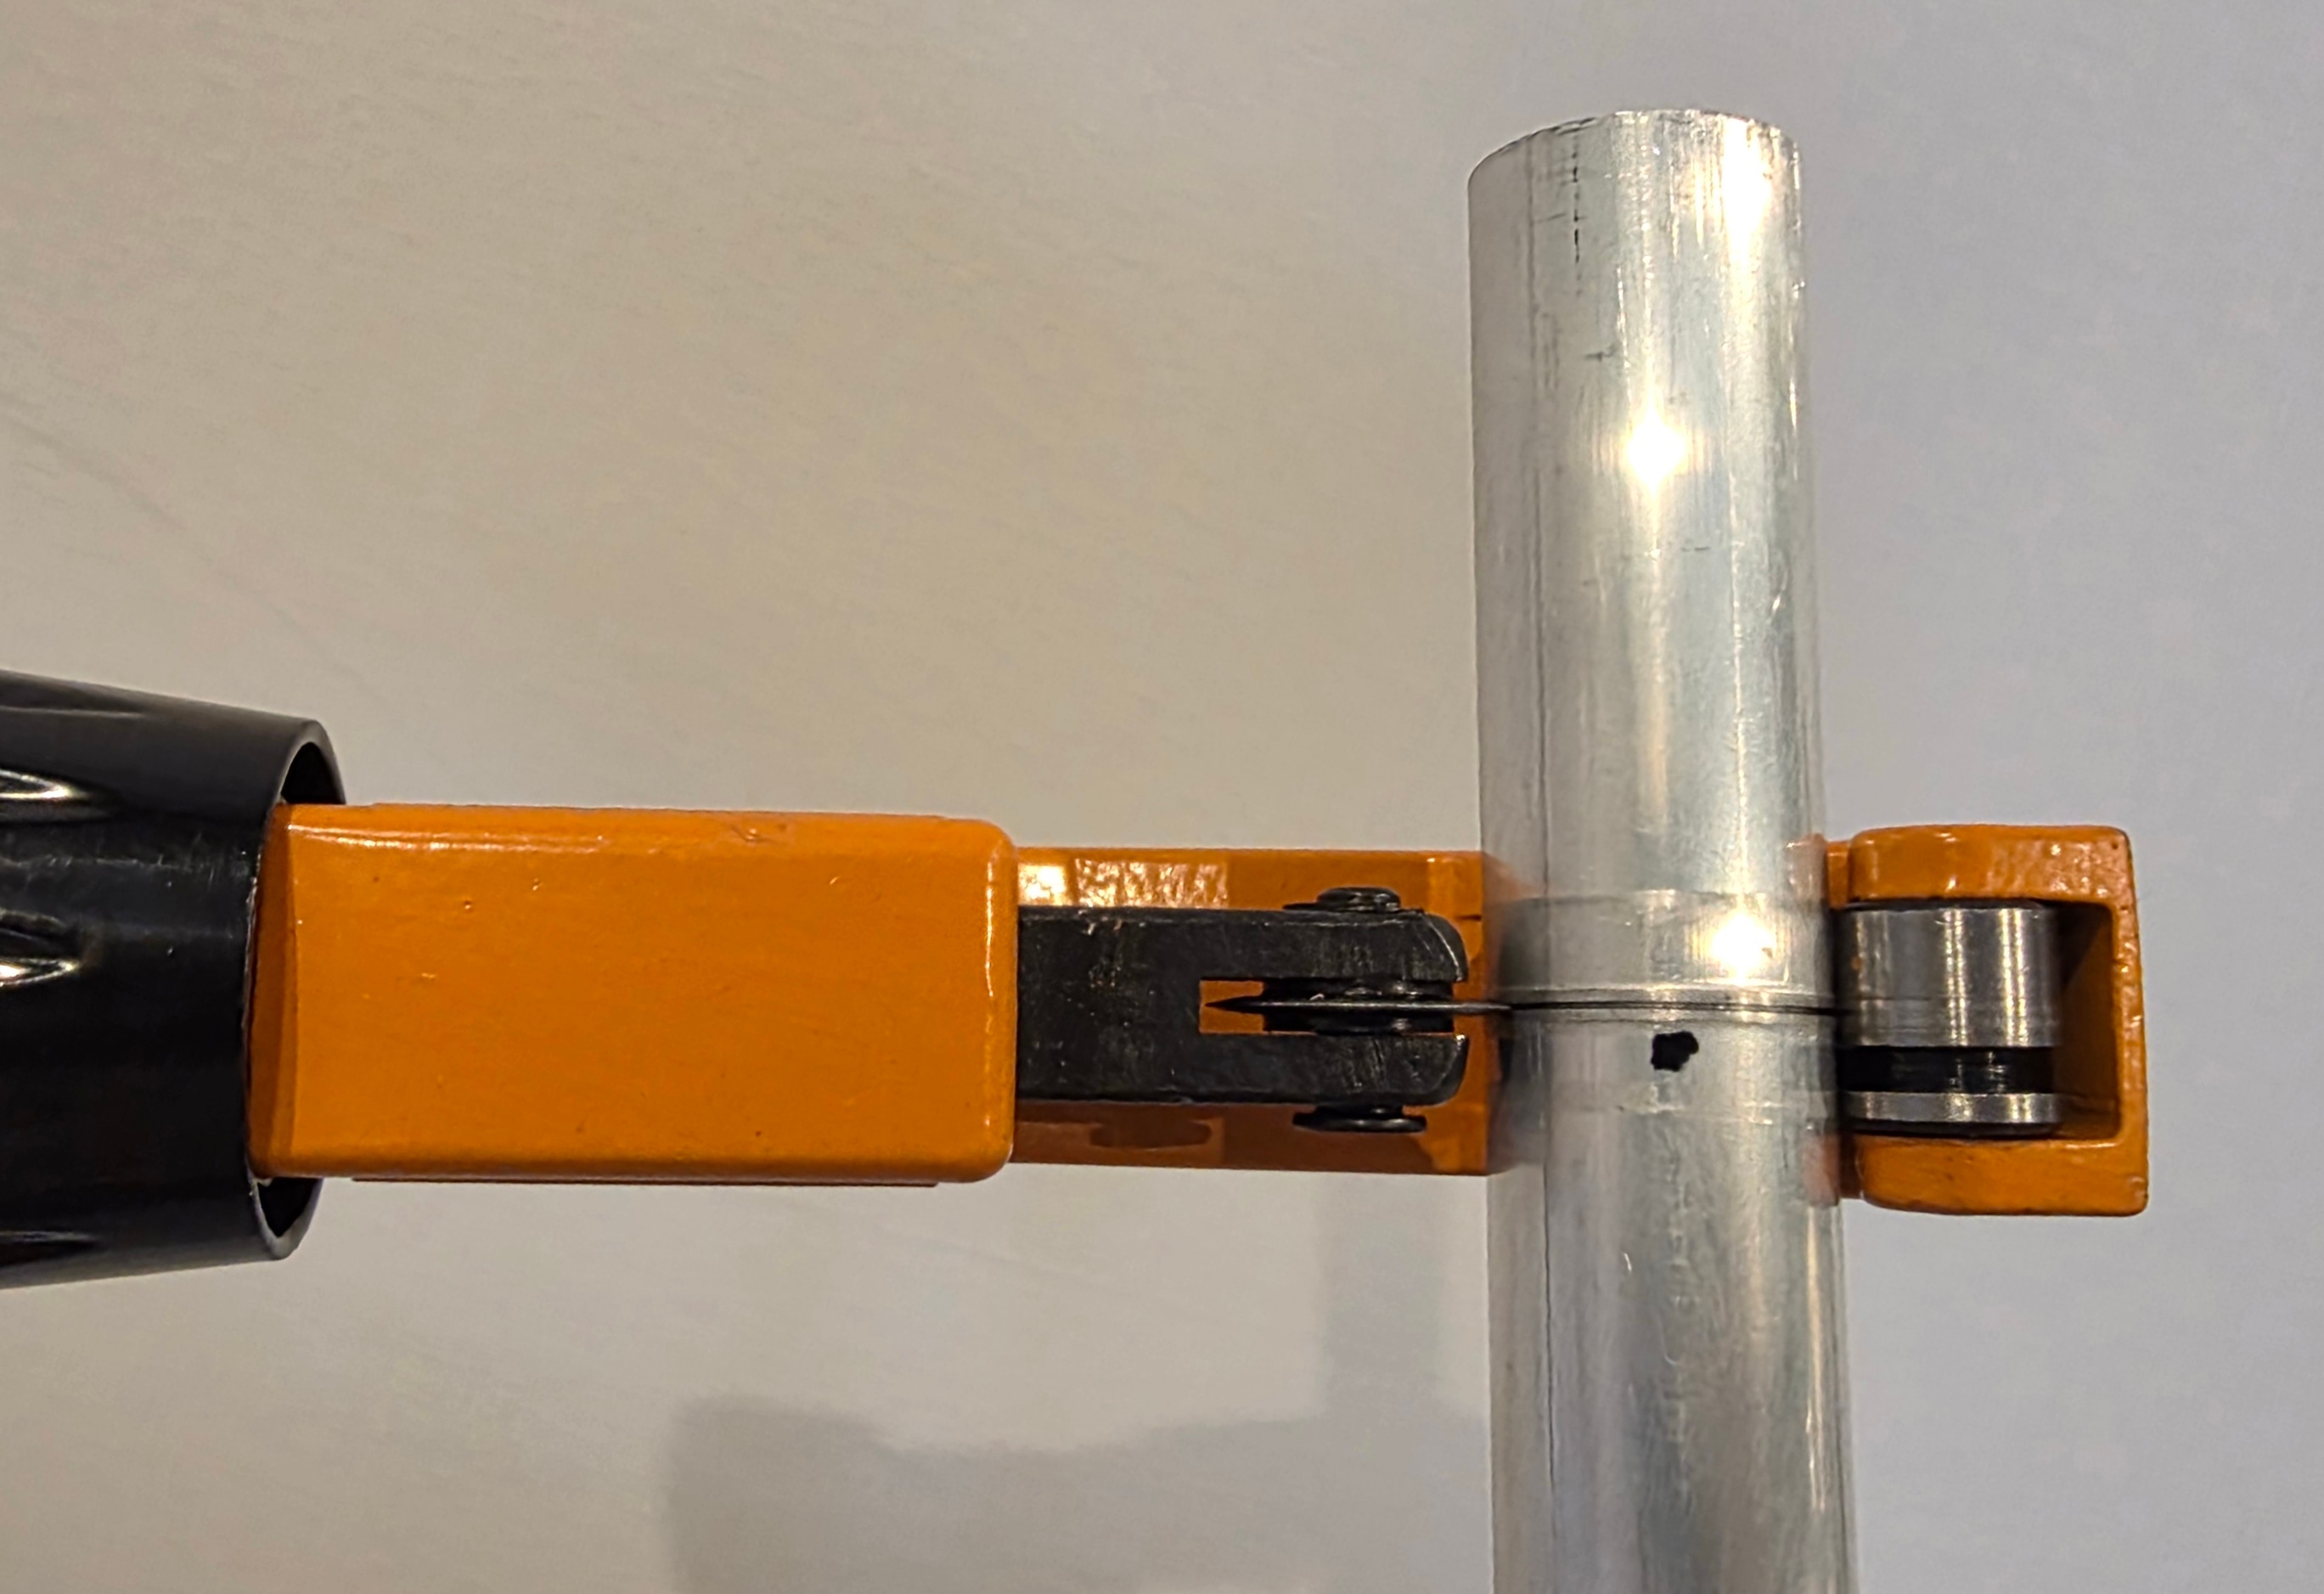
I made rigid spacers from aluminium tube, replicating the same basic idea as Corefix and DDF. Each AnkaScrew passed through the bracket and spacer into the brick, so tightening it clamped the bracket against the spacer rather than the plasterboard.
I measured the distance to the brick and cut each spacer to length.
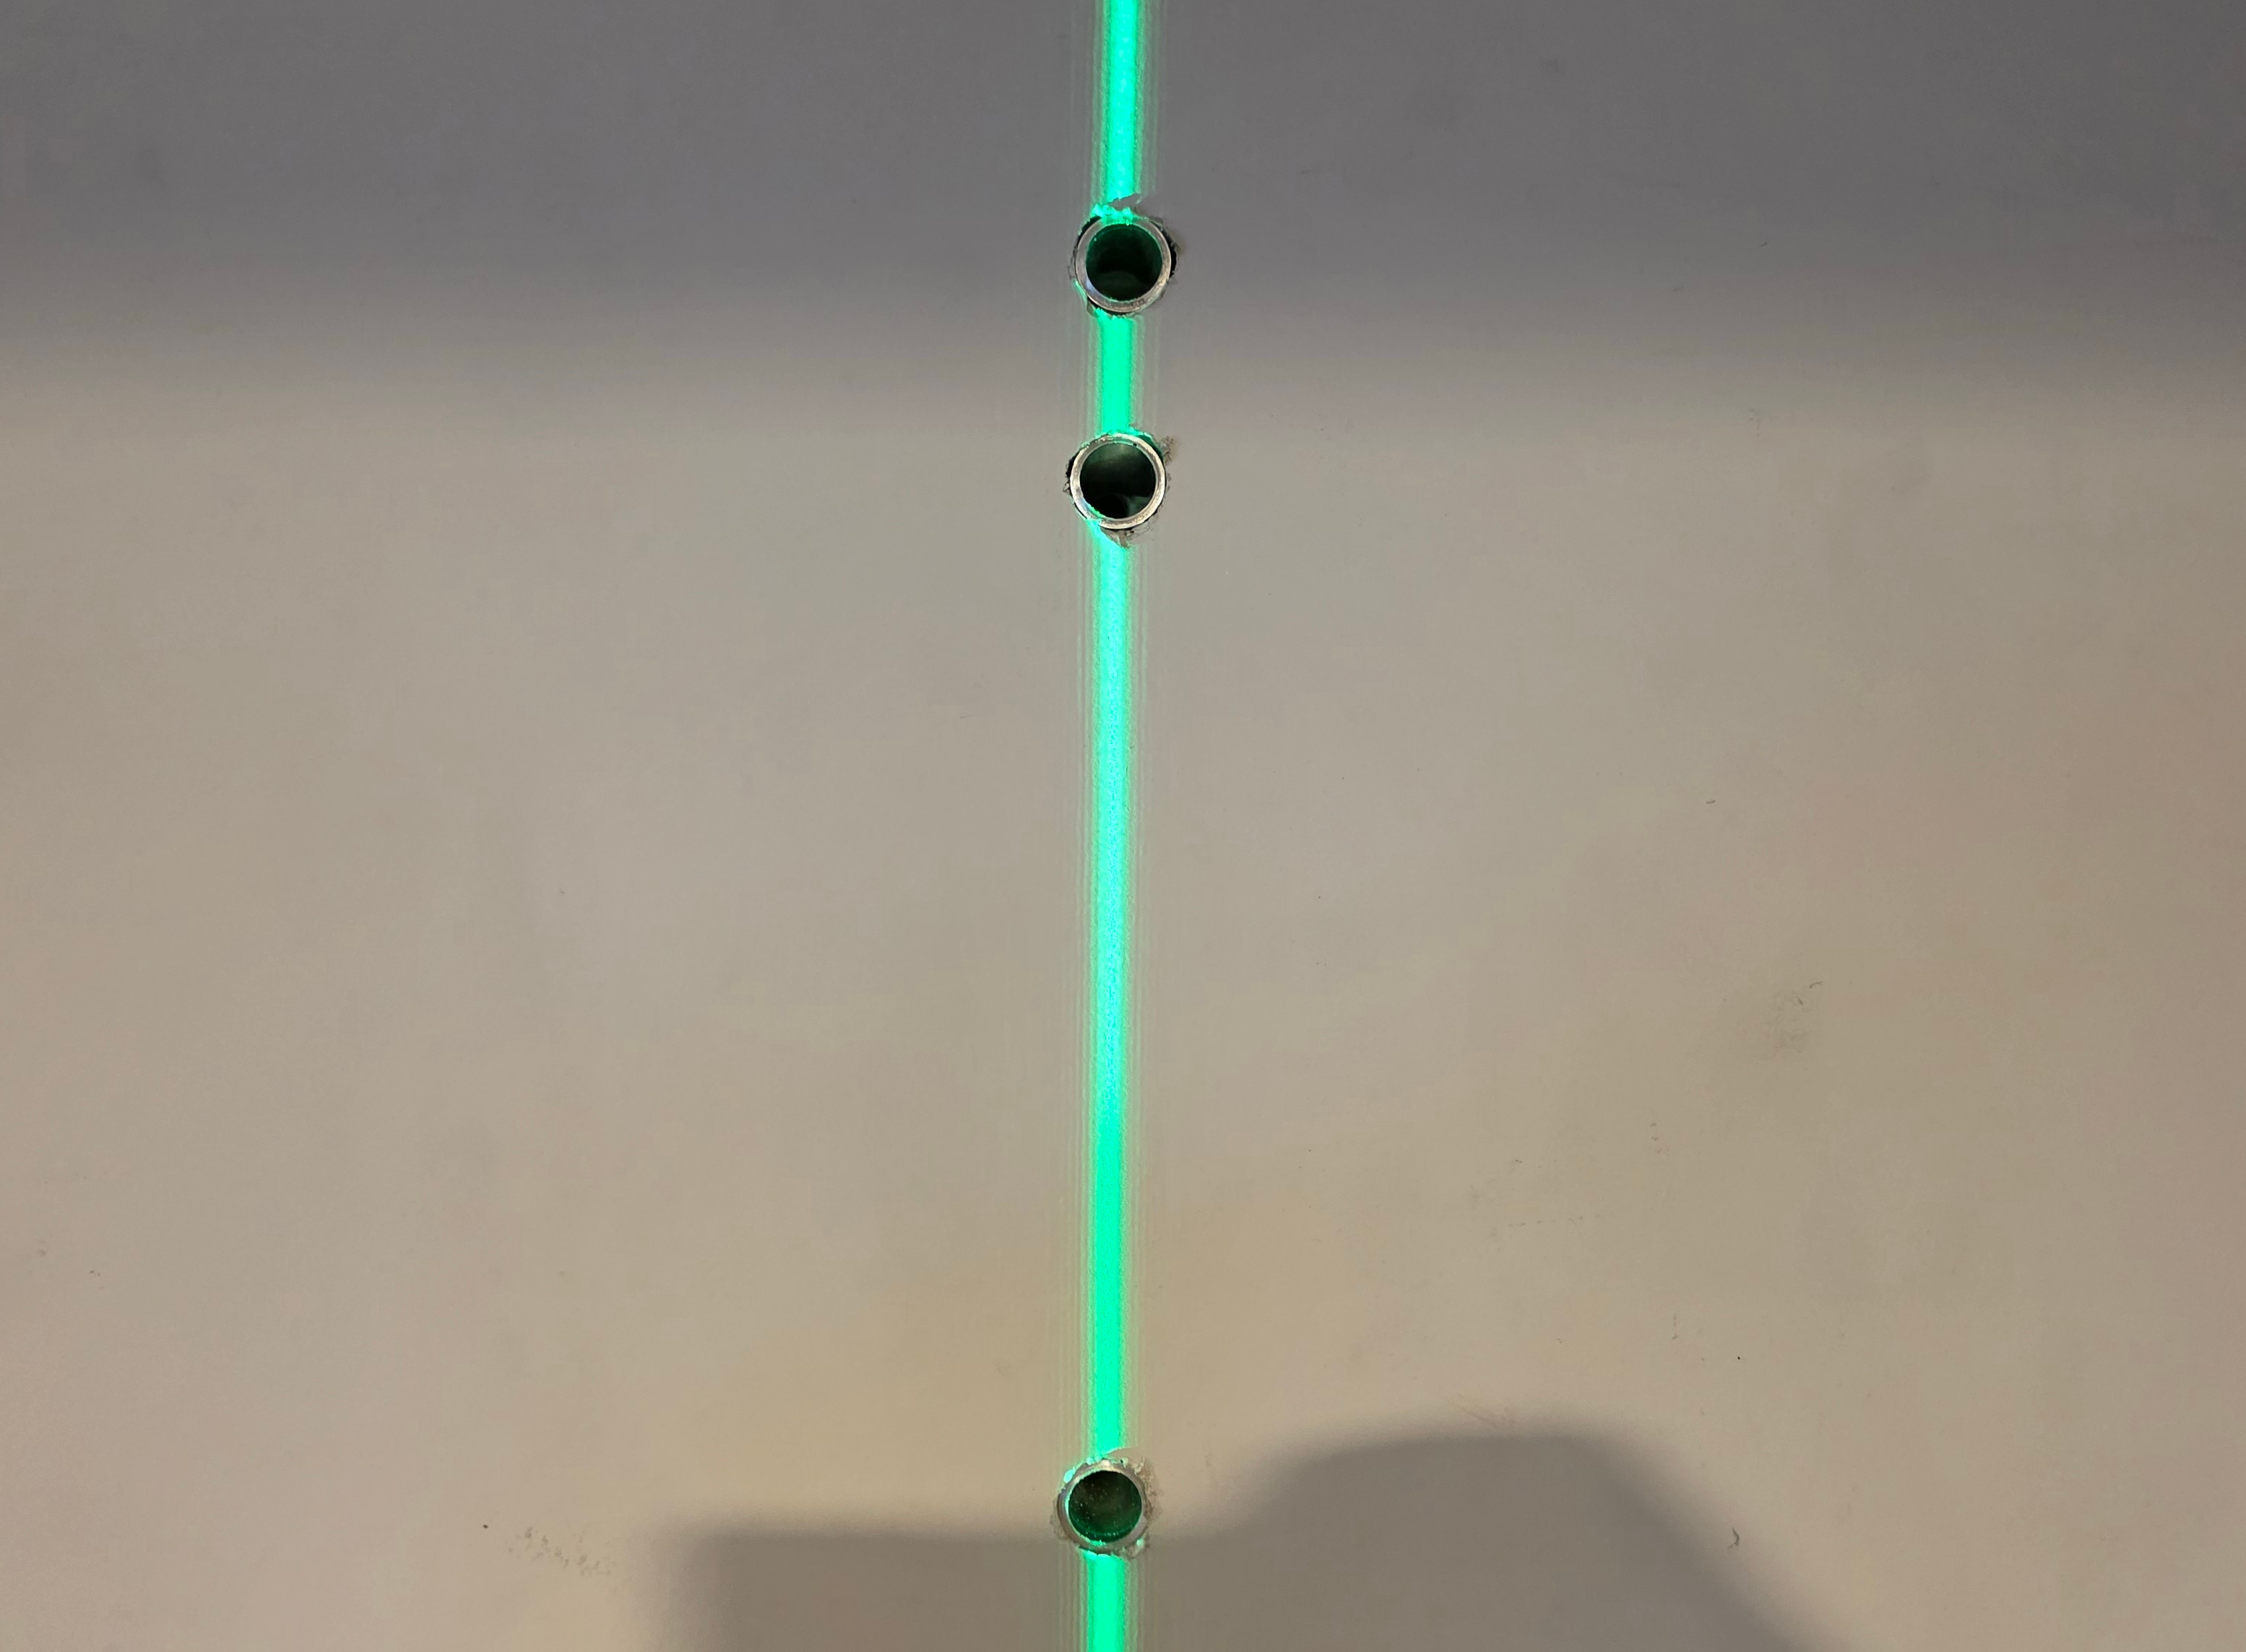
I enlarged the holes in the plasterboard using spade bits, then inserted the spacers until they sat against the brick.
The 10mm diameter AnkaScrews were too wide to pass through the original holes in the shelf brackets, so I enlarged those holes as well.
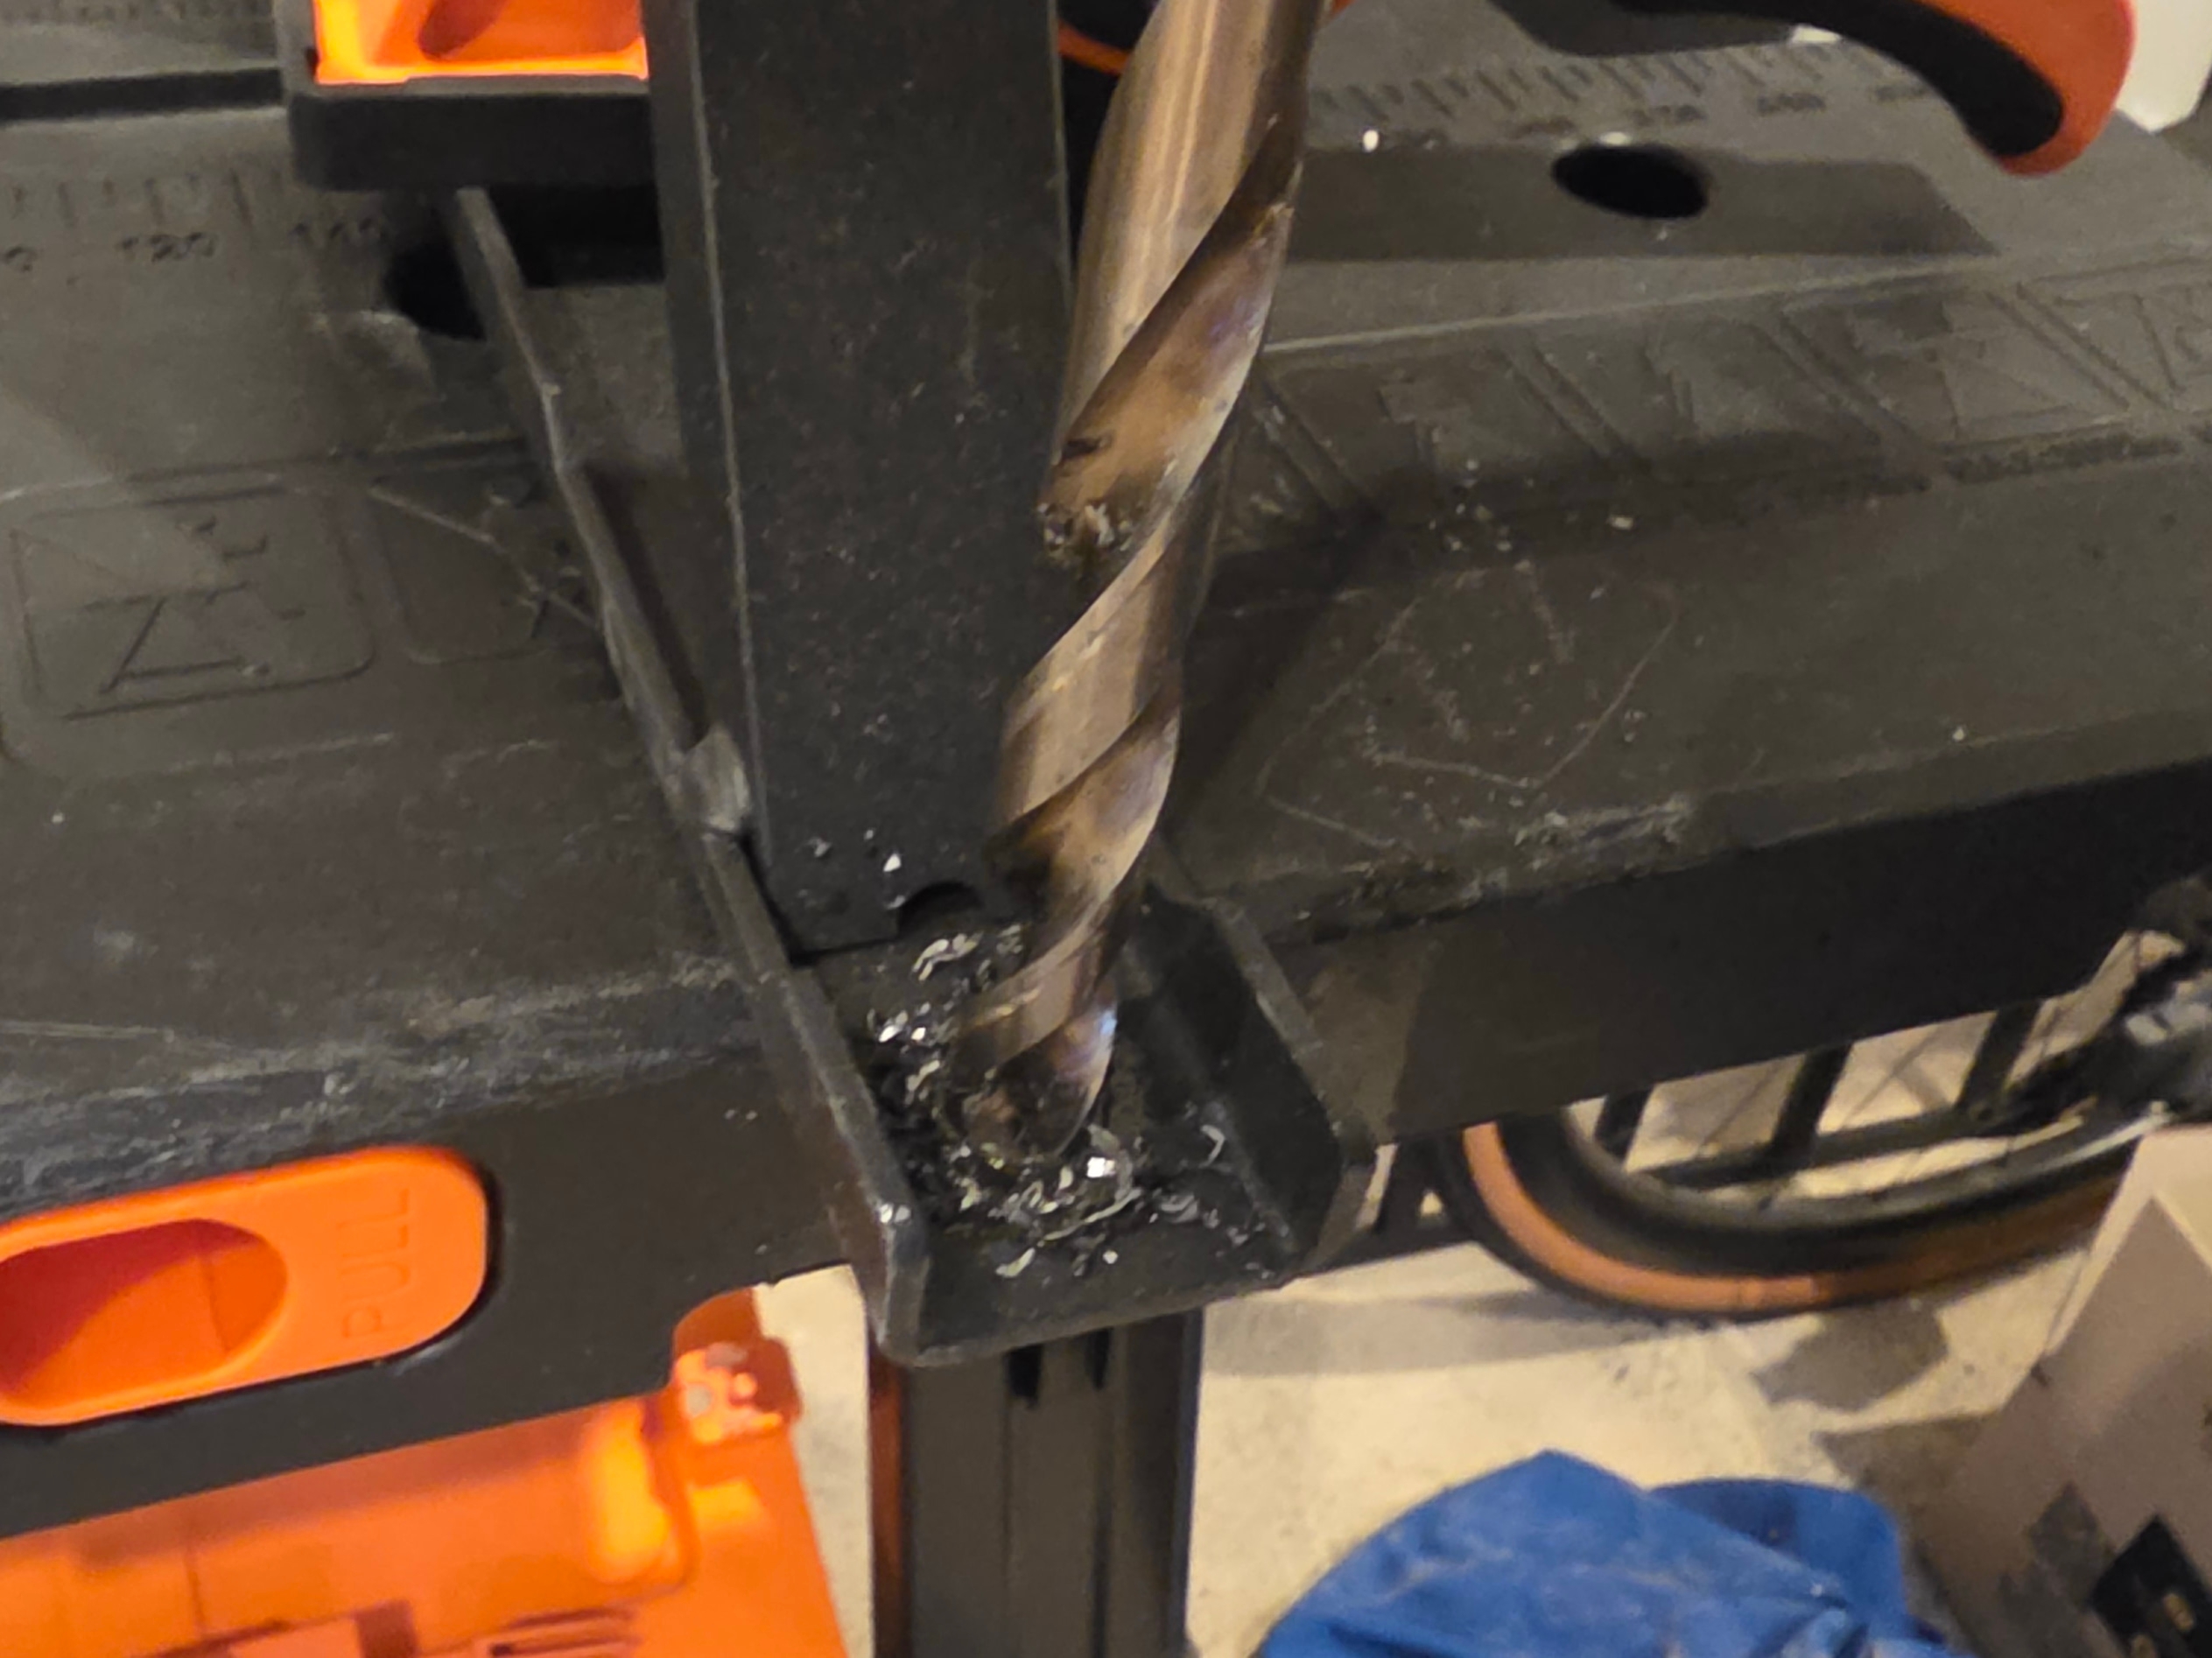
With the spacers in place and the bracket holes enlarged, I installed the shelf the same way as the others.
Storage Tubs
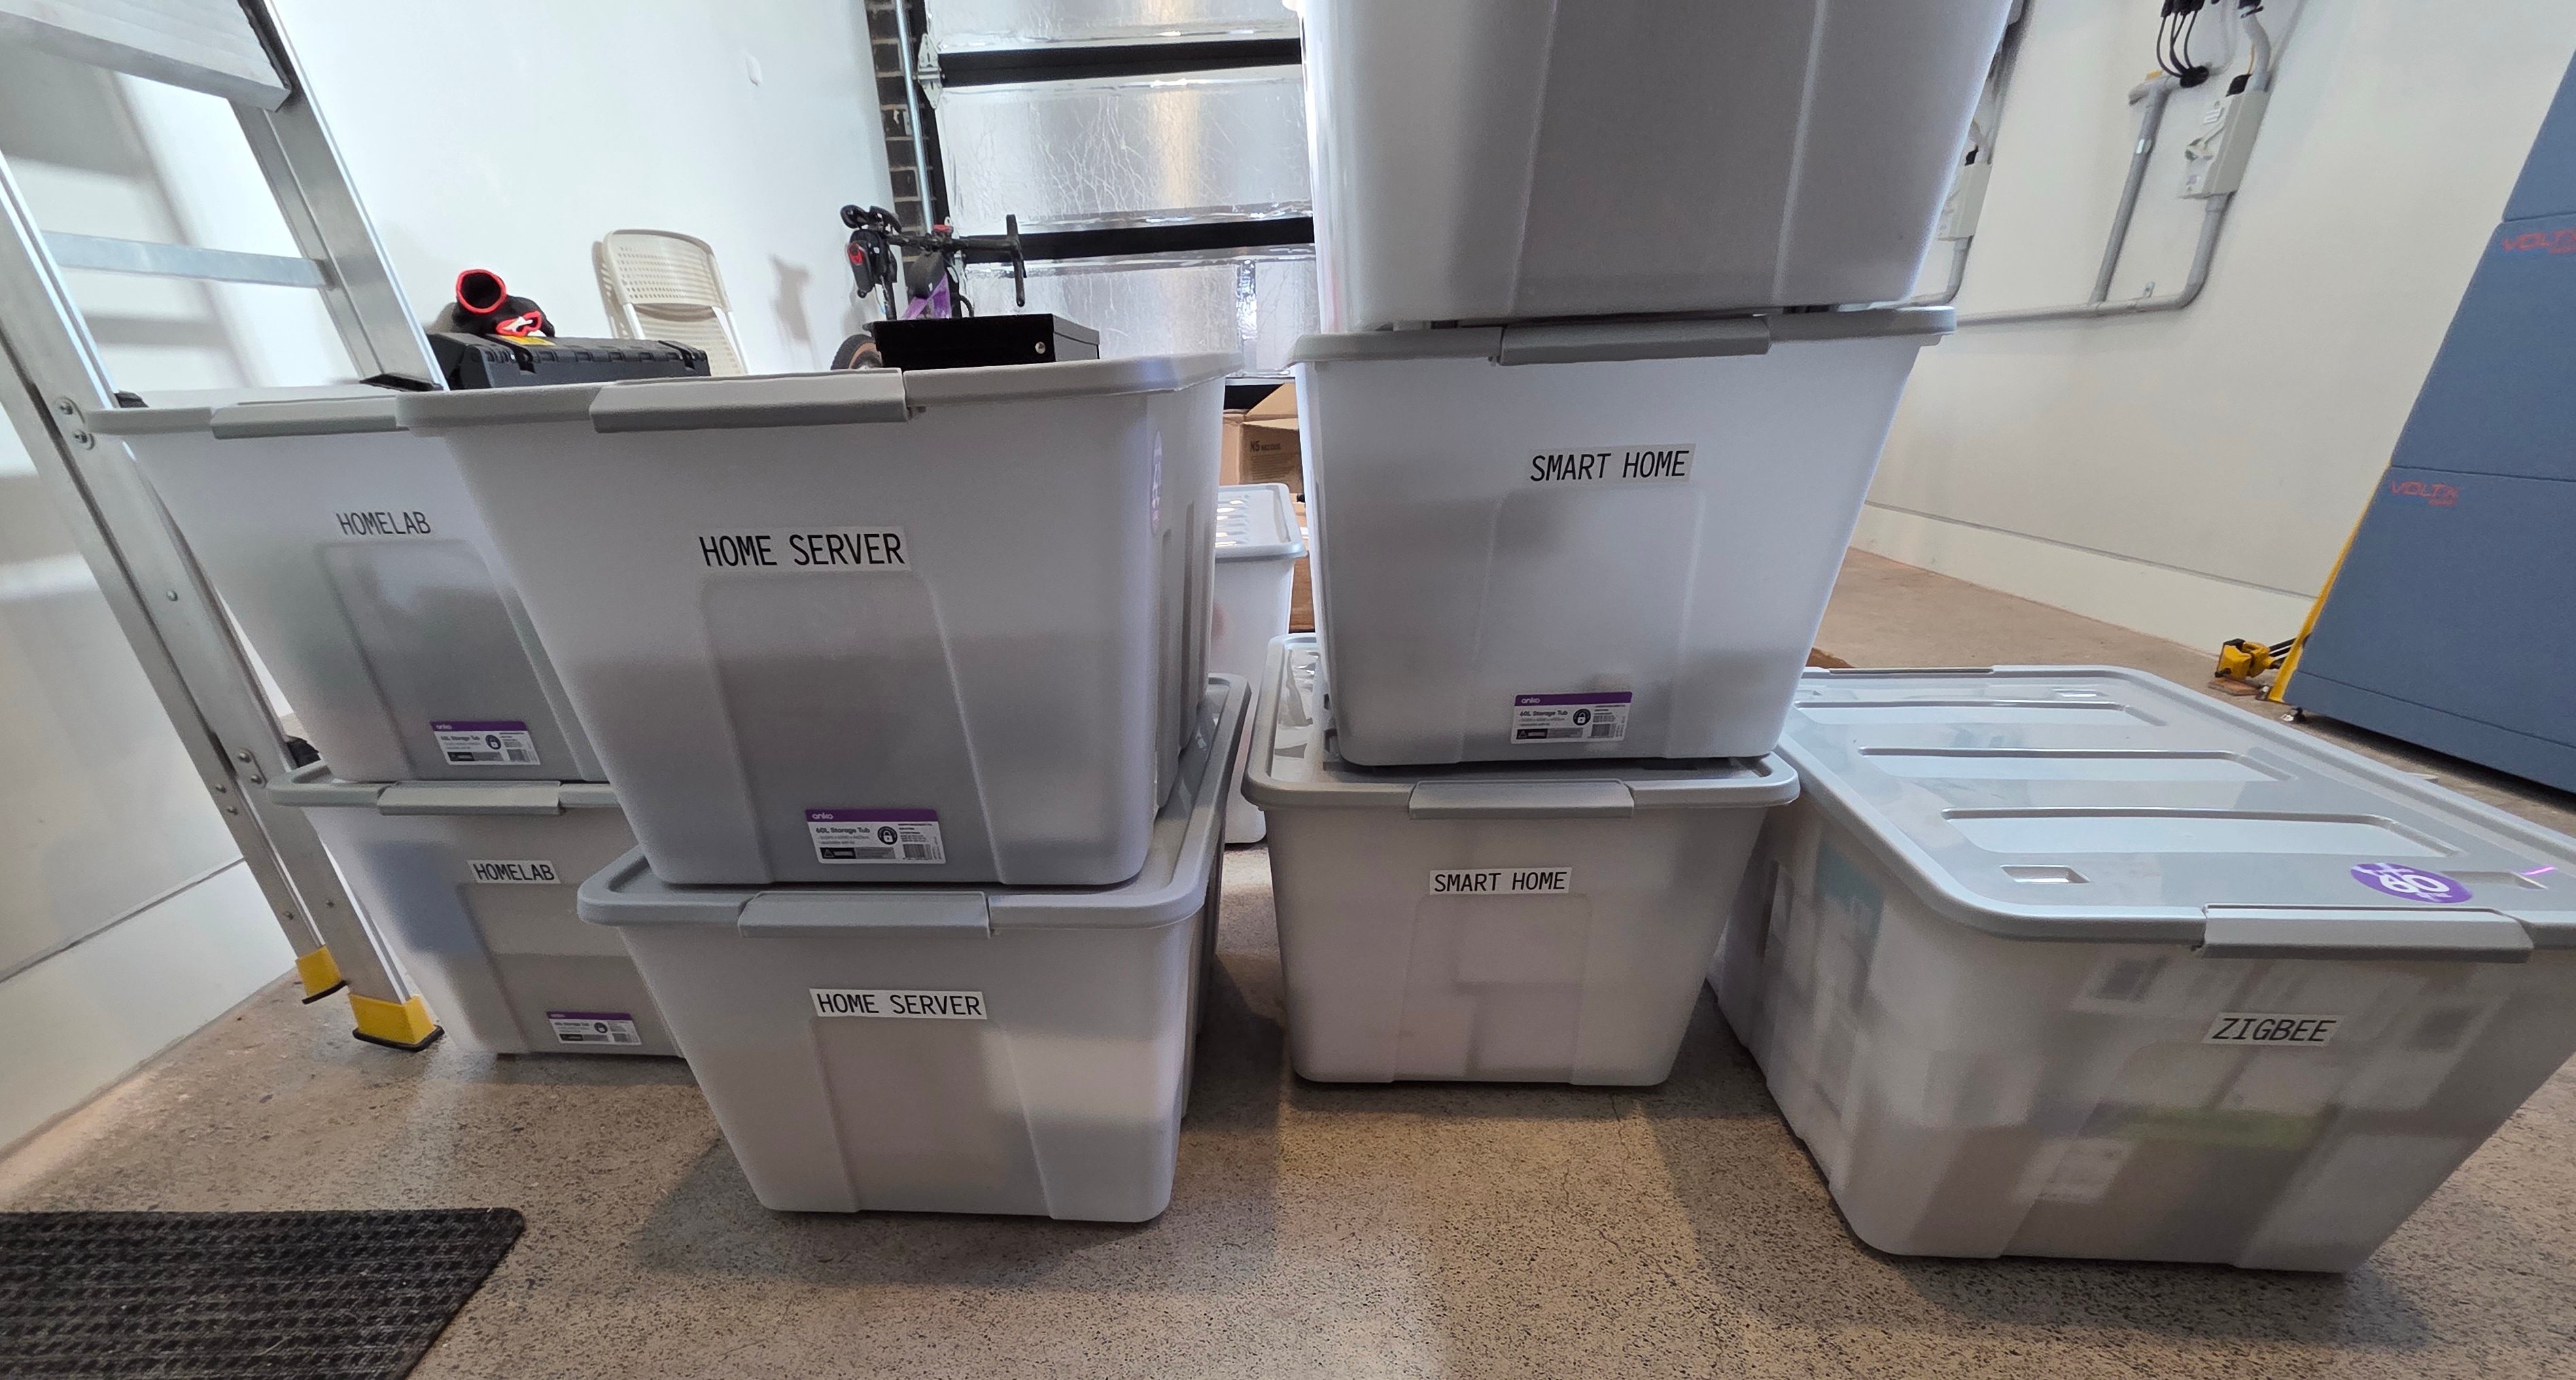
I used two sizes of storage tubs from Kmart:
| Tub | Dimensions (H x D x W) | Price | Quantity |
|---|---|---|---|
| 60L Tub | 31.5 x 44 x 62cm | $9 | 19 |
| 30L Tub | 25.5 x 34.5 x 48cm | $5 | 10 |
| Total | $221 | 29 |
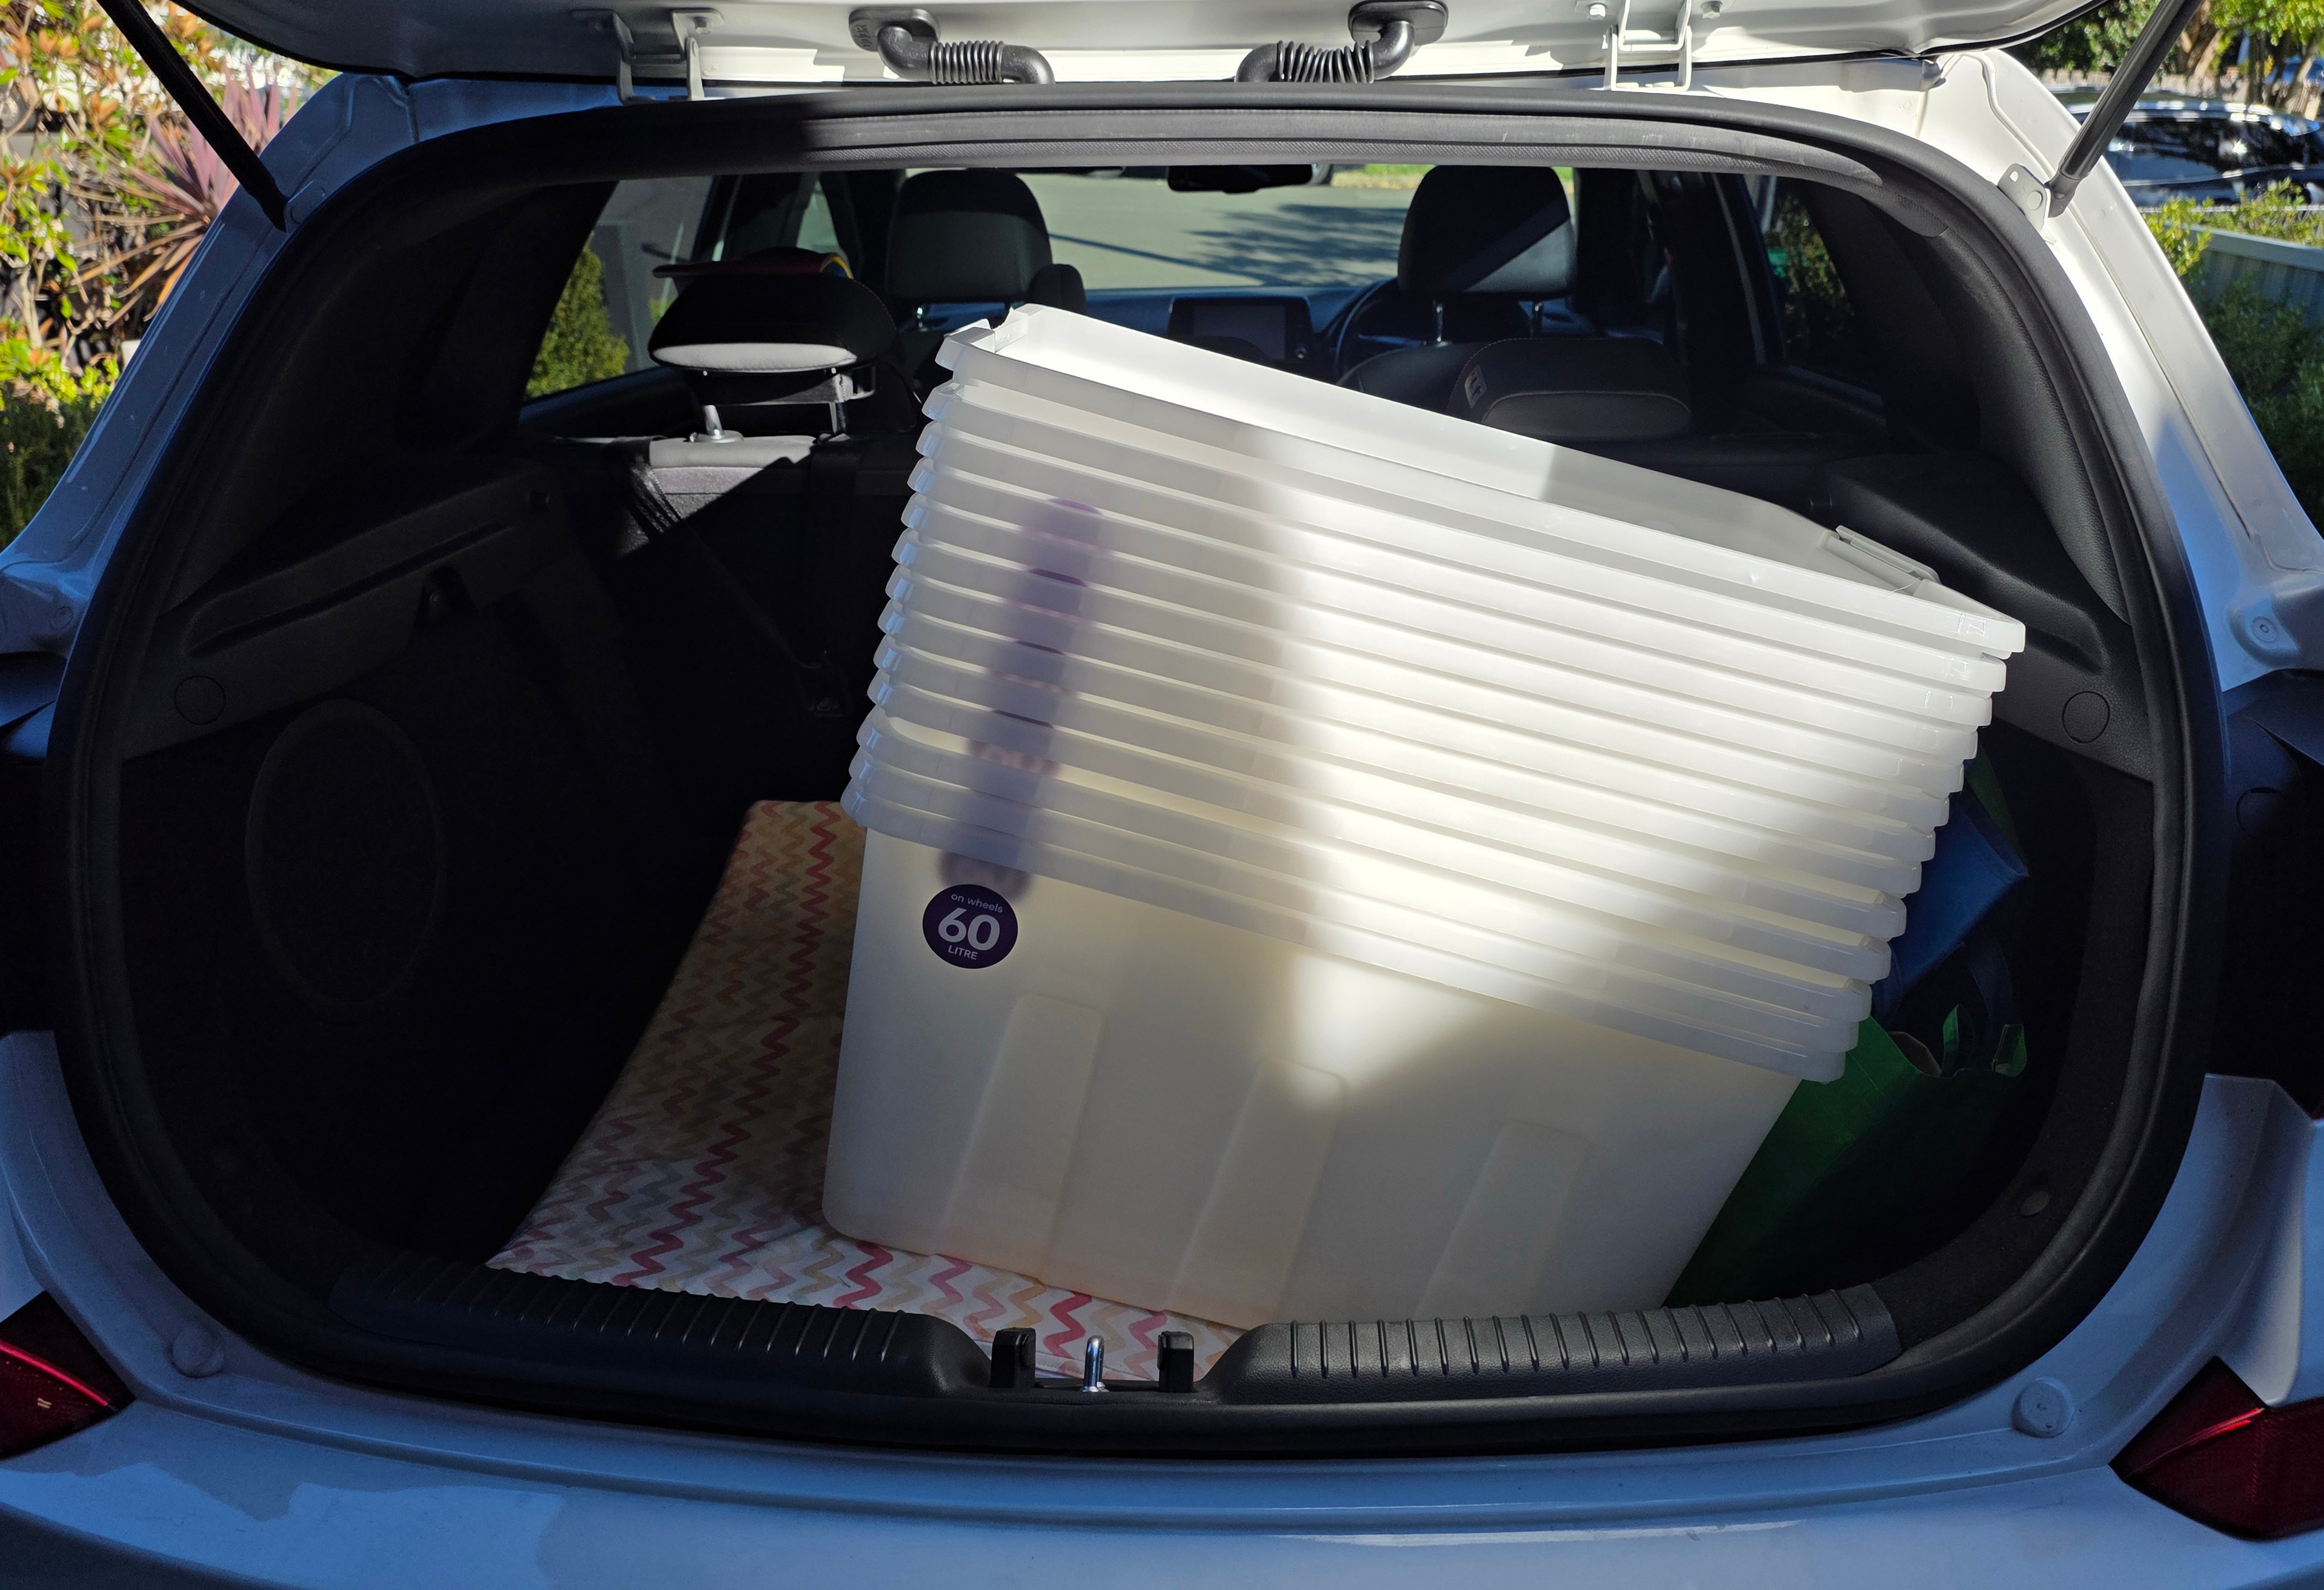
The main things I had to consider were clearance and weight. The tightest section had 325mm of usable height, leaving only 10mm above a 60L tub. Every tub also needed to be manageable enough to lift down from a ladder, so cheap light-duty tubs were a better fit than heavy-duty ones I would be tempted to overload.
Result
All eight wall shelves are now installed, holding 29 storage tubs plus the boxes and other items that did not need another container. With the storage moved off the IKEA IVAR units and the networking gear, home server and 3D printer relocated, I could remove the floor-standing shelving completely.
I cover the wall-mounted rack for the networking gear in a separate post.
Buying steel wall shelves was cheaper than building custom plywood runs, and the combined garage rework recovered the floor space I needed.
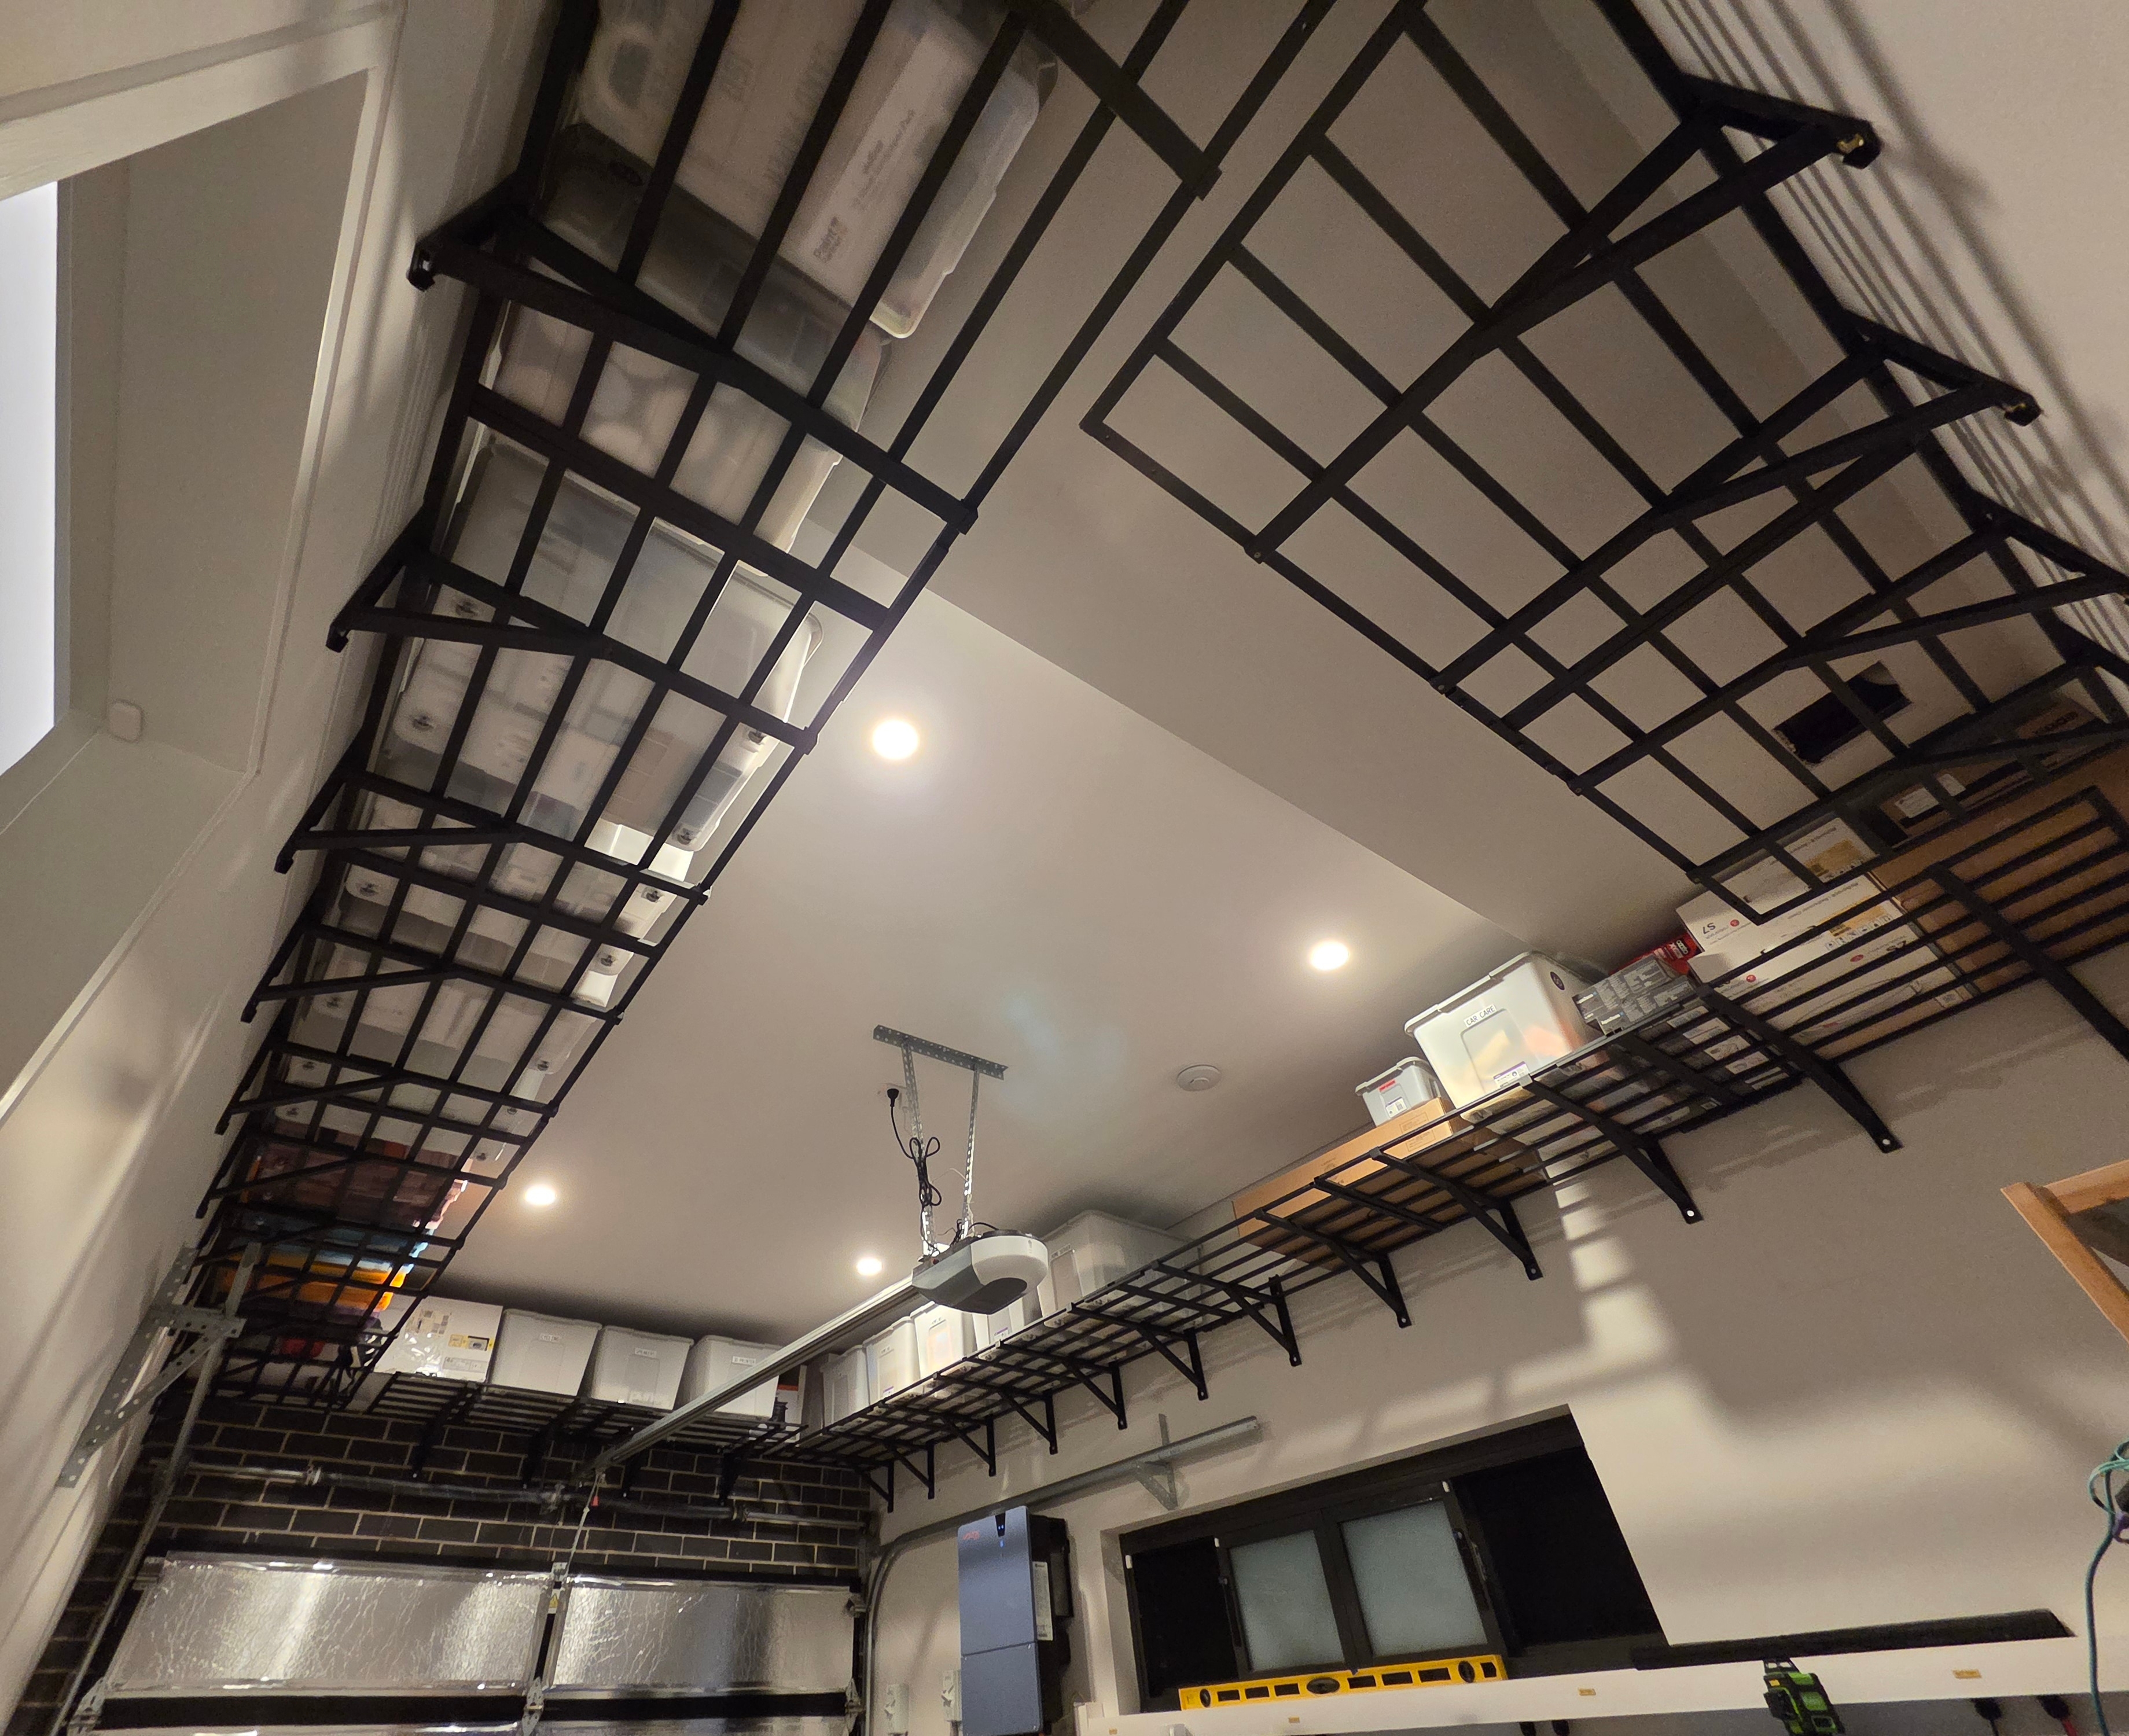
The longer car was my Zeekr 7X. With all of the IVAR shelving gone, it now fits in the garage. That was the entire point.