
I insulated and sealed my single-car garage door to keep the afternoon heat out of the garage where my gear lives.
Background
I logged onto Facebook one day to get to Marketplace, and a post in the My Efficient Electric Home (MEEH) group turned up in my feed about insulating a garage door. I went down the rabbit hole from there.
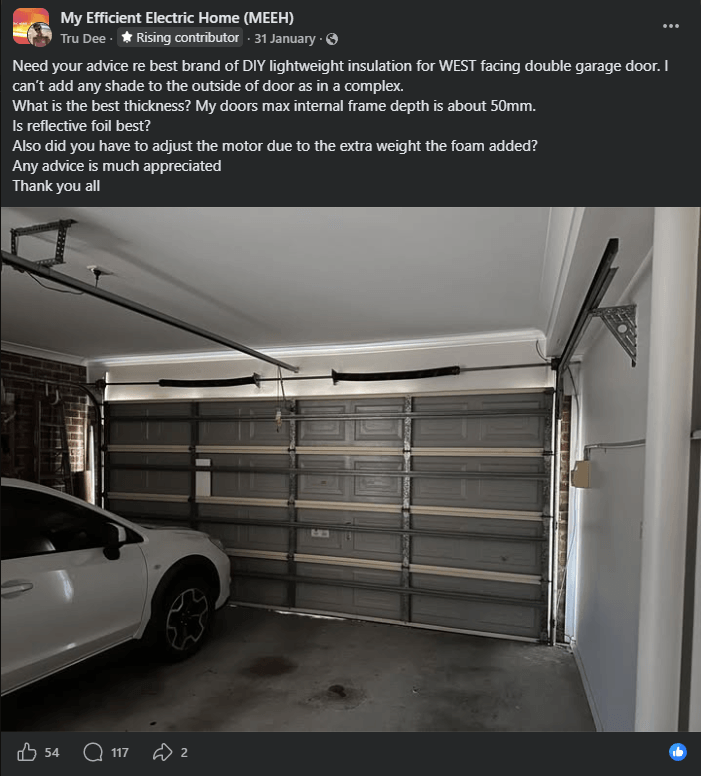
My garage is where the interesting stuff lives: my servers and home networking gear, along with my solar inverters and 50 kWh battery. It has always run a few degrees hotter than the rest of the house, which is not ideal for electronics that already generate their own heat.
I had tried to keep it under control before:
- Installing fly screens so I could leave the window open.
- Running a Vornado 24/7 to keep the air moving.
- Setting a Home Assistant alert to remind me to open the door when it got too hot.
These helped at the margins, but none of them addressed where the heat was actually coming from.
The Garage Door
I have a single-car garage with a panel-style sectional door. It has 10 panels. Each panel is 1404mm wide and 367mm tall, sitting in a frame about 41mm deep.
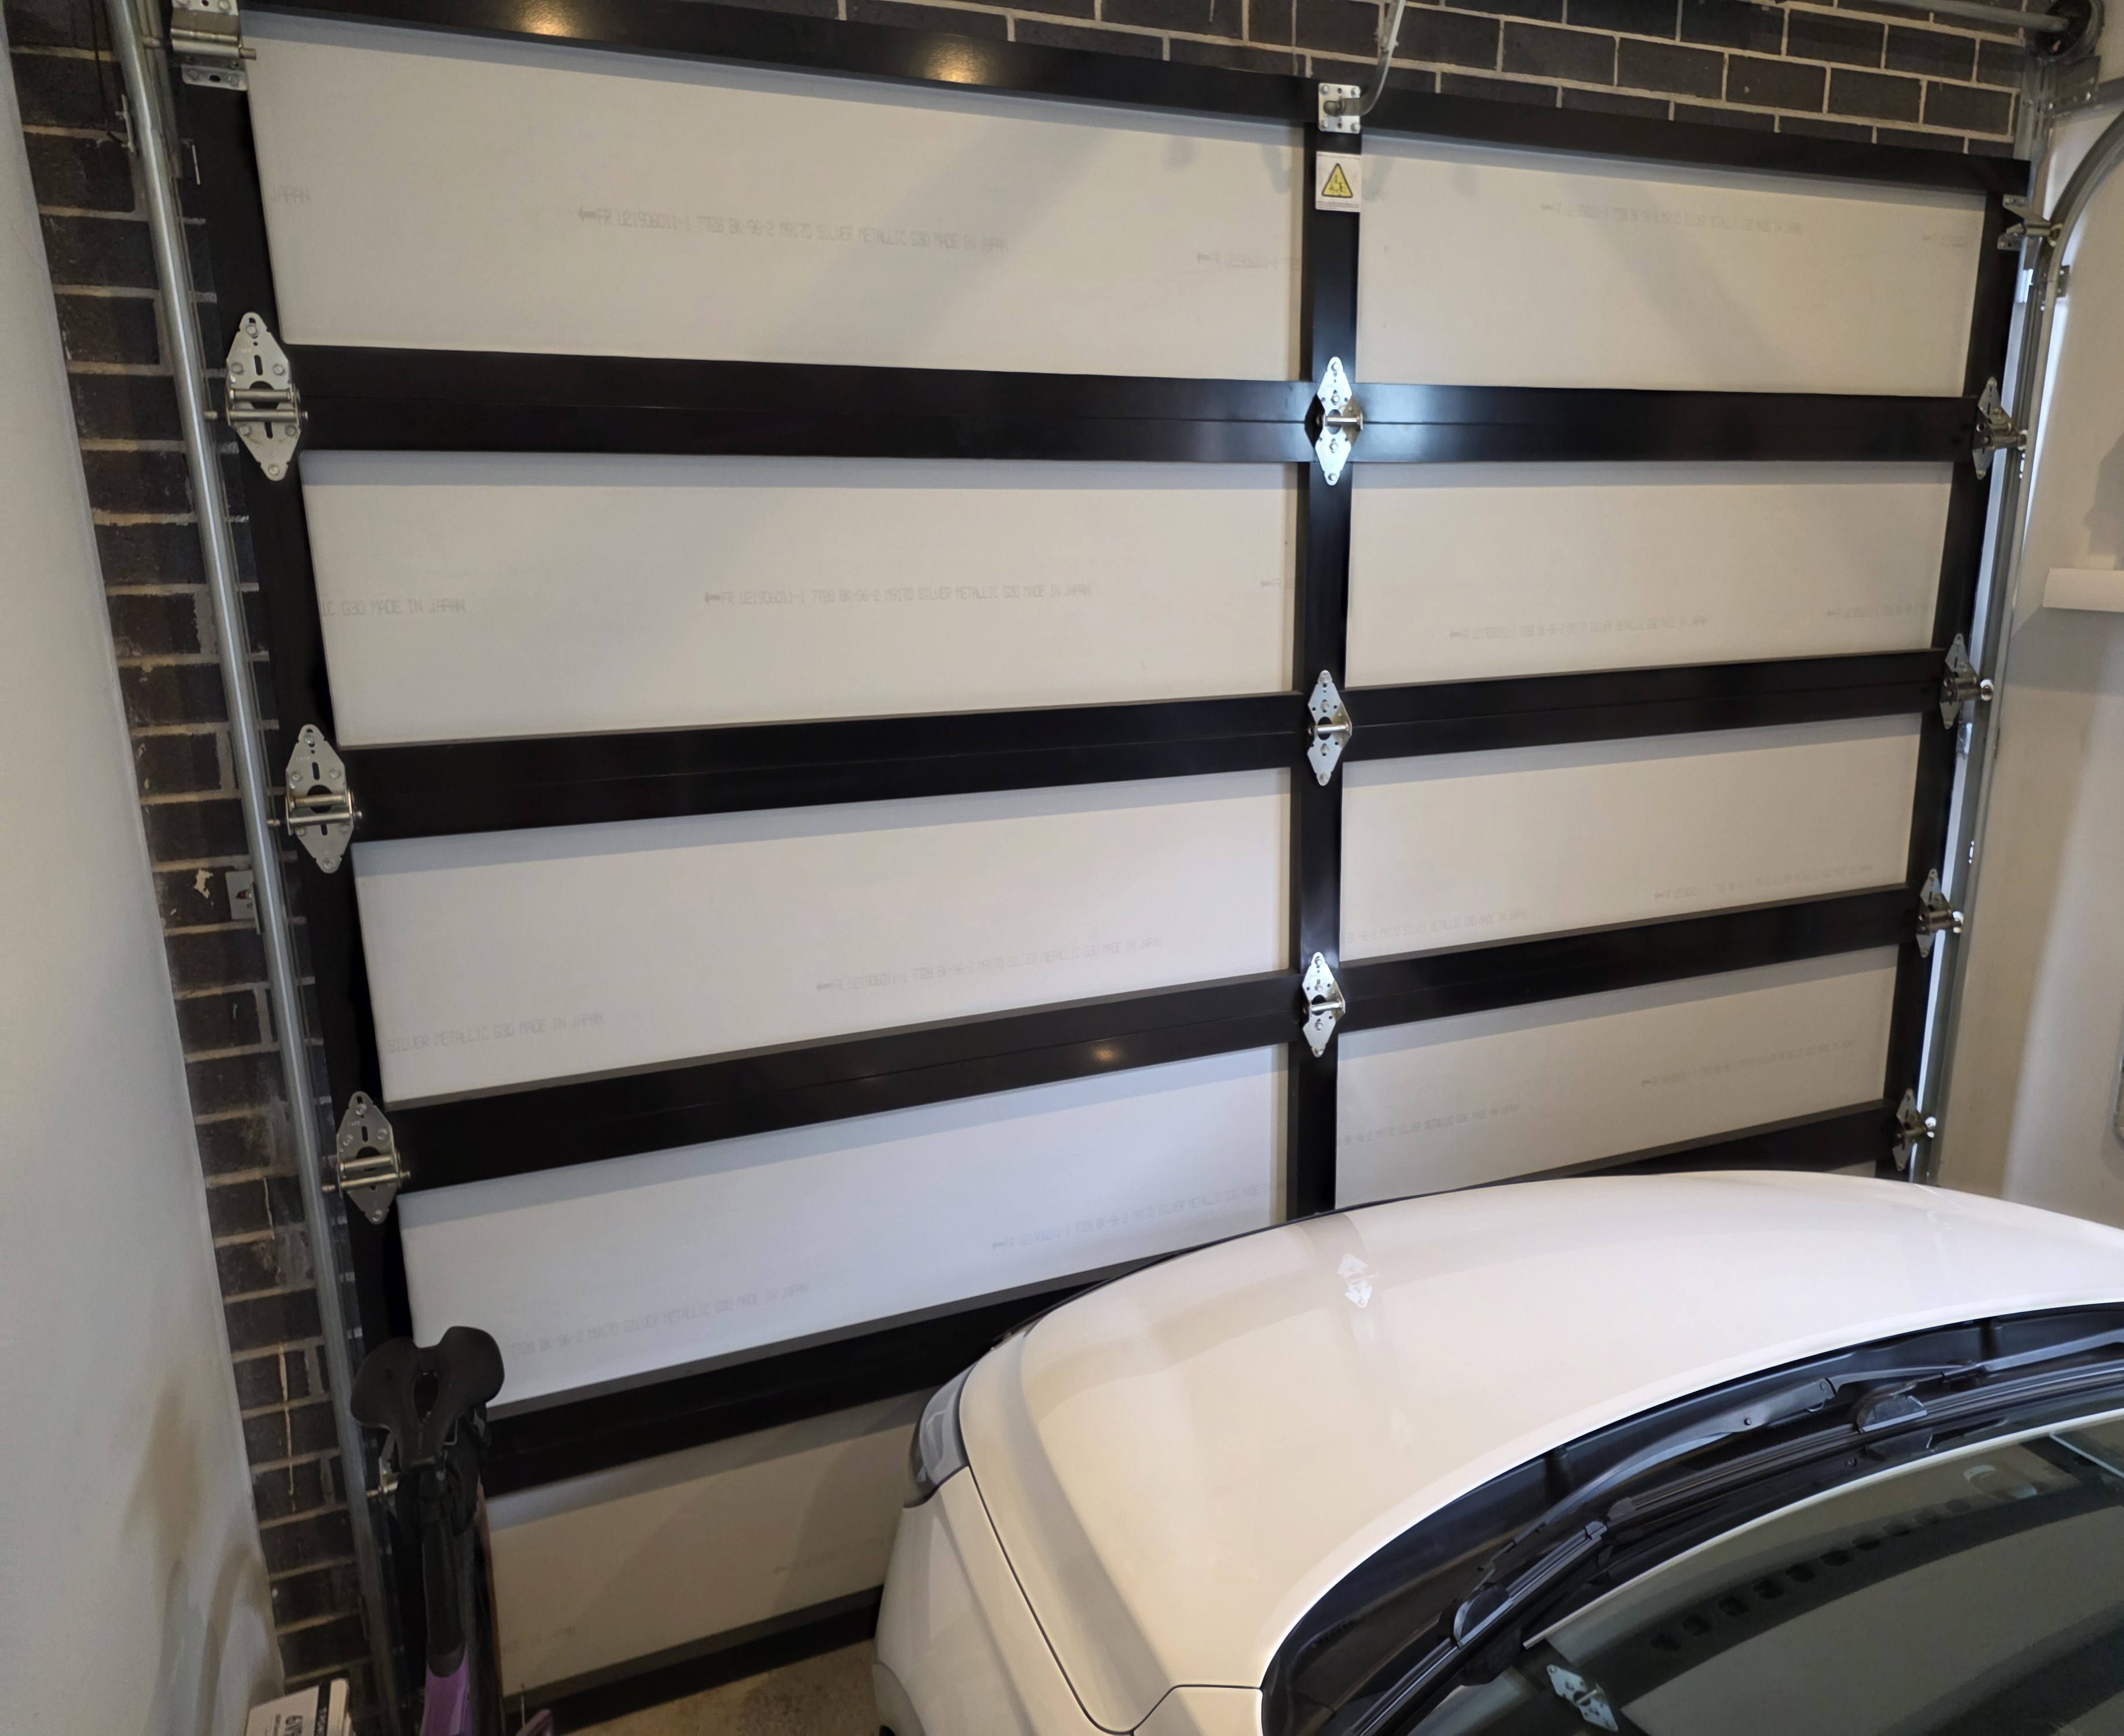
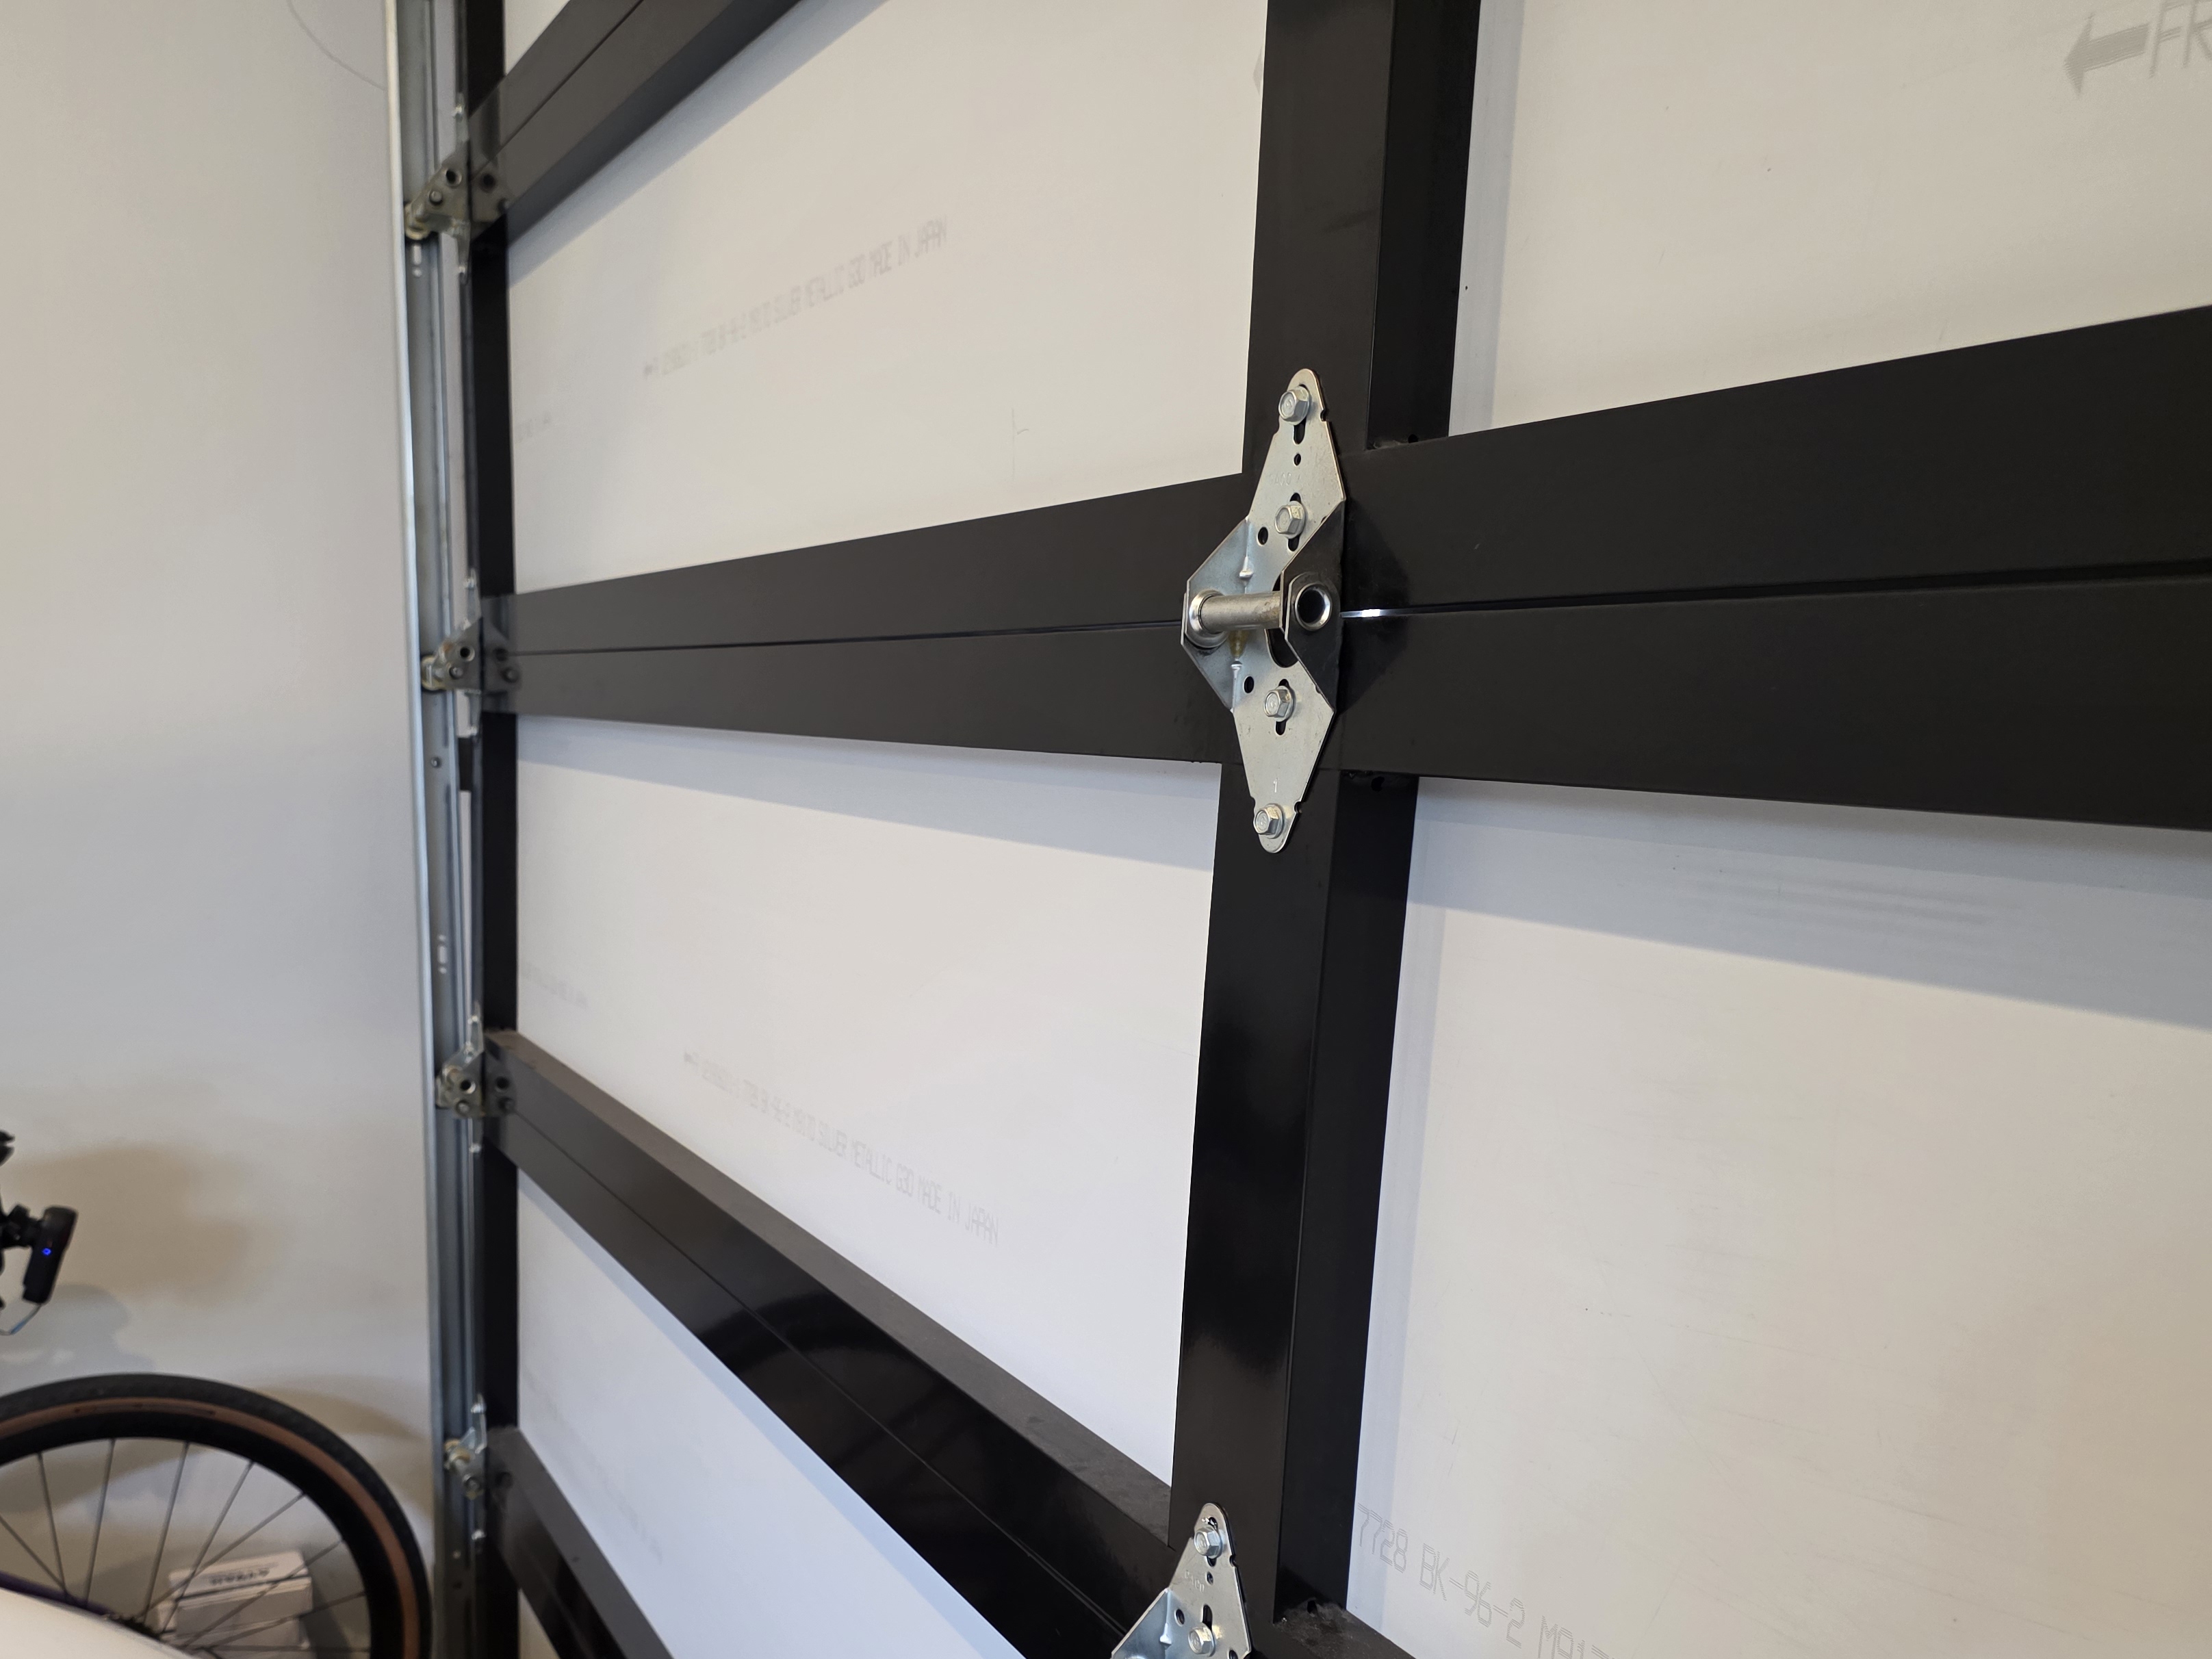
The research made it obvious that the door itself was the problem. It is west facing and made of metal, so it spends the second half of the day absorbing sun and then radiating that heat straight back into the garage. By late afternoon the door is warm to the touch and the whole space follows it up.
The door also isn't sealed. There is a rubber strip along the bottom, but the top and sides have open air gaps.
So there were two separate jobs:
- Insulate the panels so the door stops radiating heat inwards.
- Seal the edges so air stops coming through the gaps.
Insulation
Insulation is rated by its R-value, which is a measure of thermal resistance. A higher R-value means the material resists heat transfer better. A reflective foil facing adds a second mechanism on top of that to bounce radiant heat back.
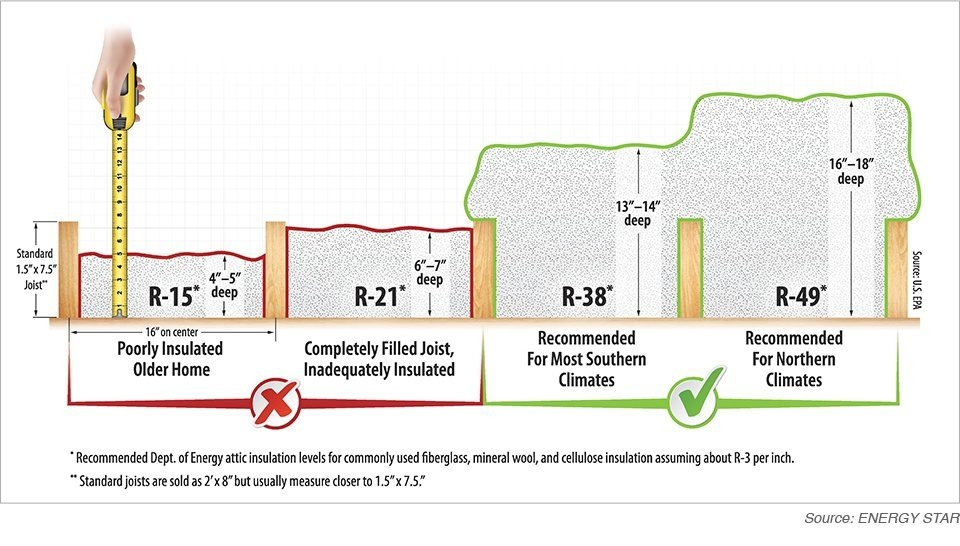
There is one more trick worth knowing. Trapped, still air is itself a decent insulator. Rather than bonding the foam flat against the hot metal, leaving a gap between the door and the board adds an air pocket to the assembly. That is what the spacer blocks below are for.
From my research, I found three materials to insulate a garage door: Foilboard, Thermadoor and plain styrofoam.
Foilboard:
- A rigid foam panel faced with reflective foil on both sides.
- Roughly R1.3 to R1.5.
- Each panel is 2400mm x 1200mm.
- Sold at Bunnings
- Price ranges from $30 to $70 per board depending on thickness.
- They also sell spacer blocks to create the air gap.
- Self-installed.
Thermadoor:
- A pre-made insulation kit built specifically for sectional garage doors.
- R1.43 winter and R1.39 summer.
- $440 plus $77 delivery. A premium option.
- They have both a premium range and a cheaper DIY option.
- Self-installed or professionally installed.
Foam:
- Plain styrofoam (expanded polystyrene), cut to size.
- R1.5 (XPS) and R1.25 (EPS)
- Around $200 each.
- Available from foamsales.com.au and thefoamcompany.com.au.
- Self-installed.
I went with foilboard, mostly because it was the easiest to acquire and the cheapest by a wide margin.
Foilboard
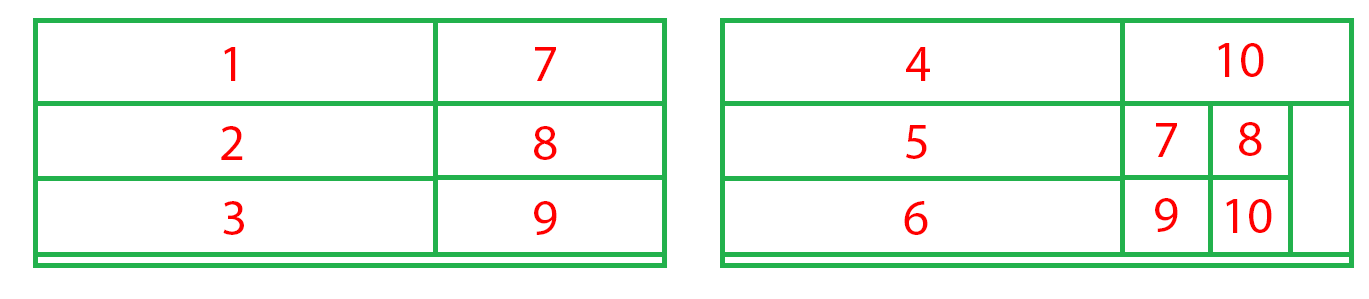
Two foilboard sheets were enough to fill all 10 panels, which came to $74.86. I would cut them down to size and tape pieces together where needed.
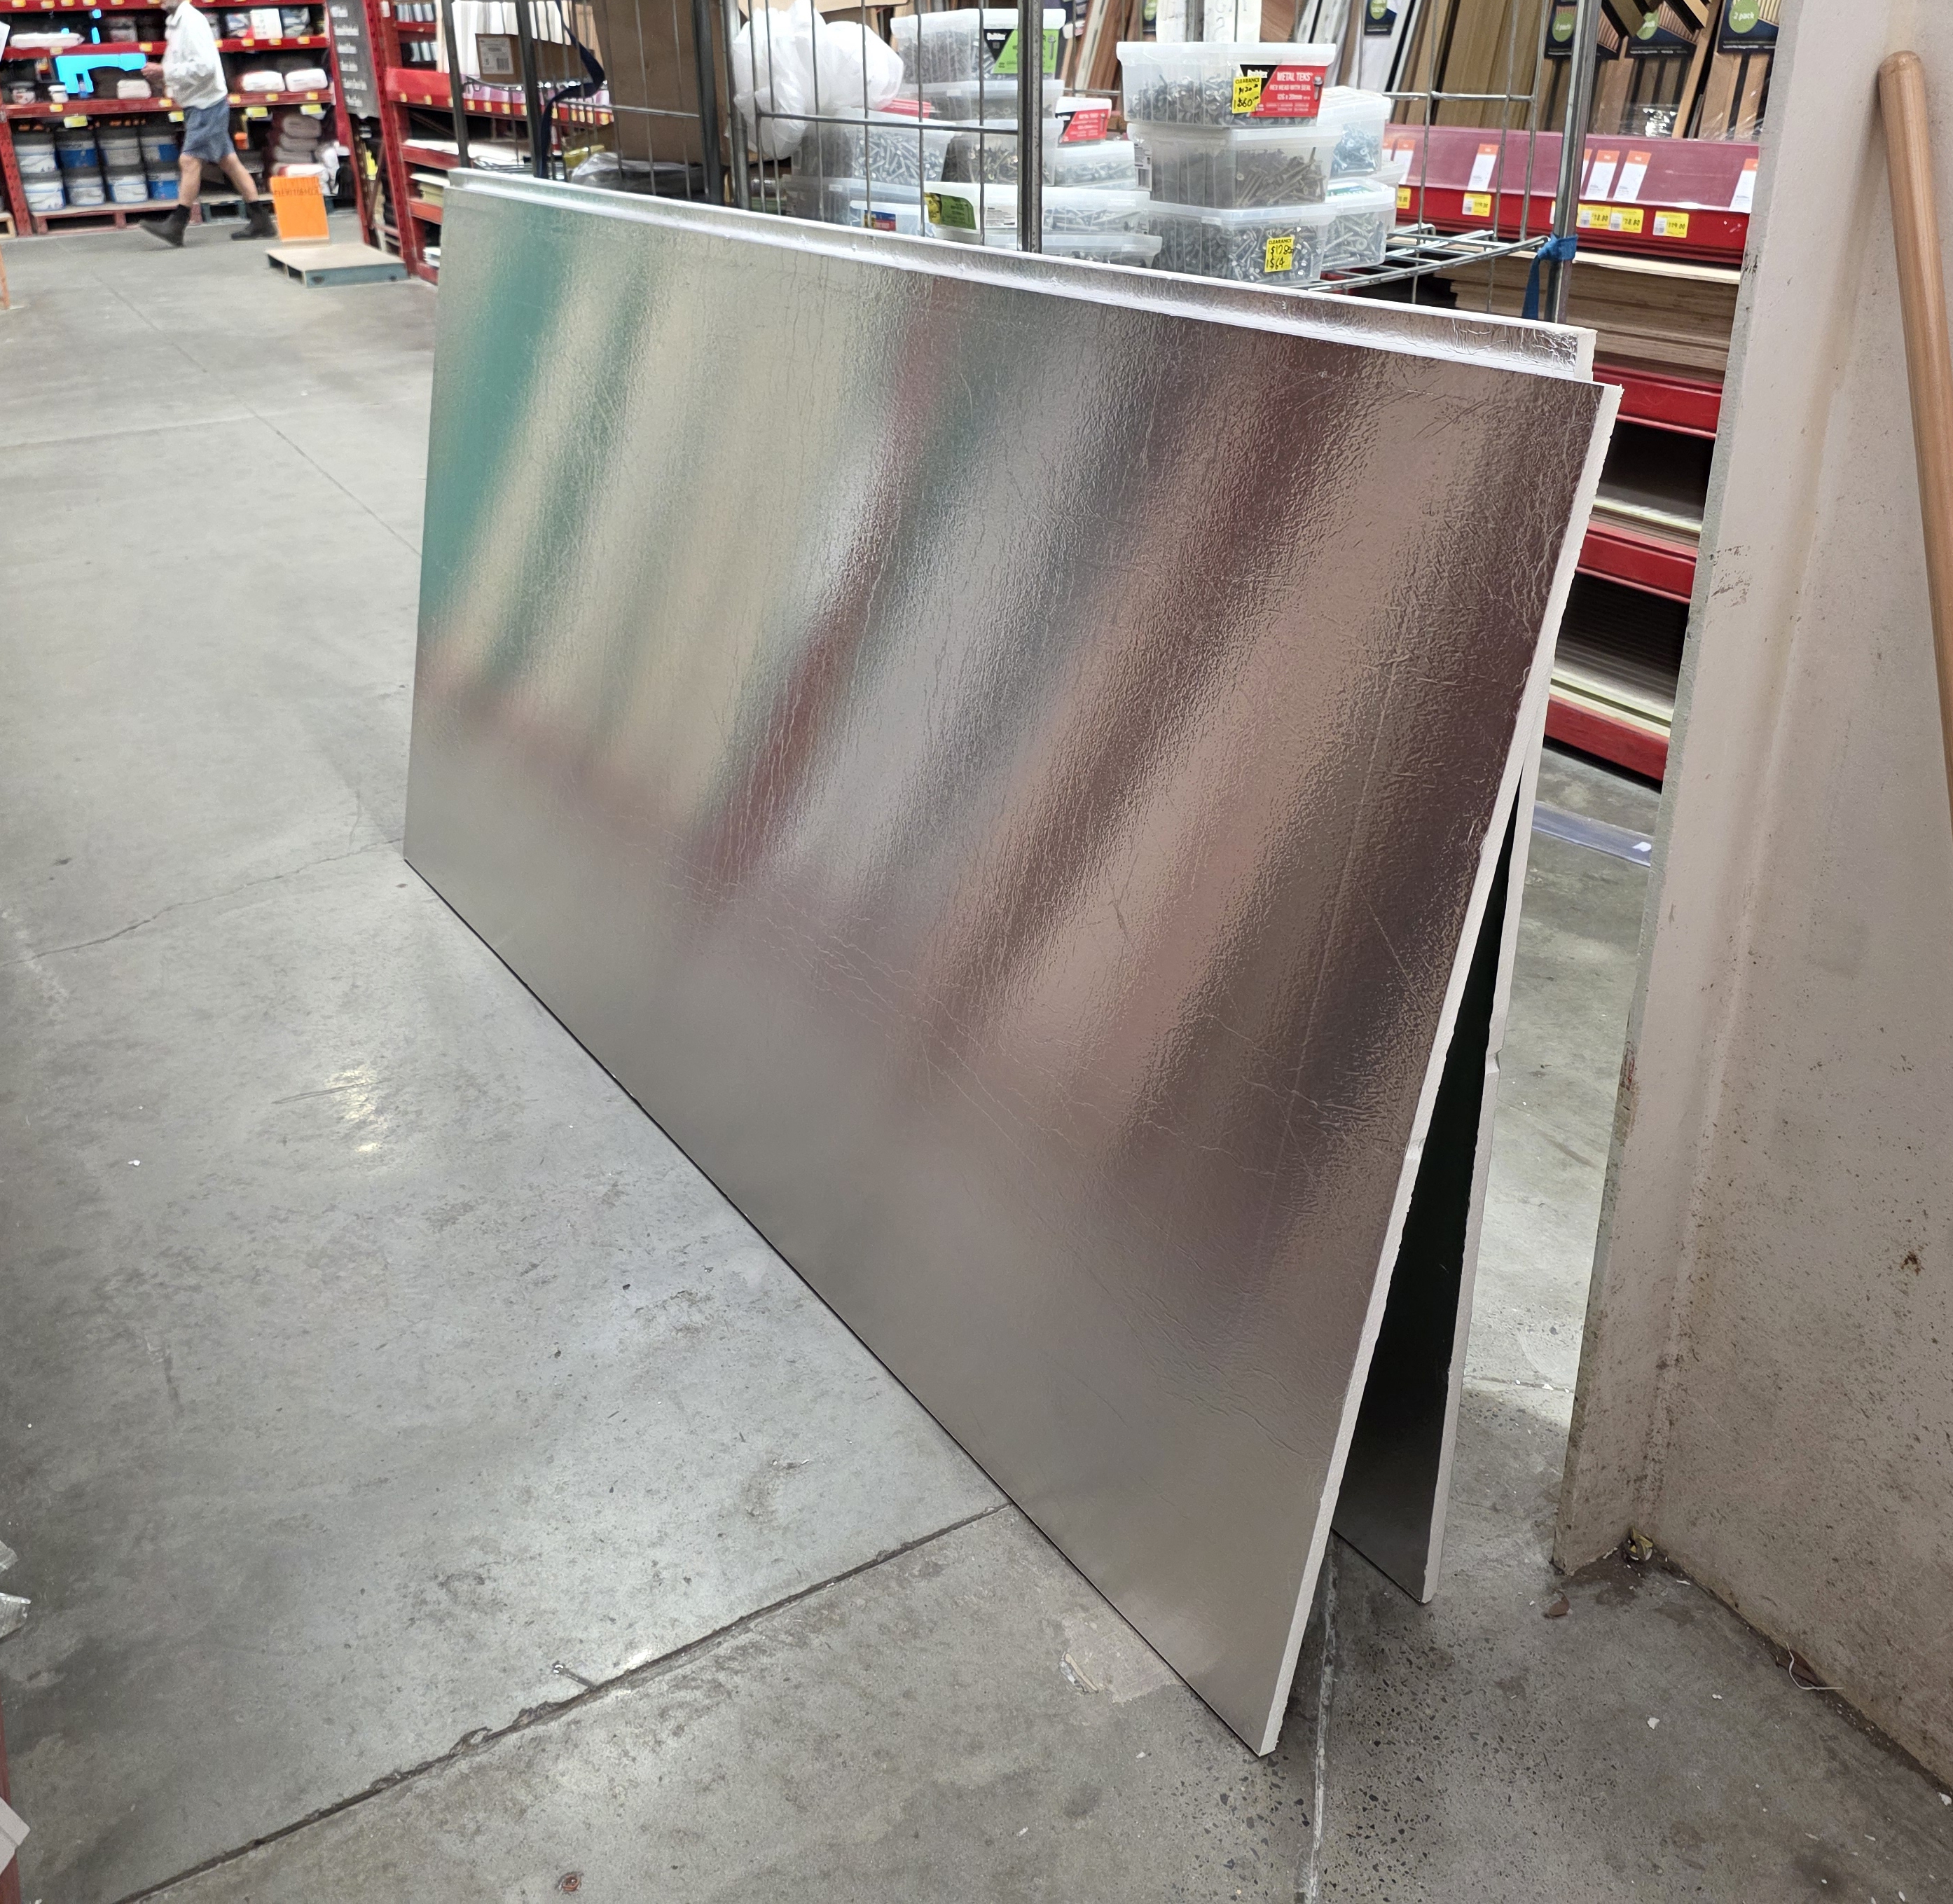
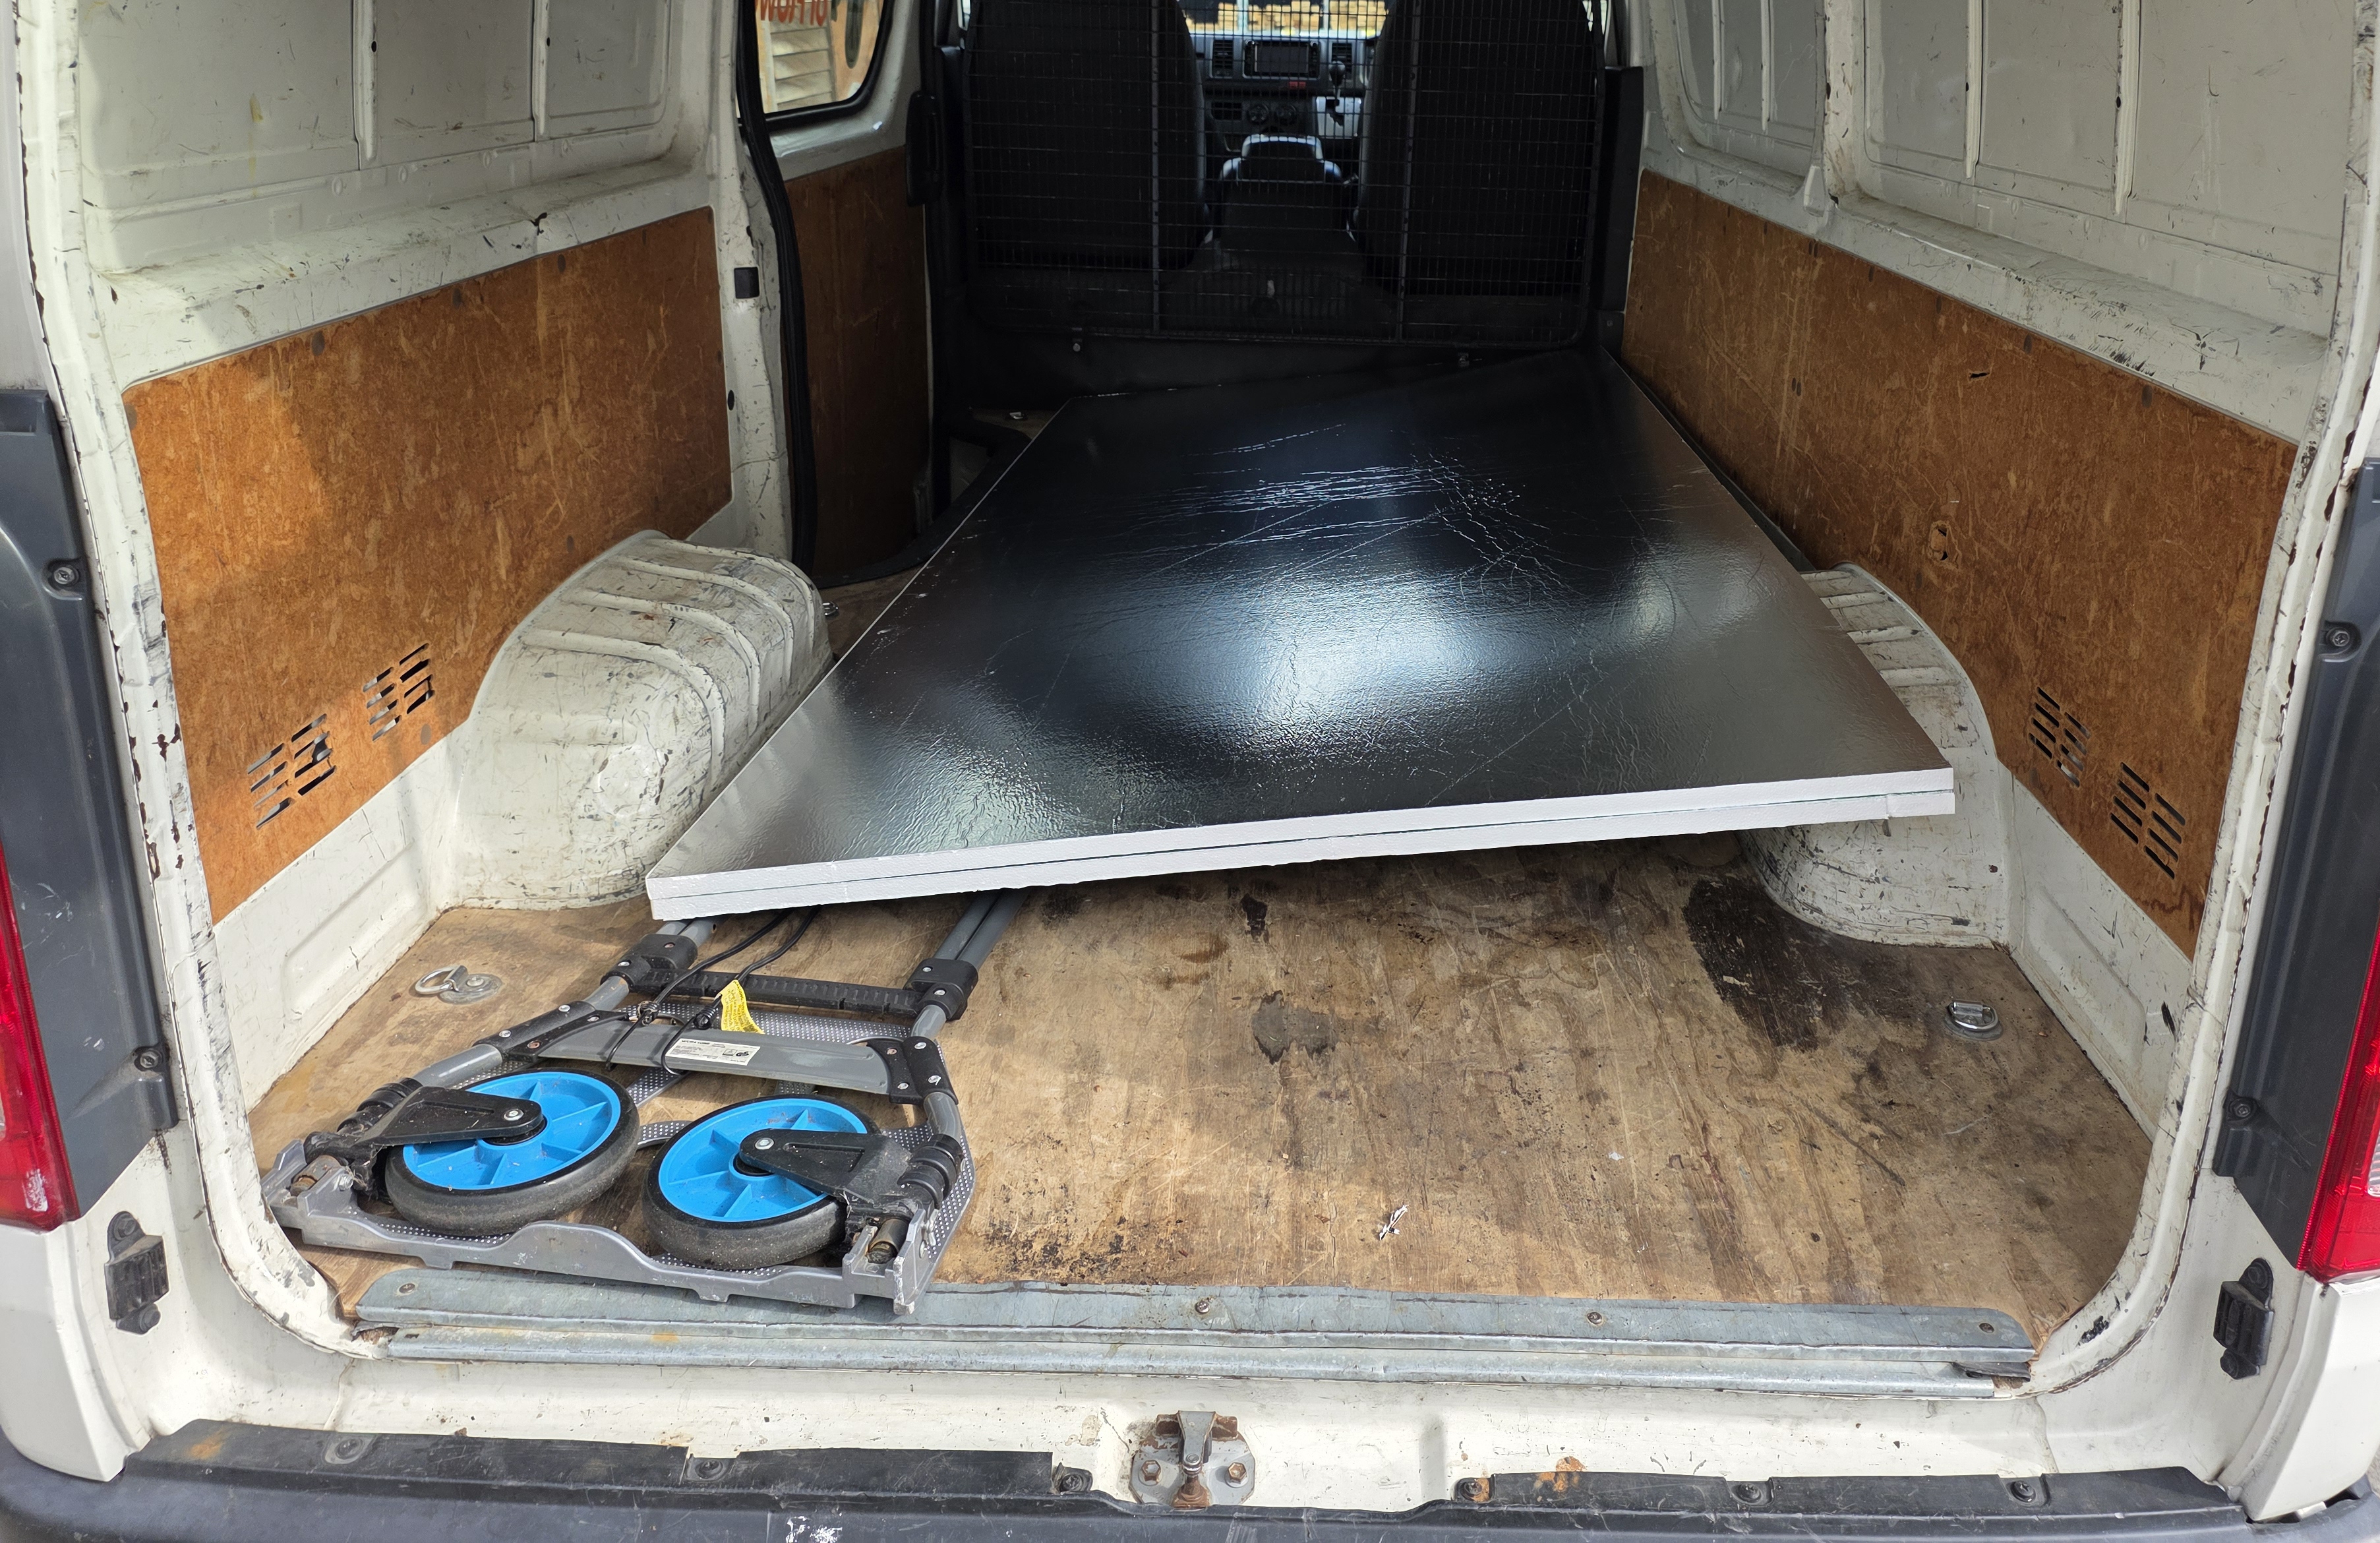
The sheets are 2400mm x 1200mm, longer than my car, so I rented a van to get them home. If you were really keen you could cut them down in the car park instead.
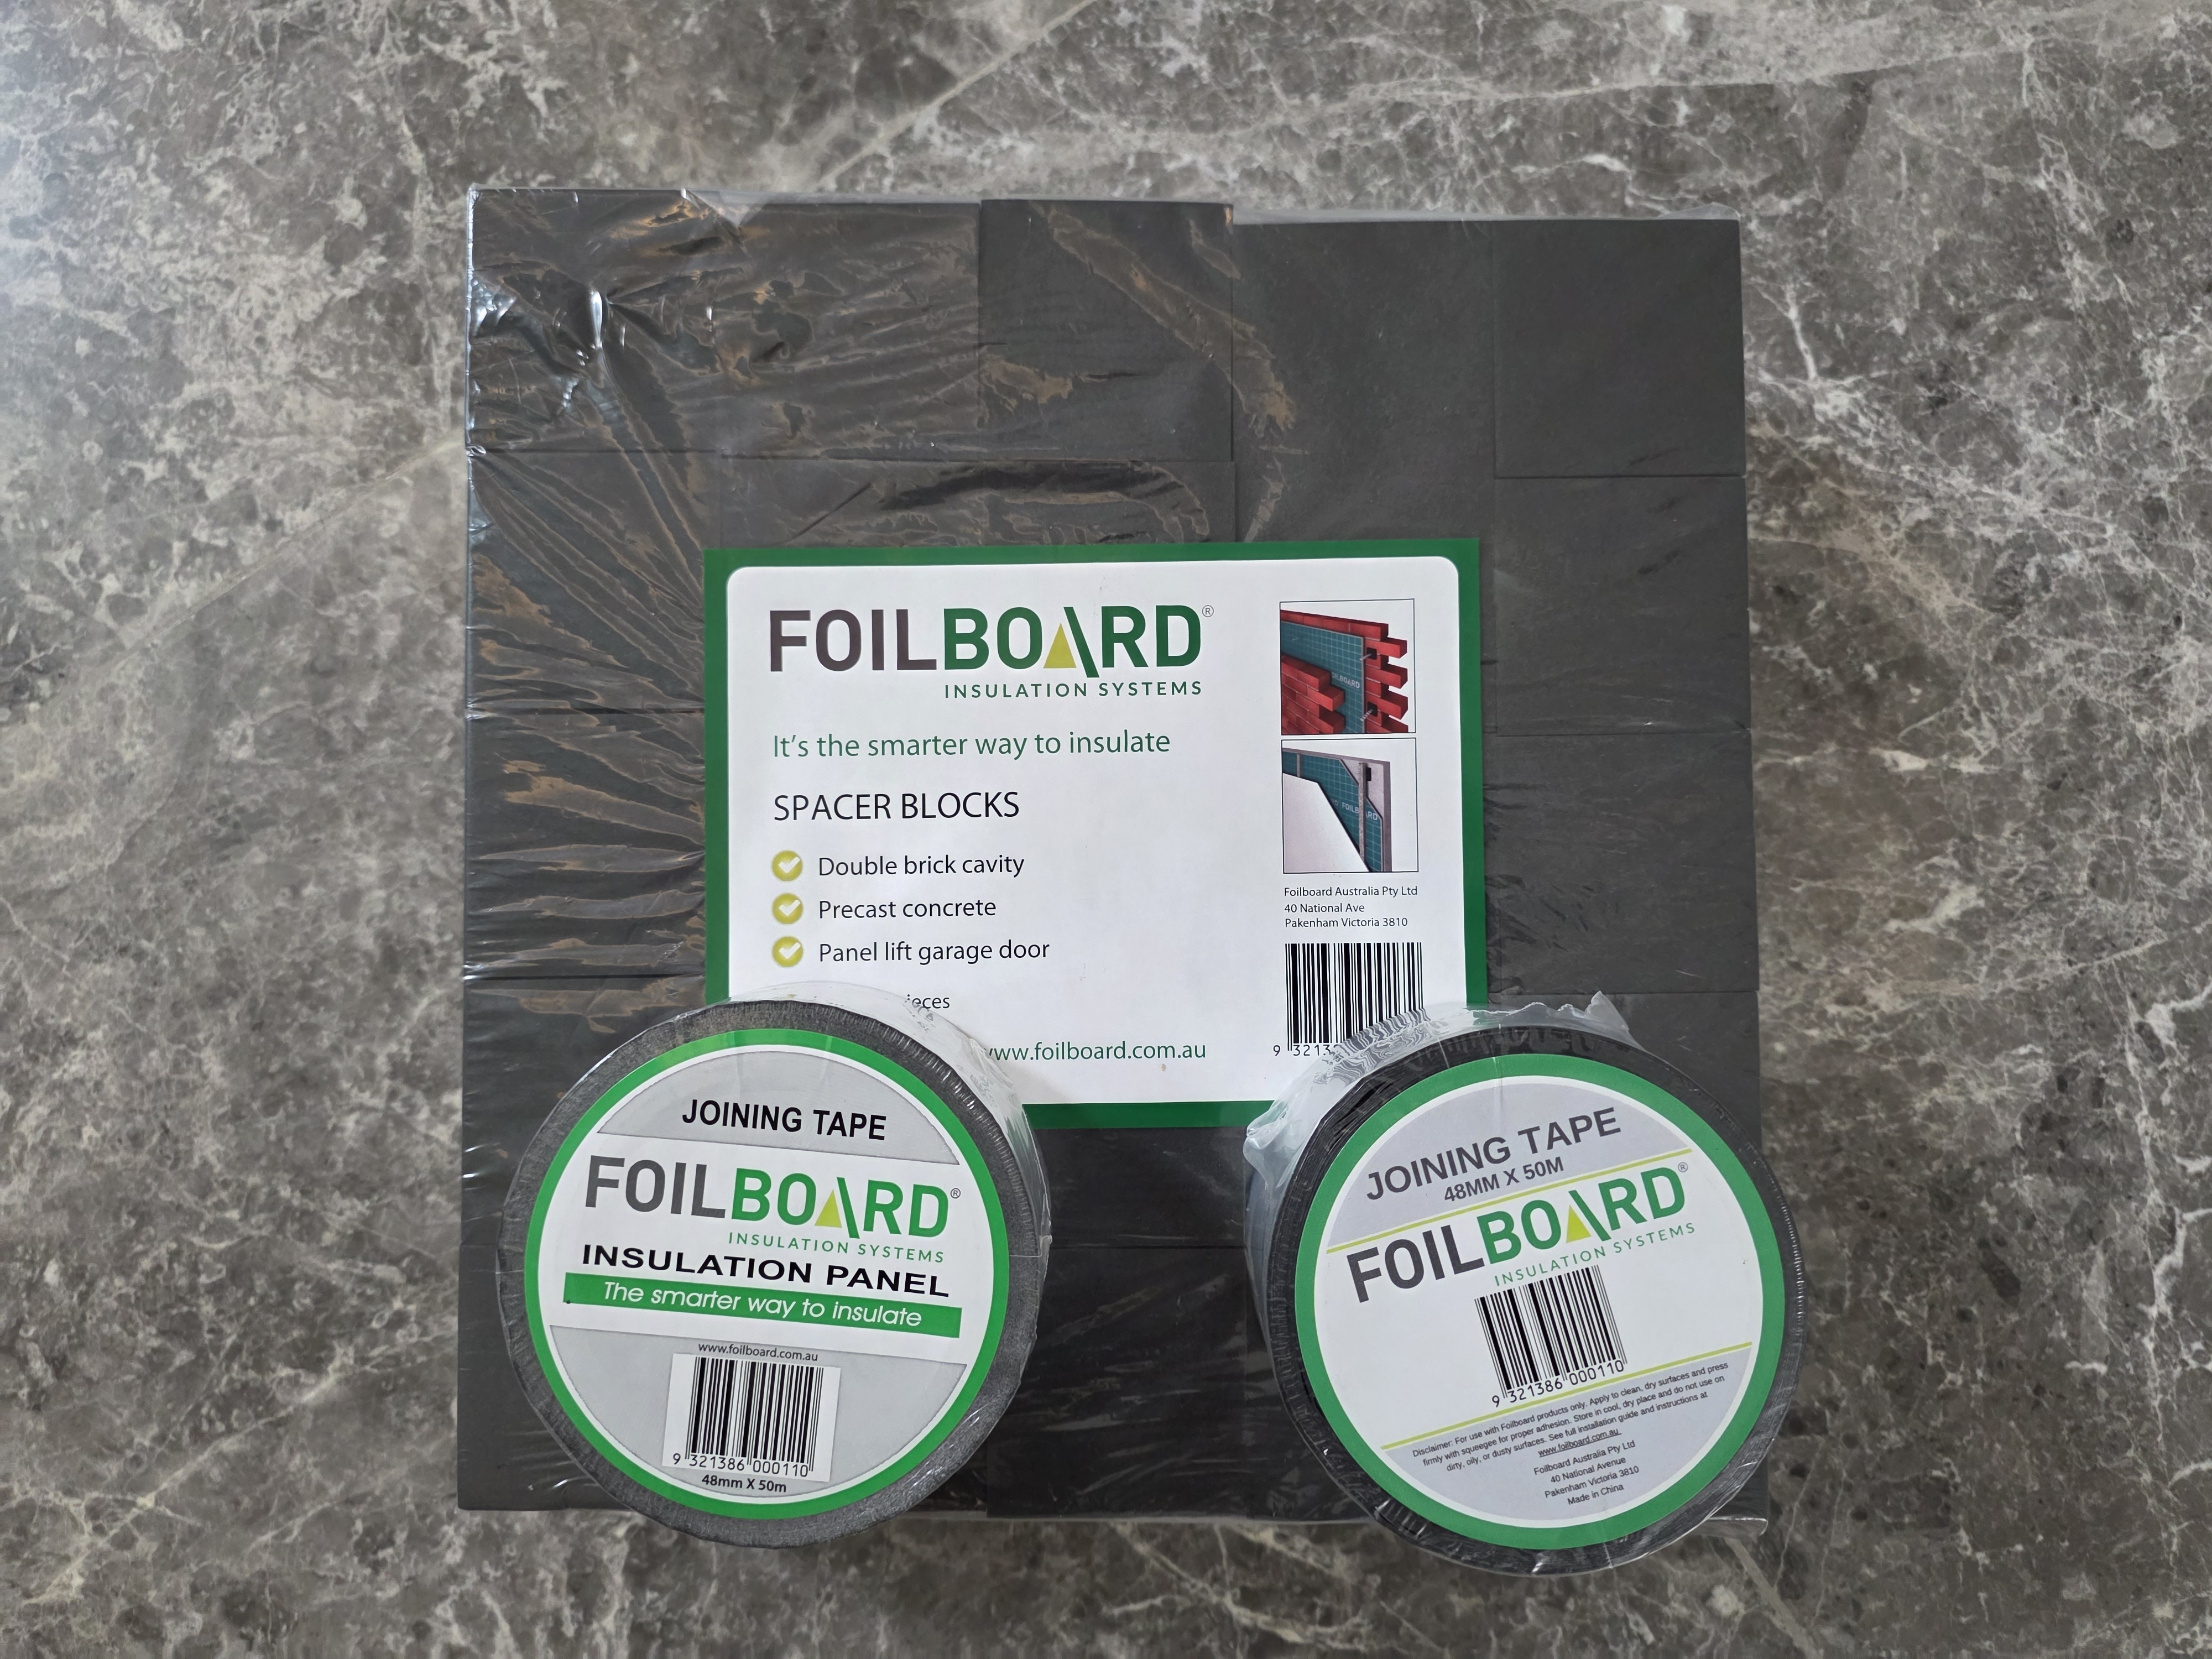
Bunnings sell a silver tape (48mm x 50m) that matches the foil facing, so the joins disappear. I bought two rolls, one for joining pieces, and one for taping the boards onto the door. I also bought the 100-pack of spacer blocks ($37.95) to create the air gap.
Installation
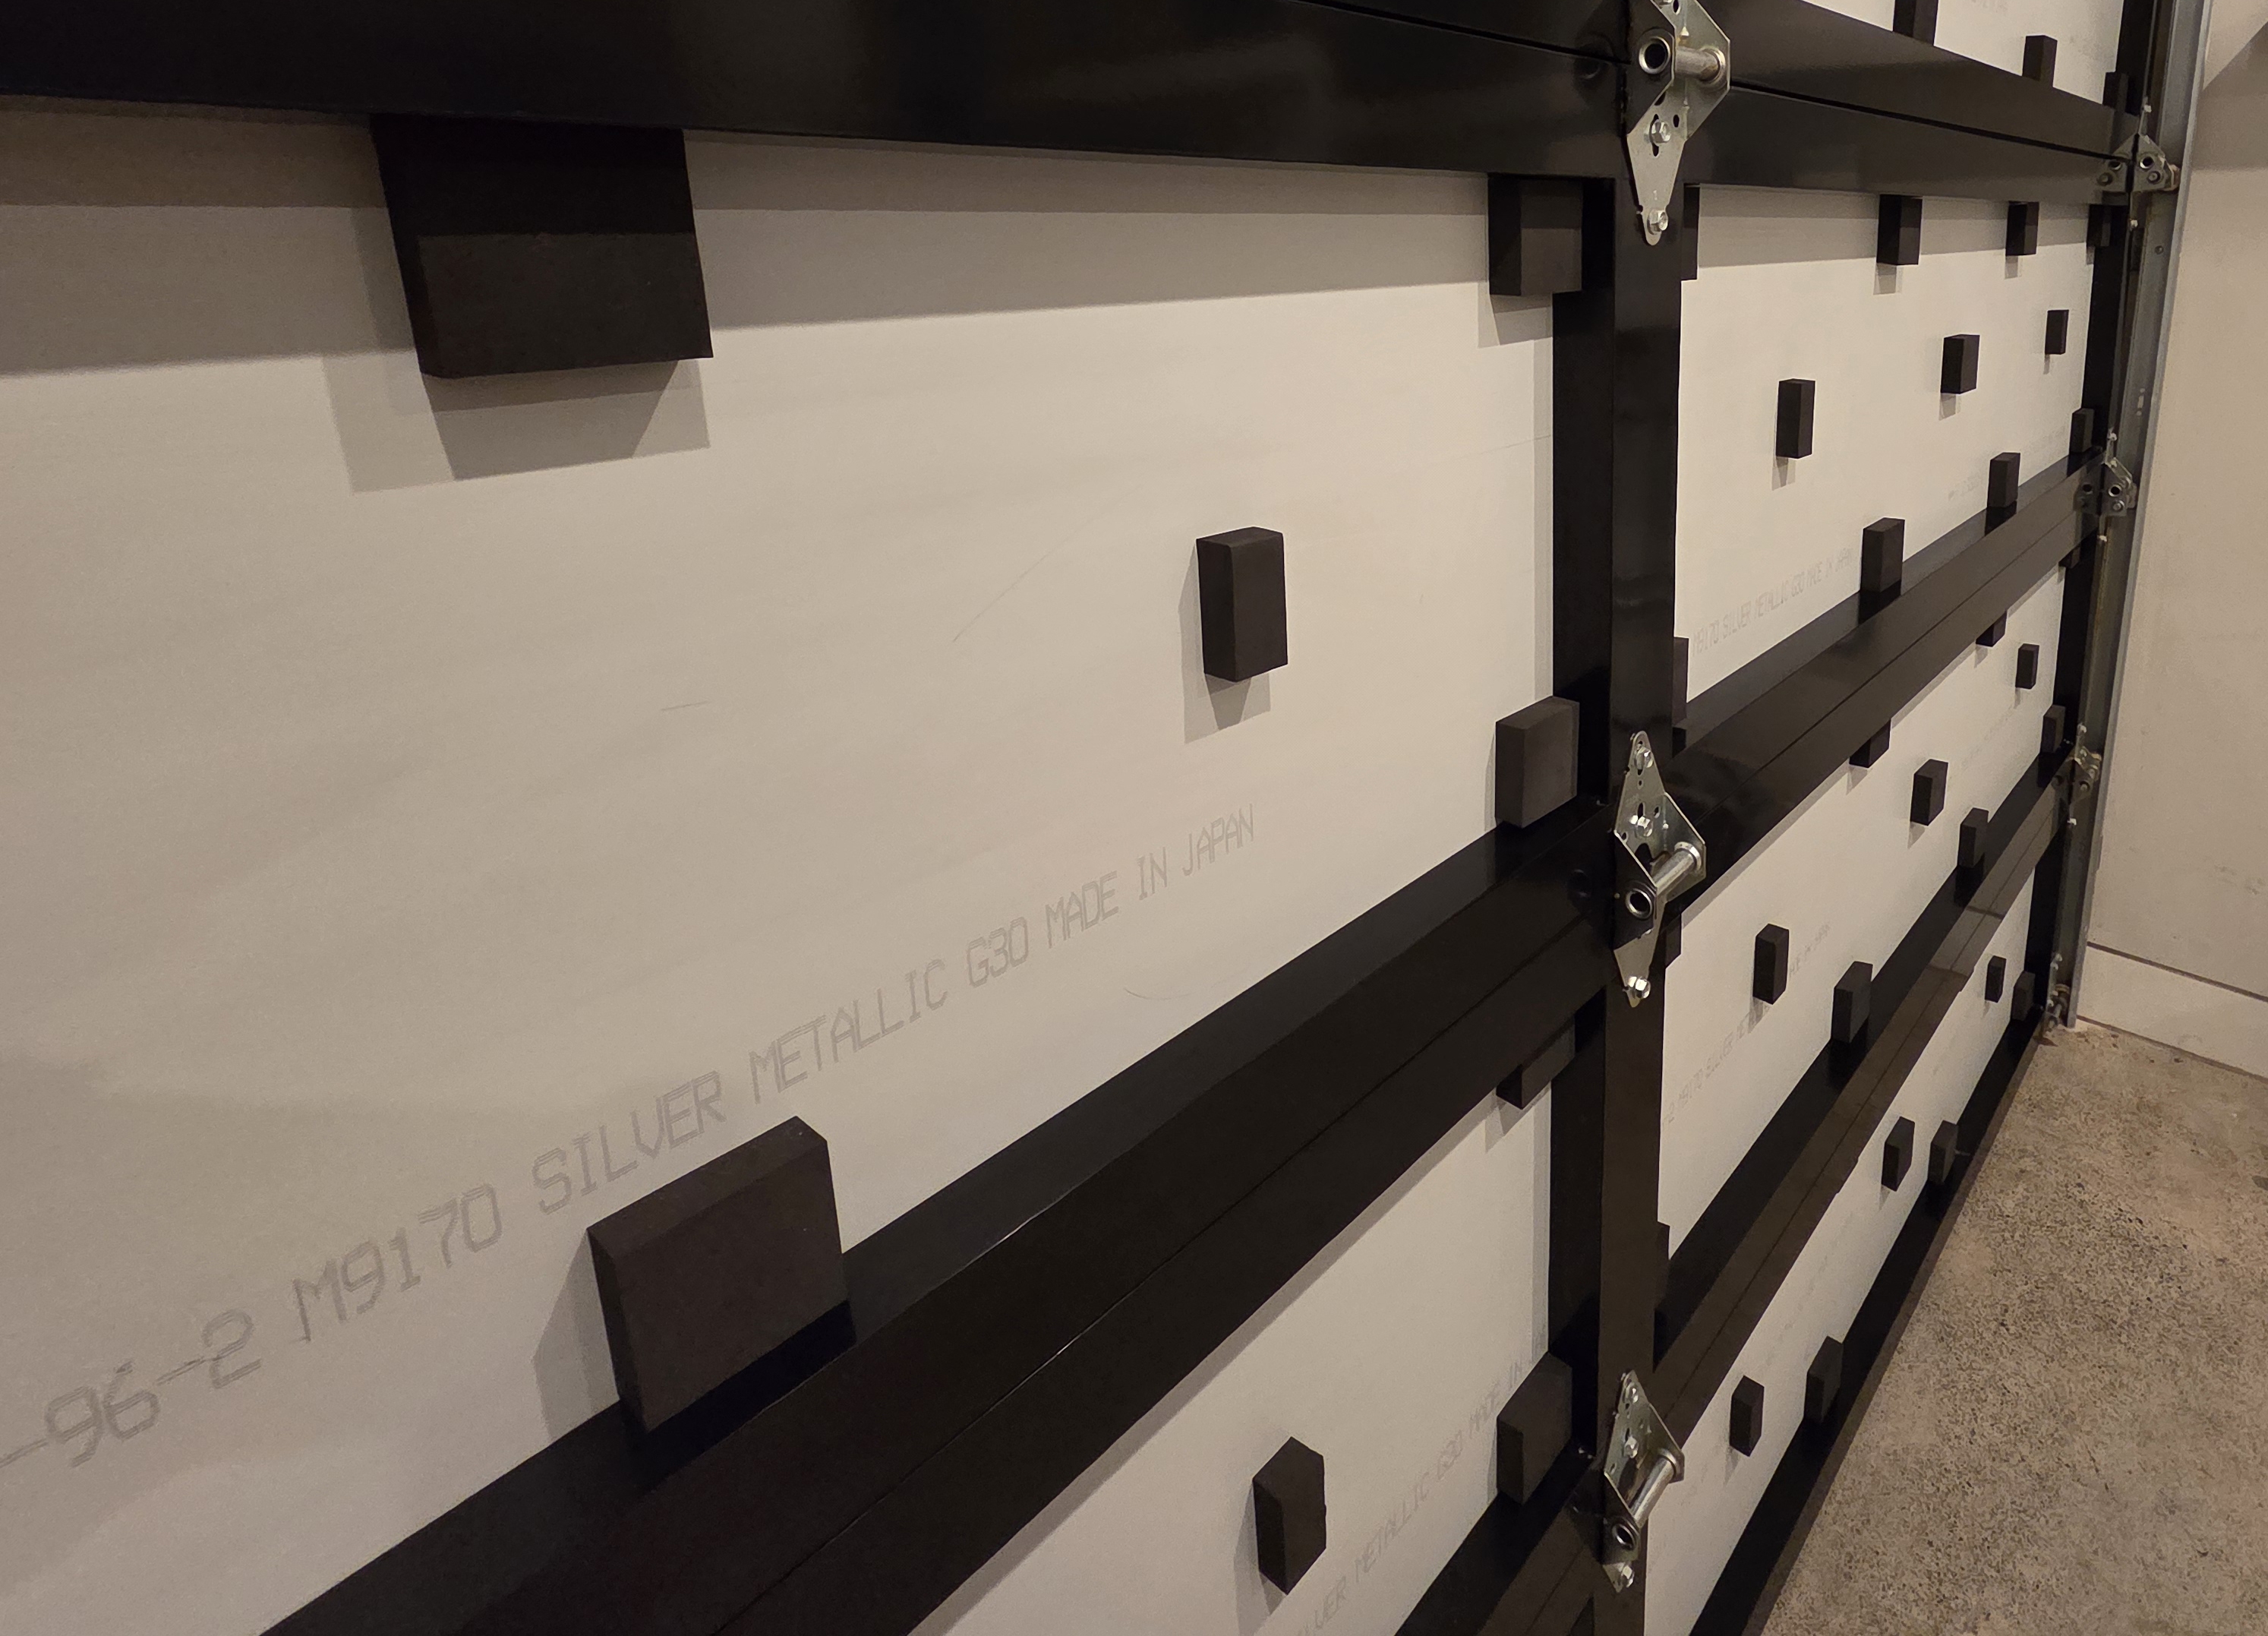
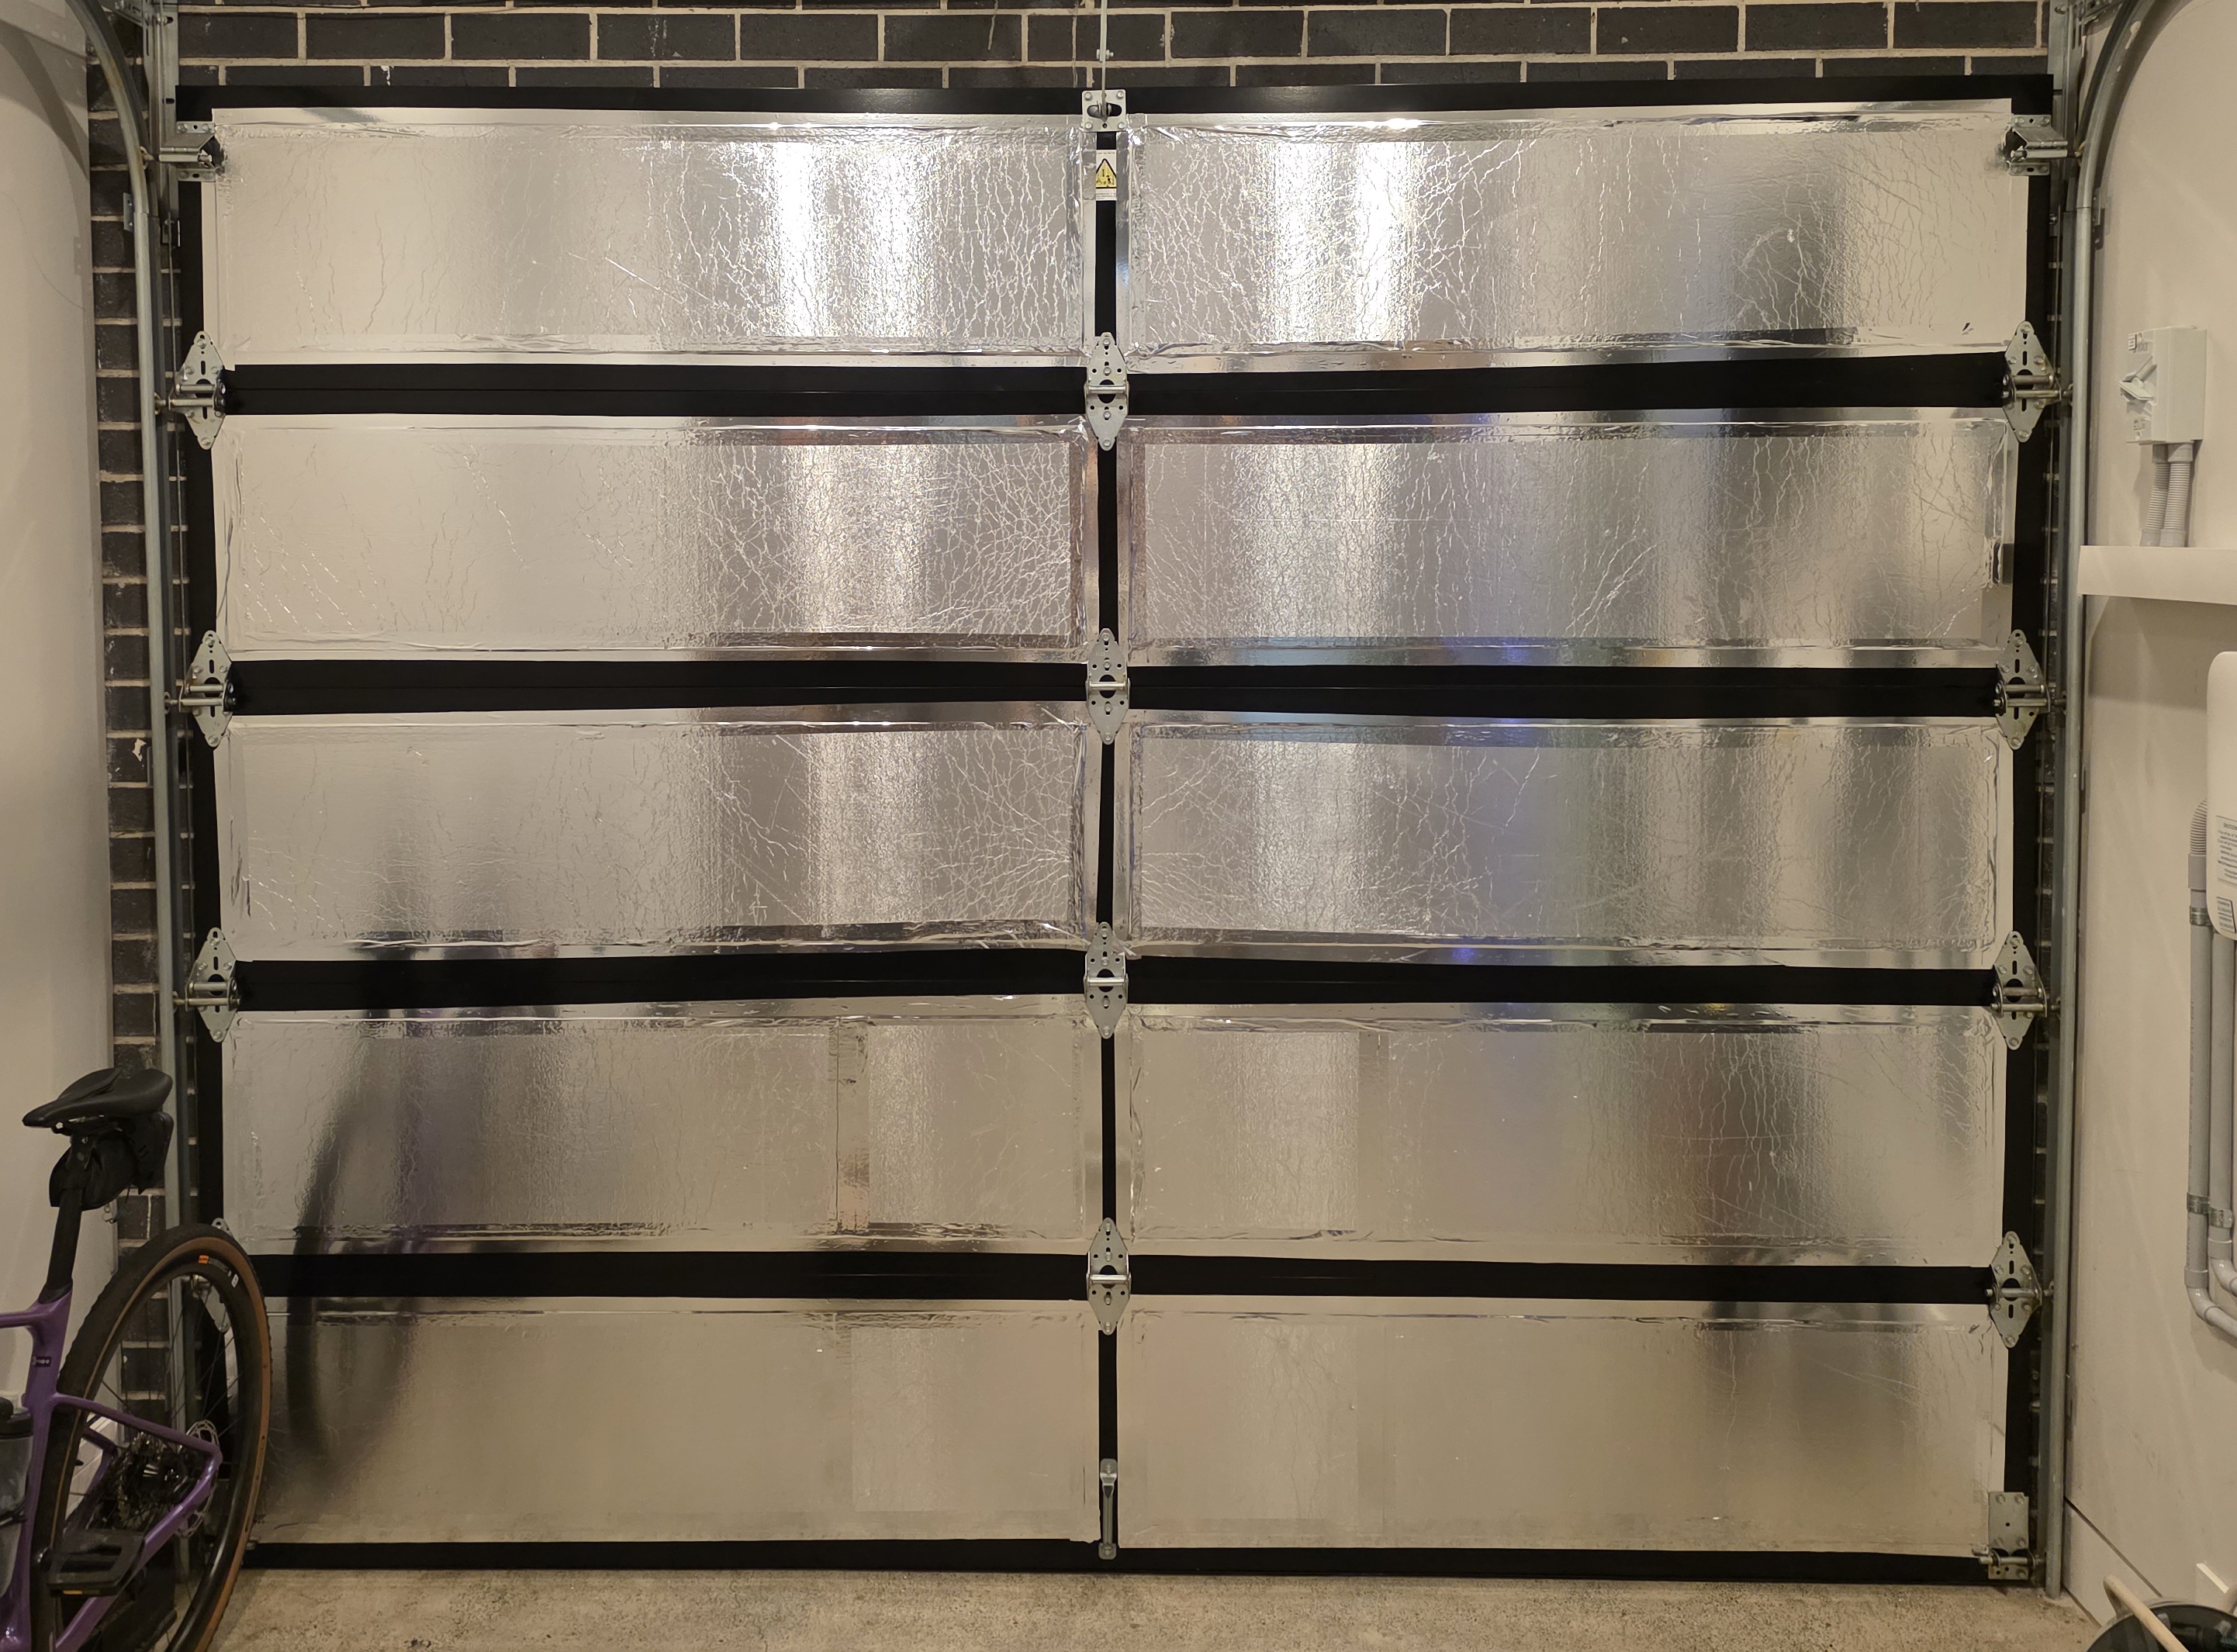
The spacer blocks have adhesive on one side, which sticks to the door. The other side has no adhesive, which is fine as the foilboard just rests on the blocks and is held in place by the tape.
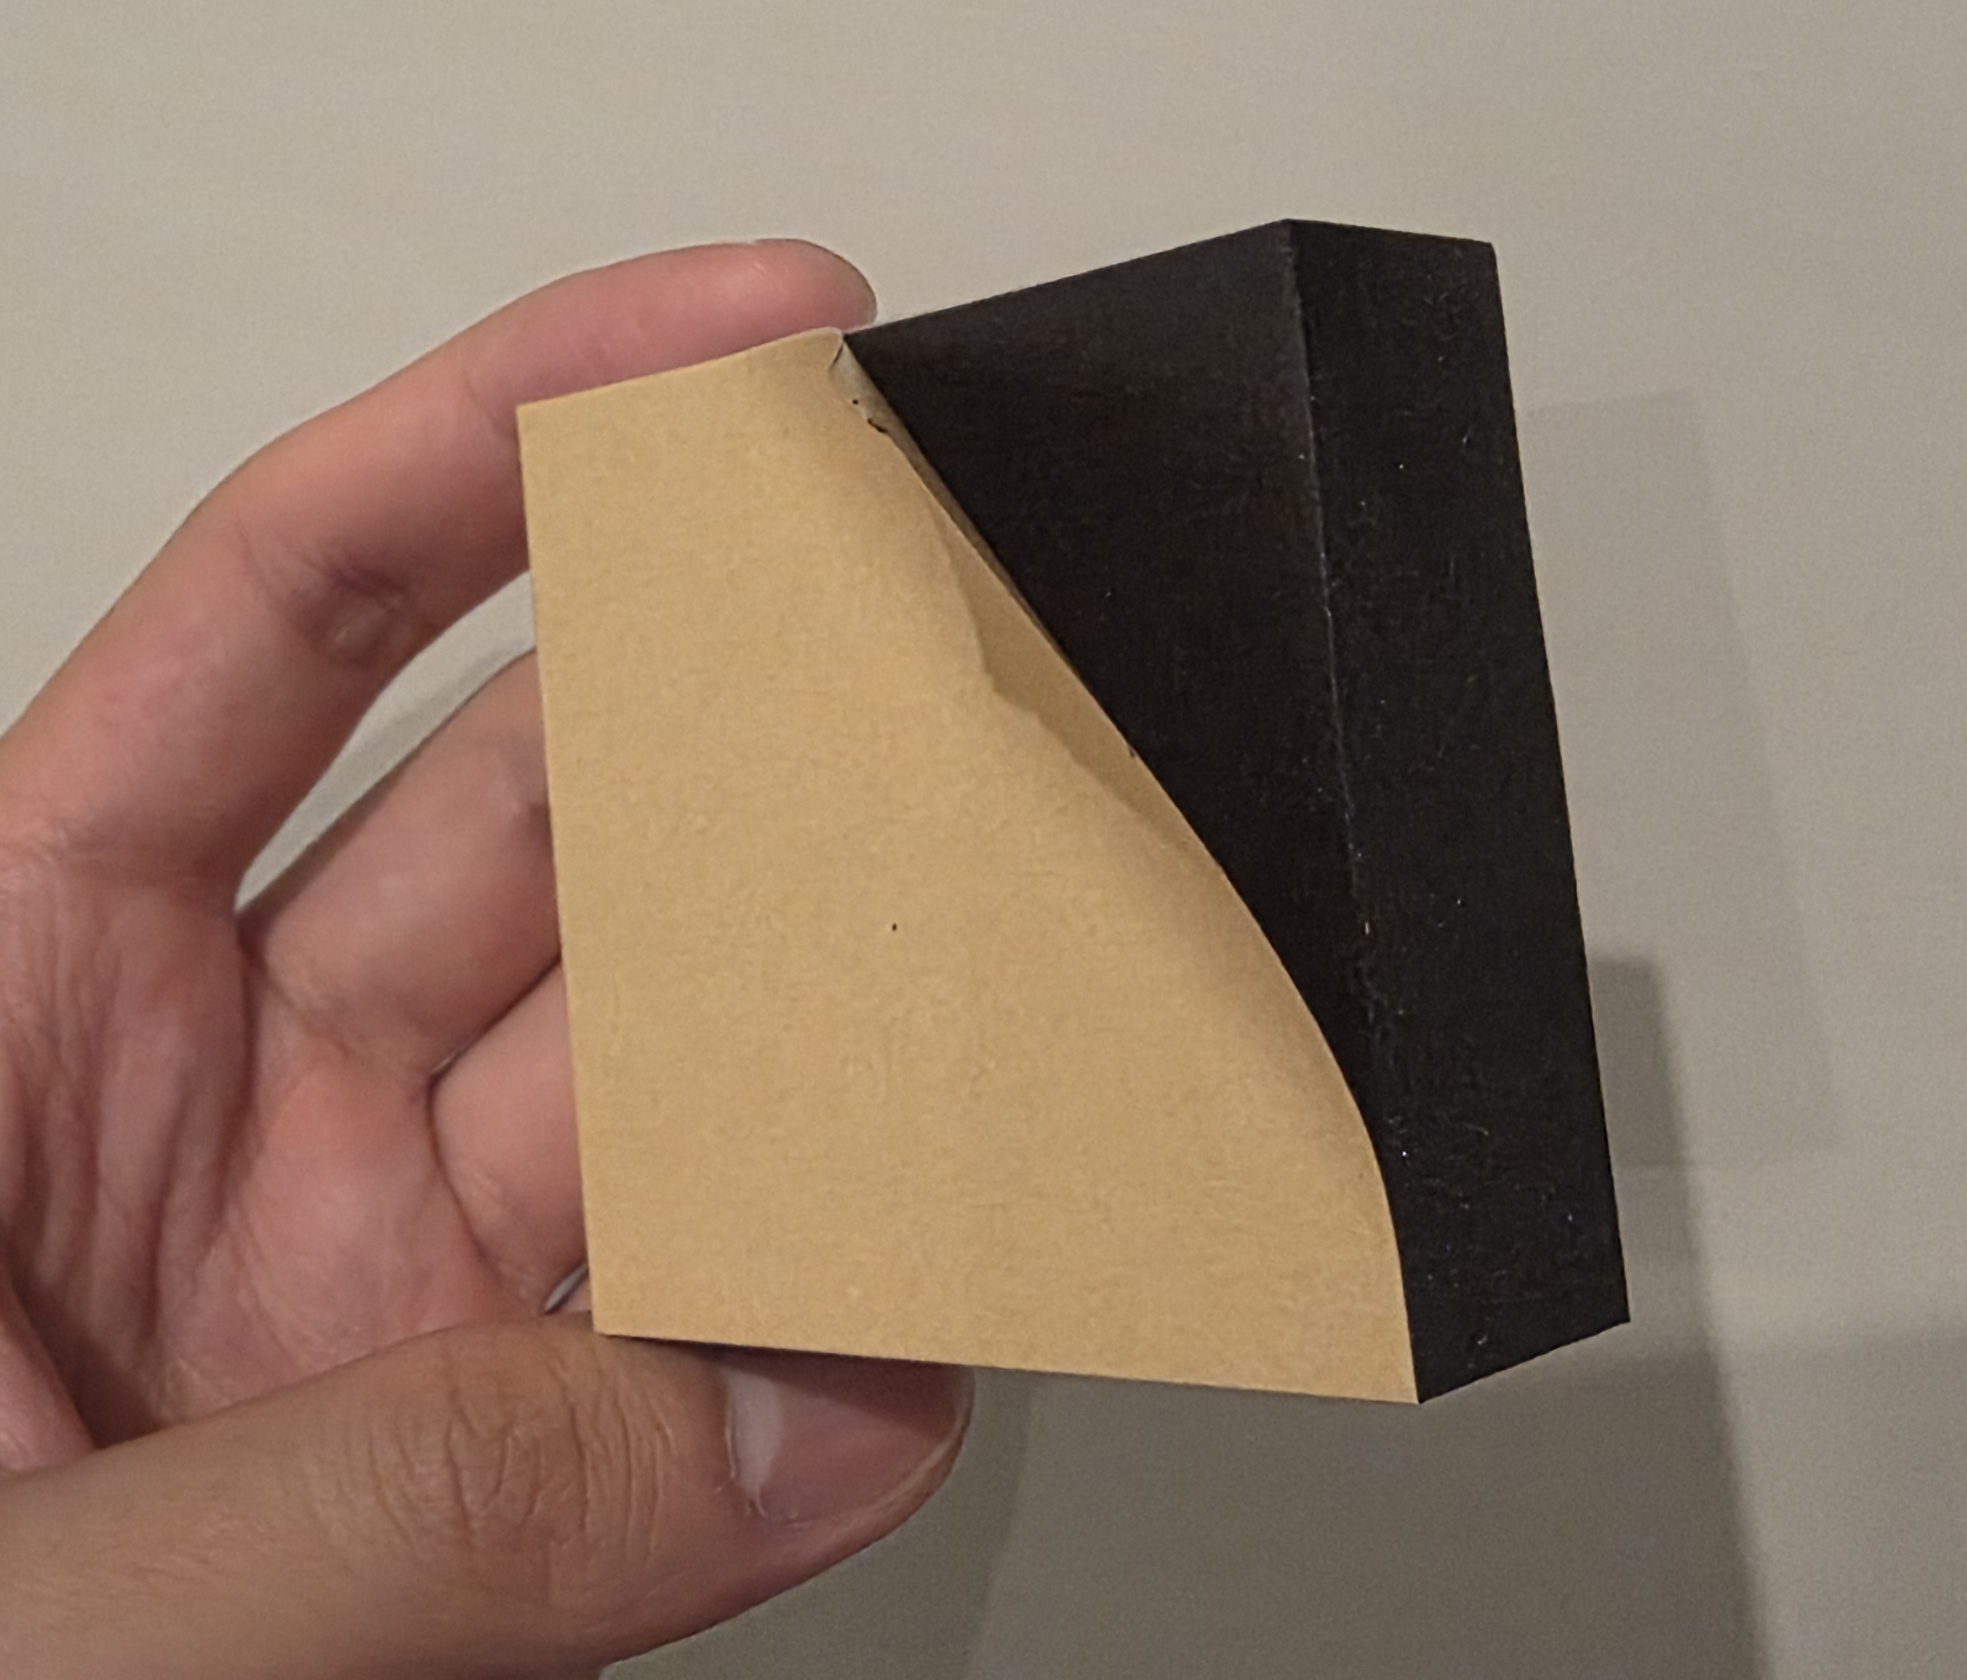
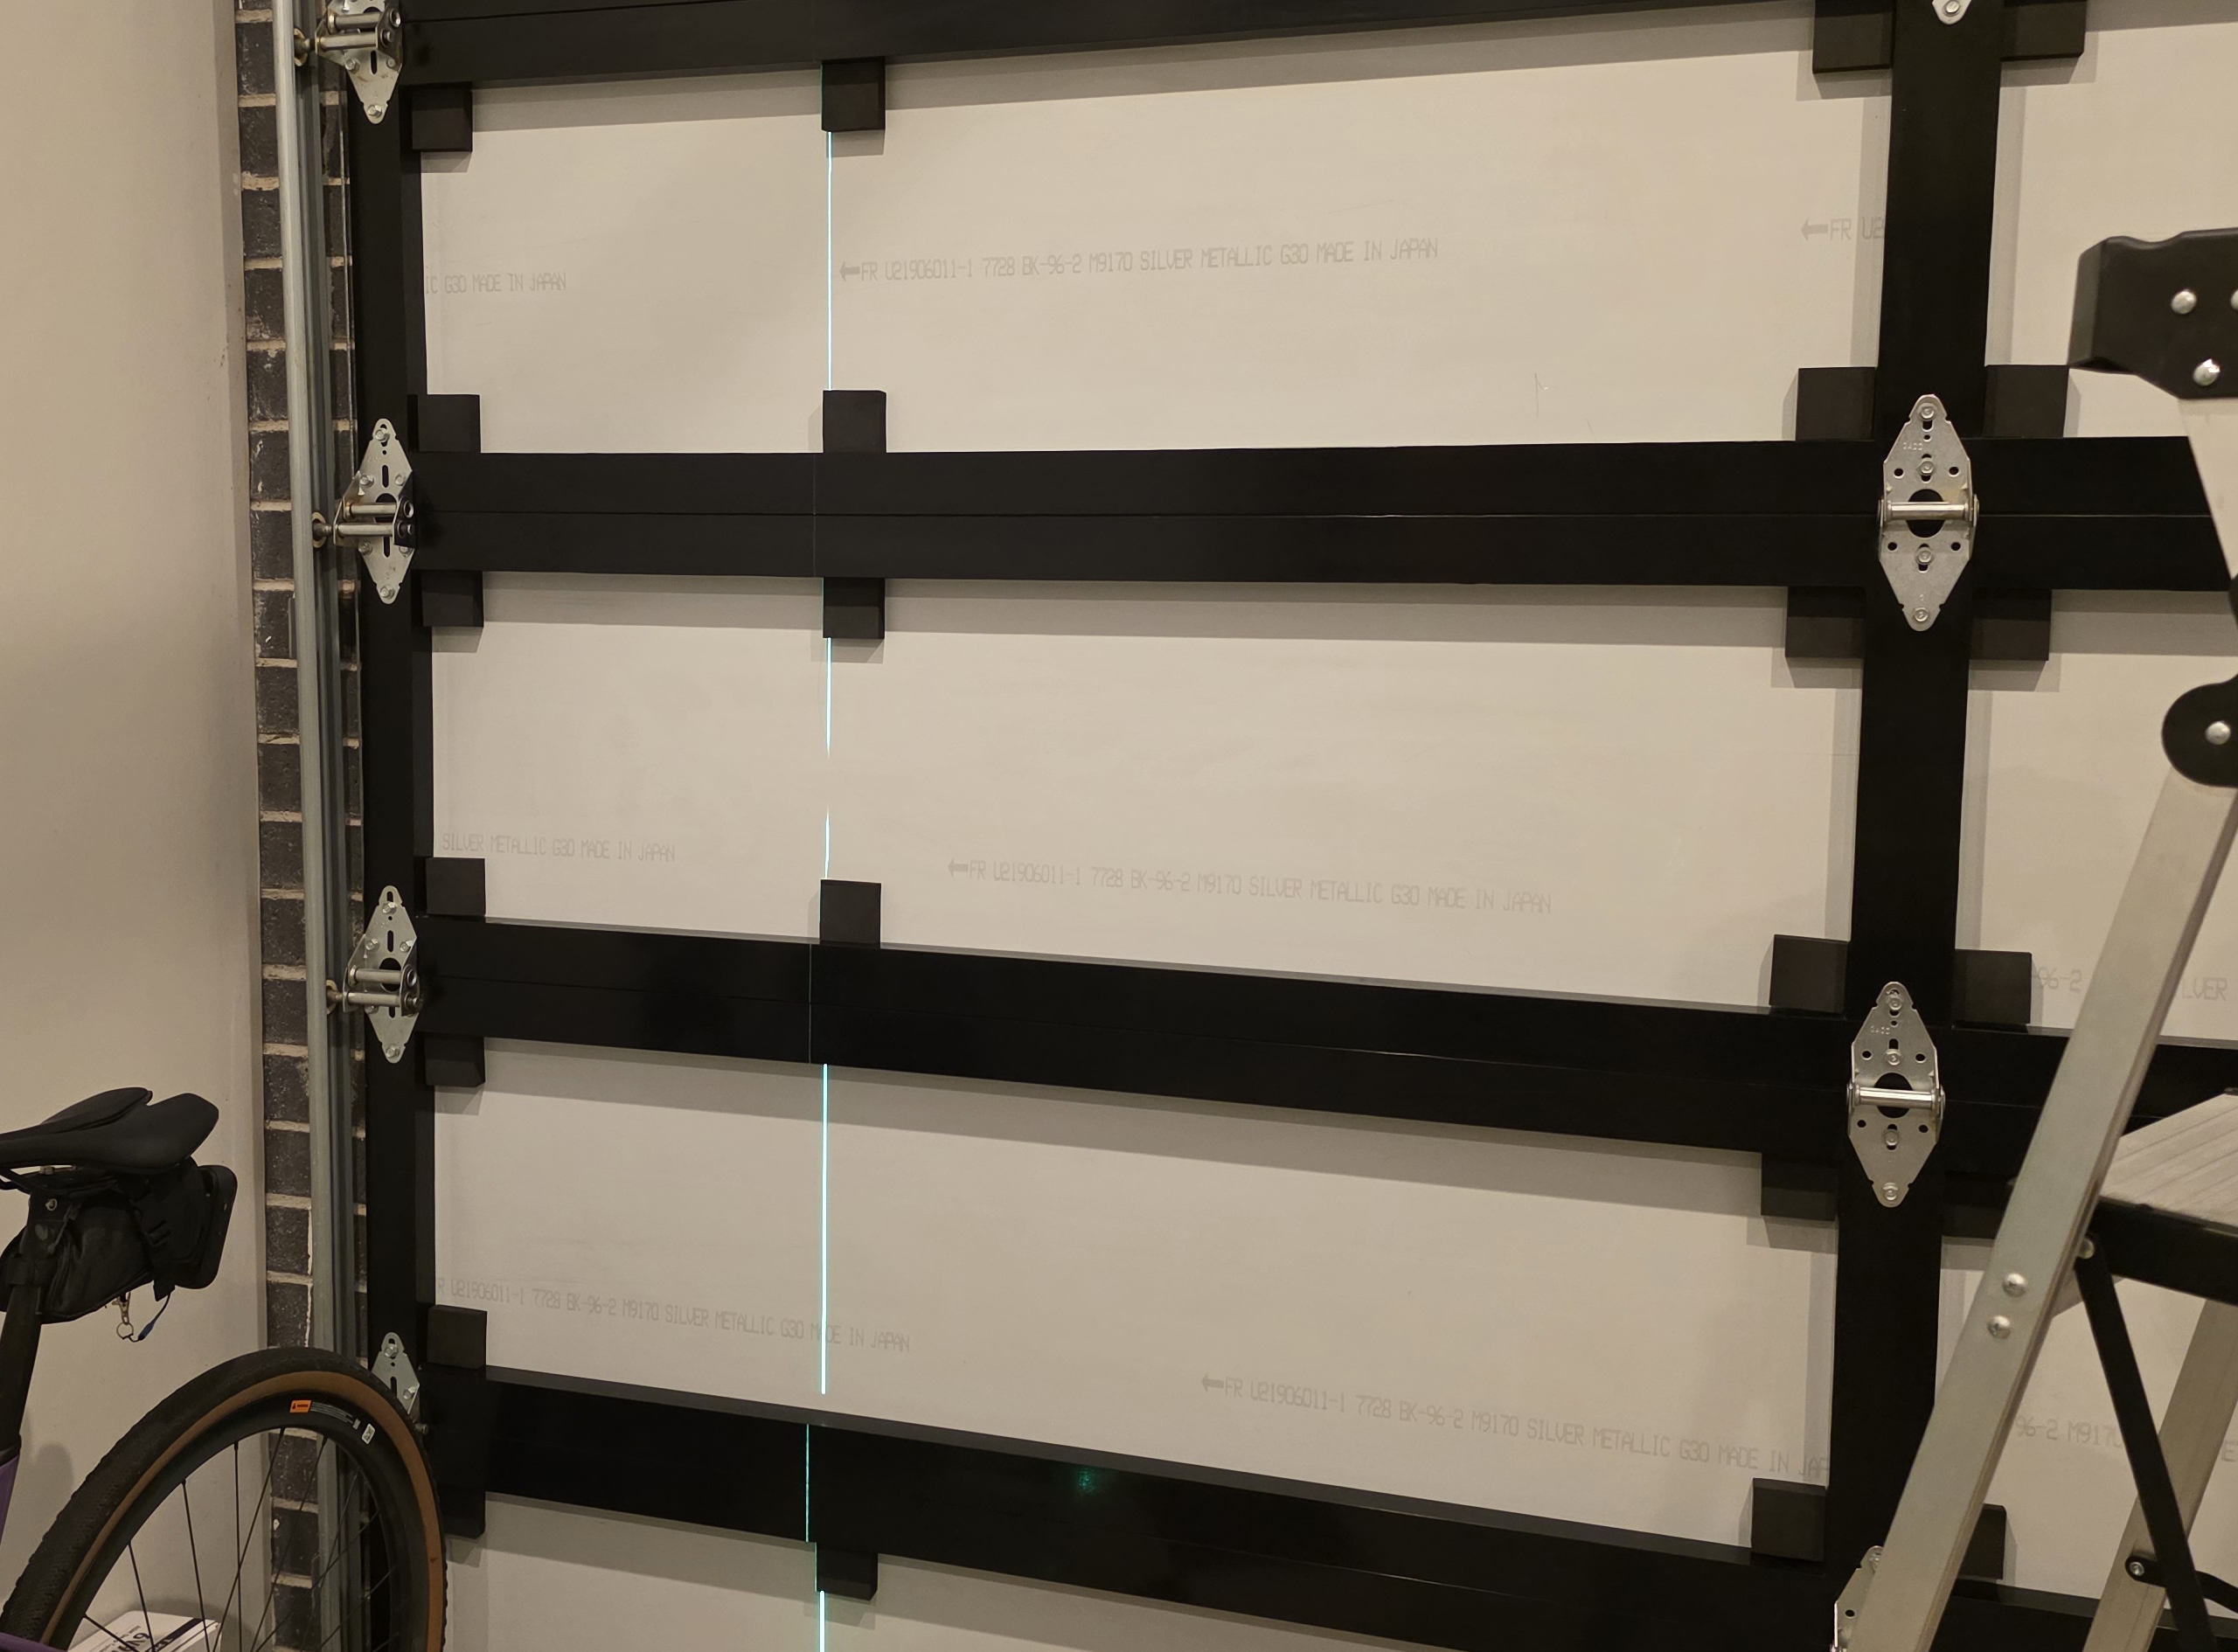
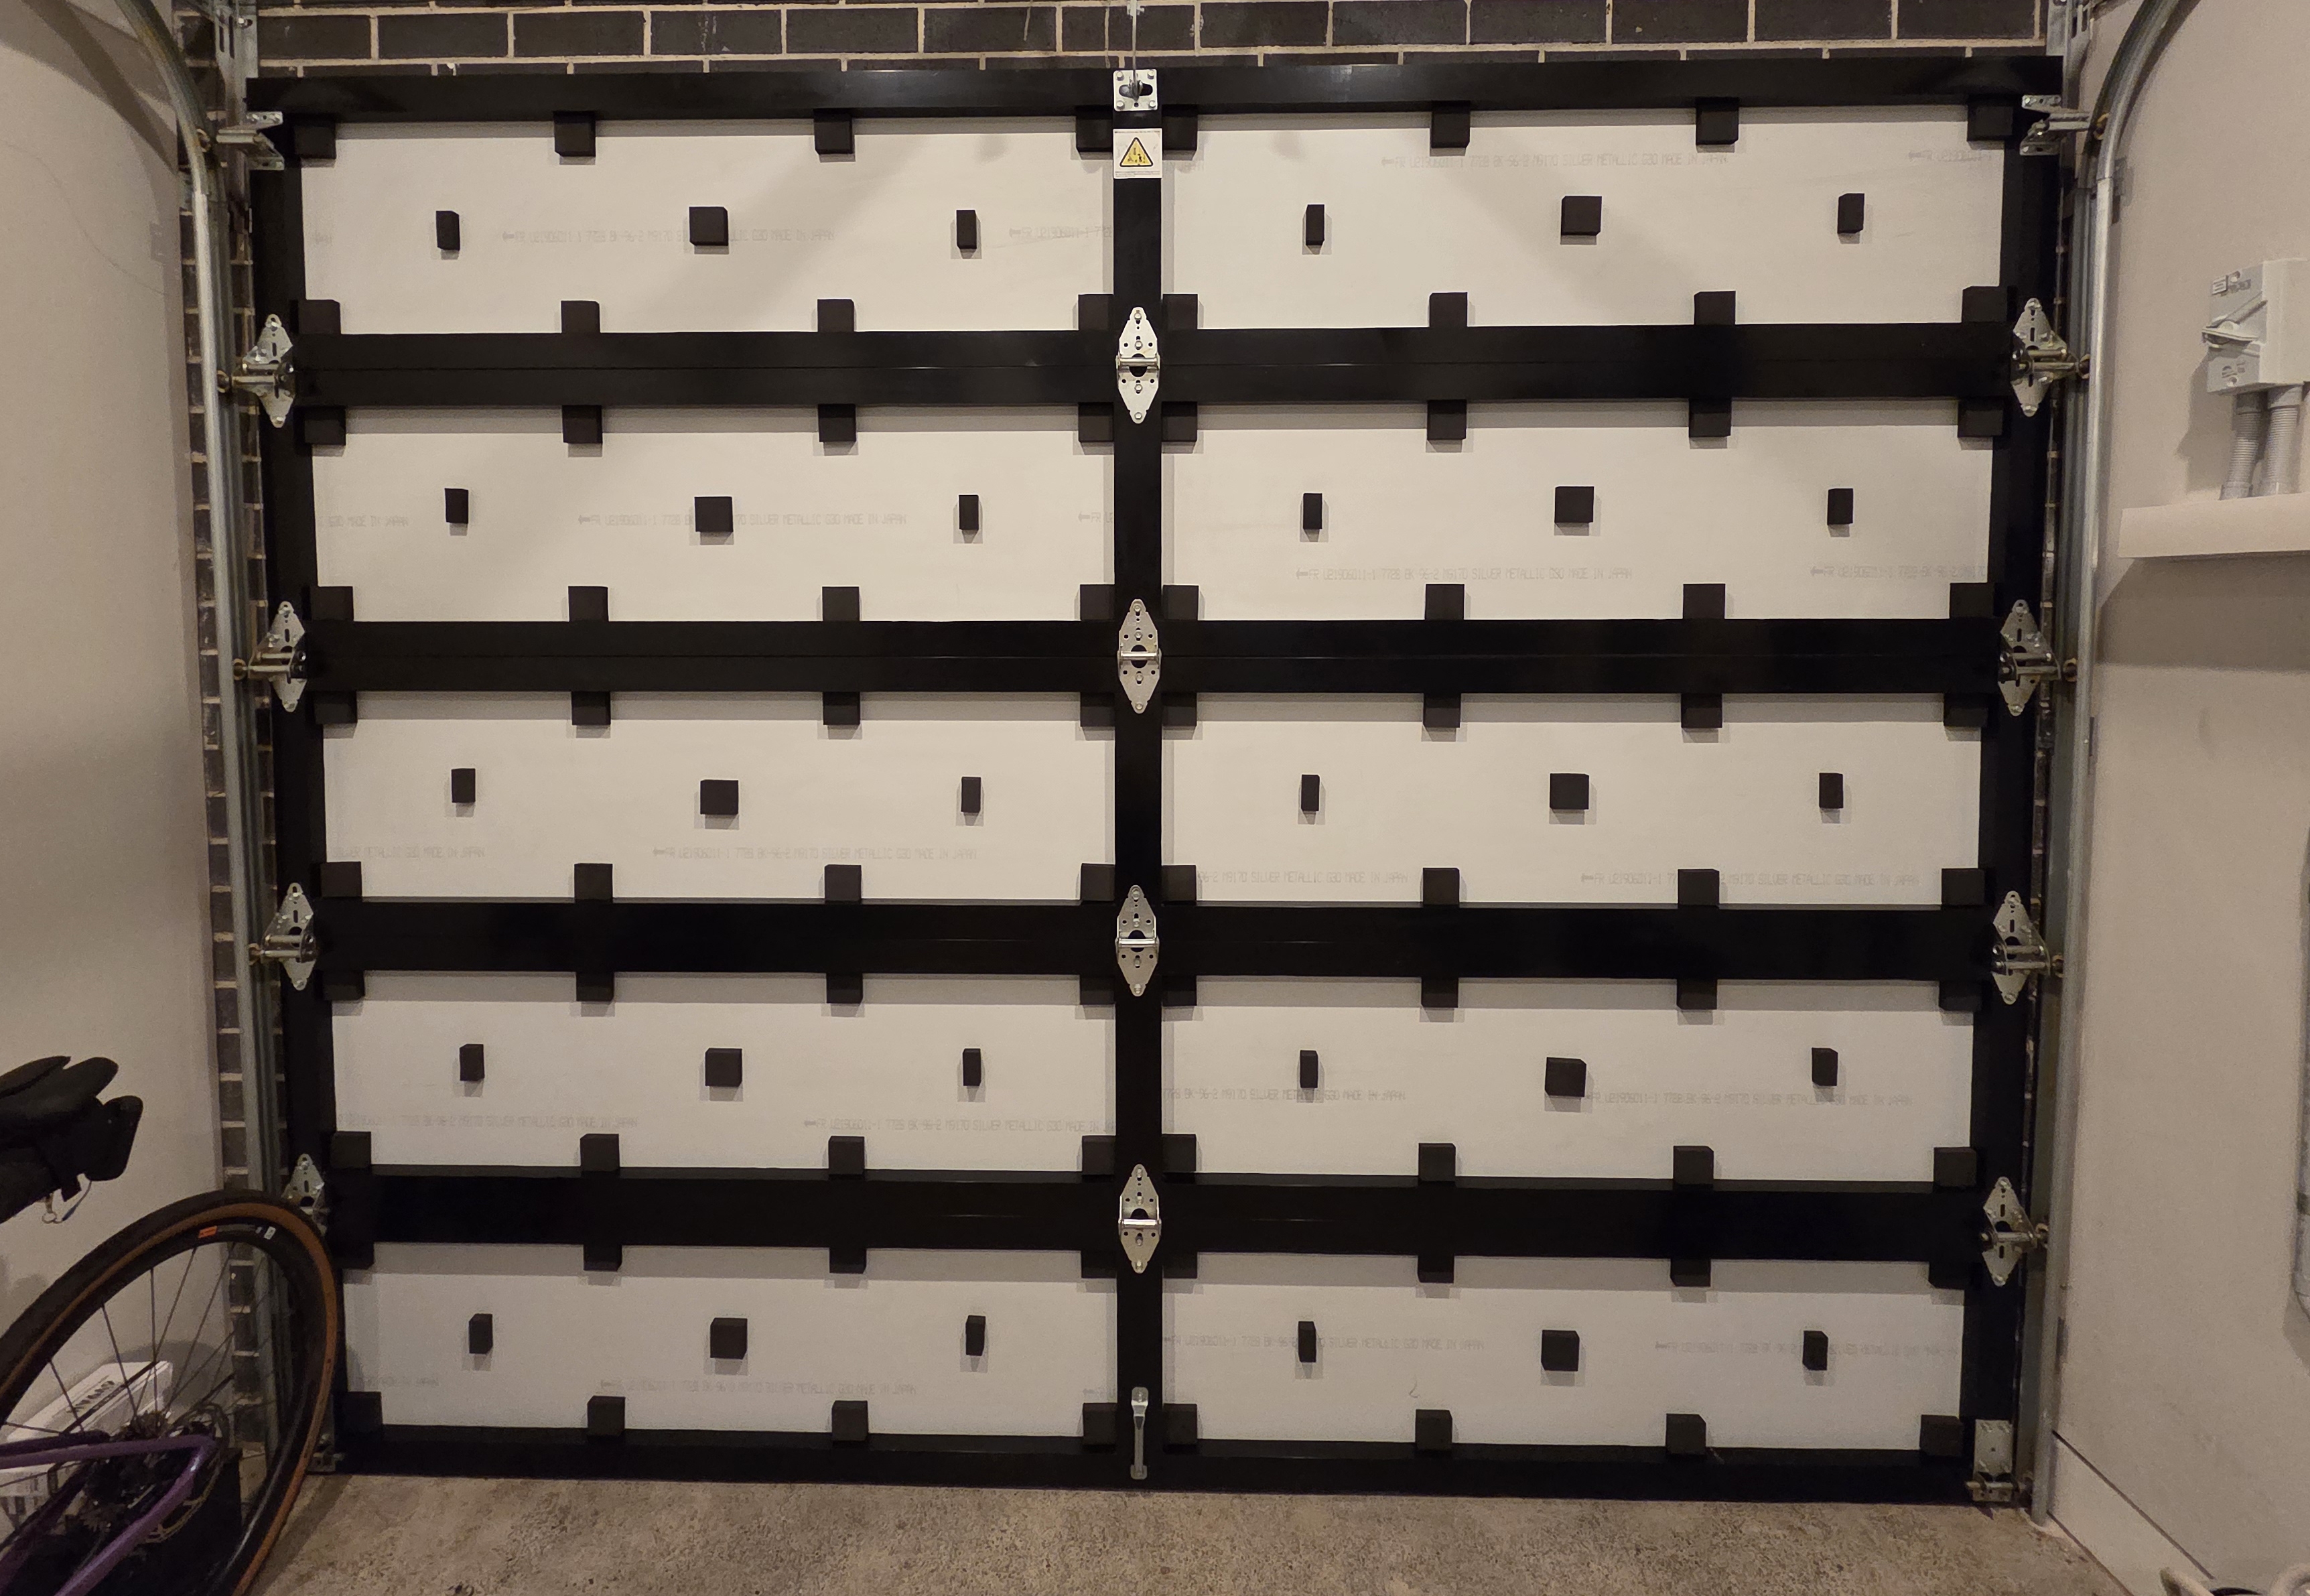
I installed the blocks in a formation for full coverage. This made use of all 100 blocks, with 10 on each panel. The top and bottom edges got 4 blocks each and the middle got 3, with some half cuts as I didn't have enough. I used a laser to line up the blocks.
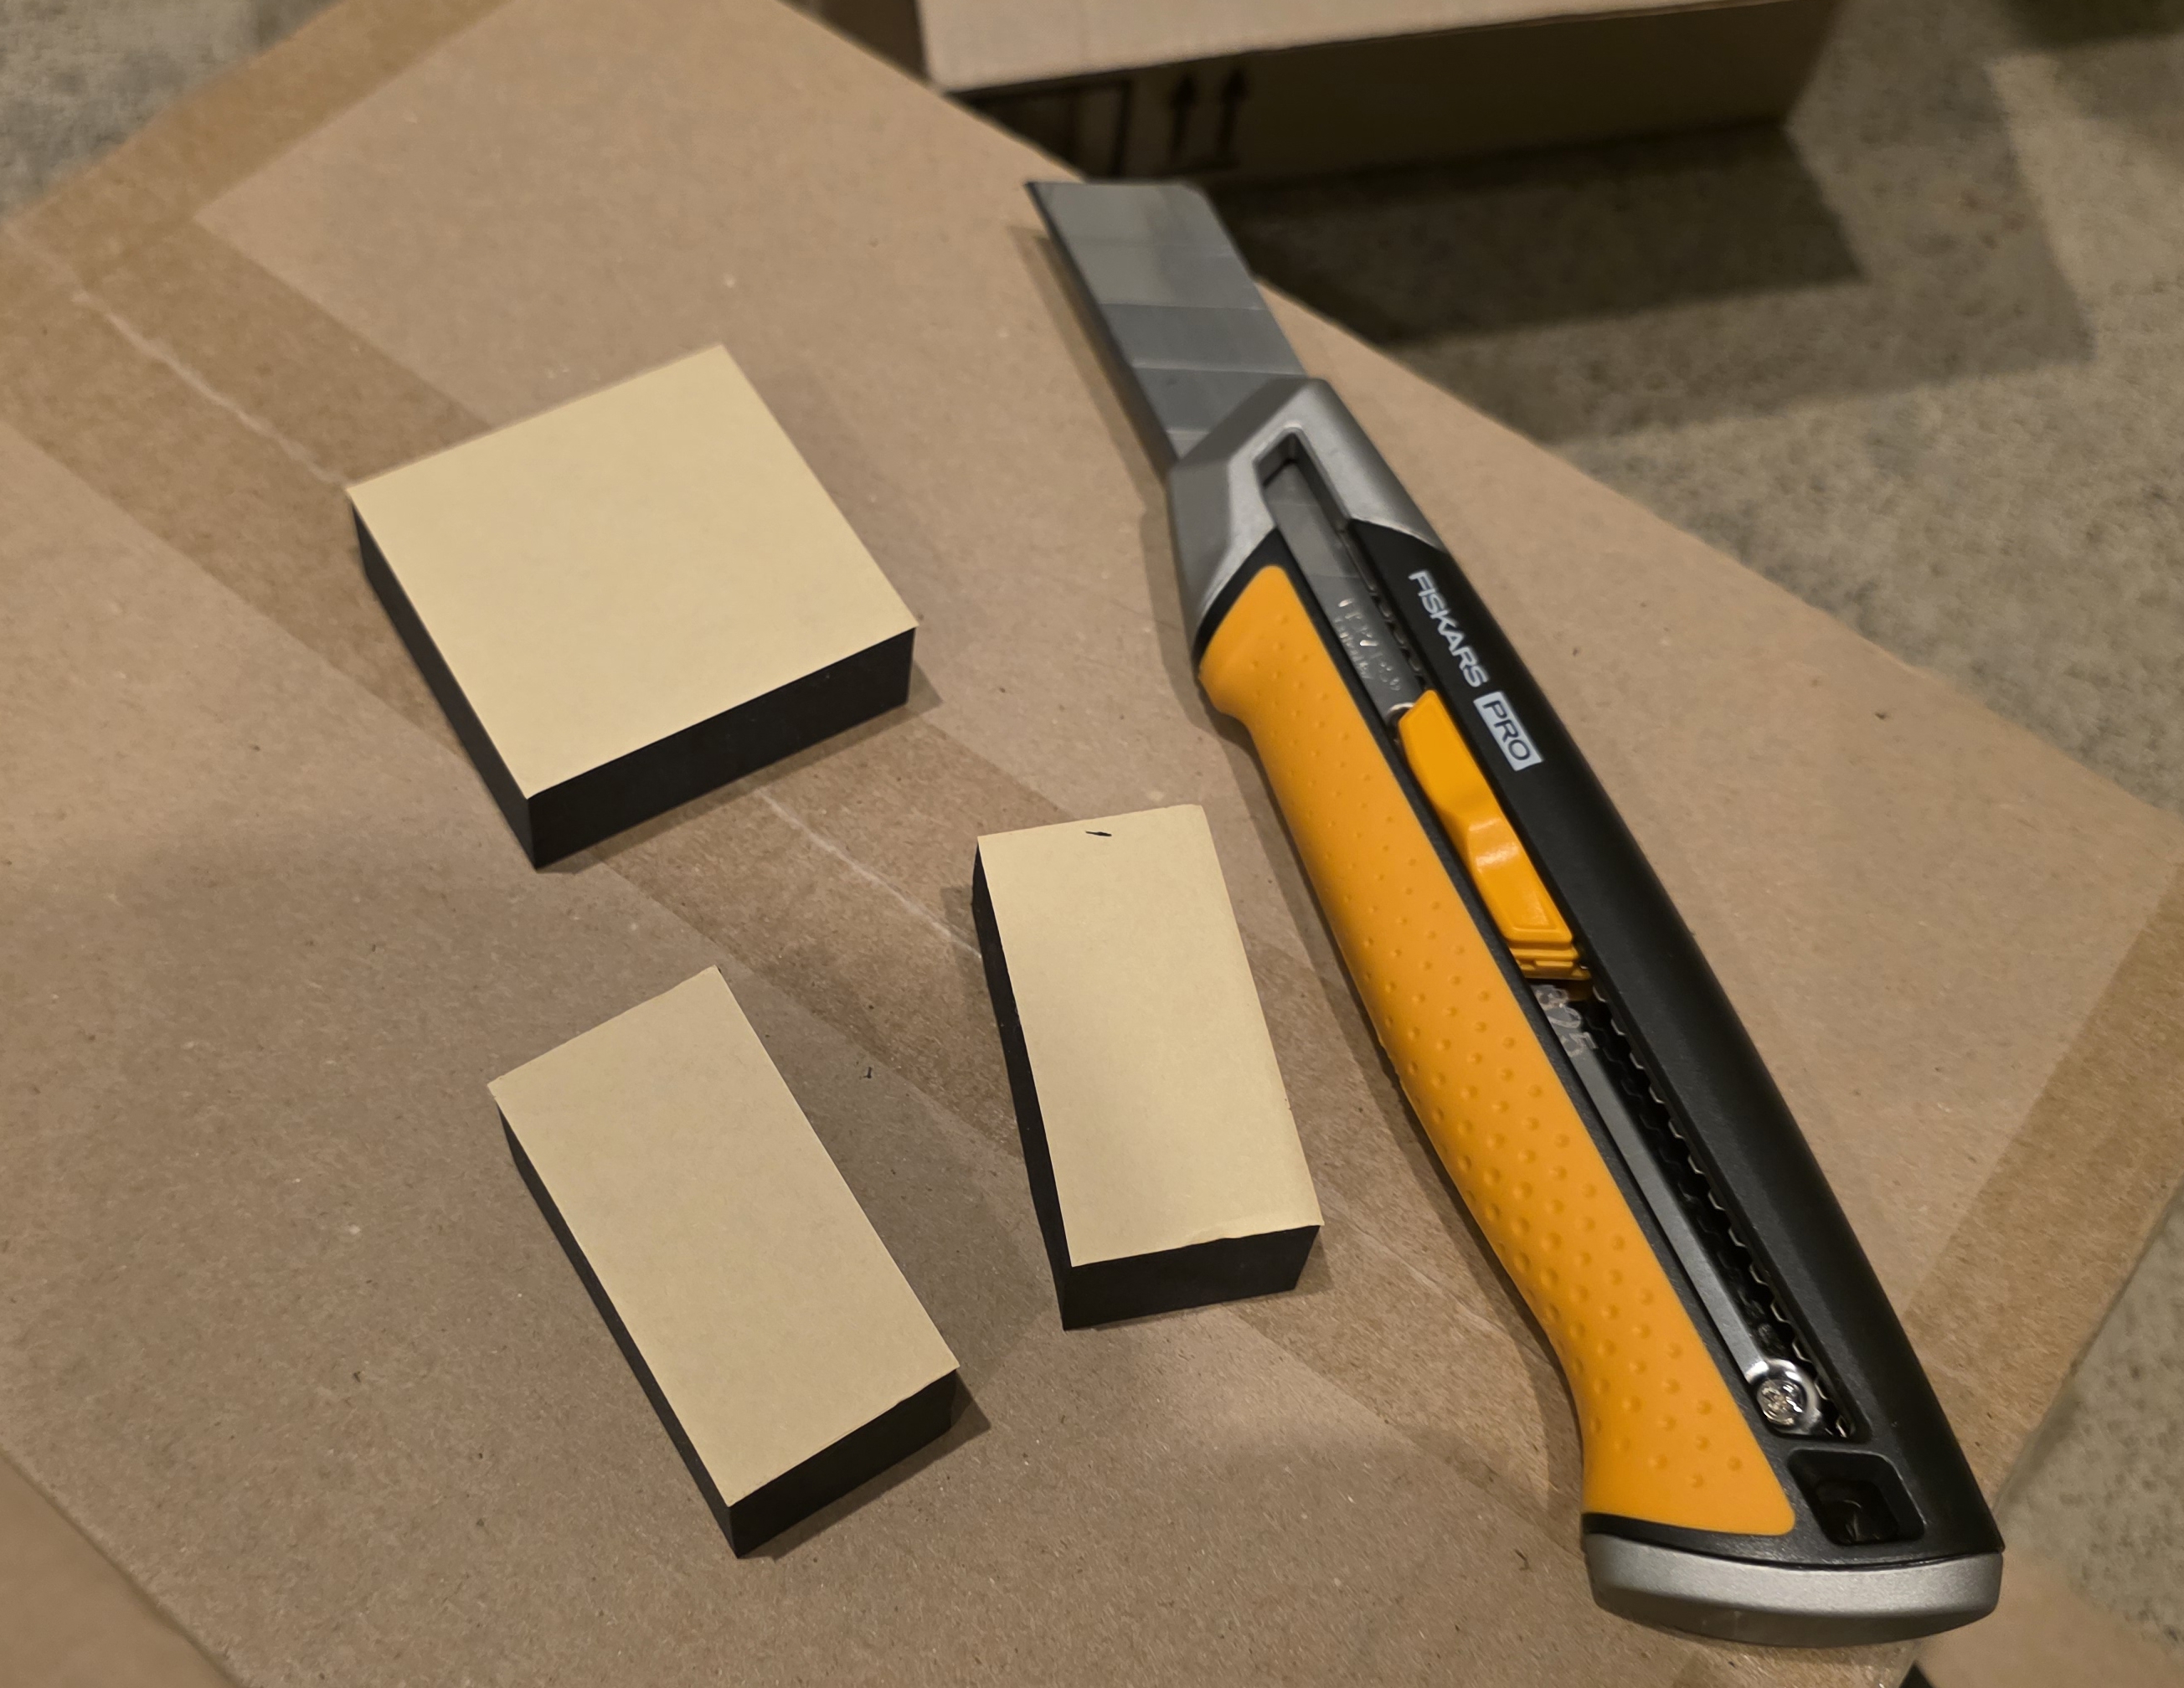
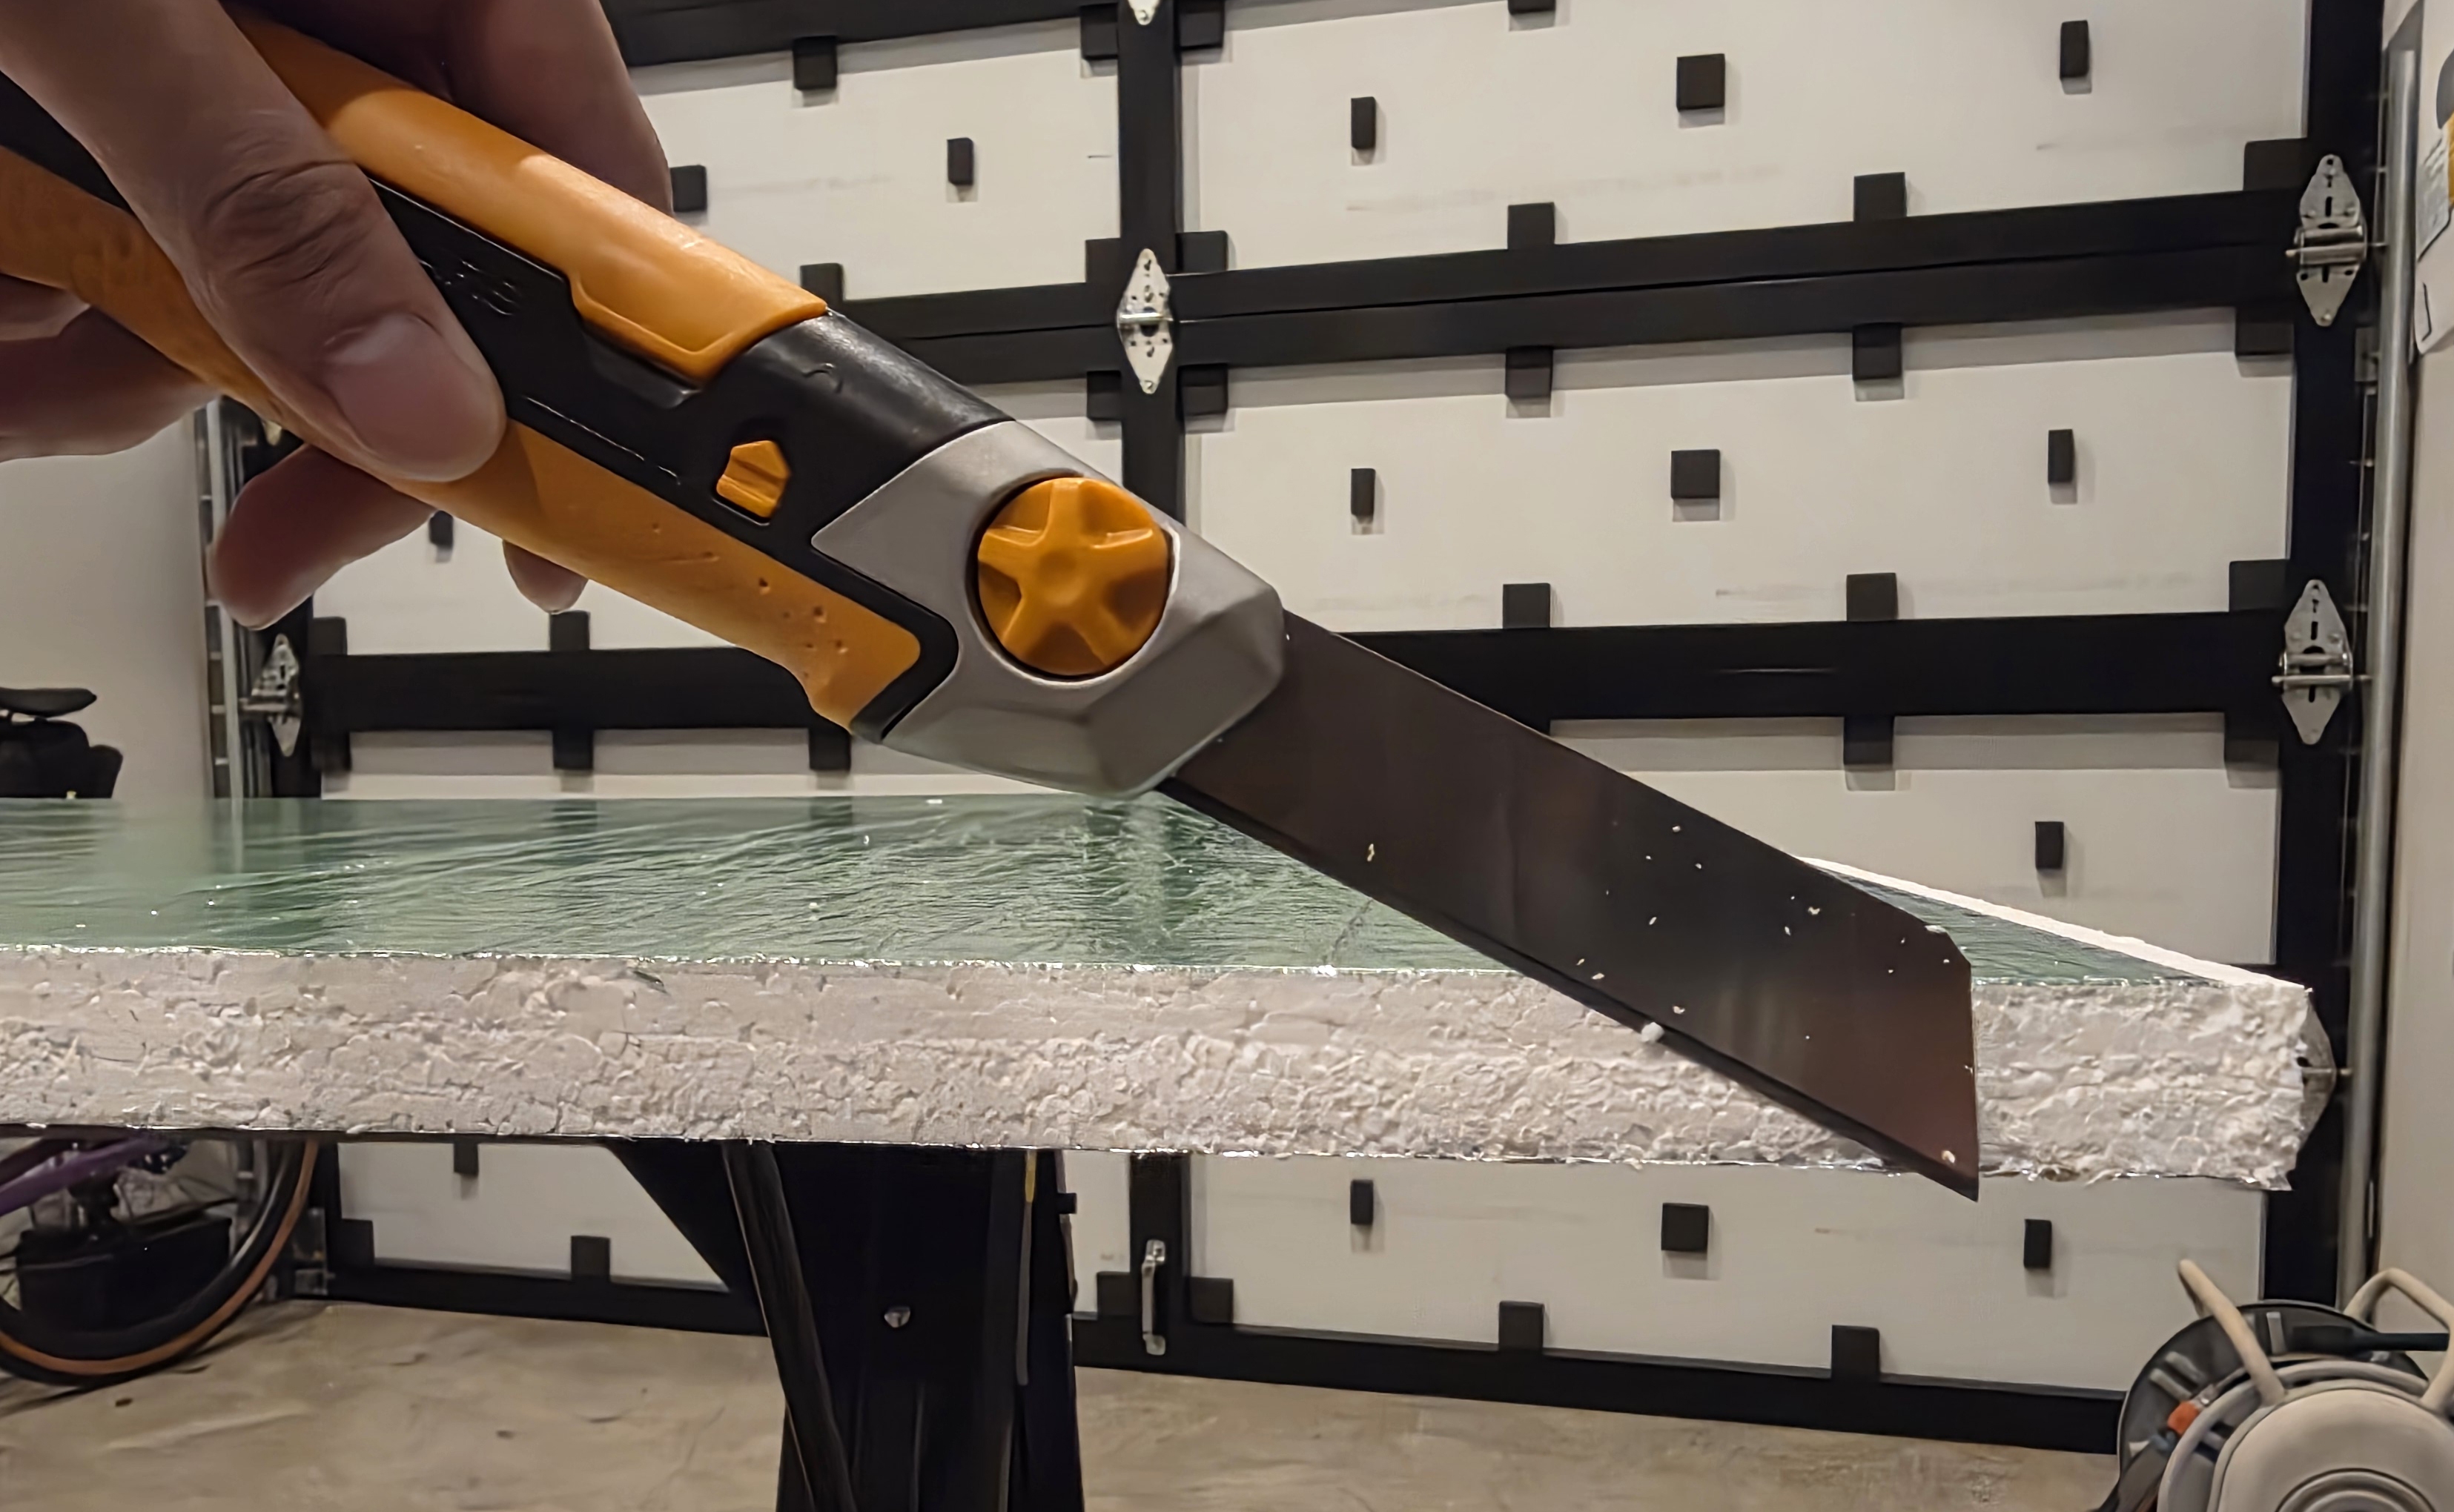
To cut the foilboard I used a snap-off utility knife, which others recommended because it makes the cleanest cuts without sending bits of foam everywhere. I also taped all the cut edges of the board so the exposed foam couldn't shed either. The angle of the blade matters, it is better to go flatter.
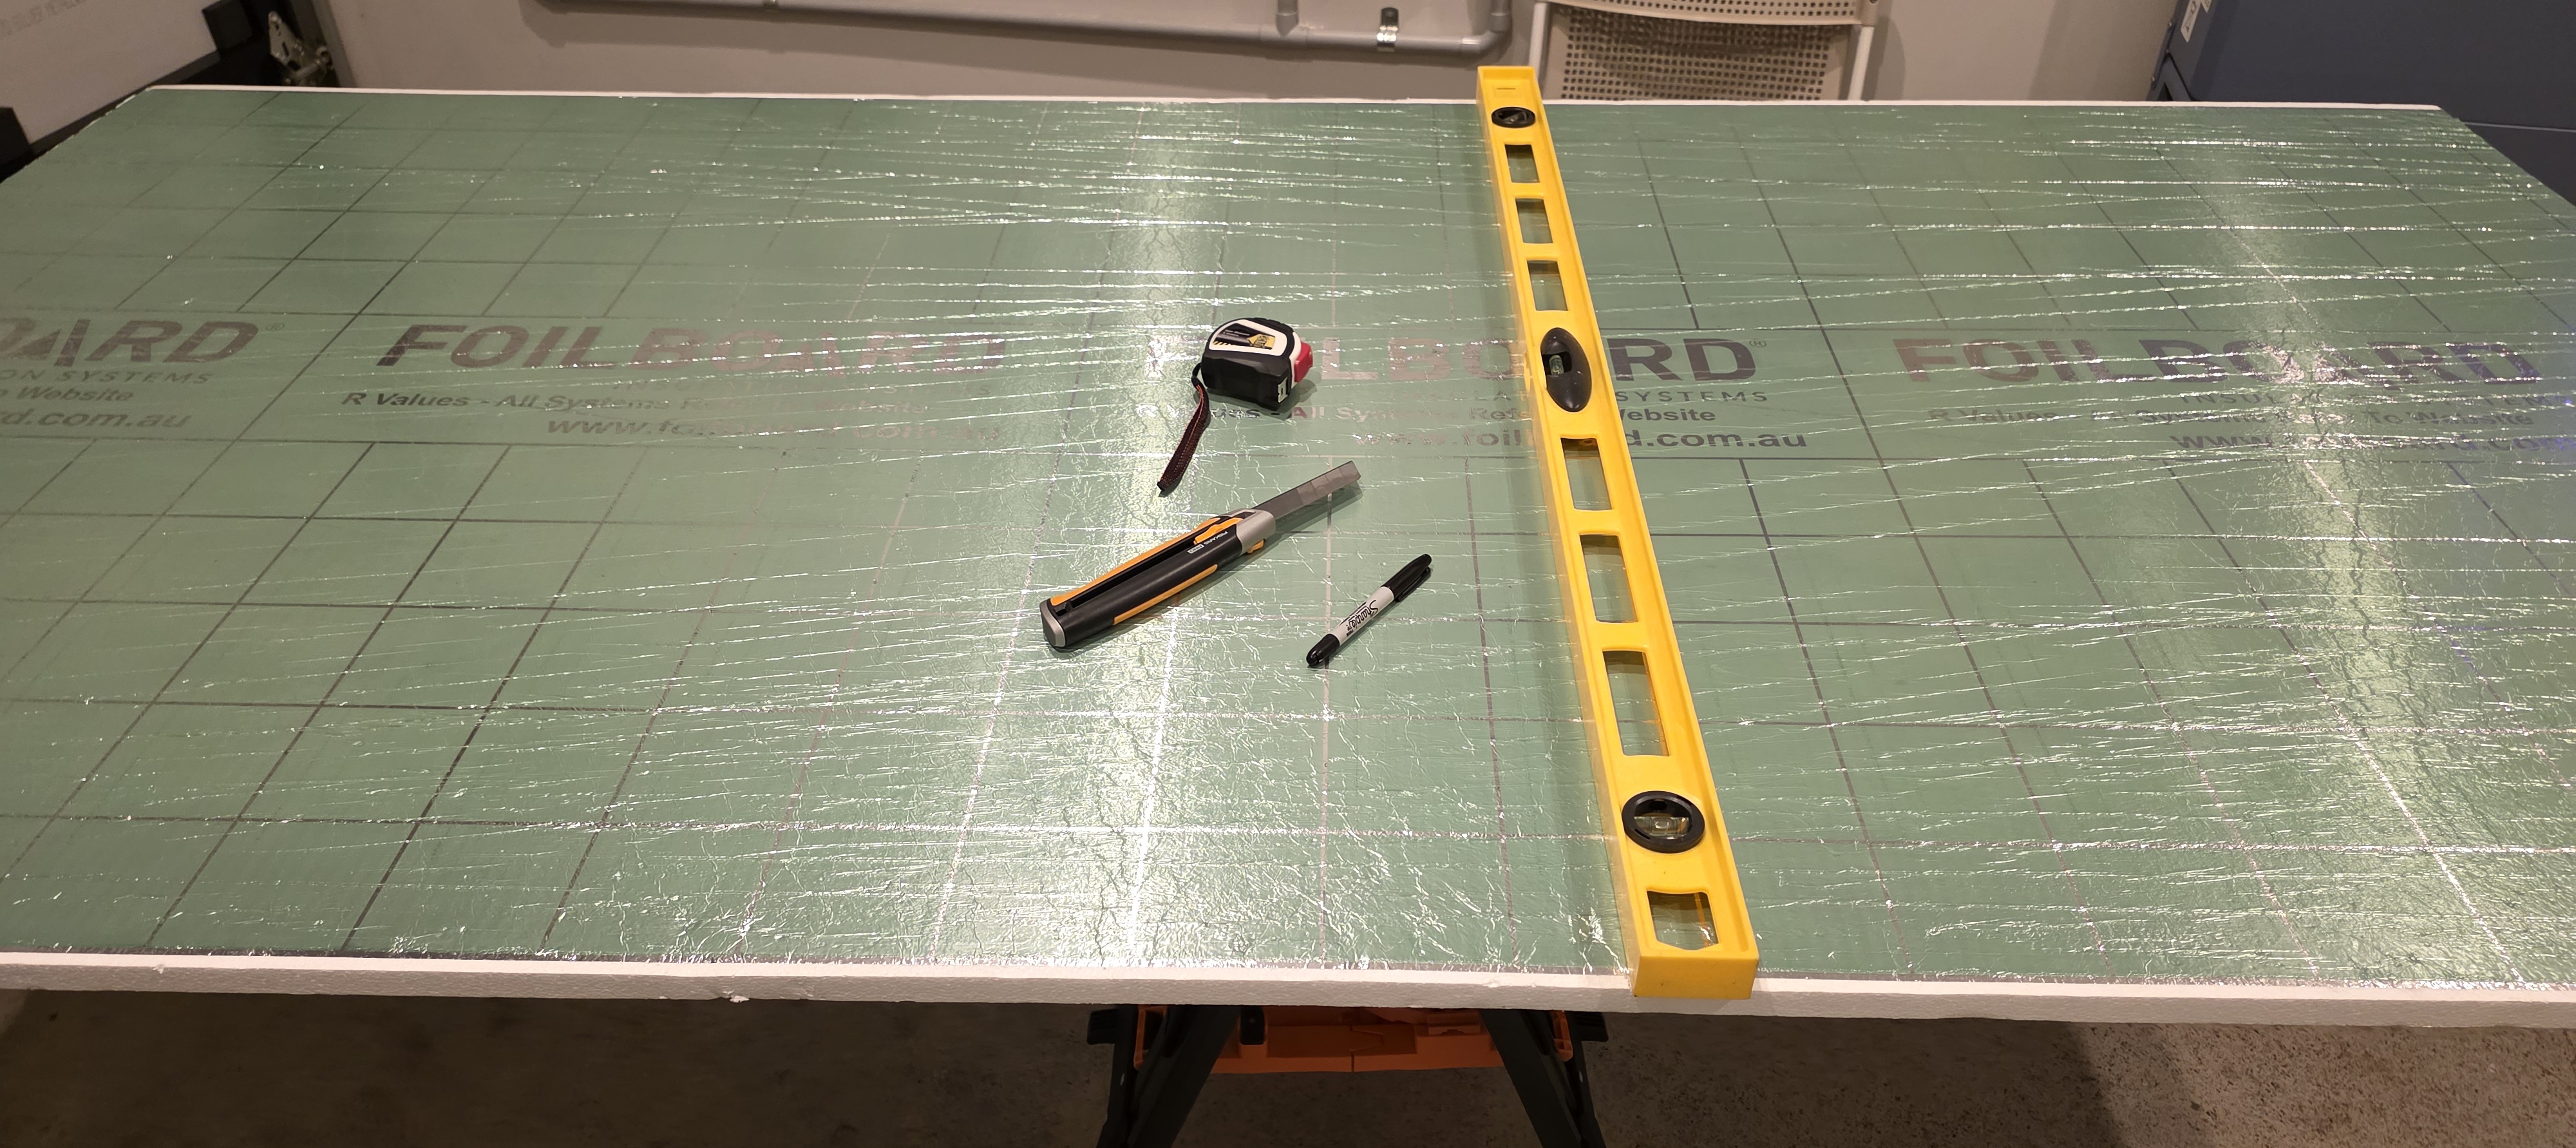
As previously mentioned, I had to cut 10 panels from 2 sheets, so 4 of them had to be taped together. I also taped the edges so foam wouldn't fly astray everywhere.
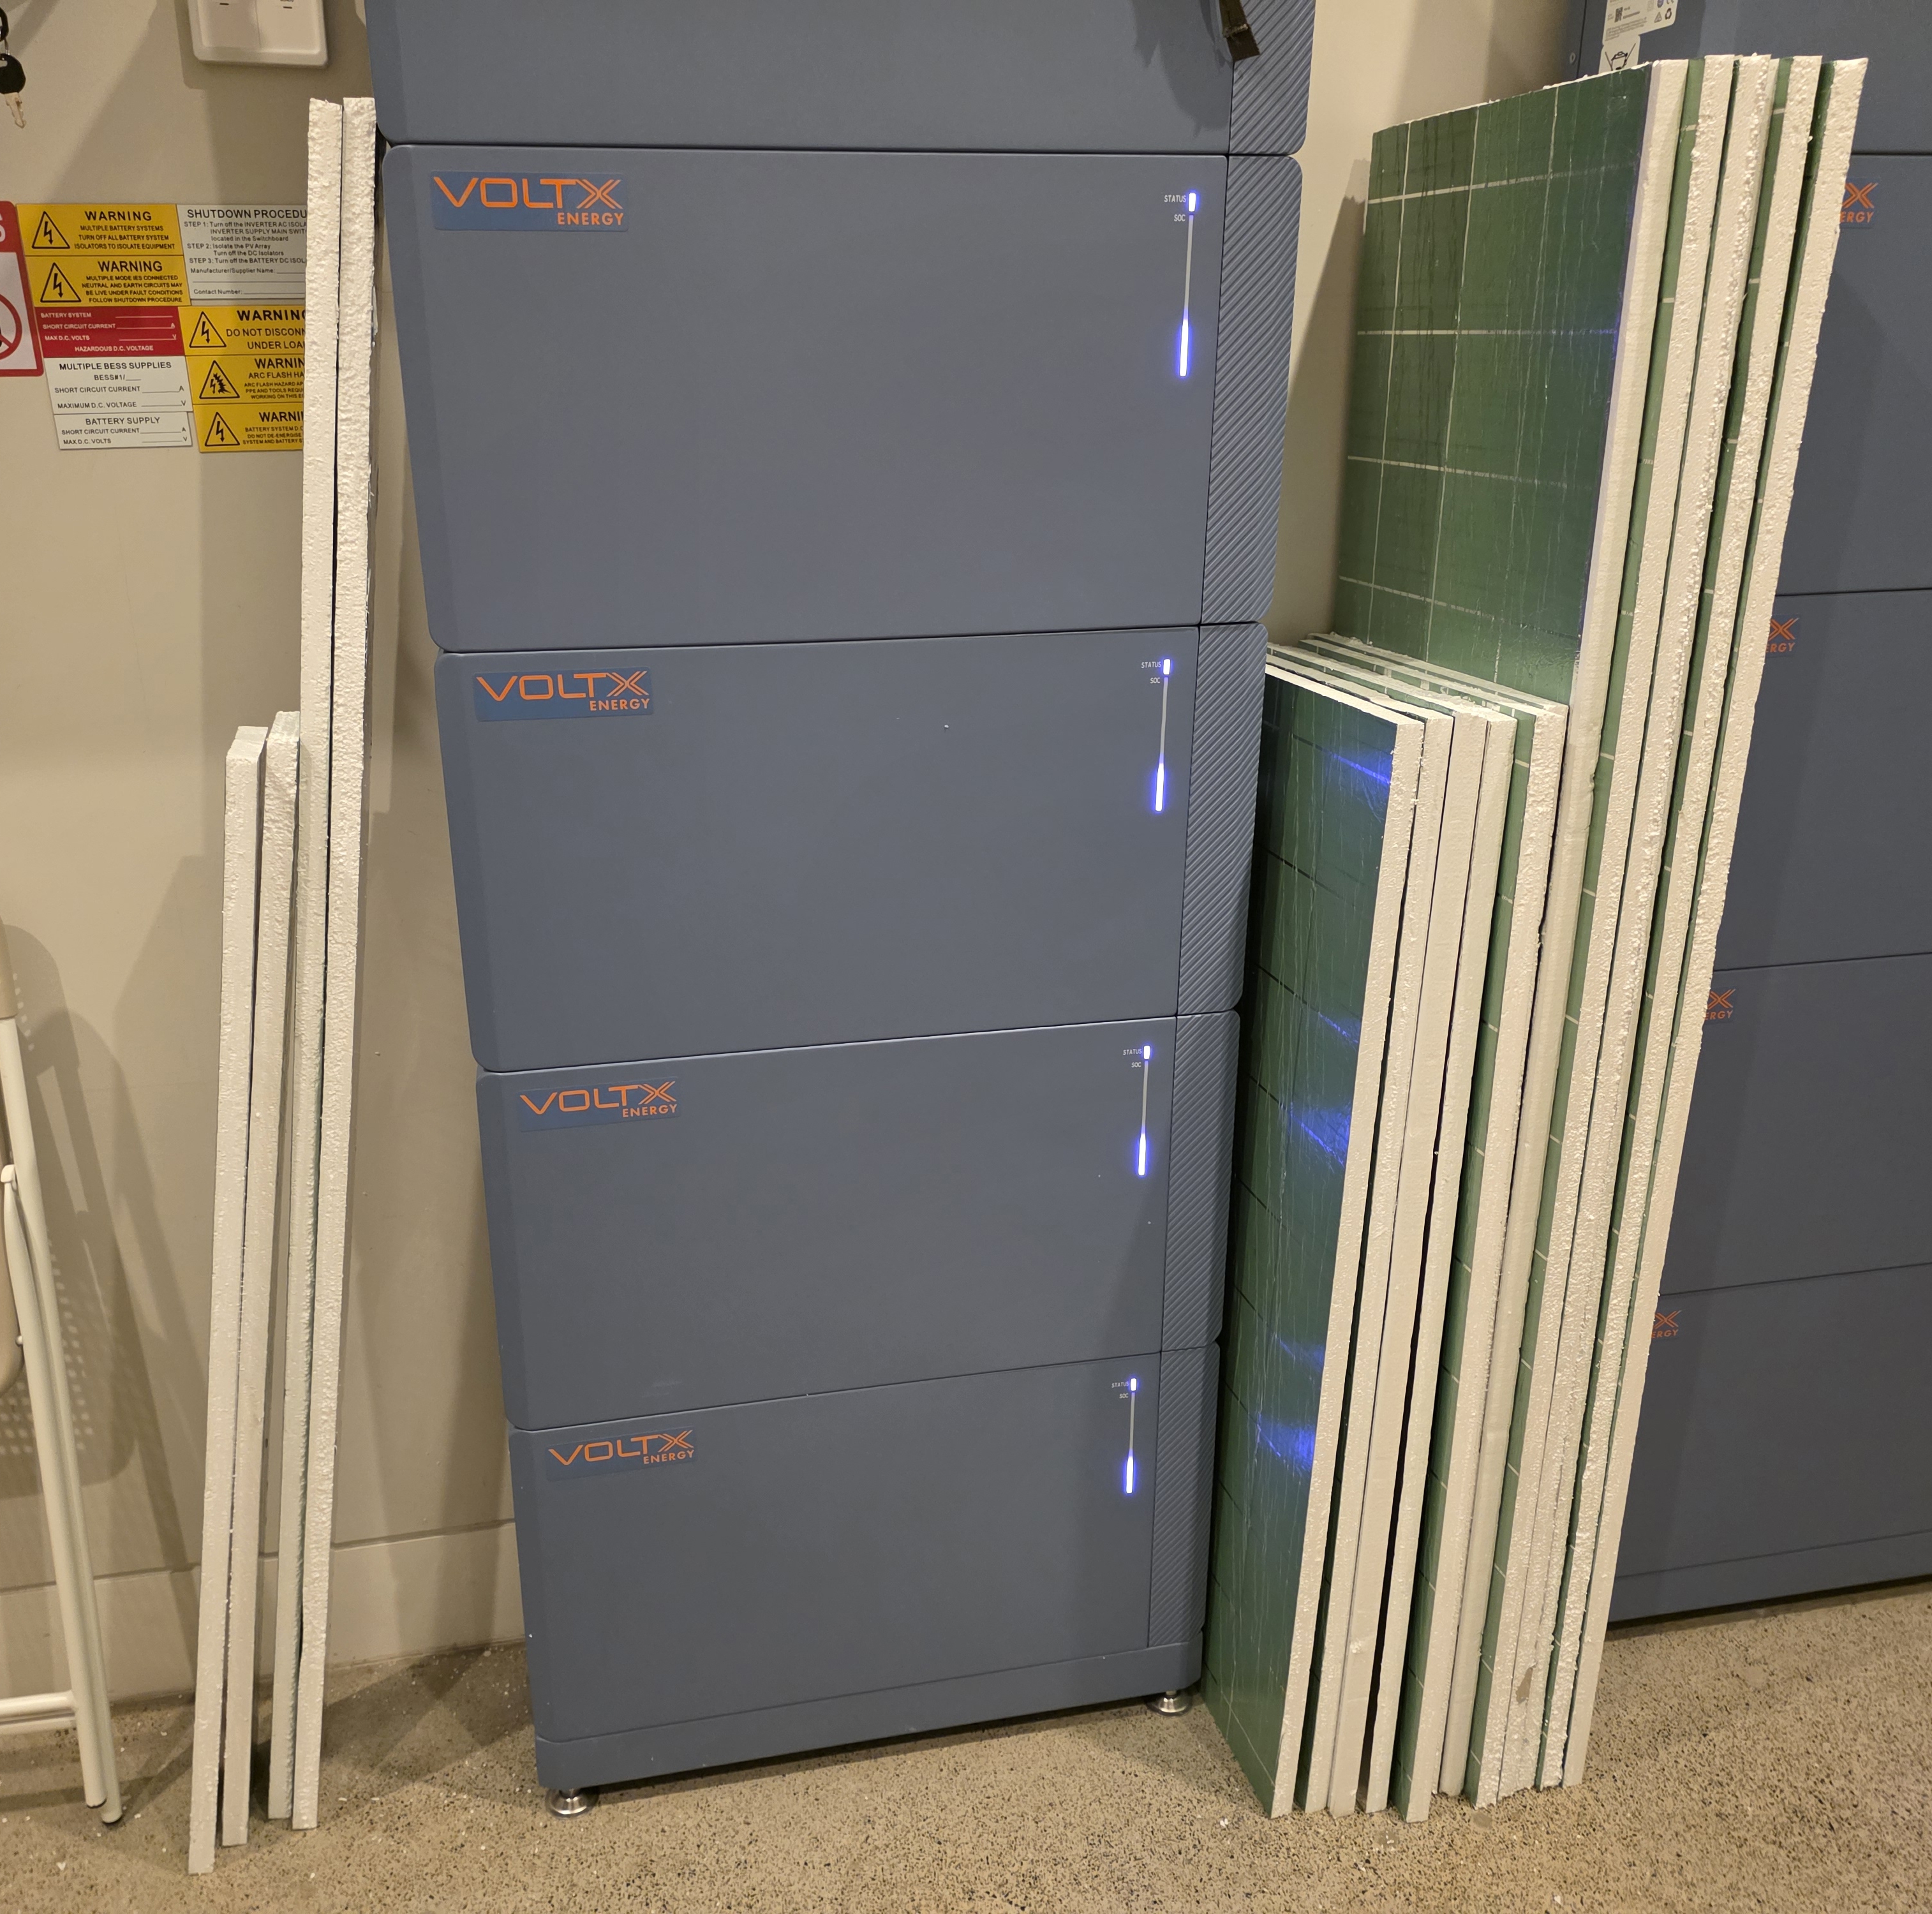
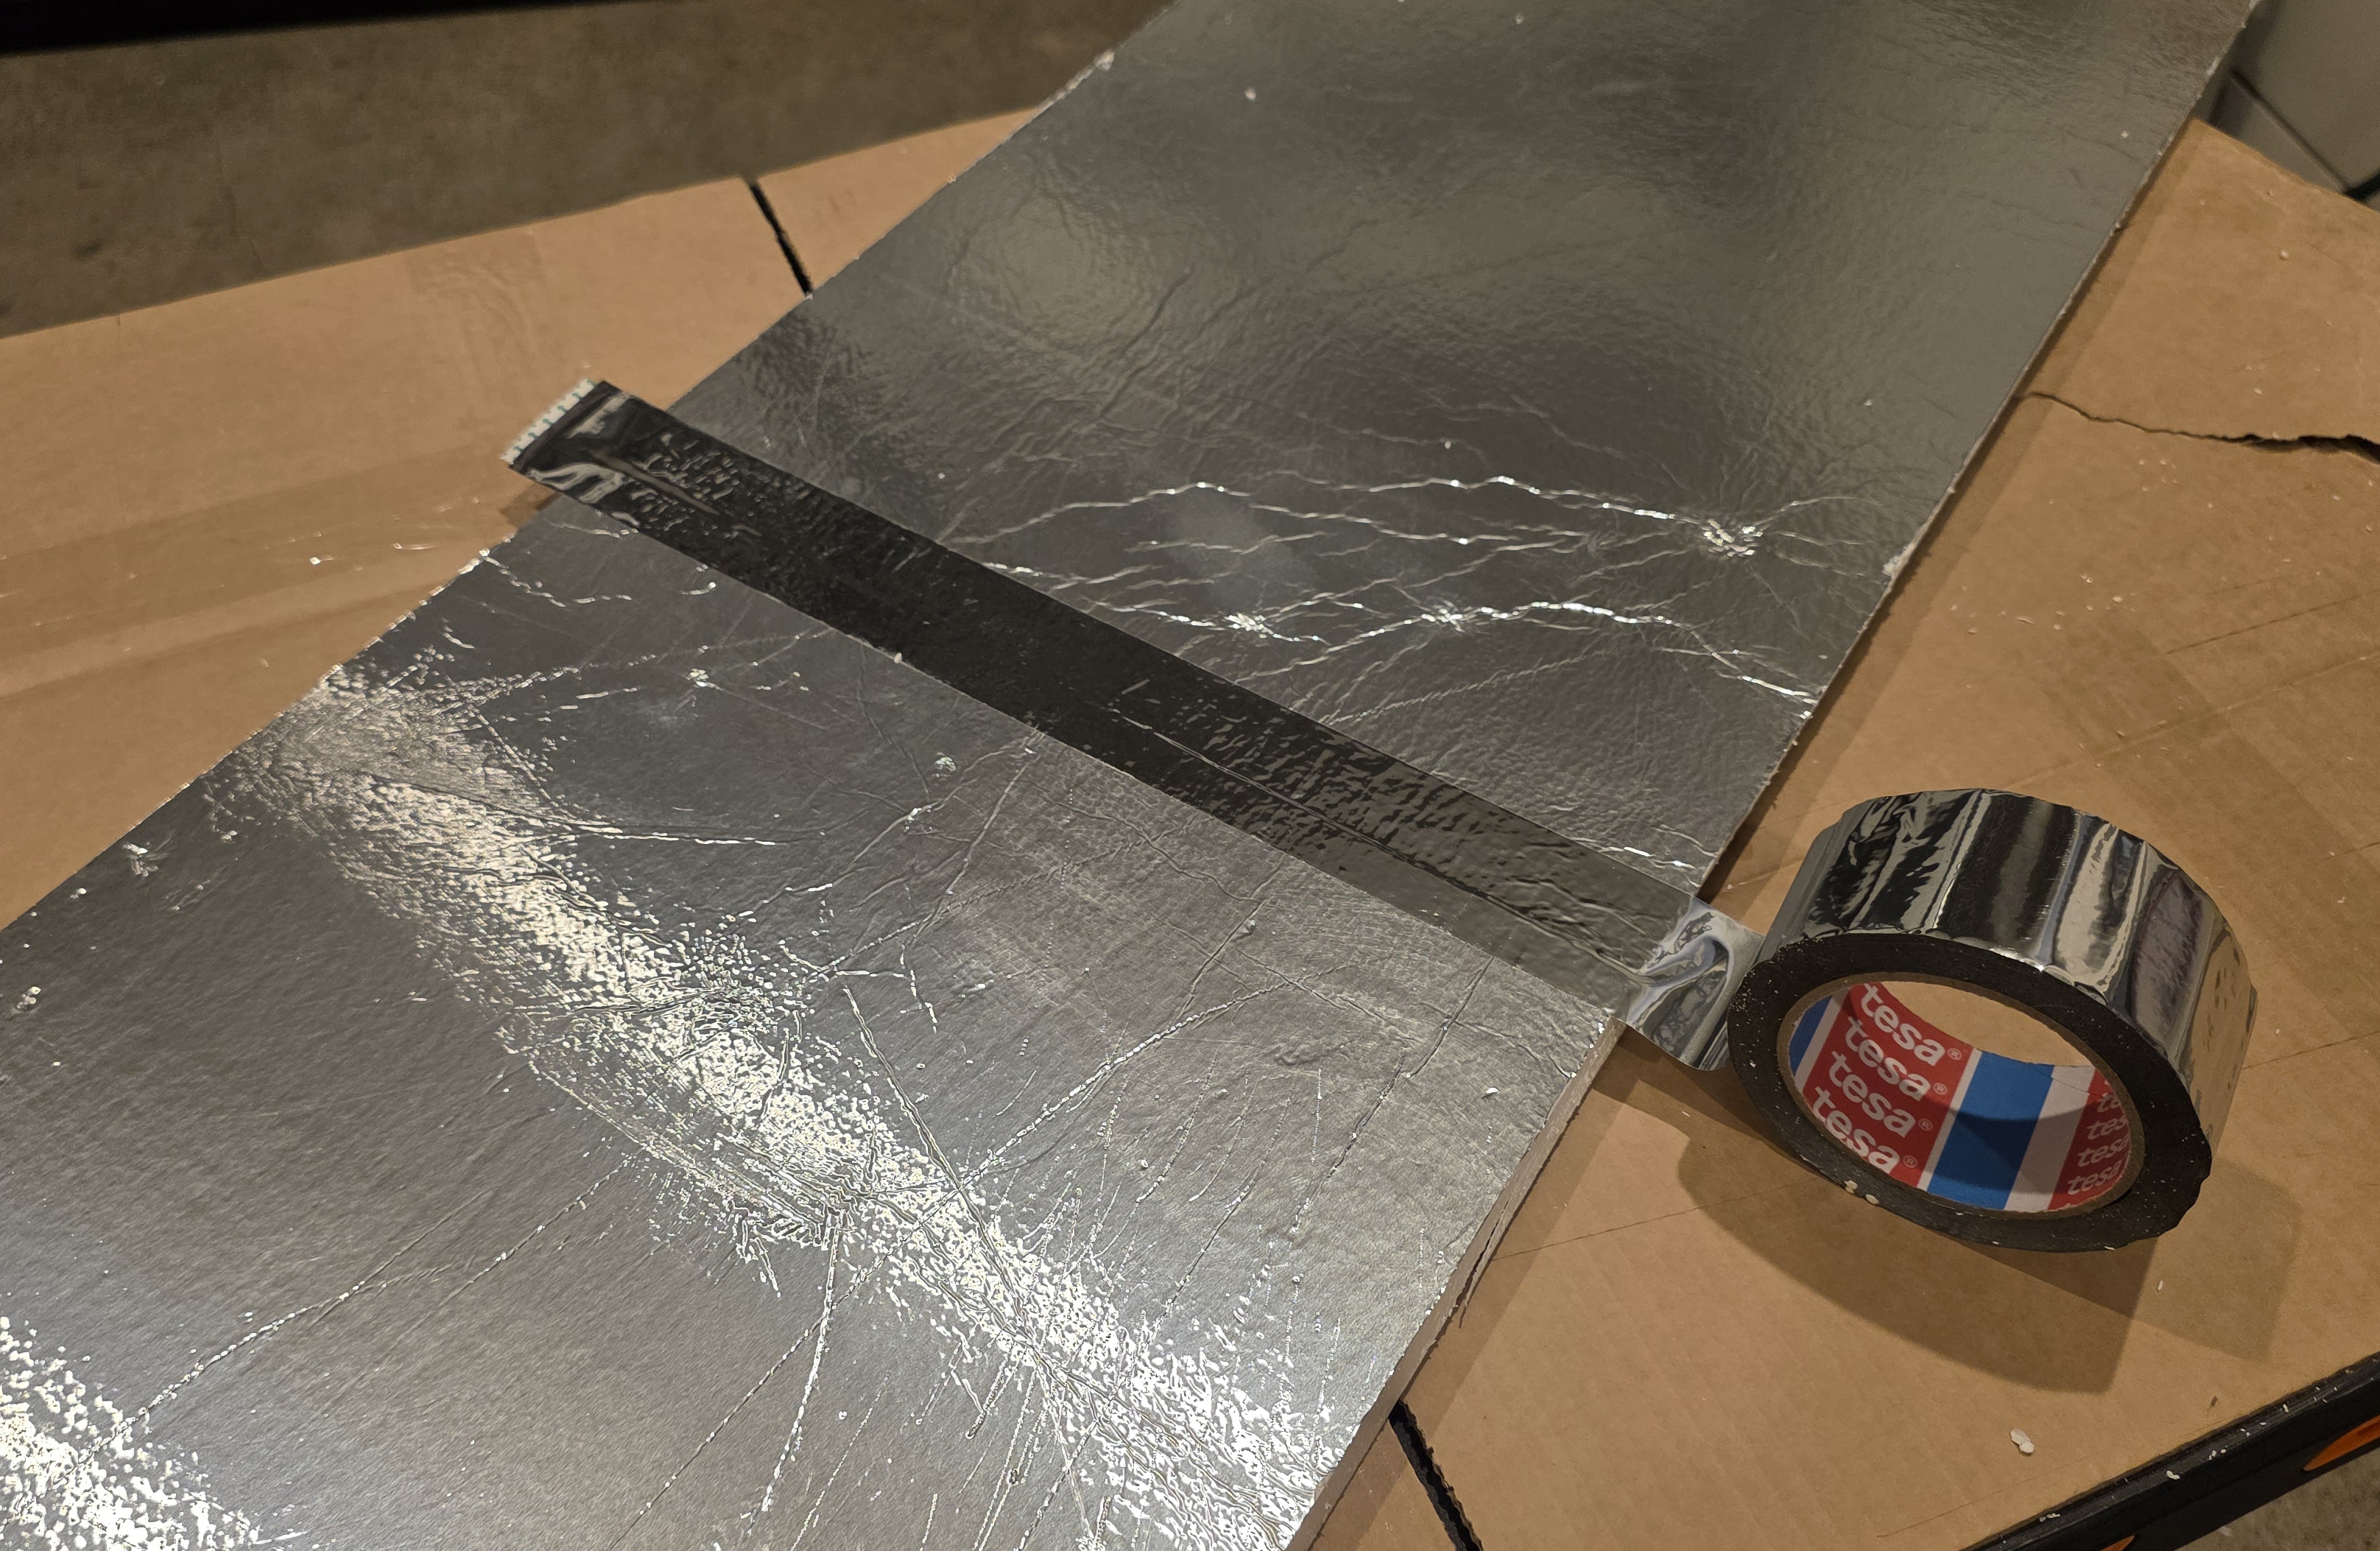
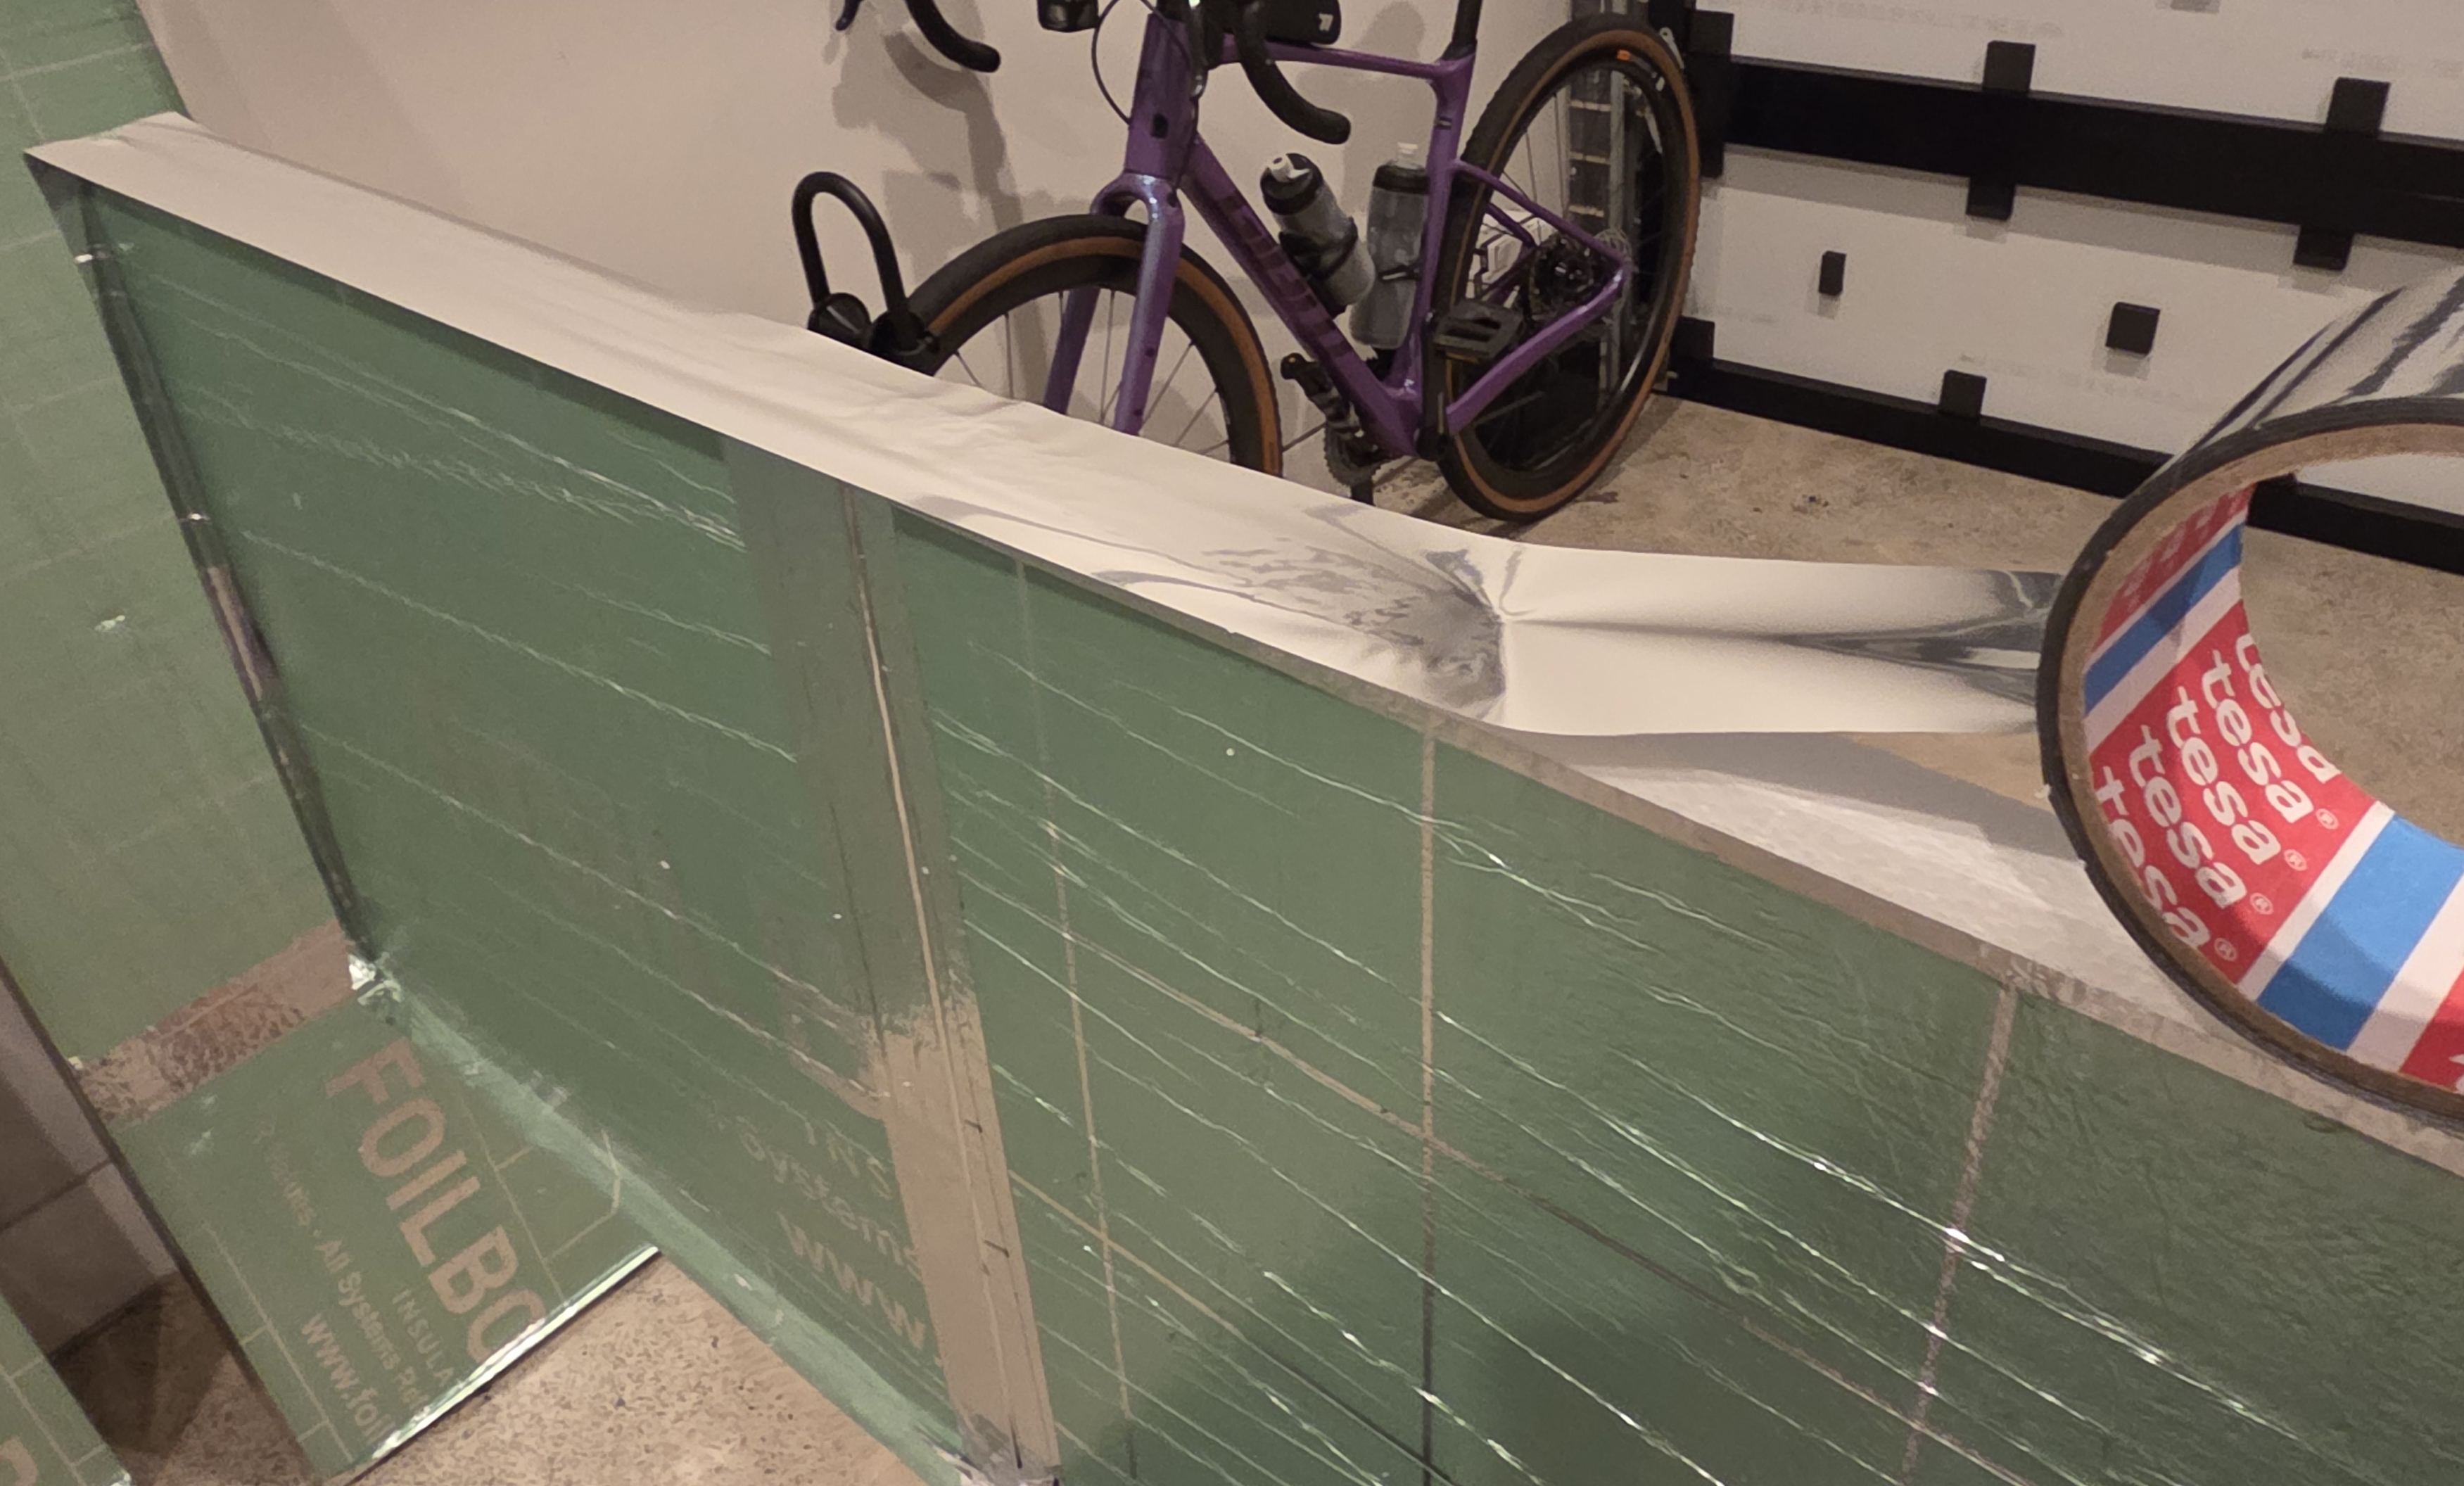
I installed the panels with the green side facing inward. Their FAQs note a small 3% difference in reflectivity, but the primary consideration was the visible finish rather than performance.
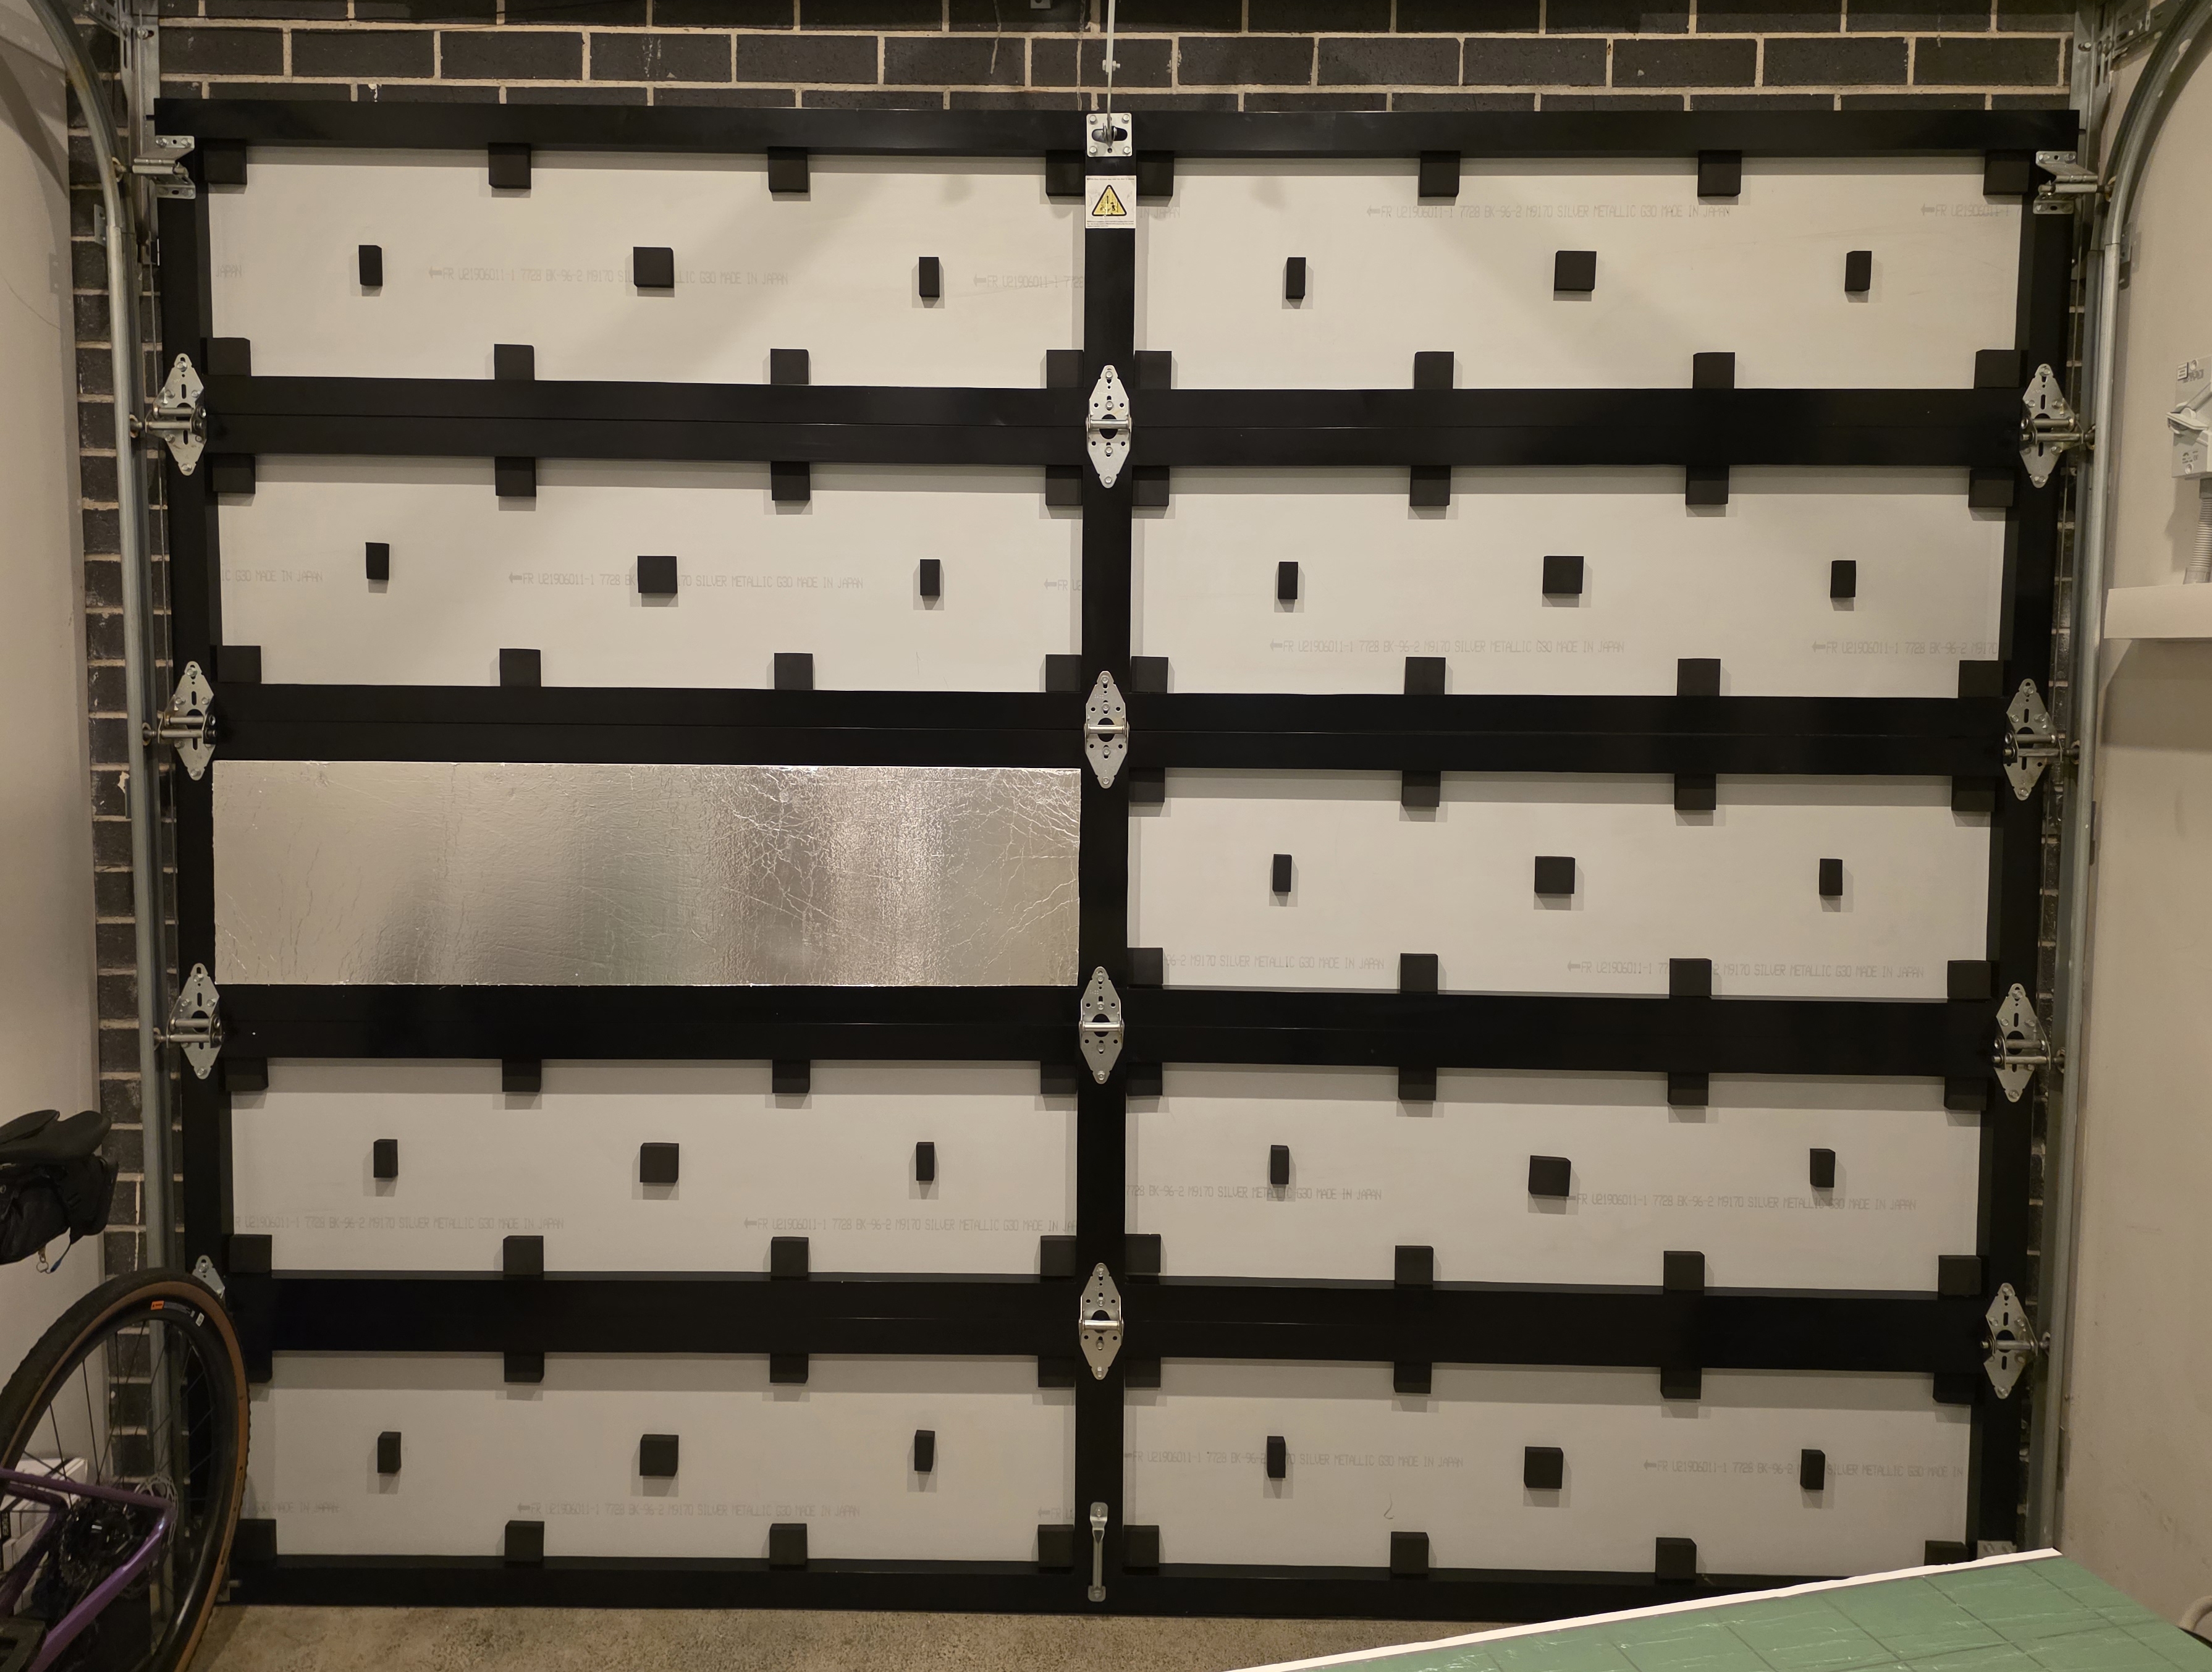
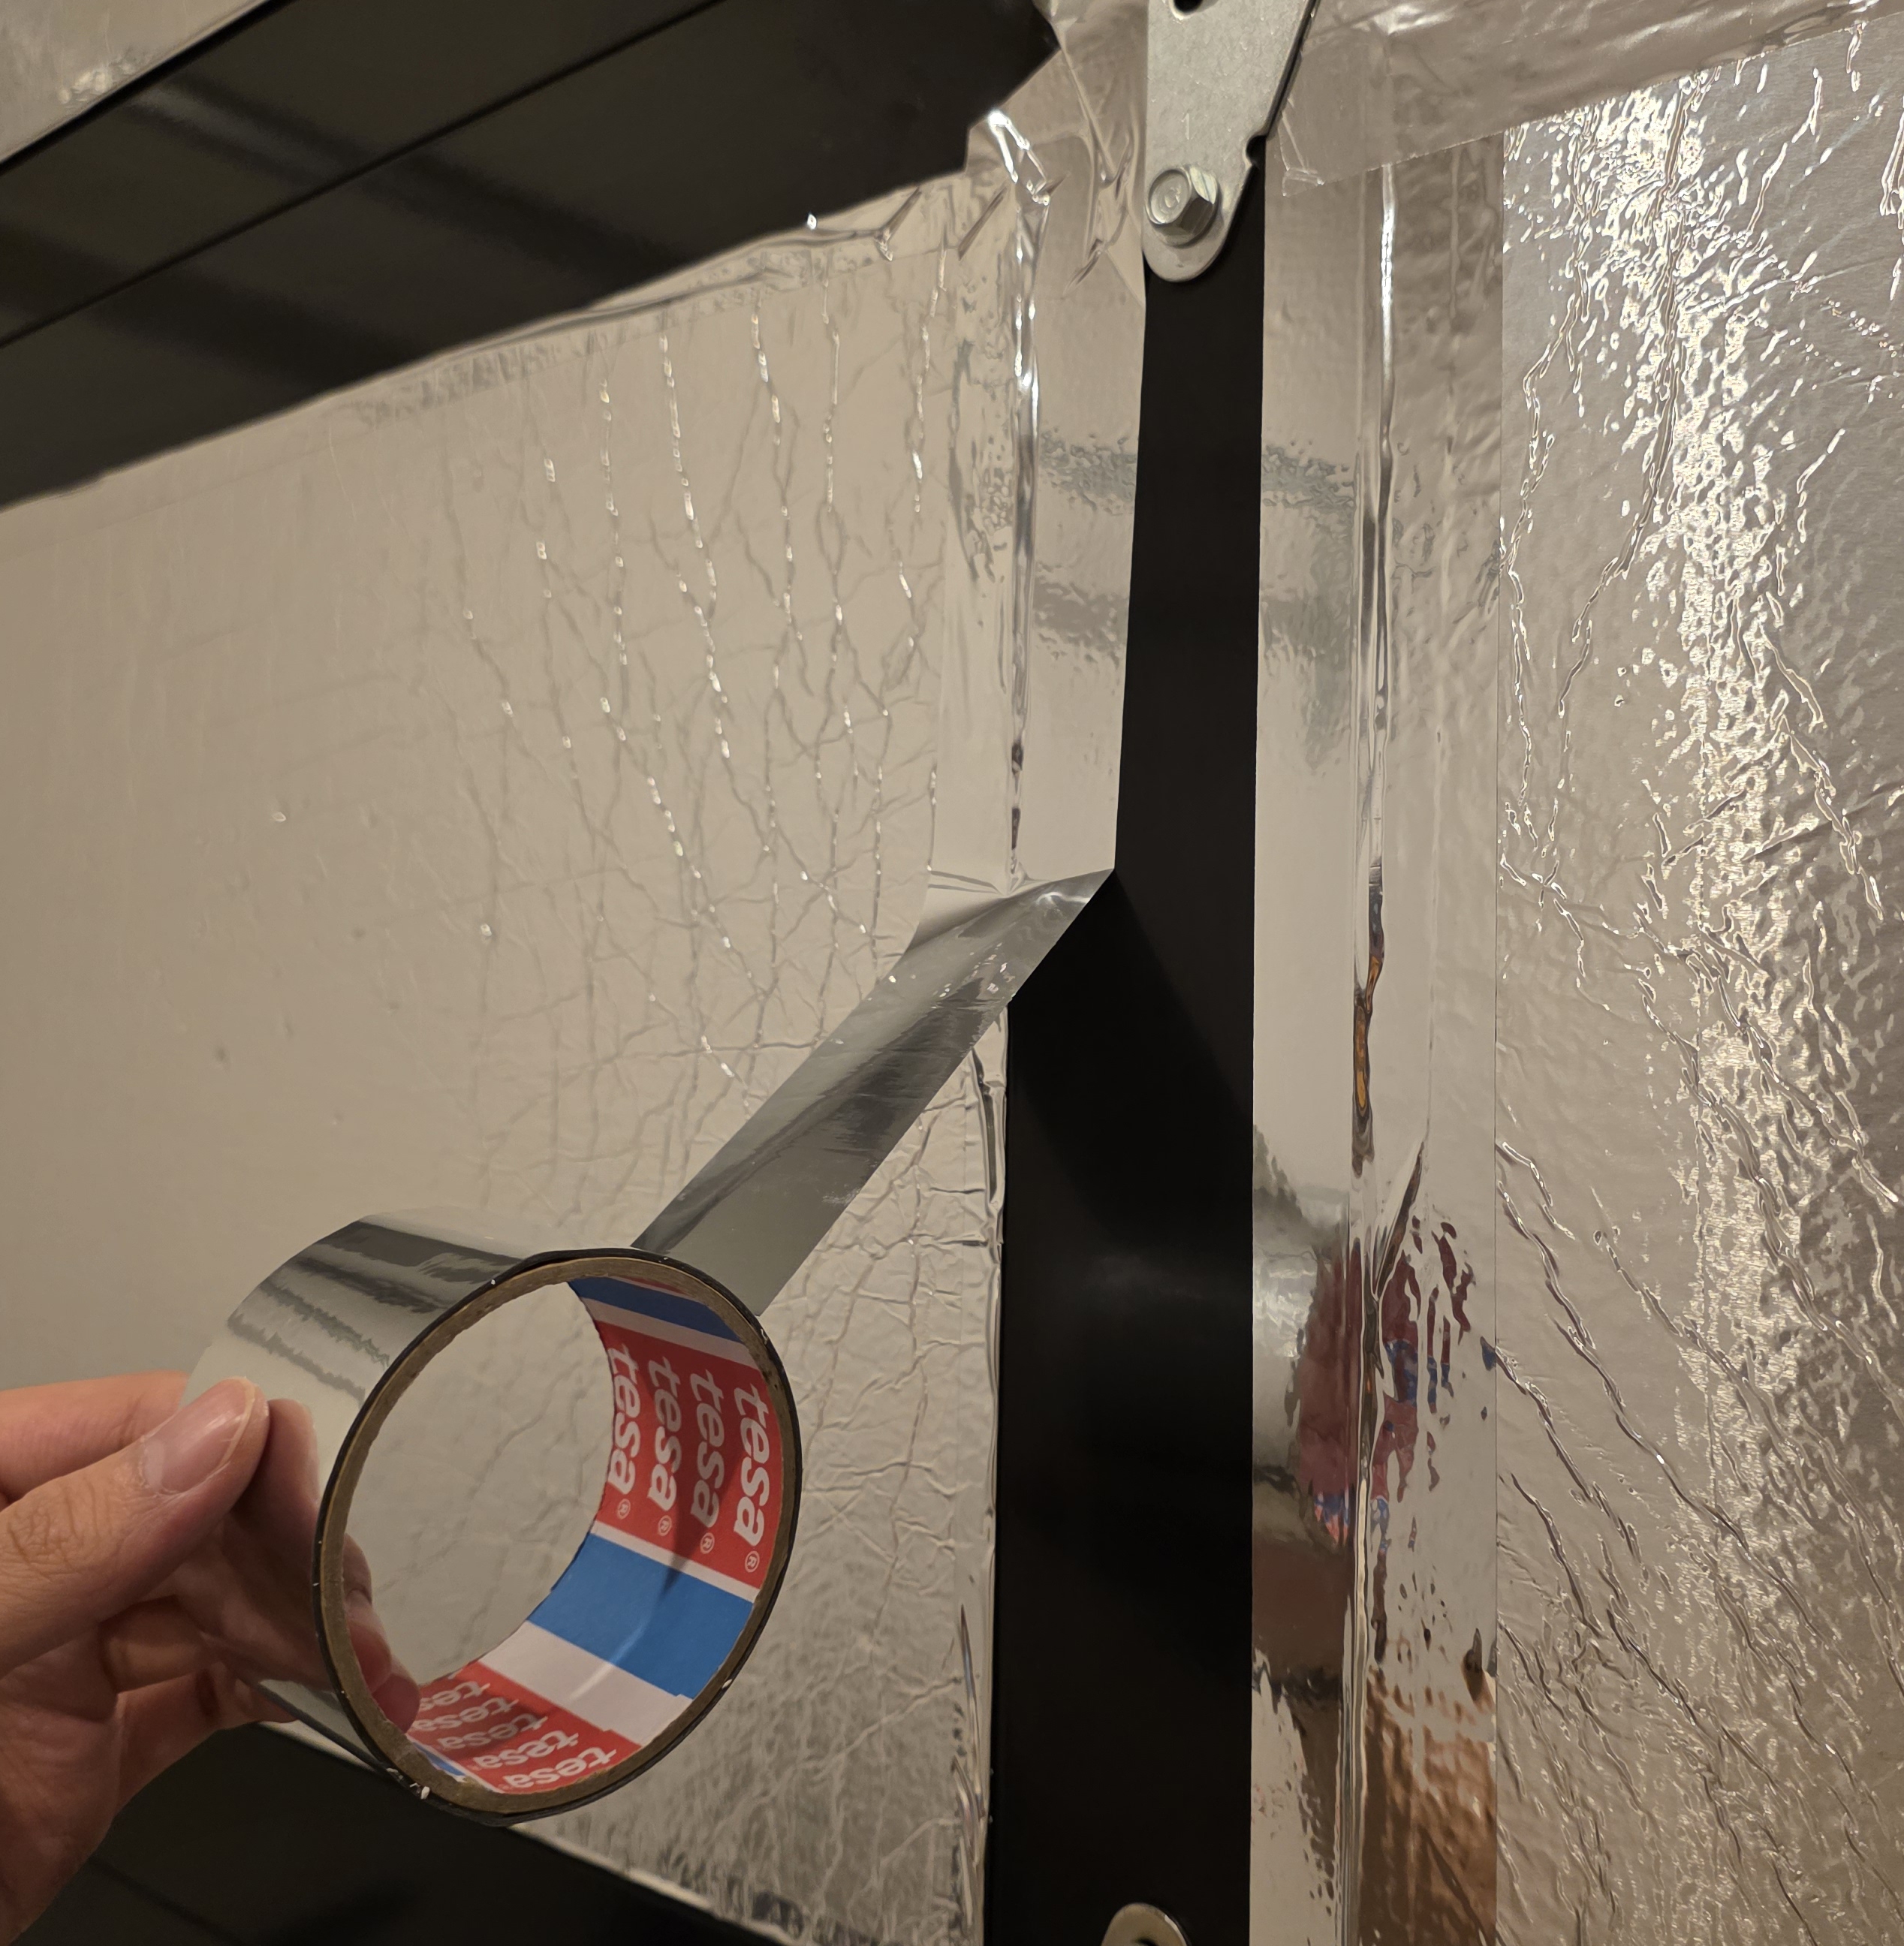
The panels were only friction fitted to the door. Using the silver tape again, I secured every edge onto the garage door.
Sealing
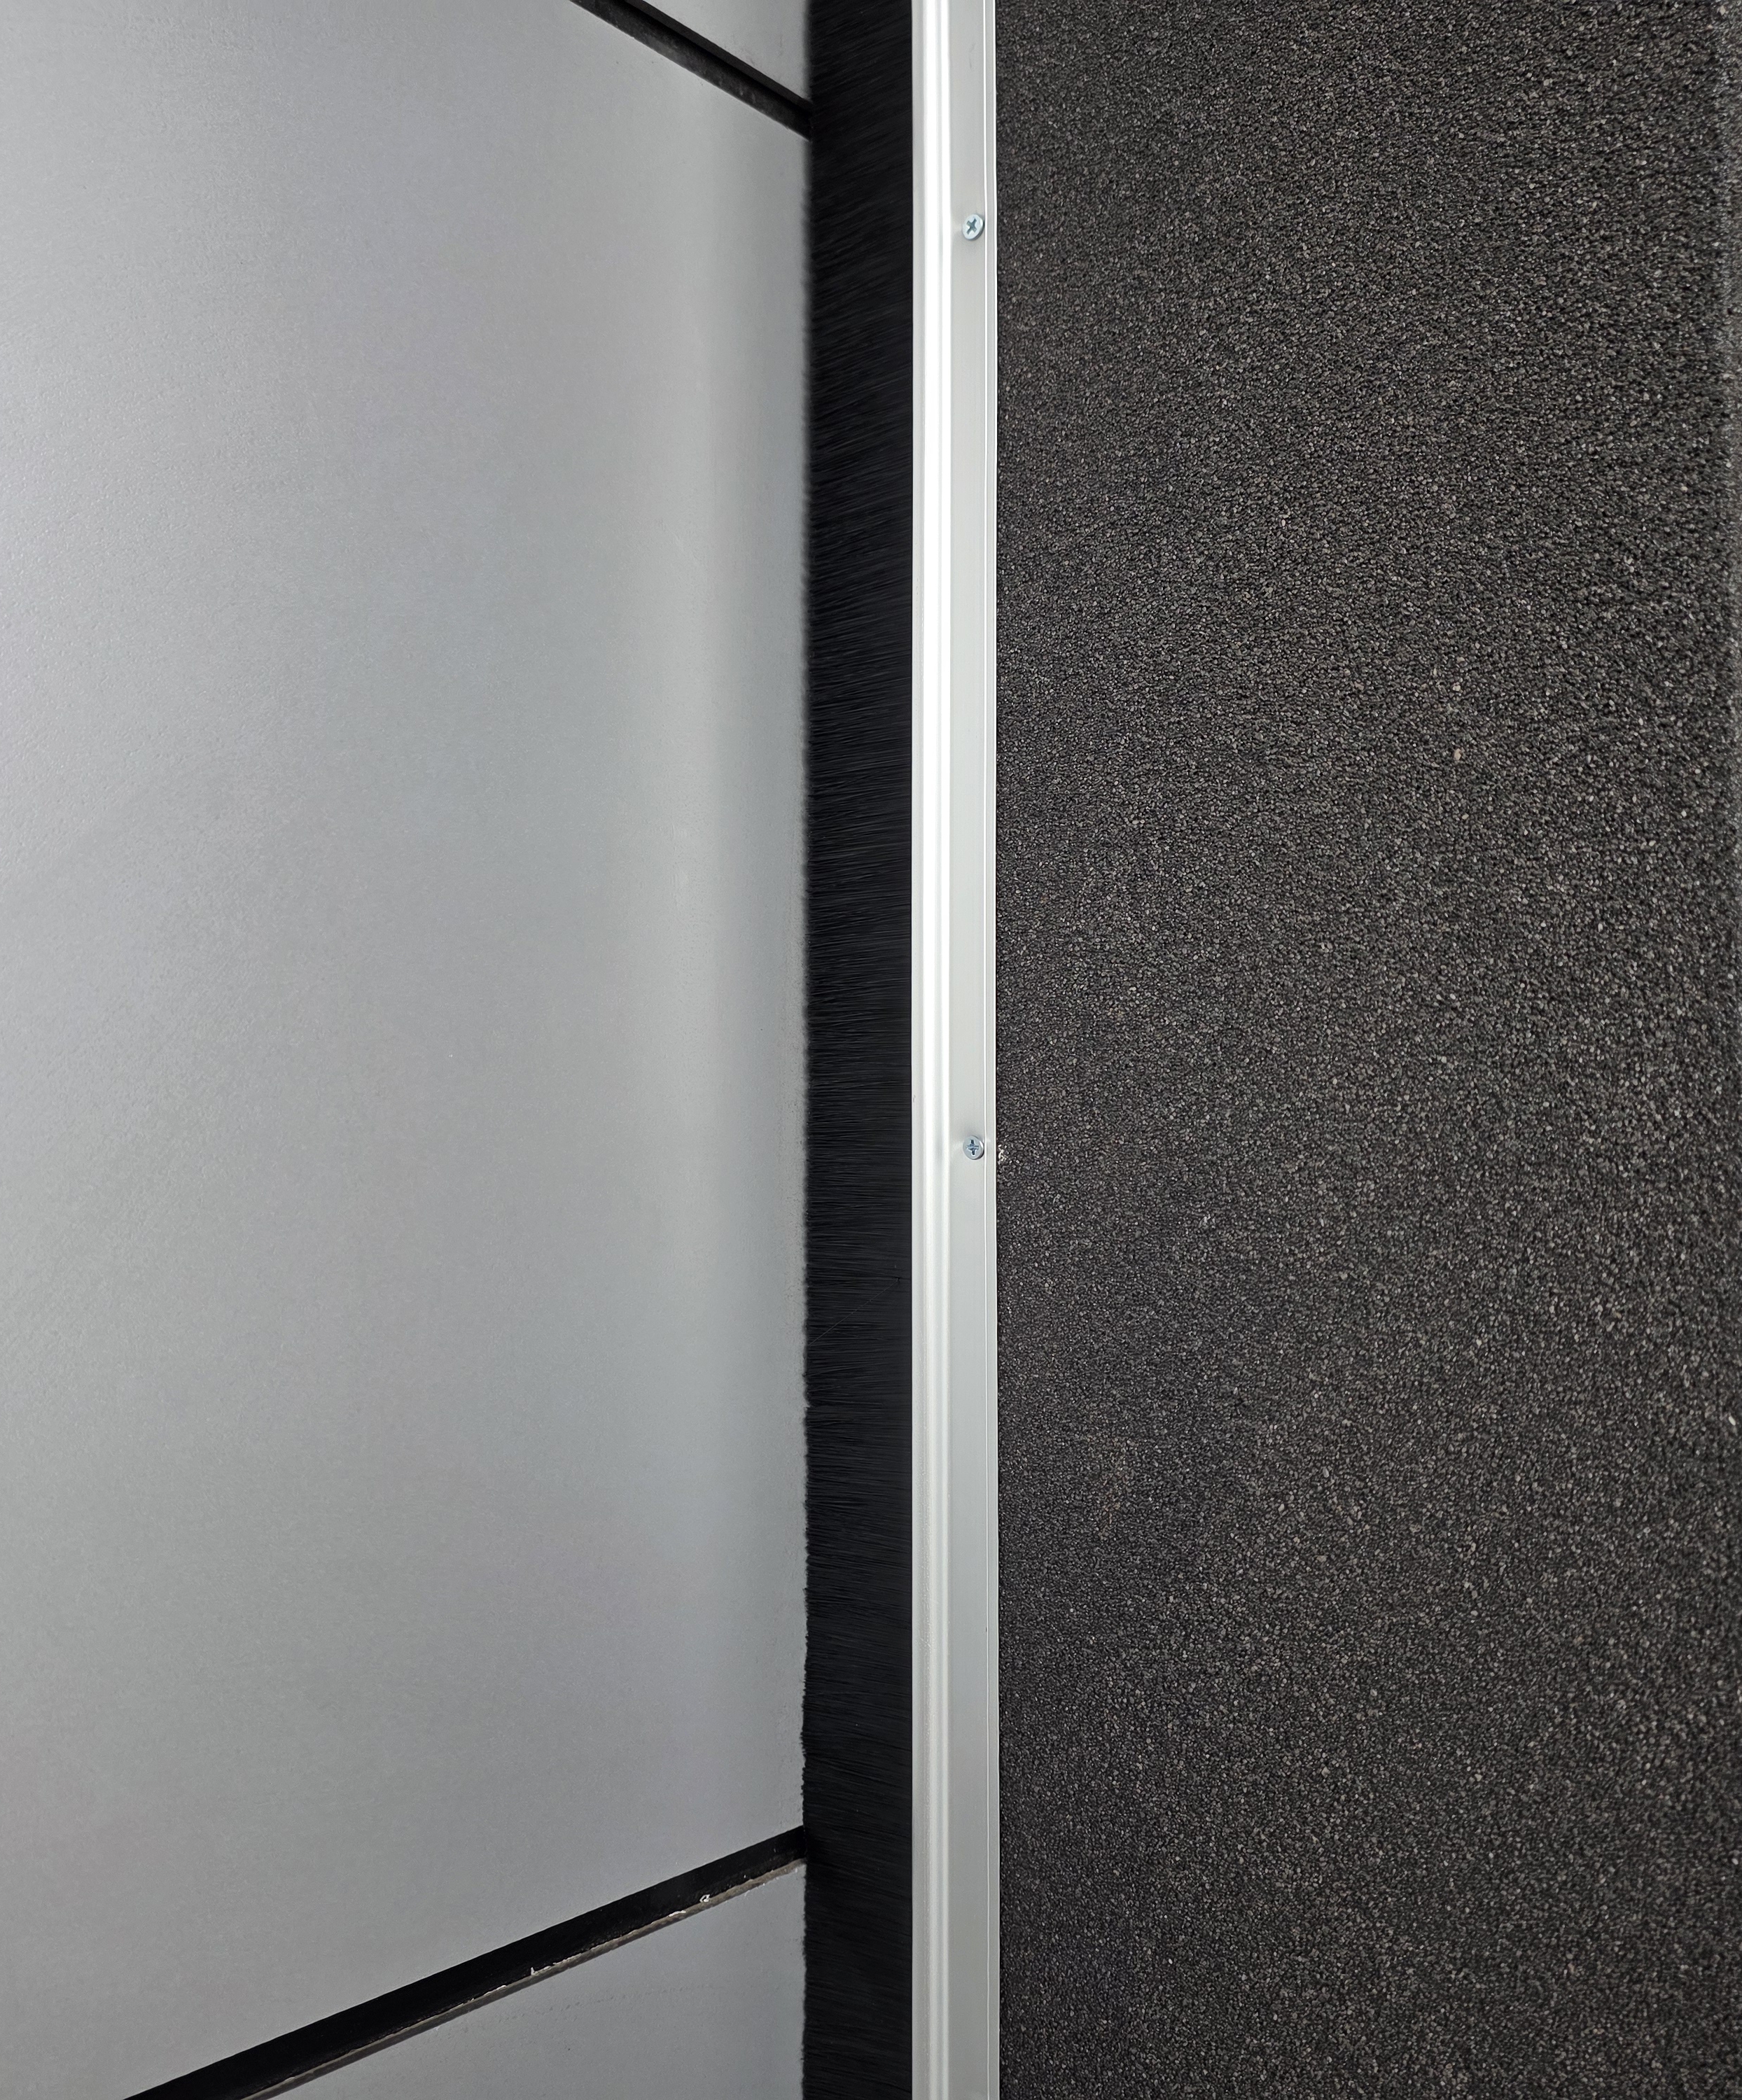
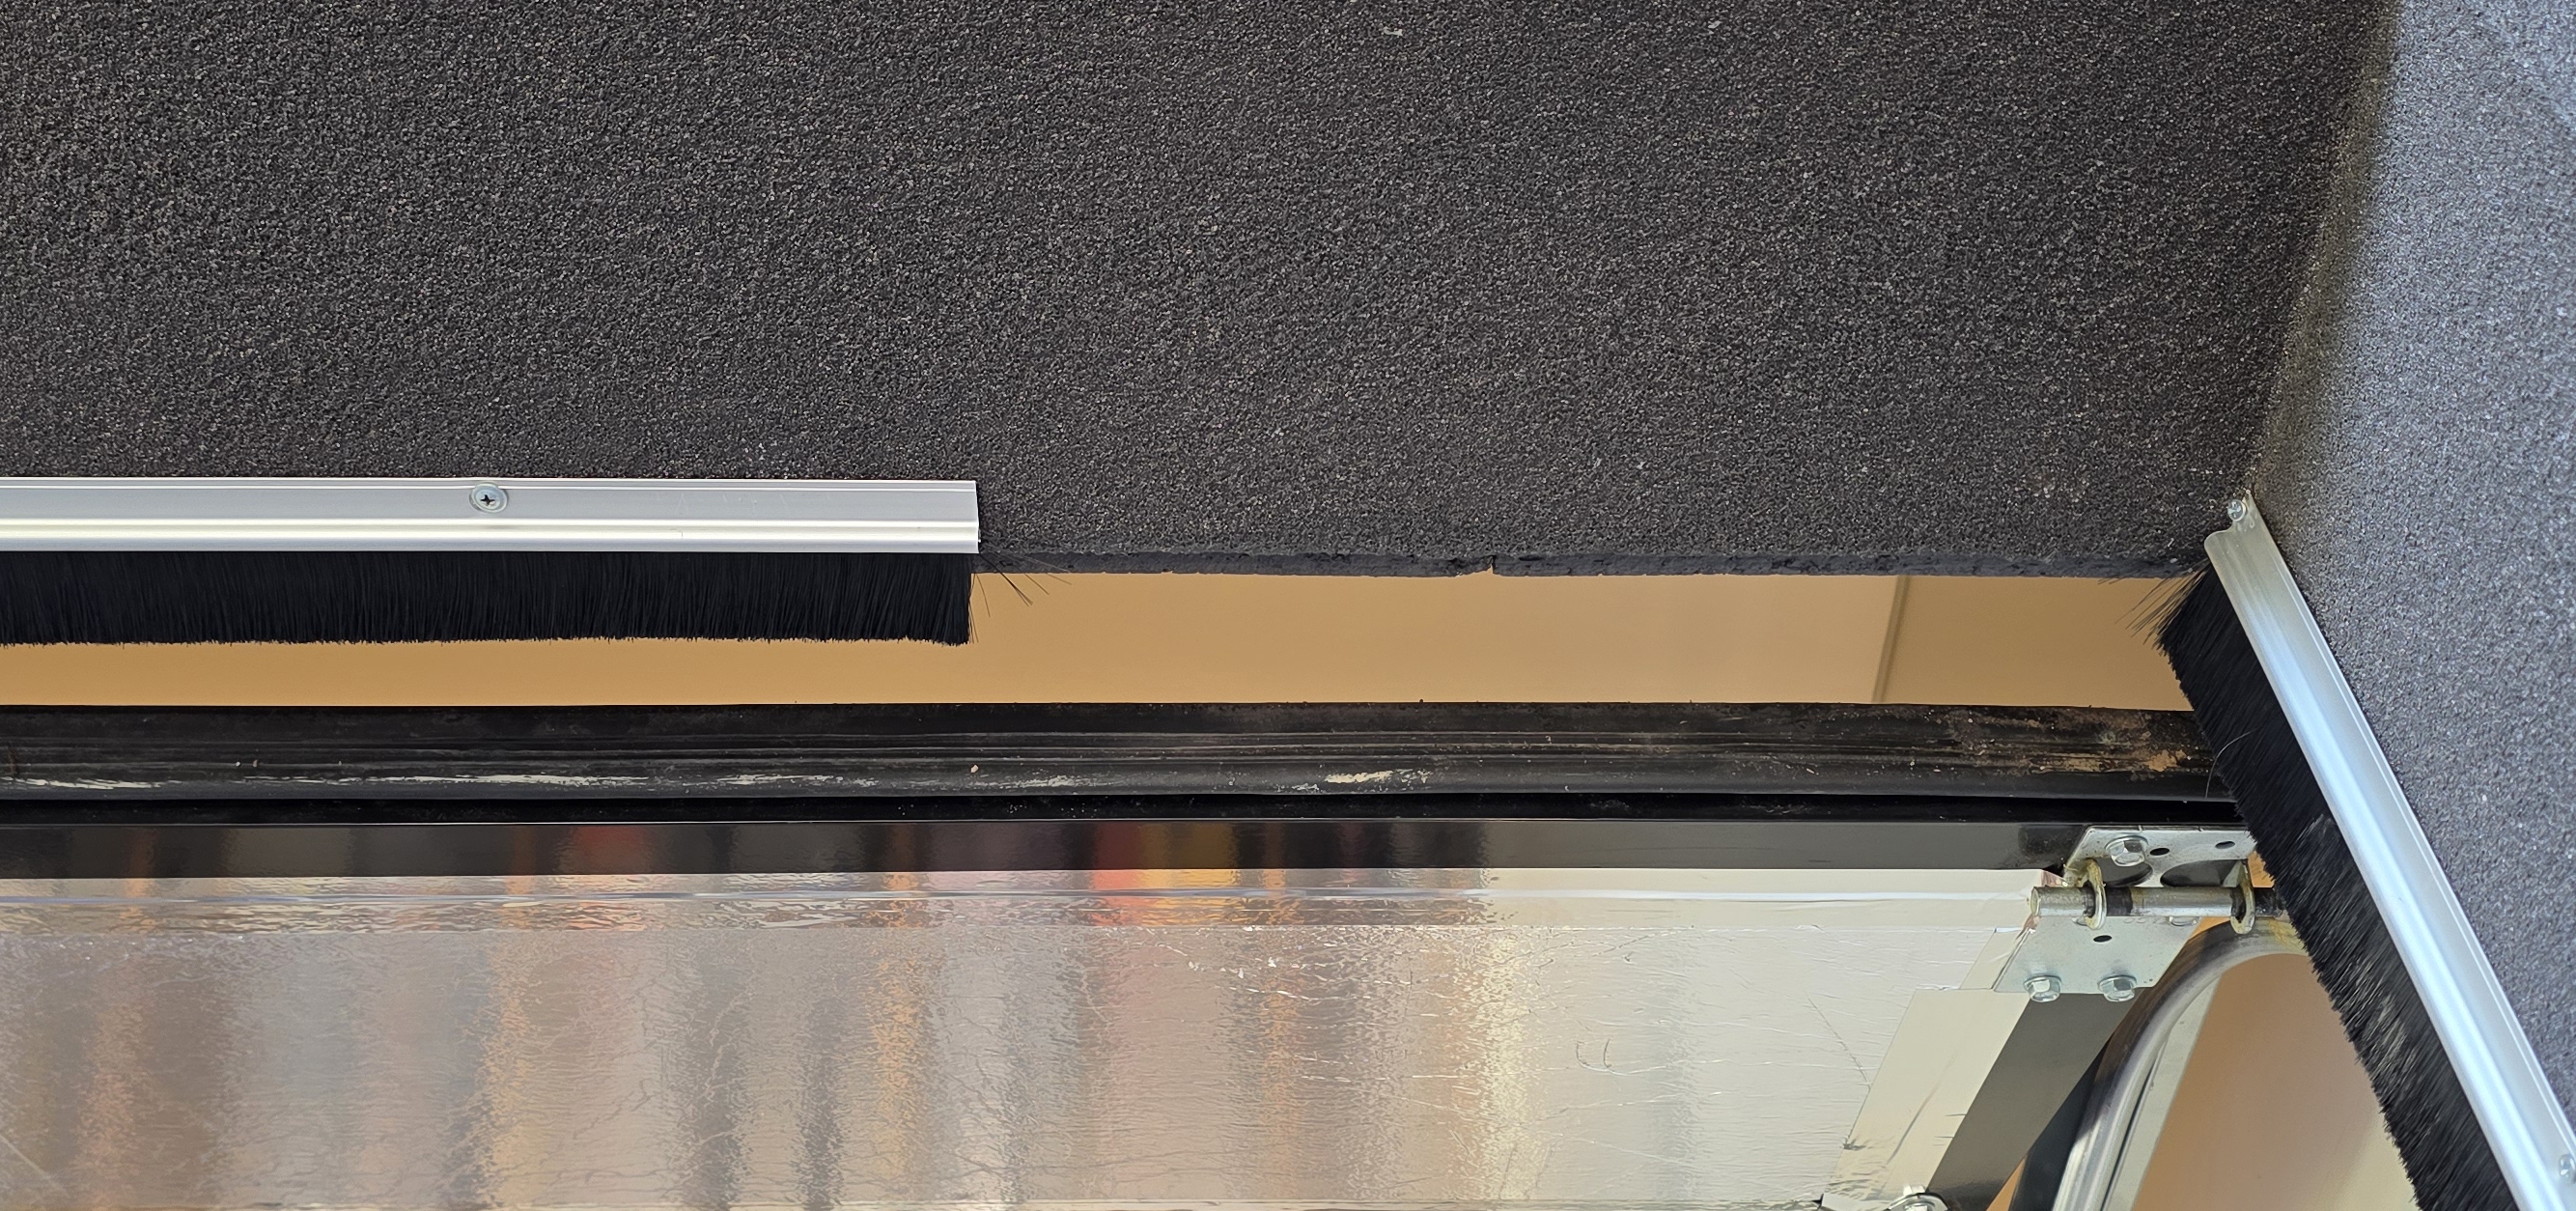
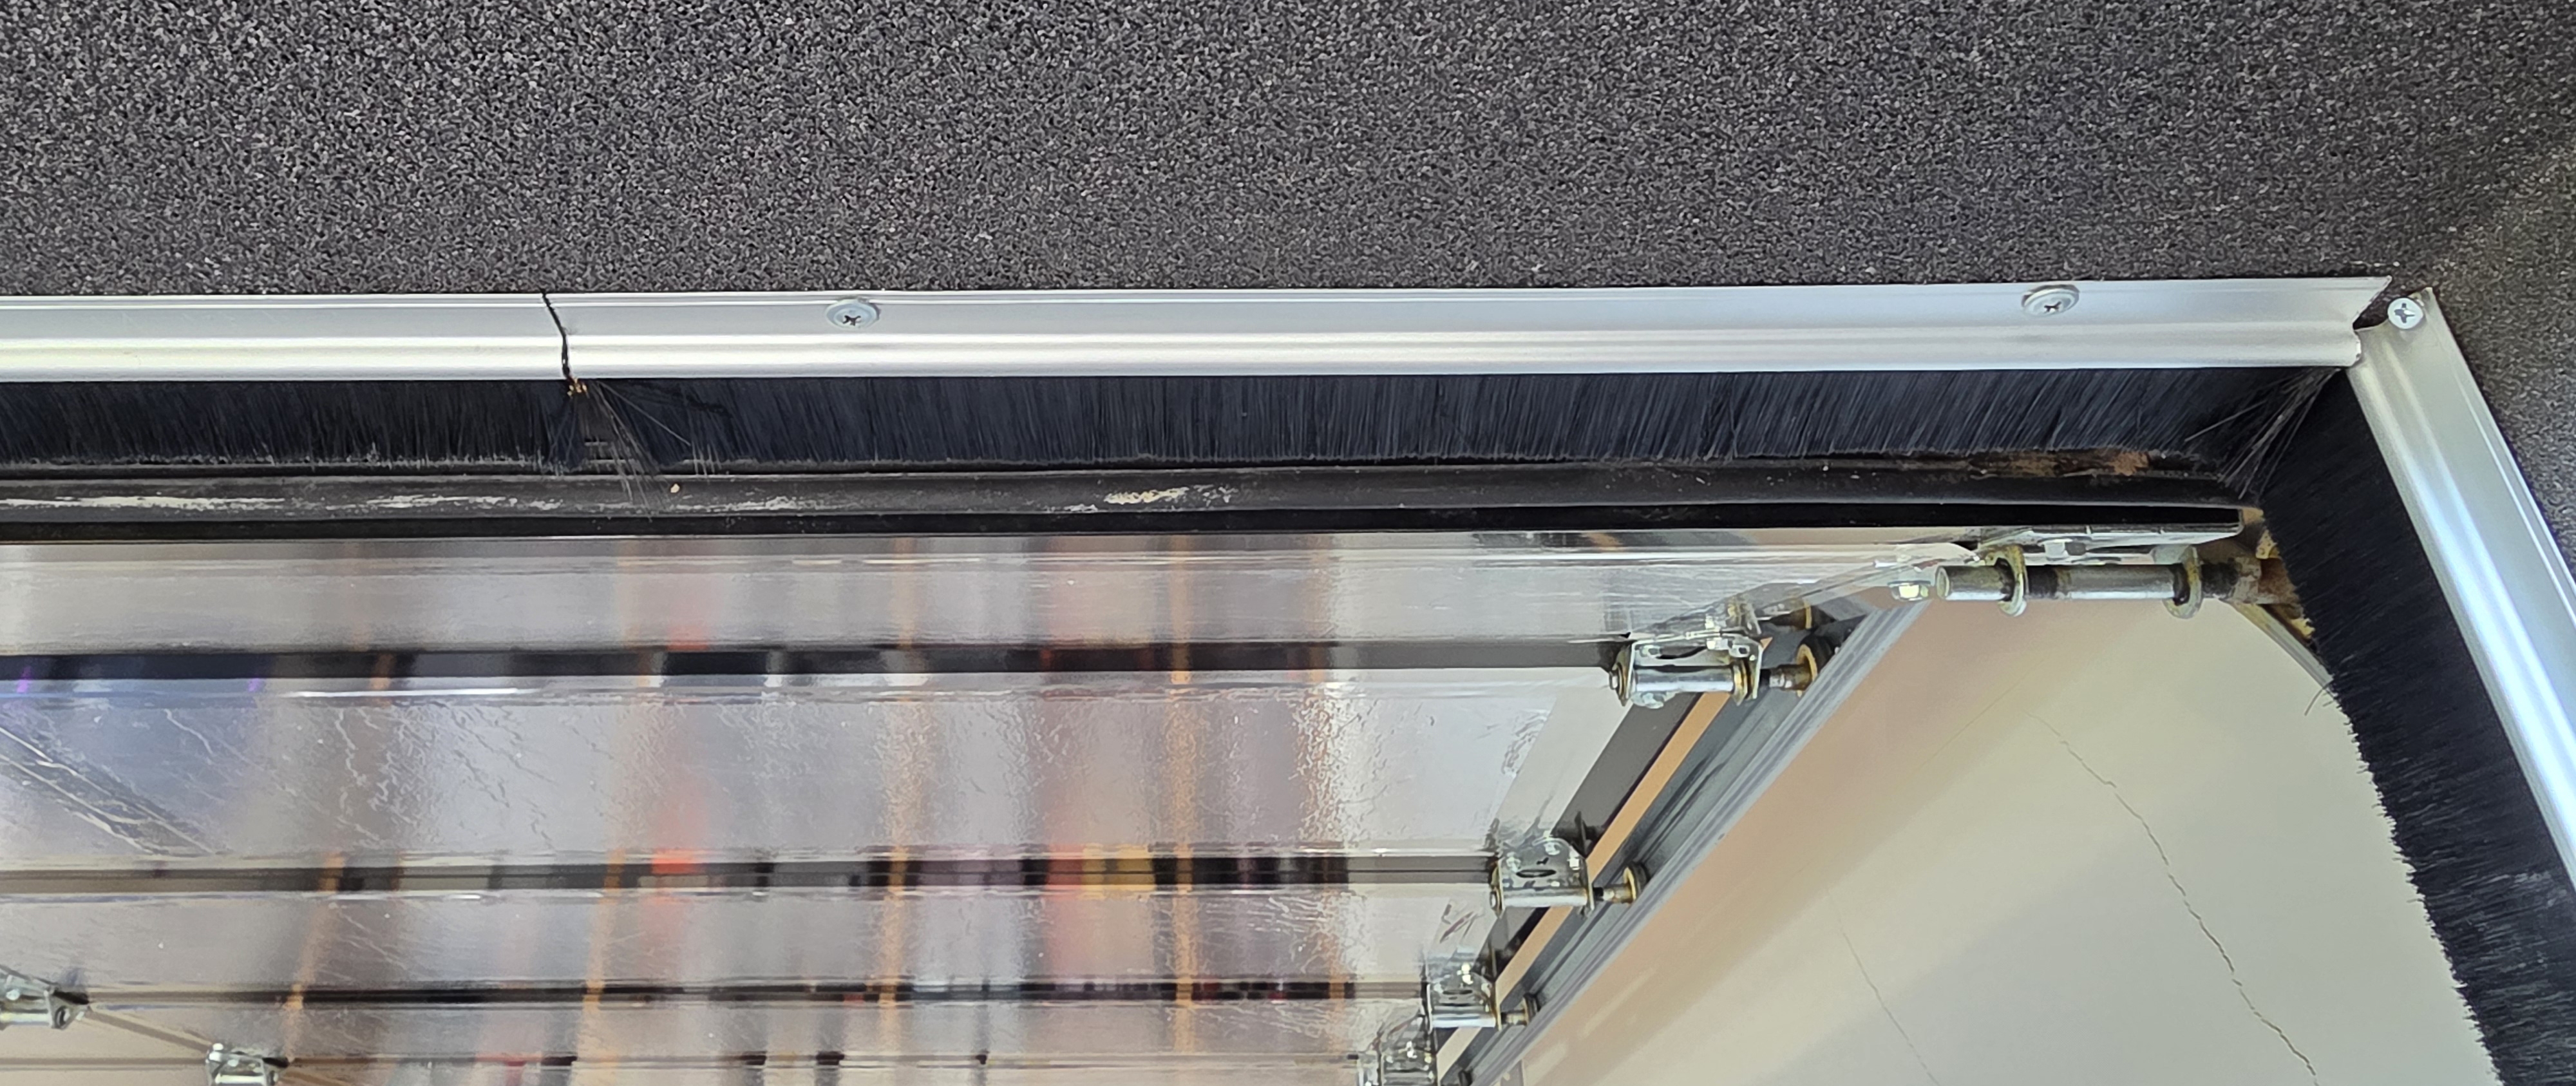
A brush seal is a strip of dense nylon bristles held in an aluminium carrier. The bristles fill the gap between the door and the frame while still flexing as the door moves, so they block air, light, and dust without impeding the door.
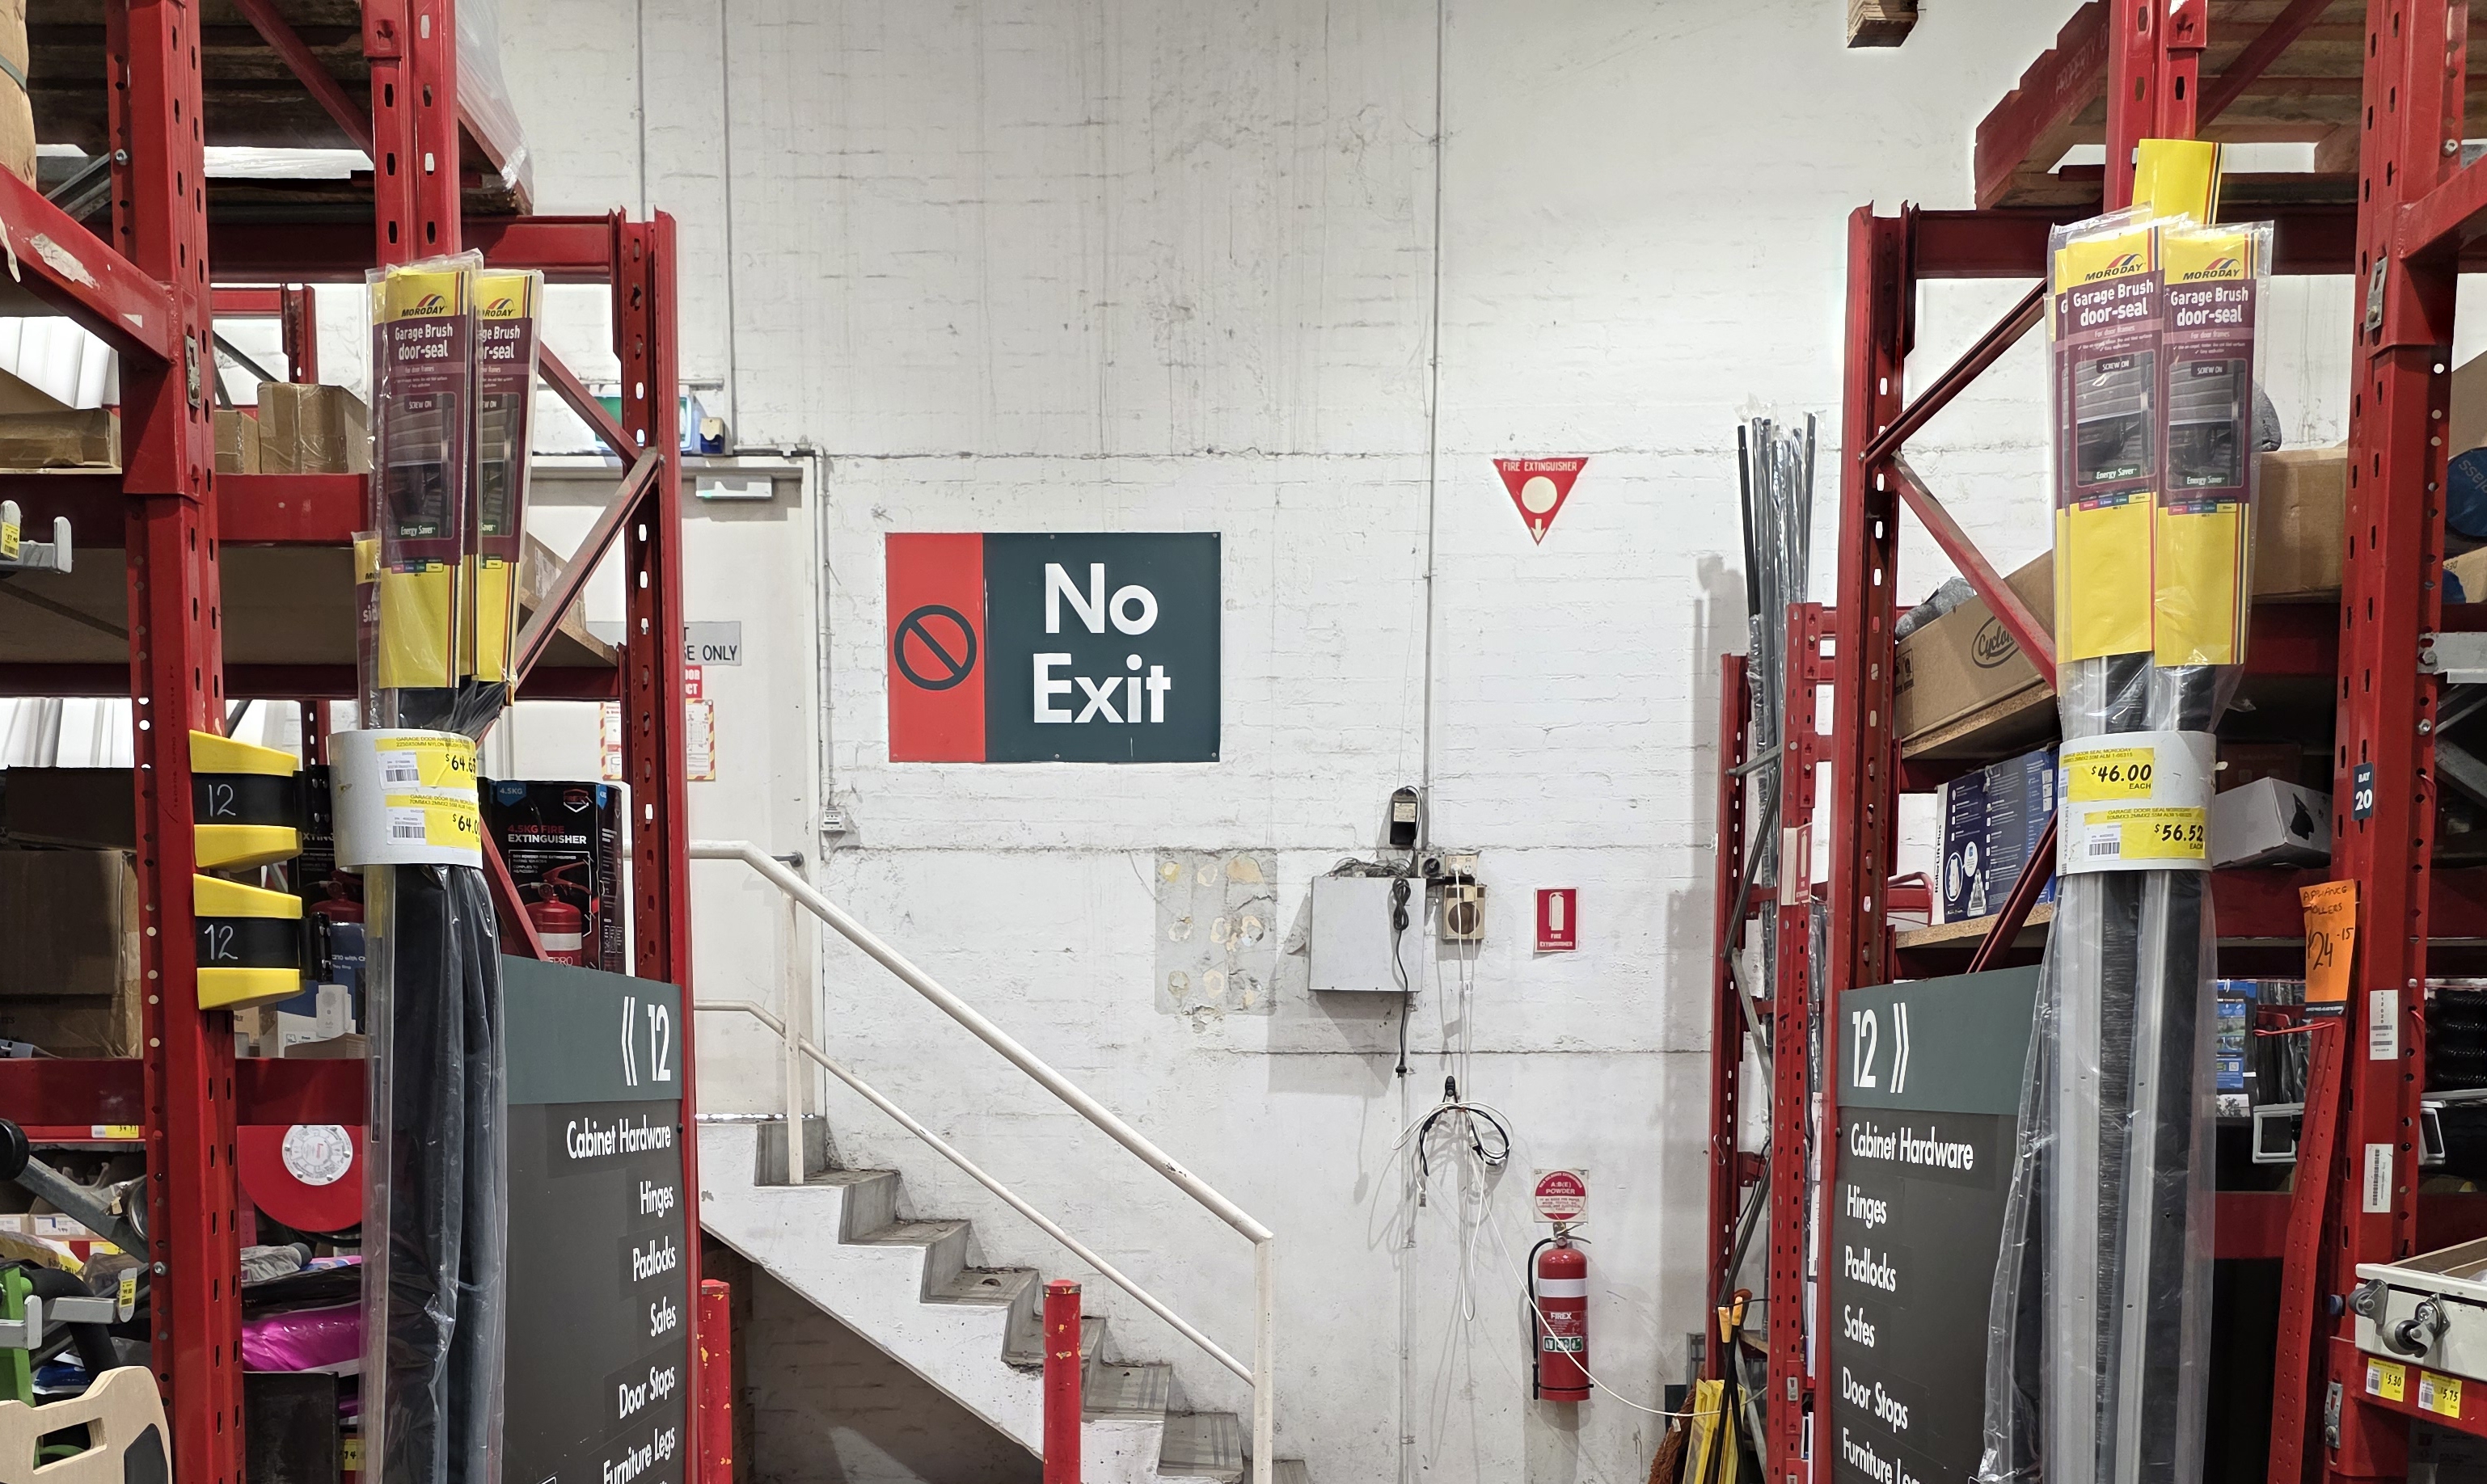
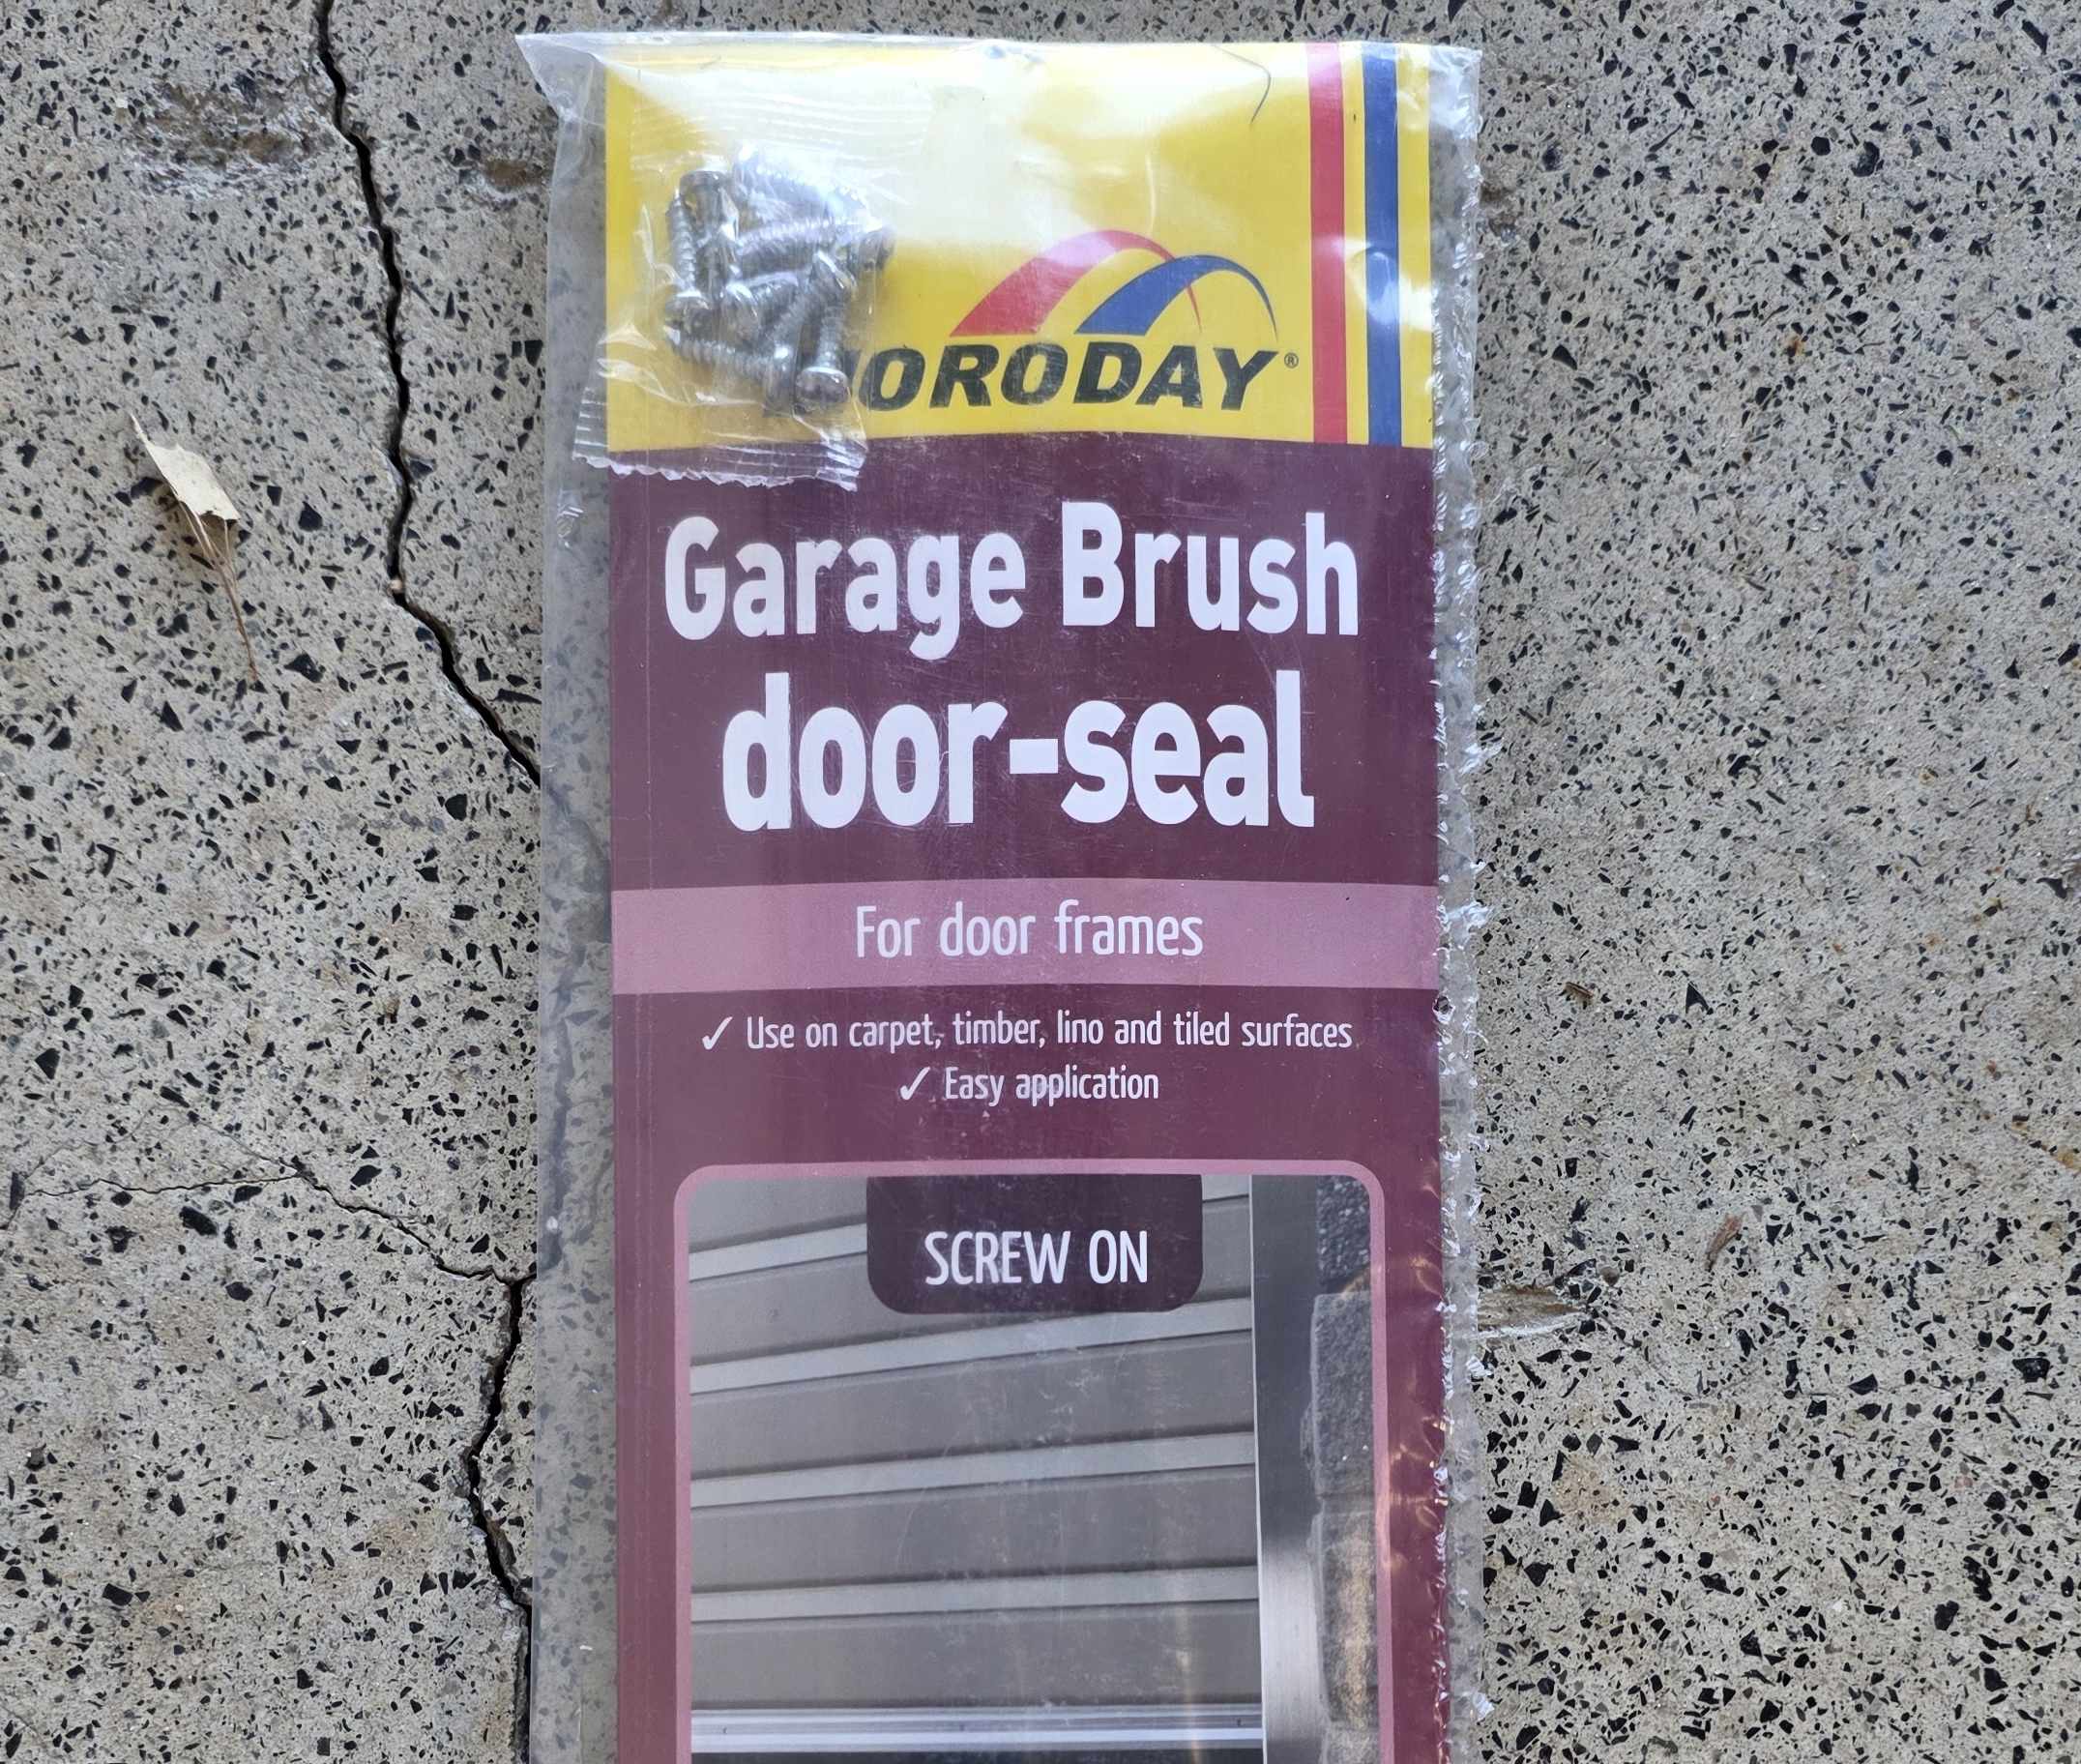
I looked at a couple of purpose-made kits first from Cleverseal and Seal Your Garage but they were both close to $300. Instead I bought Moroday brush seals from Bunnings, after finding this video from Zeeshan Q on YouTube covering the same job. I needed four of their 2.55m x 35mm seals at $46 each, $184 in total, plus some timber screws ($8.92), wall plugs ($1.60), and metal tek screws ($4.97).
Sides
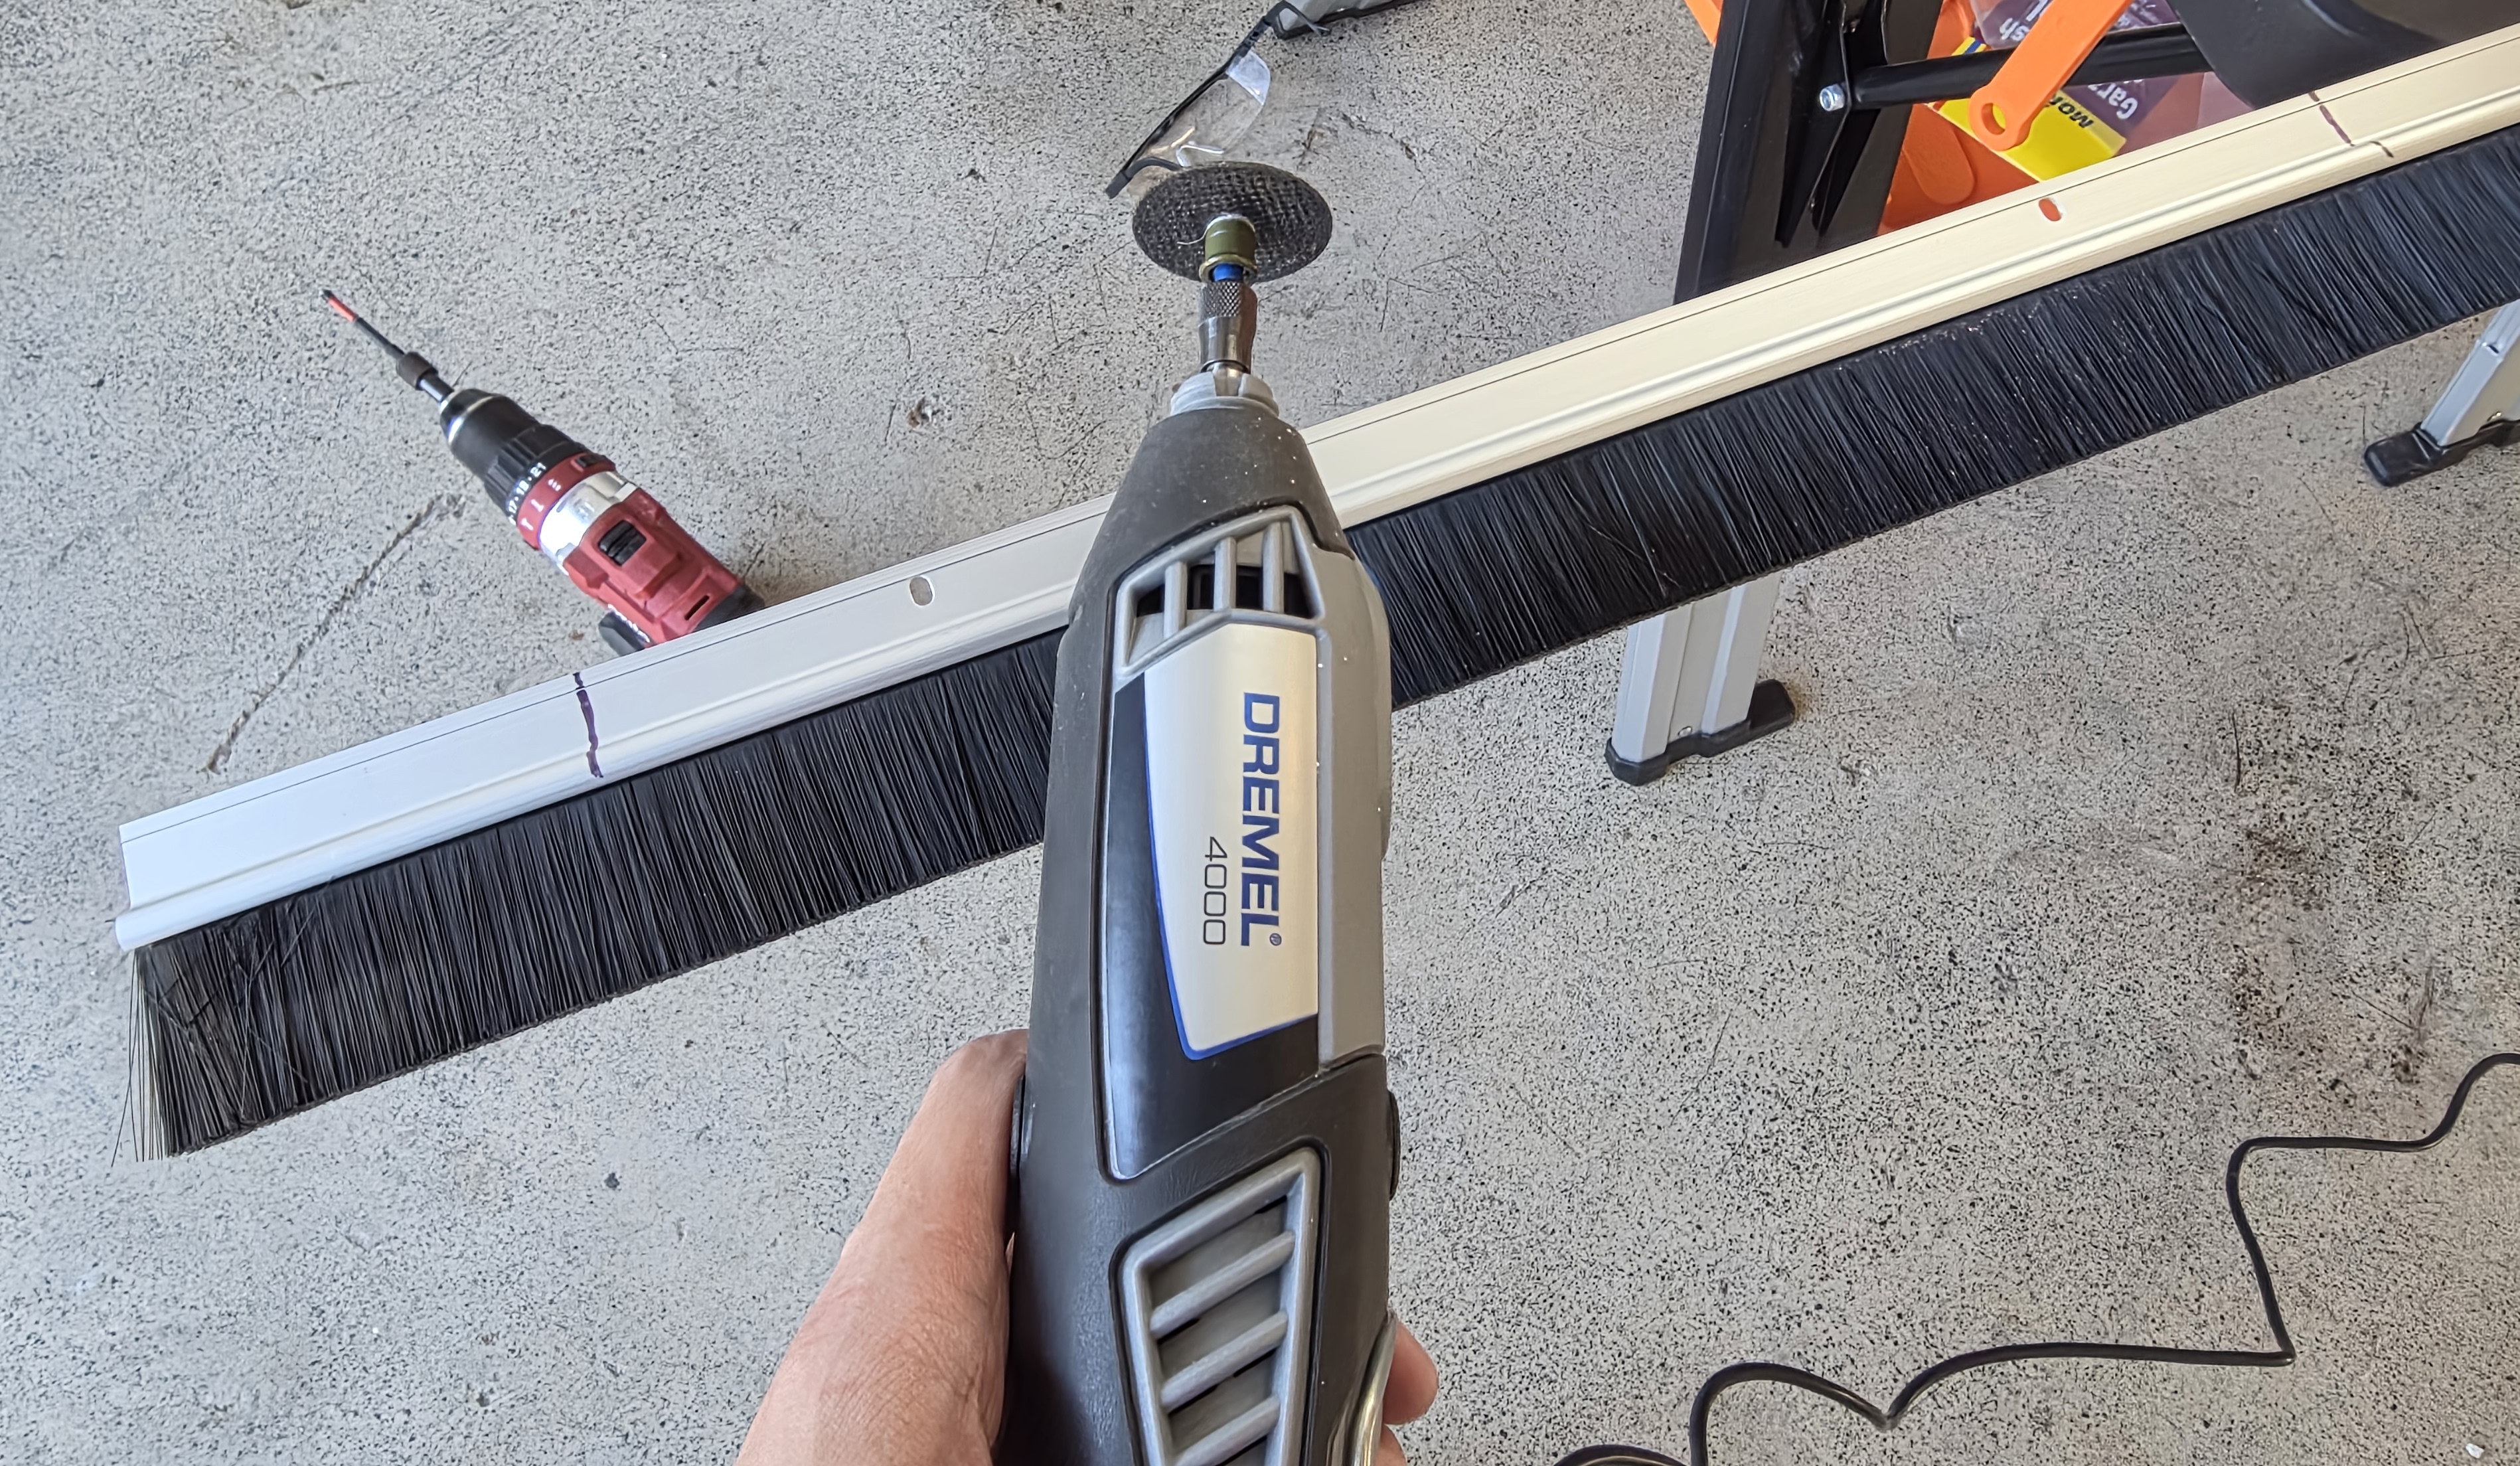
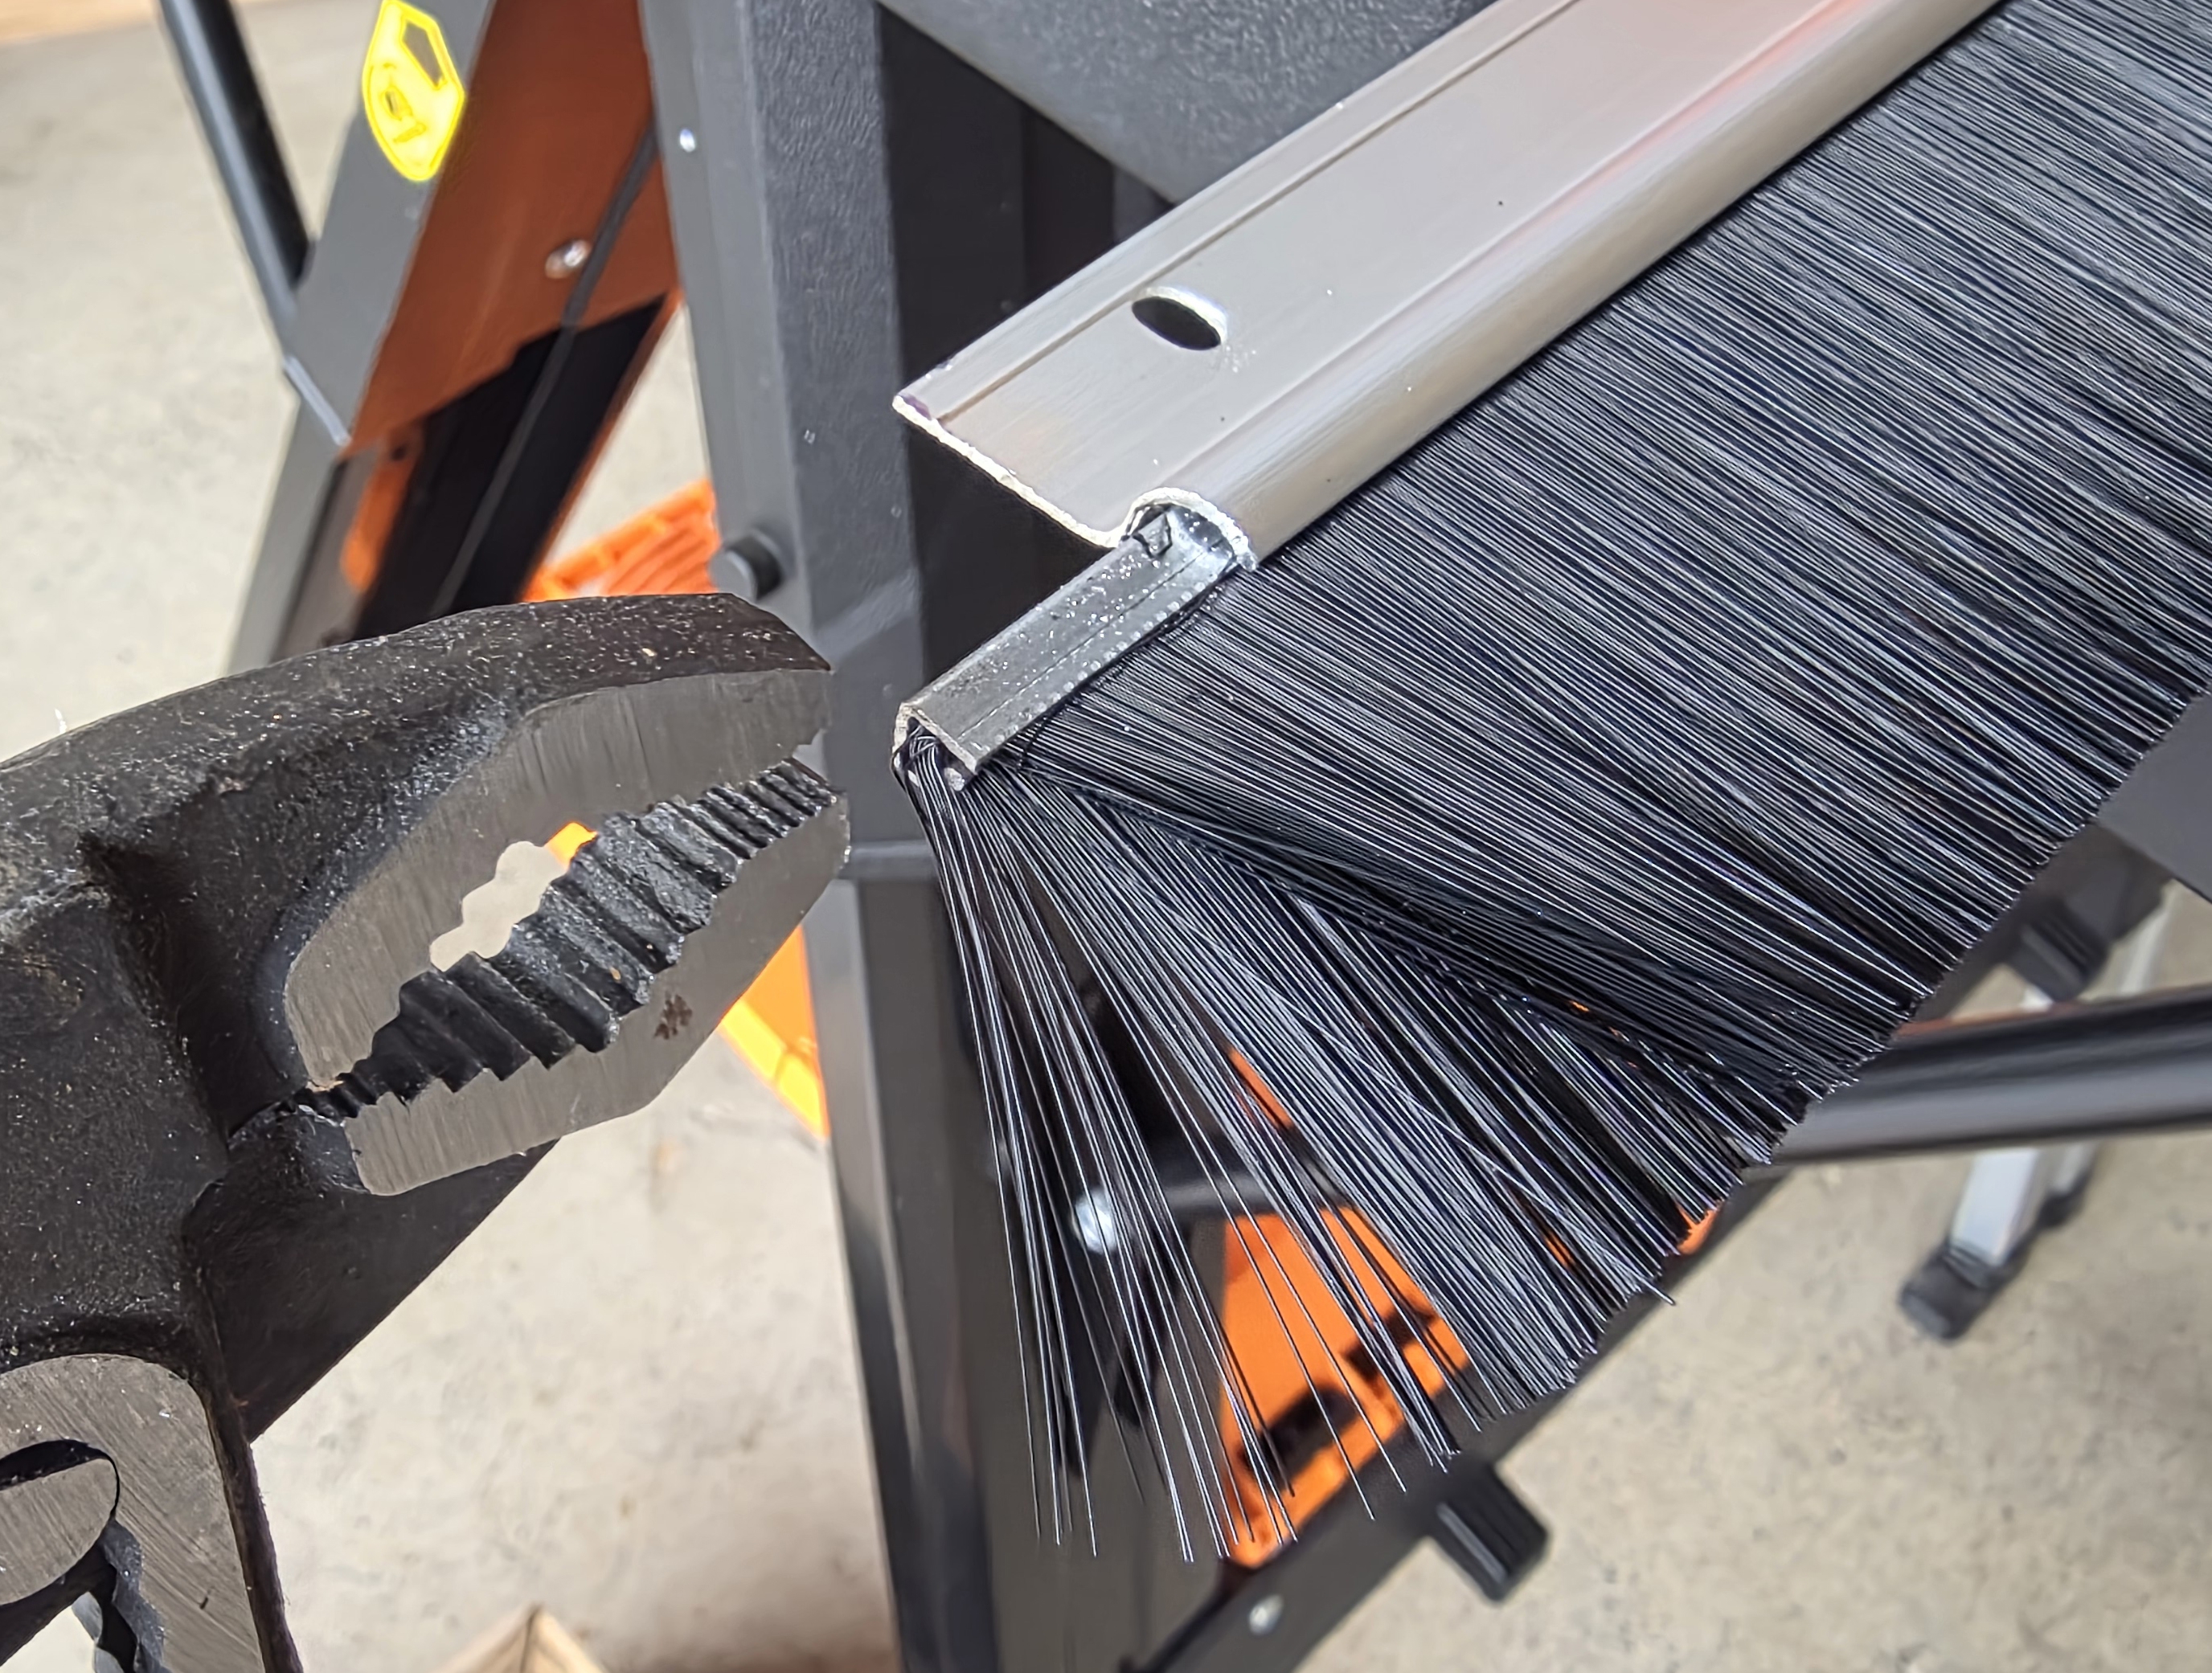
The sides are 2.4m tall, so I cut each seal down to size with a dremel and pinched the ends of the brushes closed.
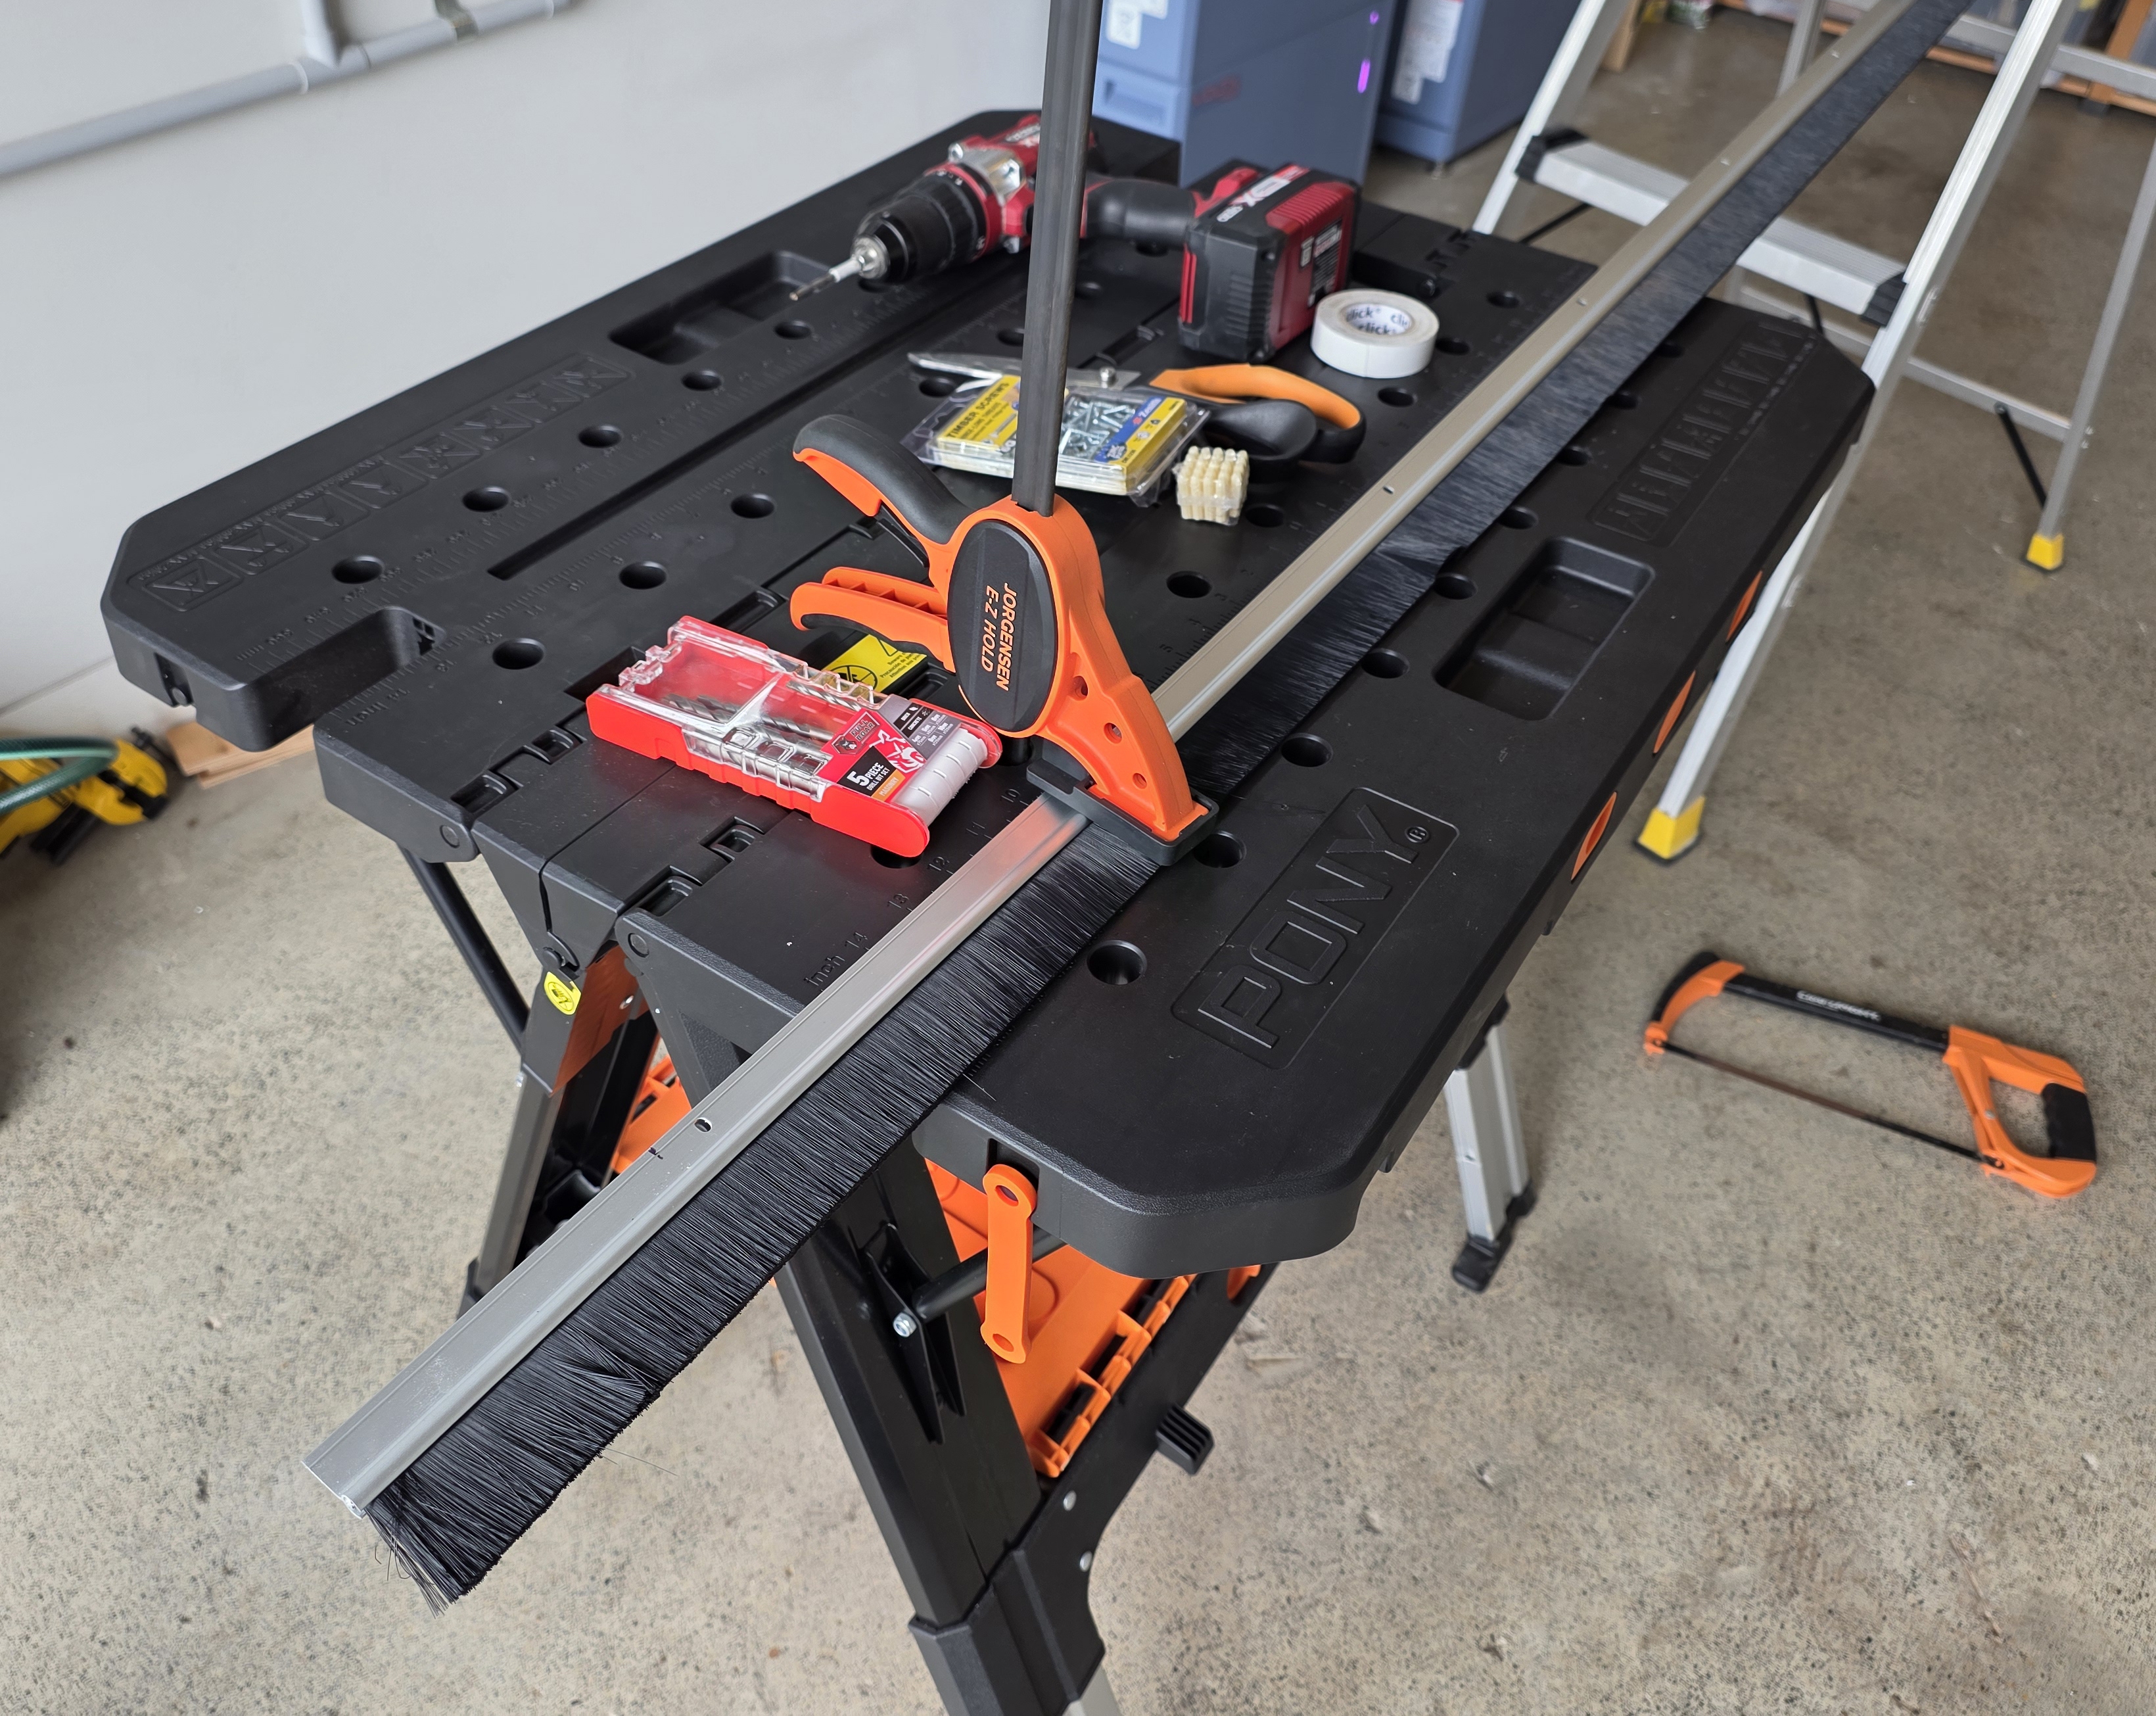
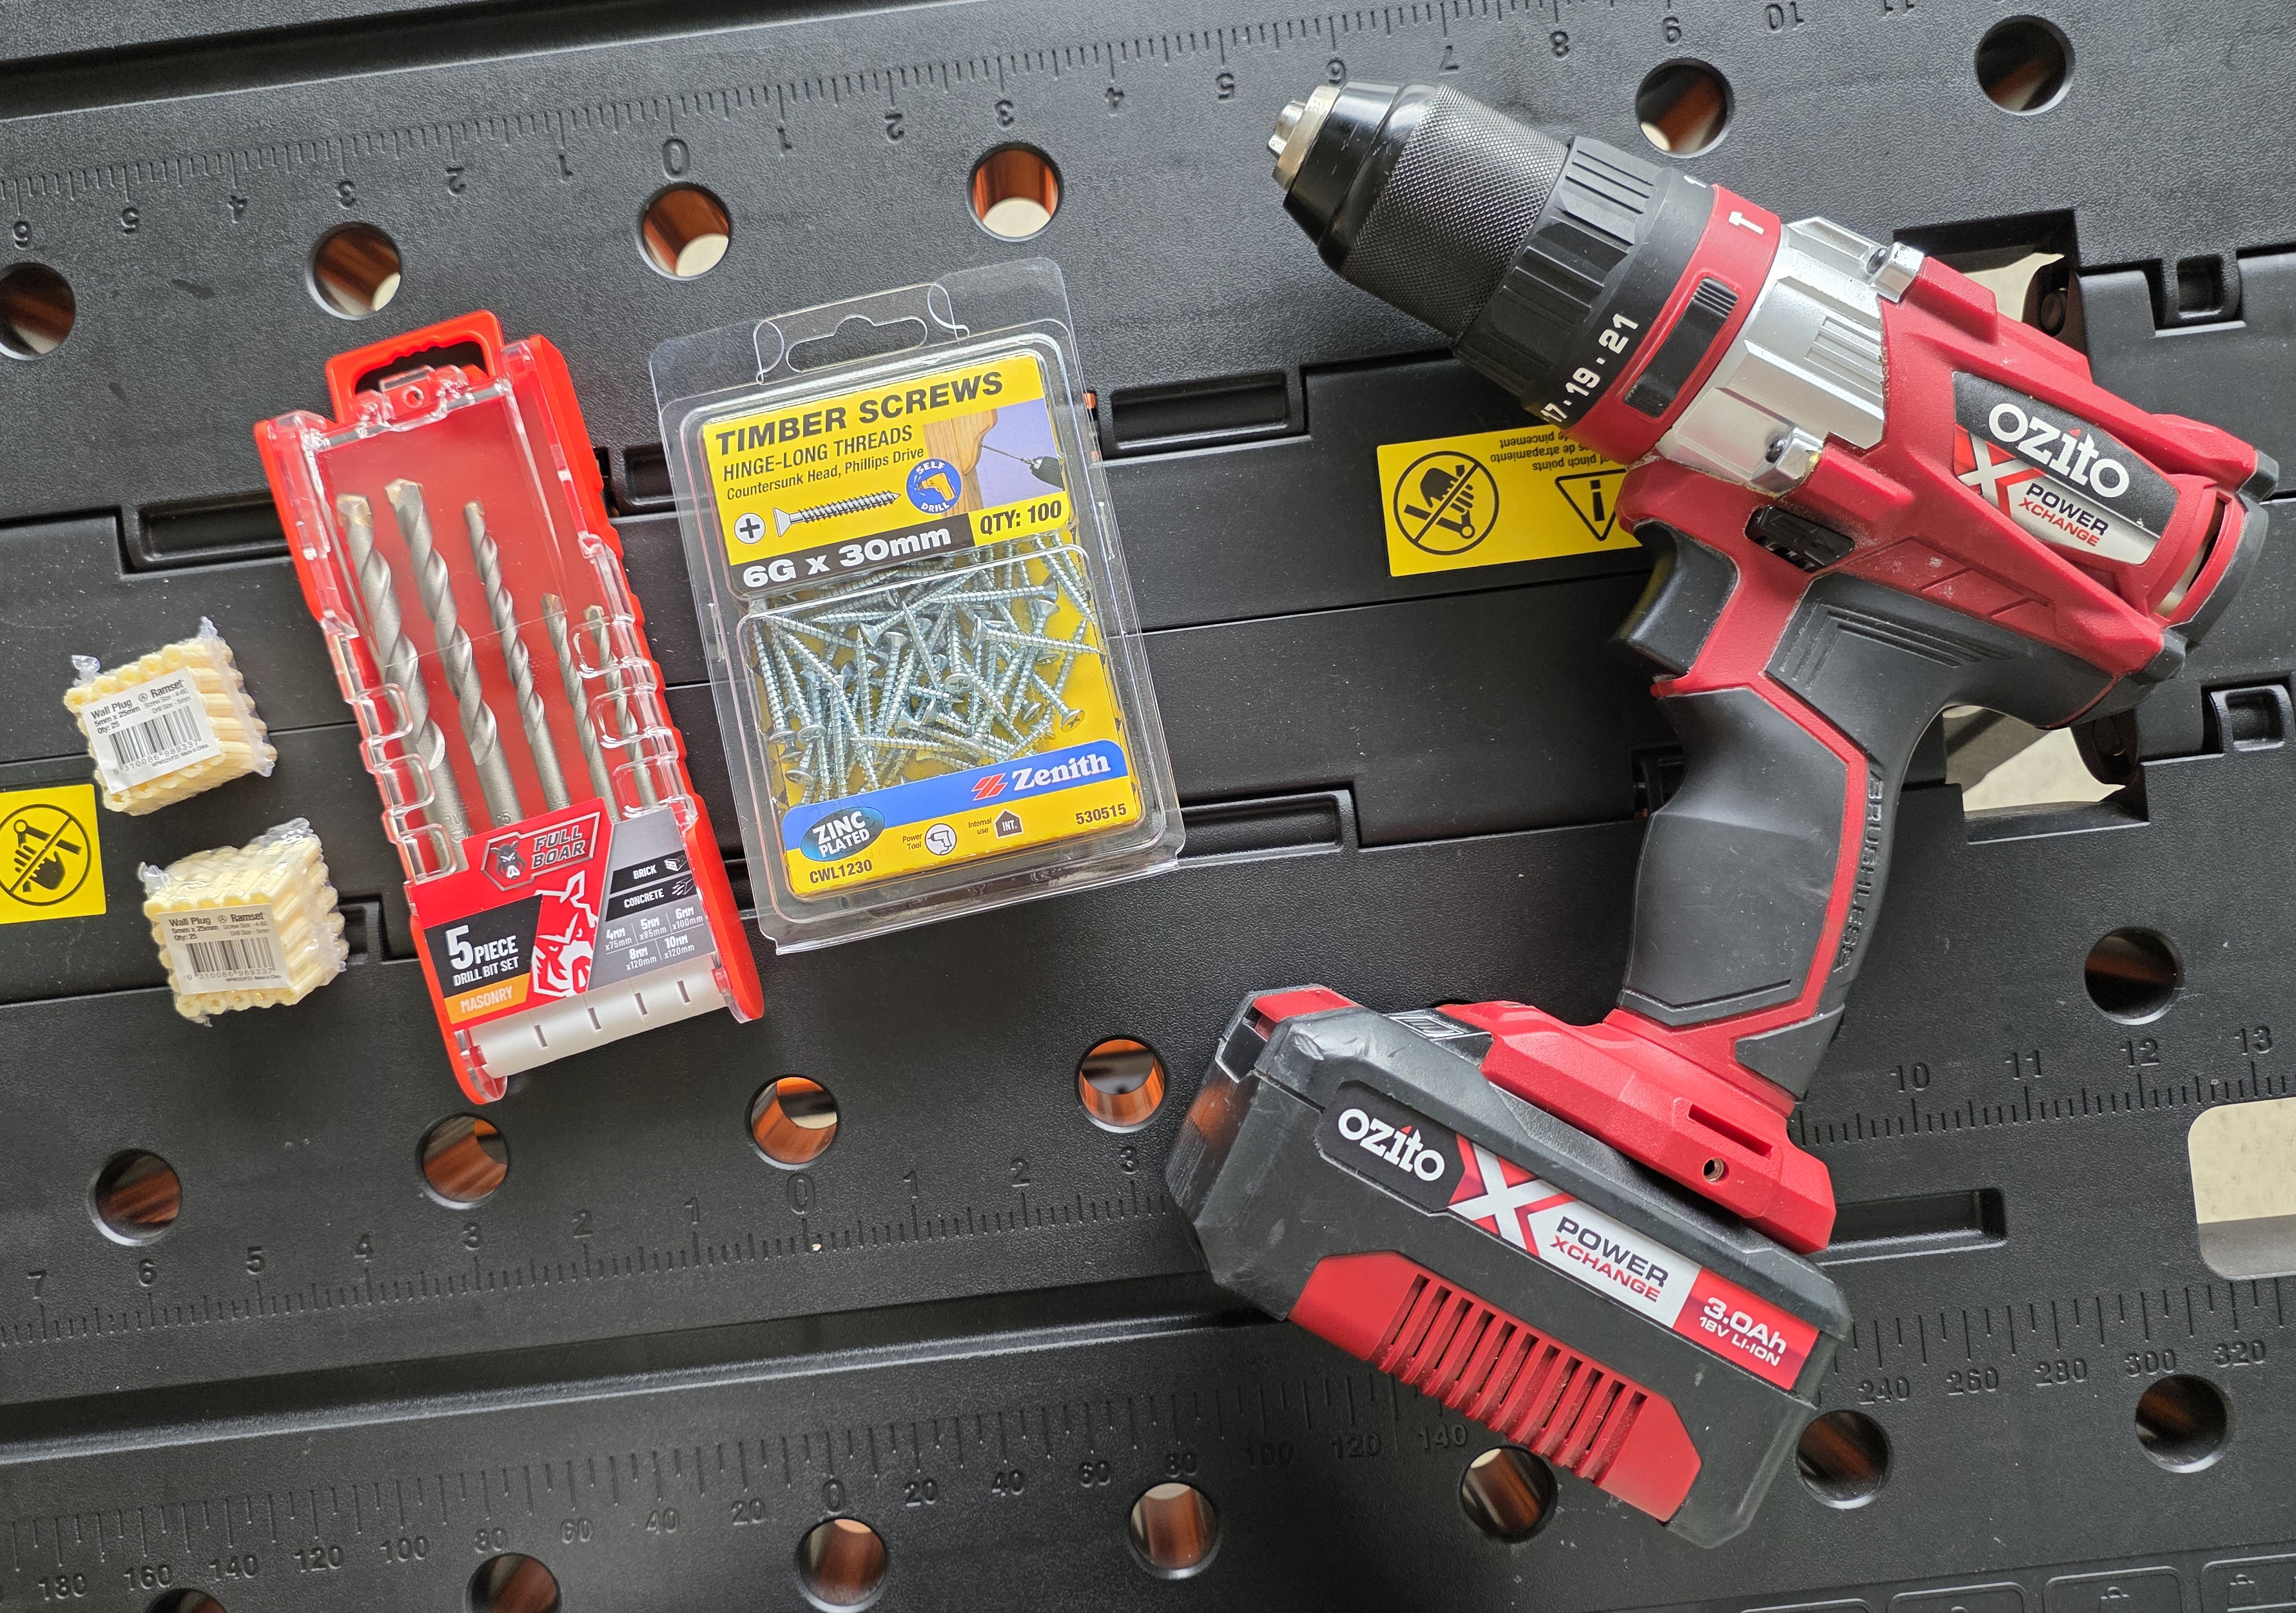
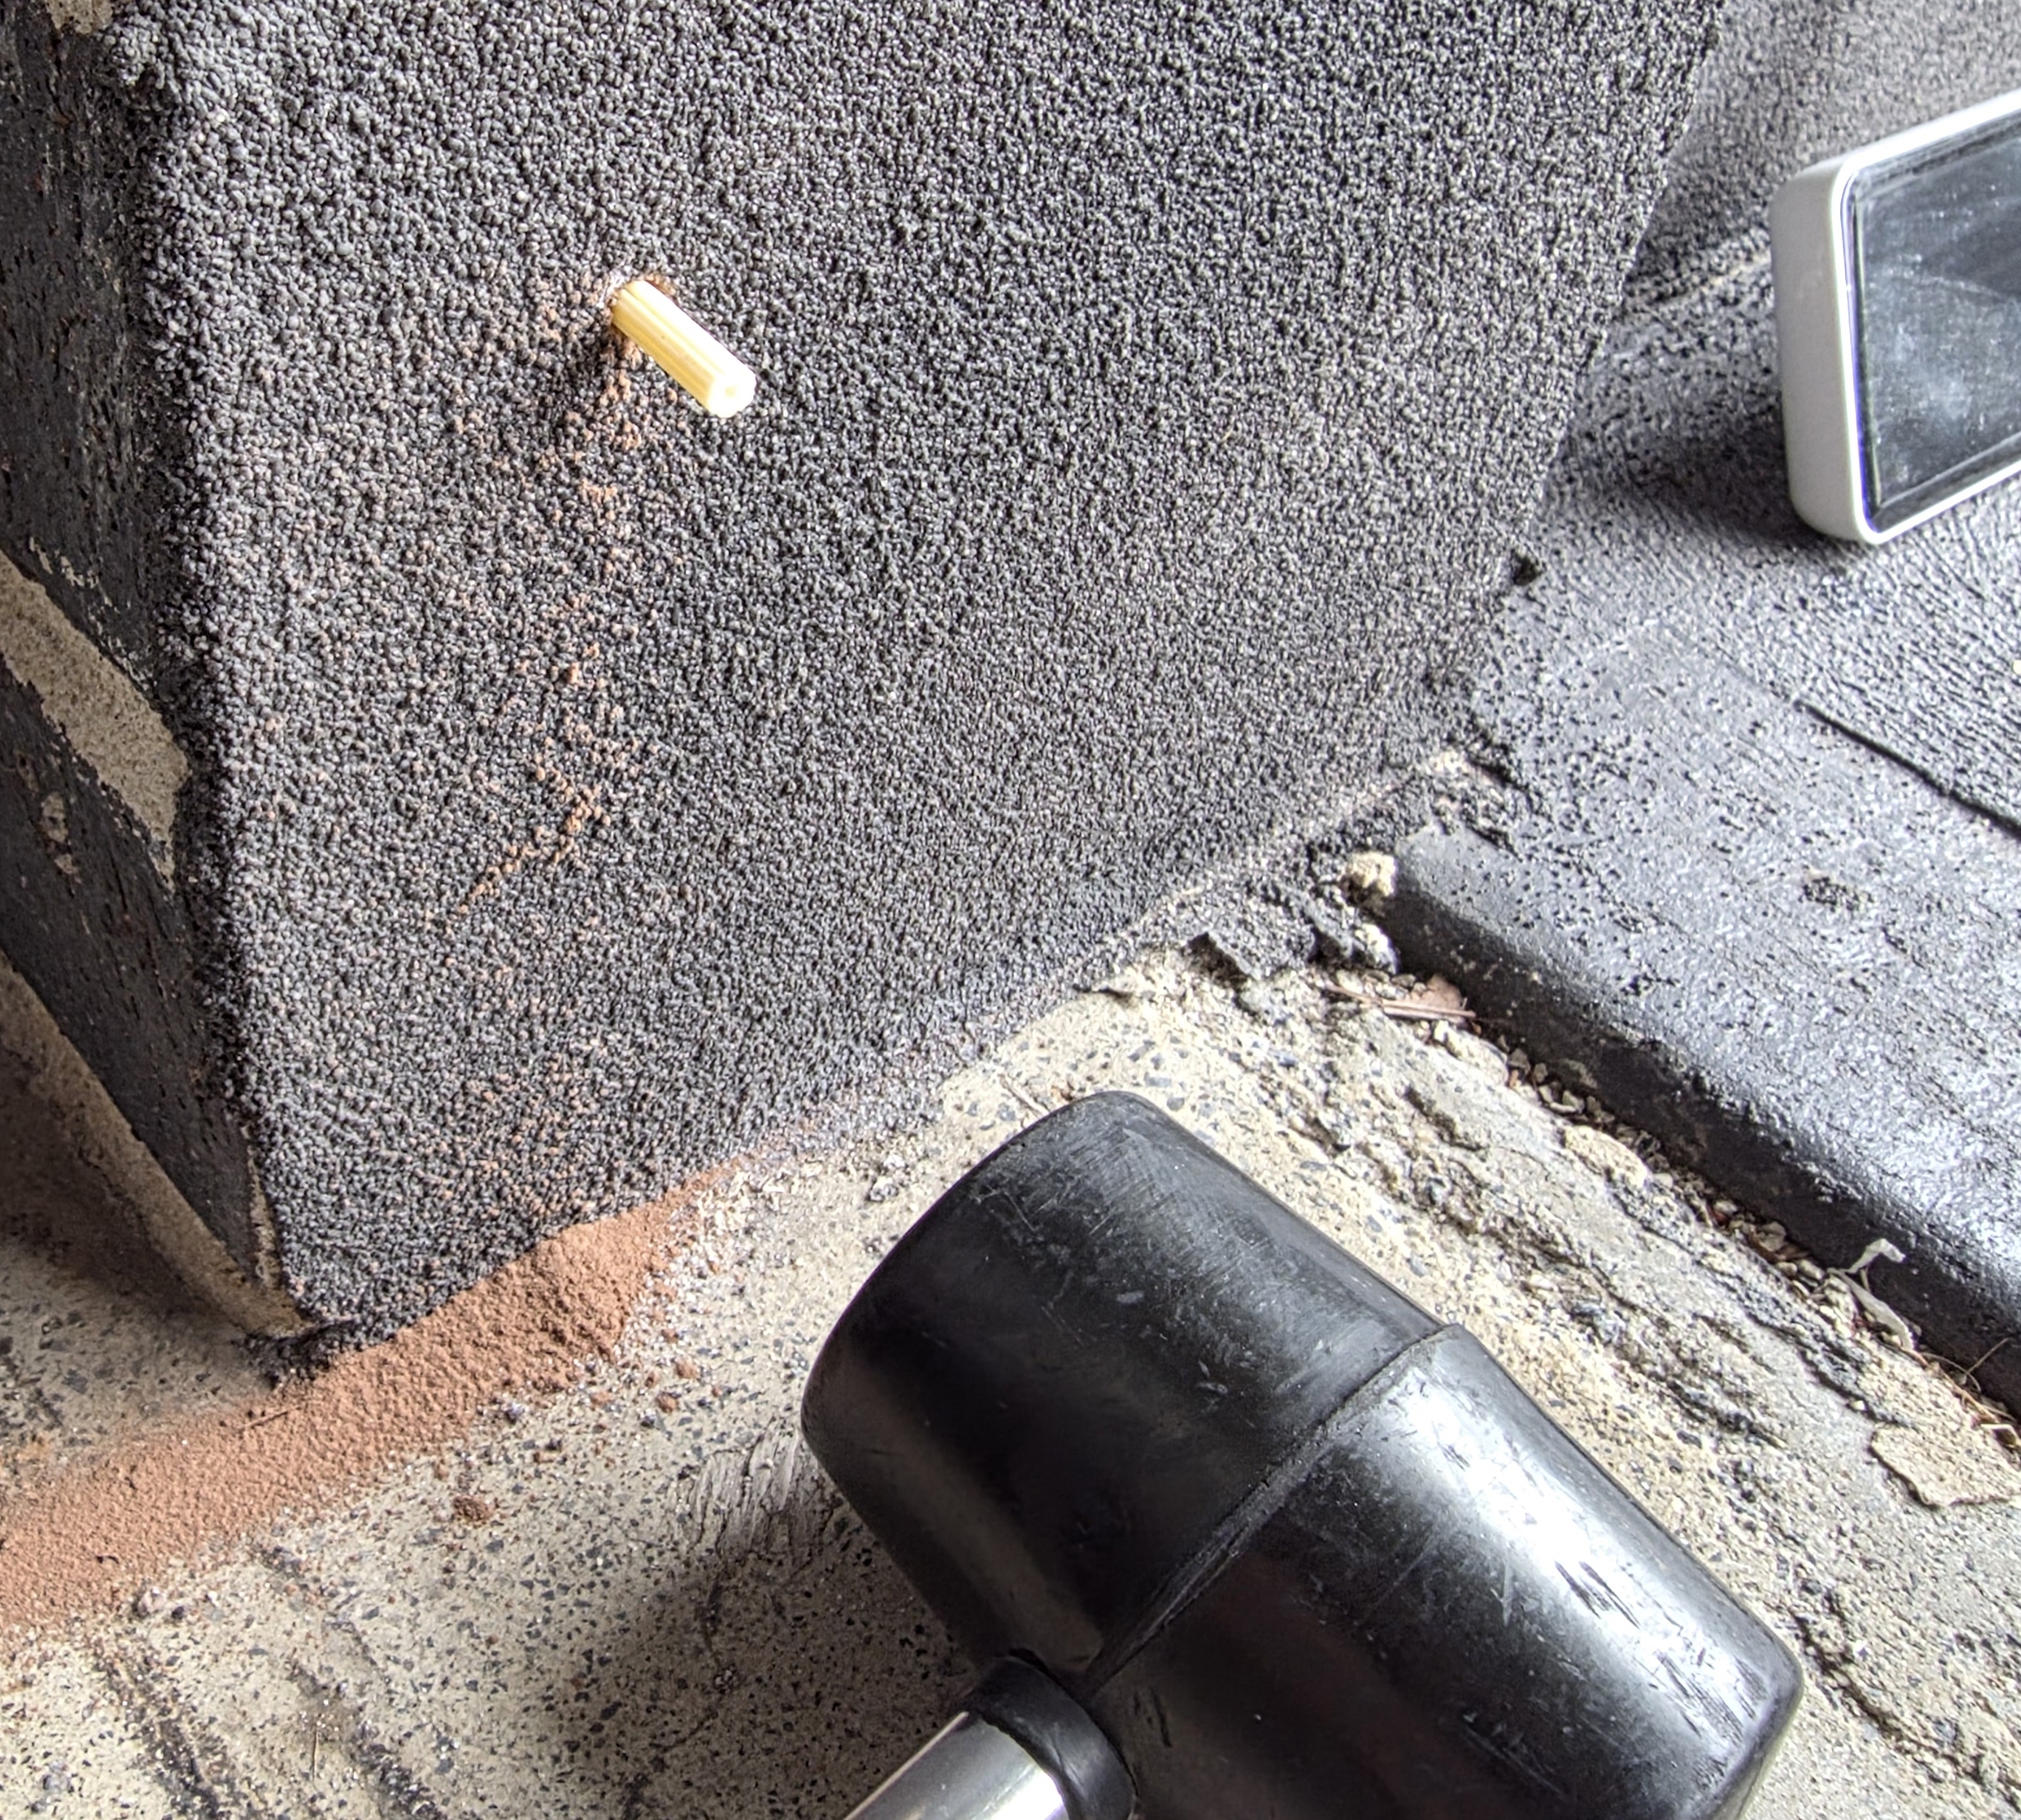
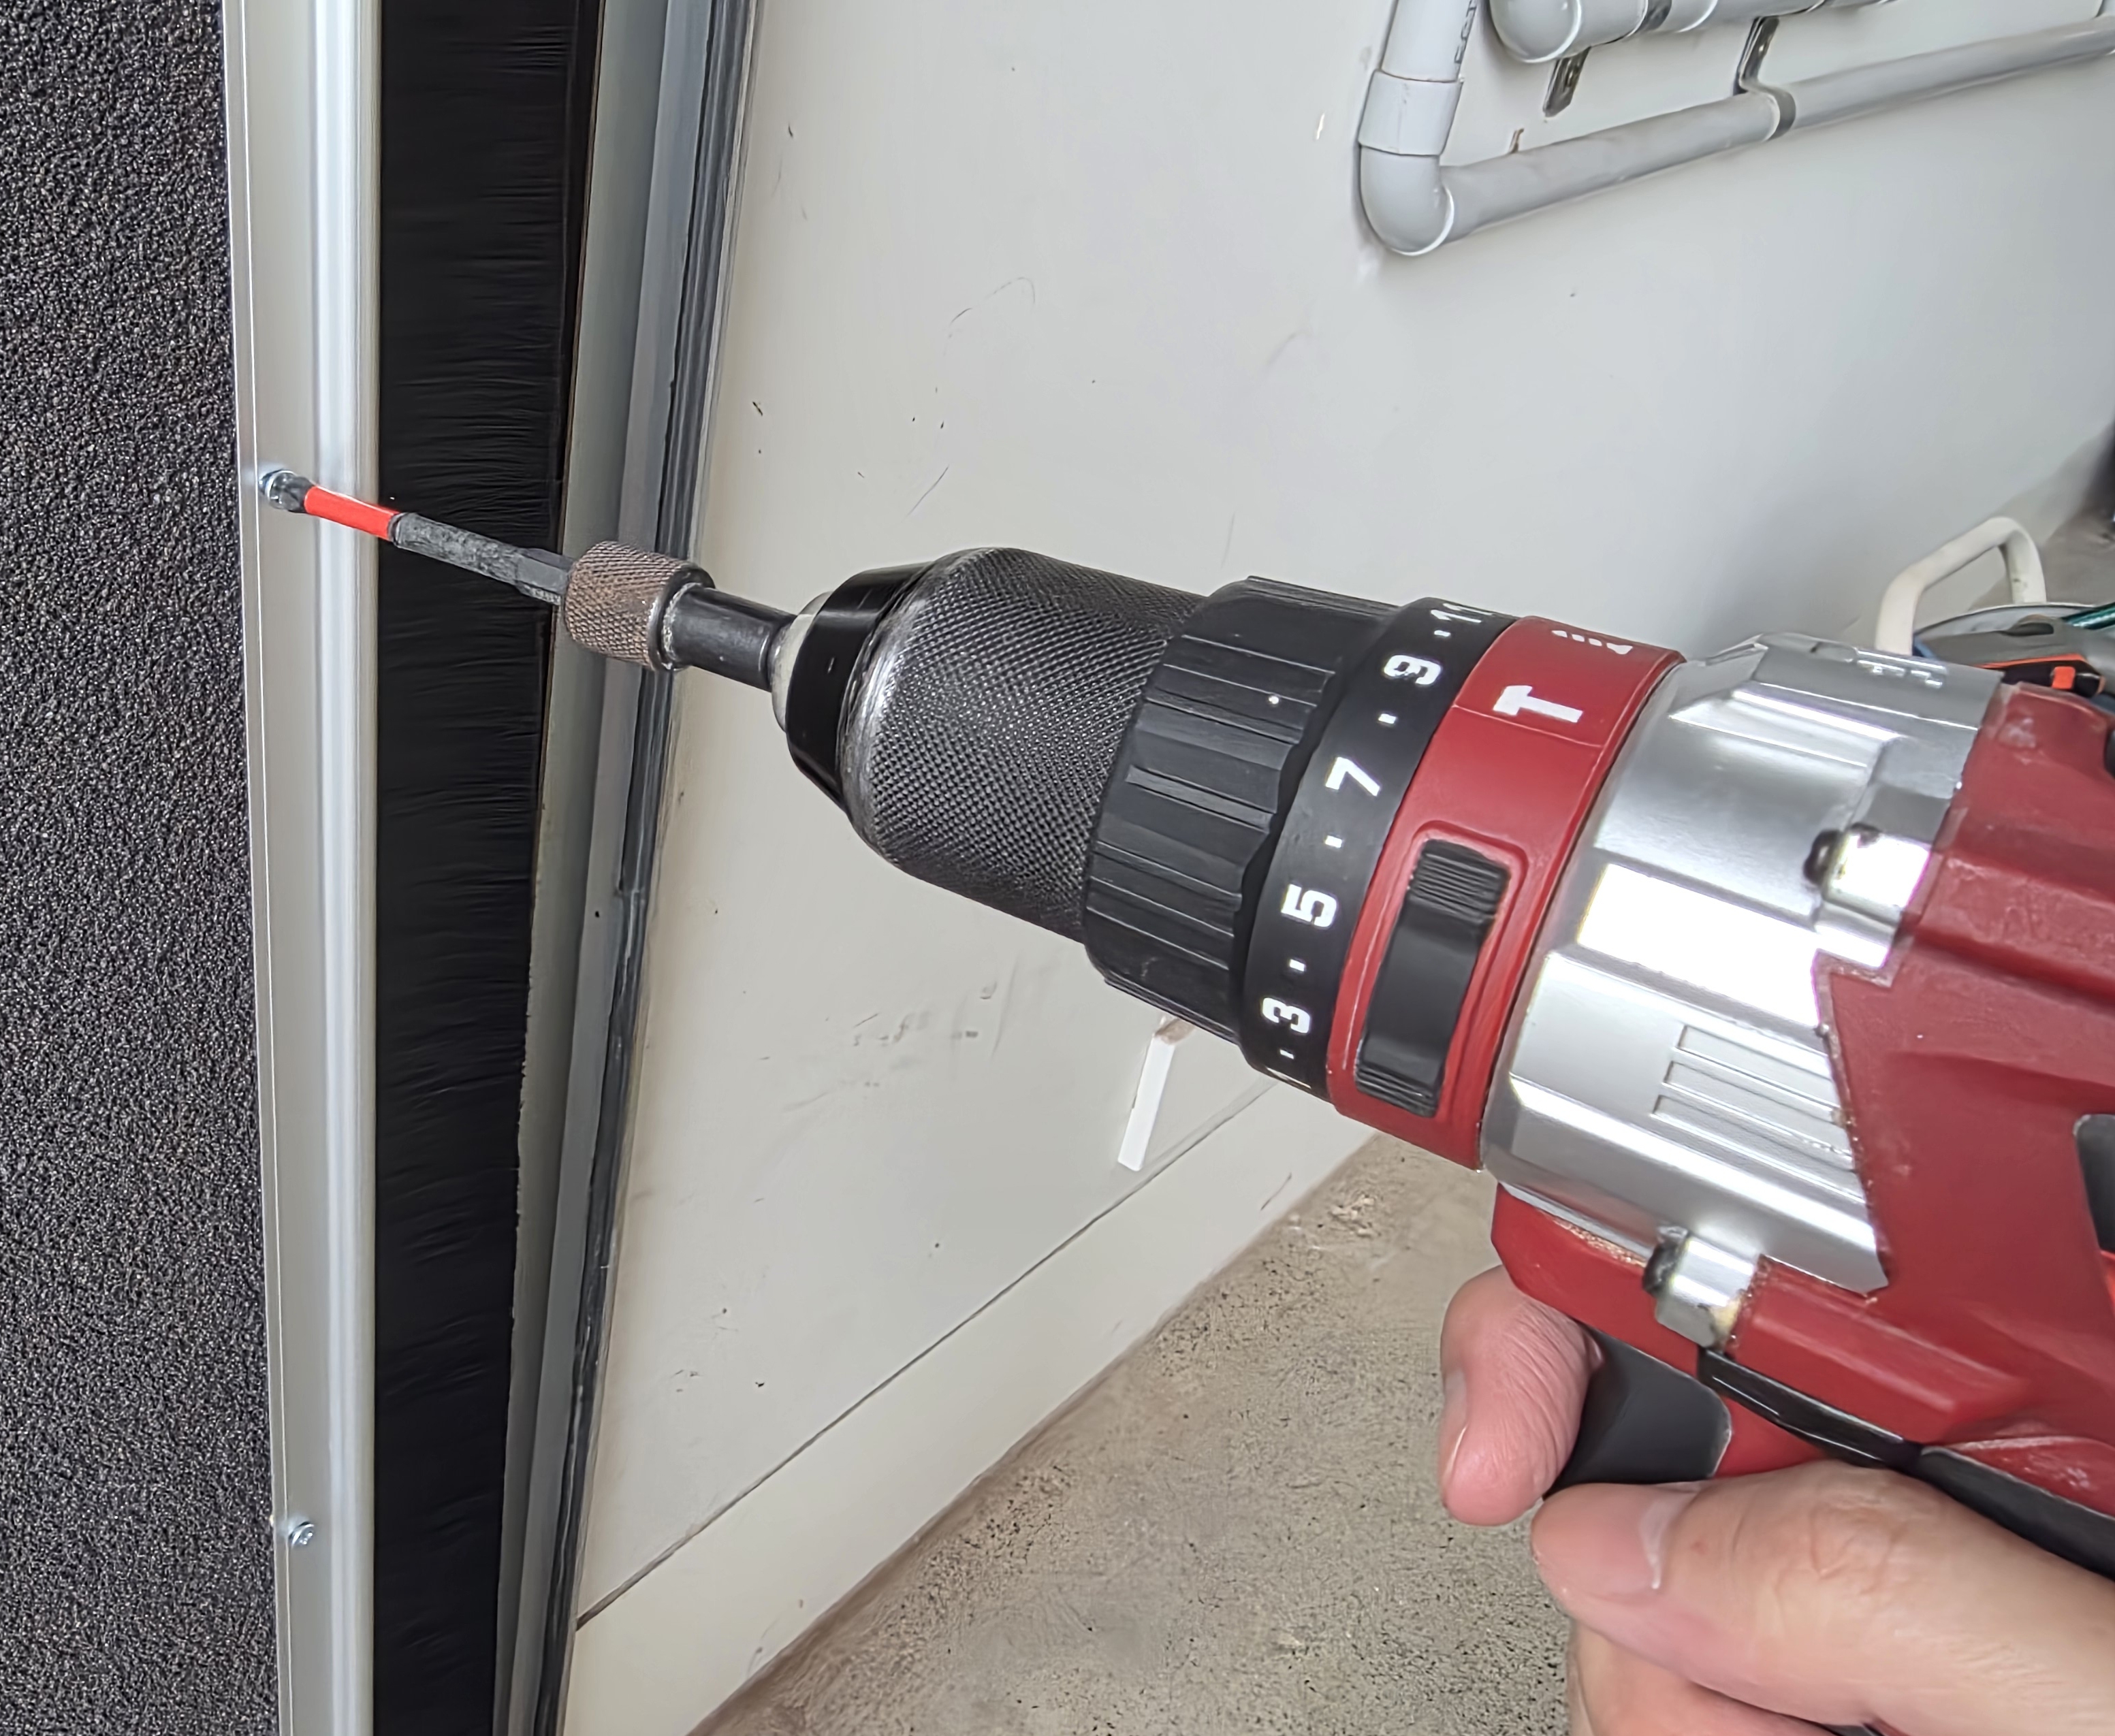
The side walls are brick, so I hammer drilled them with masonry bits. I drilled to 35mm with 25mm wall plugs and 6G x 30mm timber screws. The extra hole depth gives the masonry dust somewhere to fall so the plug seats flush instead of bottoming out on debris.
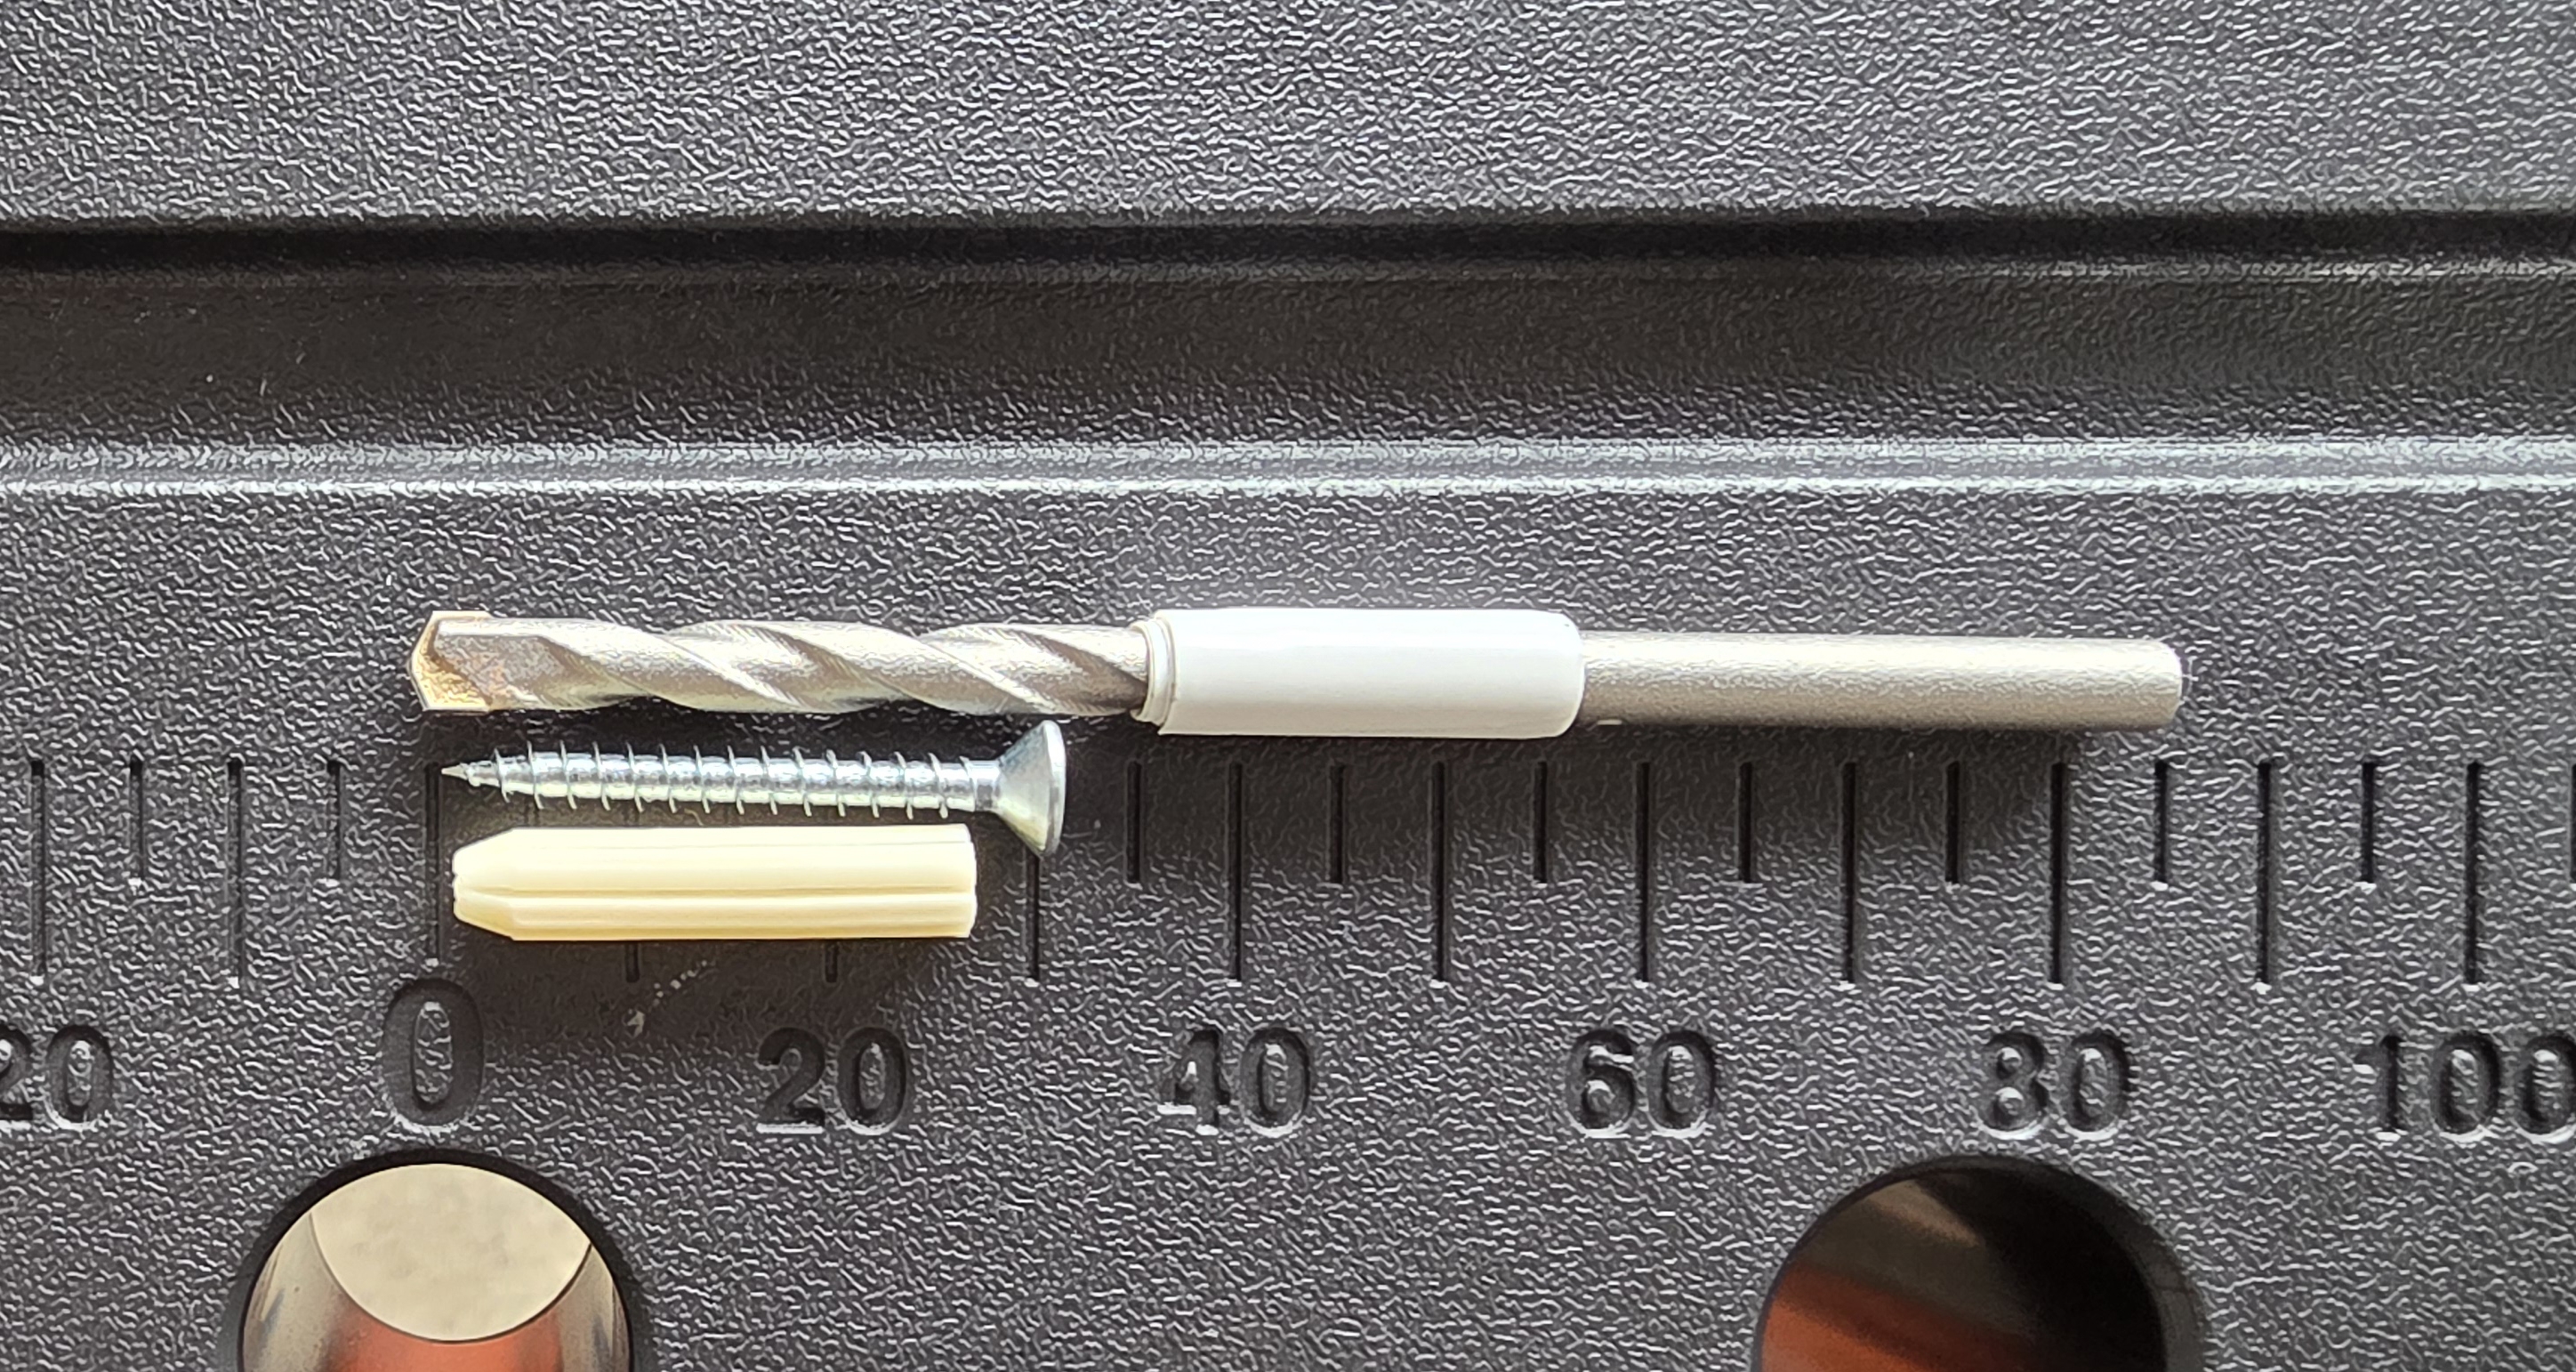
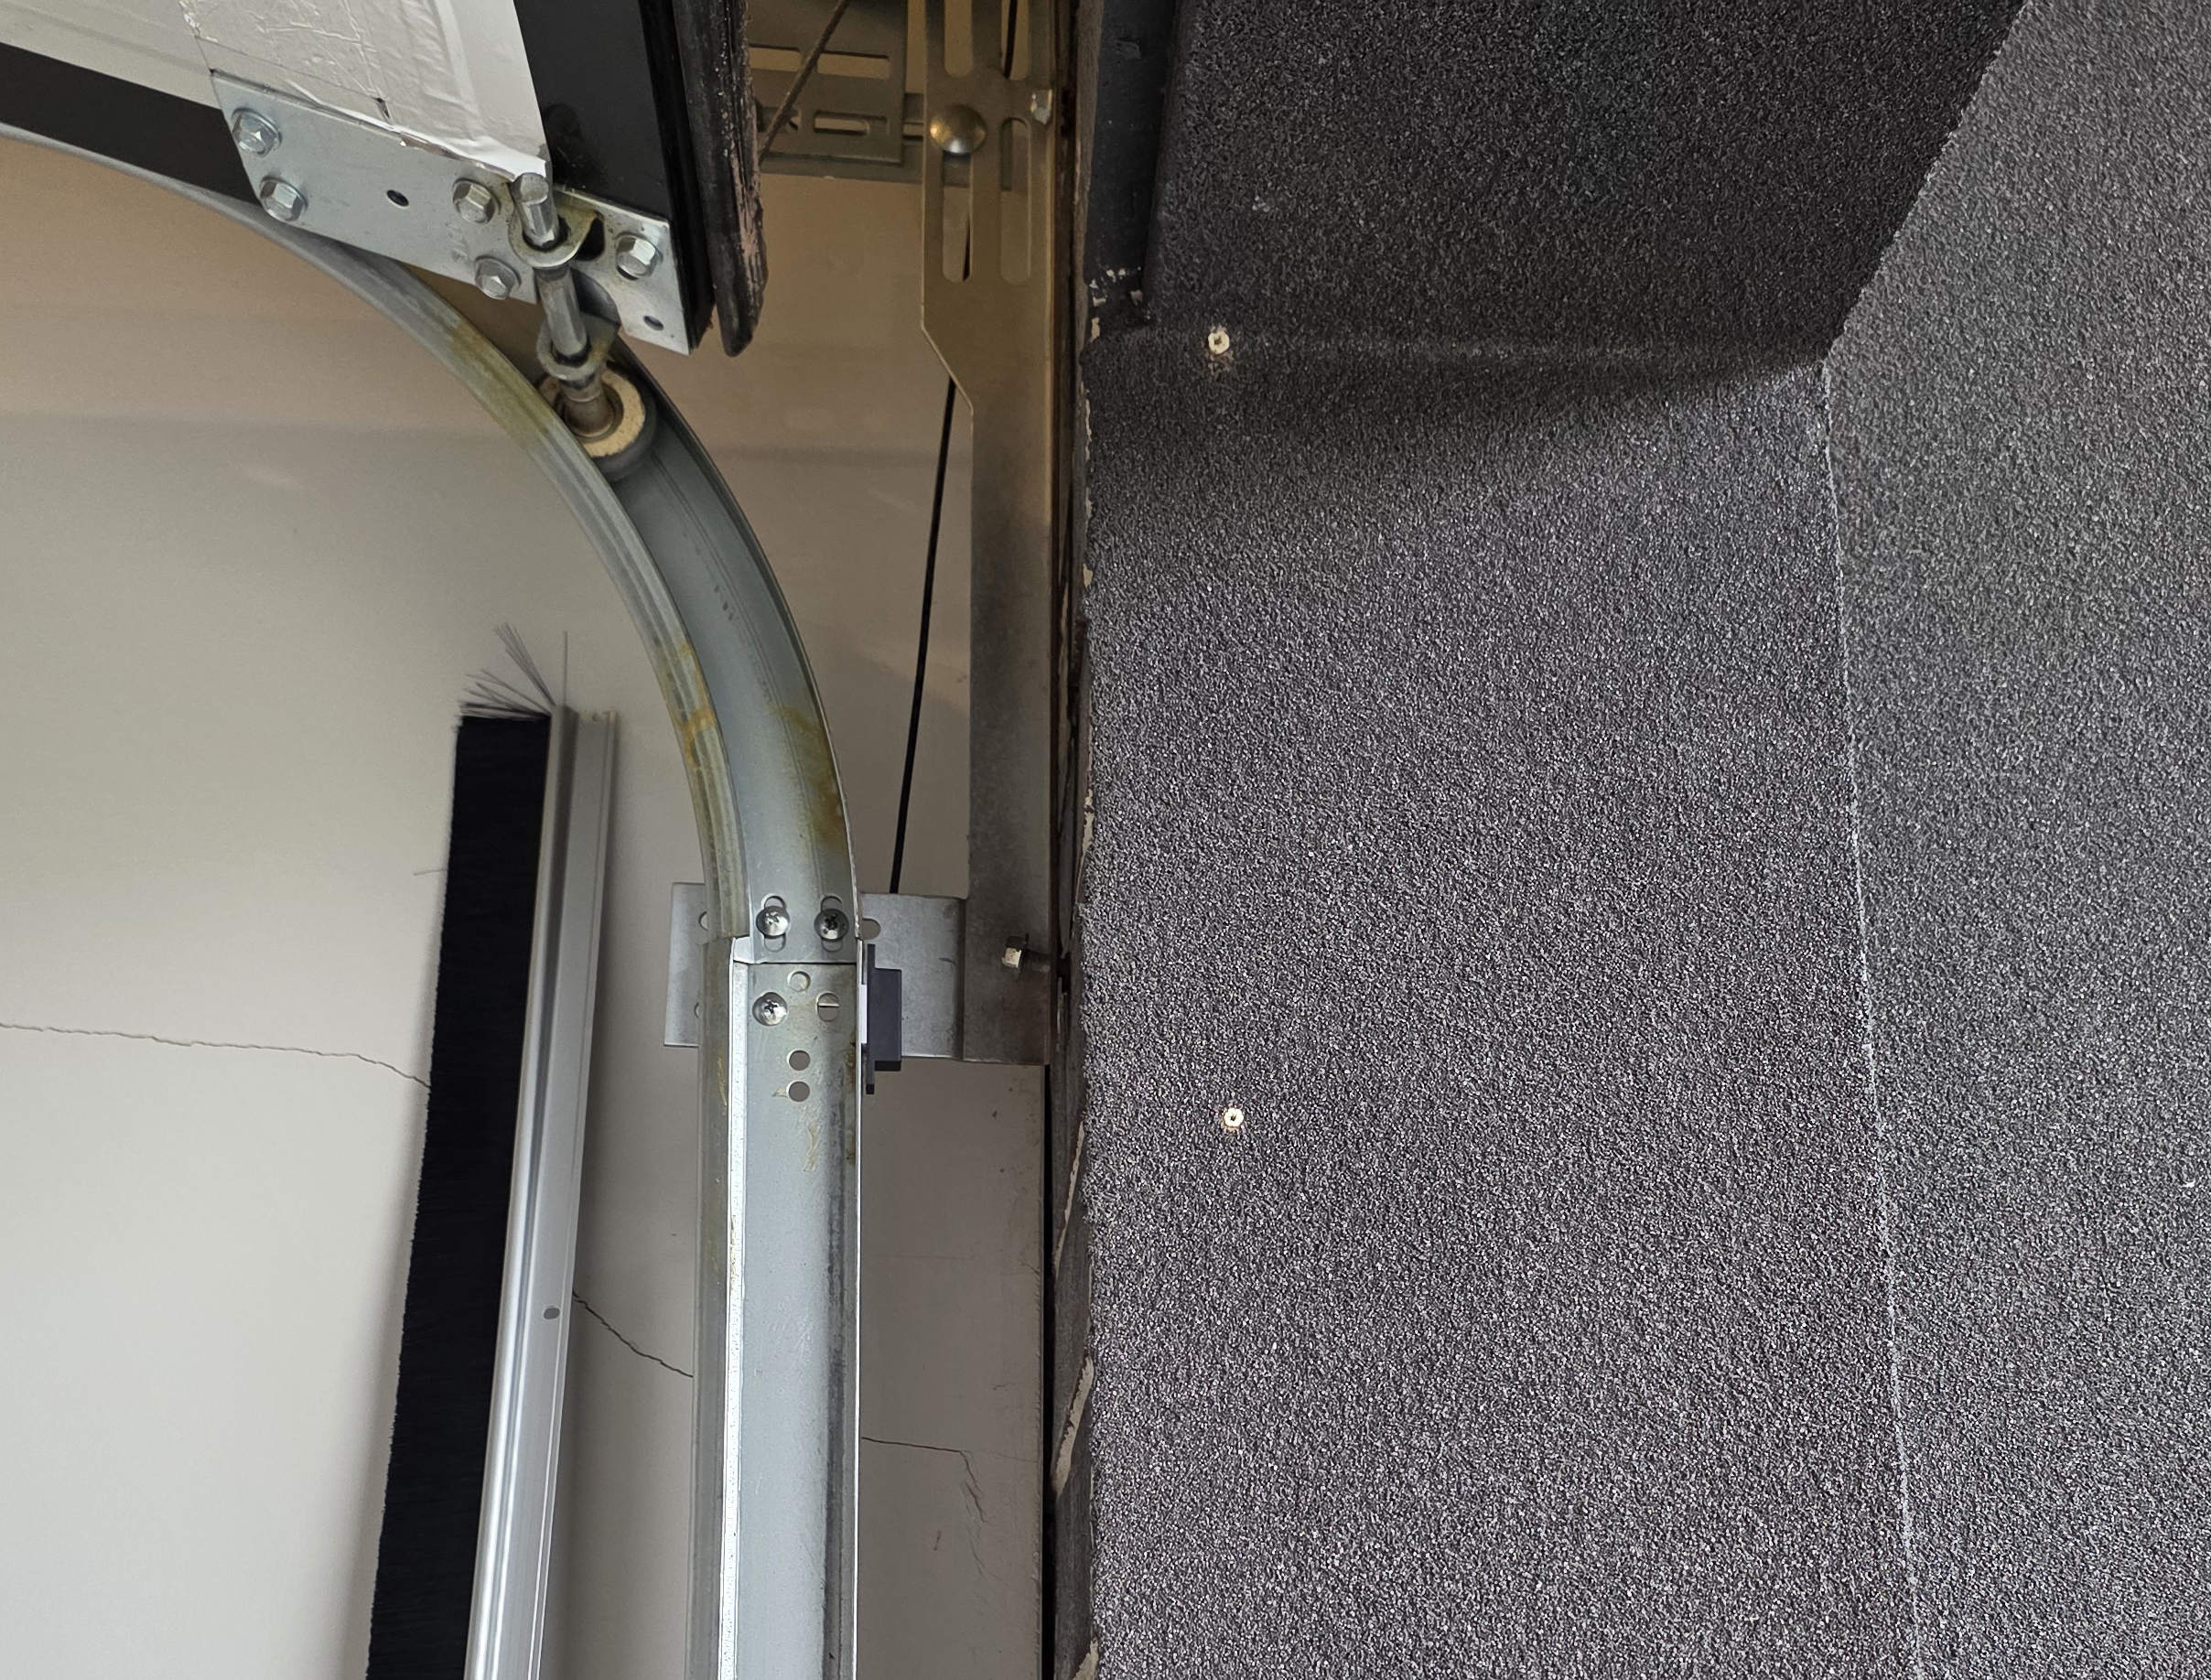
The screw being longer than the plug matters too as the tip needs to drive all the way through to expand the full length of the plug against the brick. A screw shorter than the plug would leave the far end un-expanded and gripping nothing.
Top
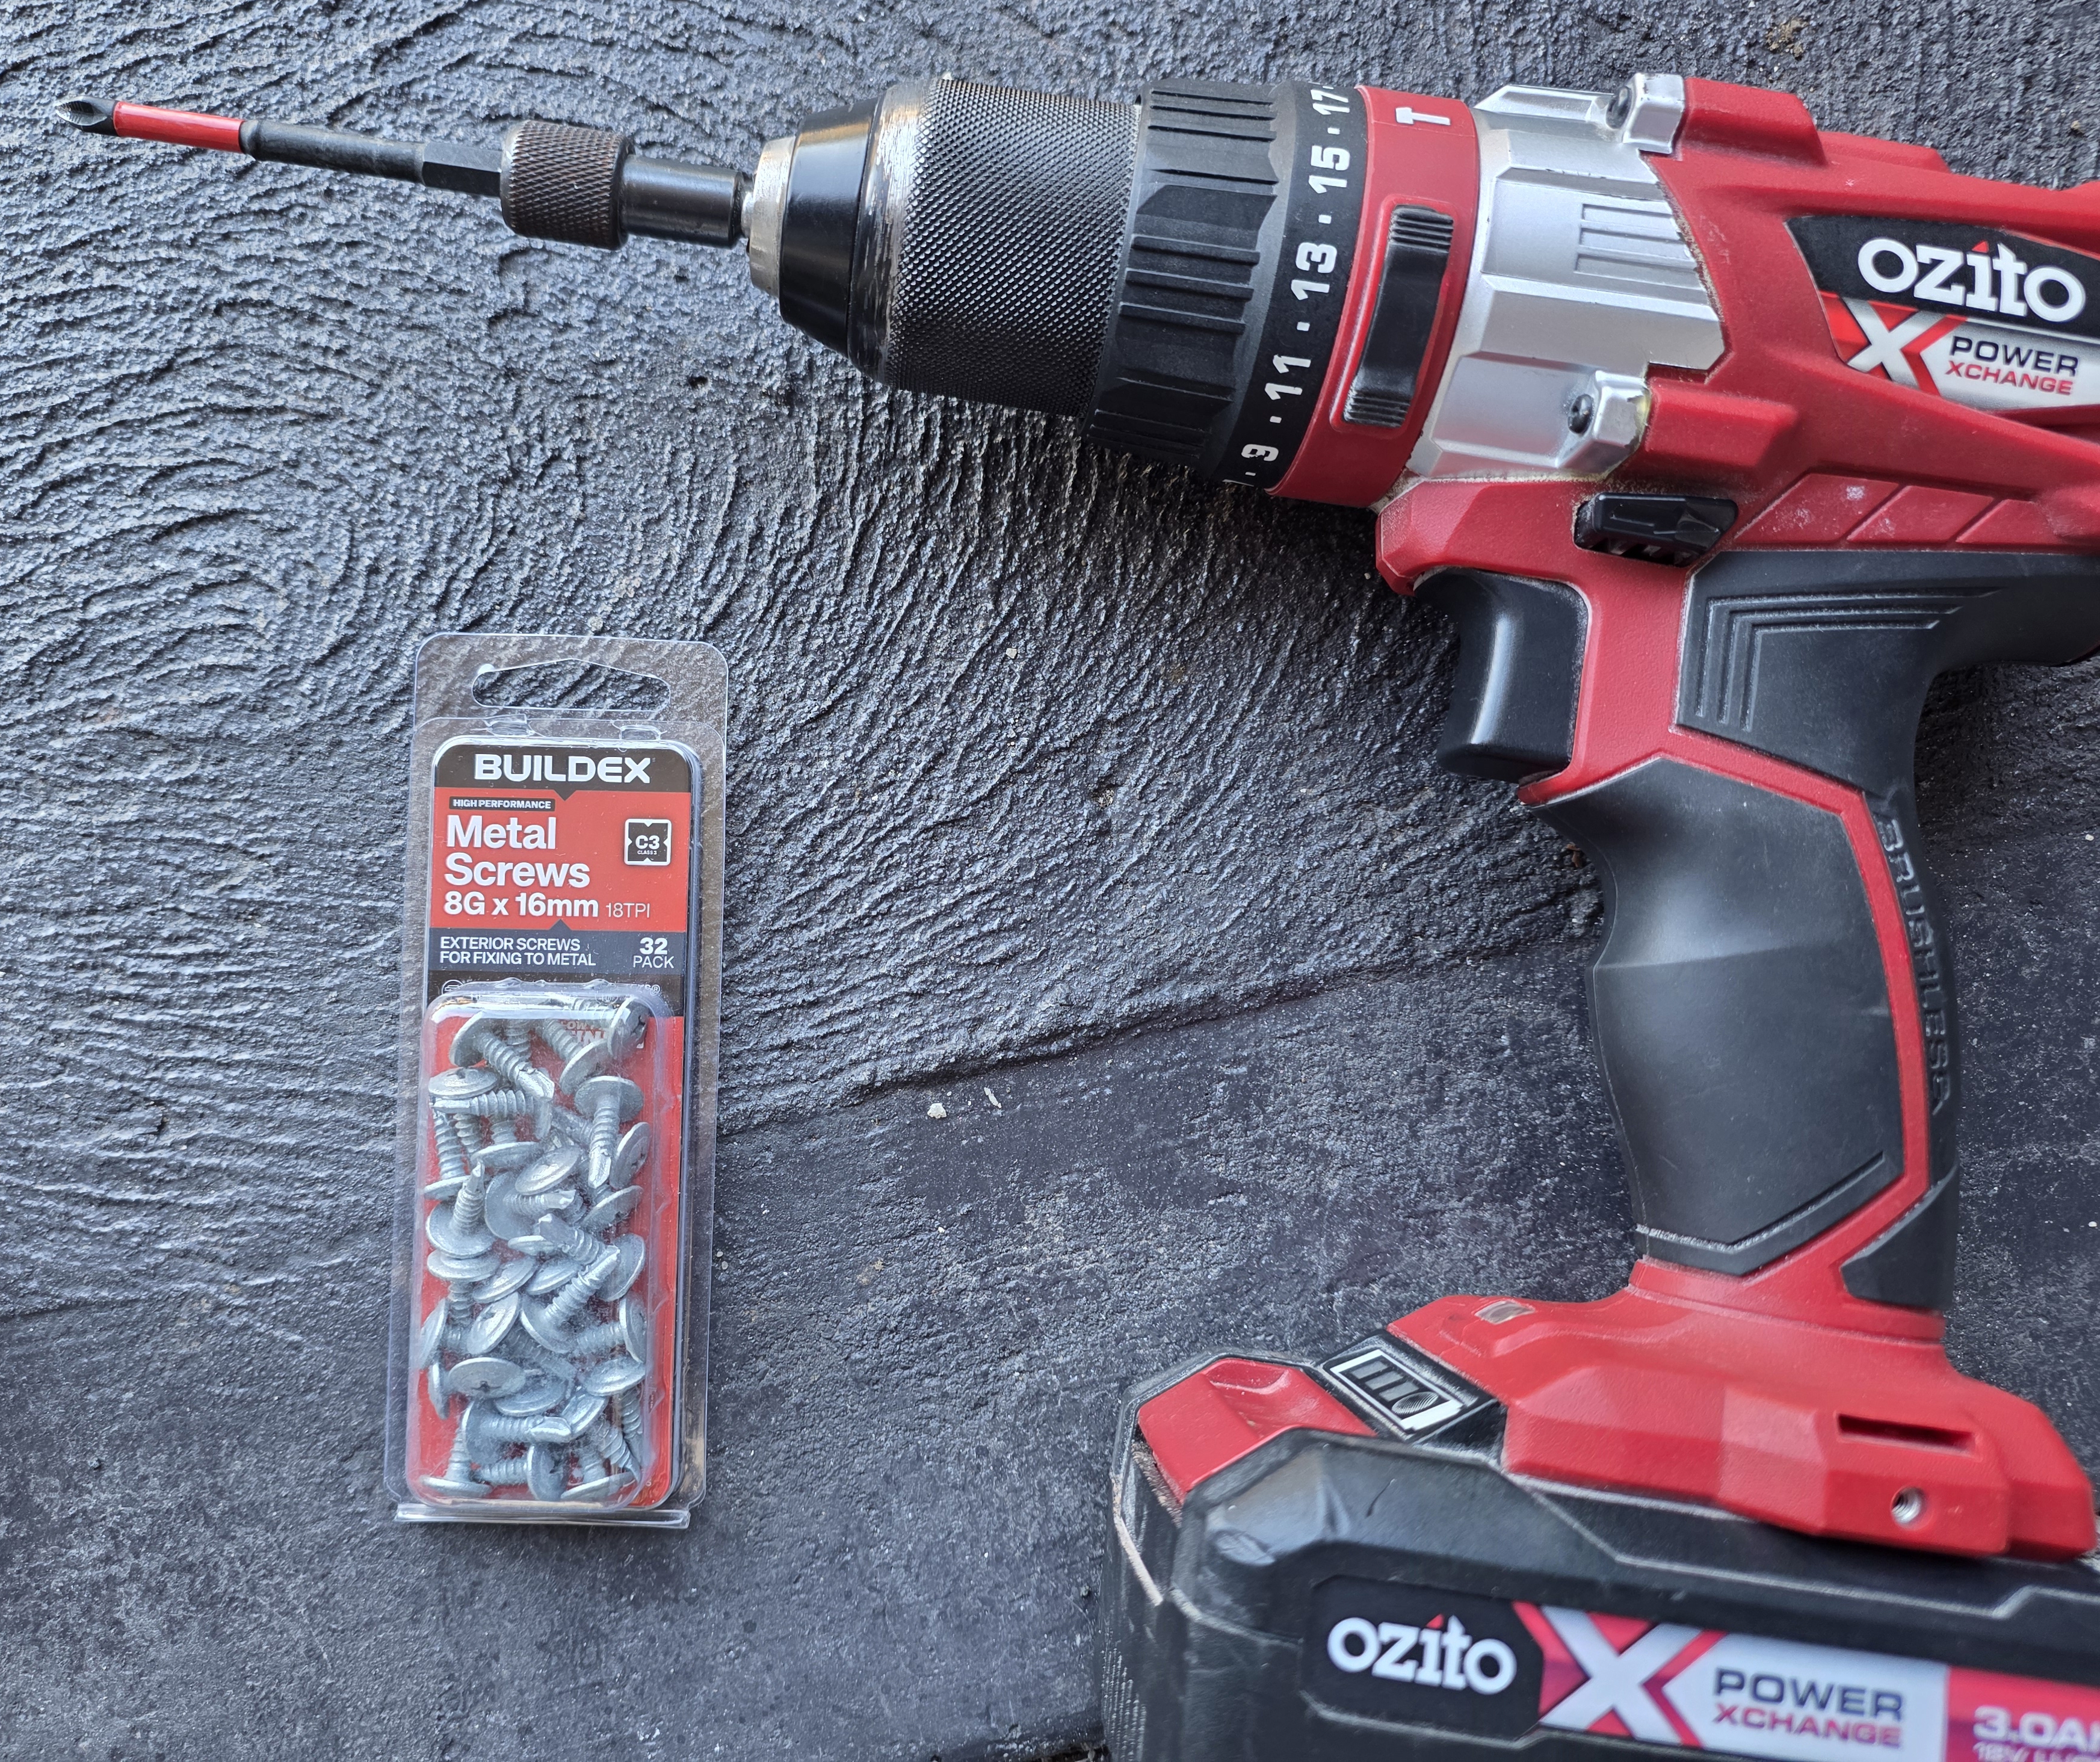
There is a 15mm steel lintel over brick, so the wall plugs were out and I used tek screws instead. Tek screws are self-drilling screws with a drill-bit tip, so they cut their own hole in steel without a pilot hole. Length took some trial and error:
- 20mm tek screws were too long and took a lot of effort to drive.
- 12mm were too short and didn't grab the steel.
- 16mm was the sweet spot.
The small tek screws were 8G, slightly fatter than the timber screws, so I had to drill out the holes in the brush seal carrier a bit bigger to clear them.
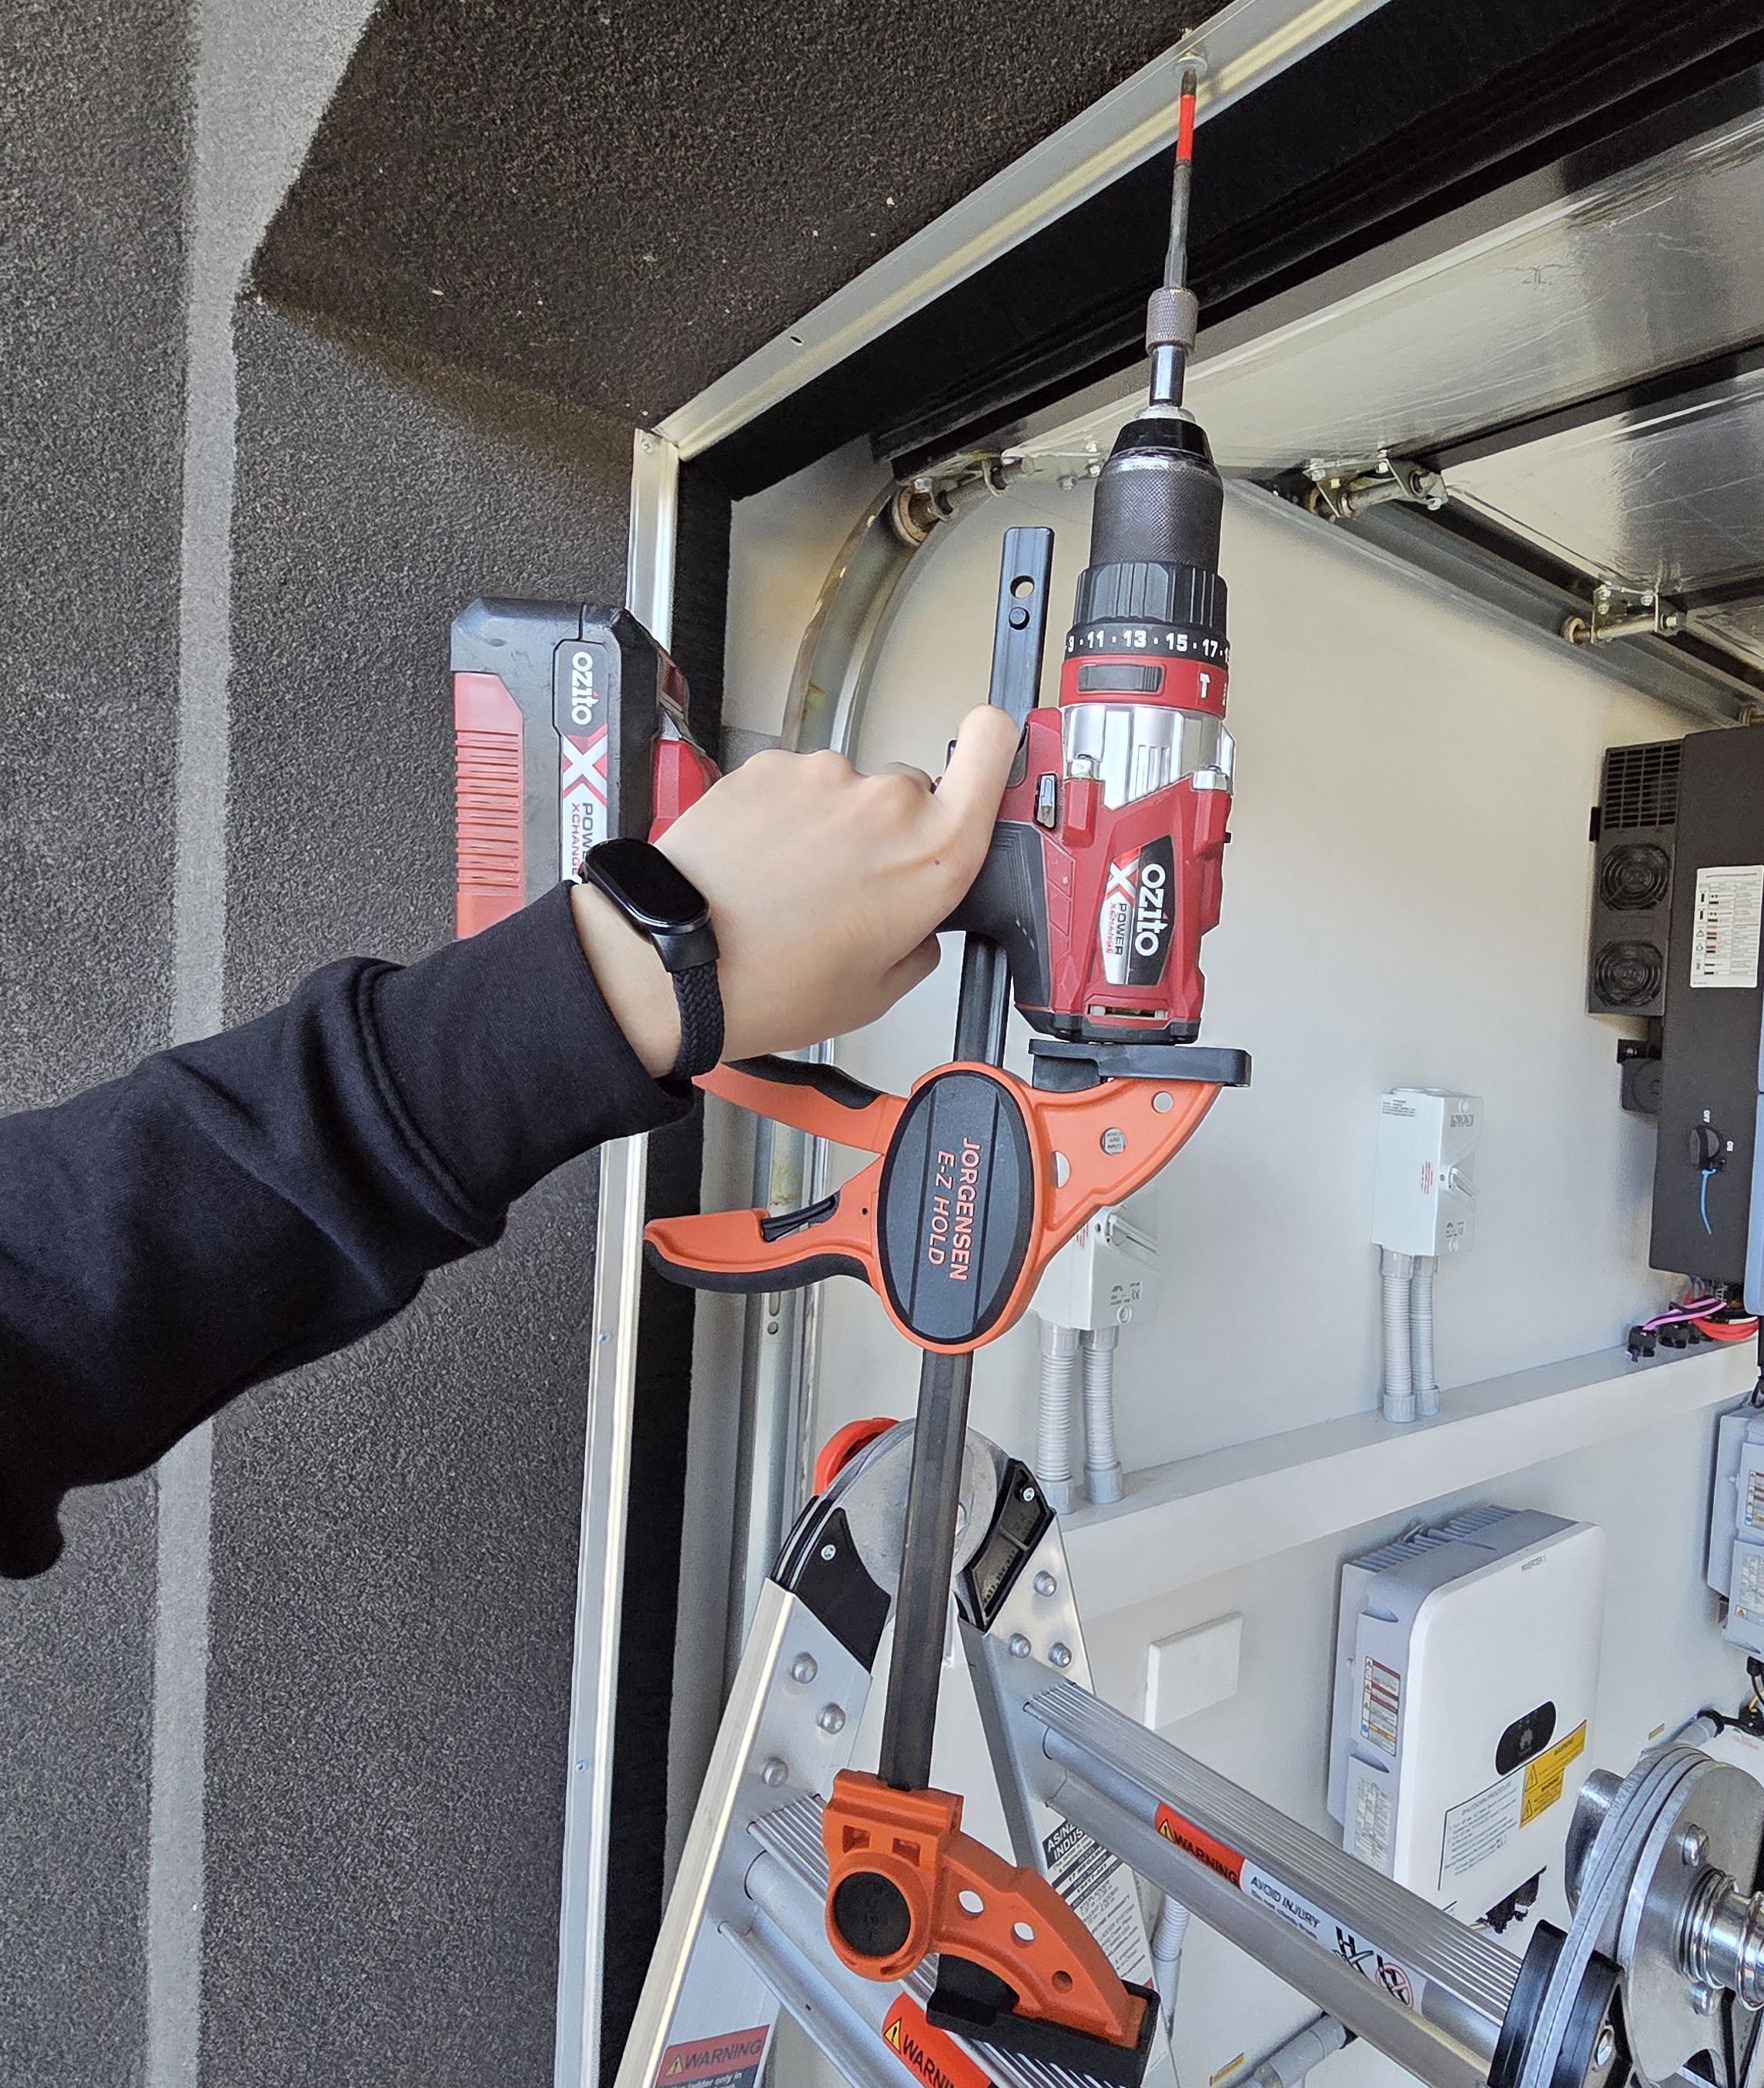
Drilling into steel is more about pressure than speed. You want the screw turning slowly with firm, constant force so the tip bites and clears a chip, rather than spinning fast and skating across the surface, which just work-hardens the steel and burns the tip out. One trick I found was to use a bar clamp to apply the pressure. The bar clamp also helps hold the brush seal overhead when you don't have an extra pair of hands.
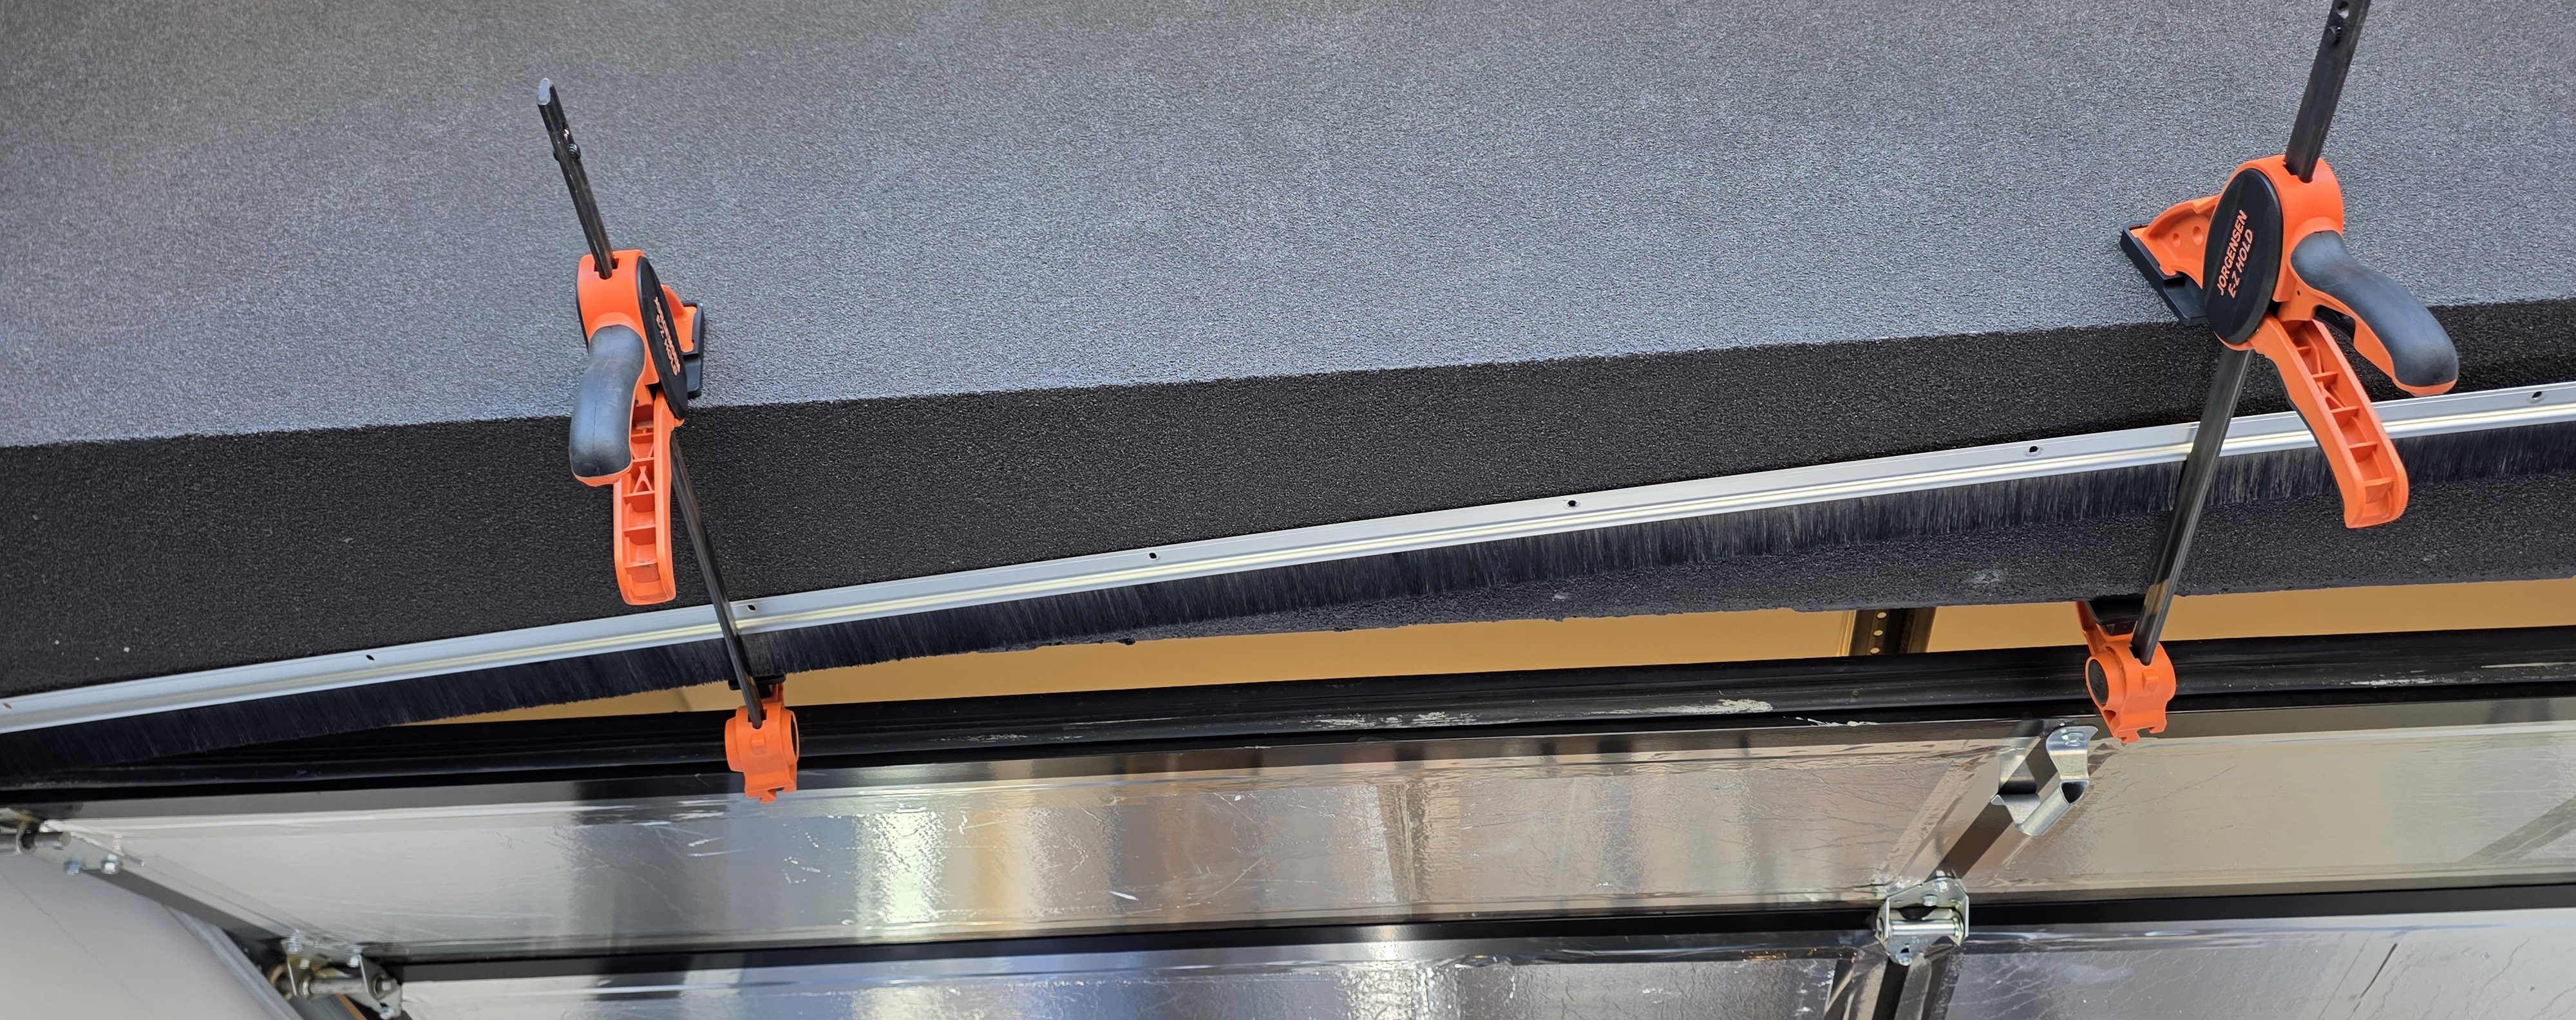
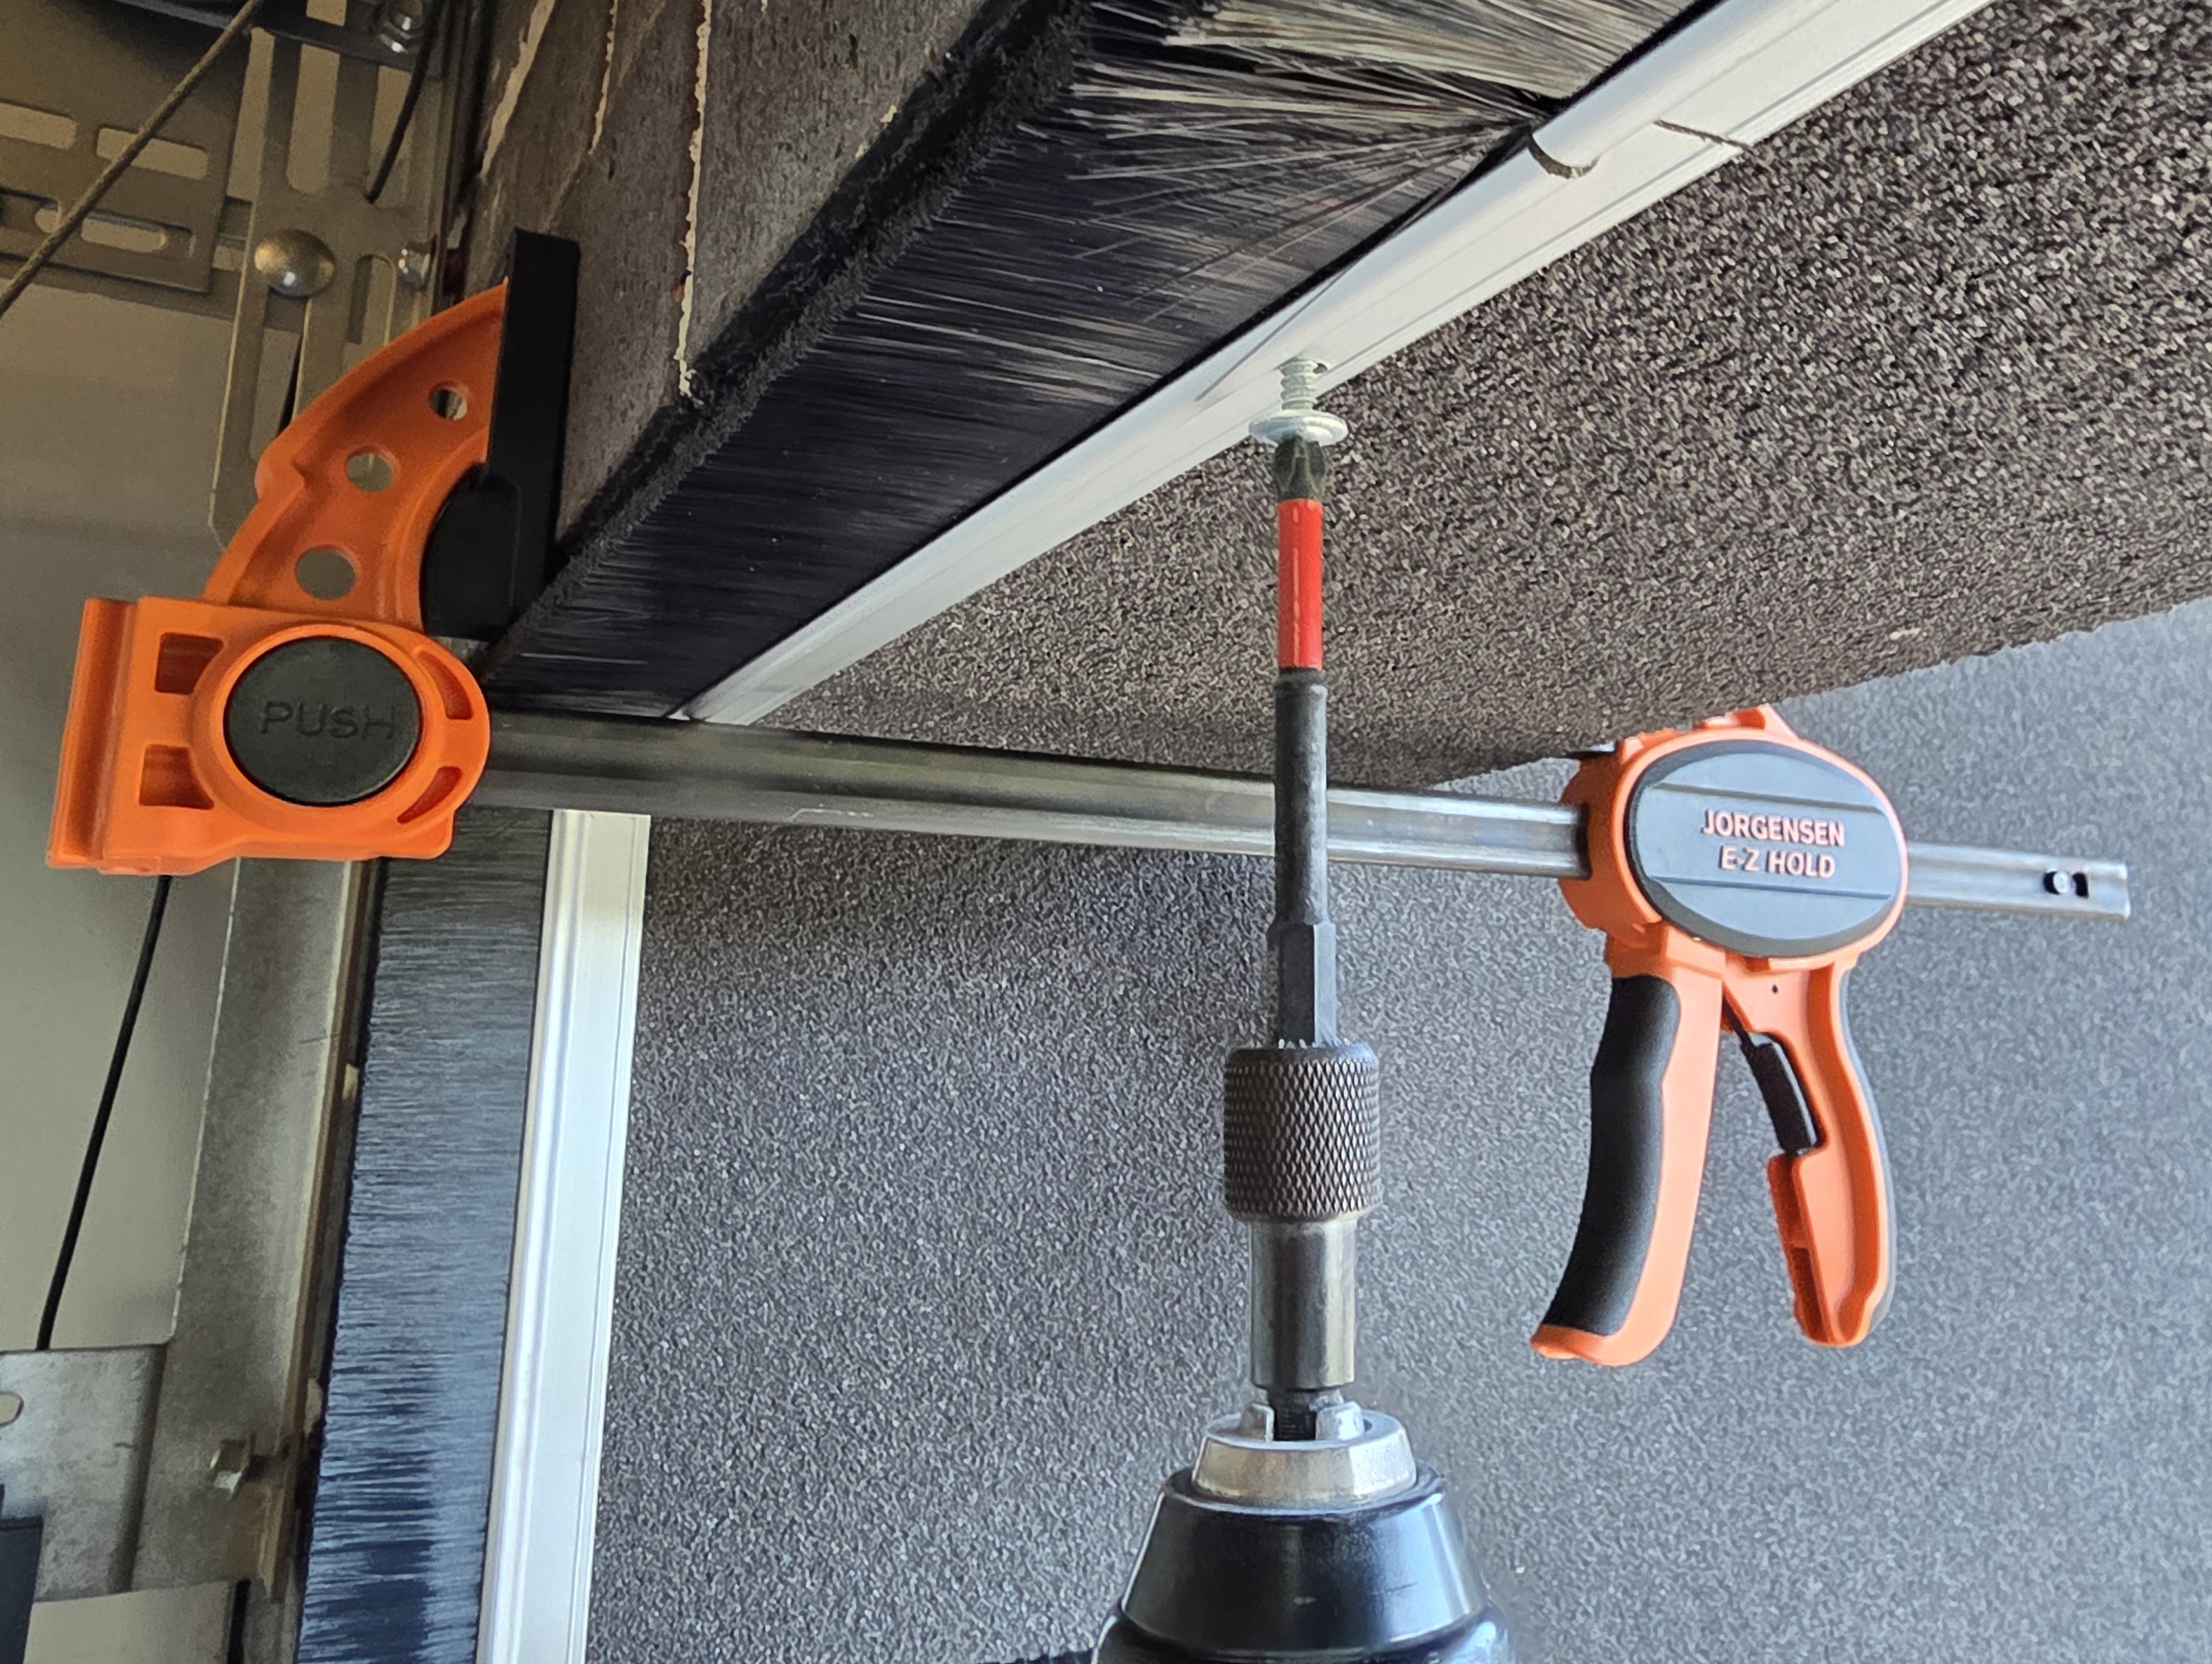
The top run is 2.9m long, so I had to join two seals together to span it.
Results
Light Leakage
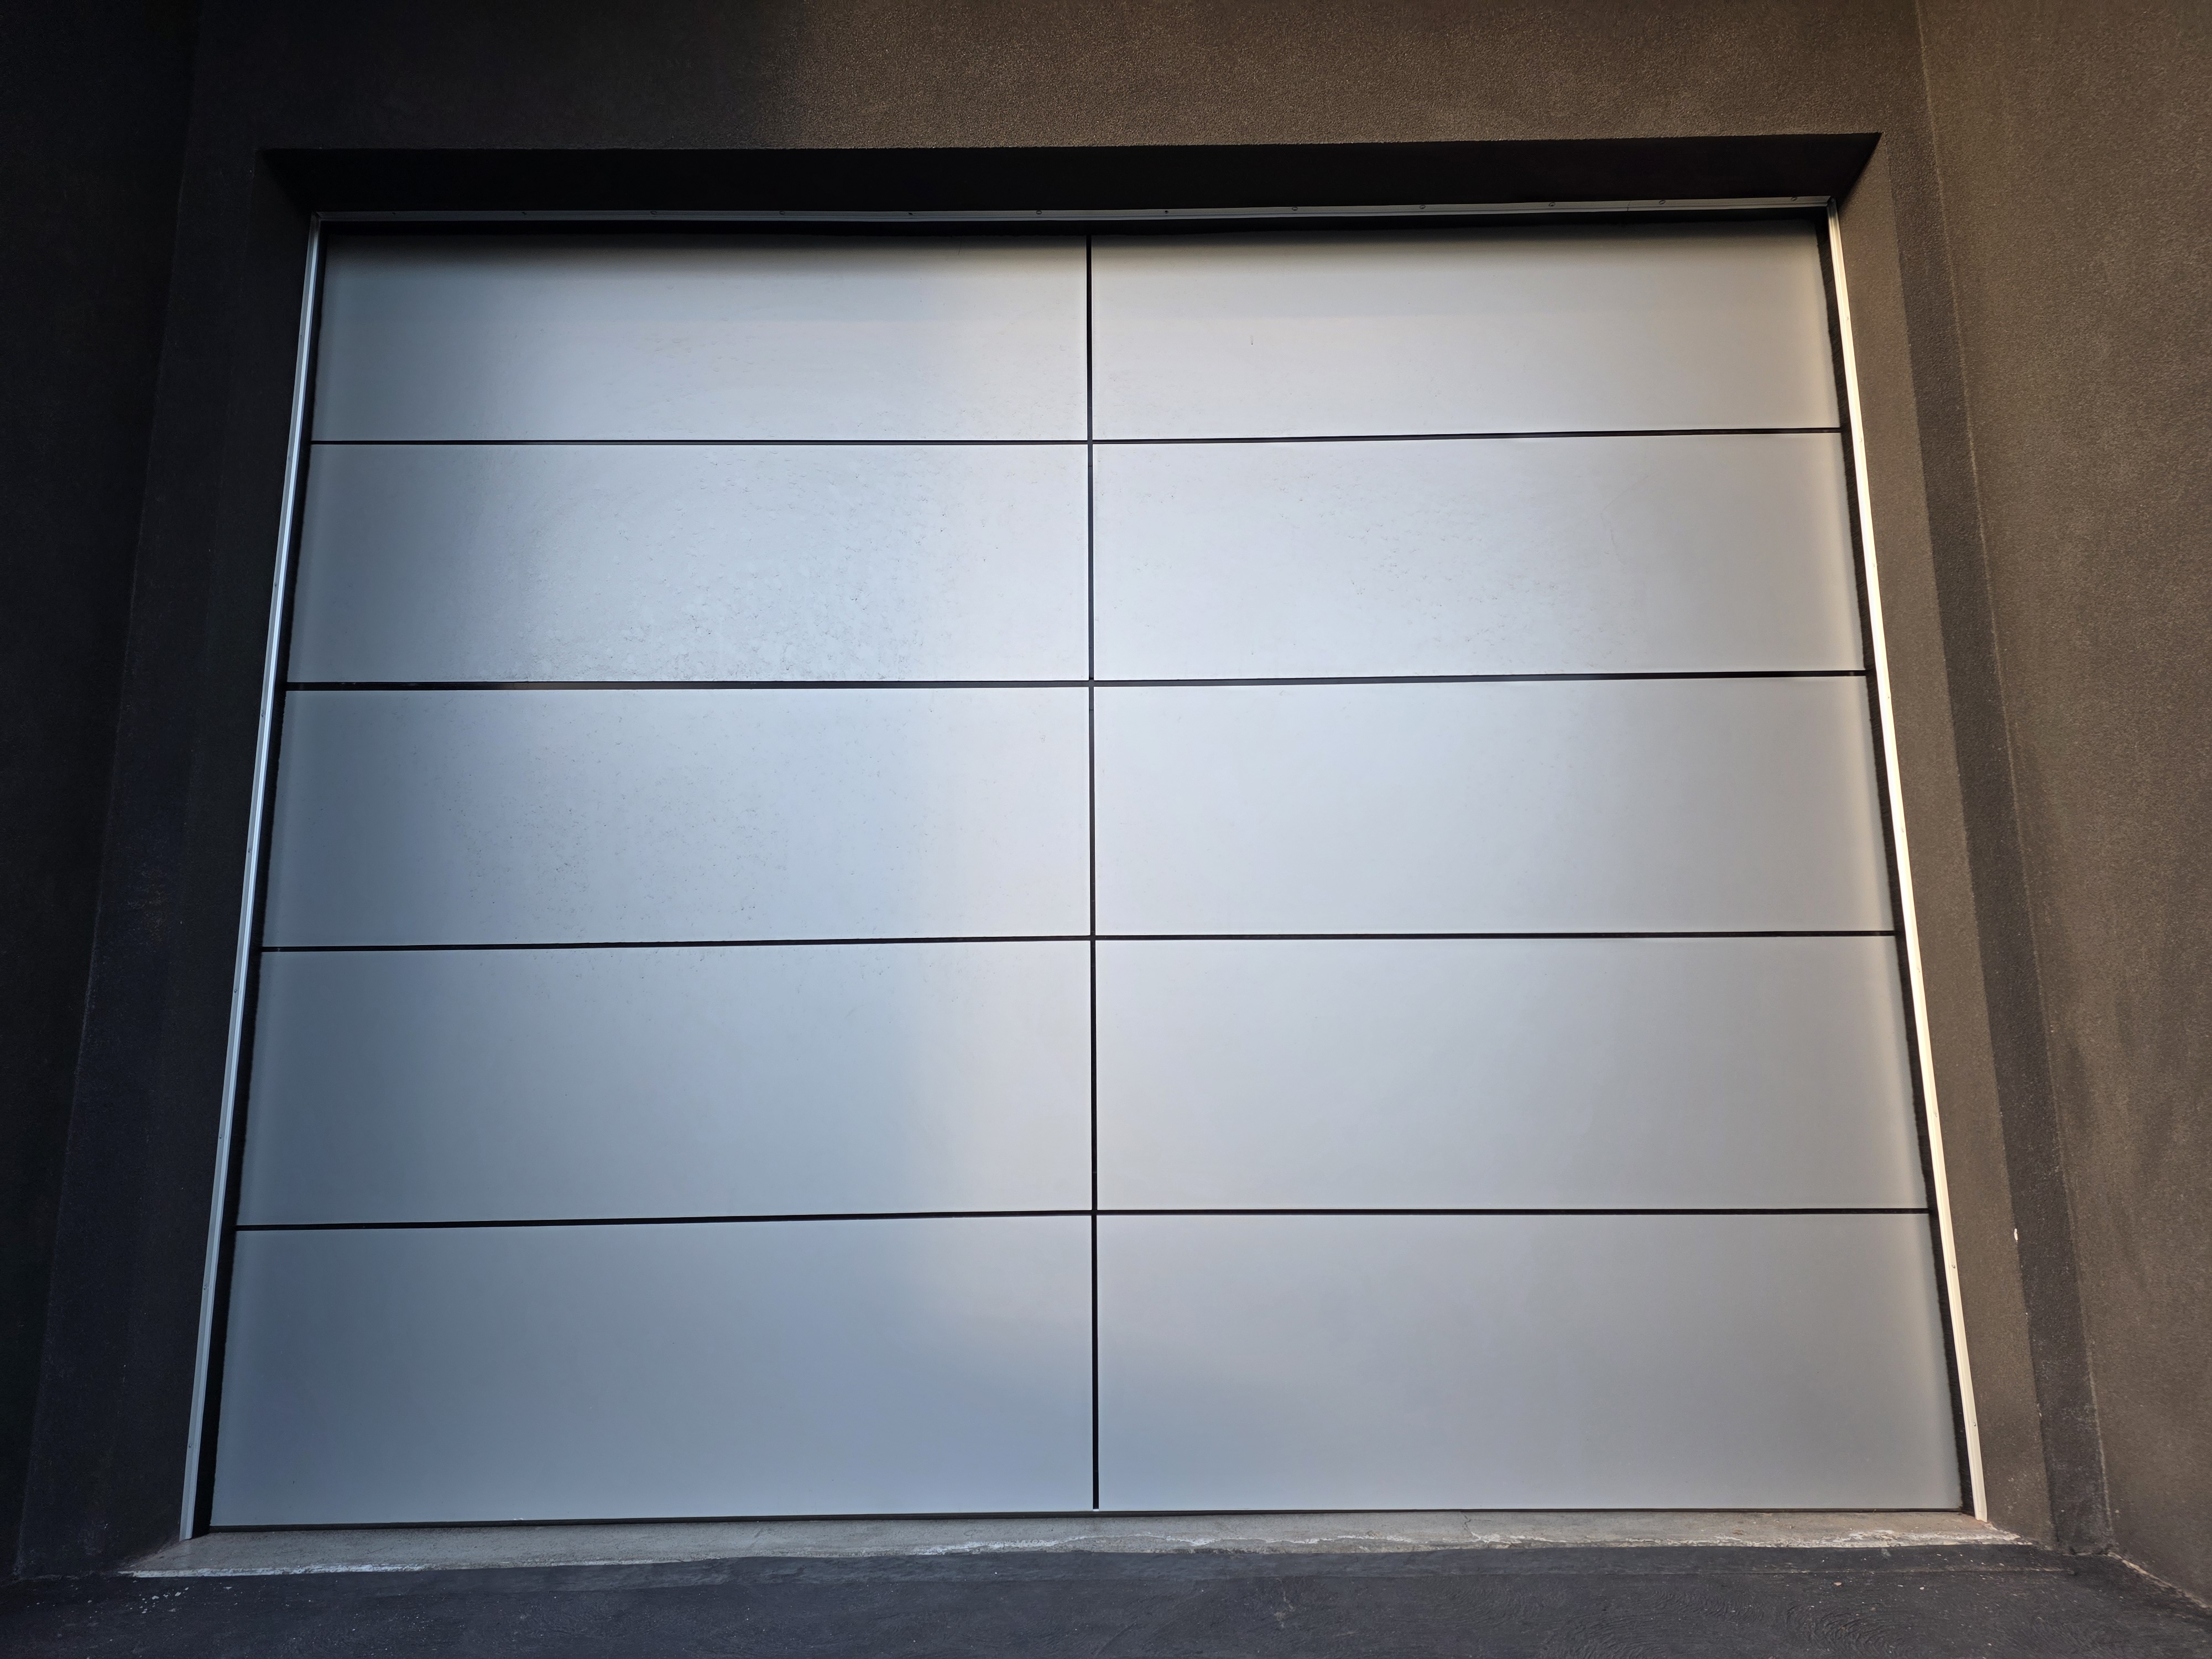
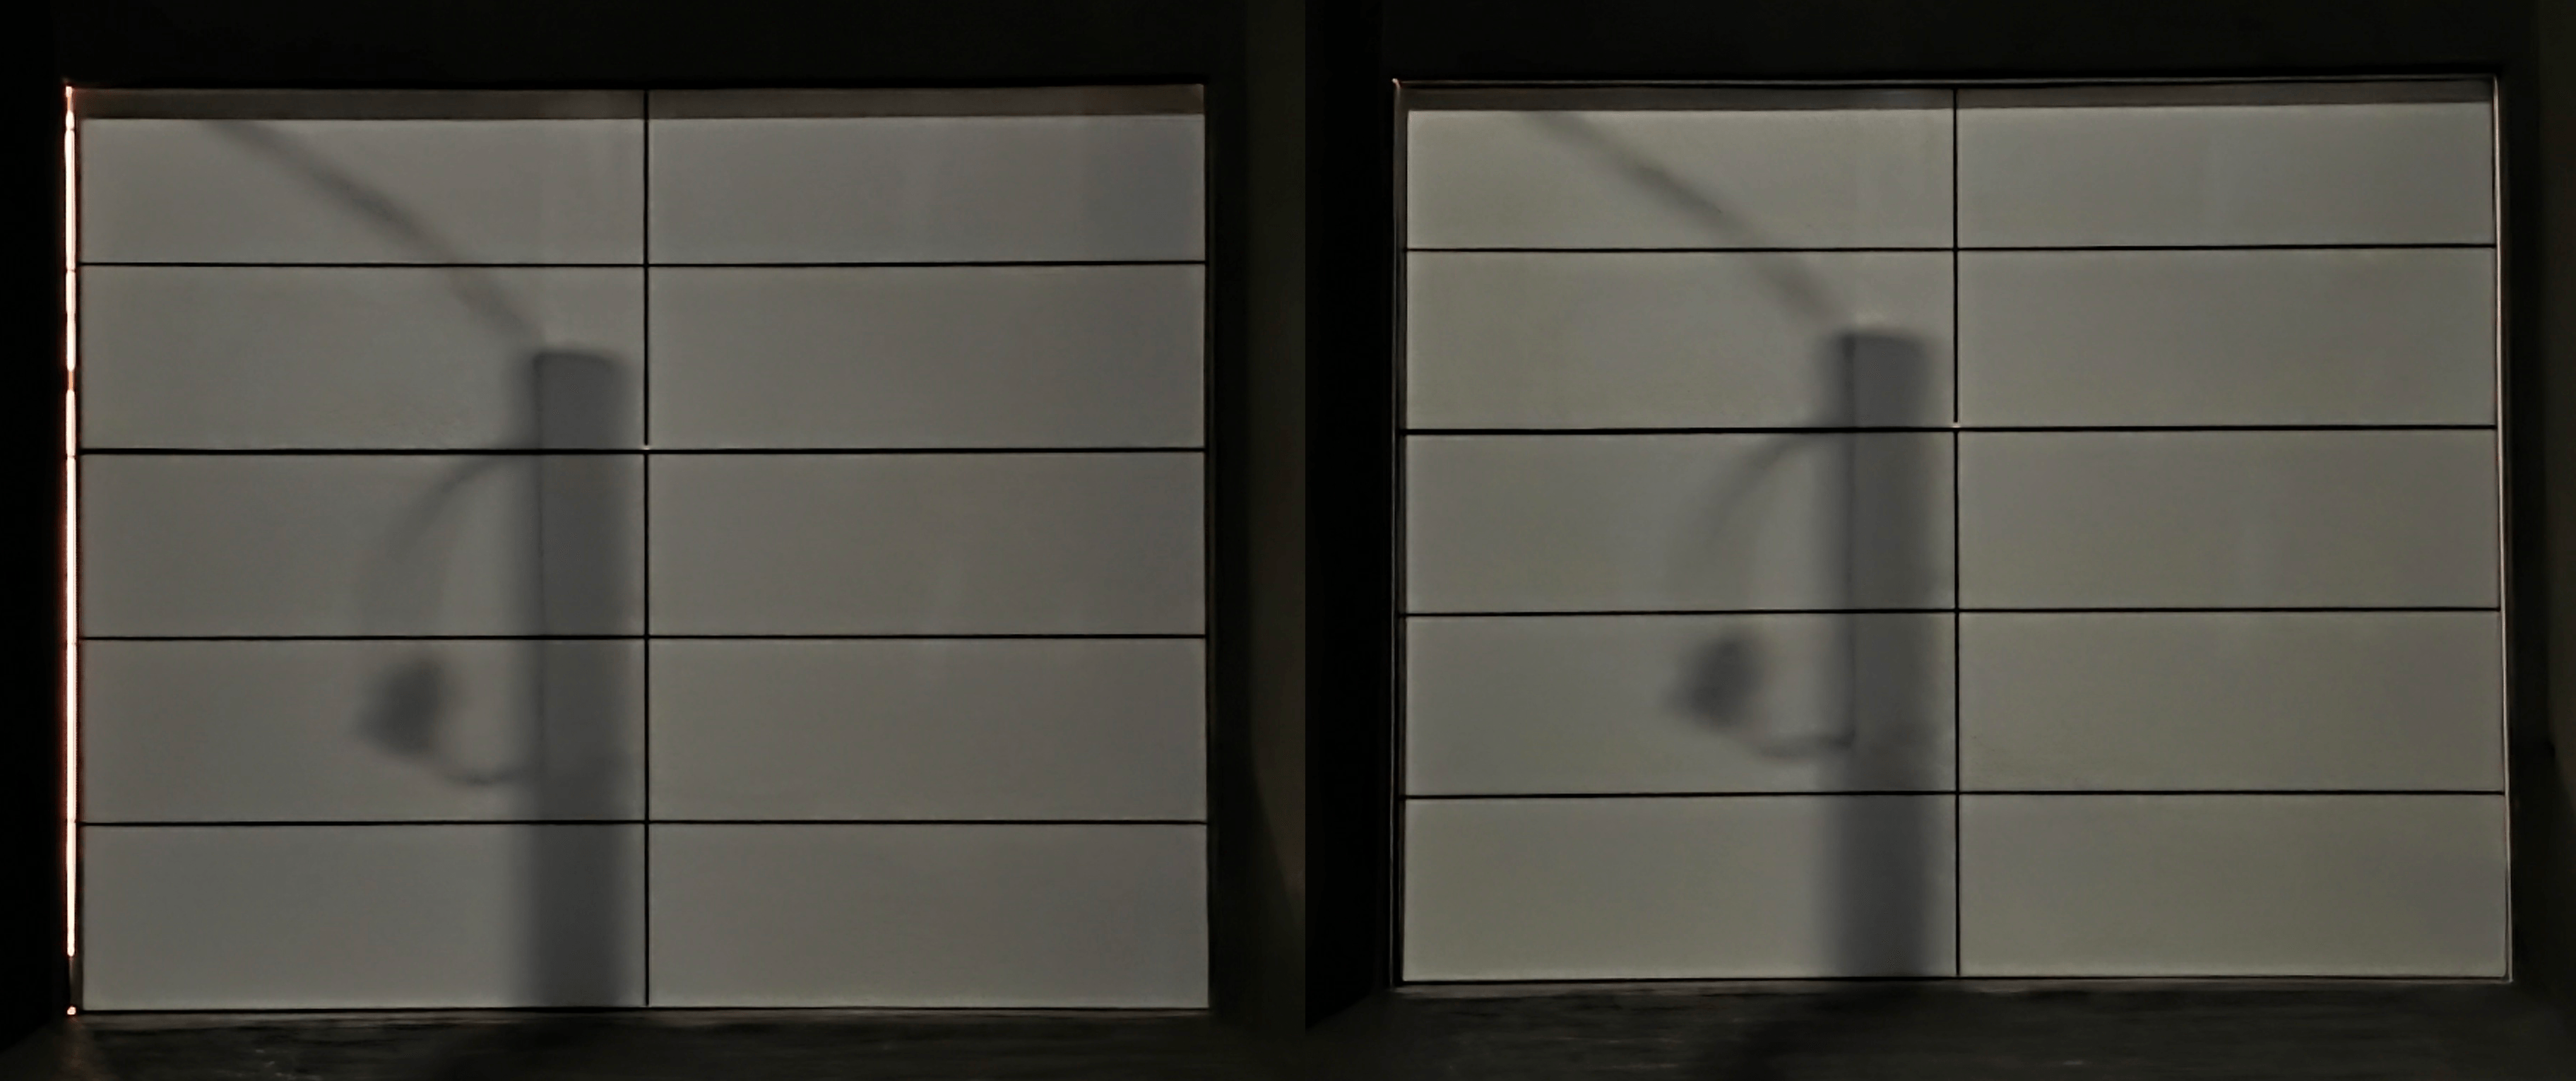
The first change was one I could see rather than measure. Sealing the edges cut off the strip of light that used to leak out around the door at night, and during the day a lot less light gets into the garage. Light getting through is a fair proxy for air getting through, so if the light is gone, the draught it rode in on is mostly gone too.
Temperature
The change that actually mattered is the temperature. I have had a sensor logging the garage against the outdoor temperature the whole time, so I could see whether any of this was working.
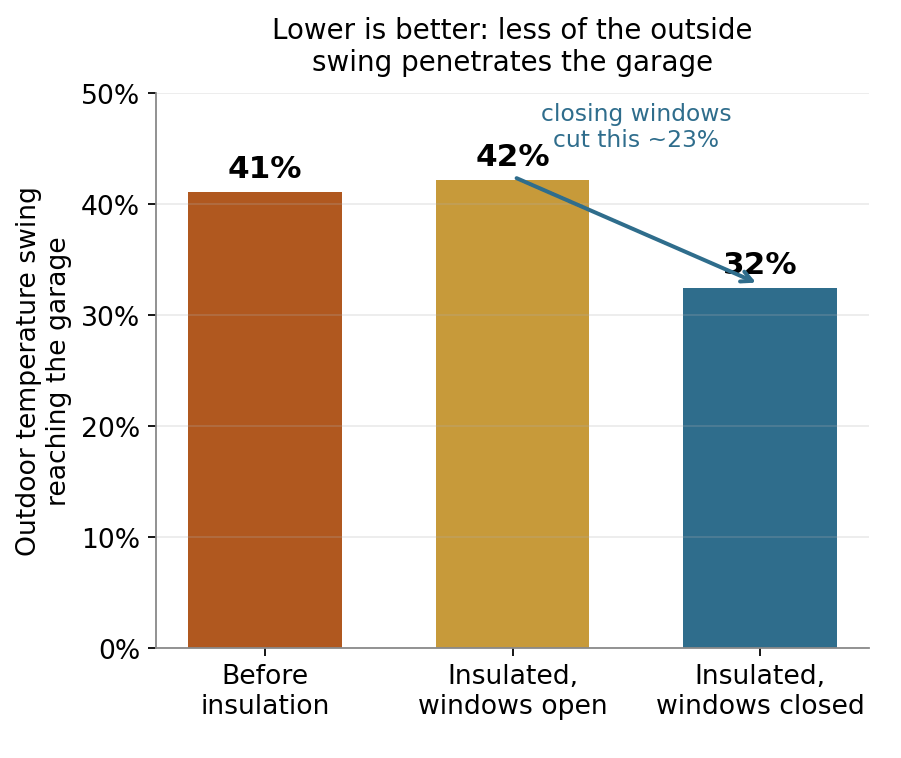
The number I leaned on is penetration, the fraction of the day's outdoor temperature swing that makes it into the garage. In plain terms, if the outside temperature moves 10°C across a day and the garage moves 4°C, that is 40% penetration. Lower is better, and unlike raw temperatures it doesn't get flattered by a run of mild weather.
I put the foilboard up first and watched the numbers. Nothing happened. Penetration sat at 41-42%, statistically flat against the baseline. The garage's raw swing dropped a little, but only because the outdoor swings happened to be milder that month, not because the door was holding heat out any better. After all that cutting and taping, the graph was a flat line.
Then it clicked. The insulation wasn't the bottleneck, the air was. I had fitted fly screens earlier specifically so I could leave the window open for airflow, and that open window was quietly swapping the garage's air with the outside all day. No amount of foam on the door helps if the room is breathing through an open window. So I shut it.
That is what worked. In the sealed period the outdoor swings were actually the largest of the three (10.2°C), yet the garage swing was the smallest (3.3°C), so penetration fell to 32%. About 23% better than the open-window period, and roughly 21% better than the original baseline.
| Period | Garage swing | Outdoor swing | Penetration |
|---|---|---|---|
| Before insulation | 4.0°C | 9.8°C | 41% |
| Insulated, windows open | 3.5°C | 8.3°C | 42% |
| Insulated, windows closed | 3.3°C | 10.2°C | 32% |
The per-day scatter is the part I trust most. Each point is a day, plotted as outdoor swing against garage swing, and the sealed days (blue) sit clearly below the baseline trend line. For the same outdoor swing, the garage now moves less.
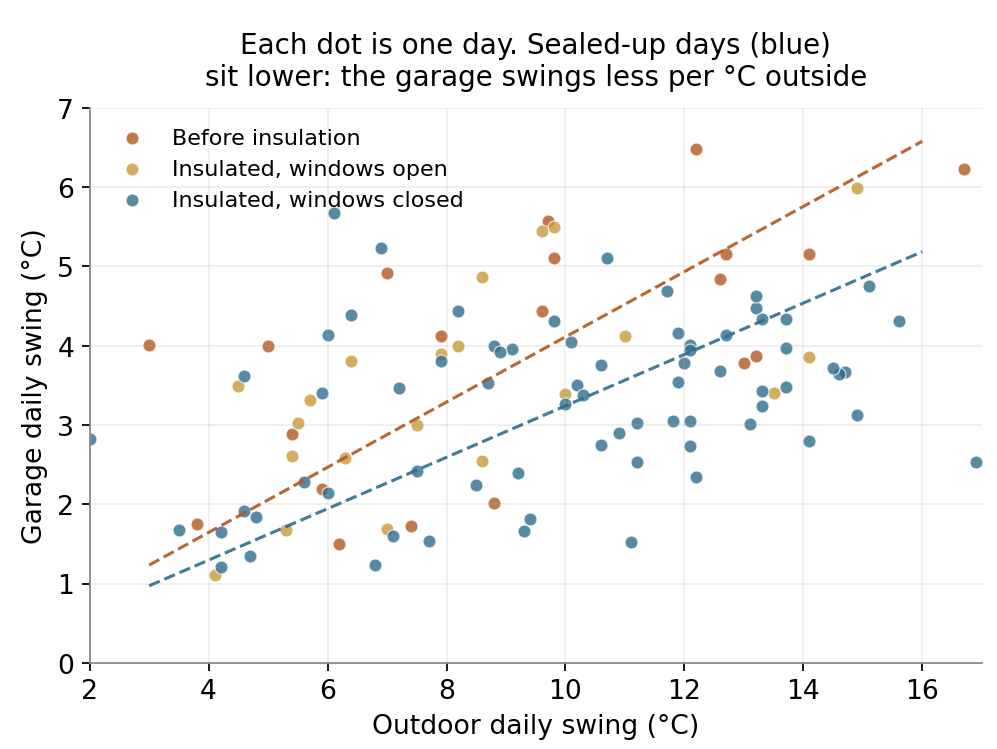
A caveat for honesty. The before and open-window periods were short, about three weeks each, so they are noisier than the ten-week sealed period, and because the changes were sequential I can't fully isolate the insulation from the sealing. The blue trend line is the robust part.
None of this means the insulation was a waste. The open window was the dominant leak path, and the foilboard only started paying off once that air exchange was cut. The two work together, but sealing the air had to come first.