
A step-by-step guide to remove unwanted devices such as DVD drives, USB drives, capture cards and permanently attached hard drives from appearing in Window's Safely Remove and Eject Media.
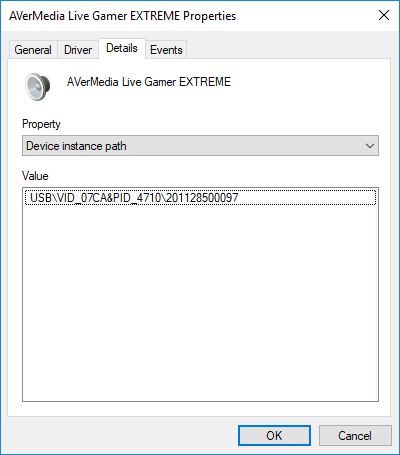
First thing you want to do is find the device in Device Manager. Go to it's 'Details' page and choose the 'Device instance path' property. Take note of this value.
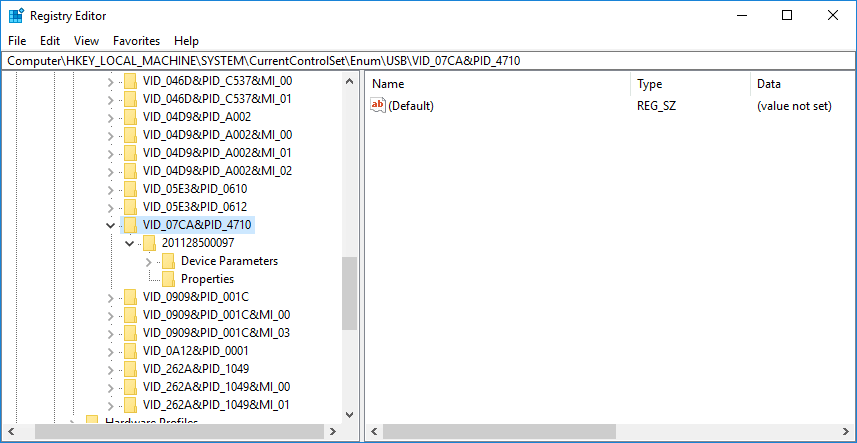
Open RegEdit and search for that device under HKEY_LOCAL_MACHINE\SYSTEM\CurrentControlSet\Enum, mine was under USB.
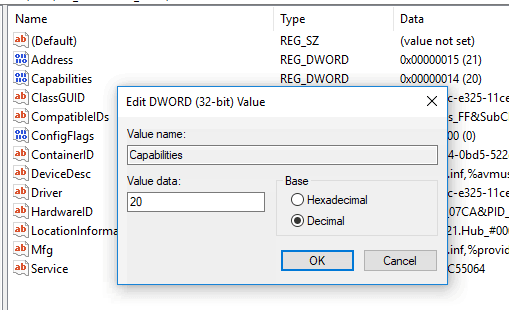
Find the Capabilities key in one of the subfolders and it's value (which should be greater than 0).
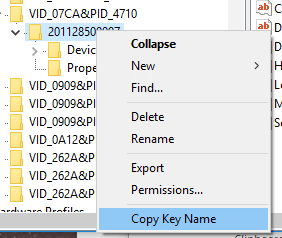
Right-click the folder and select Copy Key Name to grab the full path, i.e. HKEY_LOCAL_MACHINE\SYSTEM\CurrentControlSet\Enum\USB\VID_07CA&PID_4710\201128500097
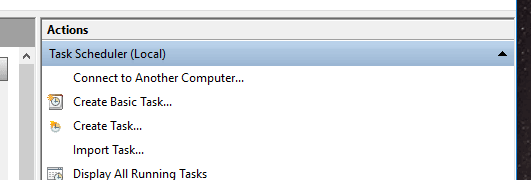
Open Task Scheduler and click on 'Create Task'.
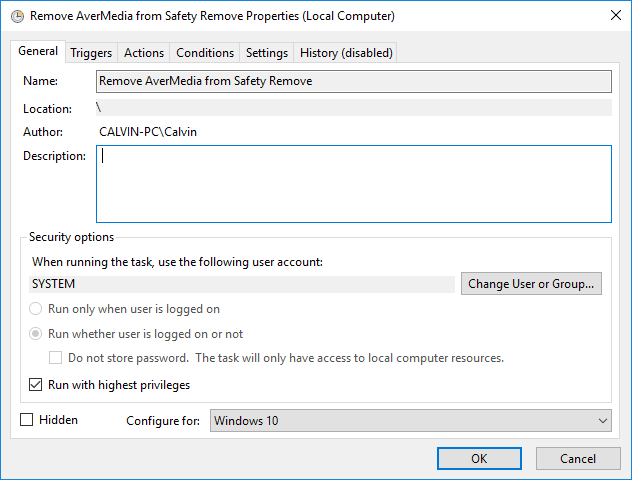
Change User or Group (under Security Options): SYSTEM.
Configure for: Choose your version of Windows
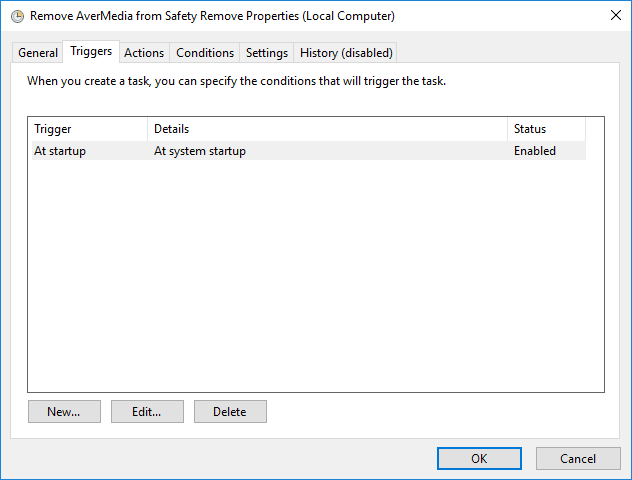
Under Triggers, choose At start up
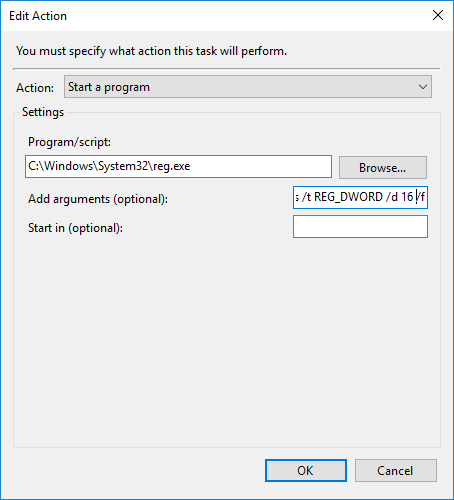
Under Actions, click New and add the following:
Action: Start a program
Program/script: C:\Windows\System32\reg.exe
For the arguments you will need the key path (copied earlier) and the value of Capabilities minus 4. Mine was 20 so I put in 16.
Arguments: add "<path>" /v Capabilities /t REG_DWORD /d <number> /f
Save your new task and run it. You should see the results immediately as the device will no longer appear in the Safely Remove menu. Logoff/Restart and the Safely Remove menu icon will be gone if there are no removable devices connected.