
This post shows how I play console games through my PC.
I get a confused face each felt each time I tried explaining to somebody how I intended to use a capture card I had purchased, they would give me a confused face. I tried explaining I wanted to play through the preview window but that left them even more confused. In this post, I wanted to break down how this works.
Hardware
Capture Card
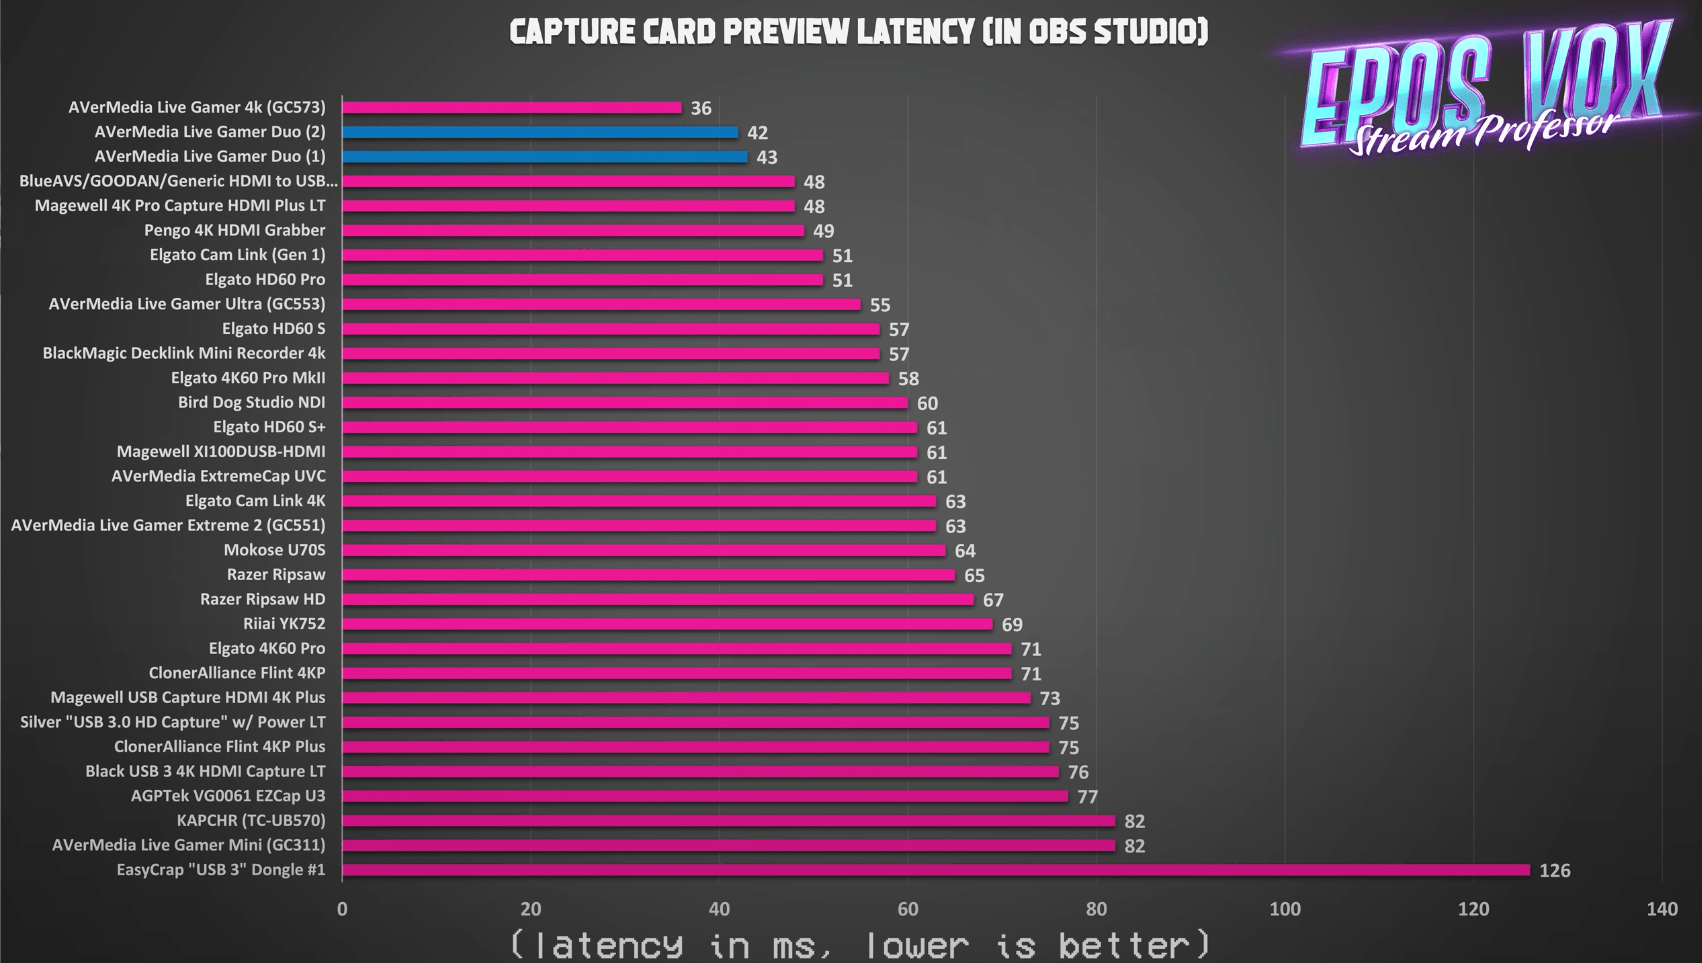
The secret of all this is by using a capture card with very low latency. EposVox's latest capture card review lists the AVerMedia GC573 with the lowest preview latency at 36ms. This is the difference between what's happening inside the game and it appearing on the capture card.
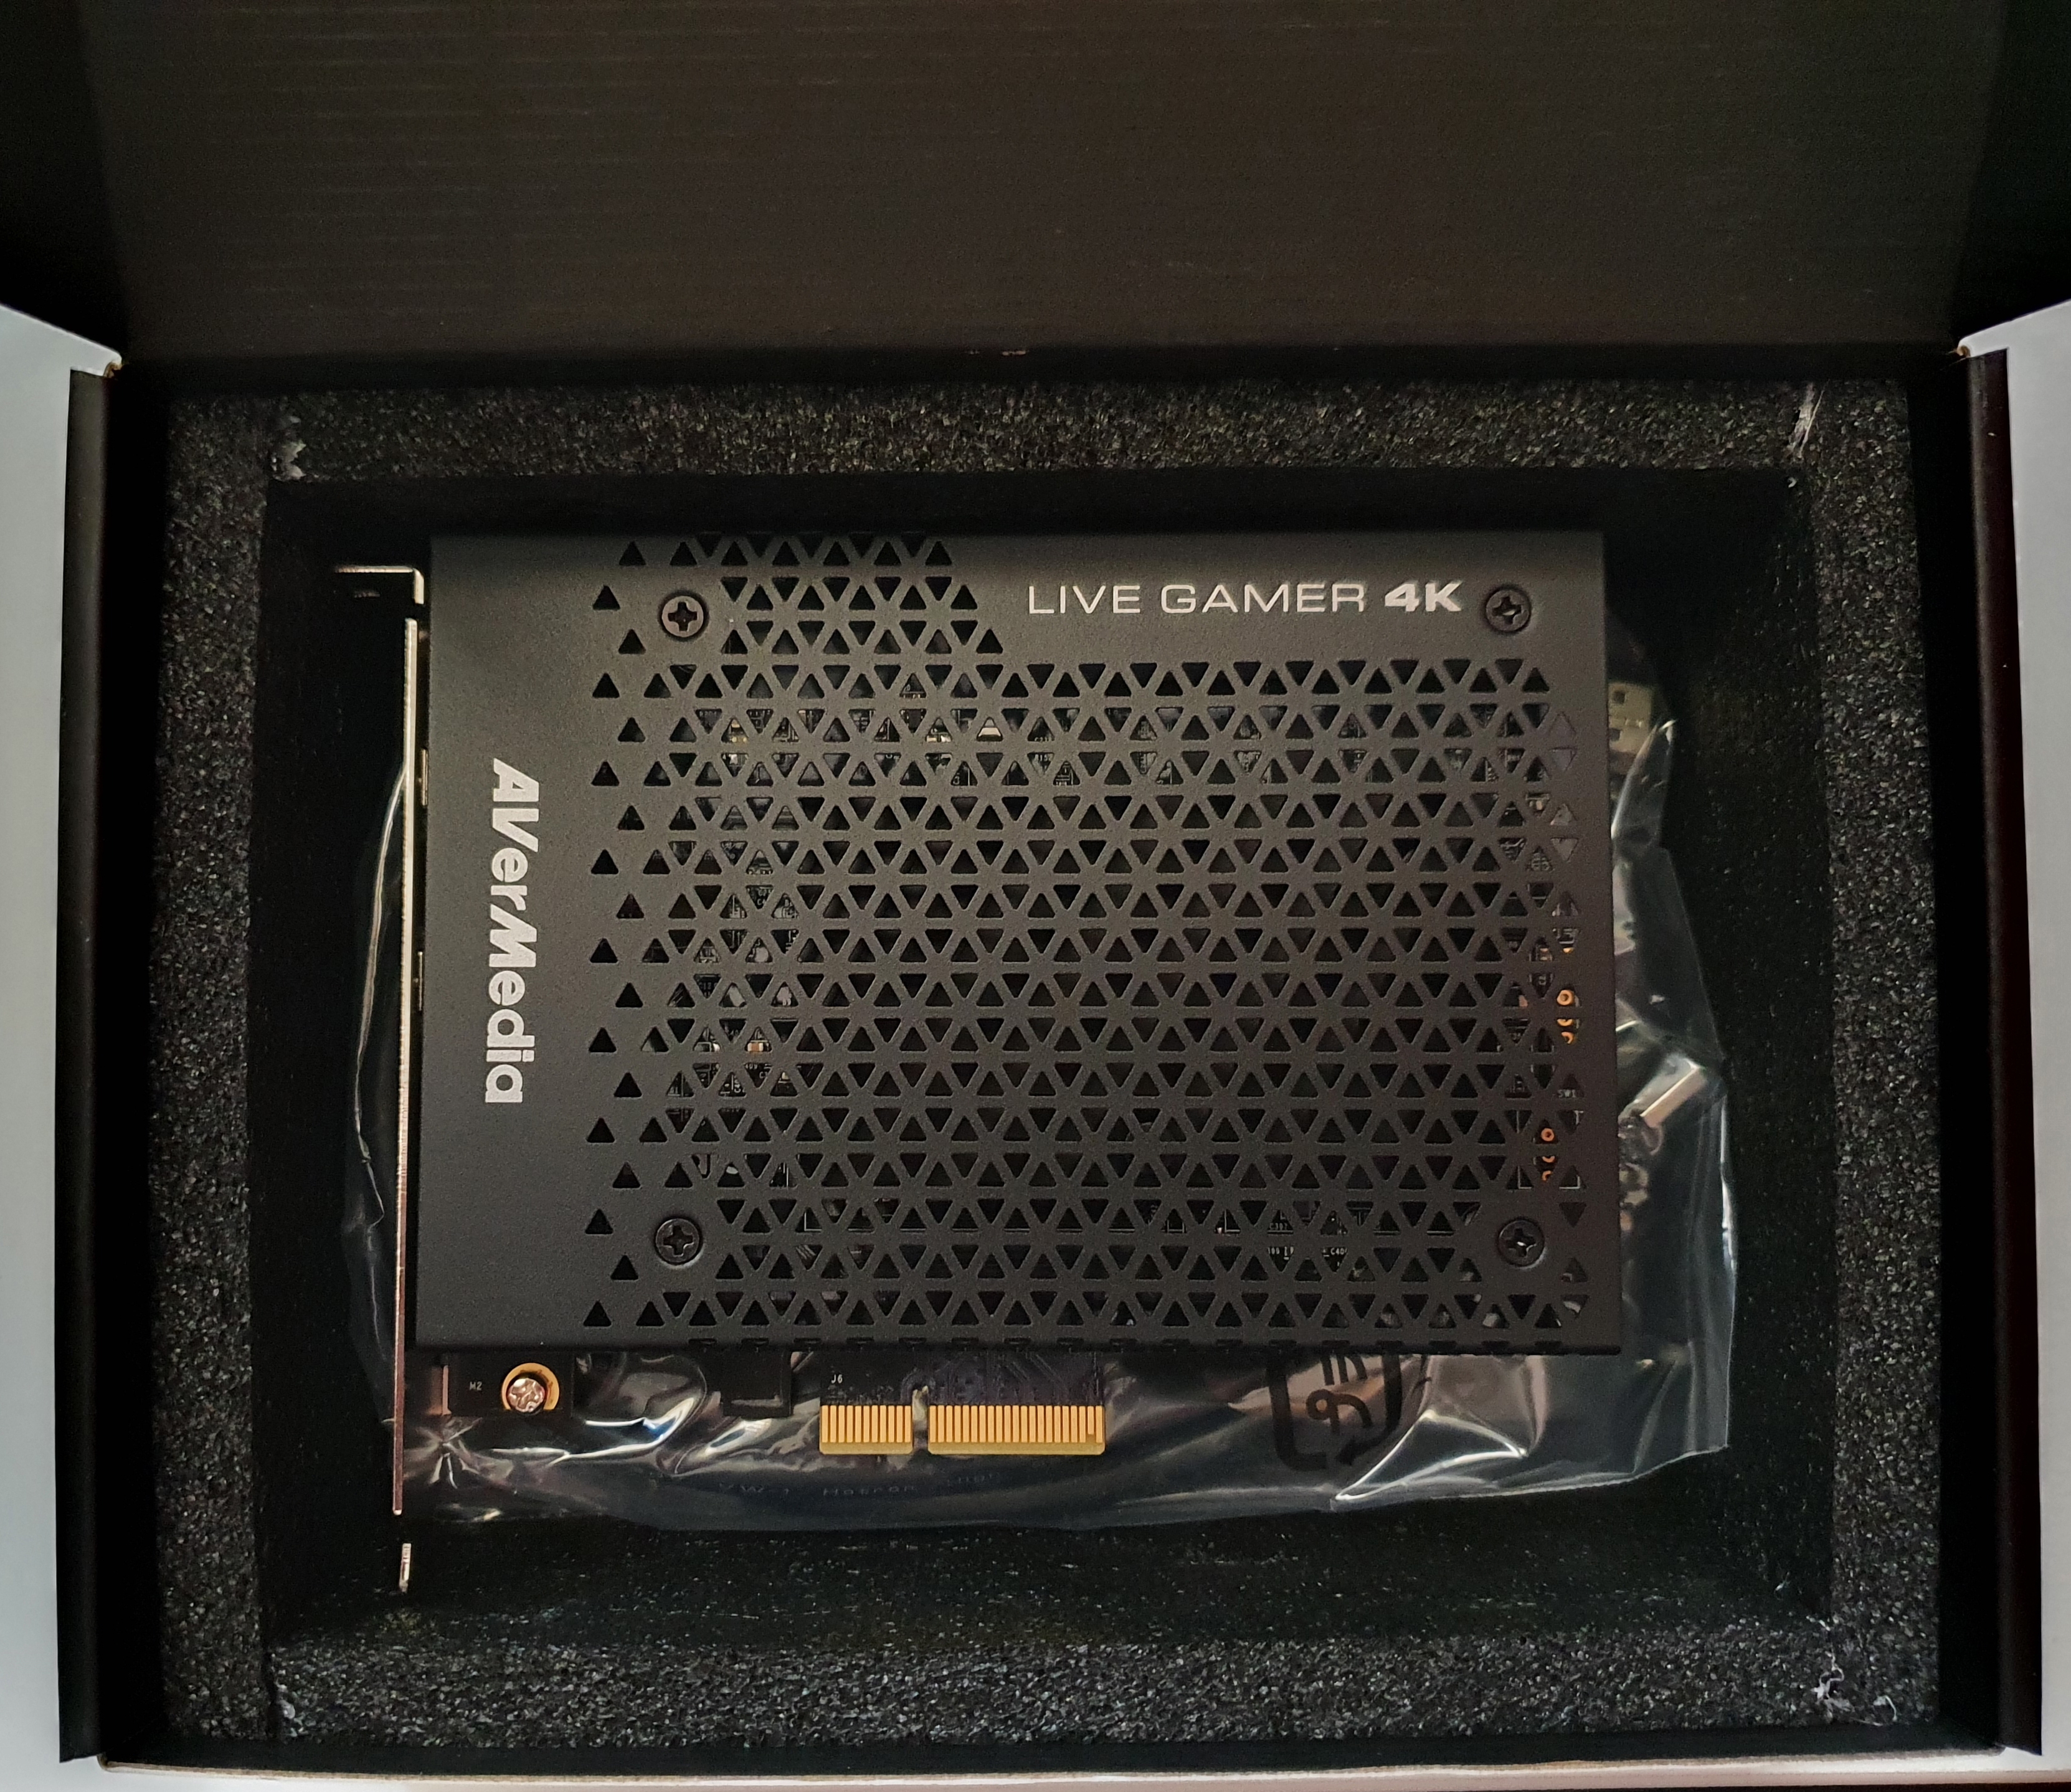
I picked up the AVerMedia Live Gamer 4K for ~$200 (Australian Dollars) from a buy/sell forum. It uses a PCI-e x4 slot compared to a USB connection.
HDMI Cable
A good quality HDMI cable is required. I had HDMI cables that did not display anything. To be safe, I went with this 15ft (4.5 meters) certified HDMI from Monoprice.
Software
OBS
OBS is a free video recording and live streaming software. It can pull in a lot of recording sources such as the capture card.
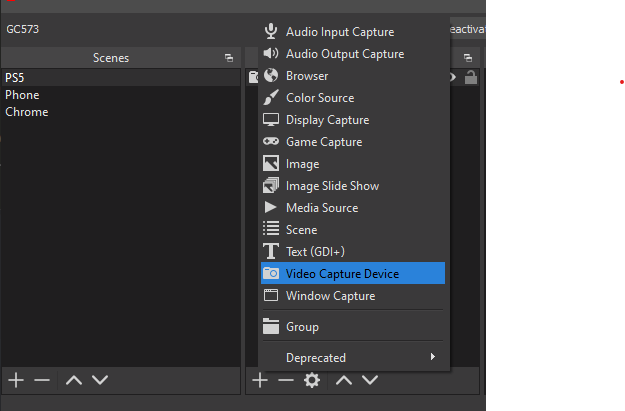
To add a new source, click the '+' button under sources and select Video Capture Device.
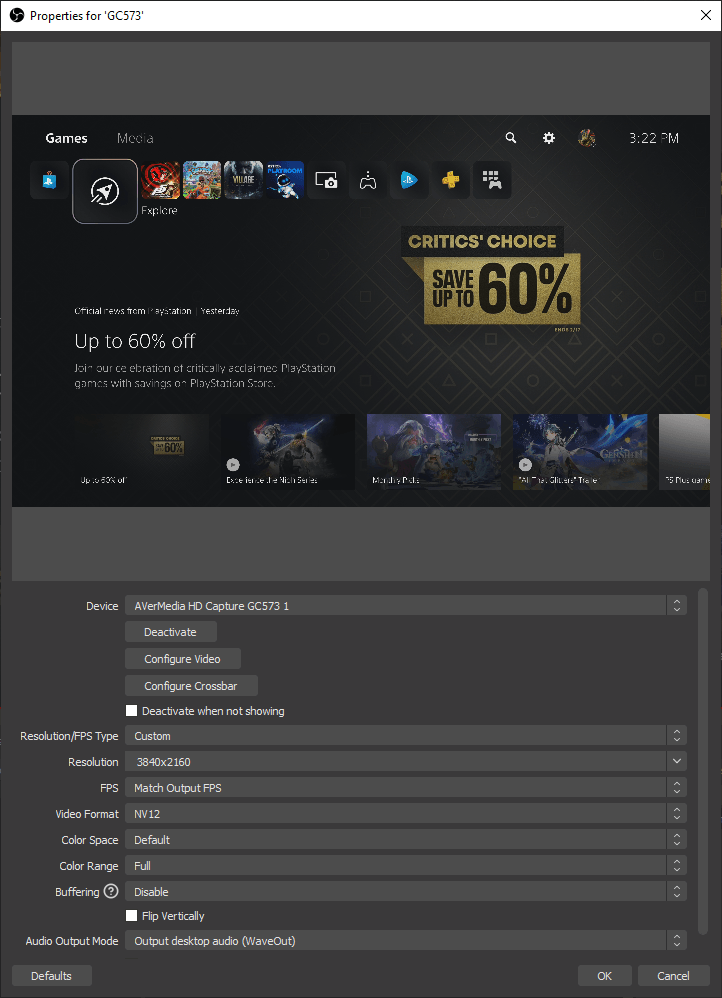
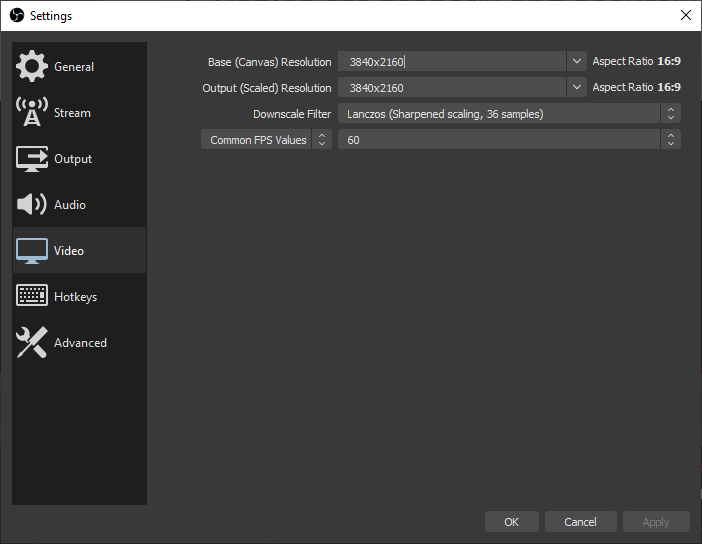
To enhance the quality of the input, I manually edited the canvas size within OBS' settings. Otherwise, OBS will downscale the incoming video.
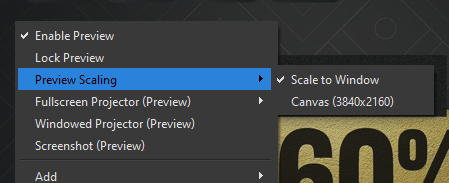
Finally, change the video source preview scaling to scale to the window:
Putting it all together, it looks like this:
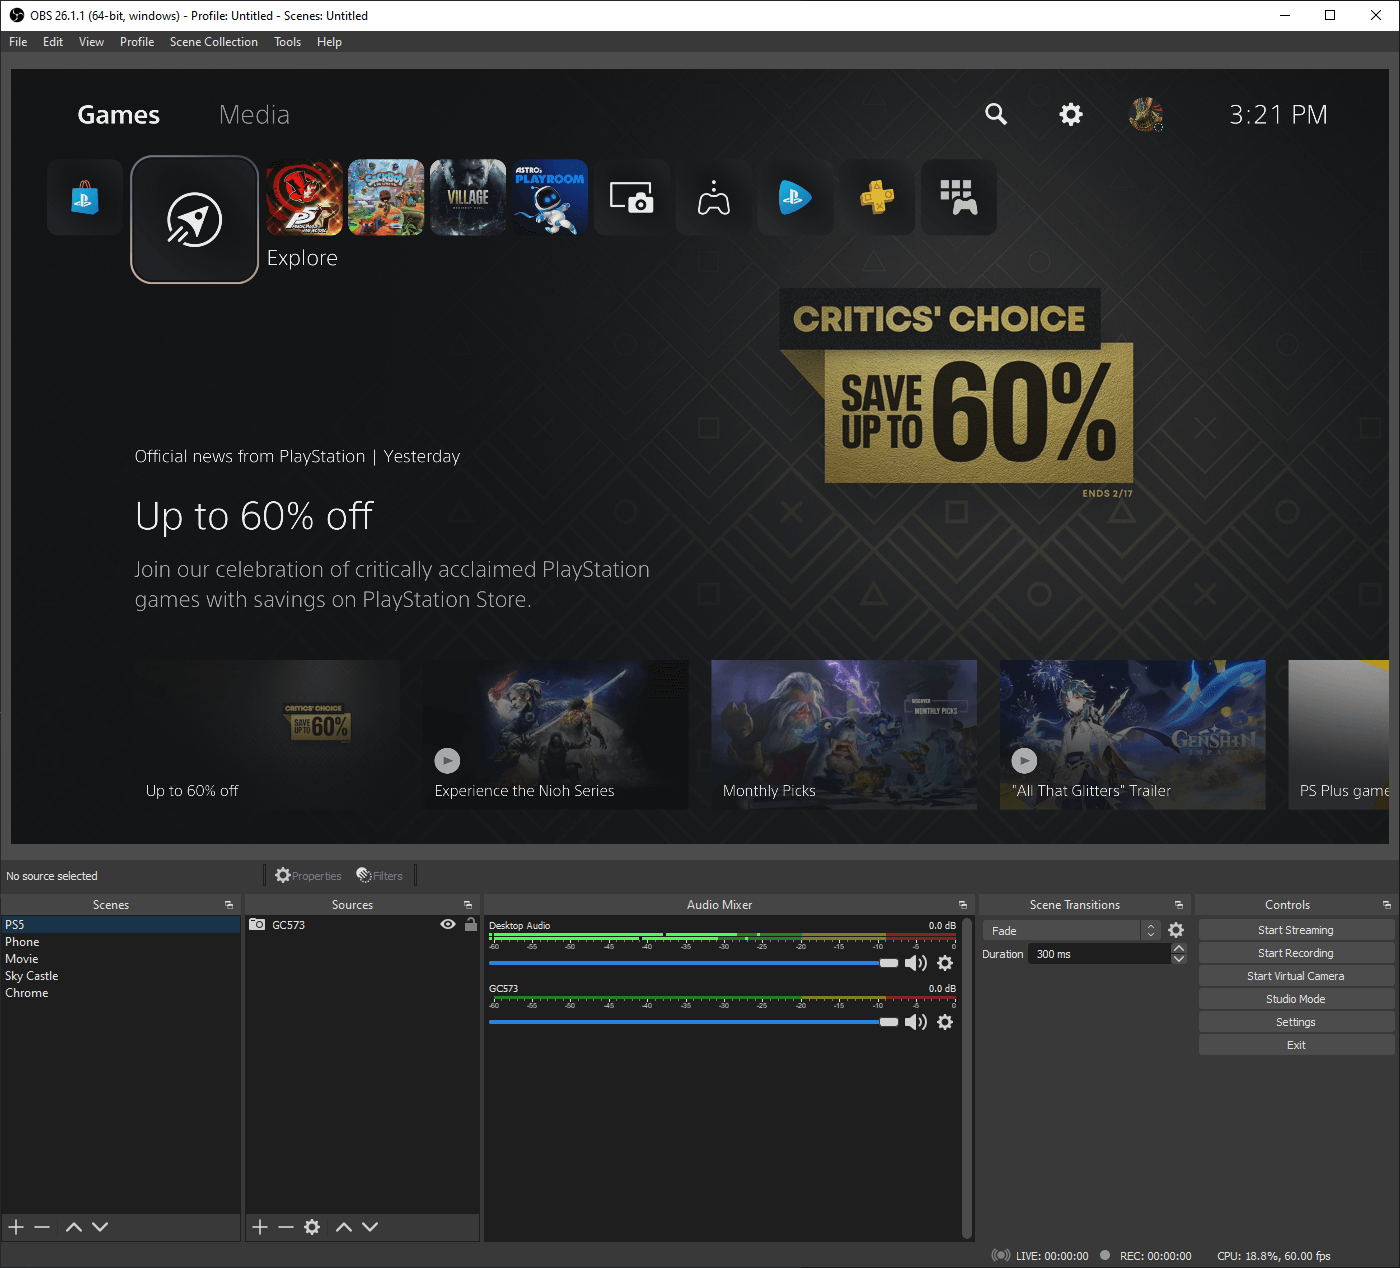
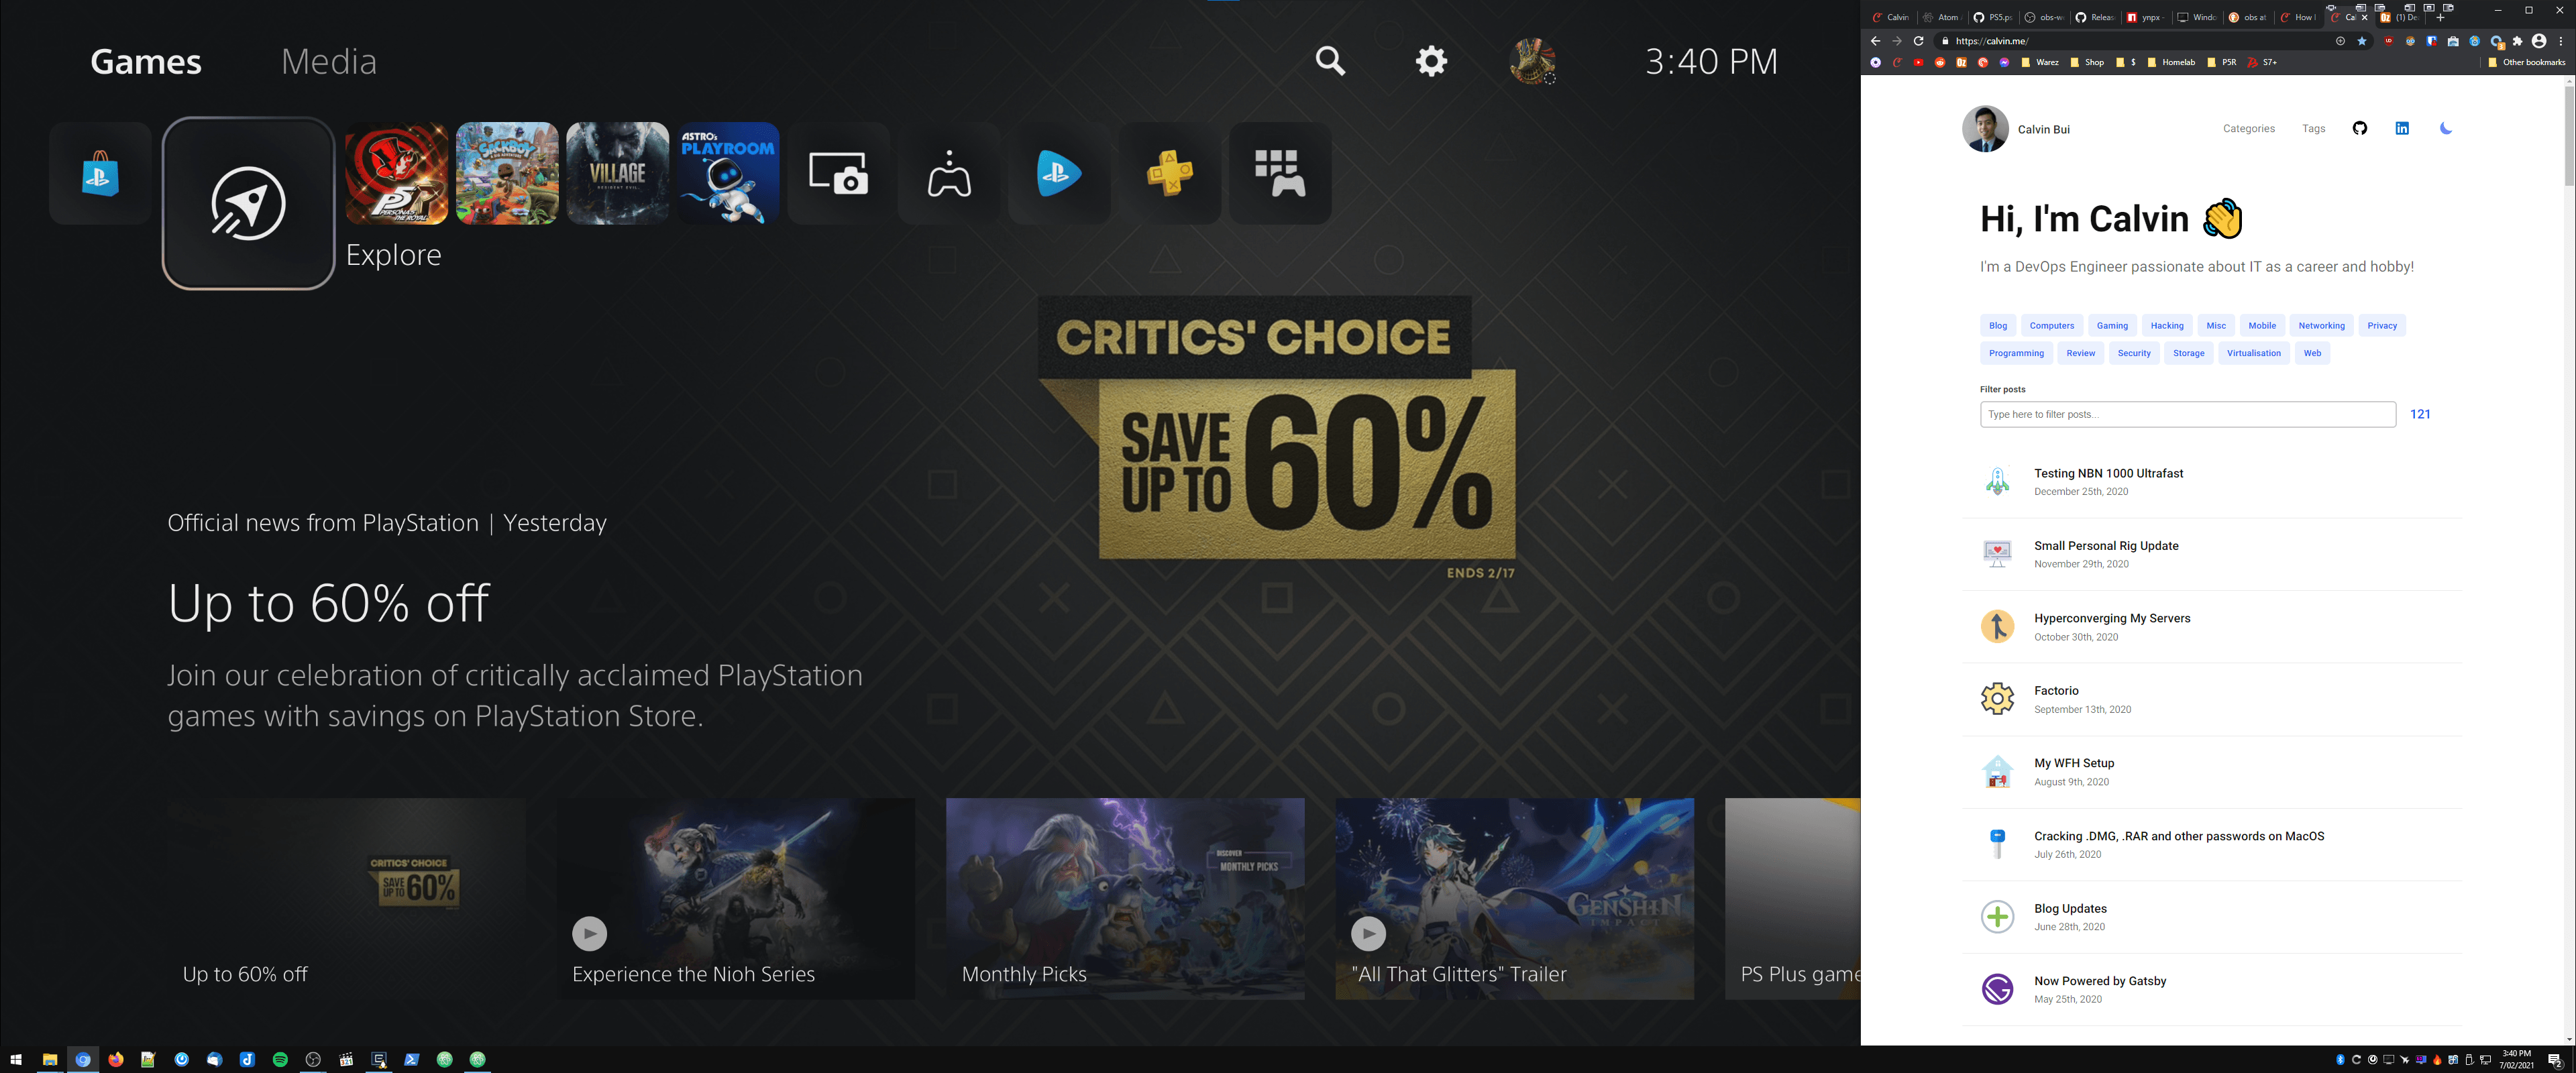
OBS provides a Windowed Projector (Preview) option which opens a bordered window of the game preview without any toolbars or docks.

At this point, it is enough for most people to start playing their consoles through the computer. However, I wanted to get every bit of my ultrawide monitor. Below I'm using another tool to remove window borders to maximise the preview size.
Windowed Borderless Gaming
Windowed Borderless Gaming is a free tool that removes borders around applications and resizes them too.
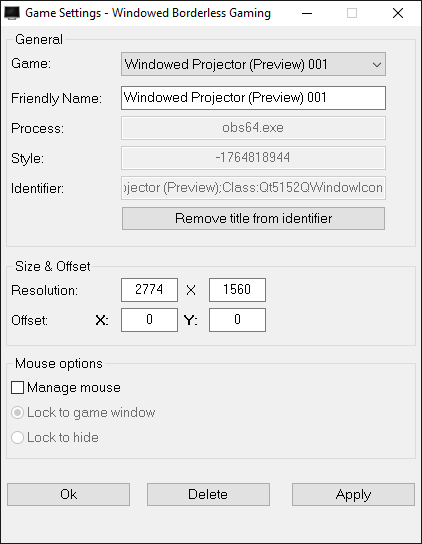
Within Windowed Borderless Gaming, I have these settings targeting the OBS Windowed Projector. The resolution is for my monitor to achieve a ~16:9 aspect ratio. I also take into account the Windows Task Bar that is roughly 40 pixels tall.
With these settings, I maximised the OBS Window Project with a bit of room to spare on the side because I have an ultrawide monitor. This room can be for the game's trophy list or any helpful guides along the side.
Automating through PowerShell
I wrote a Windows PowerShell script to automate the process of opening up OBS and Windowed Borderless Gaming.
The script is available on here on GitHub Gists. Change lines referencing OBS or Windowed Borderless Gaming to their respective directories.
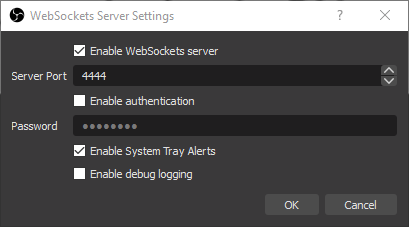
An OBS plugin called obs-websockets will also be required to allow PowerShell to control OBS to open the Windowed Projector Preview. Enable it within OBS > Tools > WebSocket Server Settings
The script is written to entirely open and close both OBS and Windowed Borderless Gaming idempotently.