This is a quick build log of Bottlehead Crack OTL tube amplifier with some pictures and little stories.
I bought the Crack (and its Speedball upgrade) after I got my hands on a pair of Massdrop x Sennheiser HD 6XX Headphones. I waited until Black Friday to grab it from their website for 15% off.
A quick write-up of what this is and why I got it: The Bottlehead Crack is a high-end amplifier for your headphones. Some audio equipment had a high impedance, making them sound and quiet when the volume is maxed out. An amplifier is used to boost the volume when this occurs. You may notice it has two tubes on it. These tubes are to increase and power the audio signal. But on the Bottlehead Crack, they are OTL Tubes which changes the sound output (for the better).
Staining and Chassis
Staining the Wood
I started with staining the wood and painting the chassis. Without any other colours on me, I decided to go black on black (I'm calling it The Midnight Crack).
For the wood stain, I went with Feast Watson's Black Japan Stain and Varnish. As it's a two in one (Stain and Varnish), it saves a bit of time having to paint varnish (shine/polish) on afterward.
Before painting, I glued the cabinet together and sanded it down with 240 grit sandpaper thoroughly. I used a paintbrush for the first three coats with 12 hours wait between each layer. Between each coat, I also did a light 400 grit sand.
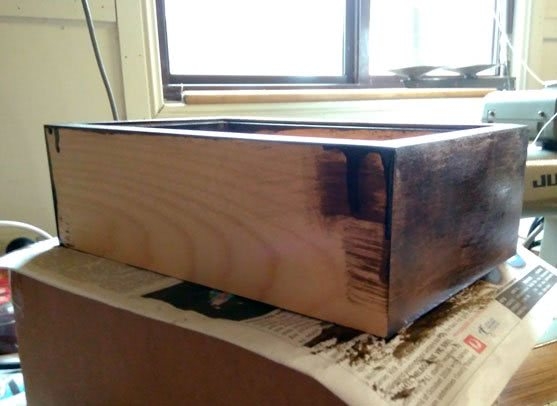
First coat of stain:
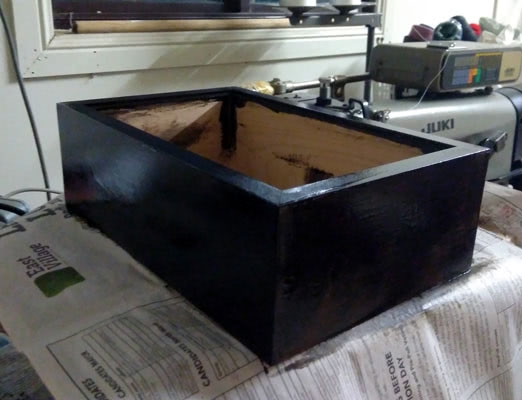
Second coat of stain, you can see the imperfects showing:
The finish was uneven and imperfect with the brush not being able to distribute the stain evenly. I sanded most of it down and then did another two coats with a foam roller. The final finish turned out much better as a roller spread the paint out evenly. I would suggest to not go with a hair type roller (at least not a cheap one) as the hair generally falls off when painting and sticks to the paint.
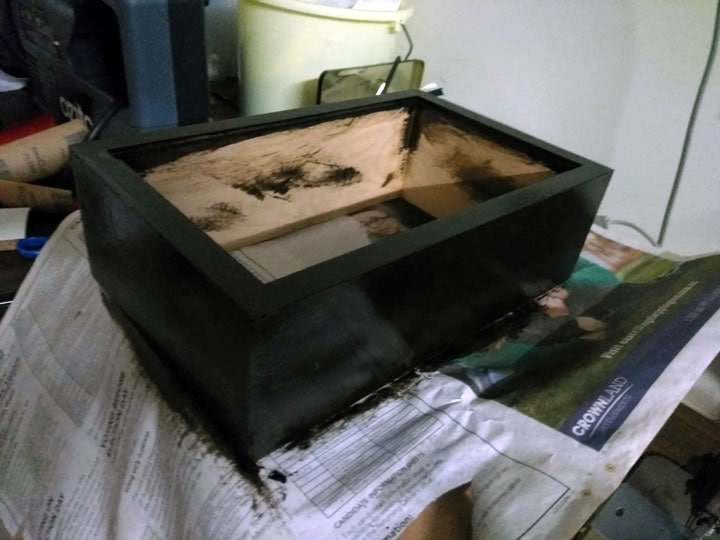
Completed staining:
After painting, I stuck on the four feet.
Painting the Chassis Plate
As the chassis gets hot when the unit is on, I sprayed the plate with Engine Enamel from White Knight. Along with the chassis, it's important to also paint the screw tops, power transformer bell (recommended as it will rust unless treated), both amp brackets as well as the screw tops for an all black finish.
I applied 6 coats with 2-3 minutes between each coat and left it to dry for 24 hours. The final finish was good but would also require a clear coat to protect it in case it scratches.
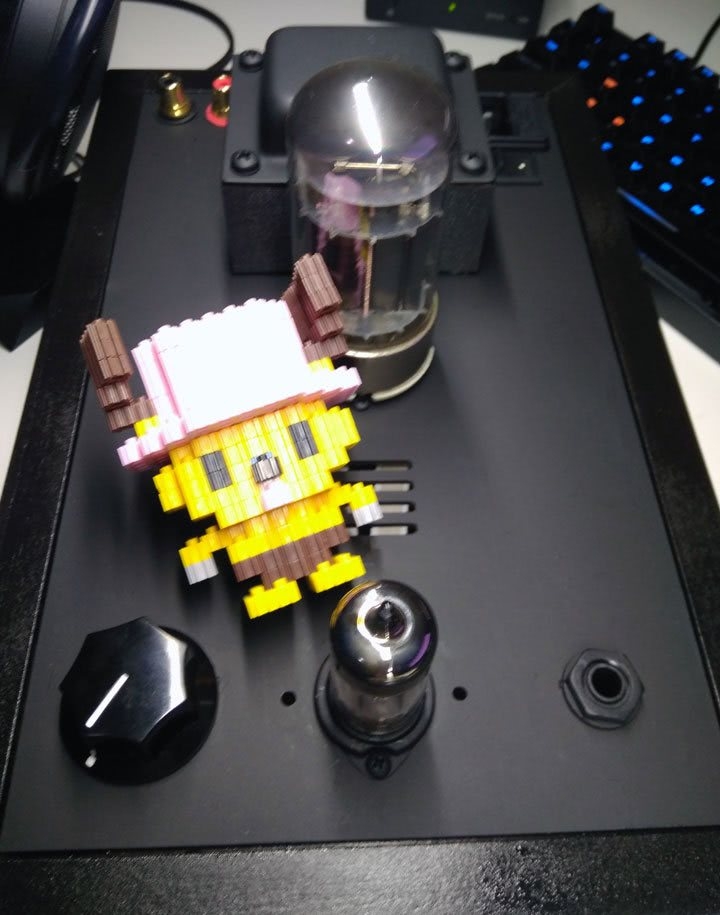
I didn't notice this until after assembly but the smaller tube does not cover its entire socket meaning a bit of white would show. I would recommend covering the 9 holes (cut a circle in masking tape) and everything around it and paint it as well.
Soldering
I don't solder often so I haven't invested in any premium or professional soldering tools. I used the simple soldering starter kit as well as 60/40 tin & lead solder, both from Jay Car. Bottlehead recommends 60/40 or 63/37 Tin & Lead solder for its ease of use. You won't need too much solder, probably a tube of it instead of a roll.
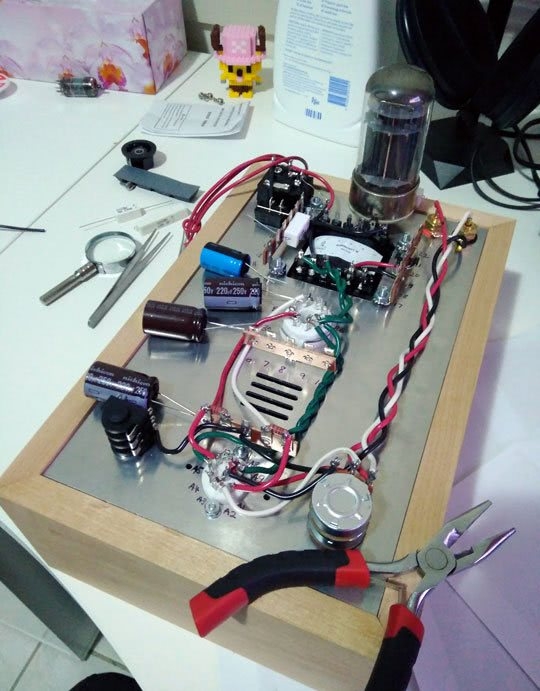
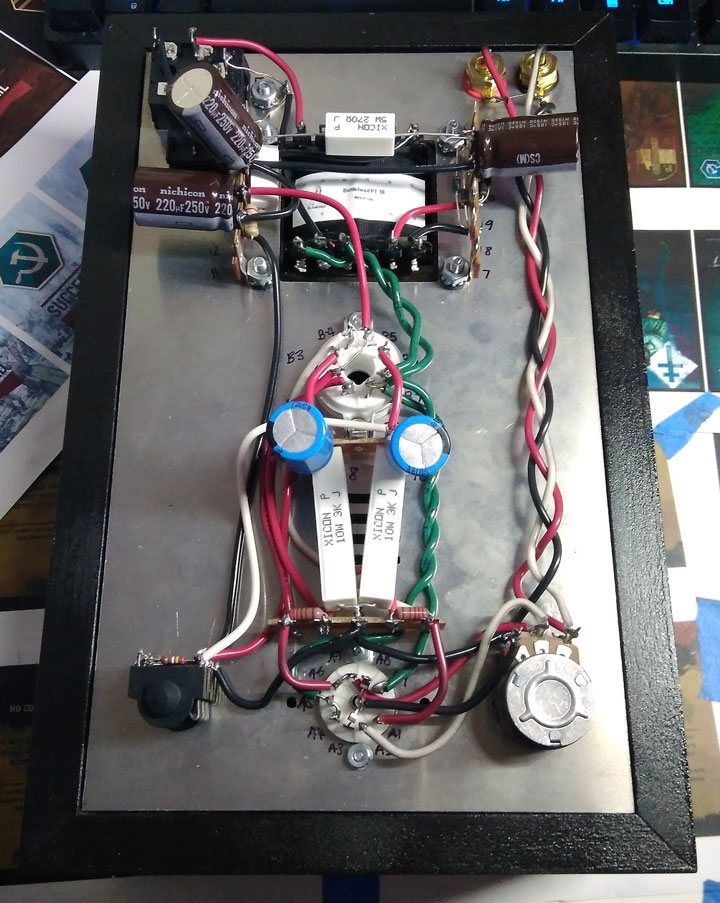
I did some soldering before I painted the wood:
For removing solder, try grabbing some solder wick or a desoldering tool (there's one in the starter kit). A third-hand accessory isn't required but is handy (it's required for the Speedball upgrade though).
The manual for the Crack has a lot of typos in it. The pictures in the manual are helpful although only one is provided for each step, which may be difficult if you're finding a step difficult. I would give it a 6/10. It needs a lot more polish and there are steps I would do in a different order. The use of bold text, for example, would've been helpful in some places where I didn't leave a big enough gap to bend my capacitors.
Now a dump of photos:
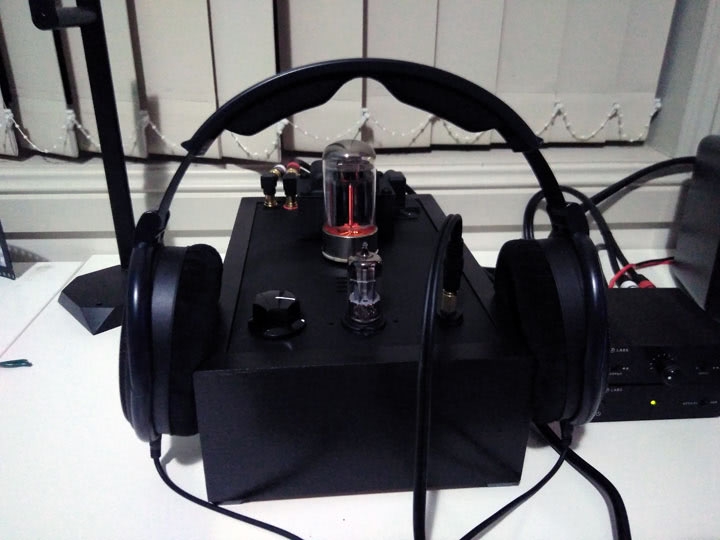
Completed:
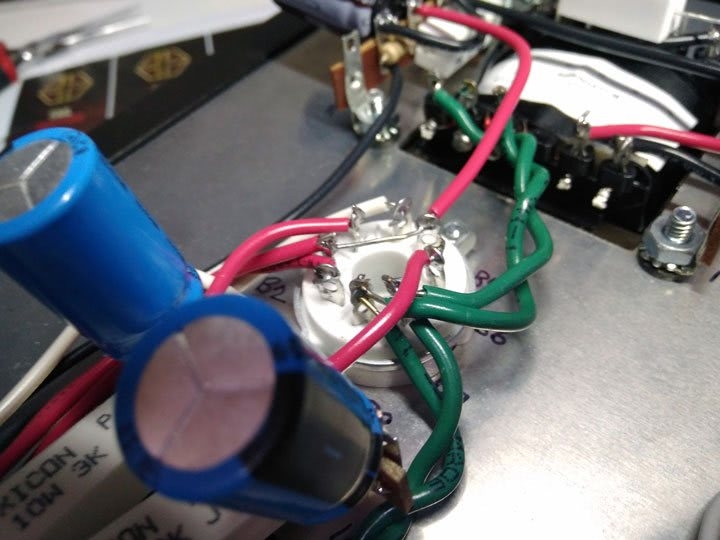
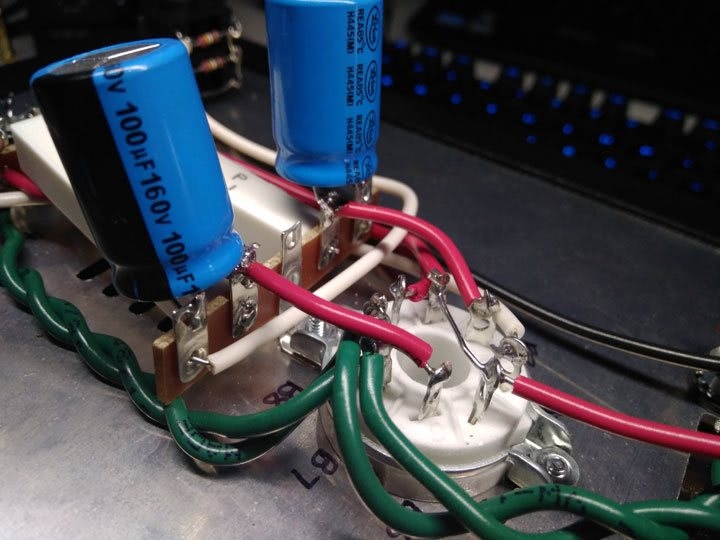
The 9 octal socket:
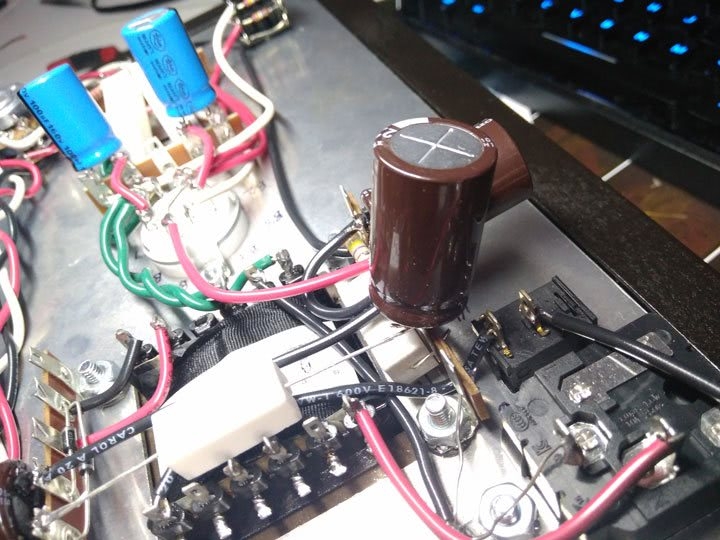
The middle of the unit:
This is where the headphones plug in:
Another view of the big tube socket:
The power transformer:
Another view of the power transformer:
Side view:
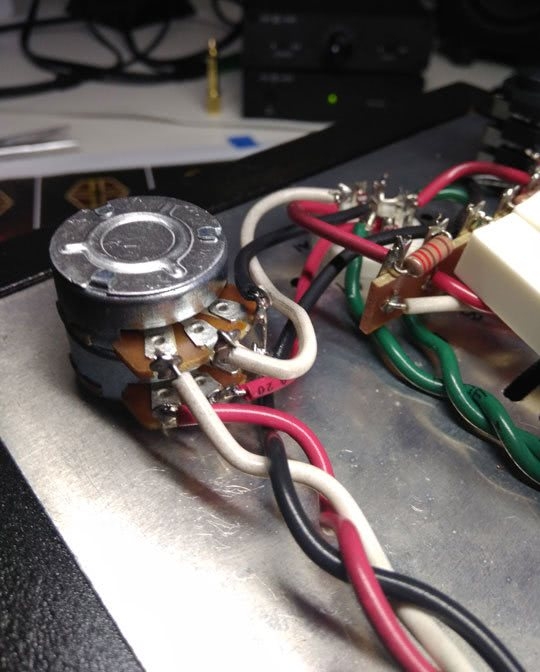
Volume switch:
Testing
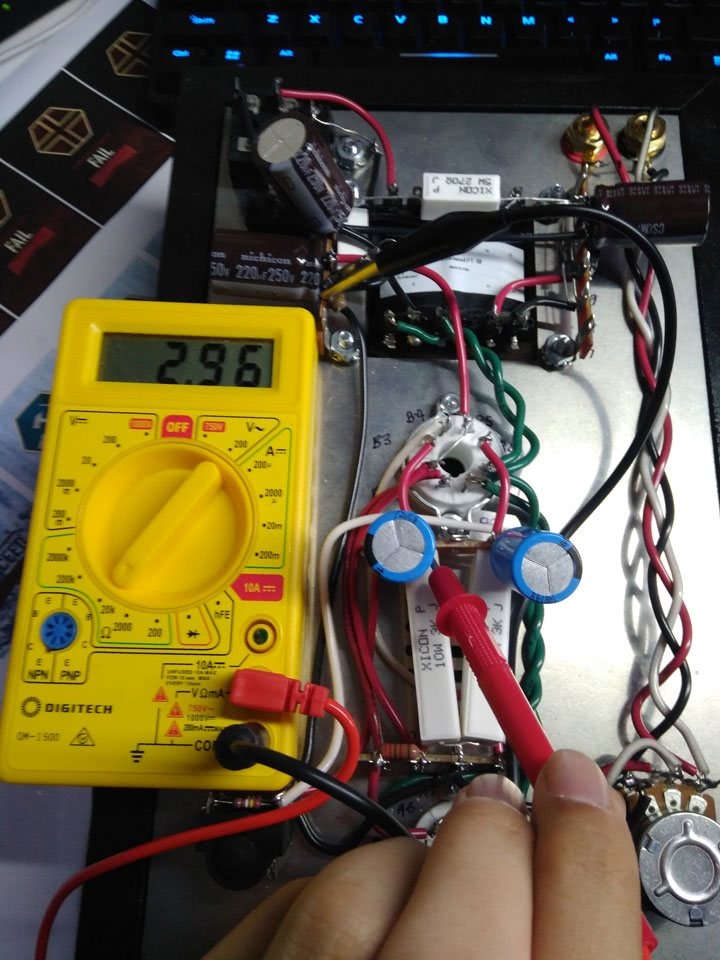
For testing, I bought a $10 Digital Multimeter and alligator clips from Jay Car. Alligator clips are recommended so your hands don't move while testing which can be dangerous and can lead to death. Read all the safety instructions!
In the final voltage test, Bottlehead fails in the manual by only providing voltages for 120VAC. That's not great if you live in a country that doesn't run 120VAC (Australia has 240VAC). Of course, I doubled the numbers provided but starters and those less informed would have trouble - definitely a big area to fix as this part is very dangerous if you're messing about and can't get the voltage numbers the manual provides.
Finished Product
To finish it off I bought two 90-degree RCA adapters and a 90-degree power cable to improve the look and cable management of the unit. Bottlehead also ships a US-style plug which isn't useful at all.
You wouldn't believe it either, but Bottlehead doesn't include a step on how to install the volume knob...
Conclusion & What's Next
I would give the crack an 8.5 to 9 / 10 for its sound quality with my HD6XX. The lows are impressive while maintaining the detailed highs. The lows are deep but controlled and smooth throughout.
I still got the Speedball upgrade to do which apparently turns the Crack into a 10/10 amp. I'm hoping to leave it off for a while so I can appreciate the difference with and without it (I'm already seeing the difference an amp makes to these headphones).
As for further upgrades, I've seen (new tubes, better capacitors, stepped attenuator, etc.), I'll probably leave that out until I see it being necessary.
