
In Part 2 of my virtualised pfSense installation on ESXi 5.5 we will be specifying the network interfaces for pfSense, configuring the LAN interface as well as connecting to the pfSense web interface. Part 1 can be found here.
Part 2: Configure the pfSense and LAN
After rebooting, let pfSense load to the point where the initial setup begins. This is when you must configure the WAN and LAN for pfSense to work with.
If you only have two network cards, the LAN is most likely already plugged into the Router/Modem or switch (recommended) - your connection to the ESXi host. Leave this plugged in for now. I will go with the ESXi and switch configuration so please try and change the configuration steps where applicable. Rethink why you need pfSense if are not going to use a switch...you'll only have LAN port. Having a switch gives you 4, 8, 16 or even 24 more LAN ports.
The goal of the setup is to not lose your connection to ESXi. The moment you do, you won't be able to get back in and configure it. Either have a remote static connection, a direct connection to the ESXi host or monitor available.
1. Set up the LAN and WAN
Say no to set up VLANs. This is for another day.

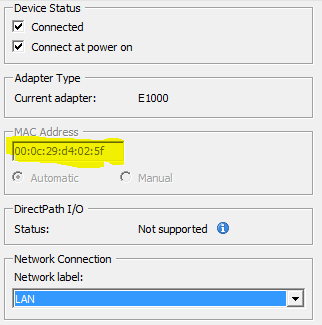
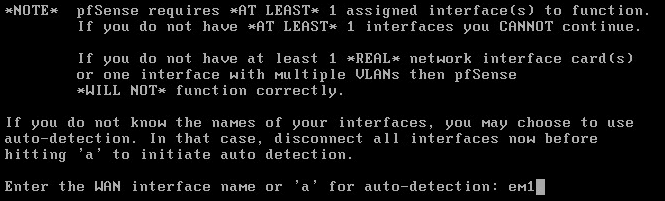
When prompted for a WAN connection, provide it with the NIC connected to the WAN. You can find the MAC address of the NIC and match it up with what pfSense sees (e.g. em1)

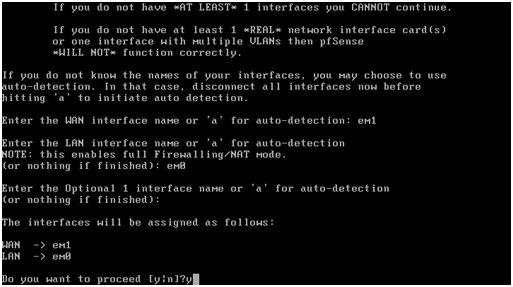
Provide the LAN interface similarly (e.g. em0)

Press Enter when prompted for the 'Optional 1 Interface'

Confirm the interfaces (y) and wait for pfSense finish its configuration and bring you to the main menu.
2. Connect to pfSense
At this point, you will not be able to access the pfSense web interface because you are still connected to your original router as your gateway/modem/router/access point and it is currently providing your with an IP address. We want pfSense to provide us with an IP address instead. Unplug the WAN device (modem, router, access point) from your switch so you have a LAN without Internet connectivity. You may also lose connectivity to the vSphere Client - just reconnect or have it restart its networking to gain a new IP from DHCP. Release/Renew IP addresses for your computer by unplugging and replugging their cables, and pfSense should provide you with an IP address! If it does not, make sure pfSense is operating on correct network adapter (LAN) and there is not other device on the network that can provide you with an address (other routers, modems and access points).
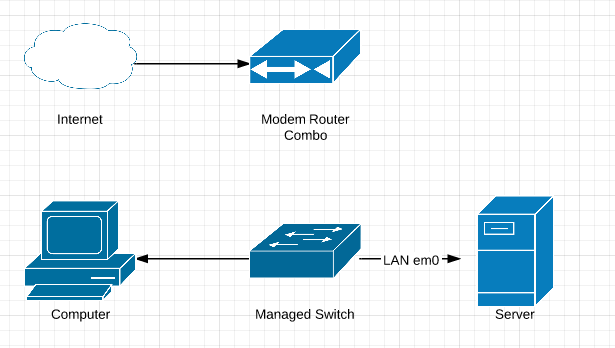
After the changes, your network should look like this:
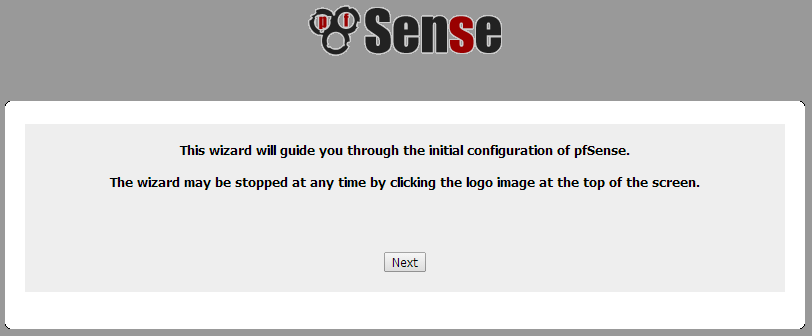
3. Connect to the pfSense web interface
Open your browser of choice (Chrome for me) and enter the IP address of the pfSense LAN connection (which is default, 192.168.1.1). Login with the default username 'admin' and password 'pfsense'

Run through the setup as you see fit. General the defaults will do for now. When you arrive at the 'Configure LAN Interface' do not provide your new private address (e.g. 10.0.0.1) as of yet. We will finish the wizard first. Click 'Reload' and pfSense will restart temporarily. If it does not redirect you after 5 minutes, just go to 192.168.1.1 in a new window.
At this point you may either change the LAN IP to your own private range or add the WAN interface (Part 3) if you are happy with the 192.168.1.1 range.
Click 'Interfaces' in the top menu bar than 'LAN'. Provide the new Static IPv4 address you prefer e.g. 10.0.0.1/24 than click 'Save'. DO NOT APPLY CHANGES. You will also need to setup your new DHCP range before continuing.
DO NOT APPLY CHANGES

Click 'Services' in the top menu bar then 'DHCP Server'. Provide the new range for your DHCP Server. Remember to leave your last address as a Broadcast address (e.g. 10.0.0.255 for 10.0.0.1/24). I placed half of my addresses into DHCP. Hit 'Save' then return the 'Interfaces -> LAN' page and Apply your changes.

You lose access to pfSense after a little while. Unplug and replug your network cable to get a new address within your new DHCP range.
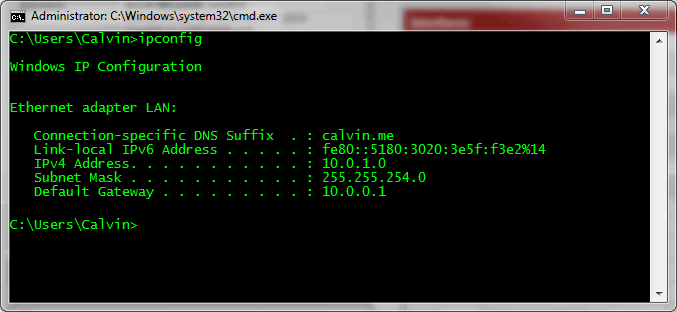
Verify your new network details and access pfSense once again at its new IP (e.g. 10.0.0.1)
In Part 3: Install pfSense on ESXi 5.5 we will configure the WAN (Internet) connection for your LAN.